This post contains affiliate links, and I may receive a commission on your purchase at no extra cost to you. Thank you for supporting my work by shopping through my links.
Jump to Recipe
The Best Homemade Potato Rolls: A Family Favorite Recipe for Ultra-Soft Bread
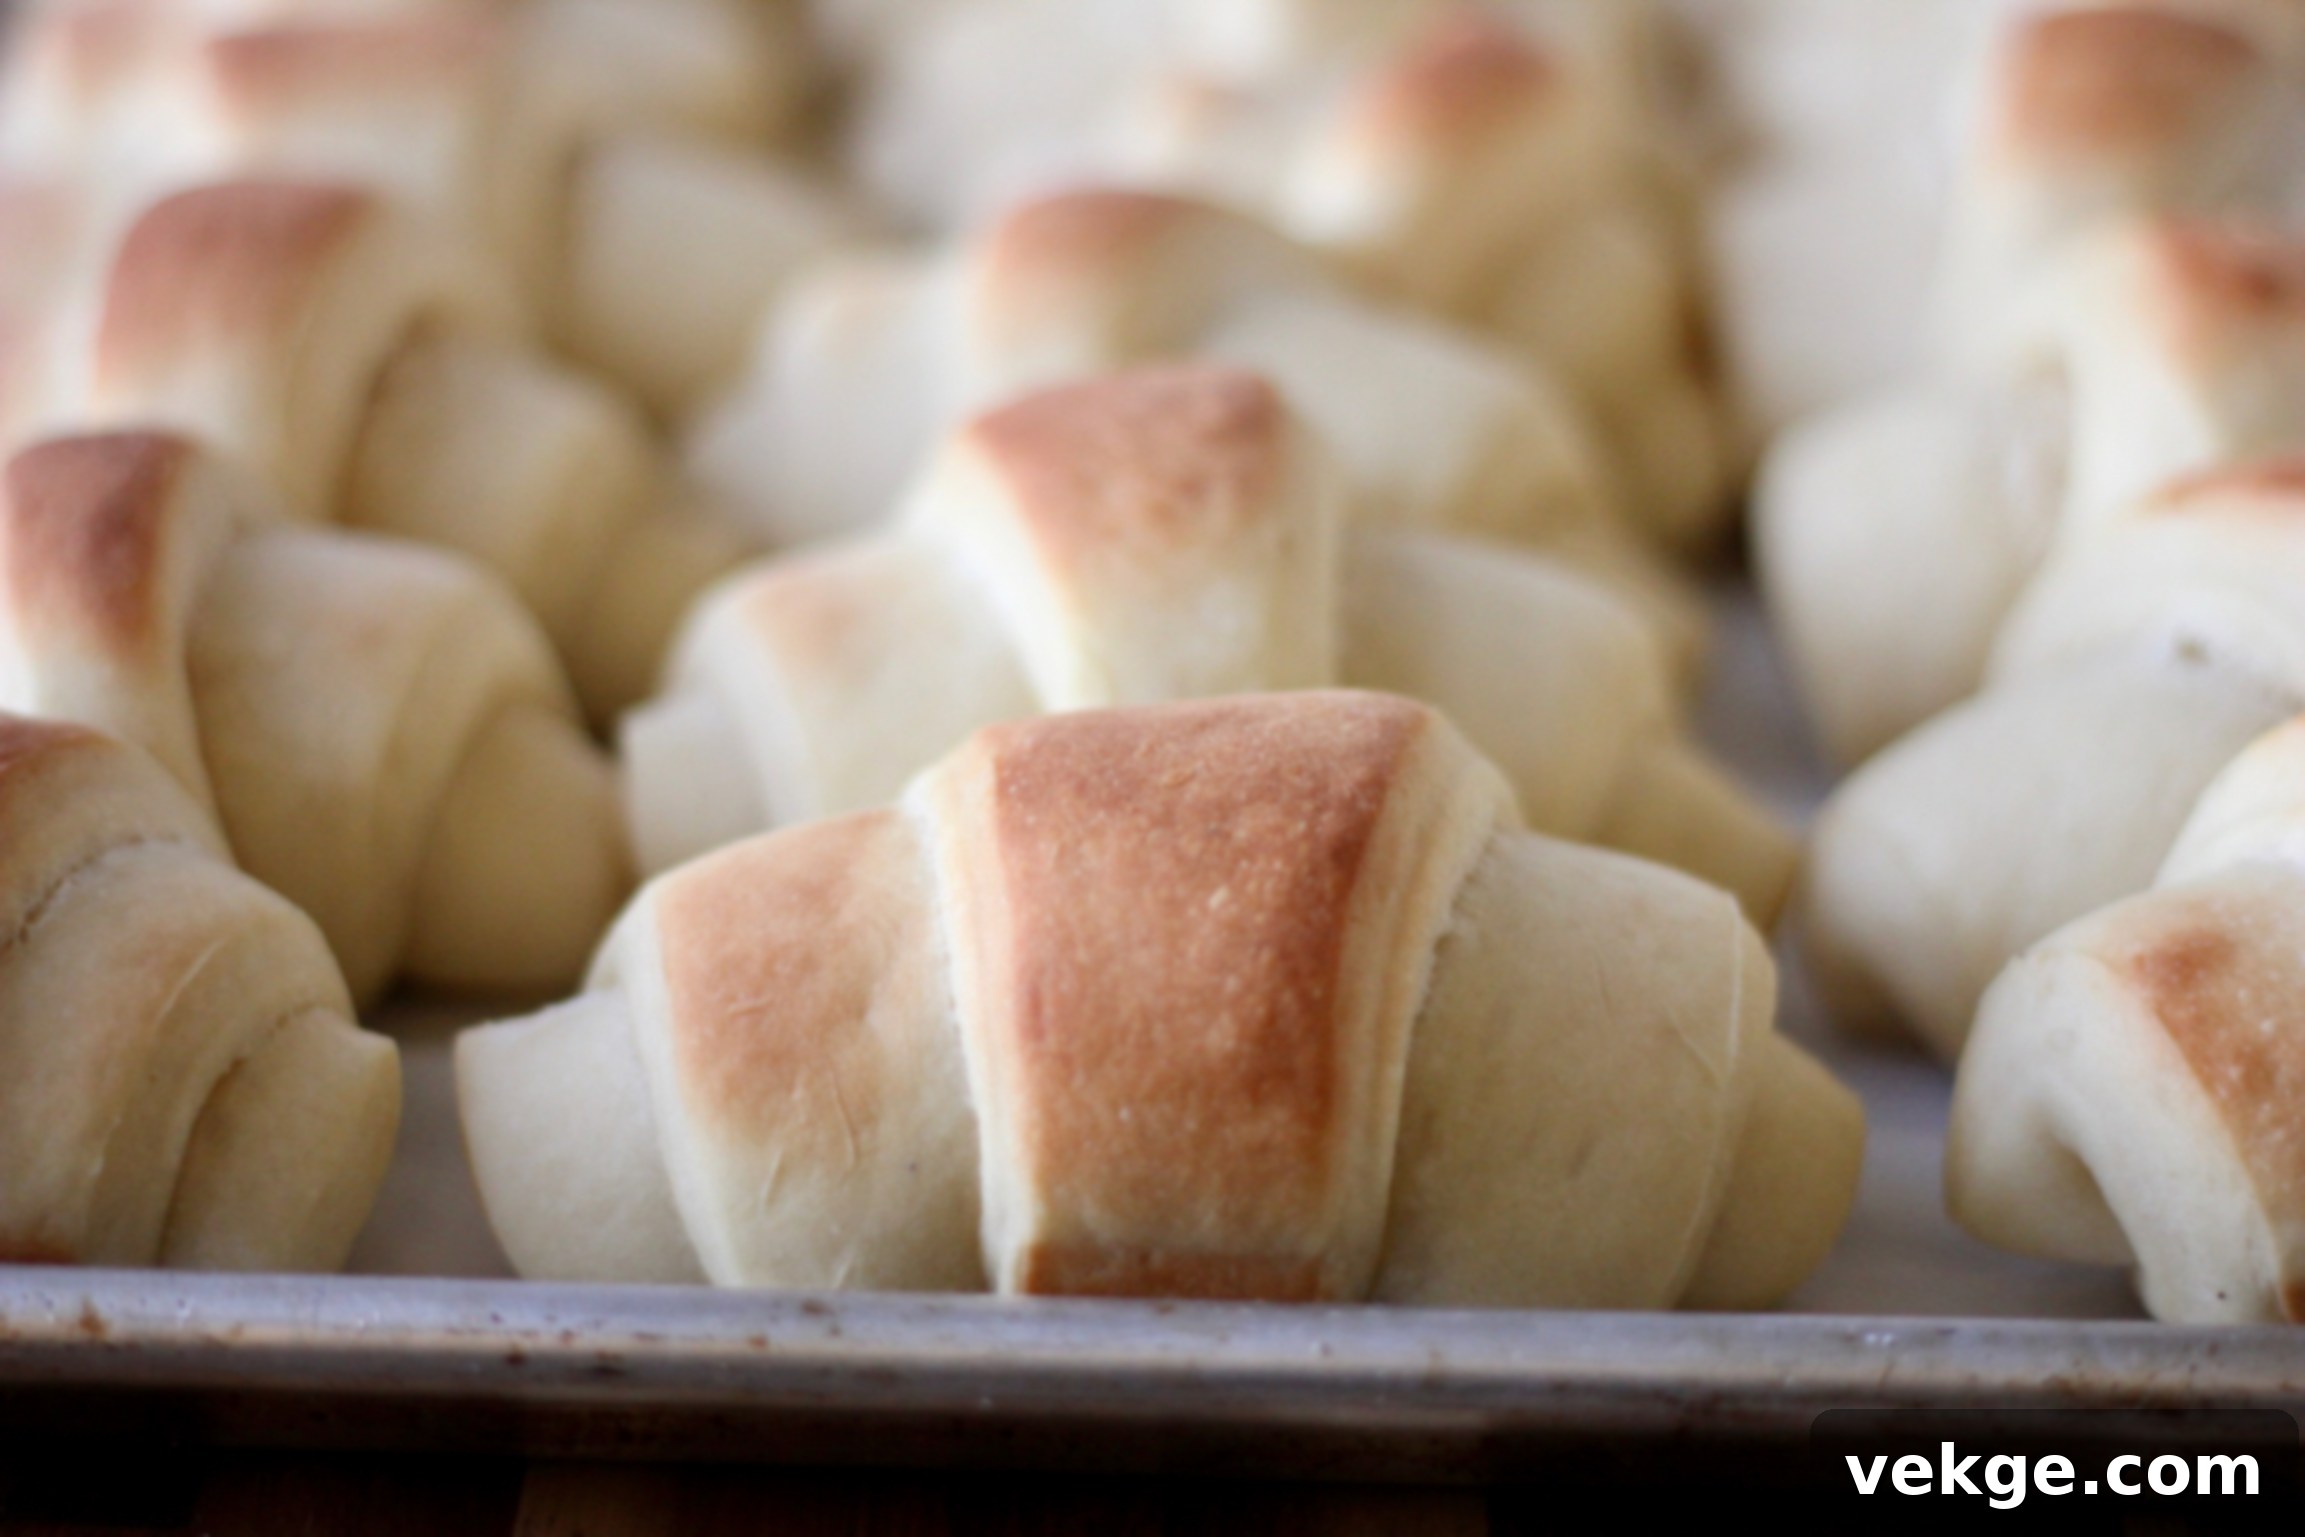
There’s something truly special about a basket of warm, freshly baked rolls on the dinner table. They’re a comforting staple, a perfect accompaniment to any meal, and often the first thing everyone reaches for. I recently embarked on a baking experiment, testing three different roll recipes in one day to find the ultimate winner. The verdict from my family was unanimous: seven out of seven of us enthusiastically chose this particular recipe as our absolute favorite. These aren’t just any rolls; they are a revelation of fluffiness and flavor that will elevate any meal from ordinary to extraordinary.
Introducing Sage’s Legendary Potato Rolls
This remarkable roll recipe comes courtesy of my sister, Sage, who truly is a legend in our family for her baking prowess. I first started making her potato rolls a few years ago, and ever since, they’ve become my go-to. Their consistent success and overwhelming popularity have made me eager to share this culinary gem with all of you, with Sage’s kind permission, of course! You absolutely need these rolls in your life. The surprising secret ingredient that makes them stand out from all other roll recipes? Mashed potatoes. Yes, you read that right!
The addition of mashed potatoes is a game-changer, imparting an unparalleled ultra-soft texture and a depth of flavor that is simply amazing. These rolls are perfectly suited for special occasions like Thanksgiving dinner, Christmas feasts, or Easter brunch. However, their irresistible taste and ease of preparation mean you’ll want to whip them up on a regular Tuesday, just because. Once you try them, you’ll understand why they consistently earn rave reviews and disappear quickly from any gathering.
Key Ingredients for Perfect Potato Rolls
Understanding the role of each ingredient is crucial for achieving that signature soft texture and incredible flavor. Let’s dive into what makes these potato rolls so special:
Water
Always use warm water for activating your yeast. Think of it like a warm bath – comfortable to touch, but not uncomfortably hot. Water that’s too hot will kill the yeast, preventing your rolls from rising. If it’s too cold, the yeast will activate too slowly, if at all. A temperature between 105-115°F (40-46°C) is generally ideal.
Active Dry Yeast
Active dry yeast is typically what I recommend for this recipe. However, if you only have instant yeast on hand, don’t fret! You can use it as a 1:1 substitute. Instant yeast is designed to be added directly to dry ingredients without proofing, but it will work perfectly fine when proofed in warm water here. For those adventurous bakers interested in a more artisanal approach, a sourdough adaptation is provided further below!
Sugar
This recipe calls for 2/3 cup of white sugar, which contributes significantly to the rolls’ delightful sweetness and helps with browning. This sweetness is a major factor in why they are so incredibly delicious and often preferred over less sweet varieties. If you prefer a less sweet roll, you can certainly reduce the sugar amount. Alternatively, for a slightly different flavor profile, you could substitute honey for the white sugar, though this may require minor adjustments to liquid content as honey is a liquid sweetener.
Salt
A good quality salt can truly enhance the flavor of your baked goods. I highly recommend using a fine sea salt if possible, as it adds a subtle depth that table salt might lack. I personally rely on Redmond Real Salt for its excellent mineral content and taste.
Eggs
For optimal rising, aim to use room temperature eggs. Cold eggs can lower the temperature of your dough, slowing down the yeast’s activity and extending your rising times. A quick trick to warm them up: place two cold eggs in a bowl of warm (not hot) water for about 10 minutes before you begin mixing your ingredients.
For those with egg allergies, this recipe is adaptable! Flax egg substitutes (1 tablespoon ground flaxseed meal + 3 tablespoons water per egg, let sit for 5 minutes to thicken) or Aquafaba can be used effectively. Aquafaba, the liquid from a can of chickpeas, is a fantastic vegan egg replacement due to its similar binding and leavening properties. Use 1/4 cup of Aquafaba per egg. If you must skip eggs entirely without substitution, the rolls will still work, but you’ll likely need to reduce the amount of flour slightly to achieve the correct dough consistency.
Mashed Potatoes
This is the star of the show! We’re talking about prepared mashed potatoes, just like the ones you’d enjoy with your holiday meal. Whether you use leftover homemade mashed potatoes, store-bought varieties, or even instant mashed potatoes, any prepared version will work wonders. The key is that they are already cooked and mashed.
If your mashed potatoes are unsalted, that’s ideal. However, if they’ve already been seasoned, it won’t be a deal-breaker. For the truly meticulous baker, you could slightly reduce the salt called for in the recipe by about 1/4 teaspoon if your mashed potatoes are heavily salted. The one crucial “DON’T” for this recipe is to *never* add unprepared instant potato flakes directly into the dough – they won’t hydrate properly and will ruin the texture. The mashed potatoes are non-negotiable; they are the secret to the rolls’ incredibly moist and tender crumb!
Melted Butter
Melted butter works in harmony with the mashed potatoes and sugar to create a truly rich and irresistible flavor profile. I always opt for salted butter to achieve the best taste, as the subtle saltiness balances the sweetness beautifully. If butter isn’t an option, you can successfully substitute it with avocado oil, olive oil, or even melted coconut oil, though each will impart a slightly different nuance to the final flavor.
Flour
While bread flour is my usual recommendation for its higher protein content, which contributes to a chewier and more elastic roll, this recipe is incredibly versatile. You can successfully use whole wheat flour or Kamut flour. Feel free to experiment with a blend, such as 50% bread flour and 50% whole wheat, or even 100% whole wheat or 100% Kamut. Be aware that whole wheat flour tends to produce a slightly denser and more crumbly roll, but the flavor remains absolutely fantastic. Kamut flour also yields great results, though the rolls may not rise quite as high or be as elastic as those made with pure bread flour. Both Kamut and whole wheat flours are “thirstier,” meaning they absorb more liquid. If you choose either of these, reduce the flour amount by about 10% compared to what the recipe specifies to maintain the correct dough hydration.
Smart Time-Saving Strategies for Stress-Free Baking
Preparing delicious homemade rolls doesn’t have to mean last-minute scrambling, especially during busy holiday seasons. These make-ahead methods will help you maintain your sanity and enjoy your festivities without compromise:
Option #1: Prepare the Dough, Form Rolls, and Flash Freeze for Later
This method is a lifesaver for holidays or any event where you want fresh rolls without all the same-day effort. It allows you to spread out your baking tasks and ensures you’re never more than a few hours away from warm, delicious rolls.
- Make the Dough: Follow the recipe instructions to prepare your dough.
- First Rise: Allow the dough to complete its first rise until doubled in size.
- Form and Arrange: Gently deflate the risen dough and form your desired roll shapes. Arrange them on a baking sheet, ensuring they don’t touch each other.
- Cover and Freeze: Cover the baking sheet with plastic wrap or a lid to prevent drying, then place it flat in the freezer. Set a timer for two hours.
- Store Frozen: After two hours, the rolls should be individually frozen solid. Transfer them into a large freezer-safe ziplock bag (or two, if needed), squeezing out as much air as possible to prevent freezer burn. They will keep beautifully in the freezer for up to two months.
- Bake Day Prep: On the day you plan to bake, work backward from your desired serving time. Approximately five hours before you want to pull them from the oven, remove the frozen rolls from the freezer.
- Thaw and Rise: Arrange the frozen dough rolls on a greased baking sheet. Cover them loosely with a cookie sheet lid, a clean dish towel, or plastic wrap to keep them from drying out. Allow them to thaw completely and then rise until they have doubled in size. This process can take several hours depending on your kitchen’s temperature.
- Bake: Once fully risen, bake them exactly as you would fresh rolls. The taste and texture will be indistinguishable from those made fresh!
Option #2: Prepare Dough, Form Rolls, and Refrigerate Overnight
This is a fantastic option if you have a little time the evening before you need your rolls. It’s simpler than freezing and still provides incredible convenience.
- Prepare the Dough: Make the dough according to the recipe.
- First Rise: Let the dough complete its initial rise until doubled.
- Form and Refrigerate: Gently form the dough into your desired roll shapes and arrange them on a greased baking sheet. Cover tightly with a lid or plastic wrap to prevent a crust from forming.
- Overnight Chill: Refrigerate the covered rolls for up to 12 hours. Be mindful not to leave them in the fridge for too much longer, as the dough will continue to rise slowly even in the cold, and could potentially overproof, leading to a less desirable texture.
- Bring to Room Temperature & Final Rise: About two hours before you intend to bake, remove the rolls from the refrigerator. Let them come to room temperature and finish rising until doubled in size. This step is crucial for achieving light and airy rolls.
- Bake: Bake the rolls as usual, as if they had never taken their overnight “getaway” in the fridge. They will be just as delicious and impressive!
Mastering the Art of Roll Shaping
One of the joys of baking these homemade potato rolls is the freedom to shape them however you prefer! There are countless roll-forming techniques, so feel free to choose your favorite, or experiment with new ones. Here are two popular methods I often use:
The Classic Crescent Shape
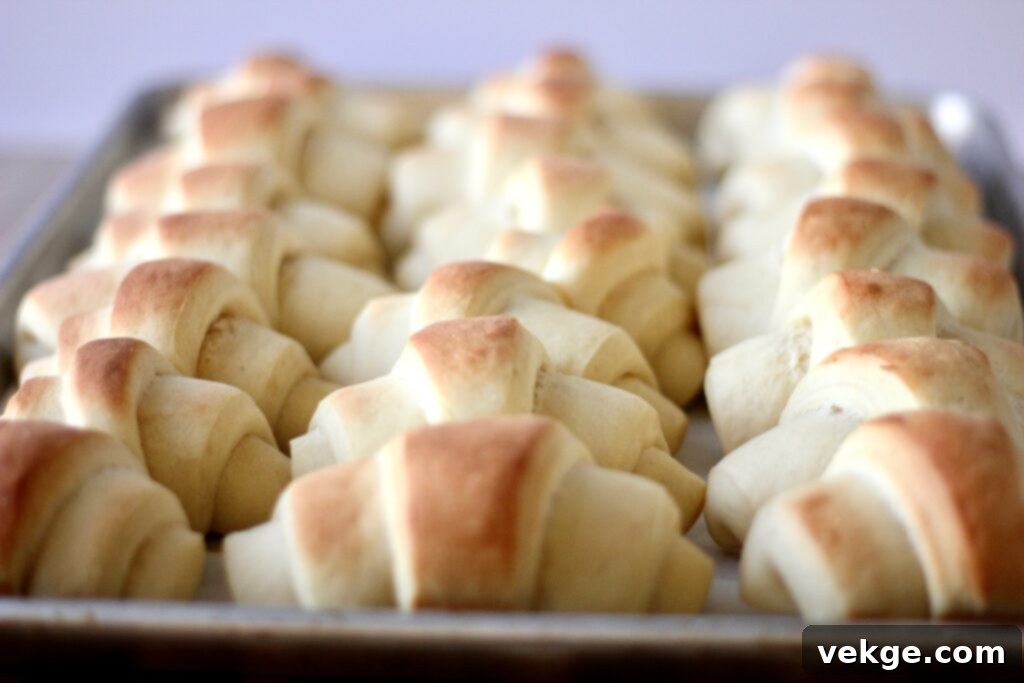
This shape is elegant and a perennial favorite. To create crescent rolls, I typically divide the dough into two equal portions. Taking one portion at a time, I roll it out on a lightly floured countertop until it forms a large, thin circle. Using a pizza cutter, I then divide this circle in half, then in half again, and continue cutting until I have sixteen equal triangles. Starting from the widest part of each triangle, I roll the dough tightly inward towards the point, creating a beautiful crescent. This technique yields two circles of 16 rolls each, for a total of 32 rolls. These are perfectly sized to bake in two standard 9×13 inch pans.
The Smooth Ball Shape
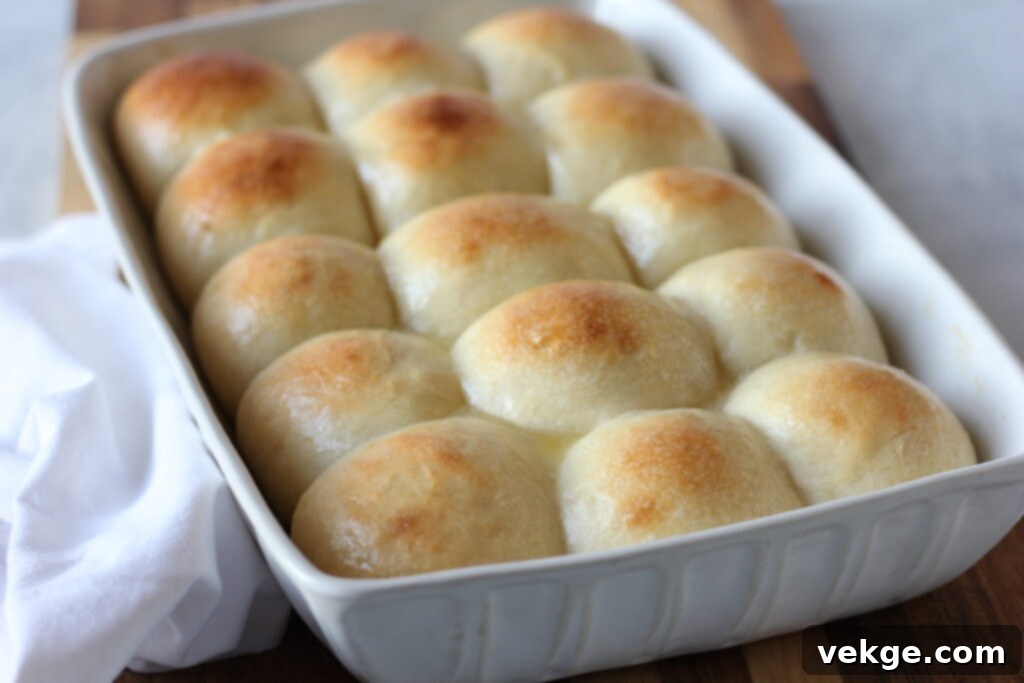
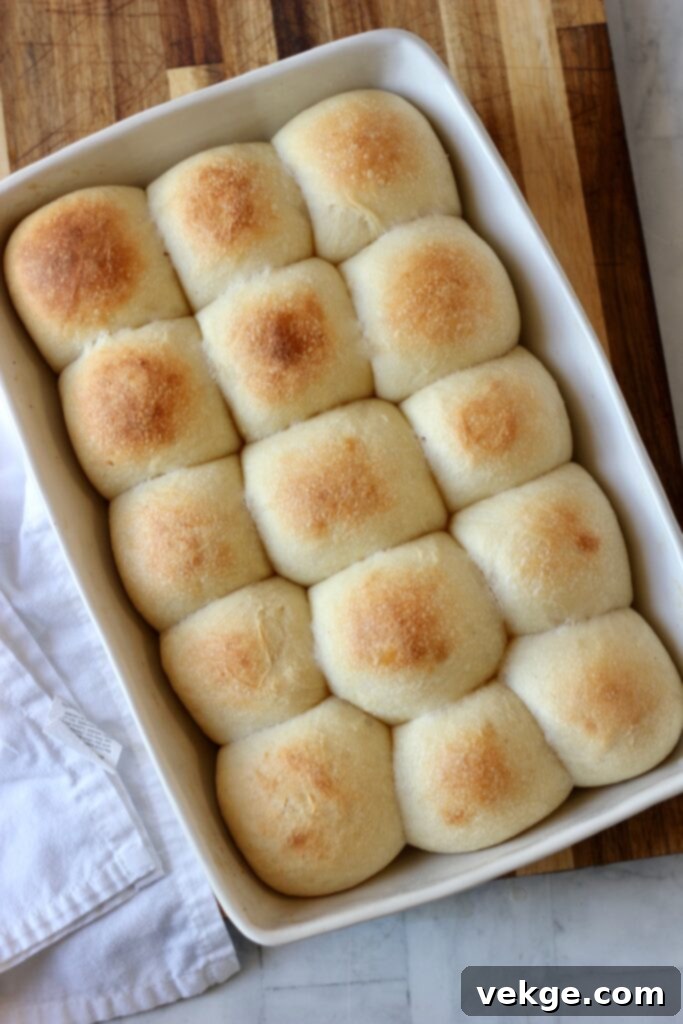
For a simpler, more rustic look, smooth round balls are always a hit. For this method, I divide the entire dough into 30 equal portions. I then take each portion and roll it between my palms or on a clean surface until it forms a smooth, taut ball. I arrange these neatly in five rows of three in two 9×13 inch baking pans, allowing enough space for them to rise and expand. This method also produces a generous yield of 30 rolls, perfect for sharing.
Sourdough Potato Rolls: An Elevated Twist
You might be wondering if these incredible rolls can be made with sourdough instead of commercial active dry yeast. The answer is a resounding yes! I recently adapted this recipe to use sourdough starter, and the results were phenomenal. When I asked my family if they could detect a sourdough flavor, not a single person could tell! Because this is a slightly sweet bread, the sugar beautifully mutes any characteristic tang from the sourdough, resulting in a rich, complex flavor without the typical sour notes.
Switching to sourdough is surprisingly easy, but it does come with two key considerations: firstly, you need to be prepared for the time it takes to activate your starter after feeding it, ensuring it’s at its peak bubbly activity. Secondly, the rising times will be significantly longer compared to yeast-leavened dough. However, the hands-on time remains exactly the same, and the depth of flavor and texture achieved with sourdough is incredibly rewarding for those willing to embrace the process!
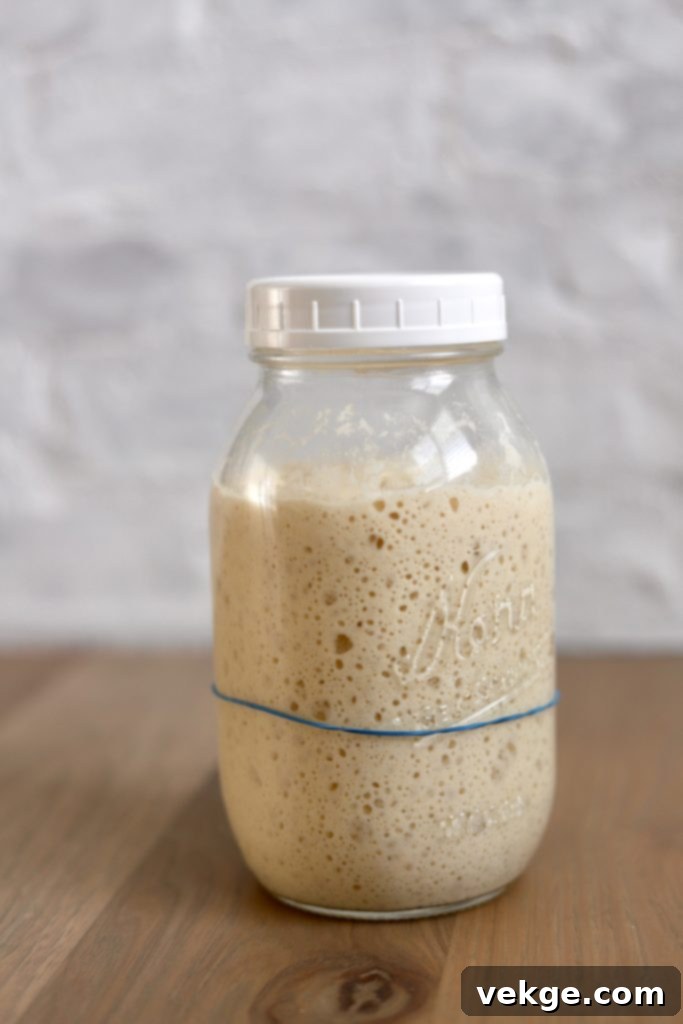
Sourdough Potato Roll Adaptation: Ingredients & Instructions
Sourdough Adaptation Ingredients:
- 1 cup of active, bubbly sourdough starter (replace 1 tablespoon active dry yeast)
- 1.5 cups of warm water
- 2/3 cup of sugar
- 2/3 cup of melted butter
- 2 room temperature eggs
- 2 teaspoons salt
- 1 cup unsalted mashed potatoes
- 6 to 7 cups unbleached bread flour
The only ingredient modification for the sourdough version is swapping out the active dry yeast for your vibrant, active sourdough starter. All other proportions remain the same.
Sourdough Adaptation Instructions:
- In a large mixing bowl, combine the warm water, active bubbly sourdough starter, sugar, eggs, melted butter, salt, and mashed potatoes. Mix thoroughly until all ingredients are well combined.
- Gradually add the unbleached bread flour, one cup at a time, mixing and kneading in between additions. Continue adding flour until the dough comes together, is no longer excessively sticky, and pulls away cleanly from the sides of the bowl.
- Knead the dough for approximately 10 minutes, either by hand or using a stand mixer with a dough hook, until it is smooth and elastic.
- Cover the dough tightly and allow it to rise until doubled in size. Be patient, as sourdough fermentation times vary greatly depending on ambient temperature and the strength of your starter. This first rise can take anywhere from 4 to 10 hours.
- Once the dough has doubled, gently deflate it and form your rolls into your desired shapes. Arrange them on a greased baking sheet. Cover again and let them undergo their second rise until doubled in size. This can take another 2 to 8 hours.
- Preheat your oven to 375°F (190°C). Bake the rolls for 15 to 20 minutes, or until the tops are beautifully golden brown and they are cooked through.
Sourdough-Version Time Saving Tips:
Based on my experience, freezing pre-baked sourdough rolls has yielded inconsistent and often unsatisfactory results, so I do not recommend that method for sourdough. However, you can certainly prepare the dough, form the rolls, arrange them on greased baking pans, then cover and refrigerate them overnight, or for any period between 1-24 hours. When you’re ready to bake, remove the dough from the fridge 4-5 hours before you want them to come out of the oven. Allow them to come to room temperature and finish rising a little more if needed before baking as usual. This overnight refrigeration technique works wonderfully for sourdough rolls!
For more in-depth guidance on working with sourdough, including how to maintain a healthy starter, be sure to check out this SOURDOUGH 101 post here!
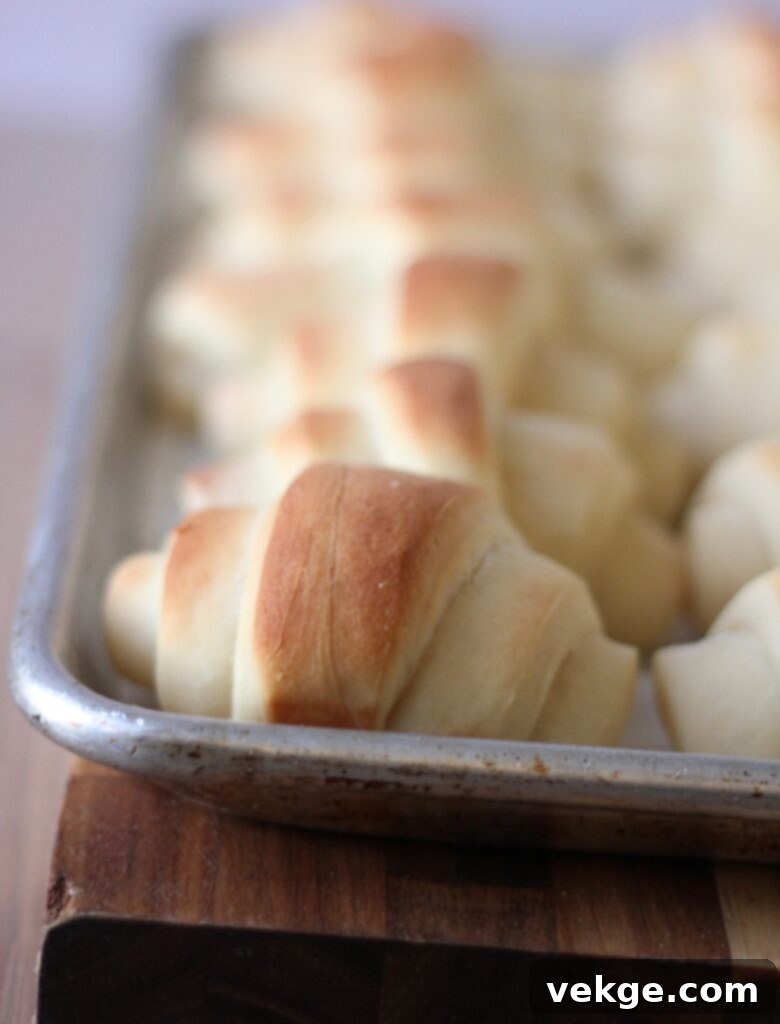
The (Non-Sourdough) Yeast Roll-Making Process: A Foolproof Guide
For those new to baking with yeast, the process can seem a bit daunting. Rest assured, this recipe is designed to be straightforward and almost foolproof! Follow these steps carefully, and you’ll be enjoying warm, fluffy rolls in no time.
- Prepare Ingredients: Start by gathering all your ingredients. Allow the eggs to come to room temperature for better yeast activation. Prepare your mashed potatoes, ensuring they are smooth and ready to incorporate. Melt your butter and set aside.
- Activate the Yeast: In a large mixing bowl, combine the warm water, active dry yeast, and sugar. Give it a gentle stir to ensure everything is mixed, then cover the bowl (with a clean dish towel, a plate, a lid, or plastic wrap). Set a timer for ten minutes. Covering the mixture helps to trap the warmth inside the bowl, providing an optimal environment for the yeast to bloom.
- Check Yeast Activity: After ten minutes, remove the cover. Your yeast mixture should now appear foamy and bubbly on the surface. This is a clear indication that your yeast is alive and active! If you don’t see this bubbly reaction, your yeast may be old or inactive, and you’ll need to replace it and start this step over.
- Add Wet Ingredients: To your activated yeast mixture, add the room temperature eggs, melted butter, salt, and prepared mashed potatoes. Mix all these ingredients together slightly until just combined.
- Incorporate Flour: Begin adding the bread flour, one cup at a time. After each addition, mix or knead thoroughly before adding the next. The exact amount of flour you’ll need can vary due to factors like humidity, air pressure, the size of your eggs, or the hydration level of your mashed potatoes. You’ll know you’ve added enough flour when, as you knead, the dough begins to pull away cleanly from the sides of the bowl. When you touch the dough, it should feel tacky but not excessively sticky on your fingers. It should be pliable and smooth.
- Knead the Dough: Knead the dough for approximately ten minutes. This can be done by hand on a lightly floured surface, or with a stand mixer fitted with a dough hook. Proper kneading develops the gluten, which is essential for the rolls’ soft and elastic texture.
- First Rise: Once kneaded, place the dough in a lightly greased bowl, turning it once to coat. Cover the bowl and let the dough rise in a warm place until it has doubled in size, which typically takes about one hour, though this can vary depending on your kitchen’s temperature.
- Shape the Rolls: Gently deflate the risen dough and turn it out onto a clean, lightly floured surface. This recipe yields a generous 30 to 32 rolls. Divide the dough into two equal portions. Each half can then be shaped into 15 or 16 rolls, depending on your preferred size and baking pan. For instance, if you’re using two 9×13 inch pans, you can comfortably fit 15 smooth round rolls in each. If forming crescent rolls, a 13×18 inch sheet pan can accommodate about three rows of eight rolls, meaning you’ll need approximately 1.5 of these sheet pans.
- Form Crescent Rolls (Optional): If making crescent rolls, roll each half of dough into a large, thin round circle. Using a pizza cutter, slice the circle into 16 long triangles, similar to cutting a pizza. Starting from the widest end, roll each piece of dough tightly inward towards the pointed tip to create the classic crescent shape.
- Prepare Baking Sheets: Grease your baking sheets or pans, or line them with parchment paper for easy removal and cleanup.
- Second Rise: Arrange the formed dough rolls on your prepared baking sheet, ensuring adequate spacing for expansion. Cover them loosely and let them rise again until they have doubled in size. This second rise typically takes 60-90 minutes.
- Bake: Preheat your oven to 375°F (190°C). Bake the rolls for 15 to 20 minutes, or until their tops are beautifully golden brown and they are cooked through. Remove from the oven and serve warm!
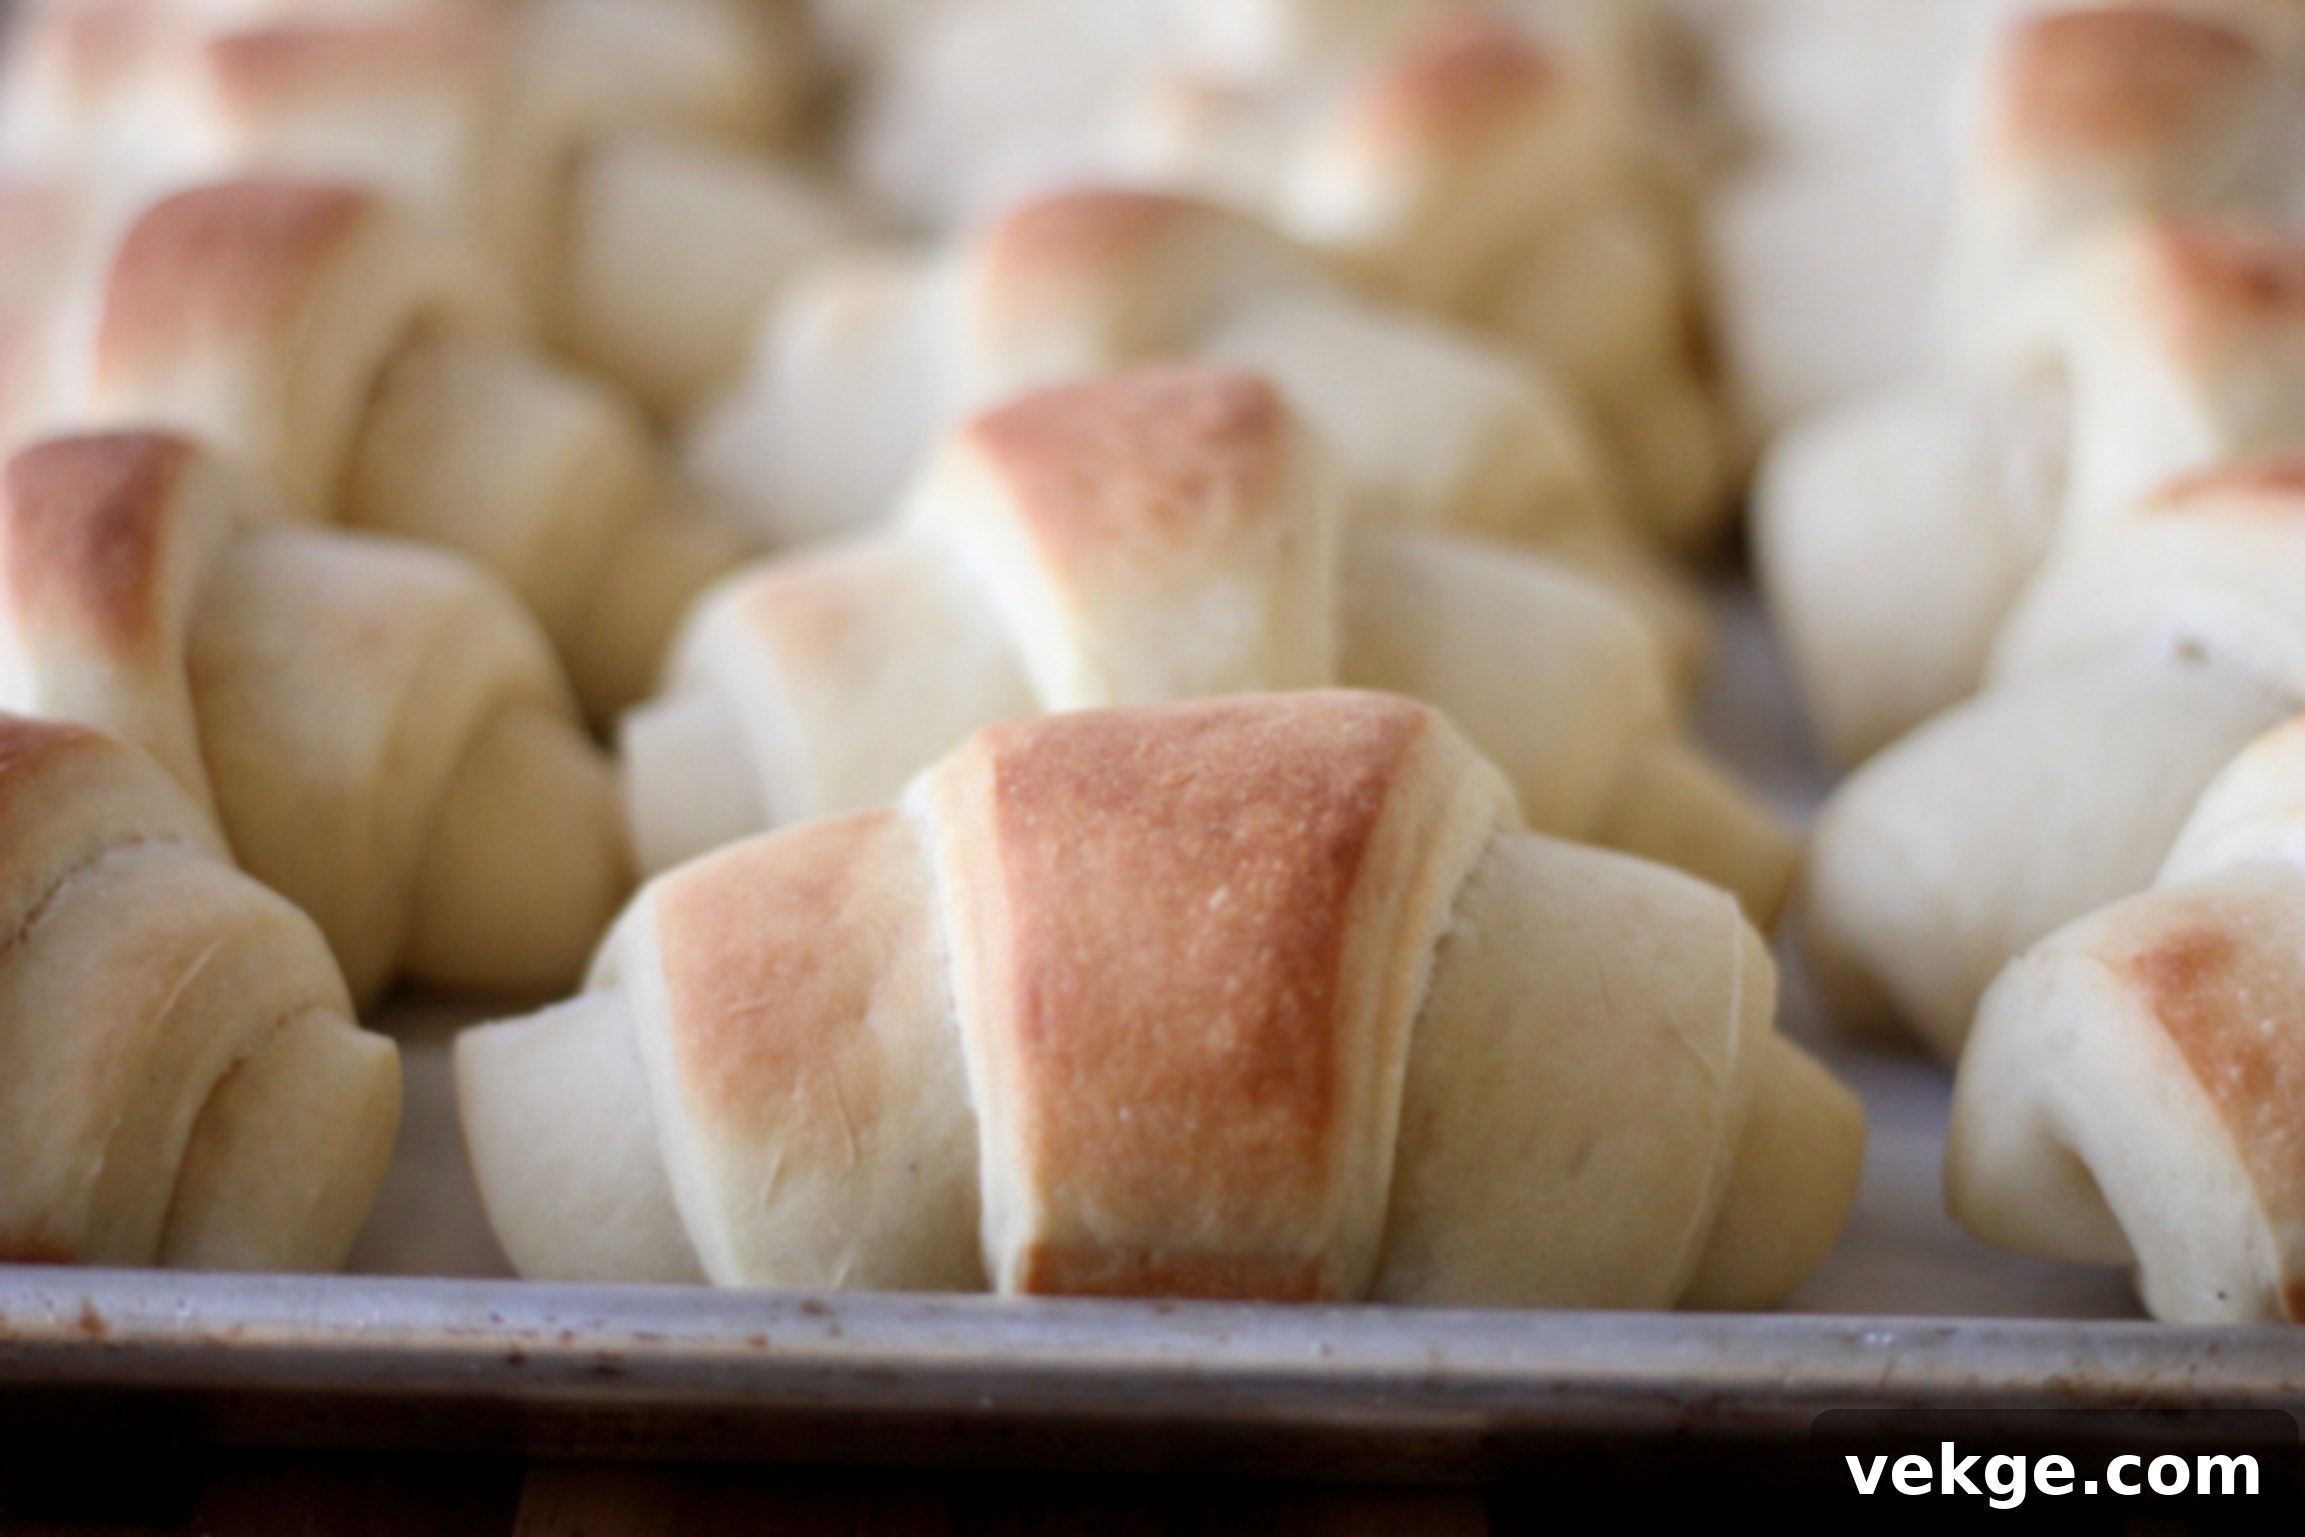
The addition of mashed potatoes to this recipe is truly the secret ingredient, creating a texture that is simply irreplaceable. These rolls are incredibly soft, moist, and possess a flavor that reaches perfection! Without a doubt, this is my absolute FAVORITE roll recipe, and I’m confident it will become yours too.
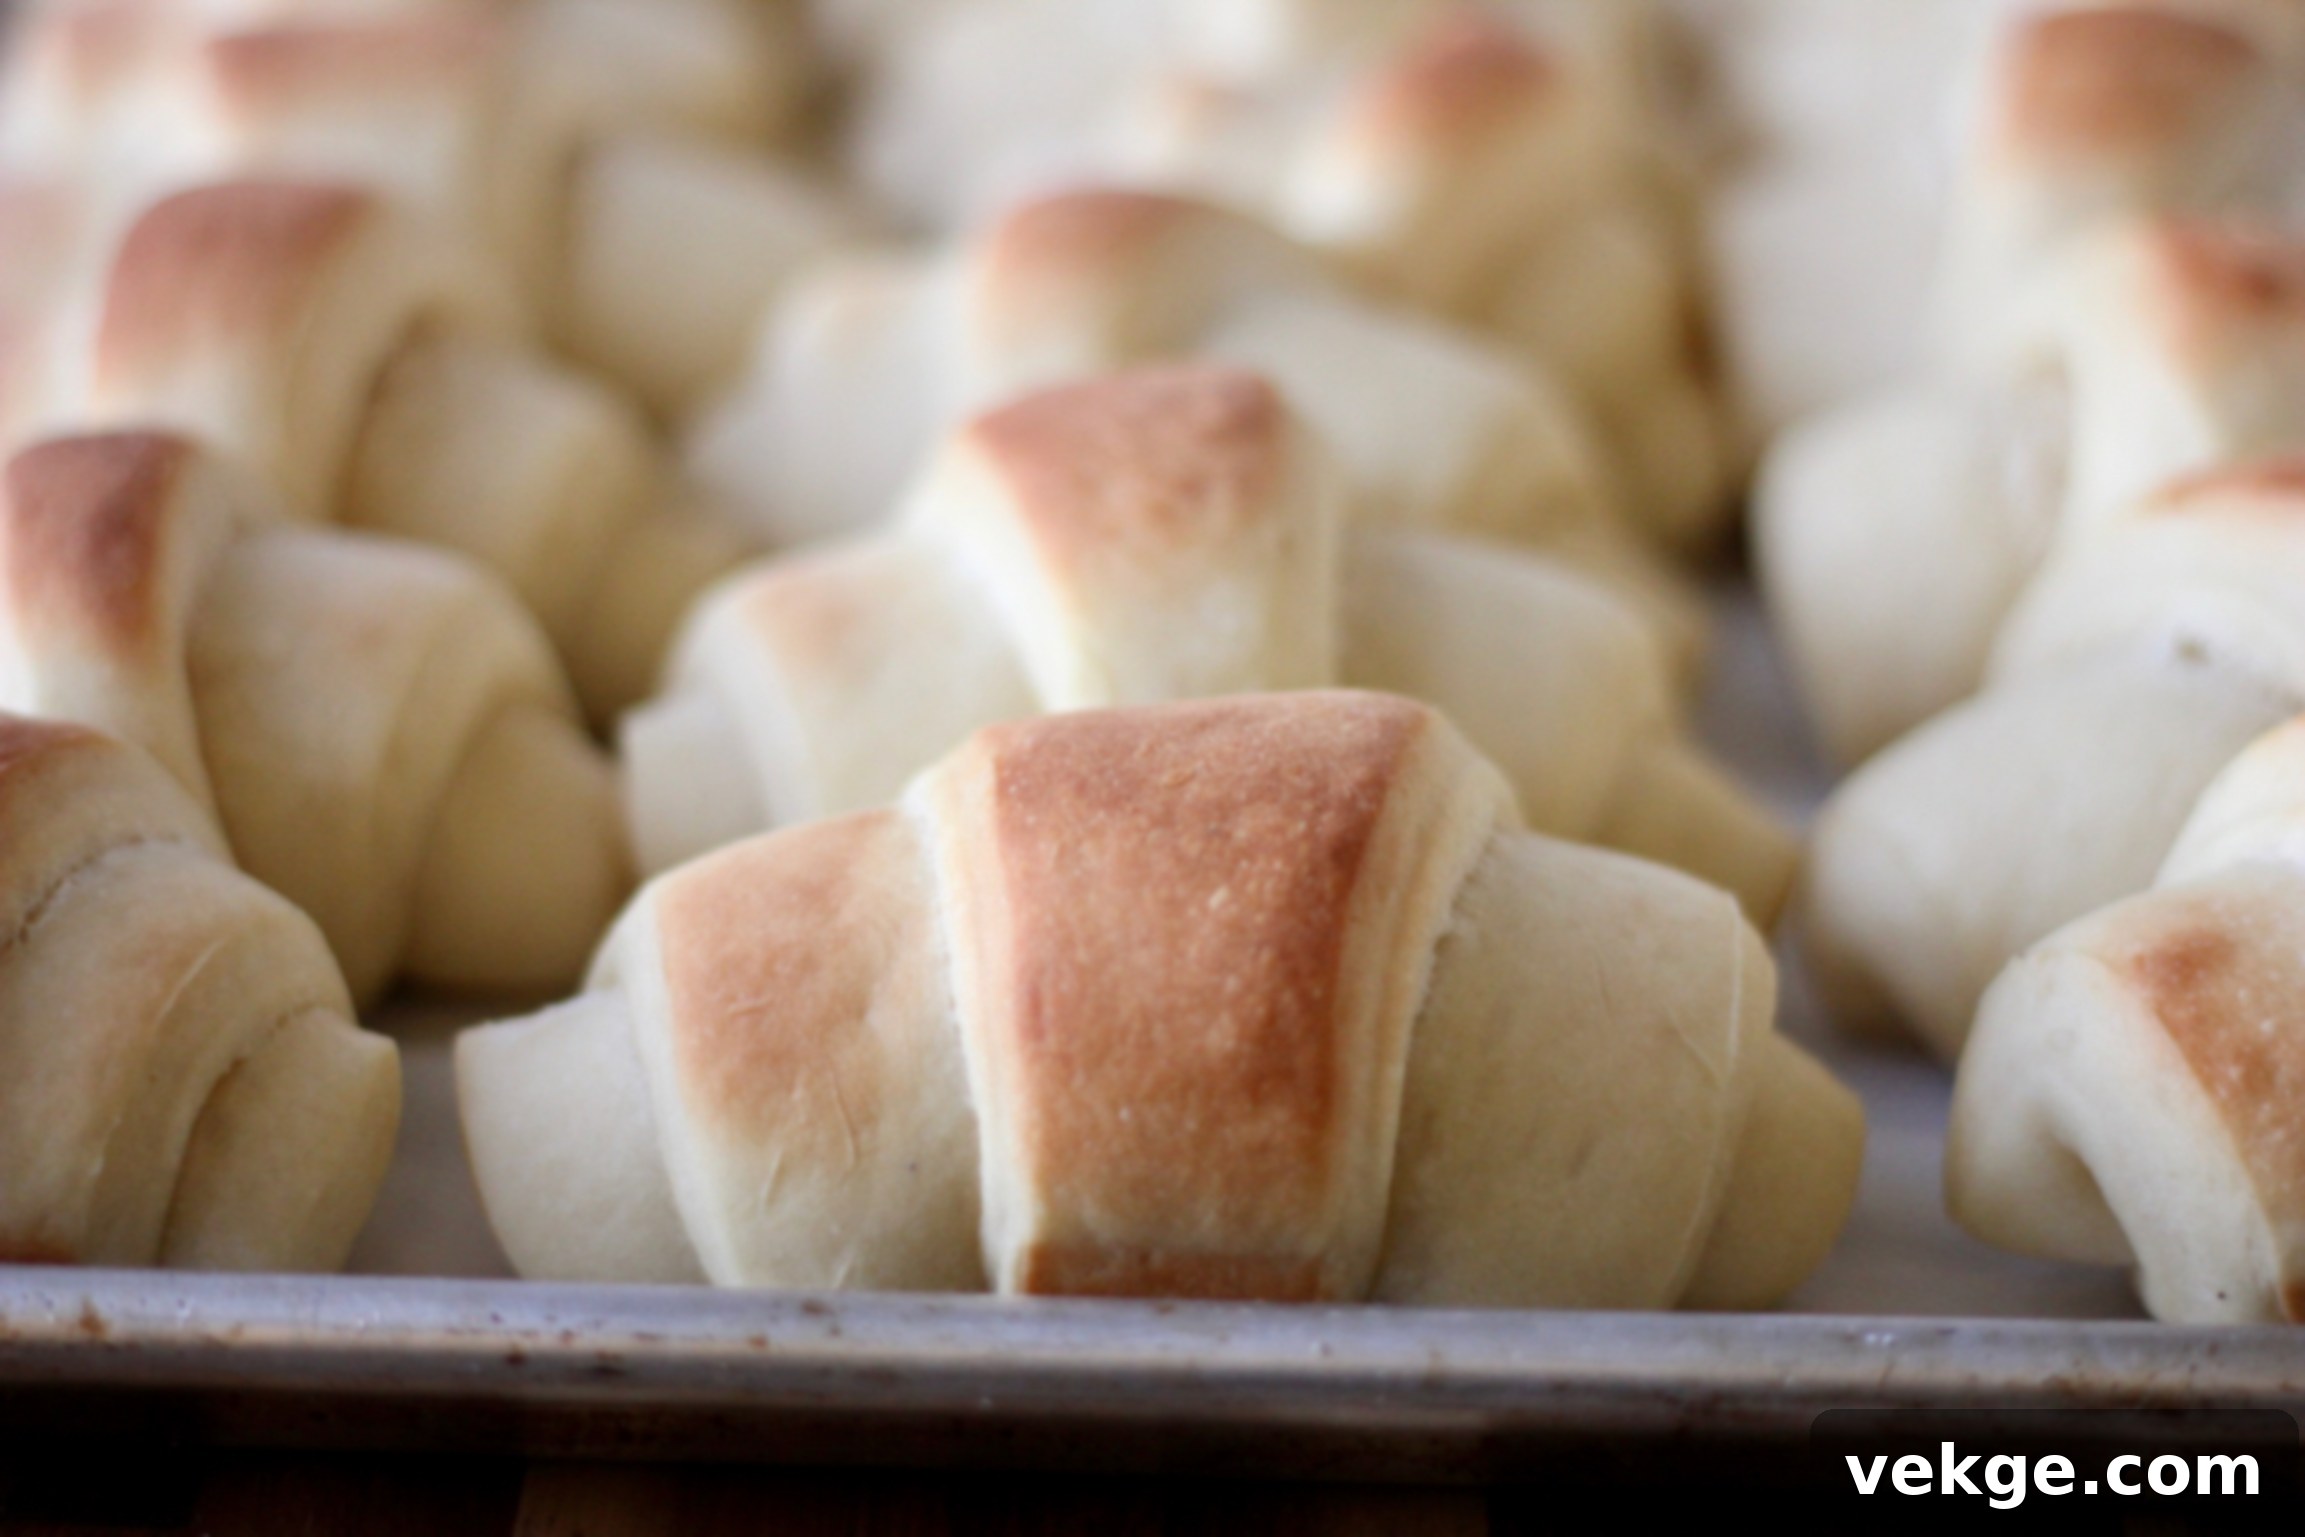
Sage’s Perfect Potato Rolls
Print
Pin
Rate
Ingredients
- 1 Tablespoon active dry yeast
- 1 1/2 cups warm water
- 2/3 cup sugar
- 2 teaspoons salt
- 2/3 cups melted butter 10 1/2 Tbsps
- 2 eggs room temp
- 1 cup prepared mashed potatoes
- 6 to 7 cups bread flour
Instructions
- Dissolve yeast in warm water with sugar, about 10 minutes.
- Add salt, butter, eggs, and mashed potatoes. Mix well.
- Add the flour, one cup at a time, kneading well in between. You may need anywhere from 6 to 7 cups. Knead for about ten minutes, until the dough no longer sticks to the side of the bowl and is smooth and elastic.
- Cover and let rise, 1 hour.
- On a countertop dusted with flour, dump out the dough. Divide dough in half. Roll each half into a large circle. Using a pizza cutter, cut the dough like a pizza into 16 triangles, or 32 total triangles. From the outside in, roll up the dough into a crescent shape. Lay on a greased cookie sheet and cover with a clean dish towel.
- Let rise for 60-90 minutes or until doubled in size.
- Bake at 375° F for 15 to 20 minutes. Remove when tops are golden brown. Enjoy!
