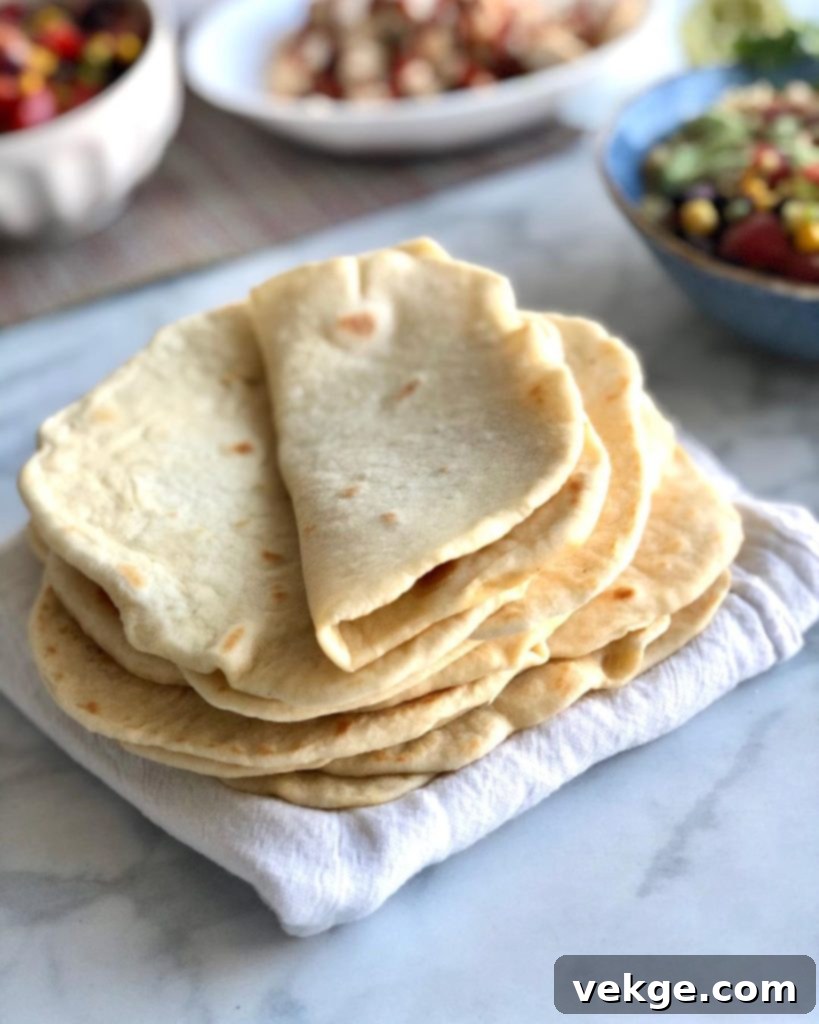
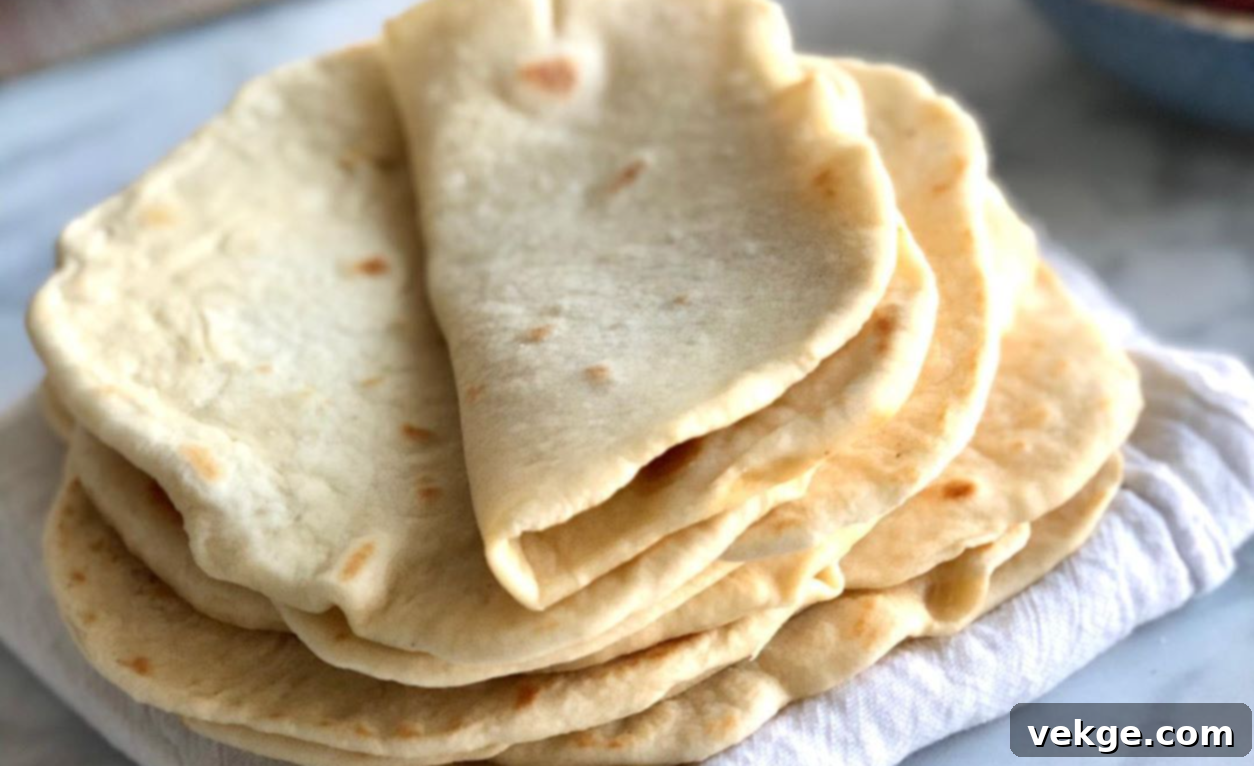
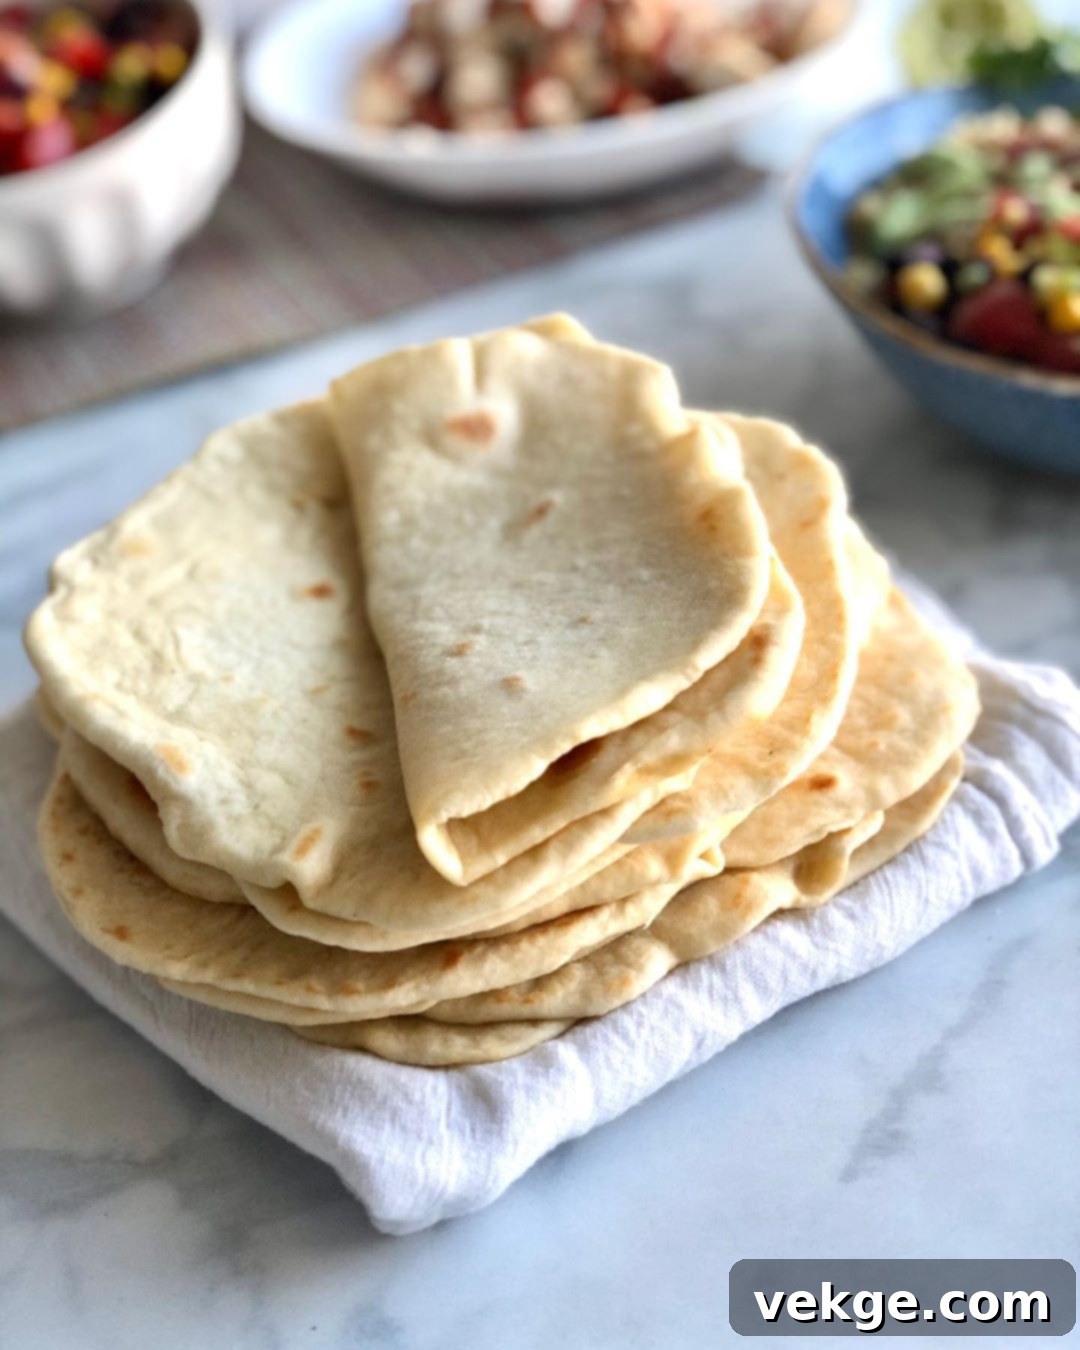
There’s an undeniable magic that happens when you make tortillas from scratch. Forget the flimsy, often flavorless discs from the grocery store; homemade flour tortillas are a revelation. Served warm, straight off the griddle, these tender, pliable rounds are utterly irresistible. While achieving that elusive perfect circle might take a little practice (a charming imperfection we can all embrace!), the ease and satisfaction of making your own far outweigh any geometric challenges. This simple recipe will transform your perception of tortillas, proving that a truly authentic culinary experience is well within your reach.
Making tortillas at home isn’t just about the incredible taste; it’s about the aroma that fills your kitchen, the warmth in your hands as you knead the dough, and the sheer joy of biting into a fresh, soft tortilla. It’s a skill that, once mastered, will elevate countless meals. From simple wraps to elaborate tacos, these fresh flour tortillas are the perfect foundation for any dish.

Why Homemade Tortillas Are Superior to Store-Bought
Once you try homemade flour tortillas, there’s no going back. The difference in taste and texture is profound. Store-bought versions often contain preservatives, emulsifiers, and other additives that compromise their freshness and flavor. Homemade tortillas, on the other hand, boast a pure, authentic taste that complements any filling. They are incredibly soft, with a delightful chewiness that you simply can’t replicate with mass-produced alternatives. The subtle warmth and slight char from the griddle add a depth of flavor that is truly unmatched. Plus, you have complete control over the ingredients, ensuring a wholesome and delicious product for your family.
The Simple Ingredients Behind Perfect Tortillas
The beauty of this easy flour tortilla recipe lies in its simplicity. You only need a handful of basic pantry staples to create these culinary delights. Each ingredient plays a crucial role in achieving the desired texture and flavor:
- All-Purpose Flour: The foundation of our tortillas. Using good quality all-purpose flour will yield tender results. The amount can vary slightly depending on humidity, so it’s always good to have a little extra on hand.
- Warm Water: Essential for activating the gluten in the flour and helping the dough come together smoothly. The warmth also aids in creating a pliable, easy-to-work-with dough.
- Avocado Oil (or other fat): Fat is key to creating soft and flexible tortillas. Avocado oil is a great choice for its neutral flavor and healthy profile, but traditional recipes often use lard or shortening, which also yield excellent results. The fat contributes to the rich texture and prevents the tortillas from becoming stiff.
- Salt: A fundamental flavor enhancer. Don’t skip it! It balances the flavors and brings out the natural sweetness of the flour.
- Baking Powder: A secret ingredient for puffiness! A small amount of baking powder helps the tortillas puff up when cooked, creating those desirable airy pockets that make them so delightful.
These humble ingredients, when combined with a little love and technique, transform into something extraordinary. Understanding the role of each component helps demystify the process and empowers you to make adjustments as needed.
Essential Equipment for Homemade Tortillas
You don’t need a lot of fancy equipment to make fantastic tortillas, but a few tools will certainly make the process smoother:
- Large Mixing Bowl: For combining your ingredients.
- Stand Mixer (optional but recommended): A stand mixer with a dough hook attachment can significantly cut down on kneading time and effort. If you don’t have one, don’t worry – hand kneading is entirely effective and quite therapeutic!
- Rolling Pin: Absolutely essential for rolling out your dough balls into thin, even circles. A good, sturdy rolling pin will be your best friend.
- Griddle or Comal: A flat, heavy-bottomed pan or a traditional Mexican comal is crucial for cooking tortillas evenly and quickly. Cast iron skillets also work wonderfully.
- Clean Kitchen Towels: For covering the dough while it rests and for wrapping the cooked tortillas to keep them warm and soft.

Homemade Flour Tortillas: The Ultimate Guide
Ingredients
- 1 1/3 cup warm water
- 1/4 cup avocado oil (or other neutral oil, like vegetable or canola)
- 2 tsp salt
- 1/2 tsp baking powder
- 3 to 3 1/2 cups all-purpose flour (plus more for dusting)
Instructions
- Combine Wet and Dry: In a large mixing bowl (or the bowl of a stand mixer), combine the warm water, oil, salt, baking powder, and 3 cups of the all-purpose flour. Mix these ingredients thoroughly until they just come together to form a shaggy dough.
- Knead the Dough: If kneading by hand, turn the dough out onto a clean, lightly floured countertop. Knead the dough for approximately 5-7 minutes. If the dough feels too sticky, gradually add small amounts of the remaining 1/2 cup of flour until it becomes smooth and elastic, but still soft. Avoid adding too much flour, as this can make your tortillas tough. If using a stand mixer, attach the dough hook and knead on medium speed for 5 minutes, adding more flour only if the dough sticks excessively to the sides of the bowl. The goal is a smooth, supple, and elastic ball of dough.
- Rest the Dough: Lightly oil a clean bowl. Place the kneaded dough ball into the oiled bowl, turning it once to coat. Cover the bowl tightly with plastic wrap or a clean kitchen towel. Let the dough rest at room temperature for at least 30 minutes. This resting period is crucial as it allows the gluten to relax, making the dough much easier to roll out and resulting in a more tender tortilla.
- Portion and Shape: Once rested, transfer the dough to a lightly floured countertop. Divide the dough into 16 equal portions. A kitchen scale can help ensure even sizes. Roll each portion into a smooth, tight ball. Keep the dough balls covered with a clean towel while you work to prevent them from drying out.
- Roll the Tortillas: On a well-floured surface, take one dough ball and flatten it slightly with your palm. Using a rolling pin, roll the dough out as thinly as possible, aiming for a circle roughly 6-8 inches in diameter. Don’t worry if they aren’t perfectly round; rustic shapes add to their charm! Once you think it’s thin enough, flip it over and give it a few more rolls. The thinner you roll them, the more tender and pliable they will be. If the dough springs back too much, let it rest for a minute or two before continuing to roll.
- Cook the Tortillas: Heat a griddle or cast-iron skillet over medium heat. Do not add any oil to the pan. Once hot (a drop of water should sizzle instantly), place one rolled tortilla onto the dry griddle. Cook for about 30-60 seconds per side. You’ll know it’s time to flip when you see small bubbles appearing on the surface and the edges start to look dry. Flip it over and cook for another 30-60 seconds, until it’s lightly golden brown in spots and puffs up. If your tortillas aren’t puffing, your griddle might not be hot enough, or your dough might be too thick.
- Serve and Store: As each tortilla finishes cooking, immediately transfer it to a plate and cover it with a clean kitchen towel or place it in a tortilla warmer. This traps the steam, keeping the tortillas warm and soft. Serve warm if possible – they are truly best fresh off the griddle! Enjoy them as a snack slathered in butter, or use them for your favorite tacos, burritos, fajitas, or quesadillas.
Mastering the Dough: Advanced Tips for Perfect Tortillas
While the recipe is straightforward, a few expert tips can elevate your homemade flour tortillas from good to absolutely amazing:
- Don’t Skimp on Kneading: Kneading is vital for developing the gluten in the flour, which gives the tortillas their characteristic chew and elasticity. If your dough is under-kneaded, your tortillas will be tough and tear easily. Aim for a dough that feels smooth, supple, and slightly resilient when pressed.
- The Importance of Resting: The 30-minute rest period isn’t optional; it’s essential. This time allows the gluten to relax, making the dough much easier to roll out thinly without it snapping back. It also contributes significantly to the final tenderness of the tortilla. You can even rest the dough for longer, up to an hour, for an even more relaxed and pliable consistency.
- Flour Quantity is Key: The exact amount of flour can vary depending on your kitchen’s humidity. Start with 3 cups and add the remaining 1/2 cup gradually, only if needed. The dough should be soft and slightly tacky, but not sticky. Over-flouring will result in dry, stiff tortillas.
- Even Portions: Dividing the dough into equal portions ensures that all your tortillas cook consistently and look uniform. A kitchen scale is your best friend here, but eyeballing it works too!
The Art of Rolling: Achieving Thin, Round Tortillas
Rolling out tortillas can be intimidating, but it’s a skill that improves with practice. Here’s how to master it:
- Generous Flour Dusting (but not too much): Ensure your countertop and rolling pin are lightly floured to prevent sticking, but don’t overdo it. Too much flour will make the tortillas dry.
- Consistent Pressure: Apply even pressure as you roll, rotating the dough frequently (after every roll or two) to maintain a circular shape. Start from the center and roll outwards.
- Thin is In: The key to pliable, delicious tortillas is rolling them as thin as possible. You should almost be able to see your hand through the dough. Don’t be afraid to keep rolling beyond what feels “thin enough.” The thinner they are, the more likely they are to puff beautifully on the griddle.
- Embrace Imperfection: Don’t stress about perfect circles! Even experienced tortilla makers sometimes end up with oval or irregularly shaped tortillas. They will taste just as good! If you have a tortilla press, it can help with uniformity, but a rolling pin works perfectly.
Cooking Your Tortillas to Perfection
The cooking stage is quick and rewarding, as you watch your dough transform into soft, bubbly tortillas:
- Preheat Your Griddle Properly: A medium-high heat is ideal. If it’s too low, the tortillas will dry out; too high, and they’ll burn before cooking through. A well-heated griddle ensures even cooking and promotes puffing.
- Dry Cook: No oil is needed on the griddle itself. The fat is already in the dough.
- Look for Bubbles: The first sign of readiness is when bubbles start to appear on the surface of the tortilla. This indicates steam is forming inside, which contributes to the soft texture and helps them puff.
- The Puff Factor: A truly successful tortilla will puff up like a balloon on the second side of cooking. This is due to the steam trapped inside and is a sign of a well-made, well-cooked tortilla. If yours don’t puff, don’t worry! They will still be delicious. Factors like dough thickness, griddle temperature, and dough hydration can affect puffing.
- Don’t Overcook: Overcooked tortillas become stiff and brittle. Aim for lightly golden spots and a soft, pliable texture.
- Stack and Cover: As each tortilla comes off the griddle, immediately place it in a tortilla warmer or stack it between two clean kitchen towels. This traps the steam, keeping them warm, soft, and flexible until serving.
Serving Suggestions and Storage
Homemade tortillas are incredibly versatile. The possibilities are endless!
- Classic Tacos: Fill them with carne asada, carnitas, al pastor, or your favorite vegetarian fillings.
- Burritos and Wraps: Larger tortillas can be rolled into hearty burritos or used as wraps for sandwiches.
- Quesadillas: Melt cheese and other fillings between two tortillas or fold one over.
- Fajitas: The perfect accompaniment to sizzling fajita platters.
- Snack Time: Simply spread with butter, honey, or a sprinkle of cinnamon sugar for a delightful treat.
- Enchiladas: Roll them up with your favorite fillings and smother them in sauce and cheese.
Storage Tips:
These tortillas are undoubtedly at their peak freshness the day they are made. Their soft, tender texture is incomparable when enjoyed warm from the griddle. However, if you have leftovers, they can still be enjoyed the next day. We recommend making only what you can comfortably consume within 2 days to ensure the best quality.
To store, allow the tortillas to cool completely. Stack them and place them in an airtight container or a Ziploc bag. Store at room temperature for up to 2 days, or in the refrigerator for up to 4 days. For longer storage, you can freeze them for up to 2-3 months, with parchment paper between each tortilla to prevent sticking. Reheat them gently on a warm griddle, in a microwave, or wrapped in foil in the oven.
Troubleshooting Common Tortilla Problems
Even with a simple recipe, things can sometimes go awry. Here are solutions to common tortilla issues:
- Tough Tortillas: This is usually a sign of too much flour in the dough or insufficient kneading. Ensure your dough is soft and pliable before resting, and don’t add excessive flour during rolling.
- Tortillas Not Puffing: The griddle might not be hot enough, or the tortillas might be rolled too thick. Try increasing the heat slightly and ensure you’re rolling them very thin.
- Cracking Edges: This often indicates the dough is too dry or hasn’t rested long enough. Add a tiny bit more water if your dough is crumbly, and always allow the full resting time.
- Uneven Cooking: Ensure your griddle is evenly heated. Rotate the tortillas as they cook to achieve uniform browning.
Making homemade flour tortillas is a rewarding experience that connects you to a timeless culinary tradition. With this detailed guide, you have all the knowledge and tips to create delicious, authentic tortillas right in your own kitchen. Don’t be discouraged by initial imperfections; every tortilla you make will bring you closer to mastering this wonderful skill. Enjoy the process, savor the fresh flavors, and delight in sharing these tender, warm treats with your loved ones!
