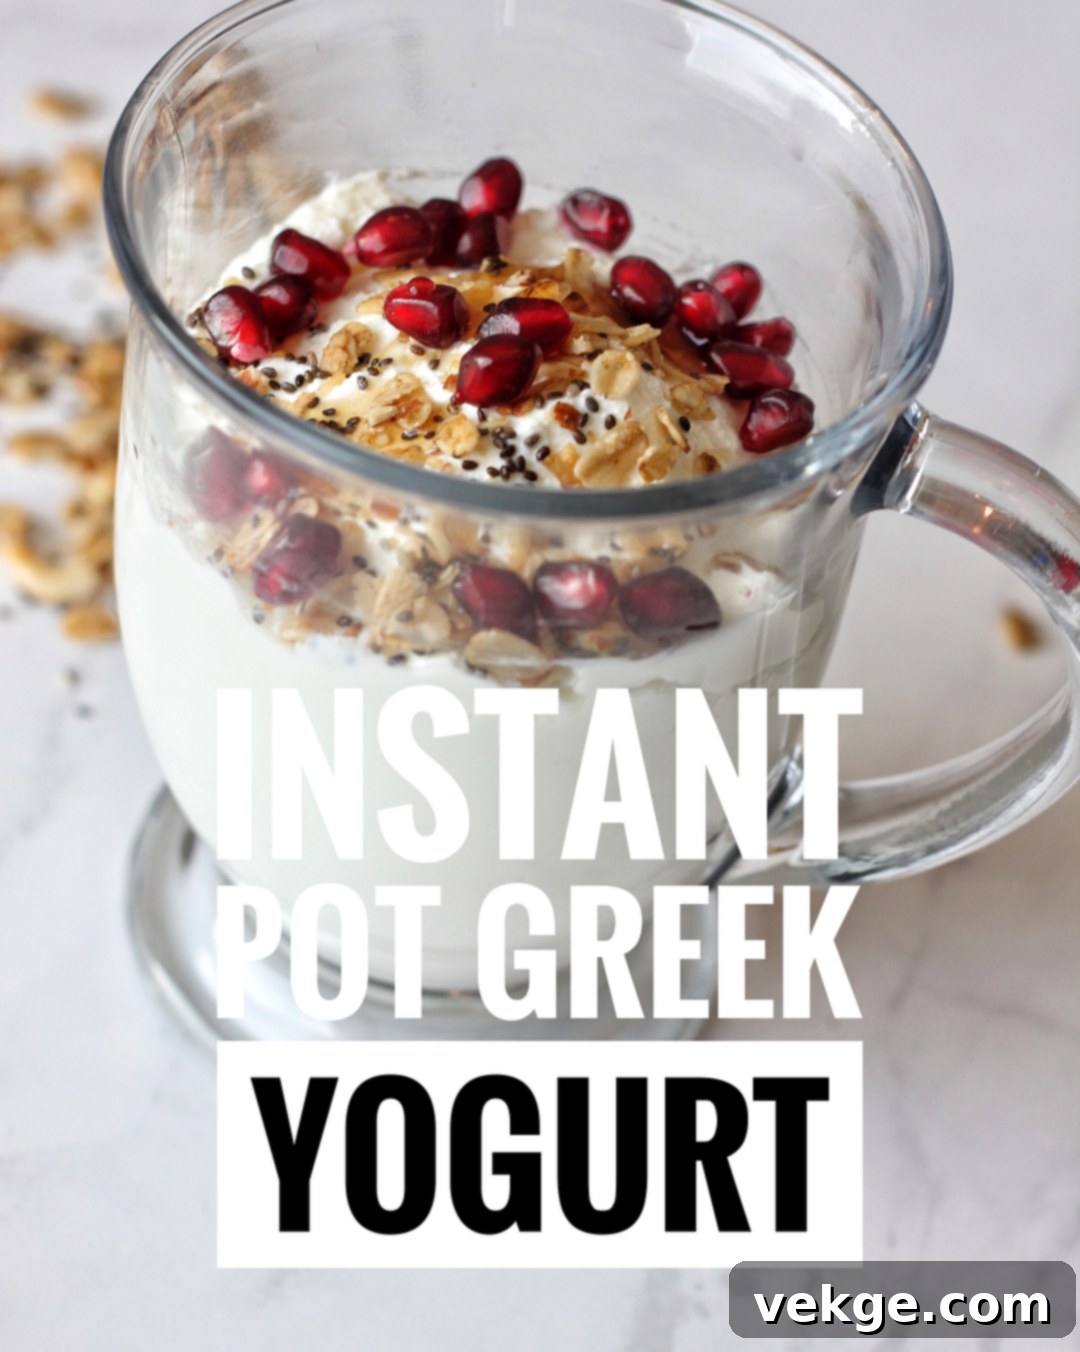
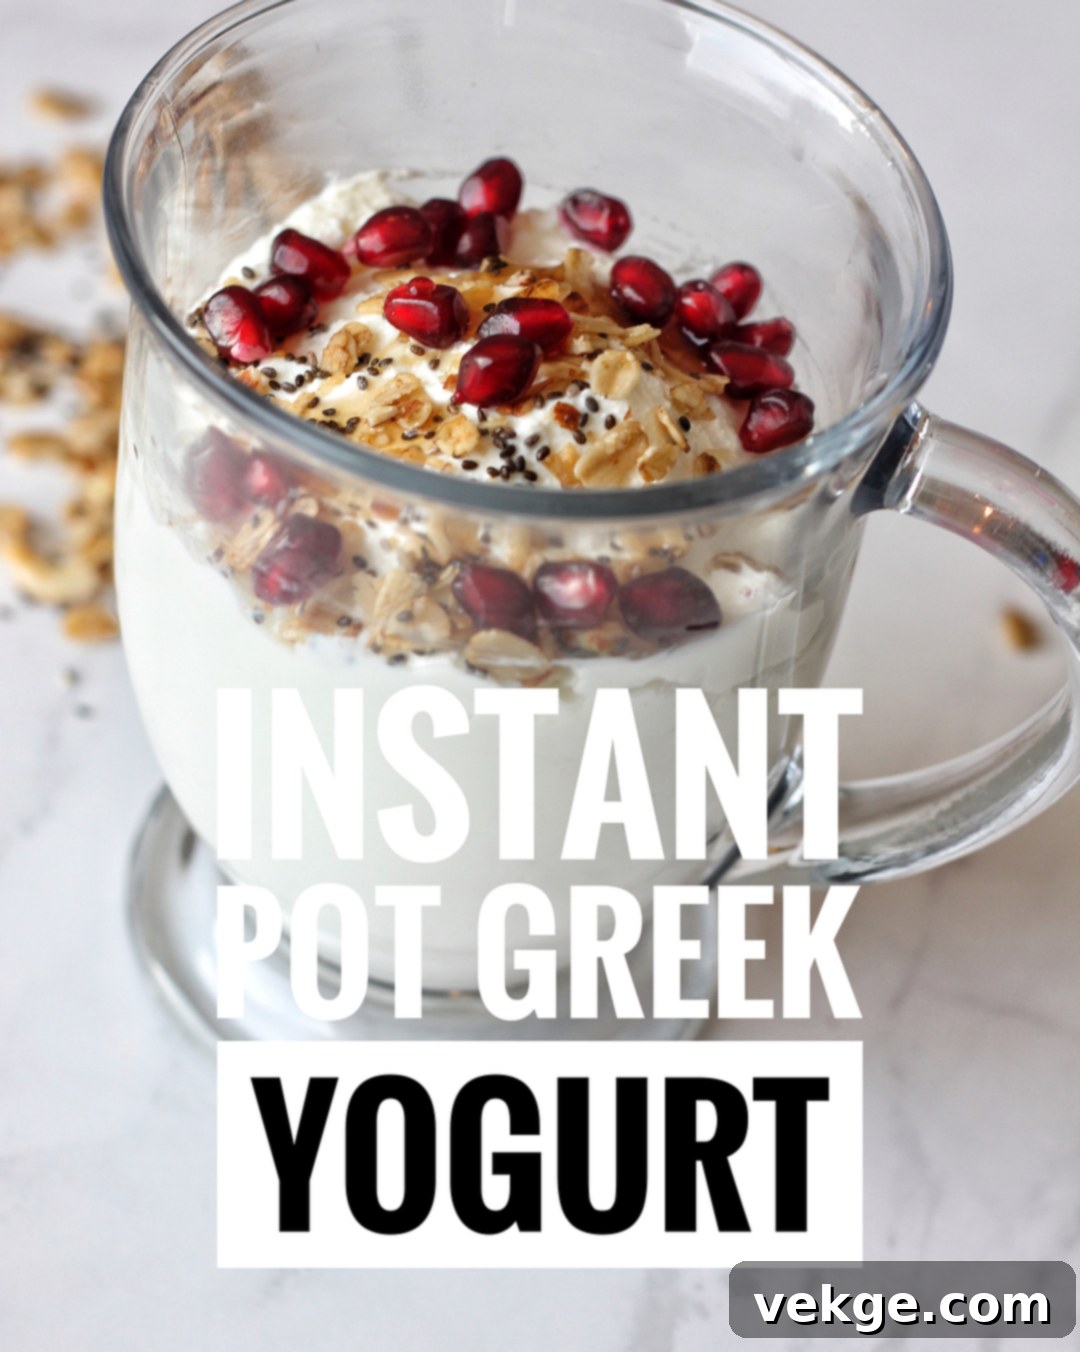
Welcome to the world of homemade goodness! If you’ve ever dreamt of crafting your own wholesome, probiotic-rich Greek yogurt right in your kitchen, you’ve come to the perfect place. Forget the expensive, often sugar-laden options at the grocery store; making yogurt at home is surprisingly simple, incredibly rewarding, and significantly healthier. You might think it’s a complicated, time-consuming endeavor, but rest assured, the actual hands-on time required for this recipe is minimal—you’ll spend no more than 5 minutes actively working on it. The Instant Pot takes care of most of the work, transforming a simple gallon of milk into creamy, delicious Greek yogurt while you go about your day. Get ready to enjoy a fresh, customizable, and unbelievably satisfying dairy delight!

Why Make Your Own Instant Pot Greek Yogurt?
There are countless reasons to ditch store-bought yogurt and embrace the homemade version. Beyond the sheer satisfaction of creating something delicious from scratch, making your own Instant Pot Greek yogurt offers significant benefits:
- Unbeatable Freshness and Flavor: Homemade yogurt tastes incredibly fresh and vibrant. You control the tartness and thickness, resulting in a product that often surpasses commercial brands in both flavor and texture.
- Superior Health Benefits: Store-bought yogurts can be packed with added sugars, artificial flavors, and thickeners. When you make your own, you control every ingredient. This recipe uses just one ingredient: organic whole milk, ensuring a pure, clean product rich in live and active probiotic cultures essential for gut health.
- Cost-Effective: Buying a gallon of organic whole milk is significantly cheaper than purchasing an equivalent amount of high-quality Greek yogurt. Over time, the savings really add up!
- Environmental Impact: Reduce your plastic waste by reusing your own containers. It’s a small step towards a more sustainable lifestyle.
- Customization: Once you have your basic, plain Greek yogurt, the possibilities are endless! Add fresh fruits, a drizzle of honey, nuts, granola, or use it as a base for savory dips and sauces. You dictate the flavor profile.
- Simple Process with Minimal Effort: The Instant Pot automates the two crucial stages of yogurt making: boiling (pasteurizing) and incubating (fermenting). While the overall process takes several hours, your actual hands-on time is incredibly short, making it perfect for busy individuals.

Instant Pot Greek Yogurt: The Ultimate Guide
Print
Pin
Rate
Breakfast
5 minutes
12 hours
30 minutes
20 servings
Essential Equipment
- Nut Milk Bag or High-Quality Cheesecloth (easily found for around $8 on Amazon, crucial for achieving Greek yogurt consistency)
- Reliable Food Thermometer (a digital instant-read thermometer is highly recommended for accuracy)
- Extra Instant Pot Sealing Ring (dedicated solely for yogurt making to prevent flavor transfer from savory dishes)
- Large Bowl or Container (for straining the yogurt)
Ingredients
-
1 gallon organic whole milk
(Whole milk provides the richest, creamiest yogurt. Organic ensures no unwanted hormones or antibiotics. You can experiment with other milk types, but results may vary in thickness and texture.)
-
1 cup high-quality, probiotic-rich yogurt
(This acts as your starter culture. Ensure it contains live and active cultures and is plain, unsweetened, and preferably Greek-style for best results. Use your homemade yogurt from a previous batch as a starter for continuous production!)
Step-by-Step Instructions
- Prepare Your Instant Pot: Begin by replacing the standard rubber gasket on your Instant Pot lid with a clean, dedicated sealing ring. This “yogurt-only” ring is a crucial step to prevent any lingering odors from previous savory meals (like curry or chili) from transferring to your delicate yogurt, ensuring a pure and fresh taste every time.
- Add the Milk: Pour the entire gallon of organic whole milk directly into the inner pot of your Instant Pot. Using whole milk is recommended for a thicker, creamier yogurt, though you can experiment with lower-fat options if preferred, keeping in mind the texture may be lighter.
- Boil the Milk: Secure the lid on your Instant Pot. Select the “Yogurt” function, then press “Adjust” until the display reads “BOIL.” The Instant Pot will automatically heat the milk to the necessary temperature, a process that typically takes between 30 to 40 minutes. Boiling the milk serves two key purposes: it pasteurizes the milk, eliminating any unwanted bacteria, and it denatures the milk proteins, allowing them to coagulate more effectively later for a thicker yogurt.
- Verify Temperature: Once the Instant Pot signals it’s done boiling (it may beep and display “yogt” or “End”), carefully remove the lid. Immediately use a reliable food thermometer to check the milk’s temperature. It should ideally reach 180-185°F (82-85°C). If the milk hasn’t reached this range, put the lid back on and repeat the “BOIL” step until the target temperature is achieved. This ensures proper pasteurization and prepares the milk for fermentation.
- Cool the Milk: Carefully remove the hot inner pot from the Instant Pot base and set it on a heat-safe surface on your counter to cool. This cooling phase is critical. The milk needs to cool down to a temperature between 100-110°F (38-43°C) before adding the starter yogurt. This can take up to two hours. Cooling too slowly can be sped up by placing the pot in an ice bath, but avoid letting it cool below 100°F as it may hinder fermentation. Adding starter to milk that is too hot will kill the beneficial probiotic cultures, preventing your yogurt from setting.
- Add the Starter Culture: Once the milk has cooled to the ideal temperature range (100-110°F), return the inner pot to the Instant Pot base. Now, gently whisk in about one cup of high-quality, probiotic-rich yogurt. Ensure your starter yogurt contains “live and active cultures” as these are the beneficial bacteria that will transform your milk into yogurt. Mix thoroughly but gently to evenly distribute the cultures.
- Incubate the Yogurt: Place the lid back on the Instant Pot. Select the “Yogurt” function again, then press “Adjust” until the display reads “8:00”. This sets the incubation time for 8 hours. During this period, the Instant Pot maintains a warm, consistent temperature, allowing the active cultures to thrive and ferment the milk. For a tangier yogurt, you can increase the incubation time up to 10-12 hours.
- Strain for Greek Yogurt: Once the incubation cycle is complete, the Instant Pot will beep. Carefully remove the inner pot. At this stage, you have regular yogurt. To achieve the thick, creamy consistency of Greek yogurt, you’ll need to strain it. Line a large colander with a nut milk bag or several layers of high-quality cheesecloth, and place it over a deeper bowl to collect the liquid (whey). Pour the yogurt mixture into the lined colander and let it strain in the refrigerator for a couple of hours, or longer if you desire an even thicker yogurt. The liquid that drips out is whey, which is highly nutritious and protein-rich. Many people save it for smoothies, baking, or even plant fertilization. While some enjoy its tart flavor, it’s perfectly fine to discard it if it’s not to your taste.
- Enjoy and Store: After straining to your desired thickness, carefully transfer your homemade Greek yogurt into airtight containers. Store it in the refrigerator. Your fresh, homemade Instant Pot Greek yogurt will typically last for 1-2 weeks when stored properly. Now it’s ready to be enjoyed as a healthy breakfast, a versatile snack, or an ingredient in your favorite recipes!
Tips for Perfect Homemade Greek Yogurt
- Maintain Cleanliness: Always ensure your Instant Pot inner pot, lid, sealing ring, and any utensils used are scrupulously clean to prevent the introduction of unwanted bacteria.
- Quality of Starter Yogurt: The quality of your starter yogurt directly impacts your final product. Use a fresh, plain yogurt with high counts of live and active cultures. Avoid flavored or sweetened yogurts as starters.
- Temperature is Key: Precision with milk temperatures during boiling and cooling is the most critical factor for successful yogurt making. Invest in a good thermometer.
- Adjust Incubation Time: Experiment with incubation times to find your preferred level of tanginess and thickness. Longer incubation generally leads to more tart and sometimes thicker yogurt.
- Don’t Waste the Whey: Whey is a powerhouse of nutrients! It can be used in smoothies, to replace water in baking, for fermenting vegetables, or as a healthy beverage on its own.
- Flavor Variations: Once your plain yogurt is ready, you can divide it and flavor individual portions. Try vanilla extract, cinnamon, fresh fruit purees, or a touch of maple syrup.
- Consistency Control: The longer you strain, the thicker your Greek yogurt will become. Monitor it every 30-60 minutes after the first hour to achieve your ideal consistency.
Troubleshooting Common Yogurt Issues
- Yogurt didn’t thicken: This is often due to the milk not reaching the proper boiling temperature (180-185°F) or the starter being added when the milk was too hot (killing the cultures) or too cold (cultures were sluggish).
- Yogurt is too sour: You likely incubated it for too long. Reduce the incubation time in your next batch.
- Slimy texture: Sometimes happens with raw milk or if the milk wasn’t heated sufficiently. Ensure you hit that 180-185°F mark.
- Flavor transfer from Instant Pot: This is why the dedicated sealing ring is so important! If you skip this, your yogurt might unfortunately taste like your last pressure-cooked meal.
Making your own Instant Pot Greek yogurt is a rewarding journey into healthier eating and culinary creativity. With minimal active effort and the reliability of your Instant Pot, you’ll be enjoying fresh, creamy, and customized yogurt in no time. Embrace this simple yet impactful change in your kitchen, and savor the superior taste and health benefits of homemade goodness. Happy yogurt making!
