The Ultimate Guide to Homemade Bone Broth: Nourishment Made Simple
Bone broth has soared in popularity over recent years, moving from a niche health food to a mainstream staple. Its rise has prompted many to ask: what exactly is bone broth, and why is everyone talking about it? Far from being a mere culinary trend, this ancient elixir offers a powerhouse of nutrients and numerous health benefits. In this comprehensive guide, we’ll delve into the compelling reasons to incorporate bone broth into your diet, explore its versatile uses, and walk you through the incredibly simple process of making your own nutrient-dense batch at home, especially with the convenience of an Instant Pot.
Why Incorporate Bone Broth into Your Diet?
The buzz around bone broth isn’t just hype; it’s backed by a rich nutritional profile and potential health advantages that can significantly contribute to overall well-being. This savory liquid, made by simmering animal bones and connective tissues, extracts an impressive array of beneficial compounds. Here’s a closer look at what makes bone broth a true superfood:
- Rich in Essential Minerals: Bone broth is a natural source of vital minerals often lacking in modern diets. It’s packed with calcium, magnesium, phosphorus, silicon, and sulfur – all crucial for strong bones, healthy teeth, nerve function, and metabolic processes. These minerals are readily absorbed by the body, making bone broth an excellent supplement.
- A Natural Source of Anti-Aging Collagen: One of bone broth’s most celebrated components is collagen. As bones and connective tissues simmer, collagen breaks down into gelatin, which then supplies the body with amino acids essential for collagen production. Collagen is the most abundant protein in the human body, vital for skin elasticity, joint health, and strong hair and nails. Regular consumption can help reduce the appearance of wrinkles, promote smoother skin, and support healthy connective tissues.
- High in Inflammation-Fighting Amino Acids: Bone broth is brimming with important amino acids like glycine, proline, and glutamine. Glycine plays a critical role in detoxification, supports healthy sleep, and helps synthesize other amino acids. Proline aids in tissue repair and collagen formation. Glutamine is particularly beneficial for gut health, acting as a primary fuel source for cells in the small intestine, helping to maintain gut barrier integrity and reduce inflammation throughout the body.
- Contains Joint-Supporting Glucosamine and Chondroitin: Beyond collagen, bone broth naturally provides glucosamine and chondroitin. These compounds are well-known for their roles in maintaining cartilage health and can help alleviate joint pain and stiffness. Incorporating bone broth can be a proactive step towards supporting long-term joint mobility and reducing discomfort.
- Boosts the Immune System: The gut is often referred to as our “second brain” and is intricately linked to immune function. The gelatin and amino acids in bone broth contribute to a healthy gut lining, preventing “leaky gut” syndrome which can compromise the immune system. A strong gut barrier means better nutrient absorption and a more robust defense against pathogens.
- Potential to Heal Digestive Issues and Autoimmune Conditions: Emerging research and anecdotal evidence suggest that bone broth can play a significant role in healing conditions like allergies, asthma, and arthritis. This healing capacity is largely attributed to its gut-healing properties. By repairing the gut lining and reducing systemic inflammation, bone broth can help modulate immune responses that contribute to these chronic conditions.
Versatile Ways to Enjoy Bone Broth
Bone broth is incredibly versatile, seamlessly integrating into a wide array of culinary applications. It can elevate the flavor and nutritional content of nearly any dish where you might typically use conventional chicken or vegetable broth. Here are just a few ideas for how to incorporate this liquid gold into your daily cooking:
- Soups and Stews: The most obvious and perhaps most comforting use. Bone broth forms a rich, flavorful base for any soup or stew, adding depth and a nutritional boost. Think hearty chicken noodle, vegetable minestrone, or a robust beef stew.
- Gravies and Sauces: Swap out water or less nutritious broths for bone broth when making gravies or pan sauces. Its rich flavor naturally enhances the taste, making your meals more satisfying and healthful.
- Cooking Grains: Use bone broth instead of water to cook rice, quinoa, couscous, or pasta. This simple substitution infuses your grains with extra flavor and nutrients, transforming a basic side dish into a more wholesome component of your meal.
- Sautéed Vegetables: A splash of bone broth can deglaze a pan or add moisture and flavor when sautéing vegetables. It’s a great way to deepen the taste of greens, mushrooms, or root vegetables.
- Braising Meats: For tender, flavorful meats, braise them in bone broth. This method not only imparts incredible taste but also ensures the meat remains succulent and moist.
- Enjoyed Plain: Perhaps the simplest and most direct way to reap its benefits is to sip bone broth on its own. Warm it gently and enjoy it as a comforting, savory beverage, especially beneficial on cold days or when feeling under the weather. It’s an excellent alternative to tea or coffee.
- Smoothies: For a hidden nutrient boost, a small amount of chilled bone broth can even be blended into savory smoothies, masking its flavor while adding protein and minerals.
The Unrivaled Advantage of Homemade Bone Broth
While store-bought bone broth options are increasingly available, making your own at home offers significant advantages that truly set it apart. The process is surprisingly straightforward, especially with modern kitchen appliances like the Instant Pot, and the benefits extend beyond just nutrition to include cost savings and reduced food waste.
Primarily, crafting bone broth at home is incredibly easy. Forget long, arduous hours of stovetop simmering; the Instant Pot makes it a hands-off affair. You simply set it and forget it, allowing the pressure cooker to do all the heavy lifting. This convenience means you can regularly enjoy fresh, high-quality broth without a major time commitment.
Another compelling reason is the opportunity to maximize your resources and minimize waste. Instead of discarding leftover bones from a roasted chicken or turkey, or the carcass of a rotisserie chicken, you can transform them into a valuable, nutrient-rich broth. The same goes for vegetable scraps – onion skins, carrot tops, celery ends, and garlic peels – which typically end up in the trash or compost bin, can contribute to the flavor and mineral content of your broth. This practice is not only environmentally conscious but also incredibly economical, allowing you to create a premium product for mere pennies.
Furthermore, homemade bone broth gives you complete control over the ingredients. You can ensure the use of high-quality, ethically sourced bones and organic vegetables, free from undesirable additives, excessive sodium, or artificial flavors often found in commercial products. This control guarantees a pure, wholesome broth tailored to your preferences and dietary needs, delivering superior flavor and nutritional potency that store-bought versions simply cannot match.
Mastering Instant Pot Bone Broth: A Step-by-Step Guide
Making bone broth in an Instant Pot is a game-changer for its simplicity and efficiency. This method extracts maximum flavor and nutrients in a fraction of the time compared to stovetop simmering. Follow these easy steps to create your own batches of liquid gold:
1. Save and Prepare Your Bones
The foundation of great bone broth starts with quality bones. Whether you’ve enjoyed a roasted chicken or turkey, or purchased a convenient rotisserie chicken, do not discard that precious carcass! These bones are packed with flavor and collagen. For an even richer flavor, you can roast raw bones (like beef marrow bones or chicken feet) at 400°F (200°C) for 30 minutes before adding them to the pot. If you’re not ready to make broth immediately, simply place the bones into a gallon-sized freezer bag and store them in the freezer until you are ready. This is an excellent way to accumulate enough bones over time.
2. Gather Your Aromatics and Veggies
Vegetable scraps are fantastic for bone broth, reducing food waste and adding a complex layer of flavor. Keep a dedicated freezer bag for onion ends and skins, carrot tops and peels, and celery trimmings. When ready to make broth, simply toss these in. My go-to combination for a classic savory broth includes:
- One whole onion, cut in half (leave the paper on for color and nutrients)
- A few stalks of celery, roughly chopped
- A couple of carrots, roughly chopped
- 1-3 cloves of garlic, smashed (no need to peel)
Feel free to experiment with other aromatics like fresh parsley stems, bay leaves, or a sprig of thyme or rosemary for additional depth.
3. Incorporate Other Key Ingredients
Beyond bones and vegetables, a few simple additions enhance the broth’s flavor and aid in mineral extraction:
- Apple Cider Vinegar: Add a splash (about 1-2 tablespoons) of apple cider vinegar. The acidity helps to draw out minerals and collagen from the bones, making your broth even more nutrient-dense.
- Salt and Pepper: Season with a teaspoon or two of good quality sea salt and a few whole peppercorns (or ¼ teaspoon ground pepper). Adjust to your taste, remembering you can always add more salt later when using the broth in recipes.
- Optional Spices: A bay leaf is a classic addition. Other dried herbs like oregano or thyme can also be fantastic.
4. Add Water to the Max Line
Once all your ingredients are in the Instant Pot, fill the pot with filtered water up to the “MAX” line. It’s crucial not to overfill the pot to ensure safe and efficient pressure cooking. For most 8-quart Instant Pots, this will typically yield around 5 quarts of finished broth.
5. Cook Under Pressure
Close the Instant Pot lid and set the valve to “sealing.” Cook on manual/high pressure for a minimum of 120 minutes (2 hours). However, for a richer, more gelatinous broth with maximum nutrient extraction, I highly recommend increasing the cooking time to 240 minutes (4 hours) if your schedule allows. The longer cooking time under pressure yields a significantly more flavorful and beneficial broth.
6. Natural Pressure Release and Strain
Once the cooking cycle is complete, allow the Instant Pot to naturally release its pressure. This process typically takes 30-40 minutes and is important for safety and for allowing the broth to settle. Once the float valve drops, you can carefully open the lid. Using a fine-mesh sieve, strain the broth into a large bowl or container, discarding the bones and vegetables. For extra clarity, you can line your sieve with cheesecloth. If you have an Instant Pot basket, this makes straining incredibly easy and mess-free. The result is a golden, aromatic, and incredibly nutritious bone broth!
I find this Instant Pot basket indispensable for simplifying the straining process. For convenient storage, I highly recommend these Souper Cubes, which make freezing broth into perfectly portioned cubes a breeze.
Storing Your Liquid Gold: Tips for Longevity
A single batch of Instant Pot bone broth, especially when made in an 8-quart appliance, typically yields around 5 quarts or 20 cups. This generous quantity means you’ll have plenty of nutritious broth to use immediately and store for future culinary endeavors. Proper storage ensures your homemade broth remains fresh and readily accessible whenever you need it.
Refrigeration
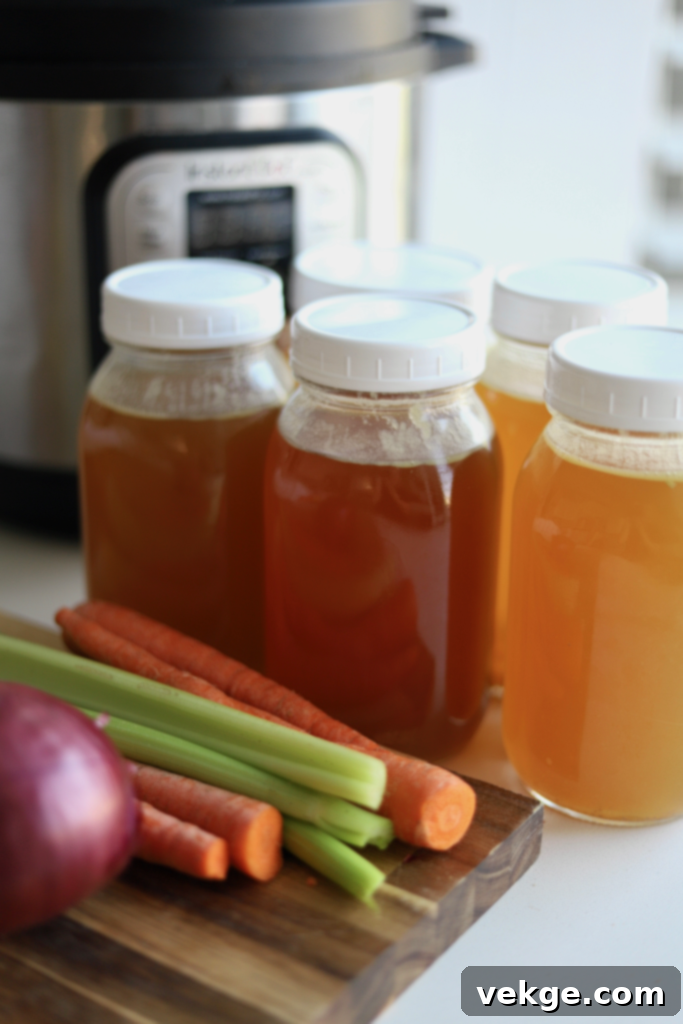
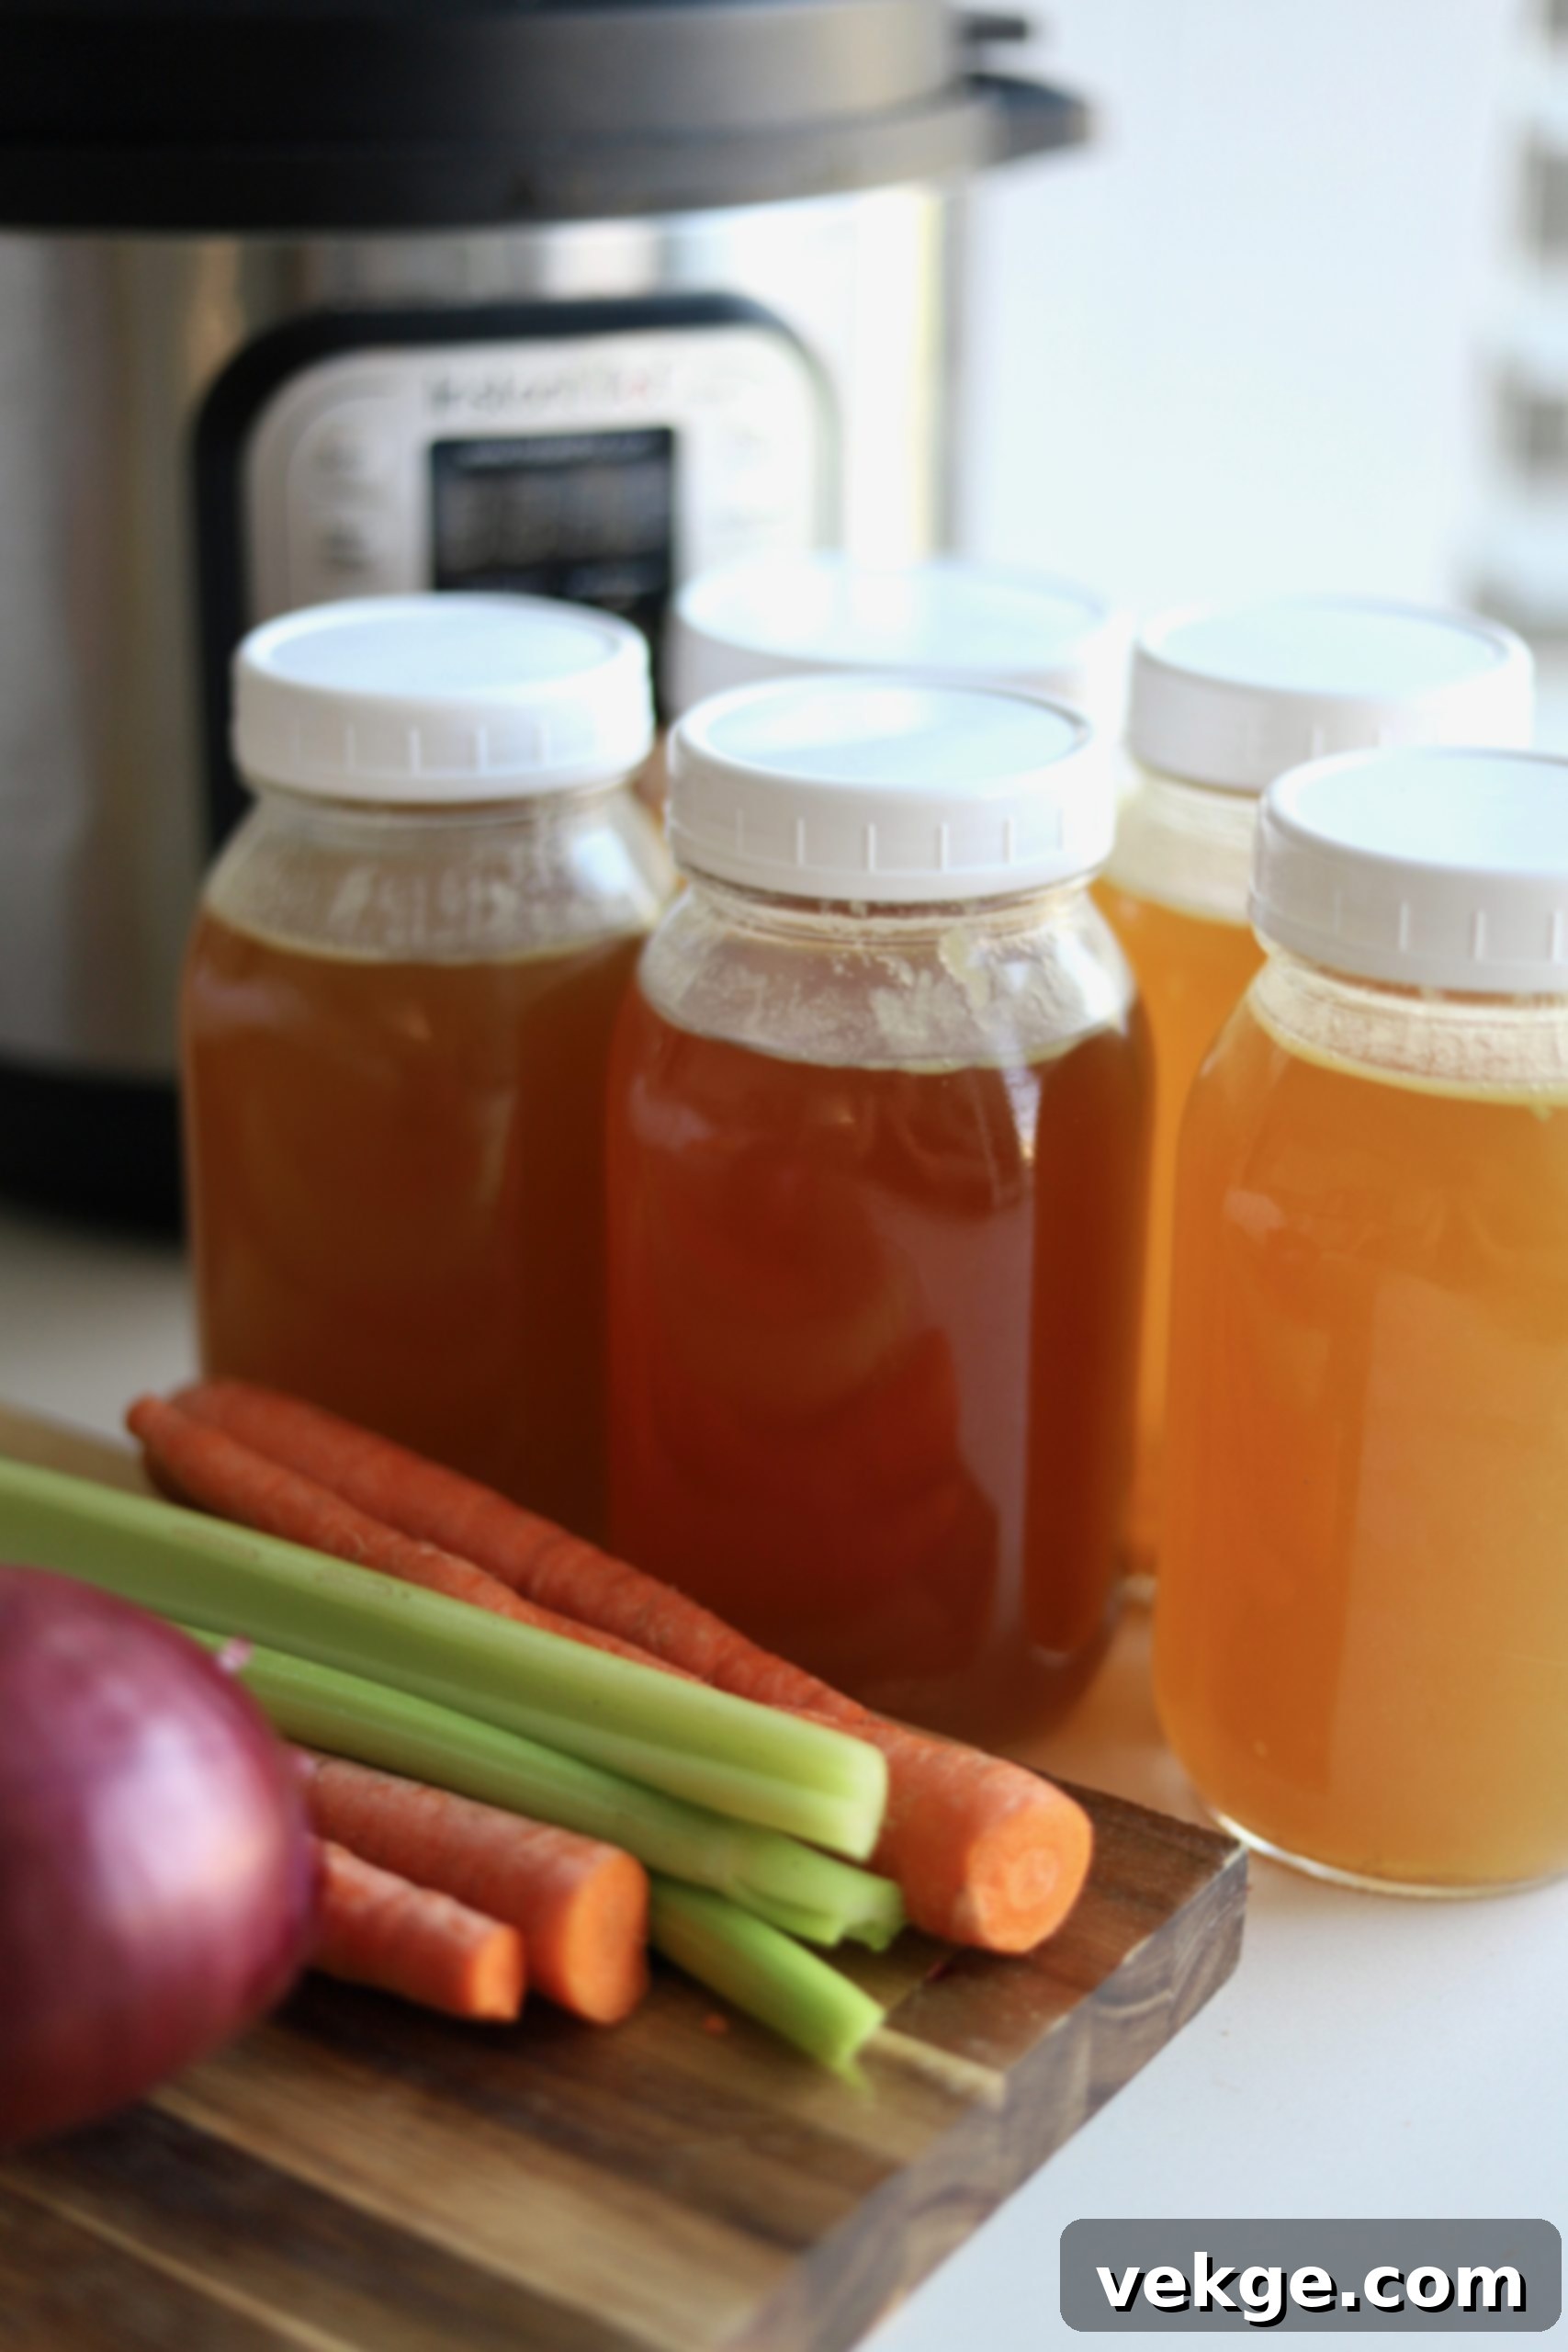
For immediate use, store your strained bone broth in airtight glass jars (such as quart-sized mason jars) or other sealed containers in the refrigerator. Freshly made bone broth will keep well in the fridge for up to two weeks. You’ll notice that once chilled, a high-quality broth will often solidify into a gelatinous texture, a clear sign of its rich collagen content. This gelatin will liquefy again when gently reheated.
Freezing for Extended Storage
For longer-term storage, freezing is your best option. Freezing allows you to preserve the broth’s quality and nutrients for several months, making meal prep significantly easier. Here are my favorite methods for freezing:
- Souper Cubes: These handy silicone trays are a game-changer for freezing. They allow you to freeze broth in perfectly measured portions (e.g., 1-cup or 2-cup blocks). Once frozen solid, simply pop the cubes out and transfer them to a freezer-safe bag or container. These pre-portioned cubes are incredibly convenient to grab when you need just a small amount for a sauce or to add directly to a soup. I truly believe Souper Cubes are an awesome investment for any home cook.
- Ice Cube Trays: For even smaller portions, standard ice cube trays work wonderfully. Each cube is typically 1-2 tablespoons, perfect for deglazing a pan, adding to sautéed vegetables, or boosting the flavor of gravies and sauces. Once frozen, transfer the cubes to a freezer bag.
- Freezer-Safe Containers: You can also freeze broth in larger freezer-safe containers, leaving about an inch of headspace to account for expansion during freezing. Remember to label containers with the date for easy tracking.
Frozen bone broth can be stored for up to 6 months without significant loss of quality. When ready to use, simply defrost a portion in the refrigerator overnight, or gently heat it in a pot directly from frozen, depending on your needs. Having a stash of homemade bone broth in your freezer means you’re always just moments away from adding nourishing flavor to your meals.
Embracing homemade bone broth is a commitment to health, flavor, and sustainable living. With the simplicity offered by an Instant Pot, there’s no reason not to make this nutritious elixir a regular part of your culinary routine.
Other Surprisingly Simple Homemade Recipes
Once you discover the ease and benefits of making bone broth, you might be inspired to try other simple homemade staples:
Instant Pot Applesauce
Homemade Greek Yogurt
Refreshing Kefir Water
Natural Fruit Wash

Bone Broth Recipe
This simple Instant Pot bone broth recipe yields a rich, nutritious broth perfect for sipping or using in your favorite recipes.

Recipe Summary
There’s good reason for bone broth’s popularity right now. You can make your own, nutrient-rich bone broth super easily!
- Print Recipe
- Pin Recipe
Course: Broth
Prep Time: 10 minutes
Cook Time: 2-4 hours
Total Time: 2 hours 10 minutes – 4 hours 10 minutes
Servings: 5 quarts
Ingredients
- 1 whole onion (or leftover nubs/scraps, frozen until ready)
- A few stalks celery, roughly chopped (or leftover scraps)
- A couple carrots, roughly chopped (or leftover scraps)
- 1-3 cloves garlic, smashed (paper on)
- 2 tsp salt
- 1/4 tsp ground pepper (or a few peppercorns)
- 1 T apple cider vinegar
- Optional spices: bay leaf, parsley, or other dried herbs
- 1 chicken carcass (from a rotisserie or roasted chicken/turkey)
- Water
Instructions
- Combine bones, vegetables, apple cider vinegar, salt, pepper, and any optional seasonings into your Instant Pot. Fill the pot with water up to the “MAX” line. Do not overfill. (For an 8-quart Instant Pot, this is typically about 5 quarts of liquid).
- Secure the lid and set the valve to “sealing.” Cook on manual/high pressure for a minimum of 120 minutes (2 hours). For an even richer, more collagen-dense broth, cook for up to 240 minutes (4 hours).
- Once the cooking cycle is complete, allow the Instant Pot to naturally release its pressure. This usually takes 30-40 minutes.
- Carefully open the lid and strain the broth through a fine-mesh sieve (or an Instant Pot basket) into a clean, heat-safe container. Discard the spent bones and vegetables.
- Let the broth cool slightly before storing. It can be stored in the fridge for up to two weeks, or frozen for longer preservation.
Recipe Notes
Why Homemade?
Making your own bone broth is incredibly easy, especially with an Instant Pot. It’s a fantastic way to utilize leftover rotisserie chicken bones and vegetable scraps, turning what would be waste into a highly nutritious and cost-effective staple.
Storing The Broth
This recipe makes approximately 5 quarts (20 cups) of broth. Store it in the fridge for up to two weeks, or freeze it for several months. Freezing in small portions, like in Souper Cubes or ice cube trays, allows for easy access to smaller quantities whenever you need a boost of flavor and nutrition in your cooking.
