Homemade Pear Galette: A Rustic Dessert for Any Occasion
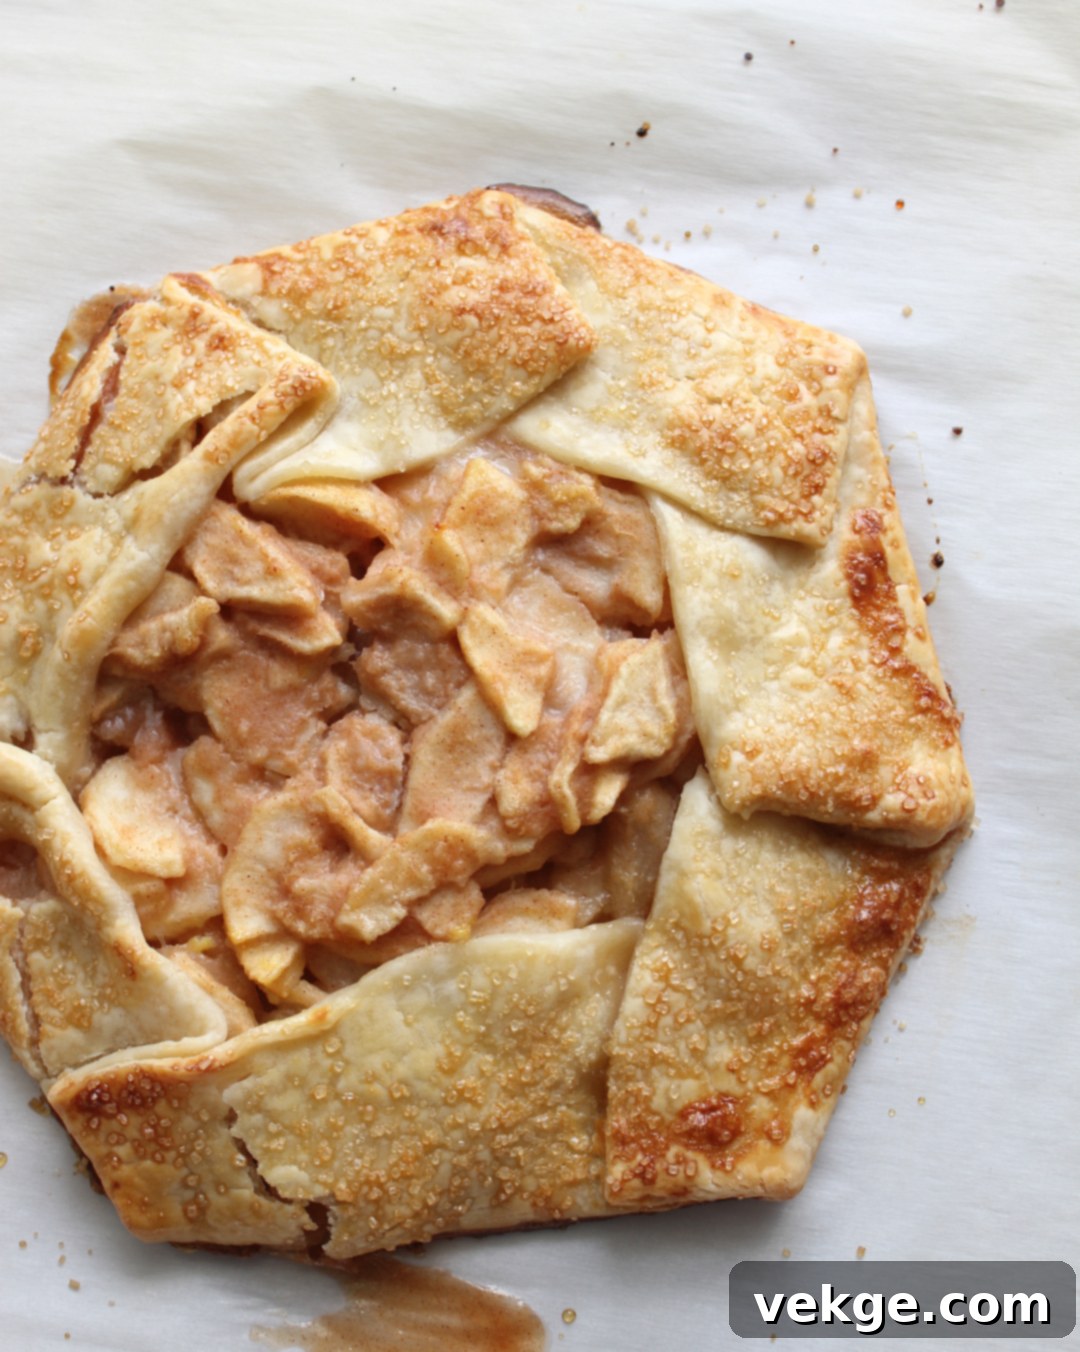
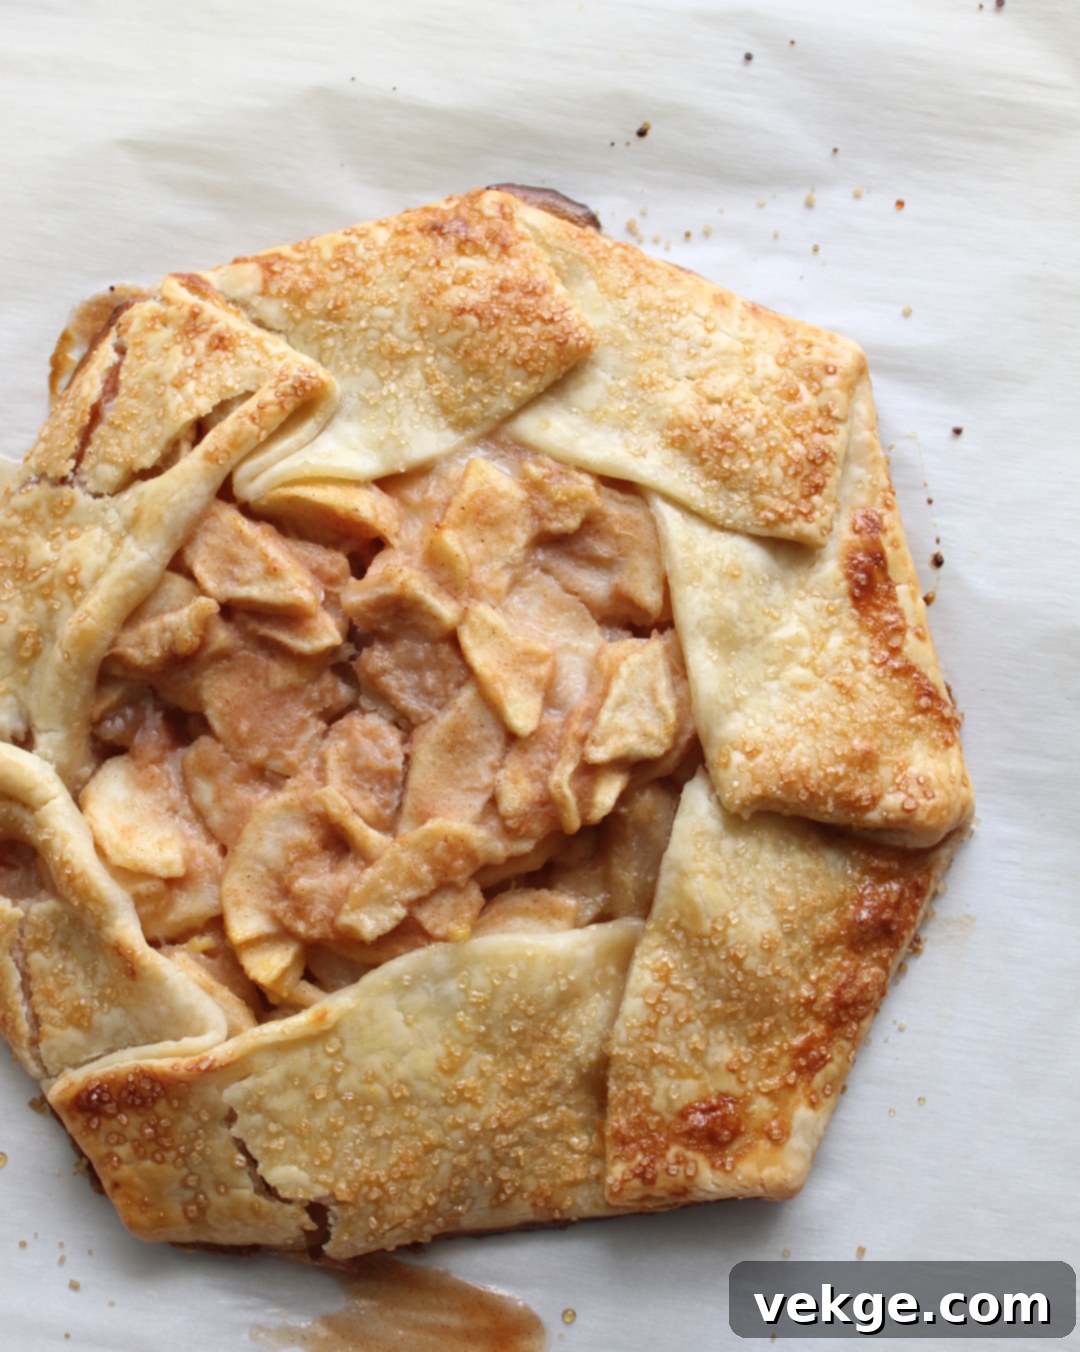
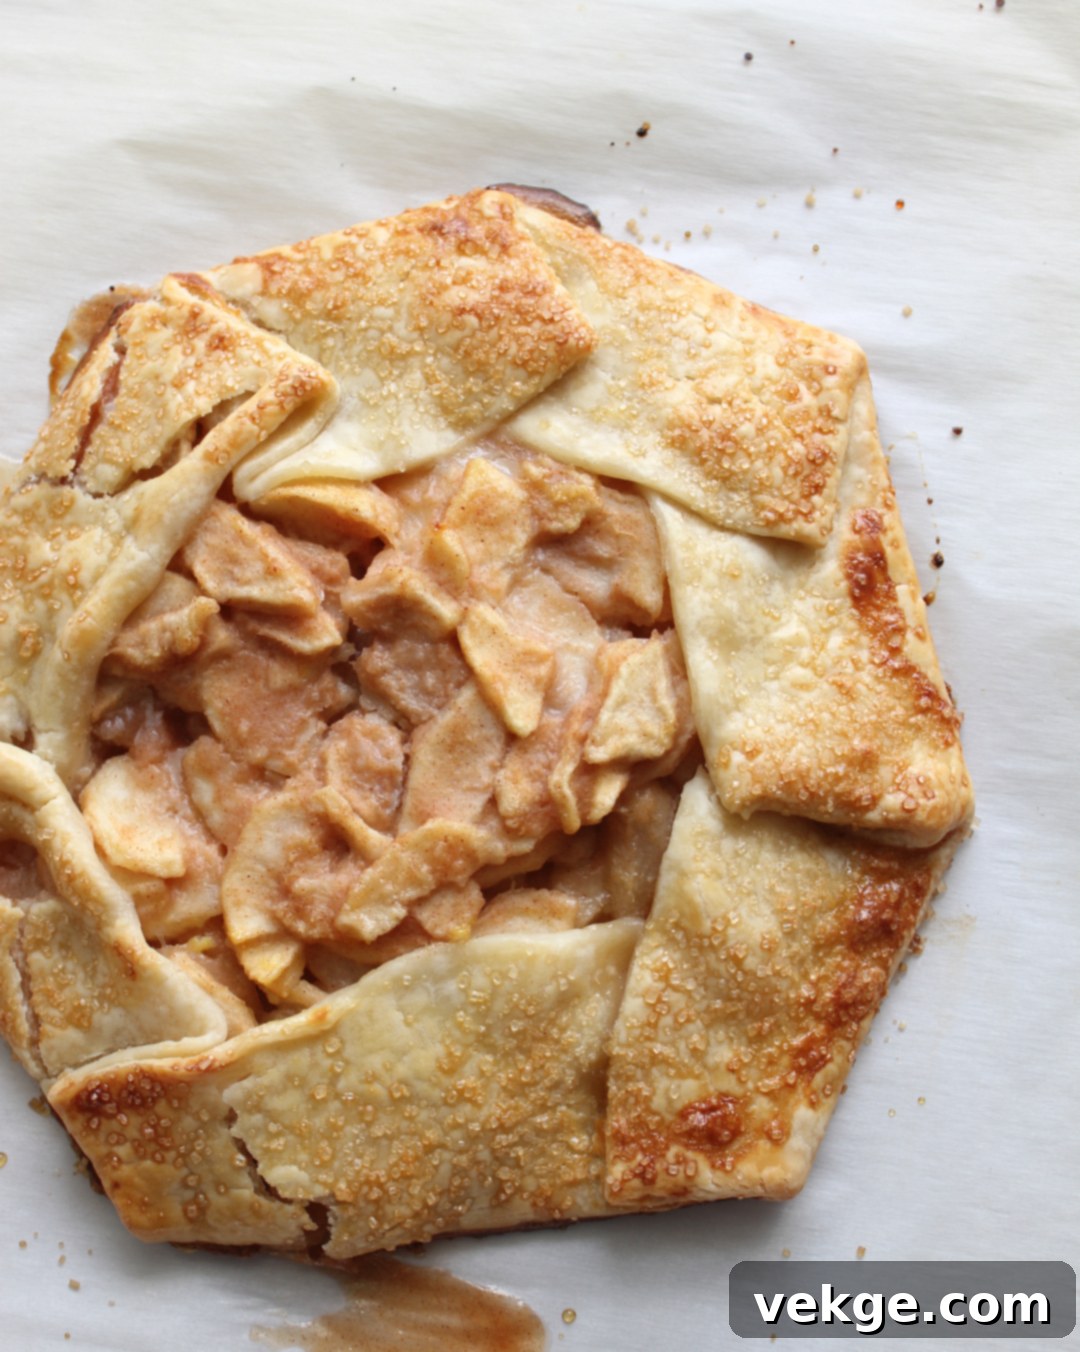
There’s something truly special about the first bite of a freshly baked galette. This rustic, free-form tart celebrates the natural sweetness and delicate texture of ripe pears, making it an ideal dessert for any season. If you’ve found yourself with an abundance of perfectly ripe pears, preparing a pear galette is not just a delicious choice, it’s an incredibly satisfying culinary experience. Unlike a traditional pie, a galette embraces a charmingly imperfect, hand-folded aesthetic, simplifying the baking process without sacrificing an ounce of flavor or elegance. It’s the perfect balance of homespun comfort and gourmet appeal.
This recipe focuses on creating a flavorful pear filling encased in a wonderfully flaky crust. We’ll guide you through selecting the best pears, mixing the aromatic spices, and assembling this delightful treat. Whether you’re an experienced baker or new to the kitchen, this pear galette promises to be a rewarding project, culminating in a dessert that’s sure to impress your family and friends. Get ready to transform simple ingredients into a truly unforgettable culinary masterpiece!

Why Choose a Pear Galette? The Allure of Rustic Baking
Simplicity Meets Rustic Charm
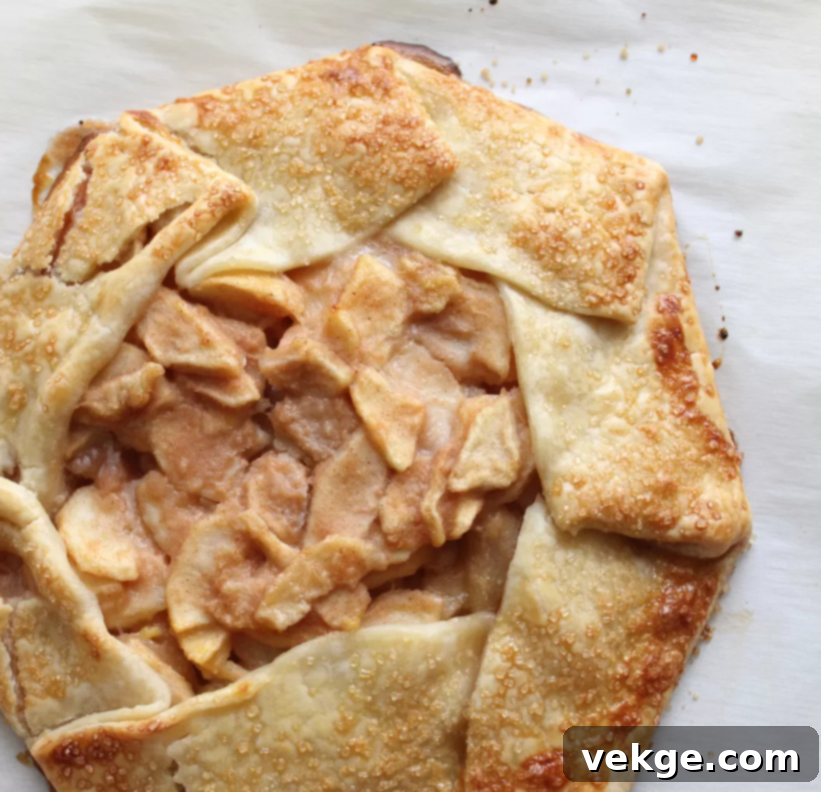
One of the primary reasons to fall in love with a galette is its inherent simplicity. Forget the need for a pie dish or intricate crimping techniques. A galette is designed to be free-form, allowing you to simply roll out your pastry, arrange the filling, and fold the edges inward. This relaxed approach results in a dessert that looks elegantly rustic, as if it came straight from a European countryside kitchen. Its “imperfectly perfect” appearance is part of its charm, making it approachable for bakers of all skill levels while still delivering on visual appeal.
A Symphony of Flavors and Textures
The pear galette offers a delightful interplay of textures and flavors. You have the tender, sweet, and slightly juicy pear slices contrasting beautifully with the crisp, buttery, and flaky pastry crust. The filling is elevated by a thoughtful blend of warming spices like cinnamon and ginger, complemented by the bright zest and tang of lemon. This combination enhances the natural flavor of the pears without overwhelming them, creating a harmonious and comforting taste profile that is both familiar and sophisticated.
Versatility for Any Occasion
Pear galettes are incredibly versatile. They can be served warm, straight from the oven, perhaps with a scoop of vanilla bean ice cream or a dollop of freshly whipped cream, making for an exquisite end to a dinner party. They’re equally delightful when served at room temperature, perfect for a casual brunch or an afternoon snack with coffee or tea. This adaptability ensures that your efforts in the kitchen can be enjoyed in various settings, always bringing a touch of homemade goodness to the table.

Selecting and Preparing the Perfect Pears
The success of your pear galette hinges significantly on the quality and ripeness of your pears. Choosing the right variety and ensuring they are at their prime will guarantee a filling that is tender, flavorful, and holds its shape beautifully during baking.
Choosing the Right Pear Variety
Not all pears are created equal when it comes to baking. For a galette, you want pears that will hold their shape well after cooking and offer a good balance of sweetness and firmness. Excellent choices include:
- Bosc Pears: Known for their crisp texture and spicy-sweet flavor, Bosc pears maintain their form well when baked, making them a top choice for pies and tarts.
- Anjou Pears: These are firm, juicy, and mildly sweet. They soften beautifully when cooked without becoming mushy, providing a smooth texture in your galette.
- Bartlett Pears: While excellent for eating fresh, Bartletts can become very soft when baked. If you use them, ensure they are slightly under-ripe to prevent a overly soft filling.
Avoid very soft or overly ripe pears, as they tend to release too much moisture and can turn mushy, leading to a watery filling and potentially a soggy crust.
Assessing Ripeness
To check for ripeness, gently press near the stem end of the pear. It should yield slightly to pressure, but the body of the pear should still be firm. If the entire pear is soft, it might be too ripe for baking. If it’s rock hard, it’s under-ripe and will lack flavor; allow it to ripen on your countertop for a few days.
Preparing Your Pears
Once you’ve selected your pears, proper preparation is key:
- Peeling: Use a vegetable peeler to remove the skin. While some recipes call for leaving the skin on for rustic appeal, peeling ensures a smoother texture in the finished galette.
- Coring: Carefully remove the core using a small spoon or a melon baller. Make sure to get rid of any tough bits.
- Slicing: Slice the pears into even, relatively thin pieces, about 1/4 to 1/2 inch thick. Uniform slices ensure that all pears cook at the same rate, resulting in a consistently tender filling. Aim for about 5 cups of sliced pears for this recipe.
Preparing the pears just before mixing them with the filling ingredients is best to prevent browning. If you must prepare them in advance, toss them lightly with a little lemon juice to preserve their color.
Crafting the Perfect Crust: The Foundation of Your Galette
The crust is the backbone of any great galette, providing that essential flaky texture and buttery flavor. While making a pie crust from scratch can be a rewarding endeavor, using a good quality refrigerated pie crust offers incredible convenience, making this dessert even more accessible without compromising on taste. Our recipe calls for a refrigerated double pie crust, simplifying the process significantly.
The Convenience of Refrigerated Pie Crust
Using a store-bought refrigerated pie crust is a fantastic shortcut that saves time and effort, especially if you’re new to baking or on a tight schedule. These crusts are generally well-made, producing a reliably flaky and tender result. The key is to handle them gently and keep them cold to ensure the best texture. This recipe specifies a “double pie crust” box, meaning it contains two individual crusts, perfect for making two smaller galettes or one larger one, utilizing all the pear filling.
Handling the Dough for Optimal Flakiness
Even with a pre-made crust, proper handling is crucial for achieving that desirable flaky texture:
- Keep it Cold: Always work with cold dough. This prevents the butter from melting, which is essential for creating steam pockets during baking that result in a flaky crust. Take the crusts out of the refrigerator just before you’re ready to roll them out.
- Lightly Flour Your Surface: Dust your countertop and rolling pin lightly with flour to prevent sticking. Too much flour can make the dough tough, so use it sparingly.
- Gentle Rolling: Roll the dough from the center outwards, turning it occasionally to maintain an even thickness and shape. Aim for a round shape, about 12-14 inches in diameter for each galette. Don’t overwork the dough; excessive handling can develop the gluten too much, leading to a tough crust.
Understanding the Filling-to-Crust Ratio
This recipe is designed to yield enough filling for two galettes using a double pie crust package. Each individual galette requires about half the total filling. This ensures that the galette isn’t overstuffed, which can lead to a soggy bottom or a crust that struggles to hold its shape. If you only want to make one galette, you can either halve the entire filling recipe or use the remaining filling for another small tart, pear crisp, or even serve it warm over ice cream.
By taking these simple considerations into account, your galette crust will bake up beautifully golden, wonderfully flaky, and provide the perfect foundation for your sweet pear filling.
Pear Galette Recipe

Pear Galette
A delightful way to celebrate ripe pears! The combination of sweet fruit and aromatic spices in a rustic, flaky crust is truly irresistible. Enjoy this simple yet elegant dessert!
Course: Dessert |
Prep Time: 15 minutes |
Cook Time: 20 minutes |
Total Time: 35 minutes |
Servings: 2 gallettes
Ingredients
- 1/2 cup granulated sugar
- 3 tablespoons all-purpose flour
- 1/4 teaspoon salt
- 1 teaspoon ground cinnamon
- 1 teaspoon lemon zest (from about 1 medium lemon)
- 1/2 teaspoon dried ground ginger
- 2 tablespoons fresh lemon juice
- 5 cups peeled and thinly sliced pears (about 3-4 medium pears)
- 1 tablespoon cold butter, cut into 4-6 small pieces
- 1 box refrigerated double pie crust
- 1 large egg (for egg wash, saved for the end)
- Optional: 1-2 tablespoons coarse sugar (for sprinkling on crust)
Instructions
Prepare Your Workspace and Dry Filling: Preheat your oven to 400°F (200°C). Line a large baking sheet with parchment paper. In a large mixing bowl, combine the granulated sugar, flour, salt, ground cinnamon, lemon zest, and dried ginger. Whisk these dry ingredients together thoroughly to ensure the spices and flour are evenly distributed. This mixture will coat the pears and help thicken the juices during baking.
Toss Pears with Filling: Add the 5 cups of peeled and sliced pears to the bowl with the dry mixture. Pour in the 2 tablespoons of fresh lemon juice. Gently toss the pears with the spice and sugar mixture until all the slices are evenly coated. Be careful not to break the pear slices. The lemon juice helps prevent browning and adds a bright counterpoint to the sweetness.
Assemble the Galette: Unroll one of the refrigerated pie crusts onto the prepared baking sheet. If it’s not perfectly round, you can gently shape it. Carefully spoon half of the pear filling onto the center of the crust, leaving a 2-inch border around the edges. From the outside, gently fold the empty 2-inch border of the crust over the filling, working your way around the circle. As you fold, create pleats or creases (about 6-7 times) in the same direction, overlapping the dough to create a rustic, free-form edge. Repeat this step for the second galette with the remaining crust and filling.
Add Butter Dots: Evenly distribute the small pieces of cold butter over the top of the pear filling in each galette. The butter will melt into the fruit, adding richness and a lovely sheen to the finished dessert.
Egg Wash and Sugar Sprinkle: In a small bowl, lightly beat the egg. Using a pastry brush, gently brush the folded outer crust of each galette with the beaten egg. This egg wash will give the crust a beautiful golden-brown color and a slight sheen. If desired, sprinkle the egg-washed crust generously with coarse sugar for added sparkle and a delightful crunch.
Bake to Golden Perfection: Place the baking sheet with the galettes into the preheated oven. Bake at 400°F (200°C) for approximately 20-25 minutes, or until the crust is deeply golden brown and the pear filling is tender and bubbling. Cooking times can vary, so keep an eye on them. If the crust starts to brown too quickly, you can loosely tent it with aluminum foil. Once baked, remove the galettes from the oven and let them cool on the baking sheet for a few minutes before transferring to a wire rack to cool completely, or serve warm.
Tips for Success: Achieving Galette Perfection
Even though galettes are known for their forgiving nature, a few key tips can elevate your homemade pear galette from good to absolutely outstanding:
- Preventing a Soggy Bottom: This is a common concern with fruit tarts. To combat it, ensure your pears aren’t overly ripe, which can release too much liquid. The flour in the filling mixture also helps absorb excess moisture. Additionally, ensure your oven is at the correct temperature (400°F) to quickly set the crust. A preheated baking sheet can also help crisp the bottom faster.
- Even Slicing is Key: While the galette is rustic, consistent pear slices ensure that all the fruit cooks evenly. Aim for slices that are about 1/4 to 1/2 inch thick. This prevents some pieces from being too raw while others are mushy.
- Don’t Overfill: Resist the urge to pile too much filling onto the crust. Overfilling can make it difficult to fold the edges, and excess moisture might seep out, leading to a messy bake and a potentially soggy crust. Stick to the recommended 1/2 of the filling per crust.
- Keep the Dough Cold: As mentioned, cold dough is crucial for a flaky crust. Work quickly when rolling and folding, and if your kitchen is warm, you can even pop the assembled galette (before egg wash) back into the fridge for 10-15 minutes before baking.
- Observe Your Oven: All ovens vary. Keep an eye on your galettes during baking. If one side is browning faster, rotate the baking sheet halfway through. The galette is done when the crust is a rich golden brown and the filling is visibly bubbling.
- Rest Before Slicing: While tempting to dive in immediately, letting the galette cool for at least 15-20 minutes after baking allows the juices to set, making for cleaner slices and a more stable filling.
Delicious Variations and Customizations
While the classic pear galette is wonderful on its own, it’s also a fantastic canvas for creative variations. Feel free to experiment with these ideas to tailor the recipe to your taste:
- Spice It Up: Enhance the warm spice profile by adding a pinch of freshly grated nutmeg, a touch of ground cardamom, or a hint of allspice to the pear filling. These spices complement pears beautifully.
- Add Other Fruits: Pears pair wonderfully with other fruits. Consider adding a cup of sliced apples (Granny Smith for tartness), a handful of fresh cranberries for a festive touch, or even some blackberries or raspberries for a burst of color and tang.
- Nutty Crunch: Introduce a delightful textural contrast by adding 1/4 to 1/2 cup of finely chopped walnuts, pecans, or almonds to the pear filling before tossing. Alternatively, sprinkle them over the folded crust before baking.
- A Touch of Citrus: Instead of just lemon zest, try adding a little orange zest for a different citrus note that pairs well with pears.
- Caramel Drizzle: For an extra decadent treat, drizzle a homemade or store-bought caramel sauce over the galette immediately after it comes out of the oven, or just before serving.
- Cheese Pairing: For a more savory-sweet twist, consider adding a thin layer of crumbled blue cheese or goat cheese under the pears, or mix a small amount into the filling. This creates an unexpected depth of flavor.
Serving and Storage Suggestions
Serving Your Pear Galette
A warm pear galette is a comforting dessert that can be enjoyed in many ways:
- Classic Accompaniments: Serve it warm with a scoop of premium vanilla bean ice cream that slowly melts into the warm fruit, or a dollop of freshly whipped cream.
- Simple Elegance: A dusting of powdered sugar adds a simple, elegant finish.
- Sauces: Besides caramel, a raspberry coulis or chocolate sauce can also complement the pears beautifully.
- Breakfast/Brunch: Enjoy leftovers cold for a delightful breakfast or brunch treat with a cup of coffee.
Storing Leftovers
If you happen to have any leftovers, a pear galette stores quite well:
- Room Temperature: The galette can be left at room temperature for up to 24 hours, covered loosely with foil or plastic wrap.
- Refrigeration: For longer storage, place the galette in an airtight container in the refrigerator for up to 3-4 days.
- Freezing: While possible, freezing a baked galette might affect the crust’s texture. If you do freeze, wrap it tightly in plastic wrap and then foil. Thaw in the refrigerator and reheat gently.
Reheating for Best Results
To reheat a cold galette and bring back some of its crispness, place it on a baking sheet and warm in a preheated oven at 300°F (150°C) for about 10-15 minutes, or until warmed through and the crust is slightly crisp again. Avoid microwaving, as this can make the crust soggy.
Embrace the Joy of Homemade
Creating a homemade pear galette is more than just following a recipe; it’s an act of culinary creativity and a celebration of seasonal ingredients. The process, from selecting the perfect pears to watching the crust turn golden in the oven, is deeply satisfying. And the reward? A delightful dessert that fills your home with irresistible aromas and your palate with exquisite flavors.
This recipe provides a solid foundation for a beautiful and delicious pear galette, offering simplicity without compromising on taste. So gather your ingredients, embrace the rustic charm, and enjoy the wonderful experience of baking something truly special from scratch. We hope this pear galette becomes a cherished addition to your recipe collection!
