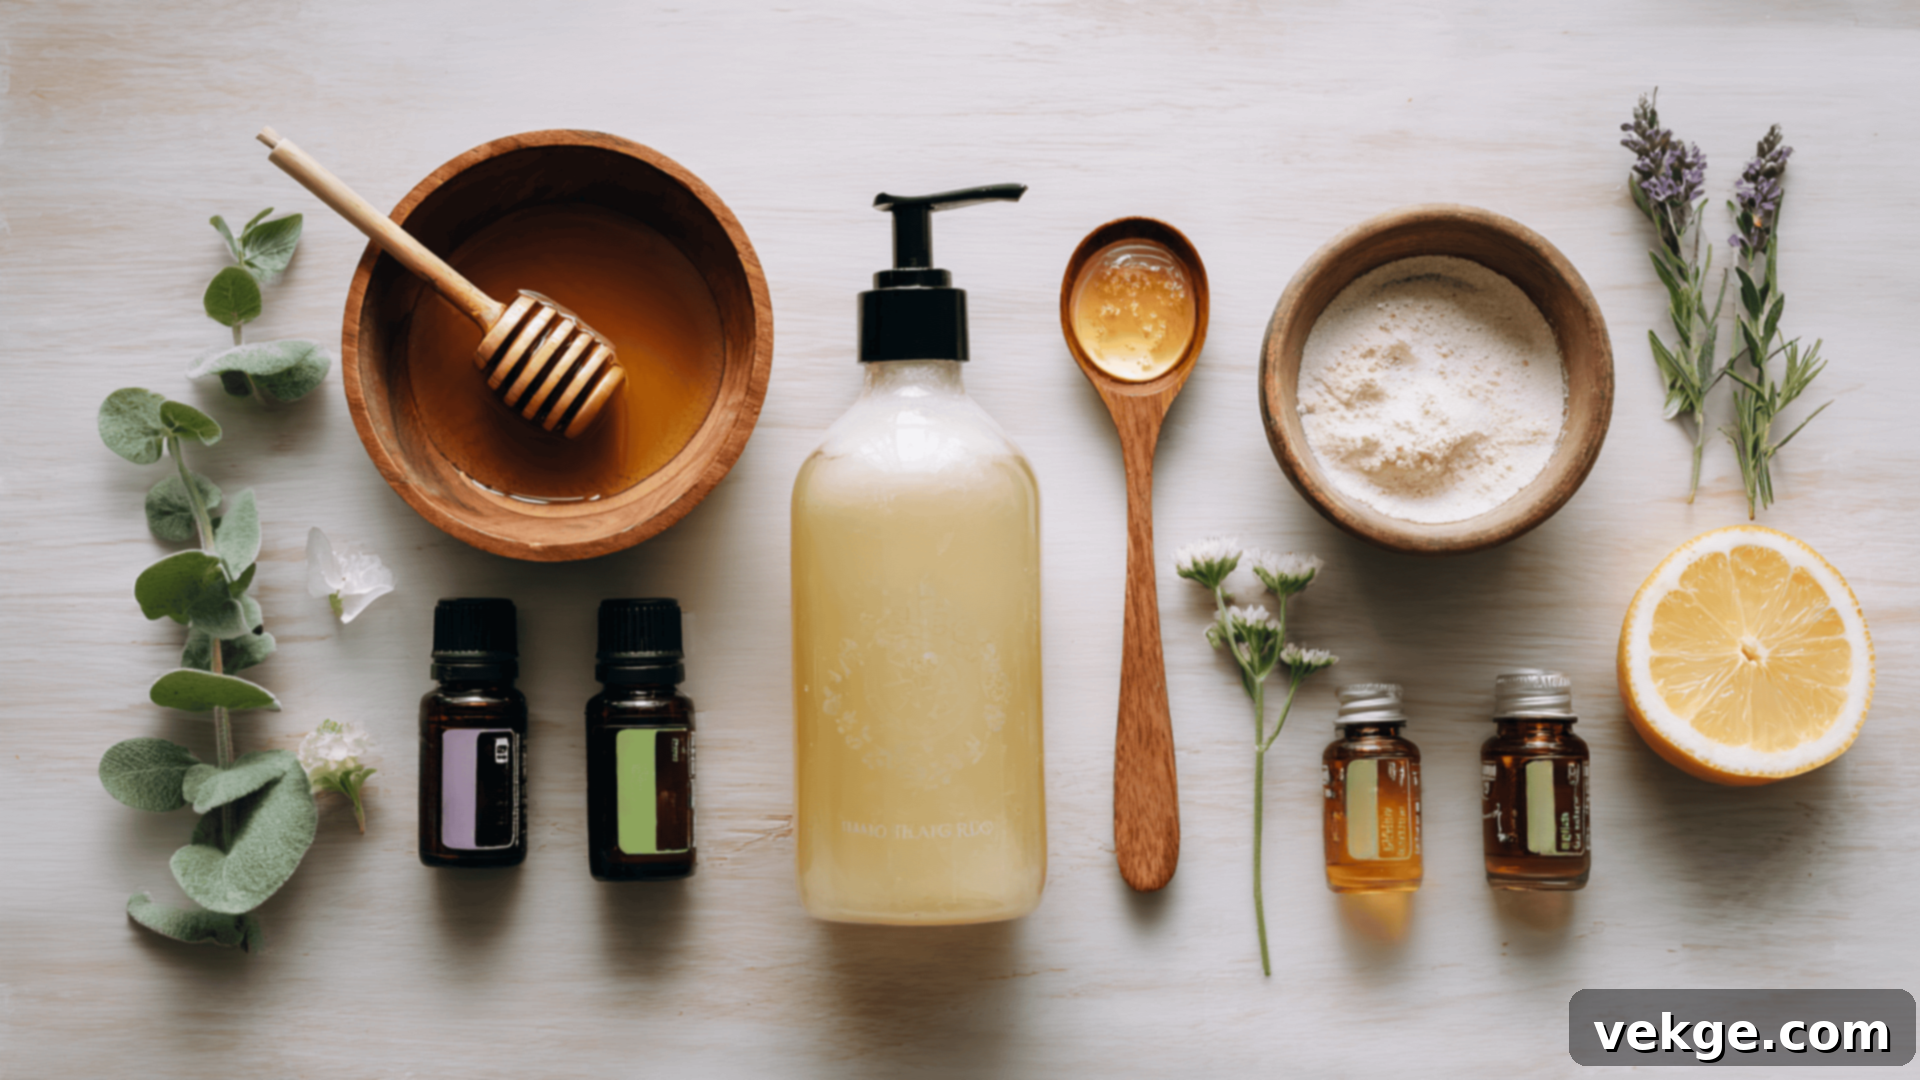
The Ultimate Guide to DIY Body Wash: Natural Recipes for Healthy, Glowing Skin
Are you tired of relying on store-bought body washes that leave your skin feeling dry, irritated, or worse—packed with ingredients you can barely pronounce? Many of us have experienced this frustration, longing for a simpler, healthier alternative.
If you’ve ever considered crafting a safe, gentle, and budget-friendly cleanser right in your own home, then delving into the world of DIY body wash is exactly what you need. It’s an empowering step towards taking control of your skincare routine, ensuring that only the purest, most beneficial ingredients touch your skin.
This comprehensive guide will walk you through every step of the journey. From effortlessly simple recipes and expert ingredient selection tips to tailoring formulas for your specific skin type and mastering proper storage techniques, we’ll cover it all. You’ll learn how to harness the power of natural ingredients to create cleansers that not only perform exceptionally but also feel incredibly luxurious and nourishing on your skin.
Whether your skin craves deep moisture, you need a formula gentle enough for children, or you prefer a completely unscented option, all the solutions are right here. It’s time to bid farewell to harsh chemicals and embrace the goodness of homemade, natural body wash.
The Basics of Crafting Your Own Body Wash
Creating your own body wash at home is a wonderfully straightforward process, far simpler than you might imagine. Beyond the ease of preparation, it offers numerous benefits: it’s inherently gentle on your skin, remarkably budget-friendly in the long run, and incredibly easy to customize with ingredients you consciously choose and trust.
Understanding What DIY Body Wash Is
At its heart, DIY body wash is a homemade liquid cleanser crafted from natural, wholesome ingredients. Instead of complex chemical compounds, you’ll combine a few fundamental items—such as **Castile soap**, nourishing **oils**, and purified **water**—to formulate a liquid wash that functions just as effectively as its commercial counterparts. The crucial difference? It’s completely free from harsh chemicals, synthetic fragrances, and artificial dyes that often lurk in store-bought products.
Why DIY is a Superior Alternative to Commercial Body Washes
Traditional store-bought body washes, while convenient, frequently contain a cocktail of ingredients that can be detrimental to your skin and the environment. These often include:
- Artificial fragrances: Synthetic scents can be a major irritant for sensitive skin, leading to rashes, redness, and discomfort.
- Sulfates (like SLS/SLES): These harsh detergents are known for stripping natural moisture from the skin, leaving it dry, tight, and vulnerable.
- Preservatives: Parabens, formaldehyde-releasers, and other synthetic preservatives can sometimes cause allergic reactions or sensitivity.
- Synthetic dyes: Added purely for aesthetic appeal, these offer no skin benefits and can be potential irritants.
In contrast, a DIY body wash offers a wealth of advantages:
- Natural Ingredients: You control every component, ensuring only natural, skin-loving elements are included.
- Tailored for Your Skin: Easily adjustable to suit any skin type, from dry and sensitive to oily and acne-prone.
- Cost-Effective: Often much cheaper to produce in the long run, especially when buying ingredients in bulk.
- Eco-Friendly: Reduces plastic waste by allowing you to reuse your own bottles, contributing to a more sustainable lifestyle.
- Transparency: Full control over what goes into your product means you know exactly what you’re putting on your skin.
This empowers you to craft a body wash that is not just clean and effective, but also perfectly aligned with your personal values and skin’s unique needs.
Key Components: The Pillars of Your Homemade Cleanser
To create a basic, effective body wash, you only need a handful of essential ingredients, each performing a vital function:
- Cleanser: The primary agent, typically liquid Castile soap or a gentle plant-derived surfactant, responsible for lifting dirt and impurities from your skin.
- Moisturizer: Ingredients like carrier oils (e.g., coconut, jojoba, almond) or natural humectants like honey are crucial for keeping your skin hydrated, soft, and supple, preventing dryness.
- Scent & Benefits: Essential oils, such as calming lavender, purifying tea tree, or invigorating citrus, not only provide a delightful natural fragrance but also offer additional therapeutic benefits for your skin and senses.
The beauty of DIY is the flexibility to mix and match these components, customizing your formula based on your skin type, desired aroma, and any specific skin concerns you wish to address.
DIY Body Wash: Core Ingredients and Their Functions Explained
The success of your homemade body wash largely depends on the quality and understanding of its core ingredients. These components form the foundation of most DIY body wash recipes, each serving a distinct and important purpose: cleansing, moisturizing, or providing additional therapeutic benefits for your skin.
1. Castile Soap: The Gentle Cleansing Powerhouse
Castile soap is a cornerstone in natural skincare, renowned for being a **gentle, plant-based soap**. Traditionally made from olive oil, modern versions often incorporate other vegetable oils like coconut, hemp, or jojoba. It creates a mild, rich lather that effectively cleanses your skin without stripping away its natural oils, a common issue with conventional soaps. Its versatility and gentle nature make it safe for most skin types, including sensitive and baby skin, and it serves as the ideal primary base for virtually all homemade body wash recipes. Look for unscented liquid Castile soap for maximum customization.
2. Honey: Nature’s Humectant and Healer
Honey is a remarkable addition to body wash recipes. It acts as a powerful **natural humectant**, meaning it actively draws moisture from the air into your skin and locks it in. This property makes it excellent for preventing dryness and keeping your skin hydrated. Beyond moisture, raw honey boasts impressive antibacterial, anti-inflammatory, and antioxidant properties. It can help soothe irritated skin, calm breakouts, and promote a healthy glow. Incorporating raw honey into your body wash also lends a smooth, luxurious, and slightly thicker texture to the final product.
3. Carrier Oils: Nourishment Without the Greasiness
Carrier oils are vital for delivering essential fatty acids and vitamins to your skin, helping to keep it soft, smooth, and deeply hydrated. Unlike essential oils, carrier oils are used in larger quantities and don’t evaporate easily. Popular choices include:
- Jojoba oil: Mimics the skin’s natural sebum, making it excellent for balancing oil production in both dry and oily skin types.
- Coconut oil: Rich in fatty acids, it’s deeply nourishing and provides a protective barrier against moisture loss, ideal for very dry skin.
- Sweet Almond oil: Lightweight, soothing, and easily absorbed, it’s perfect for sensitive skin and helps improve complexion and tone.
You only need a small amount of these oils to significantly boost moisture without leaving a greasy residue, contributing to a truly luxurious feel.
4. Essential Oils: Aromatic Bliss with Therapeutic Benefits
Essential oils are concentrated plant extracts that offer both natural fragrance and a myriad of therapeutic benefits. They can transform your body wash from a simple cleanser into an aromatic, mood-enhancing experience.
- Lavender: Widely celebrated for its calming and relaxing properties, it’s excellent for unwinding after a long day and can soothe irritated skin.
- Tea Tree oil: Known for its powerful antiseptic and anti-inflammatory qualities, it’s a great choice for acne-prone or oily skin.
- Citrus oils (Lemon, Orange, Grapefruit): Uplifting and energizing, these oils provide a fresh scent and are believed to have purifying effects.
Always use essential oils sparingly—just a few drops can dramatically enhance your body wash, but moderation is key to avoid skin irritation.
5. Vitamin E Oil: Antioxidant Power for Skin and Shelf Life
Vitamin E oil is a powerful **antioxidant** that plays a dual role in your DIY body wash. Firstly, it provides significant benefits for skin health, helping to protect skin cells from damage caused by free radicals, promote healing, and boost moisture. Secondly, and equally important in homemade products, it acts as a natural preservative by slowing down the oxidation of other oils in your recipe, thereby extending the overall shelf life of your body wash. Even a small amount can make a noticeable difference in both skin nourishment and product longevity.
Basic Body Wash Recipes to Get Started
Embarking on your DIY body wash journey is incredibly easy with these foundational recipes. Each is designed to be simple, using minimal ingredients, and can be whipped up in a matter of minutes. These are perfect for beginners and offer a fantastic starting point for understanding the art of homemade cleansers.
1. Beginner Recipe: Water + Castile Soap + Essential Oils (The Easiest Start)
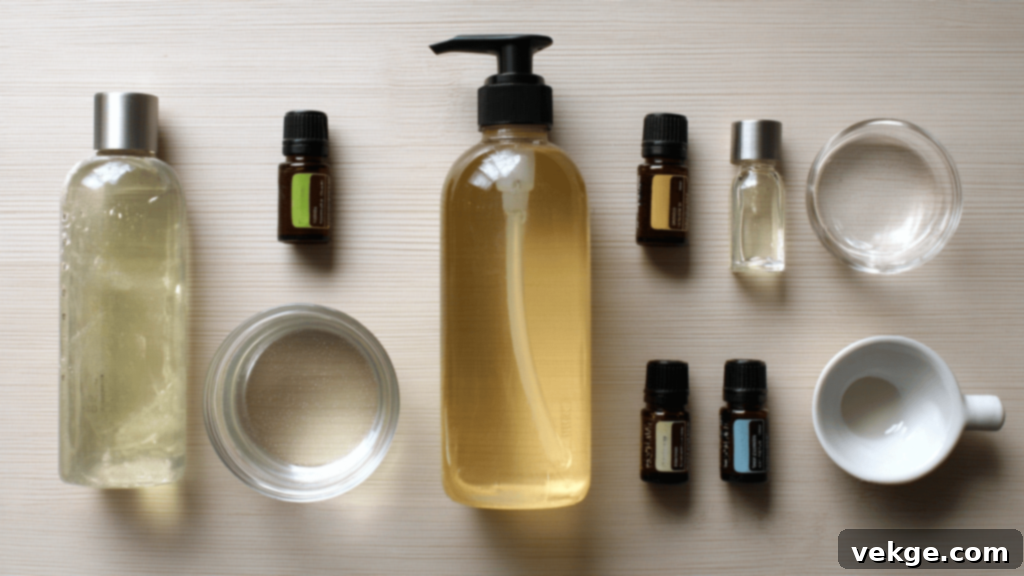
This is the absolute simplest version, offering a clean and fresh wash that suits most skin types. It’s incredibly versatile and serves as an excellent foundation for customization with your favorite natural scents.
What You Need:
- ½ cup liquid unscented Castile soap
- 1 cup distilled or boiled (then cooled) water
- 10–20 drops of essential oil (e.g., soothing lavender, invigorating eucalyptus, or bright lemon)
Instructions:
First, pour the distilled or cooled boiled water into a clean, preferably pump-top bottle. Next, carefully add the liquid Castile soap. Lastly, add your chosen essential oils. Close the bottle securely and shake gently to combine all ingredients. Avoid vigorous shaking, as this can create too much foam. And just like that, your gentle, freshly scented body wash is ready to use!
This version provides a mild yet effective cleanse, leaving your skin feeling clean and refreshed with a pleasant, natural aroma.
2. Moisturizing Recipe: Enhanced with Honey and Carrier Oil
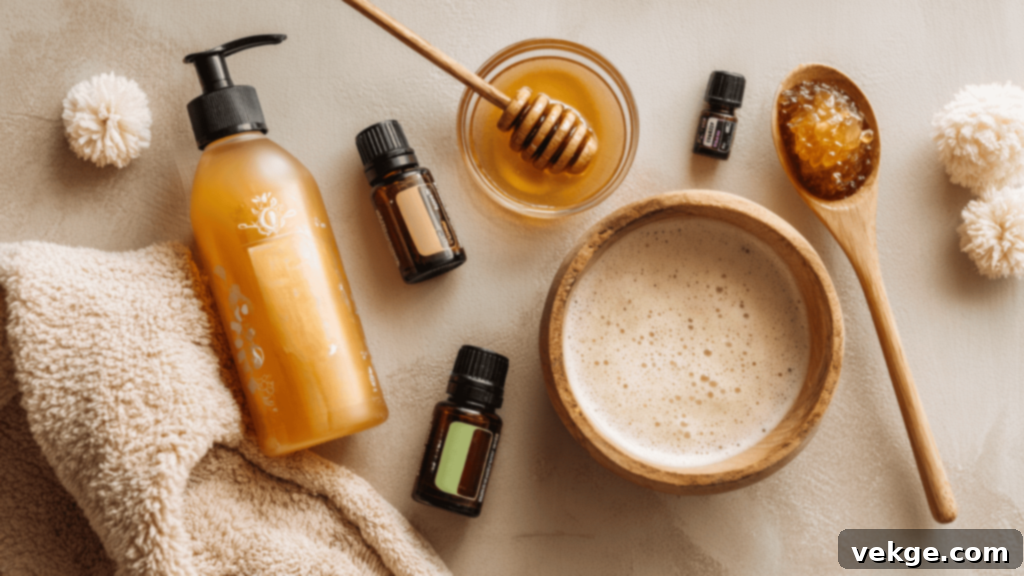
If your skin tends to feel dry, tight, or uncomfortable after showering, this recipe is designed to deliver a much-needed boost of hydration, leaving your skin feeling soft and nourished.
What You Need:
- ½ cup liquid unscented Castile soap
- 1 cup distilled water
- 1–2 teaspoons of a nourishing carrier oil (such as jojoba oil for balance or sweet almond oil for gentle hydration)
- 1–2 tablespoons raw honey (for its humectant and skin-softening properties)
- 10–20 drops essential oil (optional, for added scent and benefits; consider frankincense or sandalwood for extra skin love)
Instructions:
Begin by pouring the distilled water into your clean mixing bottle. Follow with the liquid Castile soap. Next, thoroughly stir in the raw honey until it’s well dissolved (a quick warm bath for the bottle can help if your honey is very thick). Then, add your chosen carrier oil. If you desire a natural fragrance, incorporate your essential oils last. Secure the lid and shake vigorously for about 30 seconds to ensure all ingredients are fully emulsified. Store this blend in a cool, dark place to maintain its freshness.
The thoughtful addition of carrier oils and honey in this recipe provides deep moisturization, helping your skin retain its natural barrier and feel noticeably softer, smoother, and more supple.
3. Fragrance-Free / Sensitive Skin Recipe: With Soothing Oatmeal Infusion
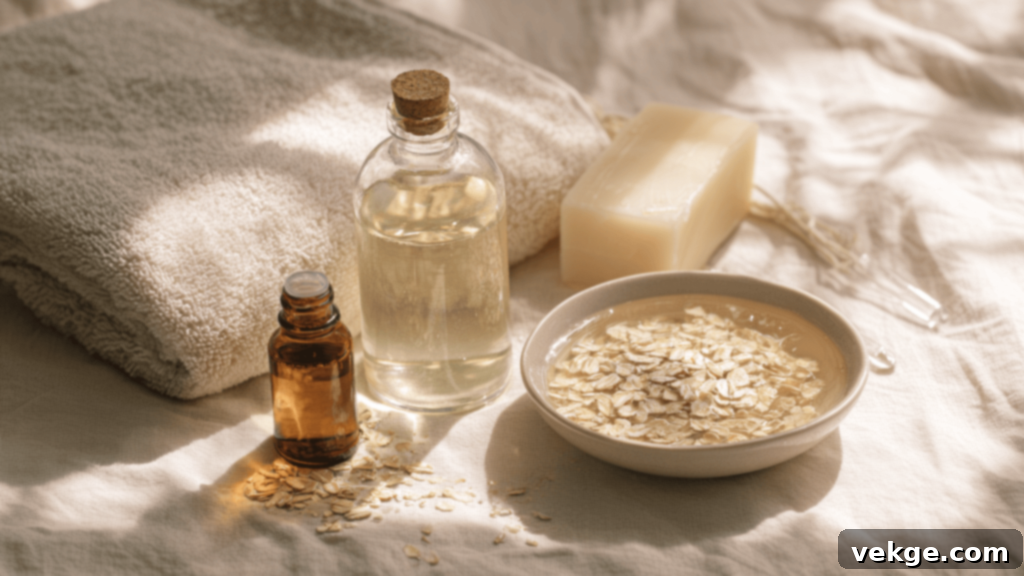
This recipe is specifically formulated for the most delicate or reactive skin, prioritizing soothing comfort over scent. It’s an excellent choice for infants, young children, or anyone prone to skin sensitivities, eczema, or dryness.
What You Need:
- 1 cup distilled water
- ½ cup liquid unscented Castile soap (ensure it’s truly fragrance-free)
- 1 tablespoon finely ground steel-cut oats (or colloidal oatmeal for easier infusion)
- Optional: 1 teaspoon vitamin E oil (for extra skin protection and mild preservation)
Instructions:
Begin by boiling the distilled water. Once boiling, pour it over the steel-cut oats (or colloidal oatmeal) in a heat-safe bowl. Allow the mixture to steep for approximately 30–60 minutes, giving the oats ample time to release their soothing properties into the water. Next, strain out the oats thoroughly using a fine-mesh sieve or cheesecloth, ensuring you collect only the milky, infused water. This infused water will serve as the gentle base for your body wash. Combine the oatmeal-infused water with the unscented Castile soap and, if using, the vitamin E oil in a clean bottle. Shake very gently to mix, avoiding excessive foam.
The colloidal properties of oatmeal are renowned for their ability to calm irritated skin, reduce redness, and relieve itching, making this wash exceptionally gentle, clean, and hydrating for even the most sensitive skin.
Customize Your Body Wash: Tailoring for Every Need
Once you’ve mastered the art of creating a basic body wash, the real fun begins: personalization. With just a few thoughtful adjustments to your ingredients, you can transform your homemade cleanser to perfectly suit your unique skin type, address specific concerns, or even match the ambiance of the current season.
For Dry Skin: Boosting Hydration
If your skin consistently feels tight, flaky, or lacks moisture after showering, the key is to incorporate ingredients that deeply hydrate and help lock in moisture. Focus on rich, emollient additions:
- Jojoba oil or Sweet Almond oil: Add 1–2 teaspoons. These oils are fantastic humectants and emollients, improving skin barrier function and leaving it feeling soft and supple.
- Raw Honey: Include 1–2 tablespoons. Its natural humectant properties draw moisture to the skin, while its enzymes gently nourish.
- Vitamin E oil: A few drops (5–10 drops) will not only provide antioxidant protection but also contribute to overall skin hydration and elasticity.
- Glycerin: ½ to 1 teaspoon of vegetable glycerin can also be added for an extra moisture boost.
These ingredients work synergistically to provide intense hydration, combating dryness and leaving your skin feeling wonderfully smooth and comfortable.
For Oily and Acne-Prone Skin: Balancing and Purifying
For those with oily or acne-prone skin, the goal is to cleanse thoroughly without stripping natural oils, which can ironically lead to more oil production. Choose ingredients that purify and balance:
- Tea Tree or Rosemary essential oils: Add 10–15 drops (start with fewer and adjust). Tea tree is a potent antibacterial and anti-inflammatory, while rosemary helps regulate oil production.
- Lighter Carrier Oils: Opt for grapeseed oil, jojoba oil (which mimics sebum and helps balance), or sunflower oil. These oils are non-comedogenic and won’t clog pores.
- Apple Cider Vinegar (ACV): A mere 1 teaspoon of raw, unfiltered ACV can be added. It acts as a mild astringent and helps balance the skin’s pH, which can be beneficial for reducing breakouts.
- Activated Charcoal Powder: For an advanced option, a pinch of activated charcoal can absorb excess oil and impurities (mix into a paste with a little water before adding to the wash).
This combination helps to reduce excess oil, minimize breakouts, and leave your skin feeling clean, clear, and balanced without over-drying.
For Babies and Ultra-Sensitive Skin: Gentle Care
Baby skin, and indeed any ultra-sensitive skin, requires the utmost gentleness. Simplicity and fragrance-free options are paramount to avoid irritation.
- Unscented Castile Soap: This is the non-negotiable base. Ensure it’s certified unscented and made from gentle oils.
- Oatmeal-infused Water: As detailed in the sensitive skin recipe, this infusion is incredibly soothing, anti-inflammatory, and hydrating.
- Minimal or No Essential Oils: If you absolutely desire a scent, use just 1–2 drops of extremely mild essential oils like genuine Roman Chamomile or diluted Lavender, known for their calming properties. Always dilute well and patch test.
- Aloe Vera Gel: A teaspoon of pure aloe vera gel can add extra soothing and hydrating benefits.
Prioritize minimal ingredients and ensure they are all natural and exceptionally mild. When in doubt, always consult your pediatrician before introducing new products to a baby’s skin.
Seasonal Blends: Refresh Your Routine Throughout the Year
Changing your body wash scent and feel with the seasons is a delightful way to refresh your routine and connect with nature. Essential oils make this incredibly easy:
- Winter Warmth: Combine warming essential oils like Peppermint (for a cooling tingle), Frankincense, or Cinnamon Bark with sweet vanilla for a cozy, comforting blend.
- Spring Renewal: Embrace fresh, uplifting notes with Lavender and Lemon, or Bergamot and Geranium for a light, floral, and herbaceous scent that invigorates the senses.
- Summer Zest: Opt for bright and energizing citrus oils like Orange, Grapefruit, or Lime, perhaps with a touch of Spearmint, for a truly refreshing and uplifting wash perfect for warmer days.
- Autumn Comfort: Create a grounding and spicy blend with Clove, Sweet Orange, Cedarwood, or Patchouli for a warm, inviting, and earthy feel that perfectly complements the fall season.
With just a few simple tweaks, your DIY body wash can become a dynamic part of your self-care, adapting seamlessly to your skin’s needs and your personal style, all year long.
Perfecting Your DIY Body Wash Recipe: Tips and Tricks
After creating a few batches, you might find yourself wanting to fine-tune the texture, extend the shelf life, or explore alternative ingredients. These advanced tips will help you craft a body wash that not only performs beautifully but feels precisely “just right” every time.
Ingredient Swaps: Flexibility in Formulation
Don’t stress if you’re missing a specific ingredient or if one doesn’t agree with your skin. Many items can be effectively swapped for alternatives that deliver similar benefits:
- Castile soap alternatives: If you don’t have Castile soap, a mild, unscented baby shampoo or another natural liquid soap can serve as a temporary substitute, though results may vary in lather and feel.
- Honey replacements: Out of honey? **Aloe vera gel** offers soothing and hydrating properties, while **vegetable glycerin** is an excellent humectant that provides similar moisture-retaining benefits.
- Essential oil sensitivity: If you have sensitive skin or prefer no fragrance, simply use fewer drops, opt for extremely mild oils like Roman Chamomile, or skip them entirely. You can also use hydrosols (flower waters) for a subtle, natural scent.
Embracing ingredient swaps allows you to adapt recipes based on what you have on hand, your personal preferences, and what works best for your unique skin.
How to Adjust Consistency: Achieving Your Ideal Texture
If your body wash feels too thin or watery for your liking, you can easily thicken it using natural, food-grade ingredients. This step significantly enhances the user experience, making the wash feel more luxurious and easier to apply.
Consider these natural thickeners:
- Guar gum: Start with ½ teaspoon per cup of liquid. It’s crucial to whisk it into a small amount of carrier oil or vegetable glycerin first to prevent clumping, then slowly add this slurry to your body wash mixture while continuously stirring.
- Xanthan gum: Use ¼ to ½ teaspoon per cup. Similar to guar gum, sprinkle it slowly over the surface of your body wash while whisking vigorously to ensure it dissolves smoothly without forming lumps.
Mix thoroughly until smooth. Always start with a small amount of thickener; you can always add more if needed, but it’s difficult to thin out an overly thick product. A thicker texture not only feels more opulent but also ensures better product adherence to your loofah or washcloth.
Preserving Naturally: Extending Shelf Life with Care
Homemade body washes, especially those containing water, have a shorter shelf life than commercial products due to the absence of synthetic preservatives. Proper natural preservation is key to safety and longevity.
To keep your body wash fresh for longer:
- Grapefruit seed extract (GSE): Add about 10 drops per cup of body wash. GSE is a natural antimicrobial that helps inhibit the growth of bacteria, molds, and fungi.
- Vitamin E oil: While primarily an antioxidant, not an antimicrobial, it helps prevent the oxidation of oils in your recipe, which can contribute to spoilage. Add a teaspoon per cup.
- Storage environment: Always store your body wash in a cool, dark place, away from direct sunlight and excessive humidity (like a steamy shower niche).
- Pump bottles: Using a pump bottle minimizes direct contact with the product, significantly reducing the introduction of bacteria from your hands.
Without any preservatives, most water-based DIY washes will last approximately 1–2 weeks. With natural preservatives like GSE, you can often extend this to 2–4 weeks, or even up to a month. It’s always best to make smaller batches more frequently if you’re not using a strong preservative, and trust your senses: if it smells off, or you notice any discoloration or separation that doesn’t resolve with shaking, it’s time to make a fresh batch.
Perfecting your recipe involves a little experimentation and attention to detail, but the reward is a body wash that feels smoother, lasts longer, and perfectly suits your skin’s unique needs.
Packaging and Storage: Keeping Your DIY Body Wash Fresh and Safe
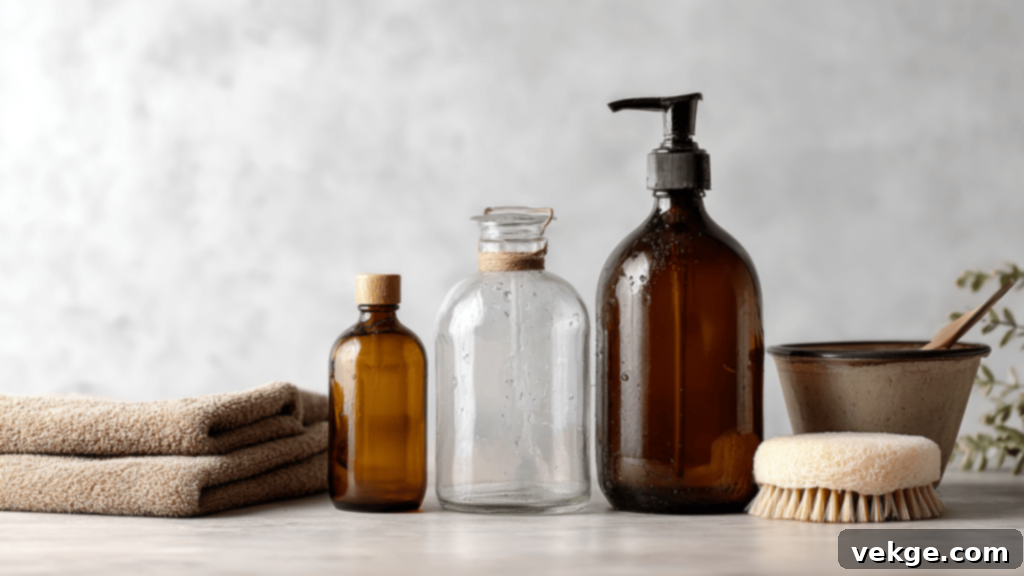
The right packaging is more than just aesthetics; it plays a critical role in maintaining the cleanliness, safety, and usability of your DIY body wash. Proper container selection and storage methods are essential for maximizing the life and effectiveness of your homemade creations.
Best Containers to Use: Functionality and Safety
Choosing the appropriate container can significantly impact both the convenience of use and the longevity of your body wash:
- Pump Bottles: These are arguably the most user-friendly option for the shower. They dispense a controlled amount of product, minimize mess, and critically, reduce the risk of introducing bacteria into your body wash from direct hand contact.
- Squeeze Bottles: Ideal for thicker or creamier body wash formulations, squeeze bottles offer easy dispensing. Look for ones with a secure flip-top or disc cap to prevent leaks.
- Glass Bottles: Environmentally friendly and excellent for recipes heavy in essential oils (as certain plastics can degrade with strong EOs). However, exercise caution in the shower as glass can be slippery and breakable. Consider glass bottles with silicone sleeves for added grip and protection.
- Plastic Bottles (BPA-free): A practical, lightweight, and shatter-proof option for the shower. Ensure they are clean and ideally BPA-free.
Regardless of your choice, always opt for containers that are airtight to prevent contamination and easy to clean thoroughly between uses. Dark-colored or opaque bottles can also help protect light-sensitive essential oils from degradation.
How to Clean and Sterilize Your Containers
Before transferring your freshly made body wash into a bottle, proper cleaning and sterilization are paramount. This step prevents the introduction of bacteria and significantly extends the life of your product.
- Wash: Begin by thoroughly washing the container with hot, soapy water. Use a bottle brush if necessary to reach all internal surfaces.
- Rinse: Rinse the container meticulously with hot water until all soap residue is gone.
- Dry: Allow the container to air-dry completely upside down on a clean rack or paper towel. Any residual water can promote bacterial growth.
- Sterilize (Optional but Recommended): For an extra layer of safety, especially for water-based products, you can sterilize heat-safe glass or certain plastic containers by boiling them in water for 5–10 minutes. Alternatively, a quick rinse with rubbing alcohol or a solution of water and white vinegar (followed by another rinse) can also help.
Clean and sterilized containers are your first line of defense against spoilage and ensure your homemade body wash remains safe and effective.
Shelf-Life Considerations by Recipe Type
Homemade body wash, lacking the robust synthetic preservative systems of commercial products, naturally has a shorter shelf life. It’s always best practice to make smaller batches that you can use up within a few weeks.
Here’s a general guide:
- Basic Water + Soap Mix: Without any added oils or honey, these simple formulas typically last about 1–2 weeks.
- With Honey or Carrier Oils: The addition of natural ingredients like honey and oils, while nourishing, can slightly reduce shelf life or provide more food for microbes. Expect these to last approximately 2–4 weeks.
- With a Natural Preservative (e.g., Grapefruit Seed Extract): Incorporating natural preservatives can extend the freshness to roughly 1 month, or slightly longer, depending on the concentration and other ingredients.
Always store your body wash in a cool, dark place, away from direct heat and light. Before each use, give the bottle a gentle shake. Pay close attention to any changes in smell, color, or texture. If your body wash develops an unusual odor, changes color, or shows visible signs of mold or separation that doesn’t resolve with shaking, it’s a clear indication that it has spoiled and should be discarded. When in doubt, it’s always safest to make a fresh batch.
By carefully selecting the right bottle and adhering to proper storage and hygiene methods, your DIY body wash can remain safe, effective, and delightful to use for weeks at a time.
Common Mistakes & Simple Fixes in DIY Body Wash
Making your own body wash is generally straightforward, but like any homemade craft, small hiccups can occur, affecting its appearance, feel, or scent. Don’t worry, most common issues have easy solutions! Here’s how to troubleshoot and perfect your natural cleanser:
Separation of Ingredients
It’s quite common for homemade body wash, especially recipes containing both water and oils, to separate over time. This is because oil and water naturally repel each other without a strong emulsifying agent.
Fix:
The simplest solution is to **shake the bottle gently before each use**. This re-combines the ingredients temporarily. For a more stable mixture, especially if you want to reduce constant shaking, try this trick: blend your chosen carrier oil (e.g., jojoba, almond) into a small amount of the liquid Castile soap *first*, before adding the rest of the water. Castile soap acts as a mild emulsifier and can help the oil disperse more evenly. If you desire a truly consistent, creamier texture that holds together longer, consider adding a small amount of a natural thickener like **xanthan gum** or **guar gum** (as discussed in the ‘Perfecting Your Recipe’ section).
Overpowering Scent from Essential Oils
Essential oils are highly concentrated and potent. While they provide wonderful natural fragrance and benefits, using too much can be irritating to the skin or simply overwhelming to your senses.
Fix:
Always start with a conservative amount. A general guideline is to begin with **5–10 drops of essential oil per cup of body wash**, then gradually increase only if you desire a stronger scent. It’s much easier to add more than to reduce an overpowering aroma. Before using a new oil or a stronger concentration, always perform a patch test on a small area of your skin, especially if you have sensitive skin or are using potent oils like peppermint, tea tree, or cinnamon. If you’ve accidentally made a batch too strong, you can dilute it by adding more water or plain unscented Castile soap until the scent is more balanced.
Mold and Bacterial Growth Prevention
DIY products containing water, especially without strong synthetic preservatives, are susceptible to the growth of mold, yeast, and bacteria. This is a crucial safety concern.
Fix:
- Strict Hygiene: Always use thoroughly clean and sterilized containers (as outlined in the ‘Packaging and Storage’ section).
- Pure Water: Use distilled or freshly boiled and cooled water. Tap water contains minerals and microbes that can accelerate spoilage.
- Cool, Dark Storage: Store your body wash in a cool, dark place, away from direct sunlight and humidity. The bathroom cabinet or a drawer is often better than directly in the shower.
- Natural Preservatives: Incorporate natural antimicrobials and antioxidants like **grapefruit seed extract (GSE)** (about 10 drops per cup) or **vitamin E oil** (a teaspoon per cup). While not as potent as synthetic preservatives, they significantly slow down spoilage.
- Pump Bottles: Use a pump-top bottle whenever possible. Dipping fingers directly into the product can introduce bacteria from your hands, drastically shortening its shelf life.
- Small Batches: Make smaller quantities that you can realistically use up within 2–4 weeks. If it smells off, or you see any discoloration or unusual growth, discard it immediately.
By making these small but important adjustments, you can help your homemade body wash last longer, perform better, and remain safe for use. Don’t be afraid to experiment; each batch is a learning opportunity that brings you closer to your perfect, personalized formula.
Advanced Ideas: Taking Your DIY Body Wash to the Next Level
Once you’re confident with the fundamental recipes, the world of DIY body wash opens up to even more exciting and creative possibilities. These advanced ideas allow you to explore different textures, cater to specific audiences, and even embrace more sustainable practices.
Foaming Body Wash: The Bubbly Delight
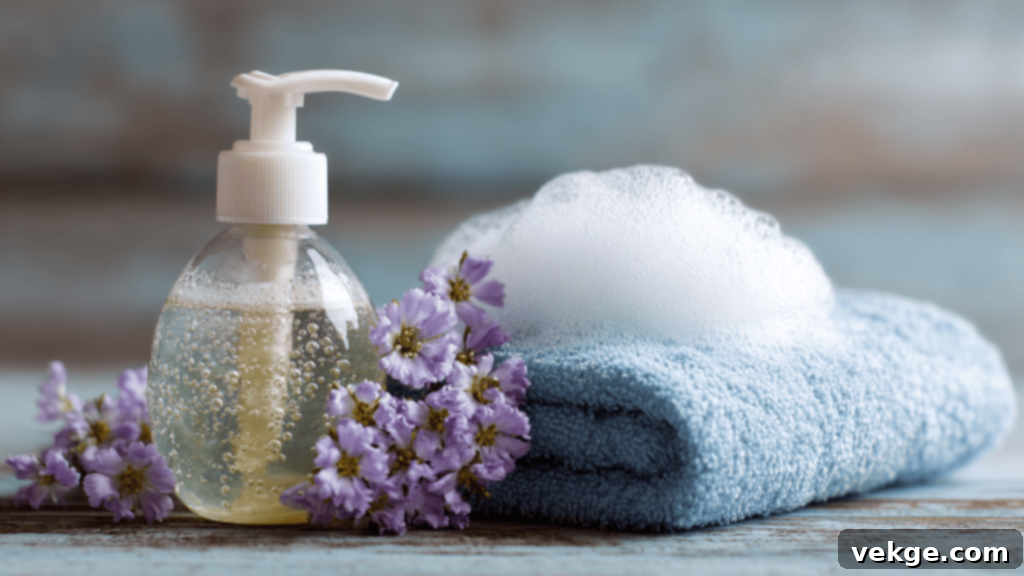
Foaming body wash delivers that satisfying, airy texture that many people adore. It feels lighter on the skin, is enjoyable to use, and can often make a small amount of product go a long way. The secret lies in the special bottle!
To create a foaming body wash:
- **Foaming Pump Bottle:** This is essential. The pump mechanism whips air into the liquid as it’s dispensed, creating a rich foam.
- **Adjusted Ratio:** Your liquid mixture needs to be thinner than a regular body wash to allow the pump to work efficiently without clogging. A good starting ratio is ¼ cup liquid Castile soap with ¾ cup distilled water.
- **Nourishing Additions:** You can still include moisturizing elements. Add 1 teaspoon of a lightweight carrier oil (like fractionated coconut oil or grapeseed oil) and 5–10 drops of your favorite essential oil for scent.
- **Gentle Mixing:** Shake gently before each use to combine, but avoid vigorous shaking which can create too much foam inside the bottle.
The foaming bottle does all the work, eliminating the need for thickeners. Just ensure your mixture remains fluid enough for the pump.
Kids’ Body Wash with Safe Essential Oils: Gentle & Fun
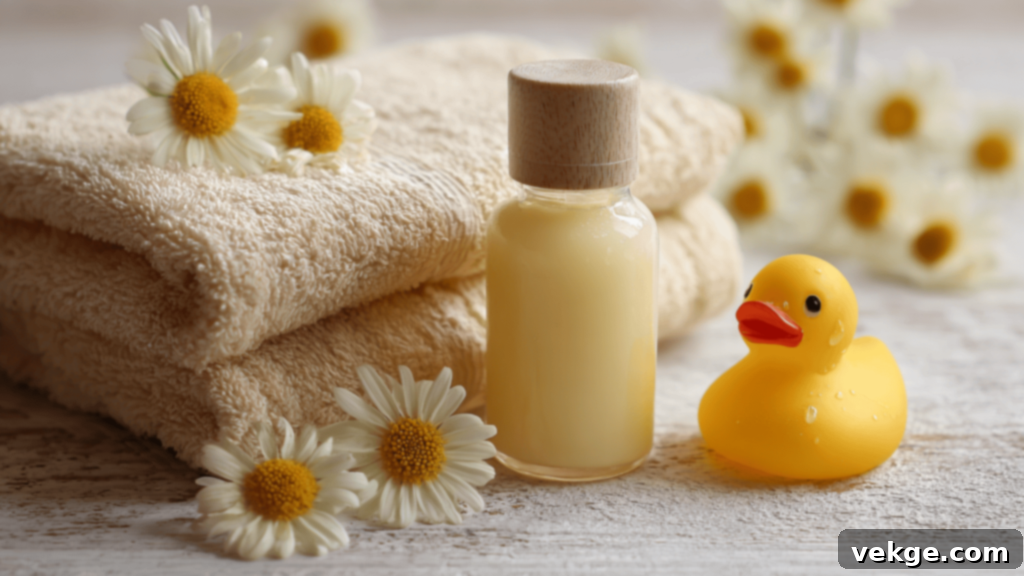
When formulating for children, safety and gentleness are the absolute top priorities. A mild cleanser with a very light or completely absent scent is ideal.
Here’s a simple, child-safe formula:
- **Base:** Always use unscented Castile soap. It’s gentle and natural.
- **Safe Essential Oils:** If adding scent, use only 1–2 drops (for a full cup of wash) of genuinely child-safe essential oils like **lavender** (renowned for calming properties), **Roman chamomile** (very gentle and soothing), or **sweet orange** (uplifting and usually well-tolerated). Avoid strong or stimulating oils like peppermint, eucalyptus, or tea tree for young children. Always research essential oil safety for children thoroughly.
- **Extra Softness:** Incorporate a teaspoon of pure aloe vera gel for added soothing benefits, or a very light carrier oil like sweet almond oil to prevent dryness.
Always perform a small patch test on your child’s skin first. When in doubt, it’s best to err on the side of caution and use an entirely fragrance-free formula. Consult your pediatrician if you have any concerns.
Body Wash Bars: Eco-Friendly & Travel-Ready
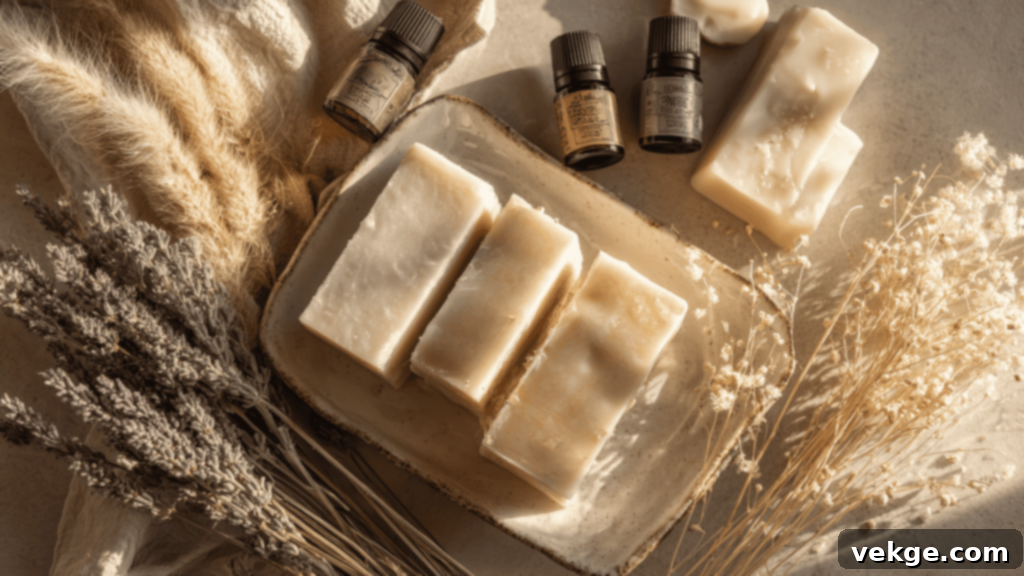
Solid body wash bars are a fantastic zero-waste alternative, combining the cleansing power of soap with the moisturizing benefits of a lotion. They are incredibly convenient for travel, eliminate plastic packaging, and offer a unique tactile experience.
These bars typically involve:
- **Melt-and-Pour Soap Base:** Start with a high-quality, gentle soap base like shea butter soap, goat milk soap, or glycerin soap. These are easy to melt and customize.
- **Nourishing Oils and Butters:** Incorporate rich carrier oils (e.g., coconut oil, cocoa butter, or mango butter) and essential oils for added hydration, scent, and skin benefits.
- **Optional Additives:** Enhance texture and efficacy with finely ground oats (for exfoliation or soothing), French clay (for oily skin), or dried herbs (for visual appeal and gentle benefits).
The process usually involves melting the soap base, stirring in your chosen oils, essential oils, and additives, then pouring the mixture into silicone molds. Allow them to harden completely, and then they’re ready to use! They are remarkably easy to store and, being solid, tend to last significantly longer than liquid body washes.
These advanced options empower you to experiment with fun textures, develop safe and delightful blends for the whole family, and contribute to a more sustainable lifestyle. They also make thoughtful homemade gifts or even starter products if you’re considering selling your natural creations.
Wrapping Up Your DIY Body Wash Journey
Congratulations! You’ve now explored the wonderful and rewarding world of making your own DIY body wash. This journey is more than just mixing ingredients; it’s an empowering step toward embracing natural skincare, utilizing components you trust, and creating products perfectly tailored to your unique needs.
With the foundational knowledge of key ingredients, diverse recipes, and essential tips for customization and preservation, you are now fully equipped to craft a cleanser that truly resonates with your skin and your personal style. Whether your preference leans towards a simple, gentle wash, an intensely moisturizing formula, or a light and airy foam, the possibilities are simple to explore and satisfying to achieve.
I’ve personally found immense joy and benefit in making small batches, ensuring maximum freshness and potency. And as you grow more comfortable, the creative avenues expand—from experimenting with vibrant seasonal scents to venturing into the realm of sustainable body wash bars. Each creation is a testament to the power of nature and your own ingenuity.
Curious to delve deeper into the fascinating world of natural skincare and wholesome living? I invite you to explore more of my blogs on DIY bath and body ideas available right here on the website. You’ll uncover a wealth of tips, home remedies, and inspiring projects to keep your beauty routine simple, effective, and beautifully skin-friendly.
