This post contains affiliate links and I may receive a commission on your purchase. Thank you for shopping through my links.
Irresistibly Chewy Browned Butter Sourdough Molasses Cookies: Your New Favorite Holiday Treat!
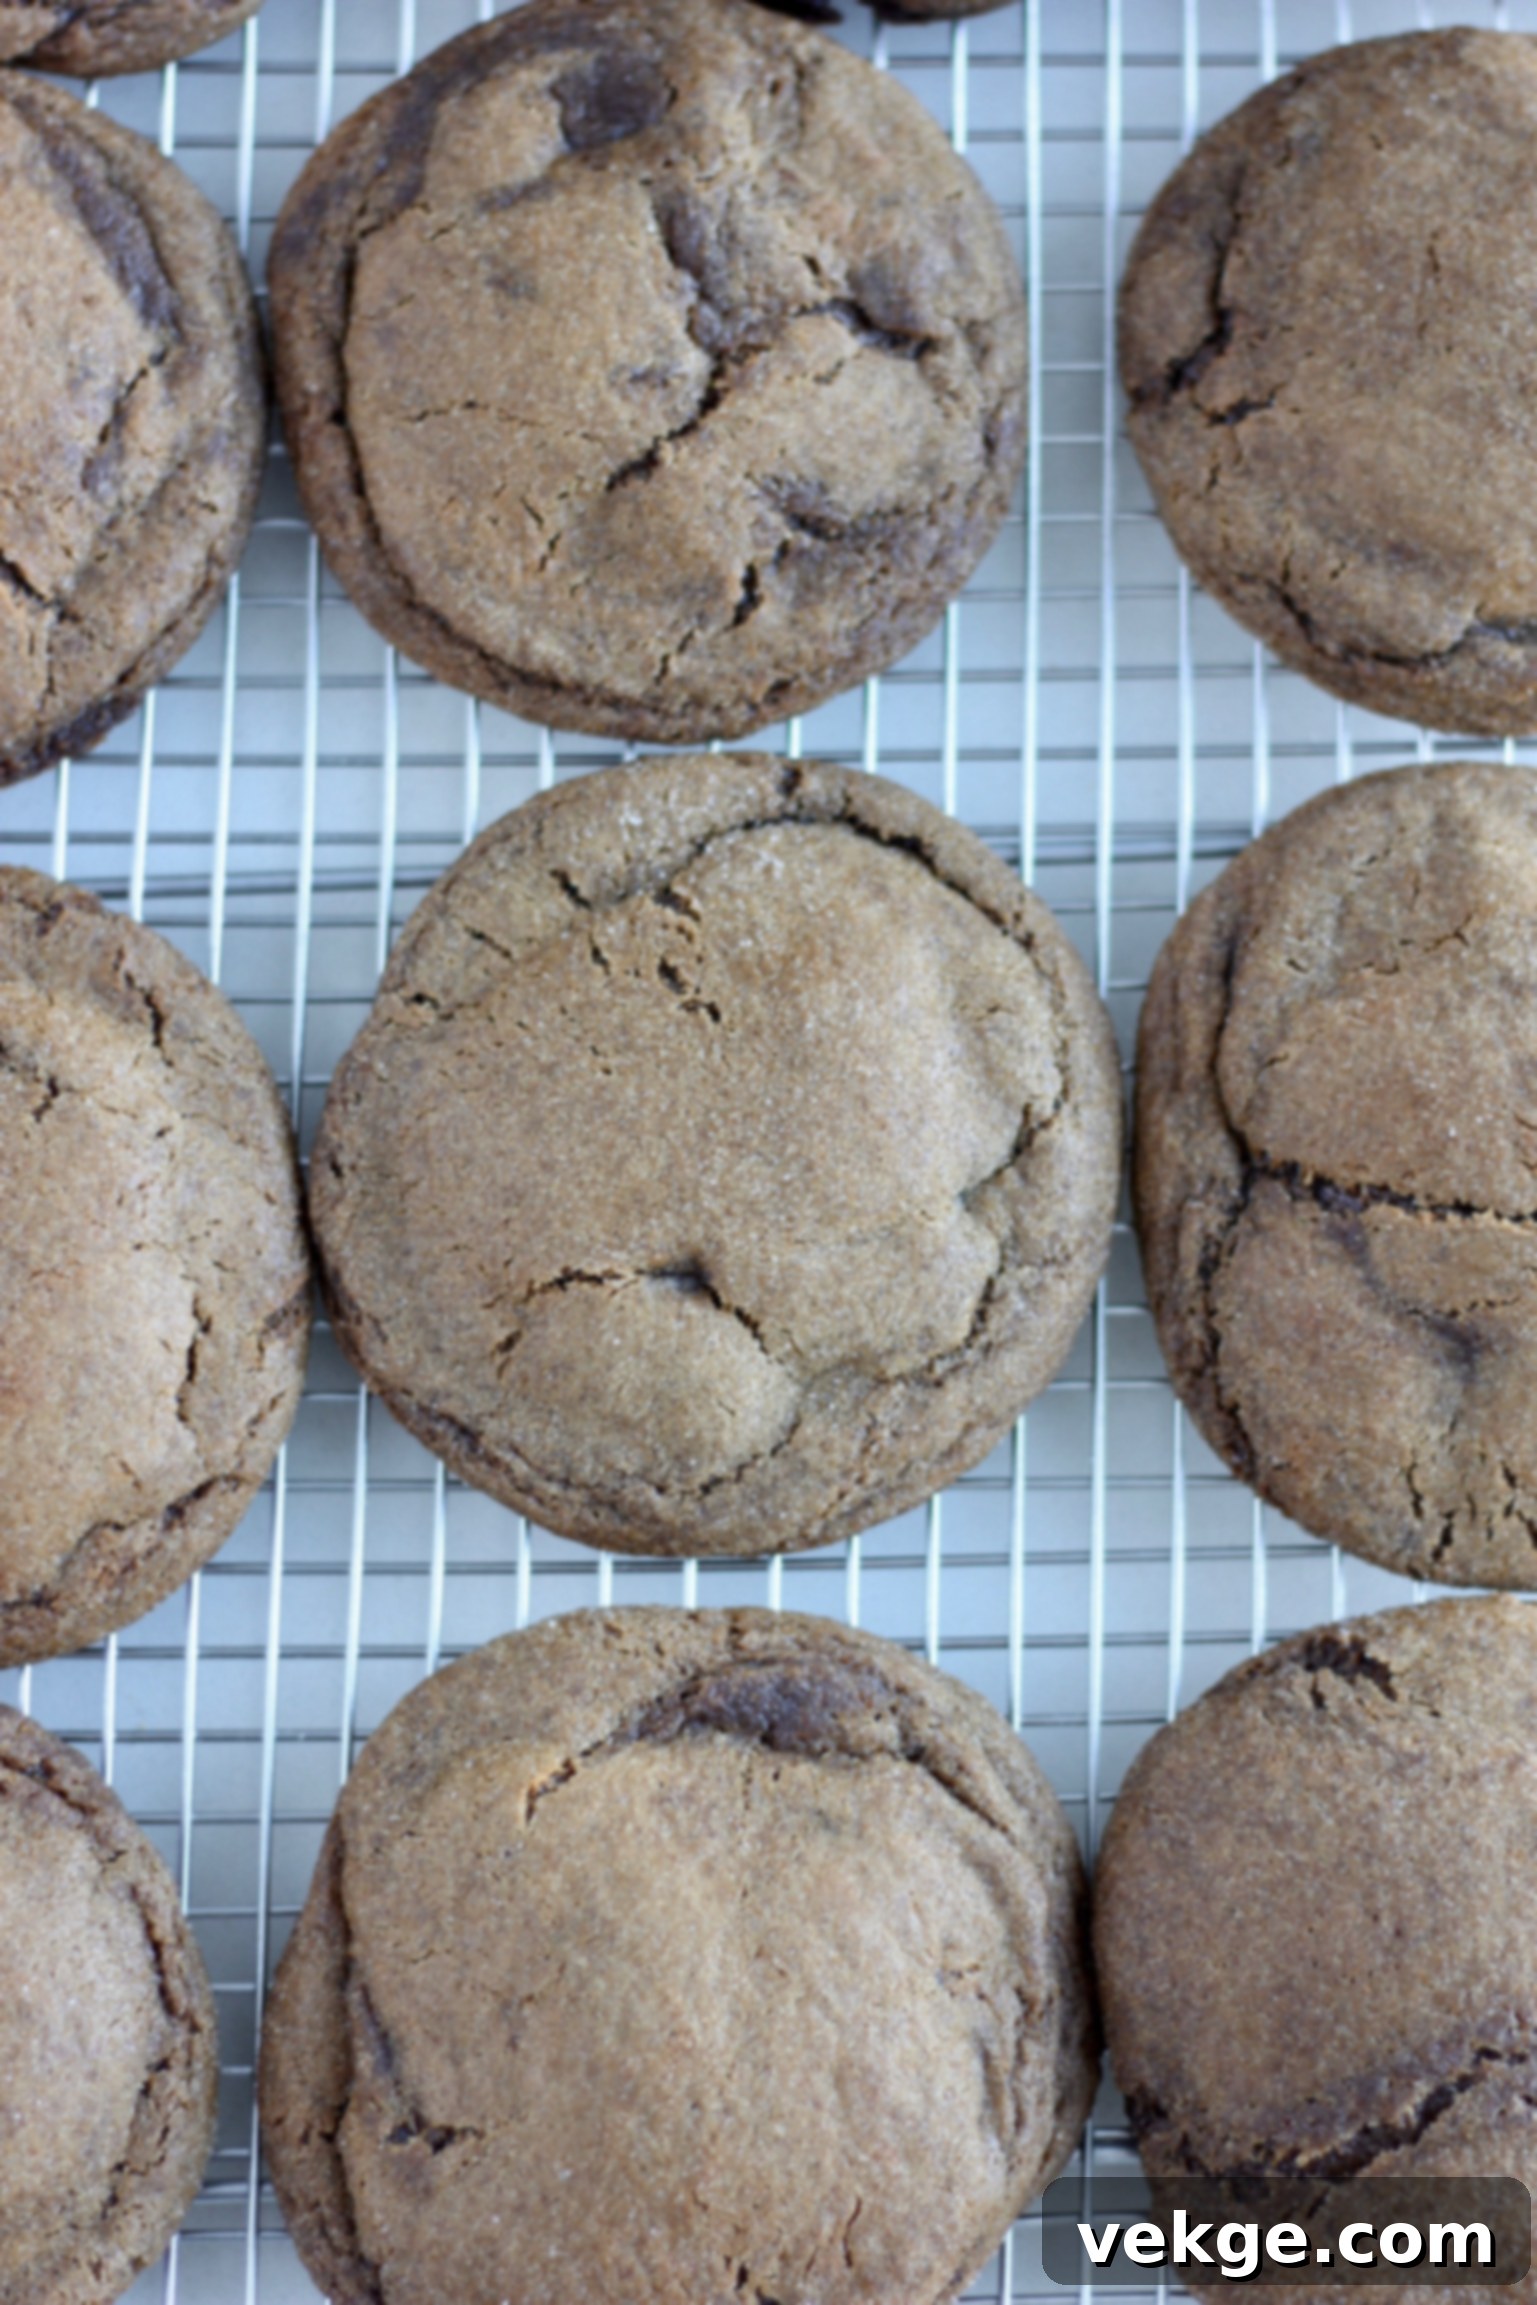
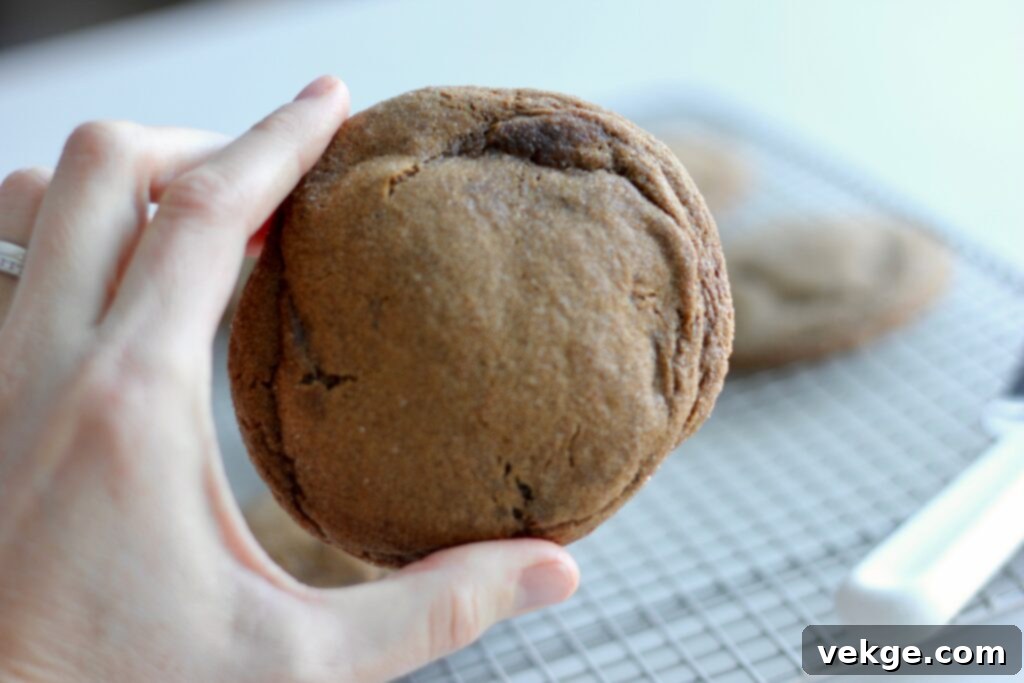
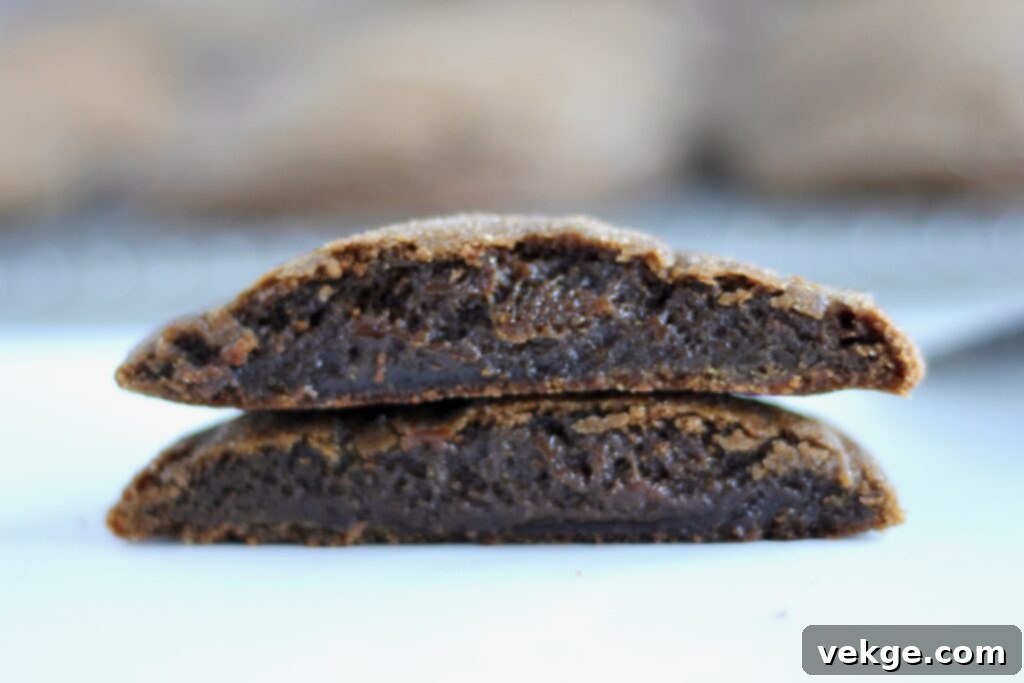
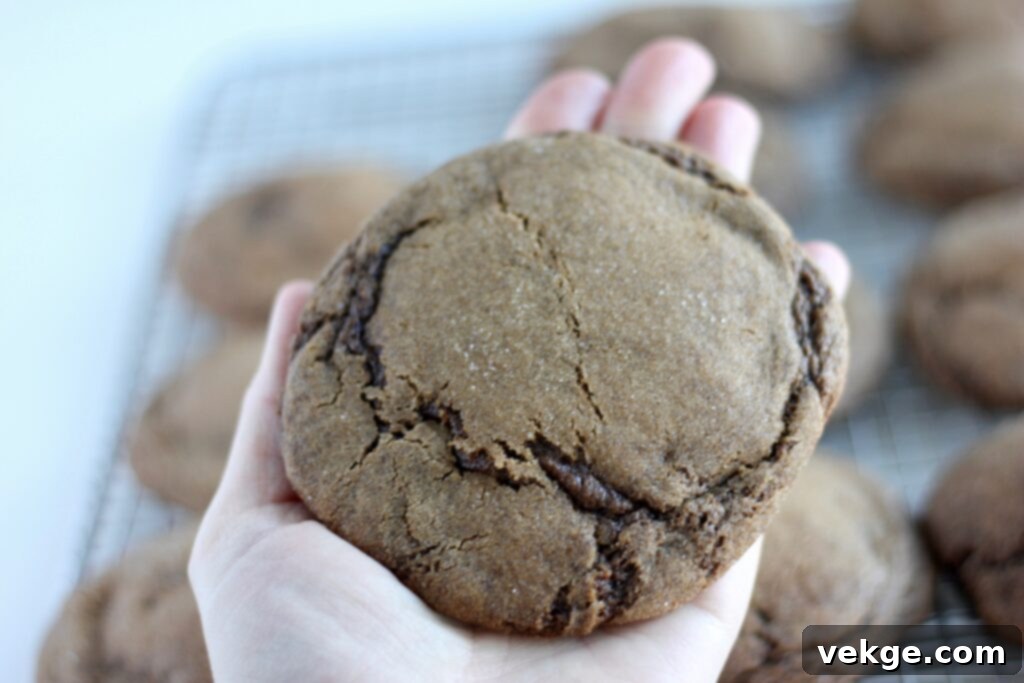
Prepare to discover the ultimate cookie experience with our incredible Browned Butter Sourdough Molasses Cookies! These aren’t just any cookies; they’re a masterful blend of textures and flavors designed to delight your senses. Imagine a cookie that boasts wonderfully chewy centers, perfectly crispy edges, and a depth of flavor that lingers deliciously after every bite. This unique recipe achieves this magic through the harmonious combination of rich browned butter, the subtle tang of sourdough discard, and the warm, spicy notes of molasses. Together, these elements don’t just create a cookie; they craft a seasonal masterpiece that truly stands out!
Whether you’re a seasoned sourdough baker looking for a fantastic way to utilize your discard, or simply a cookie enthusiast seeking something extraordinary, this recipe is designed for you. We’ll guide you through every step, from perfecting the art of browned butter to understanding the transformative power of sourdough in baking, ensuring your cookies are nothing short of spectacular.
Key Ingredients for Exceptional Flavor & Texture
Each ingredient in this recipe plays a crucial role in achieving the signature chewiness, rich flavor, and beautiful color of these browned butter sourdough molasses cookies. Let’s explore what makes them so special:
Salted Butter, Transformed into Browned Butter
This isn’t just butter; it’s liquid gold! Using salted butter for browning adds an extra layer of complexity, enhancing the overall flavor profile. The browning process itself develops deep, nutty, and caramelized notes that are simply unmatched by plain melted butter. Furthermore, browning butter gently reduces its water content, which is a key factor when combining it with water-rich sourdough discard, helping to prevent a cakey texture and promoting that desirable chewy consistency. It’s a foundational step that elevates these cookies from good to unforgettable.
White Sugar
Simple granulated white cane sugar is essential here. It contributes to the cookie’s structure, provides sweetness, and helps create those delightful crispy edges. Its fine crystals interact with other ingredients to ensure a balanced sweetness that complements the robust flavors of molasses and browned butter.
Brown Sugar
Brown sugar is a game-changer for chewy cookies. Its molasses content adds moisture, which is vital for a soft, pliable texture, and also contributes to a deeper, more complex caramel flavor. While light brown sugar works, I personally prefer dark brown sugar for an even richer taste and darker hue, but use whatever you have on hand. The subtle differences between light and dark brown sugar can subtly alter the final flavor, allowing for a touch of personalization.
Eggs (Room Temperature)
Two large, room-temperature eggs are ideal for this recipe. Eggs act as a binder, providing structure and richness. Bringing them to room temperature allows them to emulsify more effectively with the other ingredients, leading to a smoother, more uniform dough and a better overall cookie texture. They contribute to both the rise and the chewiness, ensuring a well-rounded bite.
Molasses
Molasses is the heart of any great molasses cookie. Beyond its distinctive, sweet-yet-slightly-bitter flavor, it imparts a beautiful dark brown color, characteristic of traditional molasses cookies. It also plays a vital role in balancing the subtle sour notes from the sourdough discard and is a key contributor to the incredibly chewy texture. The type of molasses can impact flavor intensity; blackstrap molasses offers a bolder, more robust taste, while lighter molasses varieties provide a milder sweetness.
Sourdough Discard
This recipe specifically calls for sourdough discard – an unfed starter that is flat and runny, without the effervescence of an active starter. It should not be overly fermented or emit a strong, overly sour aroma. Discard is perfect because it adds a unique depth of flavor and contributes to the cookie’s texture without introducing too much leavening, which can make cookies puff up excessively. Using discard is also a fantastic way to reduce food waste for any sourdough enthusiast.
Salt
Never underestimate the power of salt in baking! A good quality salt, like Redmond Real Salt, is crucial for balancing the sweetness and enhancing all the other flavors in the cookie. It brings out the nutty notes of the browned butter and brightens the spices, ensuring a well-rounded and harmonious taste profile.
Cinnamon, Ground Ginger, & Ground Cloves
These warming spices are what define a classic molasses cookie. Cinnamon provides a comforting sweetness, ground ginger adds a delightful, zesty warmth, and ground cloves offer a deeper, aromatic complexity. Together, they create that iconic, inviting aroma and flavor that makes these cookies irresistible, especially during colder months. You can even consider a pinch of nutmeg or allspice for an extra layer of warmth.
Baking Soda
Baking soda works as a leavening agent, reacting with the acidic molasses and sourdough to help the cookies lift slightly, creating a tender crumb. It also contributes to the beautiful browning on the surface of the cookies, complementing the browned butter beautifully.
All-Purpose Flour
Standard all-purpose flour is my preference for these cookies. It provides the necessary structure without making the cookies tough. Accurate measurement of flour is paramount for achieving the perfect chewy texture, which we will discuss further below.
The Art of Browned Butter: A Flavor Game Changer
Browned butter, also known as beurre noisette, is more than just melted butter; it’s an ingredient transformed. The process of browning butter introduces flecks of deep caramelization and nutty notes, adding unparalleled richness and complexity to these cookies. This depth of flavor pairs exquisitely with the tang of sourdough and the sweetness of molasses, creating a truly gourmet experience.
Beyond flavor, browned butter also benefits the cookie’s texture. The process gently evaporates some of the excess water from the butter. Since sourdough discard inherently contains a significant amount of water, using browned butter helps manage the overall moisture content of the dough. This careful balance prevents the dough from becoming too “wet,” which can lead to a puffy, cakey cookie. Instead, it promotes a dense, chewy texture that we strive for.
How to Make Perfect Browned Butter:
- Start with Quality Butter: Add three sticks (1.5 cups) of good quality salted butter to a light-colored saucepan. A light-colored pan allows you to easily monitor the browning process, preventing accidental burning.
- Melt Gradually: Place the saucepan over medium-high heat and allow the butter to melt completely, stirring occasionally to ensure even melting.
- Observe the Foam: Once melted, the butter will begin to foam. This is the water content evaporating. Keep stirring gently but continuously during this phase.
- Witness the Transformation: Continue cooking and stirring. You’ll notice the foam subsiding and tiny brown bits starting to form at the bottom of the pan. The liquid underneath will transform from a bright yellow to a beautiful amber or golden brown color. Pay close attention to the aroma; it will shift from a milky scent to a distinctly nutty fragrance.
- Remove from Heat: As soon as the butter achieves a uniform amber-brown color and smells nutty, remove it immediately from the heat to prevent it from burning. The residual heat in the pan will continue to cook the butter for a few moments, so acting quickly is essential.
- Cool Completely: Pour the browned butter (including all the flavorful brown bits) into a heat-proof bowl and let it cool for at least 30 minutes at room temperature before using it in the recipe. It needs to be cool enough that it doesn’t cook your other ingredients when combined.
- Storage Options: If preparing in advance, cooled browned butter can be kept at room temperature for up to 24 hours. For longer storage, transfer it to an airtight container and refrigerate for up to three days. Remember to bring it back to room temperature before incorporating it into your cookie dough.
The Sourdough Secret: Why It Elevates These Cookies
I’ll admit, not every baked good benefits from sourdough. My own experiments with sourdough brownies and cake taught me that adding sourdough isn’t a universal magic bullet – sometimes it just doesn’t work! However, when thoughtfully integrated with specific recipe adjustments, sourdough can truly transform a baked good. These Browned Butter Sourdough Molasses Cookies are a shining example of how sourdough, especially discard, can take a classic recipe to an entirely new level.
What Sourdough Discard Brings to These Cookies:
- Enhanced Texture: Sourdough discard significantly improves the cookie’s texture, contributing to an incredibly satisfying chewiness that sets these cookies apart.
- Richer Flavor Profile: The fermentation process in sourdough creates subtle acids and complex flavors, making these cookies taste even more buttery and rich, with a delicate tang that perfectly complements the molasses and spices.
- Smart Discard Utilization: For home bakers, this recipe offers an excellent and delicious way to use up excess sourdough discard, minimizing waste and maximizing flavor.
- Improved Digestibility: The natural fermentation of sourdough helps to break down the starches and proteins in the flour, potentially making the cookies easier to digest for some individuals.
- Natural Prebiotics: Sourdough contains prebiotics, which are beneficial for gut health. While these are still cookies, they offer a slight nutritional edge over their traditional counterparts.

Choosing and Preparing Your Sourdough Starter
For this recipe, selecting the correct state of your sourdough starter is crucial for achieving the desired cookie texture and flavor. We specifically use sourdough discard.
What is Sourdough Discard?
Sourdough discard is simply an unfed starter. It will appear flat and runny, lacking the bubbly, active appearance of a recently fed starter. Its consistency should resemble that of heavy whipping cream. It’s important that it’s not overly sour or fermented; a pleasant, mild tang is what we’re looking for, not an overpowering, acidic smell.
Why not an active starter? An active, bubbly starter would introduce too much leavening into the cookie dough, potentially making the cookies puffy and cakey rather than deliciously chewy. It also adds a different hydration level that can throw off the recipe’s balance.
For a comprehensive guide on sourdough starter care and its various states, please refer to my dedicated blog post here.
How to Prepare Your Sourdough Discard:
Understanding the state of your starter is key. It exists in one of two primary states: fed (active) or unfed (discard).
- If your starter is currently fed and active: You’ll need to leave it at room temperature for several hours until it naturally deflates, becomes flat, and runny. This typically takes 8-12 hours after feeding, sometimes longer depending on temperature and starter activity, to fully become discard.
- If you have discard but not enough for the recipe (1 cup): Feed your existing discard until its total volume is at least 1 + 1/4 cups. After feeding, the starter will activate, become bubbly, and increase in volume. Allow it to sit at room temperature for approximately 20-24 hours until it deflates and returns to its flat, runny “discard” state. You will then use 1 cup for the recipe and have 1/4 cup remaining to continue feeding for future baking adventures.
- If your starter has been neglected or smells very sour: A starter that has been dormant in the fridge for a long time or smells strongly of acetone (like nail polish remover) needs to be “freshened up.” Otherwise, its intense sourness will negatively impact the flavor of your cookies. To freshen it, take 2 tablespoons of your unfed starter, mix it with 1 heaping cup of all-purpose flour and 1 cup of water. Stir well, cover loosely, and let it sit at room temperature for 24 hours. During this time, it may or may not become active and bubbly; the goal is to dilute the intense acidity. After 24 hours, it will be refreshed, less sour, and ready to be used as discard in this recipe.
Obtaining Sourdough Starter If You Don’t Have Any
No sourdough starter yet? No problem! There are several accessible ways to acquire this wonderful baking ingredient and embark on your sourdough journey:
- Ask a Friend or Family Member: This is often the quickest and easiest method! Reach out on social media or directly ask friends and family if anyone has an active sourdough starter. Many enthusiastic sourdough bakers are more than happy to share a couple of tablespoons. Once you have a small amount, you can easily feed it with flour and water to grow it into the volume you need for future recipes.
- Purchase Online or from a Bakery: The internet is a treasure trove for sourdough starter. Many specialized online retailers and even local artisan bakeries sell dehydrated or active starter cultures. A quick Google search will reveal numerous reputable sources from which you can purchase a starter and have it delivered directly to your door.
- Create Your Own Sourdough Starter: For the truly dedicated, cultivating your own starter from scratch is a rewarding experience. This process involves a daily commitment of feeding flour and water, and it typically takes anywhere from 2 to 5 weeks for a starter to become strong and active enough for baking. It’s a journey of patience, but incredibly satisfying!
Mastering the Cookie’s Texture: The Chewy vs. Cakey Debate
When it comes to cookies, are you a member of “Team Cakey” or “Team Chewy”? For me, the ultimate cookie is defined by its glorious chewiness! Achieving that perfect, tender-chewy texture is a delicate balance, and it largely hinges on one key ingredient: flour.
Understanding the role of flour is crucial:
- Too much flour = a cakey, puffy cookie. Excess flour leads to a drier dough, which results in a less spread-out, more domed, and often crumbly cookie. The gluten development can also become too strong, creating a tough rather than chewy texture.
- Just barely enough flour = a gloriously chewy cookie. This is the sweet spot! A slightly wetter dough encourages more spread during baking, leading to thinner edges and a softer, chewier center. The ideal amount of flour allows for perfect gluten structure without drying out the cookie.
- Not enough flour = an extraordinarily flat, crispy cookie. If the dough is too wet, it will spread excessively, resulting in very thin, possibly greasy, and crunchy cookies rather than chewy ones. While some prefer this, it’s not the goal for these molasses cookies.
It’s truly a delicate balance to strike! Because dough consistency can vary slightly based on humidity, flour type, and sourdough starter hydration, it’s always a good practice to bake a single test cookie after preparing your dough. This allows you to assess the texture and make minor adjustments to the remaining dough if necessary, ensuring a perfect batch every time.
Essential Baking Tips for Perfect Sourdough Molasses Cookies
Achieving bakery-quality browned butter sourdough molasses cookies at home is easier than you think with these expert tips:
- Embrace the Wet Dough: Be aware that this is a semi-wet dough. Unlike many traditional cookie doughs, it will feel softer and less firm. Do not be tempted to add excessive amounts of flour to make it stiffer, as this will lead to dry, cakey cookies. Trust the process!
- Flour is Key, But Don’t Overdo It: As discussed, too much flour is the enemy of a chewy cookie. Stick to the recipe measurements closely and use the test bake method if you’re uncertain.
- The Single Test Bake: This is your secret weapon! After mixing the dough, roll a single 1/4 cup portion into a ball and bake it according to the recipe instructions. If this test cookie spreads too much and turns out exceptionally flat, then (and only then) consider adding an additional 1/4 cup of flour to the remaining dough. Most often, the dough is perfect as is, despite its wet consistency.
- Chill for Superior Results: Chilling the dough is a highly recommended step, though optional if you’re in a rush. Chilling provides three main benefits:
- It allows the sourdough discard more time to ferment with the rest of the dough, deepening the complex flavors.
- It significantly improves the final texture of the baked cookie, making it chewier and more consistent.
- It prevents cookies from spreading too much in the oven, ensuring beautiful, perfectly shaped treats.
- Refrigeration Flexibility: The cookie dough is quite versatile and can be refrigerated for anywhere from 1 hour up to 3 days. Keep in mind that as the dough chills longer, the sourdough will continue to ferment, intensifying the subtle tang. The sweet spot for flavor development and texture is generally between 4 to 24 hours of chilling.
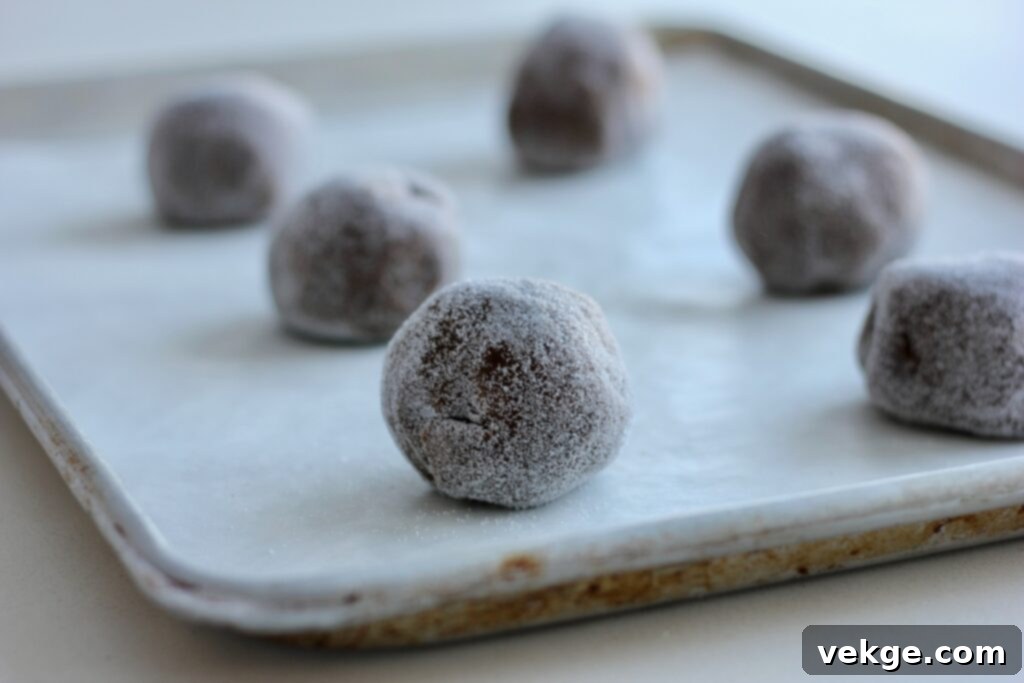
- Freeze Dough for Future Enjoyment: You can absolutely make this dough in advance and freeze it! Simply roll the dough into 1/4 cup balls, place them on a baking sheet, and flash freeze for about one hour until firm. Once frozen, transfer the dough balls to an airtight freezer bag and store them for up to three months. To bake from frozen, reduce the oven temperature to 325°F (160°C) and bake for an extra 2-4 minutes, keeping a close eye on them to prevent overbaking.
- Optimal Cookie Size: Rolling the dough into 1/4 cup balls yields approximately 24 generously sized, satisfying cookies. This size ensures a good balance of crispy edges and a soft, chewy interior.
- Batch Baking for Evenness: If using a standard 13×18 inch baking sheet, bake no more than six dough balls at a time. Crowding the baking sheet can lead to uneven baking and prevent the cookies from spreading properly.
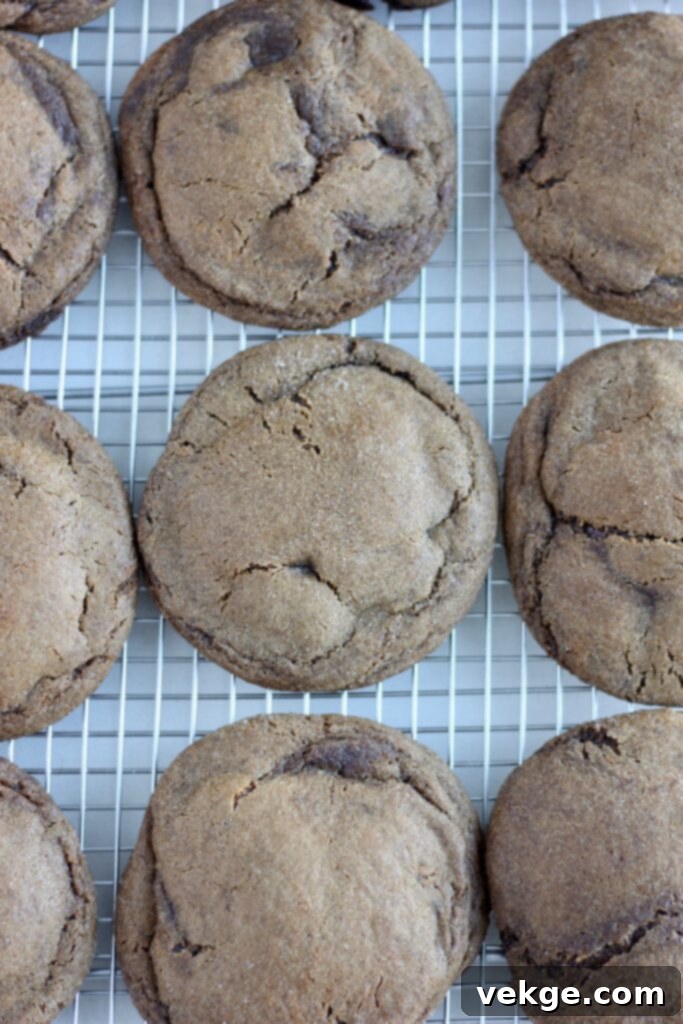
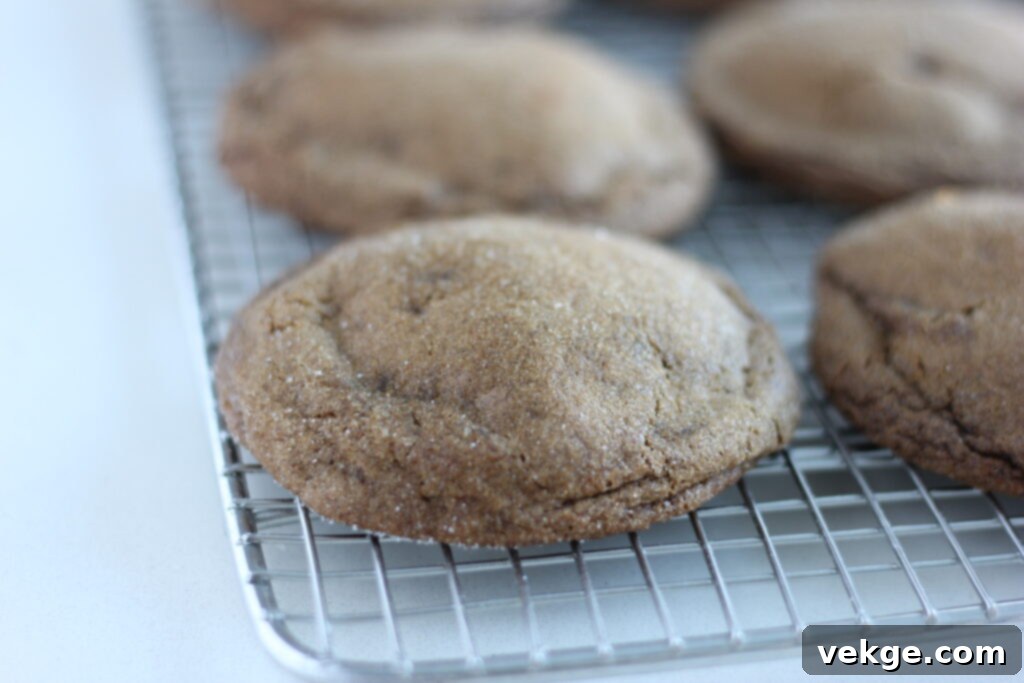
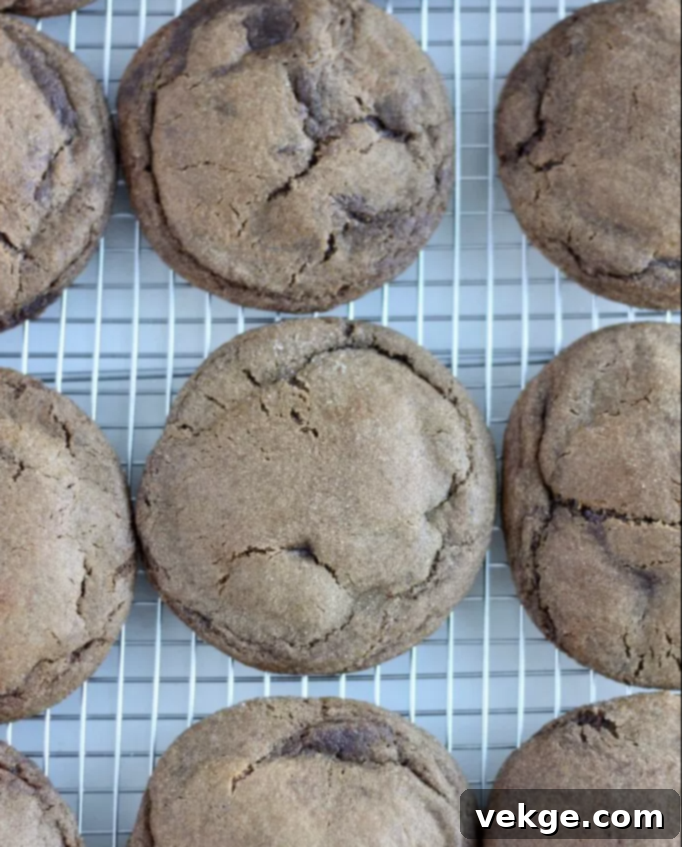
- Avoid Overbaking at All Costs: This is perhaps the most crucial tip for chewy cookies! As soon as the surface of the cookies begins to “crinkle” or “crack,” they are done. They will continue to cook slightly from residual heat as they cool on the baking sheet. You want the center to remain slightly soft and perhaps a touch underbaked, while the edges are set and delicately crispy. The cookies will firm up and become perfectly chewy as they cool completely.
- Parchment Paper is Your Friend: For effortless cleanup and to prevent sticking, I highly recommend using pre-cut parchment paper to line your baking sheets. This also promotes even baking and helps maintain the cookie’s shape. Of course, use whatever method works best for you!
Time-Saving Strategies for Busy Bakers
Life can be hectic, but that shouldn’t stop you from enjoying these fantastic cookies! Here are some strategies to streamline your baking process:
- Brown the Butter in Advance: A day before you plan to make the cookies, brown your butter. Once cooled, cover it and let it sit at room temperature. This single step can save significant time on baking day.
- Prepare Your Sourdough Discard: The day before baking, ensure you have a full cup of flat and runny sourdough discard ready. Refer to the notes above on how to prepare or freshen up your starter as needed.
- Make the Dough Ahead: The cookie dough itself can be prepared up to three days in advance and stored in the refrigerator. This flexibility allows you to fit baking into your schedule seamlessly.
- Freeze Cookie Dough Balls: For ultimate convenience, prepare the cookie dough, roll it into balls, and freeze them. These frozen dough balls can be stored in an airtight bag for up to three months. When a craving strikes, simply grab a few from the freezer, reduce the baking temperature to 325°F (160°C), and add an extra 2-5 minutes to the bake time. Freshly baked cookies are just minutes away!
Browned Butter Sourdough Molasses Cookies
Print
Pin
Rate
Ingredients
- 3 sticks salted butter (1.5 cups, for browning)
- 1 cup white granulated sugar
- 1 cup brown sugar (light or dark)
- 1 cup molasses
- 2 large eggs (room temperature)
- 1 cup flat and runny sourdough discard
- 4 teaspoons baking soda
- 1 teaspoon ground cloves
- 1 teaspoon ground ginger
- 2 teaspoons ground cinnamon
- 1 teaspoon salt
- 4 + 1/3 cups all-purpose flour
- Additional granulated sugar (for rolling dough balls)
Instructions
- Prepare Browned Butter: In a light-colored saucepan, melt 3 sticks of salted butter over medium-high heat, stirring occasionally. Once melted, the butter will foam. Continue cooking and stirring until the foam subsides, and you see brown flecks at the bottom, and the butter liquid turns an amber-brown color, emitting a nutty aroma. Remove immediately from heat and pour into a heatproof bowl to cool for at least 30 minutes.
- Cream Sugars and Butter: Once cooled, combine the browned butter with white sugar and brown sugar in a large mixing bowl. Using an electric mixer, cream them together for 2 minutes until light and fluffy.
- Add Wet Ingredients: Add the room temperature eggs, molasses, and sourdough discard to the creamed mixture. Mix well, beating until the wet dough appears thoroughly combined and slightly fluffy.
- Combine Dry Ingredients: In a separate bowl, whisk together the baking soda, ground cloves, ground ginger, cinnamon, salt, and all-purpose flour until well combined and lump-free. Gradually add the dry ingredients to the wet ingredients. Mix until just combined, being careful not to overmix. The dough will feel noticeably wet and soft.
- Perform a Test Bake: Roll 1/4 cup of dough into a ball. Bake this single cookie at 350°F (175°C) for approximately 10 minutes. If the test cookie spreads excessively and is extraordinarily flat, add an additional 1/4 cup of flour to the remaining dough, then mix gently.
- Chill the Dough: Roll the remaining dough into 1/4 cup balls. Place them on a plate or baking sheet and chill in the refrigerator for at least one hour (or up to 3 days for enhanced flavor).
- Preheat Oven & Prepare Baking Sheets: Preheat your oven to 350°F (175°C). Line one or more 13×18 inch baking sheets with parchment paper or grease them lightly.
- Bake Cookies: Roll each chilled dough ball in granulated sugar until fully coated. Place 6 sugar-coated dough balls on a prepared baking sheet, ensuring adequate spacing. Bake for 9-10 minutes, or until the edges are set and the tops show slight crinkles or cracks, with centers still looking slightly soft. Avoid overbaking, as this will lead to dry cookies.
- Cool & Serve: Remove the baking sheet from the oven and let the cookies cool on the sheet for 5-10 minutes. They will continue to set and become chewier during this time. Transfer to a wire rack to cool completely before serving. Enjoy your perfectly chewy browned butter sourdough molasses cookies!
