Irresistible Homemade S’Mores Bars: Your Ultimate Gooey Dessert Delight
There’s something undeniably magical about s’mores. That perfect trifecta of toasted marshmallow, melted chocolate, and crisp graham cracker evokes memories of campfires, starlit nights, and simple pleasures. But what if you could capture all that classic s’mores goodness in a convenient, easy-to-share bar, no campfire required? Enter these incredible S’Mores Bars!
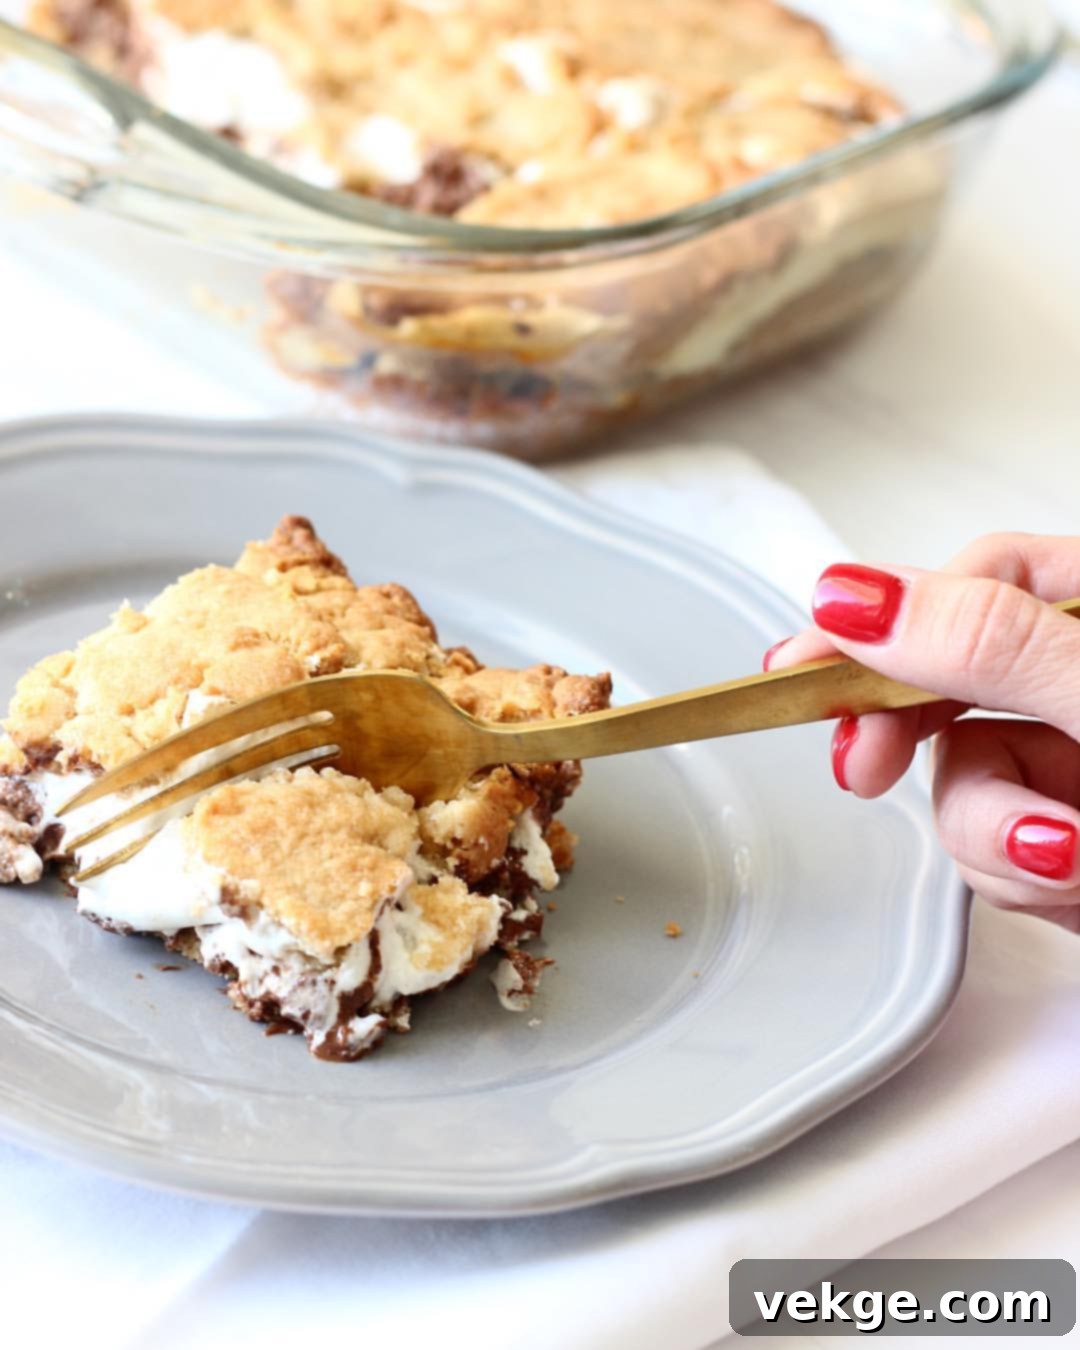
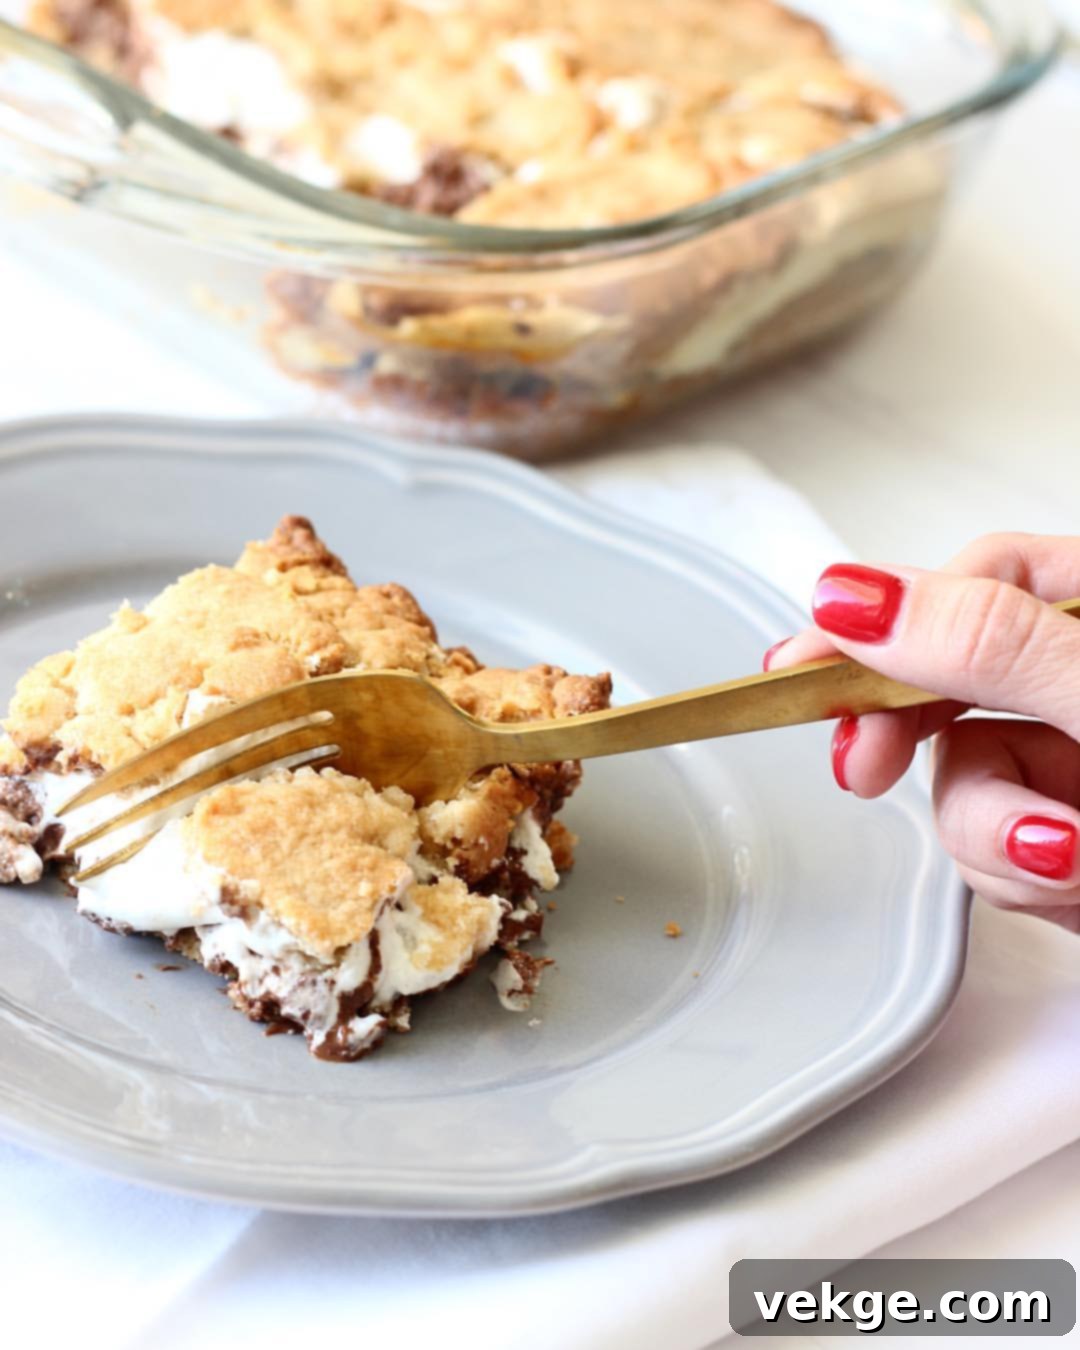
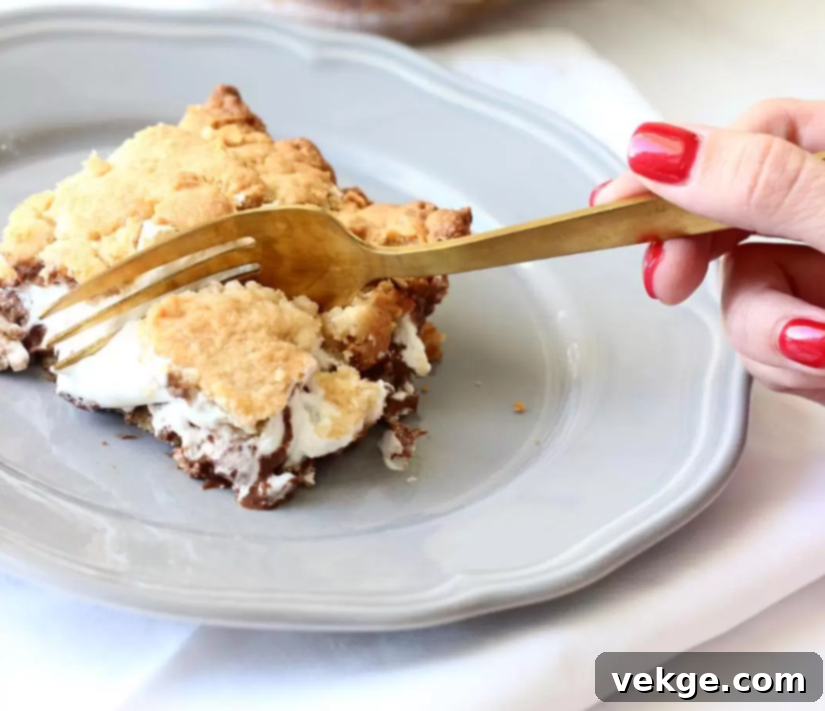
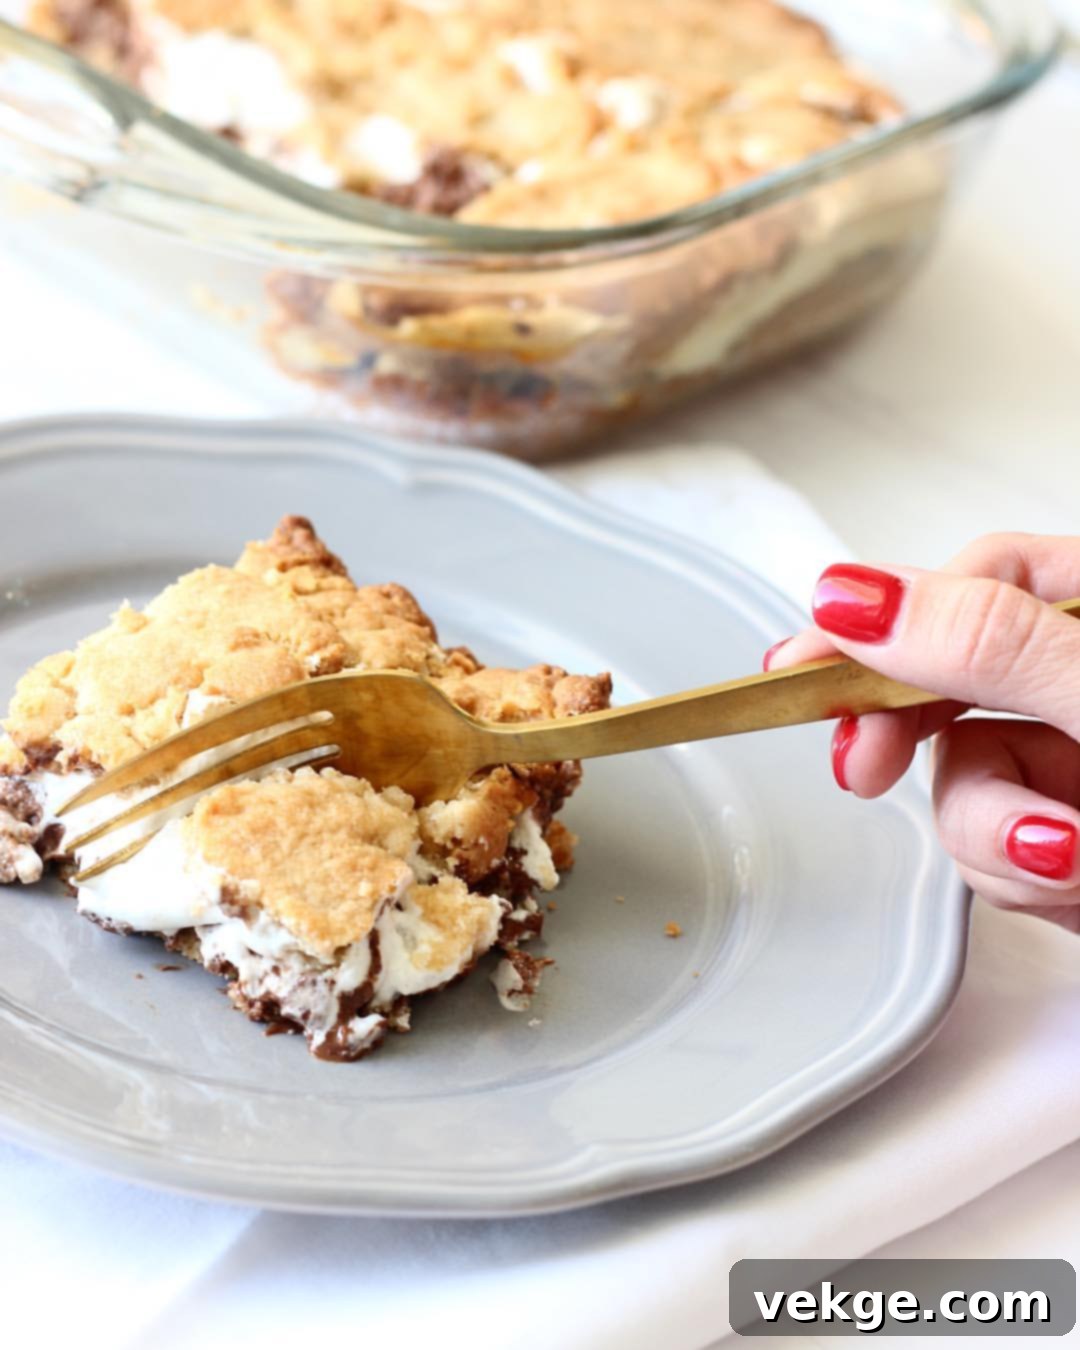
This recipe transforms the beloved campfire treat into a delectable baked dessert that’s perfect for any occasion. Imagine a buttery graham cracker crust, a luscious layer of melty milk chocolate, all topped with a dreamy, golden-brown marshmallow topping. It’s everything you love about traditional s’mores, elevated into a delightful, less-messy bar form. Whether you’re hosting a party, looking for a comforting family dessert, or just craving a taste of summer, these S’Mores Bars are guaranteed to be a crowd-plepleaser. A huge thank you to @thefoodnanny for inspiring this wonderfully gooey creation!

Why You’ll Fall in Love with These S’Mores Bars
Forget the hassle of individual s’mores assembly and the unpredictable nature of open flames. These S’Mores Bars offer all the nostalgic flavor with none of the fuss. Here’s why they’re about to become your new favorite dessert:
- Convenience: No campfire needed! Enjoy the taste of s’mores right from your kitchen oven, any time of year.
- Less Mess: While still wonderfully gooey, these bars are much easier to handle and eat than traditional s’mores, making them perfect for parties and potlucks.
- Perfect Portions: Easily cut into squares, they’re ideal for serving a crowd and ensure everyone gets a delightful bite of every layer.
- Irresistible Layers: A sturdy graham cracker cookie base, rich melted chocolate, and fluffy toasted marshmallow cream create a textural and flavor masterpiece.
- Simple Ingredients: You likely have most of these pantry staples on hand already, making this a quick and accessible recipe.
- Crowd-Pleaser: S’mores are universally loved, and these bars take that adoration to the next level. They disappear quickly!
These bars are not just a dessert; they’re an experience. They bring the warmth and joy of a summer evening around a bonfire directly to your table, making them perfect for gatherings, holidays, or a simple weeknight treat.

S’Mores Bars Recipe
We all know that s’mores are among the yummiest treats imaginable, and these s’mores bars are truly the next best thing! So incredibly delicious and easy to make!
Course: Dessert
Prep Time: 15 minutes
Cook Time: 30 minutes
Total Time: 45 minutes
Servings: 4 generous servings (can be cut into more smaller bars)
Ingredients
- 1/2 cup butter, room temperature
- 1/2 cup granulated sugar
- 1/4 cup brown sugar
- 1 large egg
- 1 tsp vanilla extract
- 1 1/3 cups all-purpose flour
- 3/4 cup crushed graham cracker crumbs
- 1 tsp baking powder
- 1/4 tsp salt
- 2 king-sized Hershey’s milk chocolate bars (or 4 regular bars)
- 1 7 oz jar jet-puffed marshmallow cream
Instructions
- Preheat oven to 350° F (175° C) and grease an 8×8 inch baking dish thoroughly.
- In a large mixing bowl, beat together the softened butter and both sugars (granulated and brown) until the mixture is light and fluffy.
- Add the large egg and vanilla extract to the butter mixture, and beat until well combined, scraping down the sides of the bowl as needed.
- In a separate small bowl, whisk together the dry ingredients: all-purpose flour, graham cracker crumbs, baking powder, and salt.
- Gradually add the dry ingredient mixture to the wet butter mixture, mixing on low speed until just combined. Be careful not to overmix the dough.
- Separate the prepared dough in half. Press one half of the dough evenly into the bottom of the greased 8×8 inch baking dish to form the base.
- Carefully layer the Hershey’s milk chocolate bars on top of the dough base in a single layer. Try to keep the bars intact as much as possible, breaking them only if necessary to fit the dish.
- Gently spread the entire jar of jet-puffed marshmallow cream evenly over the chocolate layer.
- With the remaining dough, flatten it into small, thin shingles or pieces. Carefully arrange and piece these dough shingles together to cover the marshmallow and chocolate layers completely. Don’t worry if it’s not a perfect blanket; the dough will meld together during baking. Gently press the dough down to secure it.
- Bake in the preheated oven for 30-35 minutes, or until the top crust is lightly golden brown and the marshmallow is puffed and slightly toasted.
- Allow the S’Mores Bars to cool completely on a wire rack before attempting to cut them. This will help the layers set and prevent excessive stickiness. Once cooled, dig in and… ENJOY!
These S’Mores Bars are rated 5 out of 5 stars based on 1 vote, a testament to their deliciousness!

Tips for Achieving S’Mores Bar Perfection
While this recipe is straightforward, a few key tips can elevate your S’Mores Bars from great to absolutely unforgettable:
- Room Temperature Butter: Ensure your butter is truly at room temperature. This makes creaming it with the sugars much easier and results in a lighter, more even dough texture.
- Don’t Overmix the Dough: Once you add the dry ingredients, mix only until just combined. Overmixing can develop the gluten in the flour too much, leading to tougher bars.
- Grease Your Pan Well: Marshmallow cream can be notoriously sticky. A well-greased baking dish, or even lining it with parchment paper (leaving an overhang for easy lifting), will save you a lot of trouble during removal and cleanup.
- Even Layers: Try to spread your dough and marshmallow cream as evenly as possible. This ensures each bite has a balanced ratio of all three delicious components.
- Breaking Chocolate: If using larger chocolate bars, you might need to gently break them to fit snugly across the dough layer. Small gaps are fine, as the chocolate will melt and spread.
- Marshmallow Cream Handling: For easier spreading of marshmallow cream, you can lightly oil or wet your spatula. It helps prevent sticking.
- Cool Completely: This is crucial! S’mores bars are incredibly gooey when warm, which is part of their charm, but they will be very difficult to cut cleanly if not fully cooled. Patience is a virtue here. For best results, chill them in the refrigerator for an hour or two before cutting.
- Storage: Store any leftover bars in an airtight container at room temperature for up to 3 days. If you prefer them a bit firmer, refrigeration works too.
Delicious Variations to Try
Once you’ve mastered the classic S’Mores Bar, feel free to get creative with these delicious variations:
- Chocolate Varieties: Experiment with different types of chocolate. Dark chocolate chips, white chocolate chunks, or even a mix of milk and semi-sweet chocolates can add a new dimension.
- Add-ins to the Crust: Fold in some chopped nuts (like pecans or walnuts) into your graham cracker dough for extra texture and flavor.
- Toasted Coconut: Sprinkle a layer of toasted coconut flakes over the chocolate before adding the marshmallow for a tropical twist.
- Peanut Butter Swirl: Swirl a tablespoon or two of softened peanut butter into the marshmallow cream for a decadent peanut butter s’mores experience.
- Miniature Marshmallows: If you don’t have marshmallow cream, you can use mini marshmallows. Simply sprinkle them generously over the chocolate layer, then cover with the remaining dough. The texture will be slightly different but still delicious.
- Caramel Drizzle: After baking and cooling, drizzle some warm caramel sauce over the bars for an extra layer of sweetness and complexity.
Serving Suggestions
These S’Mores Bars are substantial enough to be a stand-alone dessert, but they also pair wonderfully with:
- A scoop of vanilla bean ice cream for an ultimate indulgence.
- A drizzle of chocolate fudge or caramel sauce.
- A sprinkle of flaky sea salt to enhance the chocolate and caramel notes.
- A hot cup of coffee or a cold glass of milk.
Frequently Asked Questions About S’Mores Bars
Got questions about making these delightful bars? We’ve got answers!
Q: Can I use regular marshmallows instead of marshmallow cream?
A: Yes, you can! If you use regular marshmallows (miniature or cut-up larger ones), place them in an even layer over the chocolate. The texture of the top layer will be different; the marshmallows will toast individually, offering a slightly chewier, more authentic “campfire” marshmallow experience. However, marshmallow cream provides that smooth, gooey, unified topping. The recipe specifies marshmallow cream for a reason, but feel free to experiment!
Q: How do I store leftover S’Mores Bars?
A: Store the cooled S’Mores Bars in an airtight container at room temperature for up to 3 days. If you prefer them a bit firmer or want to extend their shelf life slightly, you can refrigerate them, but they might become a bit chewier. Bringing them back to room temperature for a short while before serving will restore some of their softness.
Q: Can I make these ahead of time?
A: Absolutely! These bars are excellent when made a day in advance. In fact, chilling them overnight in the refrigerator can make them even easier to cut into neat squares. Just let them come to room temperature for about 30 minutes before serving if you want maximum gooeyness.
Q: What kind of chocolate works best?
A: The recipe calls for Hershey’s milk chocolate bars to capture that classic s’mores flavor. However, you can use your favorite milk chocolate, or even semi-sweet or dark chocolate chips if you prefer. Just make sure it’s a chocolate that melts well.
Q: My marshmallow topping didn’t get golden brown. What happened?
A: The browning of the marshmallow cream typically happens during the last few minutes of baking. If your oven doesn’t brown it sufficiently, you can carefully place the baking dish under a broiler for 1-2 minutes. Watch it very closely, as marshmallows can burn quickly under a broiler!
Get Ready to Indulge!
These S’Mores Bars are more than just a dessert; they are a delightful journey back to carefree moments and sweet indulgence. Easy to make, incredibly satisfying, and guaranteed to put a smile on everyone’s face, they are the perfect treat for any season or reason. So go ahead, gather your ingredients, follow these simple steps, and prepare to delight your taste buds with the ultimate gooey, chocolatey, graham cracker goodness. Don’t forget to share your creations and tag us with your s’mores bar success!
