This post contains affiliate links, and I may receive a commission on your purchase. Thank you for shopping through my links.
Bake the Best Classic White Sandwich Bread: An Easy & Flavorful Recipe
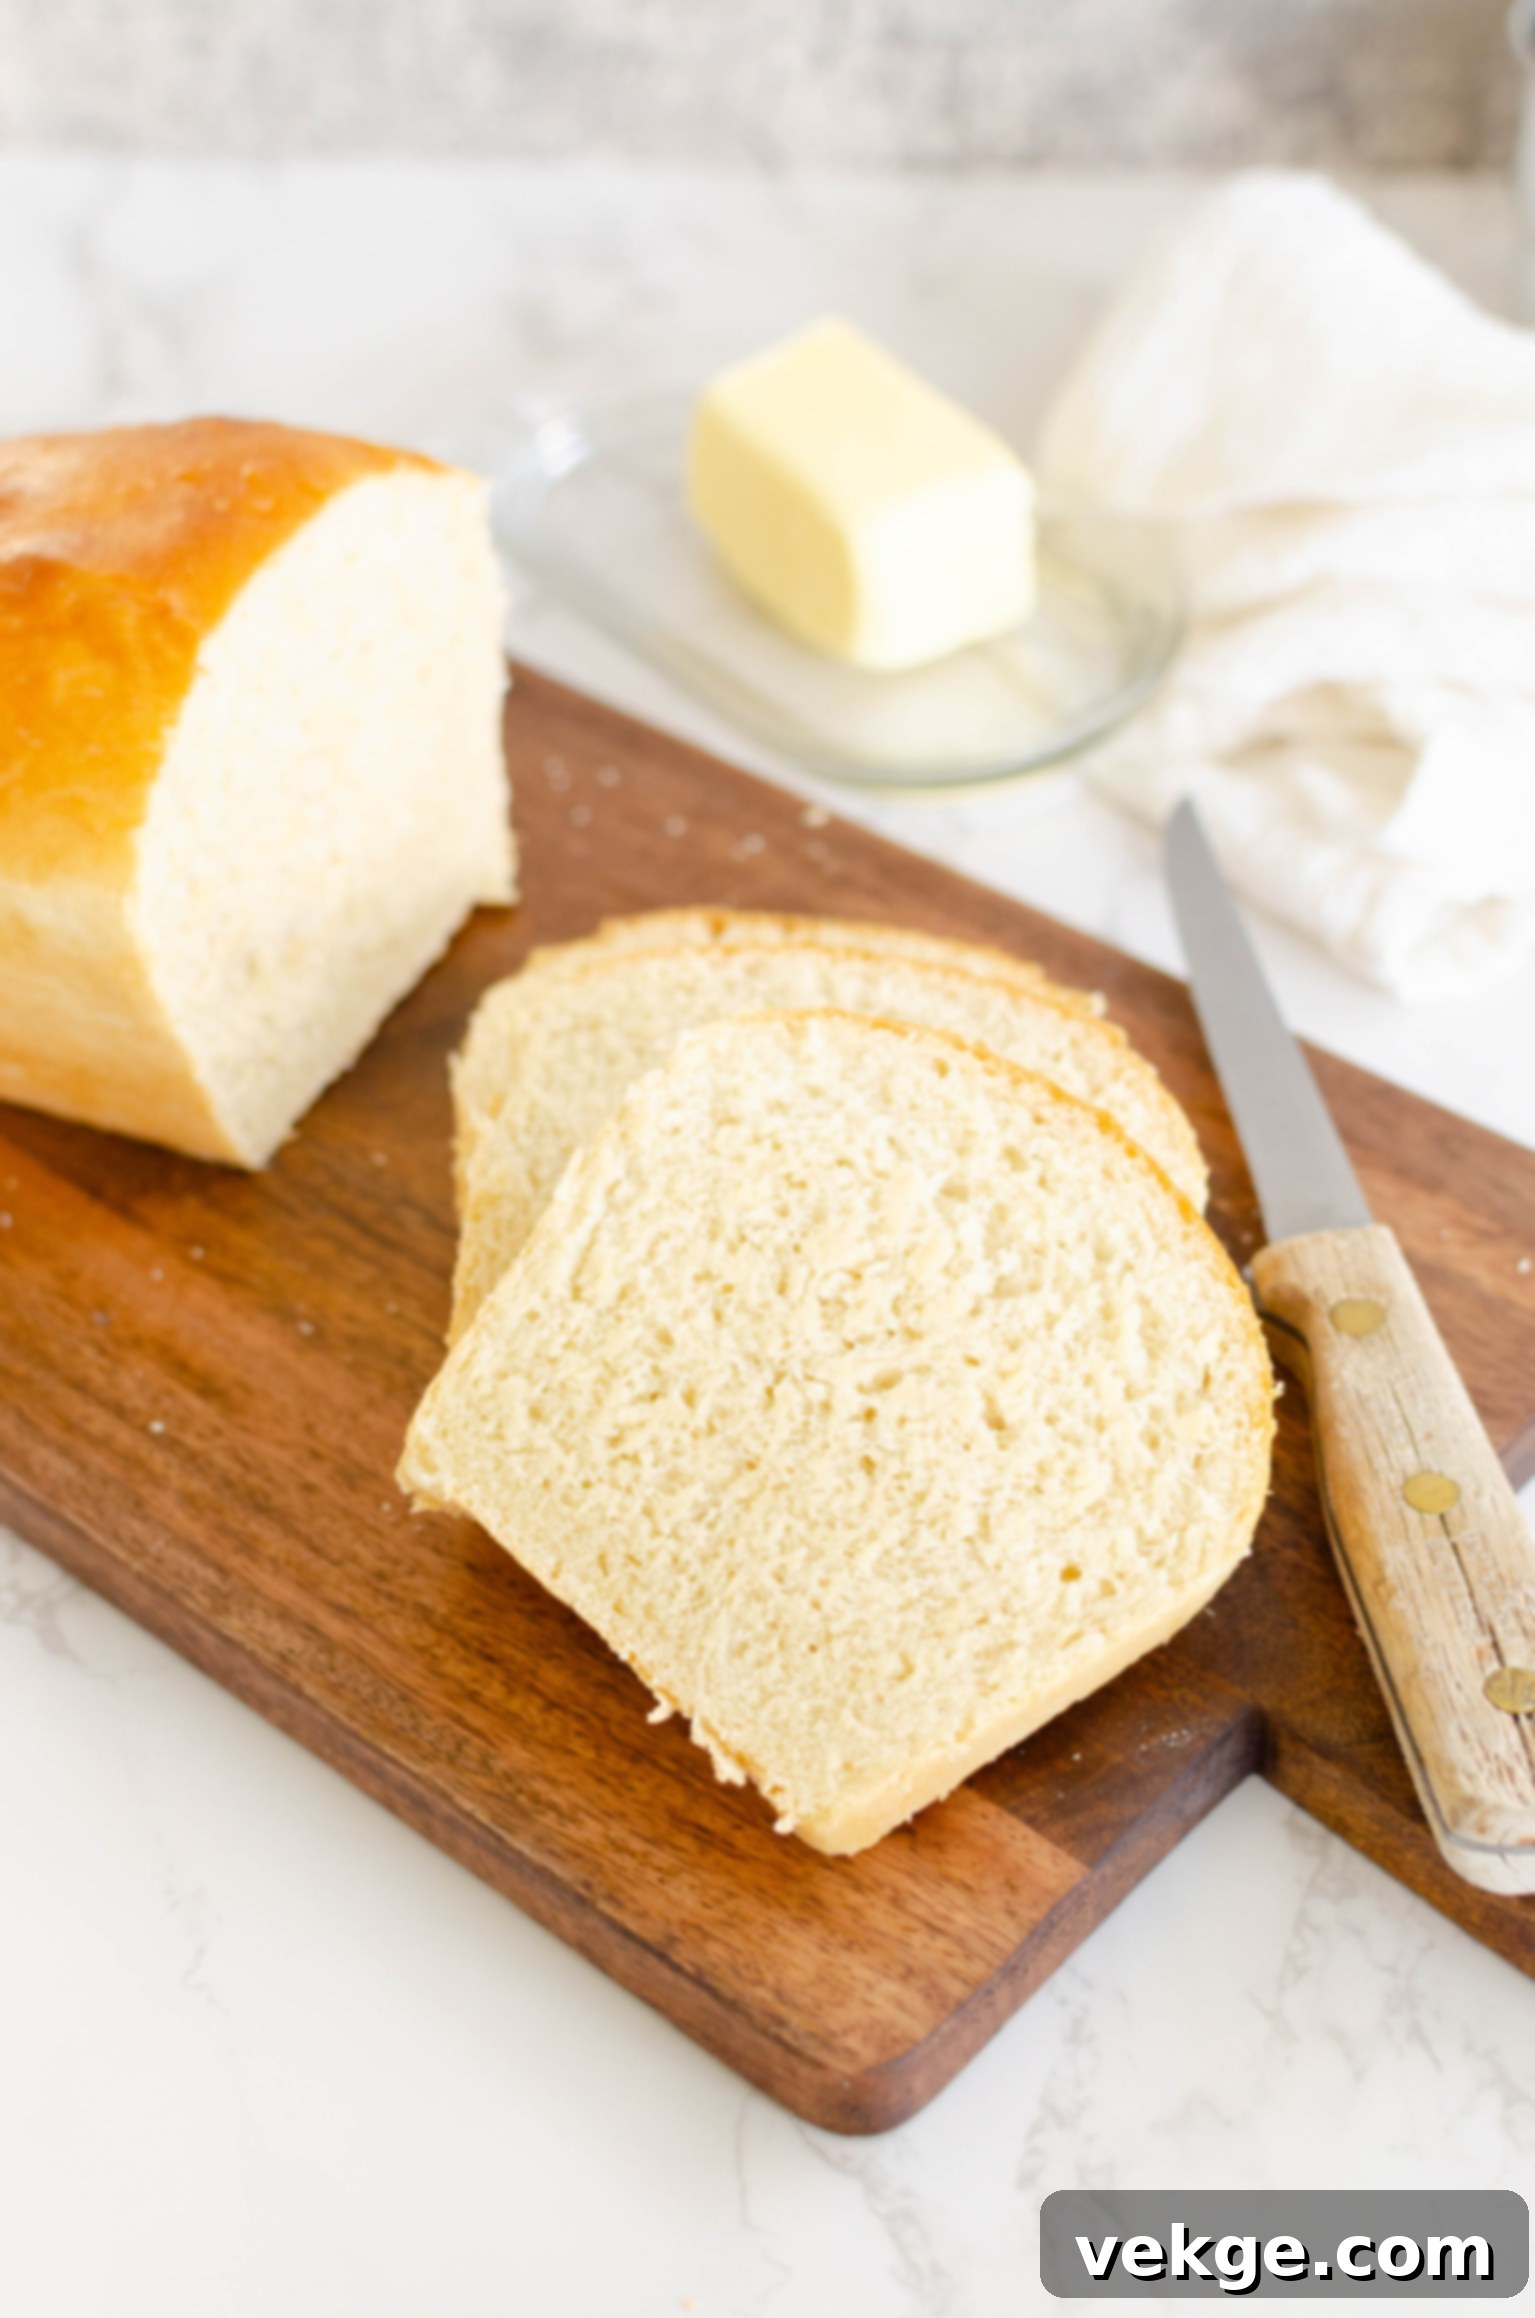
Welcome to the most beloved recipe on my site: Classic White Sandwich Bread! It’s not just a recipe; it’s a phenomenon. I receive countless messages daily from home bakers who rave about its incredible simplicity and unmatched flavor, often calling it the “best bread EVER!” This versatile recipe yields three generous large loaves, nine delightful mini loaves, or a hearty batch of 24-32 fluffy dinner rolls, making it perfect for any occasion, from everyday sandwiches to special gatherings.
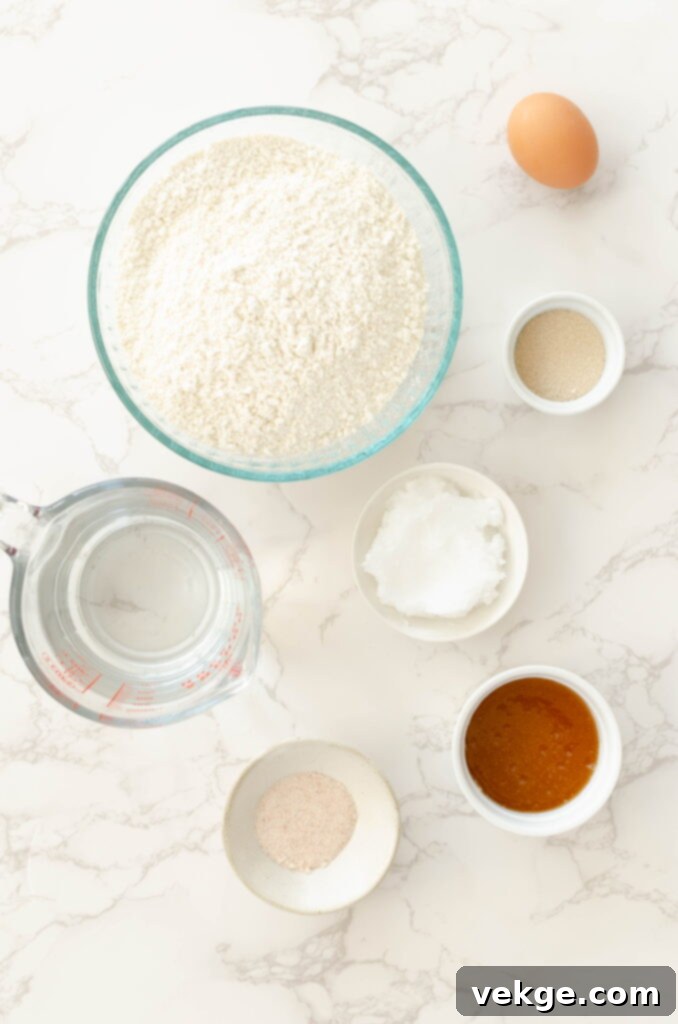
Essential Ingredients for Your Perfect Classic White Sandwich Bread
Creating exceptional bread starts with understanding the role of each ingredient. While bread making can seem daunting, this recipe simplifies the process with forgiving ingredients and clear instructions. Let’s delve into what makes each component crucial to achieving that perfect loaf.
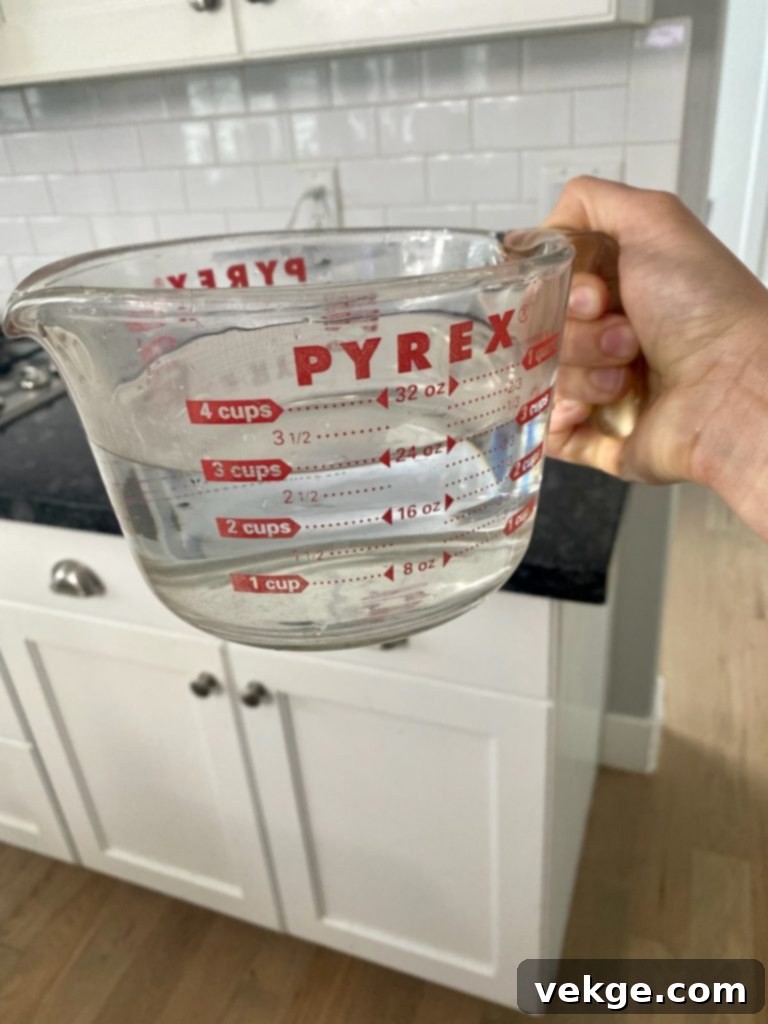
Warm Water: The Catalyst for Yeast Activity
The temperature of your water is paramount in bread making. It’s not just a suggestion; it’s a critical factor for successful yeast activation and dough rise. Aim for warm water, ideally around baby bottle temperature, between 105°F and 115°F (40°C-46°C). If the water is too cold, the yeast will activate slowly, leading to a prolonged and potentially insufficient rise. Conversely, water that’s too hot can stress or even kill the delicate yeast organisms, preventing the dough from rising altogether. Proper water temperature ensures your yeast thrives, promoting a faster, more robust rise and a beautifully airy texture in your final bread.
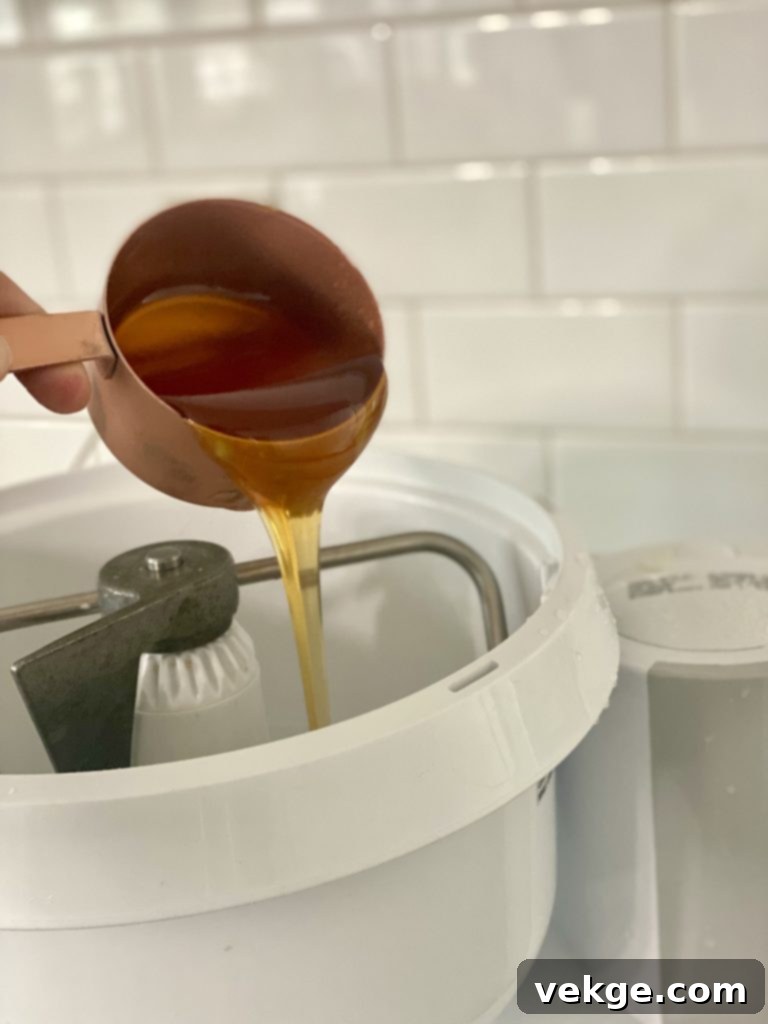
Honey or Sugar: Sweetness and Yeast Nourishment
For years, I relied on granulated white cane sugar for this recipe, always achieving fantastic results. More recently, I’ve transitioned to using honey, which imparts a subtle, richer flavor and boasts a slightly lower glycemic index—a benefit many appreciate. However, don’t hesitate to use regular sugar if that’s what you have; the bread will still be delicious. I’ve also successfully substituted coconut sugar numerous times. It produces a lovely loaf with a slightly darker hue, resembling whole-wheat bread in appearance, and offers another lower-glycemic option.
If you prefer a less sweet bread, feel empowered to adjust the sweetener amount. You can reduce it to 1/2 cup, 1/4 cup, or even omit it entirely. The bread will still turn out beautifully, just with a milder flavor profile. The yeast will still have enough to feed on from the flour’s natural sugars, so other ingredient quantities remain unchanged.
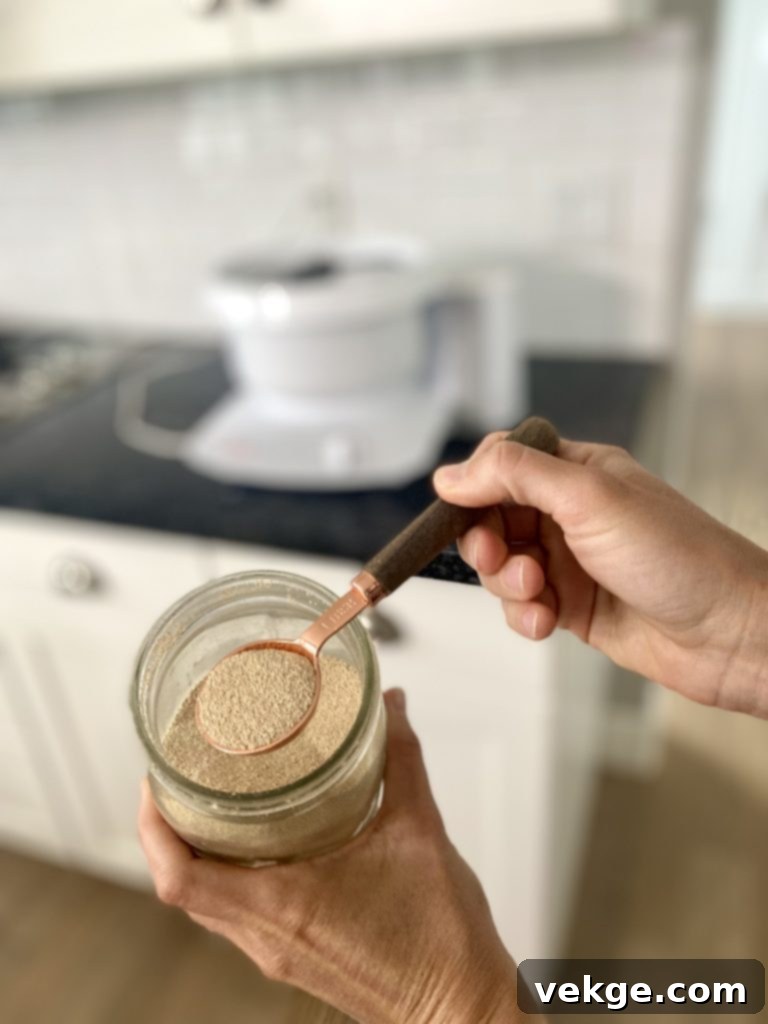
Active Dry Yeast: The Heart of the Rise
My go-to for this recipe is active dry yeast, which requires proofing—dissolving it in warm water with a touch of sugar to ensure it’s alive and active before mixing with other ingredients. I typically source Red Star Active Dry Yeast from Costco, as it consistently delivers reliable results.
Alternatively, instant yeast can be used. Instant yeast is designed to be mixed directly with dry ingredients without prior proofing, though dissolving it in water first won’t harm the process. If instant yeast is your only option, feel confident using it as a direct substitute for active dry yeast; the outcome will still be excellent.
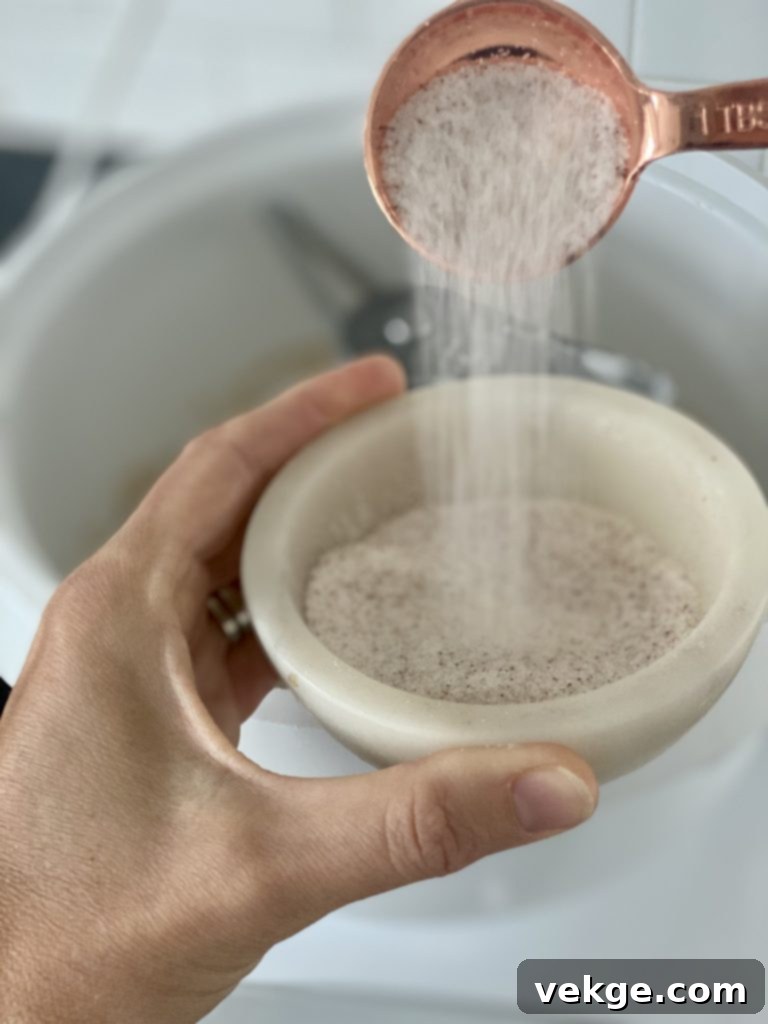
Salt: The Essential Flavor Enhancer
While many ingredients in this white sandwich bread recipe are forgiving—you might forget the sugar, oil, or even the egg, and still get a decent loaf—forgetting the salt is a critical error. Salt is not merely a seasoning; it’s a fundamental component that balances flavors, strengthens the gluten structure, and controls yeast activity. A loaf without salt will be bland, flat, and utterly unappetizing. It’s truly the ingredient you cannot omit.
I exclusively use Redmond Real Salt. This exceptional salt is pure, unrefined, and bursting with naturally occurring trace minerals, free from fillers, anti-caking agents, or unhealthy additives often found in commercial table salts. Mined from an ancient sea bed in central Utah, Redmond Real Salt is a true, mineral-rich sea salt that elevates the flavor profile of any dish. You can enjoy a 15% discount on your purchase with my affiliate code, AMBERSKITCHEN. For cost efficiency, I often buy a 25 lb bag every few years, storing it in airtight buckets or mason jars, ensuring a continuous supply of this culinary gem.
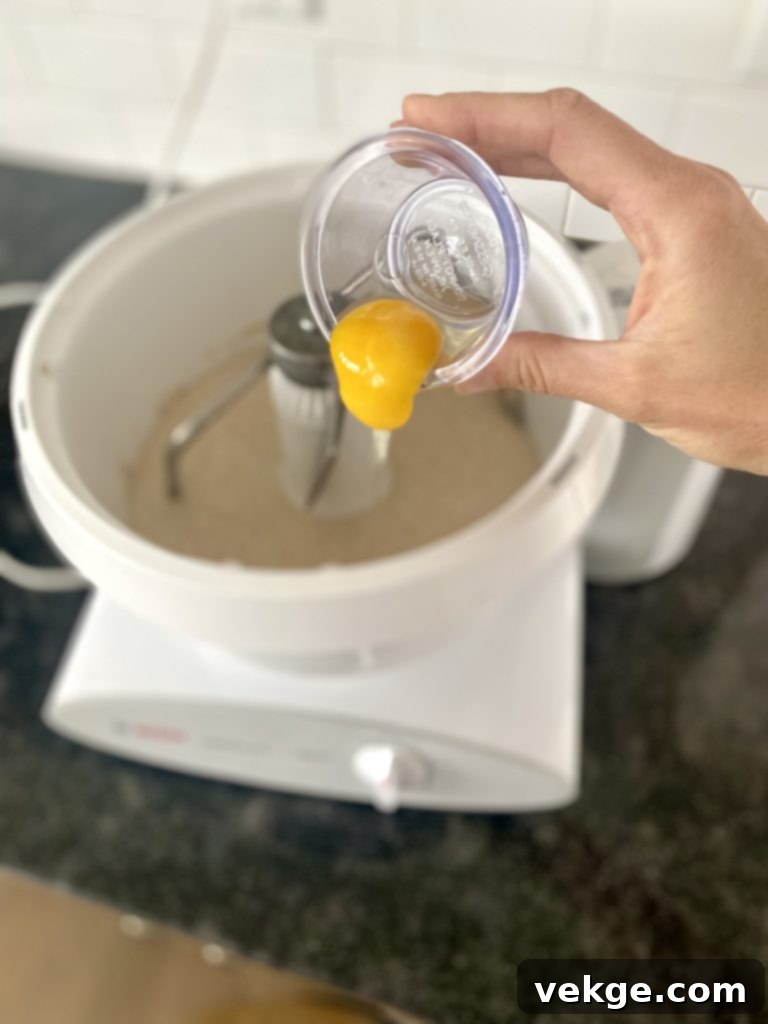
Egg: For a Tender Crumb and Richness
The addition of an egg is instrumental in achieving the remarkably soft texture and preventing the bread from becoming crumbly. It enriches the dough, contributing to a more tender and moist interior. However, if dietary preferences or availability require an alternative, you have several excellent options:
- Simply omit the egg. The bread will still be delicious, albeit with a slightly different texture.
- Substitute with 1/4 cup of aquafaba (the liquid from canned chickpeas) for a vegan alternative.
- Use a flax egg replacement (1 tablespoon ground flaxseed mixed with 3 tablespoons water, allowed to sit until thickened).
If you decide to halve this recipe, you can still use a whole egg, half of a beaten egg, or entirely skip it, and your scaled-down loaf will turn out wonderfully.
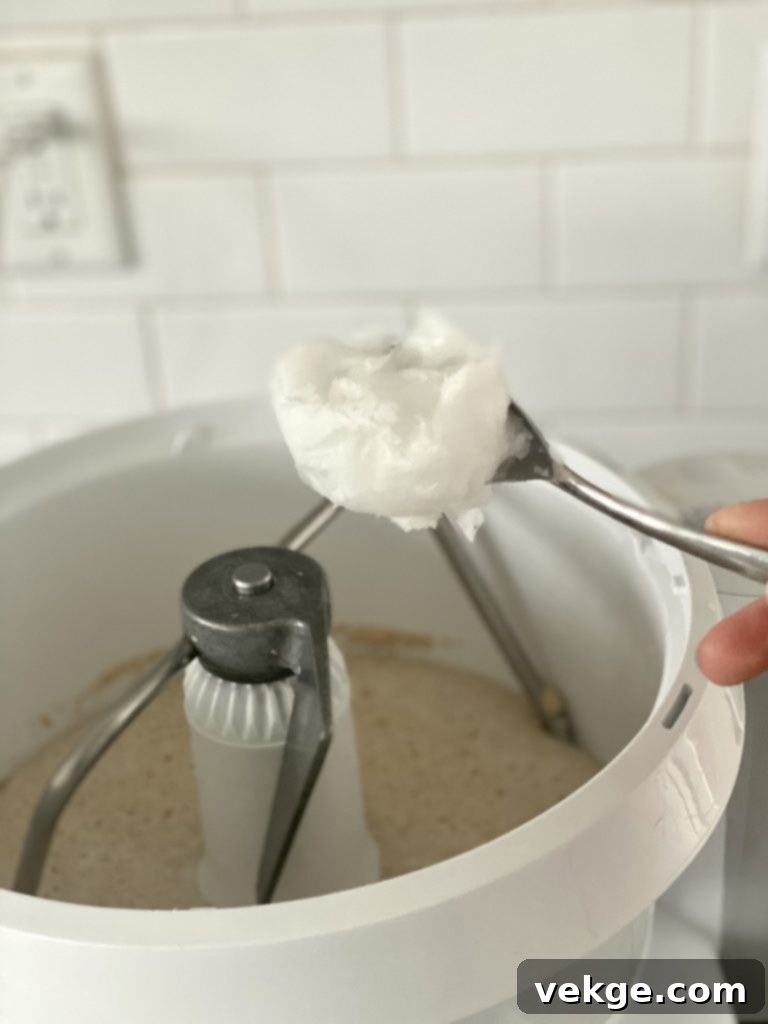
Coconut Oil: The Secret to Supreme Softness
Melted coconut oil is my unwavering choice for bread recipes, and for good reason: it truly works magic! It consistently delivers a noticeably softer crumb compared to bread made with other fats. Despite its origin, rest assured that coconut oil imparts no discernable coconut flavor to the finished bread, making it a perfect neutral fat.
Should coconut oil not be suitable for your needs, my top recommendation for a substitute is avocado oil, used in the same quantity. Its neutral flavor and high smoke point make it an excellent choice. My third preference would be melted butter, which adds richness, followed by vegetable or canola oil. Feel free to choose the oil that best suits your palate and pantry.
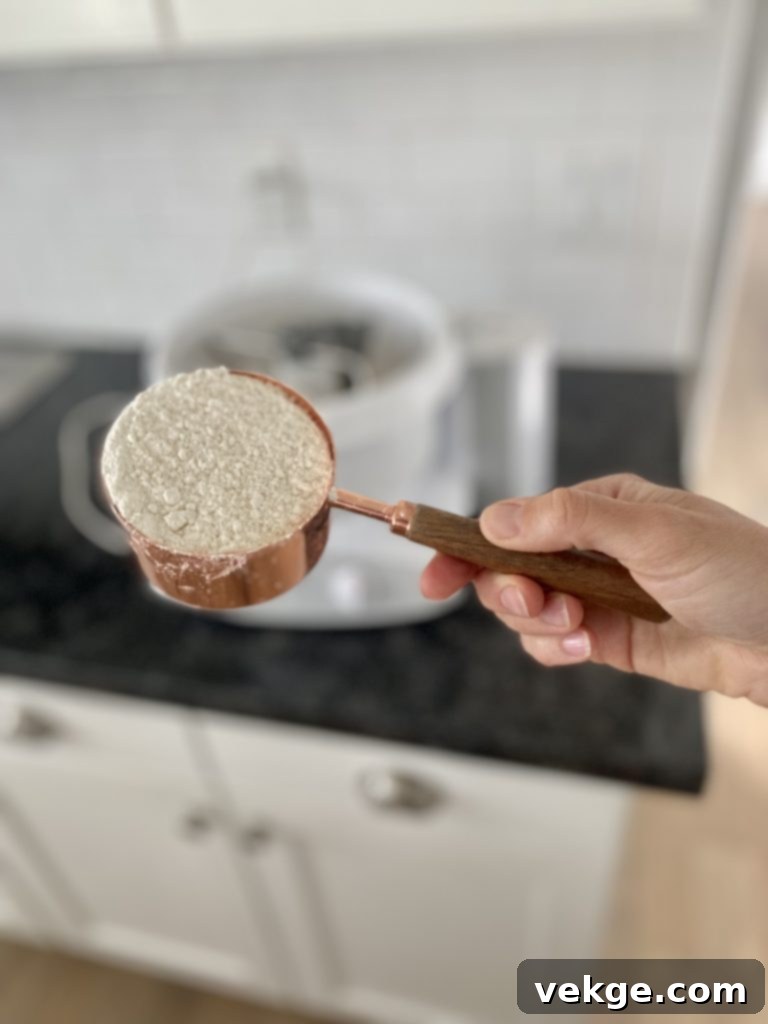
Flour: The Foundation of Your Loaf
This versatile recipe adapts beautifully to various types of flour, each offering unique characteristics to your final bread. Experiment to find your favorite!
- Bread Flour: Enriched with a higher gluten content than all-purpose flour, bread flour yields a tall, buoyant rise and a magnificently soft bread with an appealing stretch. I frequently use bread flour from Lehi Mills, a local mill. Their commitment to sourcing wheat from farmers who avoid glyphosate on their crops aligns with my values. Use code “AMBERSKITCHEN” for 10% off your purchase.
- All-Purpose Flour: A reliable and widely available option, all-purpose flour can be used as a direct, straight-across substitute for bread flour. It will produce a lovely loaf, though perhaps with a slightly less dramatic rise than bread flour.
- Whole Wheat Flour: Substituting whole wheat flour introduces a richer, nuttier flavor and increased fiber. Due to its higher absorbency and denser nature, you’ll generally need slightly less whole wheat flour than bread flour. For example, instead of 8.5 cups, you might start with 7.75 cups and adjust based on the dough’s texture during mixing. The goal is a dough that is tacky but not overly sticky.
- Kamut Flour: Kamut, an ancient grain, offers a distinct, slightly nutty flavor and a nutritional profile that’s often easier to digest for some. It hasn’t undergone the same genetic alterations as many modern wheat varieties. While it can replace all-purpose flour, it’s more absorbent, so reduce the total flour amount by approximately 10-15%. In my experience, Kamut bread tends to rise a bit less dramatically and might have a slightly more crumbly texture. The tops of loaves made with Kamut often exhibit a charming, subtly dimpled appearance.
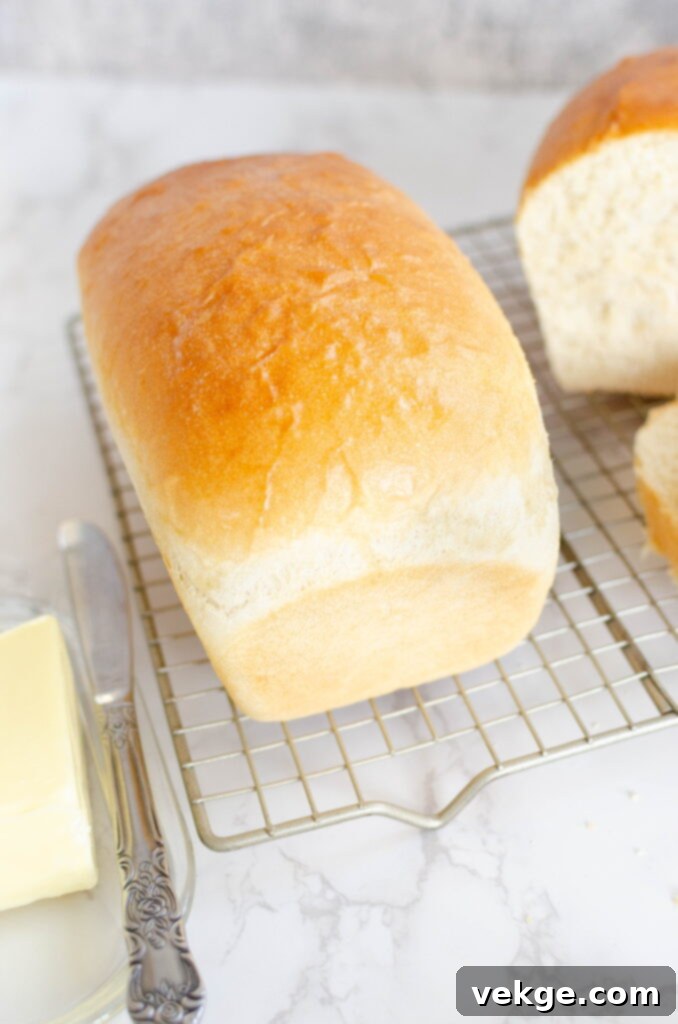
How to Make the Best Classic White Sandwich Bread
Making homemade bread is a deeply satisfying experience. Follow these simple steps to create delicious, soft, and tender white sandwich bread from scratch.
Step 1: Activate the Yeast
Begin by combining the warm water, sugar (or honey), and active dry yeast in a large mixing bowl. Stir gently until the sugar dissolves. Cover the bowl and let this mixture proof for 10 minutes. A successful proof will show a bubbly, foamy layer on top, indicating the yeast is active and healthy. It should also carry a distinct, pleasant yeasty aroma. If your yeast doesn’t foam, it’s best to discard the mixture and start again with fresh yeast and properly warmed water.
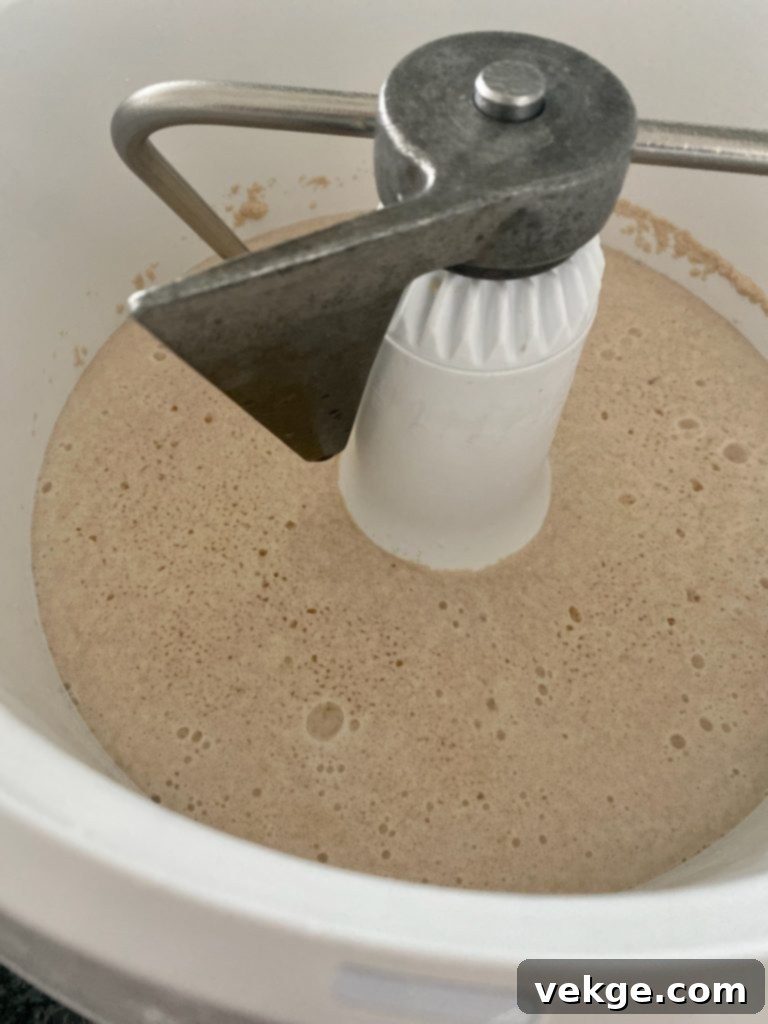
Step 2: Combine Wet and Dry Ingredients
Once your yeast is proofed, add the melted coconut oil, beaten egg, and salt directly into the yeast mixture. Stir well to combine these wet ingredients. Next, begin adding the flour, one cup at a time, mixing thoroughly after each addition. Continue adding flour until the dough starts to come together and pulls away from the sides of the bowl.
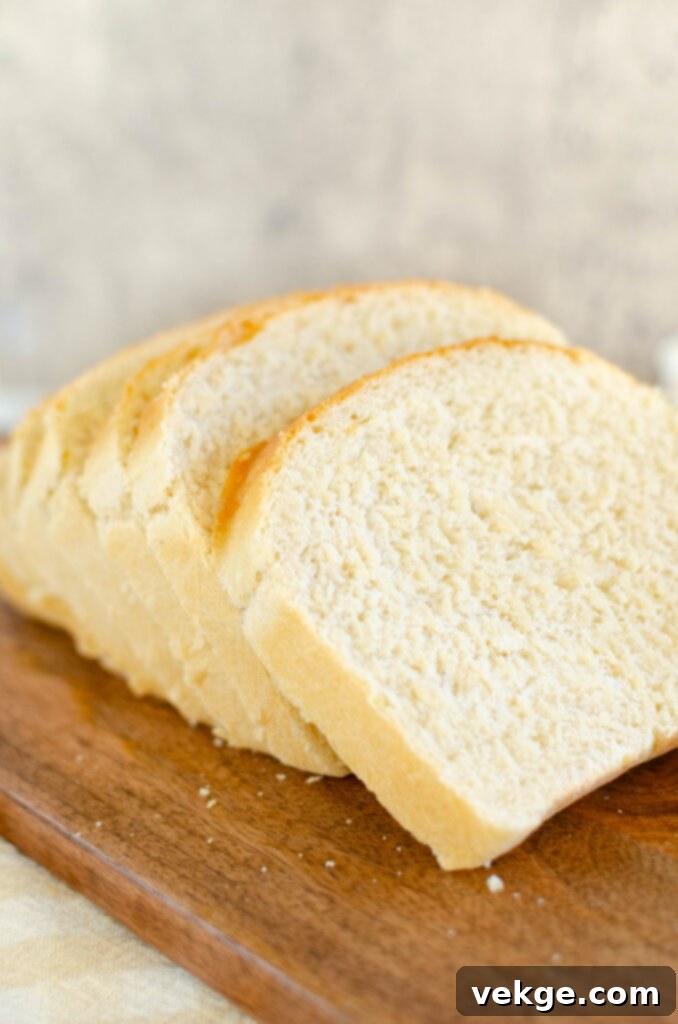
Step 3: Perform the “Touch Test” for Perfect Flour Consistency
Determining the ideal amount of flour is crucial for bread texture. My preferred method is the “touch test”: gently press three fingers into the dough. If a significant amount of dough sticks to your fingers, it needs more flour. If it feels soft and tacky but doesn’t readily transfer to your fingers, you’ve achieved the perfect consistency. If the dough feels dry, stiff, or crumbles easily, you’ve added too much flour. You can often remedy this by kneading in a teaspoon of extra oil to rehydrate it. Avoid over-flouring at all costs, as this will result in dense, dry bread.
Step 4: Knead the Dough
Knead the dough for approximately 10-15 minutes. This process develops the gluten, which is essential for the bread’s structure and elasticity, giving it that characteristic chewiness and open crumb. You can knead by hand or using a stand mixer with a dough hook. Continue until the dough is smooth, elastic, and passes the windowpane test (where a small piece of dough can be stretched thin enough to see light through it without tearing).
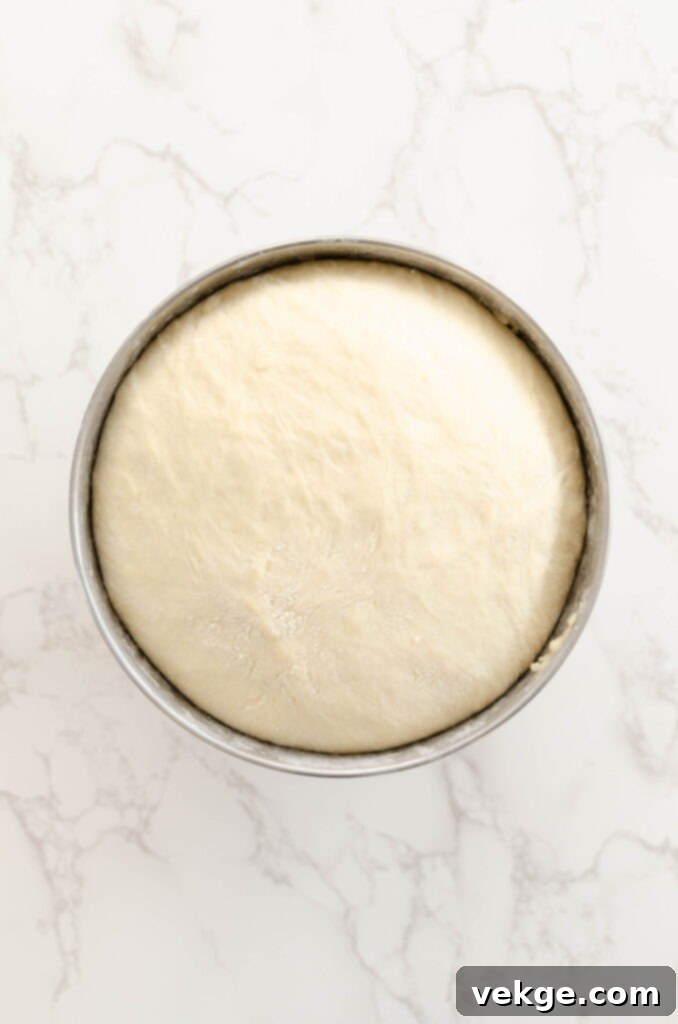
First Rise (Bulk Fermentation)
Place the kneaded dough in a lightly oiled bowl, turning it once to coat. Cover the bowl with a clean kitchen towel, a lid, or plastic wrap to prevent drying. Allow the dough to rise in a warm, draft-free place for about an hour, or until it has doubled in size. This first rise allows the yeast to work its magic, developing flavor and volume.
Shape the Dough
Once the dough has doubled, gently punch it down to release the air. Turn the dough out onto a lightly floured surface. Now, it’s time to shape! This recipe is incredibly versatile:
- For three large sandwich loaves: Divide the dough into three equal portions. Gently flatten each portion into a rectangle, then roll it tightly from one end to the other, pinching the seam closed and tucking the ends underneath to form a neat loaf.
- For nine mini loaves: Divide the dough into nine equal portions and shape each as described for the large loaves.
- For 24-32 dinner rolls: Divide the dough into 24 or 32 equal pieces. Roll each piece into a smooth, tight ball.
Place your shaped dough into greased loaf pans or on greased baking sheets, depending on your desired final product.
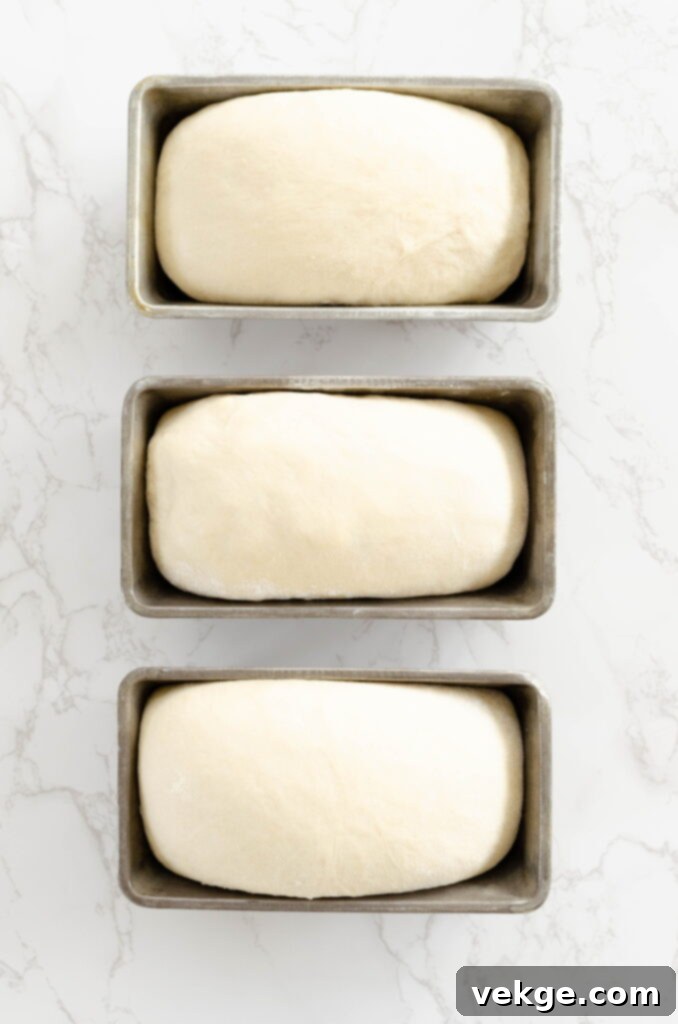
Second Rise (Proofing)
Cover the shaped dough again with plastic wrap, a lid, or a clean dish towel. Let it rise for a second time until it has nearly doubled in size, typically another 30-45 minutes. This second rise contributes to a light, airy texture and good oven spring.
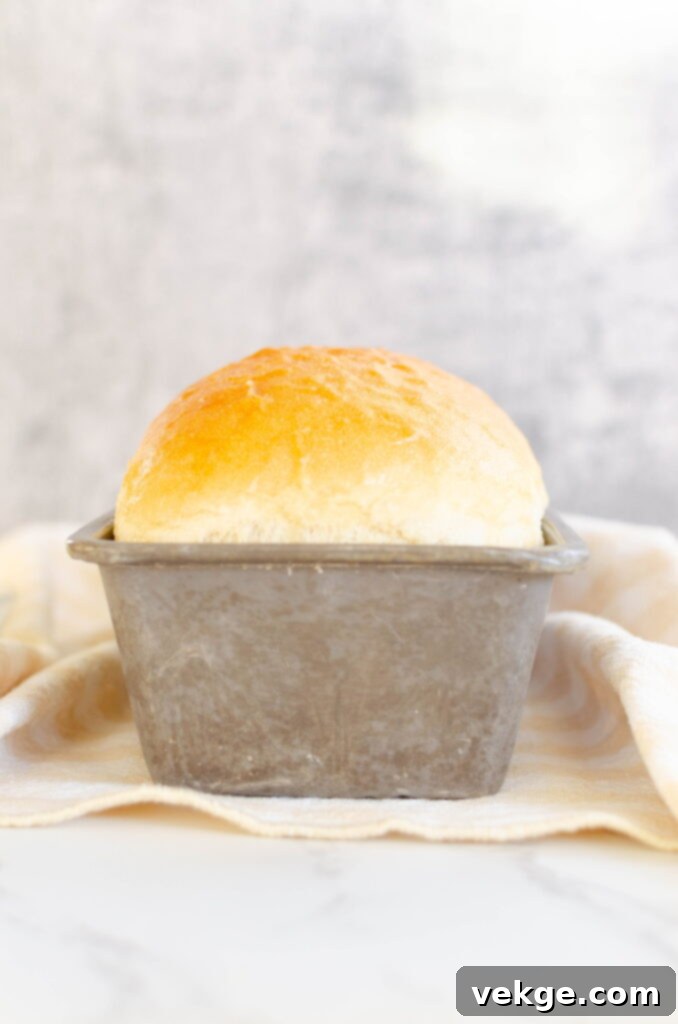
Bake Your Delicious Bread
Preheat your oven to 375°F (190°C) for loaves or 350°F (175°C) for rolls. Bake your bread until golden brown and the internal temperature reaches 180°F (82°C) to 190°F (88°C) using an instant-read thermometer.
- Large loaves: Bake for 25-30 minutes at 375°F.
- Mini loaves: Bake for 22-25 minutes at 375°F.
- Dinner rolls: Bake for 17-20 minutes at 350°F.
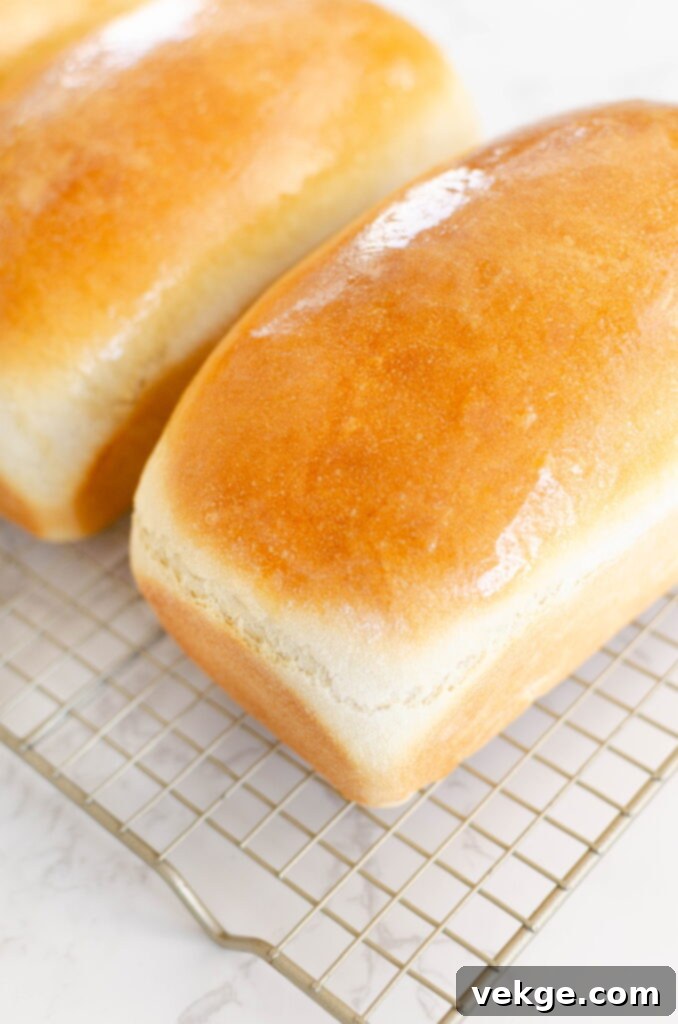
Once baked, immediately remove the bread from the oven and transfer it from the pans to a wire cooling rack. This crucial step prevents condensation from forming on the bottom of the loaves, which can lead to a soggy crust. For an extra touch of richness and shine, brush the warm tops with melted butter, if desired, as they cool.
Frequently Asked Questions (FAQs)
We’ve gathered answers to some of the most common questions about baking this classic white sandwich bread. If you have a question, chances are someone else has too!
Q: Can this recipe be used to make rolls or mini loaves, and what are the adjusted baking times?
A: Absolutely! This versatile recipe can yield three standard sandwich loaves, nine mini loaves, or 24-32 fluffy dinner rolls. The baking parameters vary slightly:
- Standard Loaves: Bake at 375°F (190°C) for 25-30 minutes.
- Mini Loaves: Bake at 375°F (190°C) for 22-24 minutes.
- Dinner Rolls: Bake at 350°F (175°C) for 17-20 minutes.
Always check for a golden-brown crust and an internal temperature of at least 180°F (82°C).
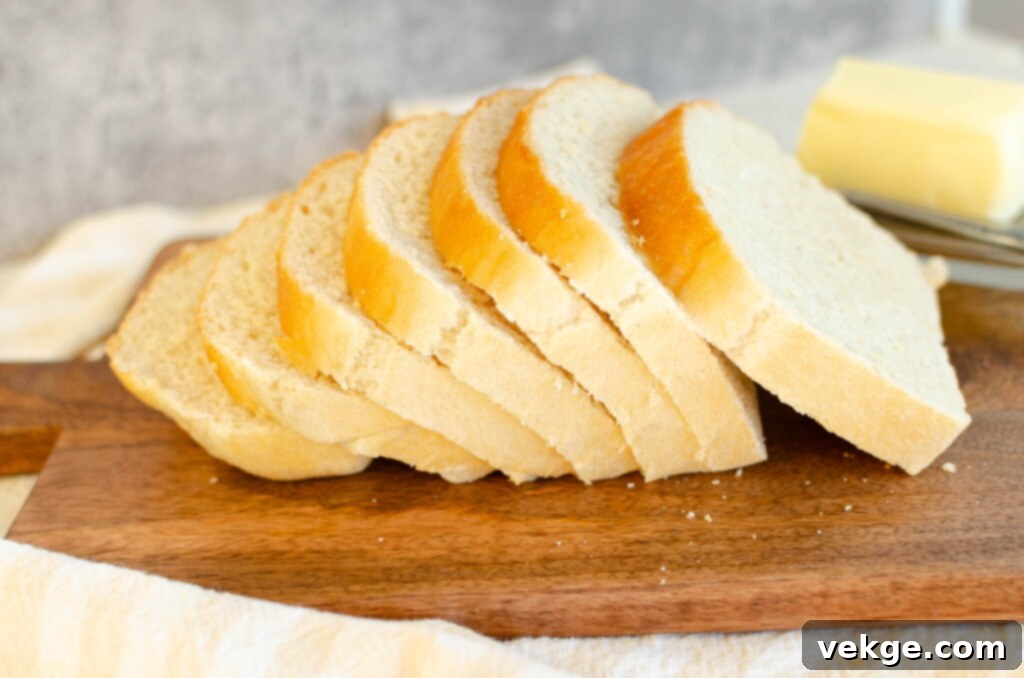
Q: My bread came out with a doughy center. What can I do to prevent this next time?
A: Oven temperatures can vary significantly, even within the same model. A doughy center typically indicates underbaking. I highly recommend using an oven thermometer to ensure your oven is accurately heated, and an instant-read thermometer for your bread. Aim for an internal bread temperature of at least 180°F (82°C) for fully cooked loaves, which might take anywhere from 25 to 35 minutes for three standard loaves. Also, resist the urge to frequently open your oven door during baking, as this causes heat to escape and prolongs the baking time, leading to uneven cooking.
Q: What kind of loaf pans do you recommend for this recipe?
A: For baking three standard loaves, I recommend using three 1.5-quart loaf pans, or pans measuring approximately 4×8 inches or 5×9 inches. I particularly like using glass pans because they conduct heat beautifully and allow you to see the crust developing on the sides.
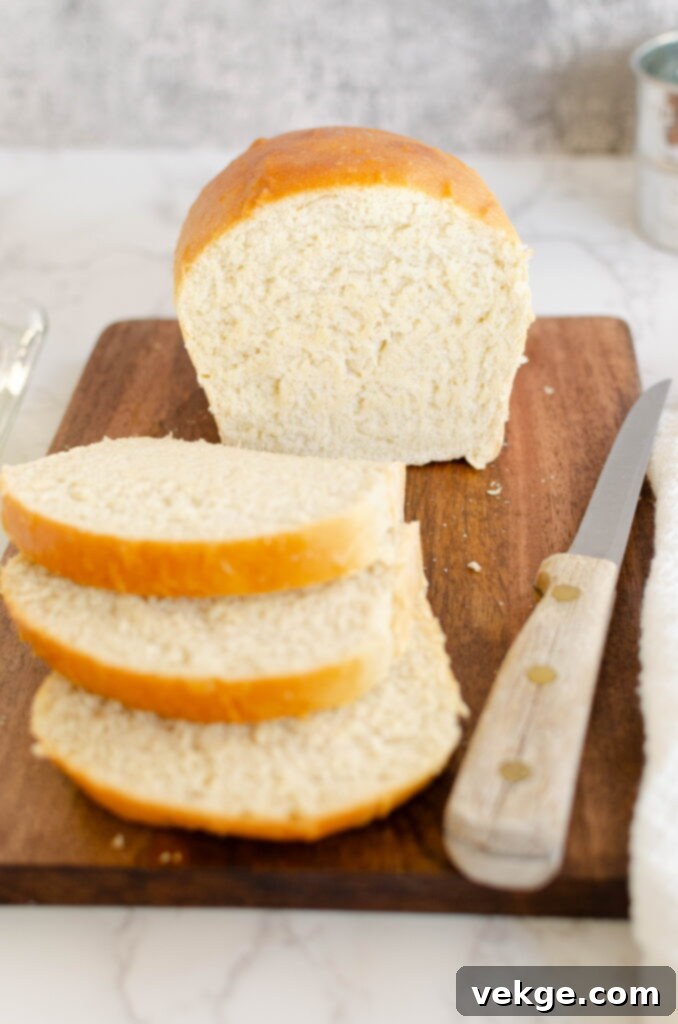
Q: Can I halve this recipe if I only want one or two loaves?
A: Absolutely! This recipe scales down beautifully. When halving the recipe, you have flexibility with the egg: you can skip it entirely, use half of a beaten egg, or even use a whole egg without significant issues; the bread will still turn out great.
Q: Can I freeze some of the dough for later? How should I thaw and bake it?
A: Yes, you can definitely freeze unbaked dough! Prepare the dough up to the shaping step (after the first rise and punch down). Shape the dough into loaves or rolls, then flash freeze them on a flat surface (like a baking sheet) for about an hour until firm. Transfer the frozen dough to a freezer-safe ziplock bag or airtight container. When you’re ready to bake, remove the dough from the freezer and place it in a greased baking dish. Cover it loosely with plastic wrap and let it thaw and rise at room temperature. This can take several hours depending on your environment. Once thawed and doubled in size, proceed with the baking instructions as written in the recipe.
Q: Is it absolutely necessary to spray the baking pans with non-stick spray?
A: I strongly recommend using a non-stick spray or lining your baking pans with parchment paper to prevent your bread from sticking. While effective, be cautious with avocado oil spray; in my experience, it has been less reliable in preventing loaves from sticking to the sides of the pan compared to other non-stick options.
Q: The tops of my loaves got a little too browned. How can I prevent that?
A: To prevent over-browning, simply tent your loaves with a sheet of aluminum foil during the second half of the baking process. Place the foil loosely over the tops once they reach your desired color. If you use this method, you might need to add an extra two minutes to the total baking time. Be sure not to cover the bread for the entire baking duration, as this can impede even cooking.
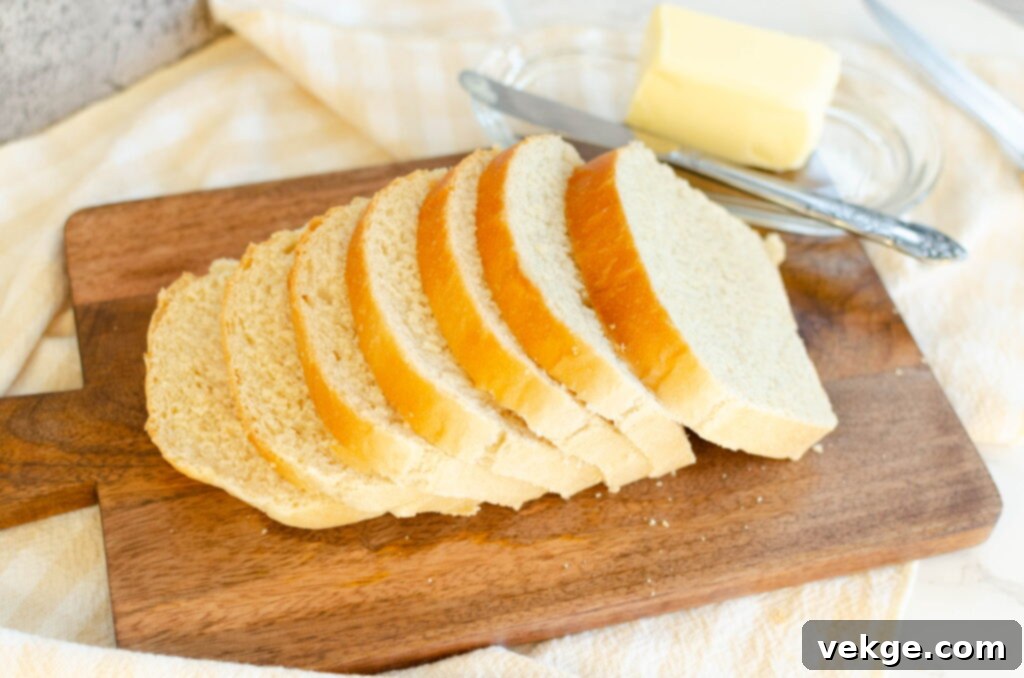
Q: How do you store the bread to keep it fresh?
A: Once your bread has completely cooled to room temperature, store it in these twist-tie bread storage bags. Since this homemade bread contains no preservatives, it typically stays fresh at room temperature for about 4-5 days. Beyond that, it may start to mold around day 7. For longer storage, I highly recommend freezing any bread that won’t be consumed within 4-5 days. Simply slice the bread and freeze in an airtight bag; it toasts beautifully from frozen.
Q: What kind of knife do you use for slicing homemade bread?
A: A good bread knife makes all the difference! I absolutely love this super sharp serrated bread knife. It glides through the crust and soft interior effortlessly, ensuring clean, even slices every time.
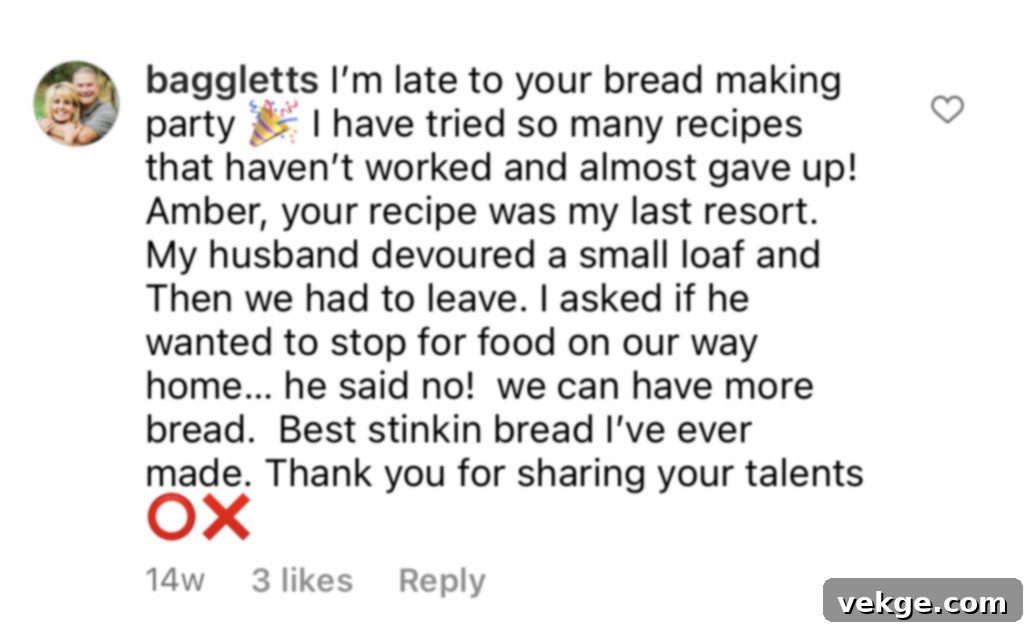
What Others Are Saying About This Recipe
Don’t just take my word for it! Here’s what other happy bakers have shared about their experience with this classic white sandwich bread recipe:



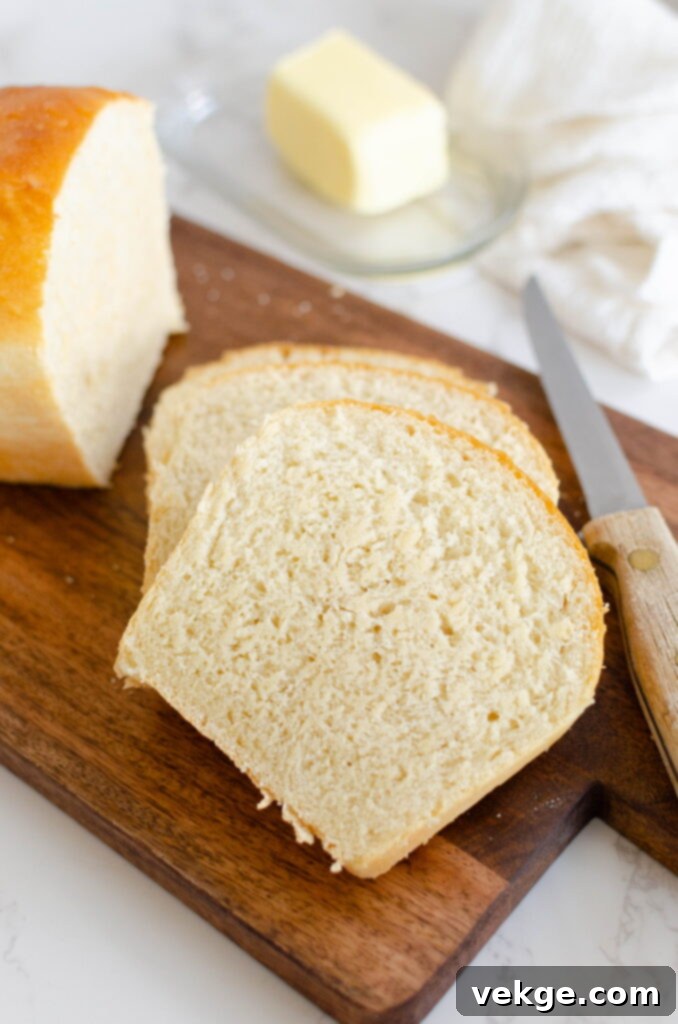
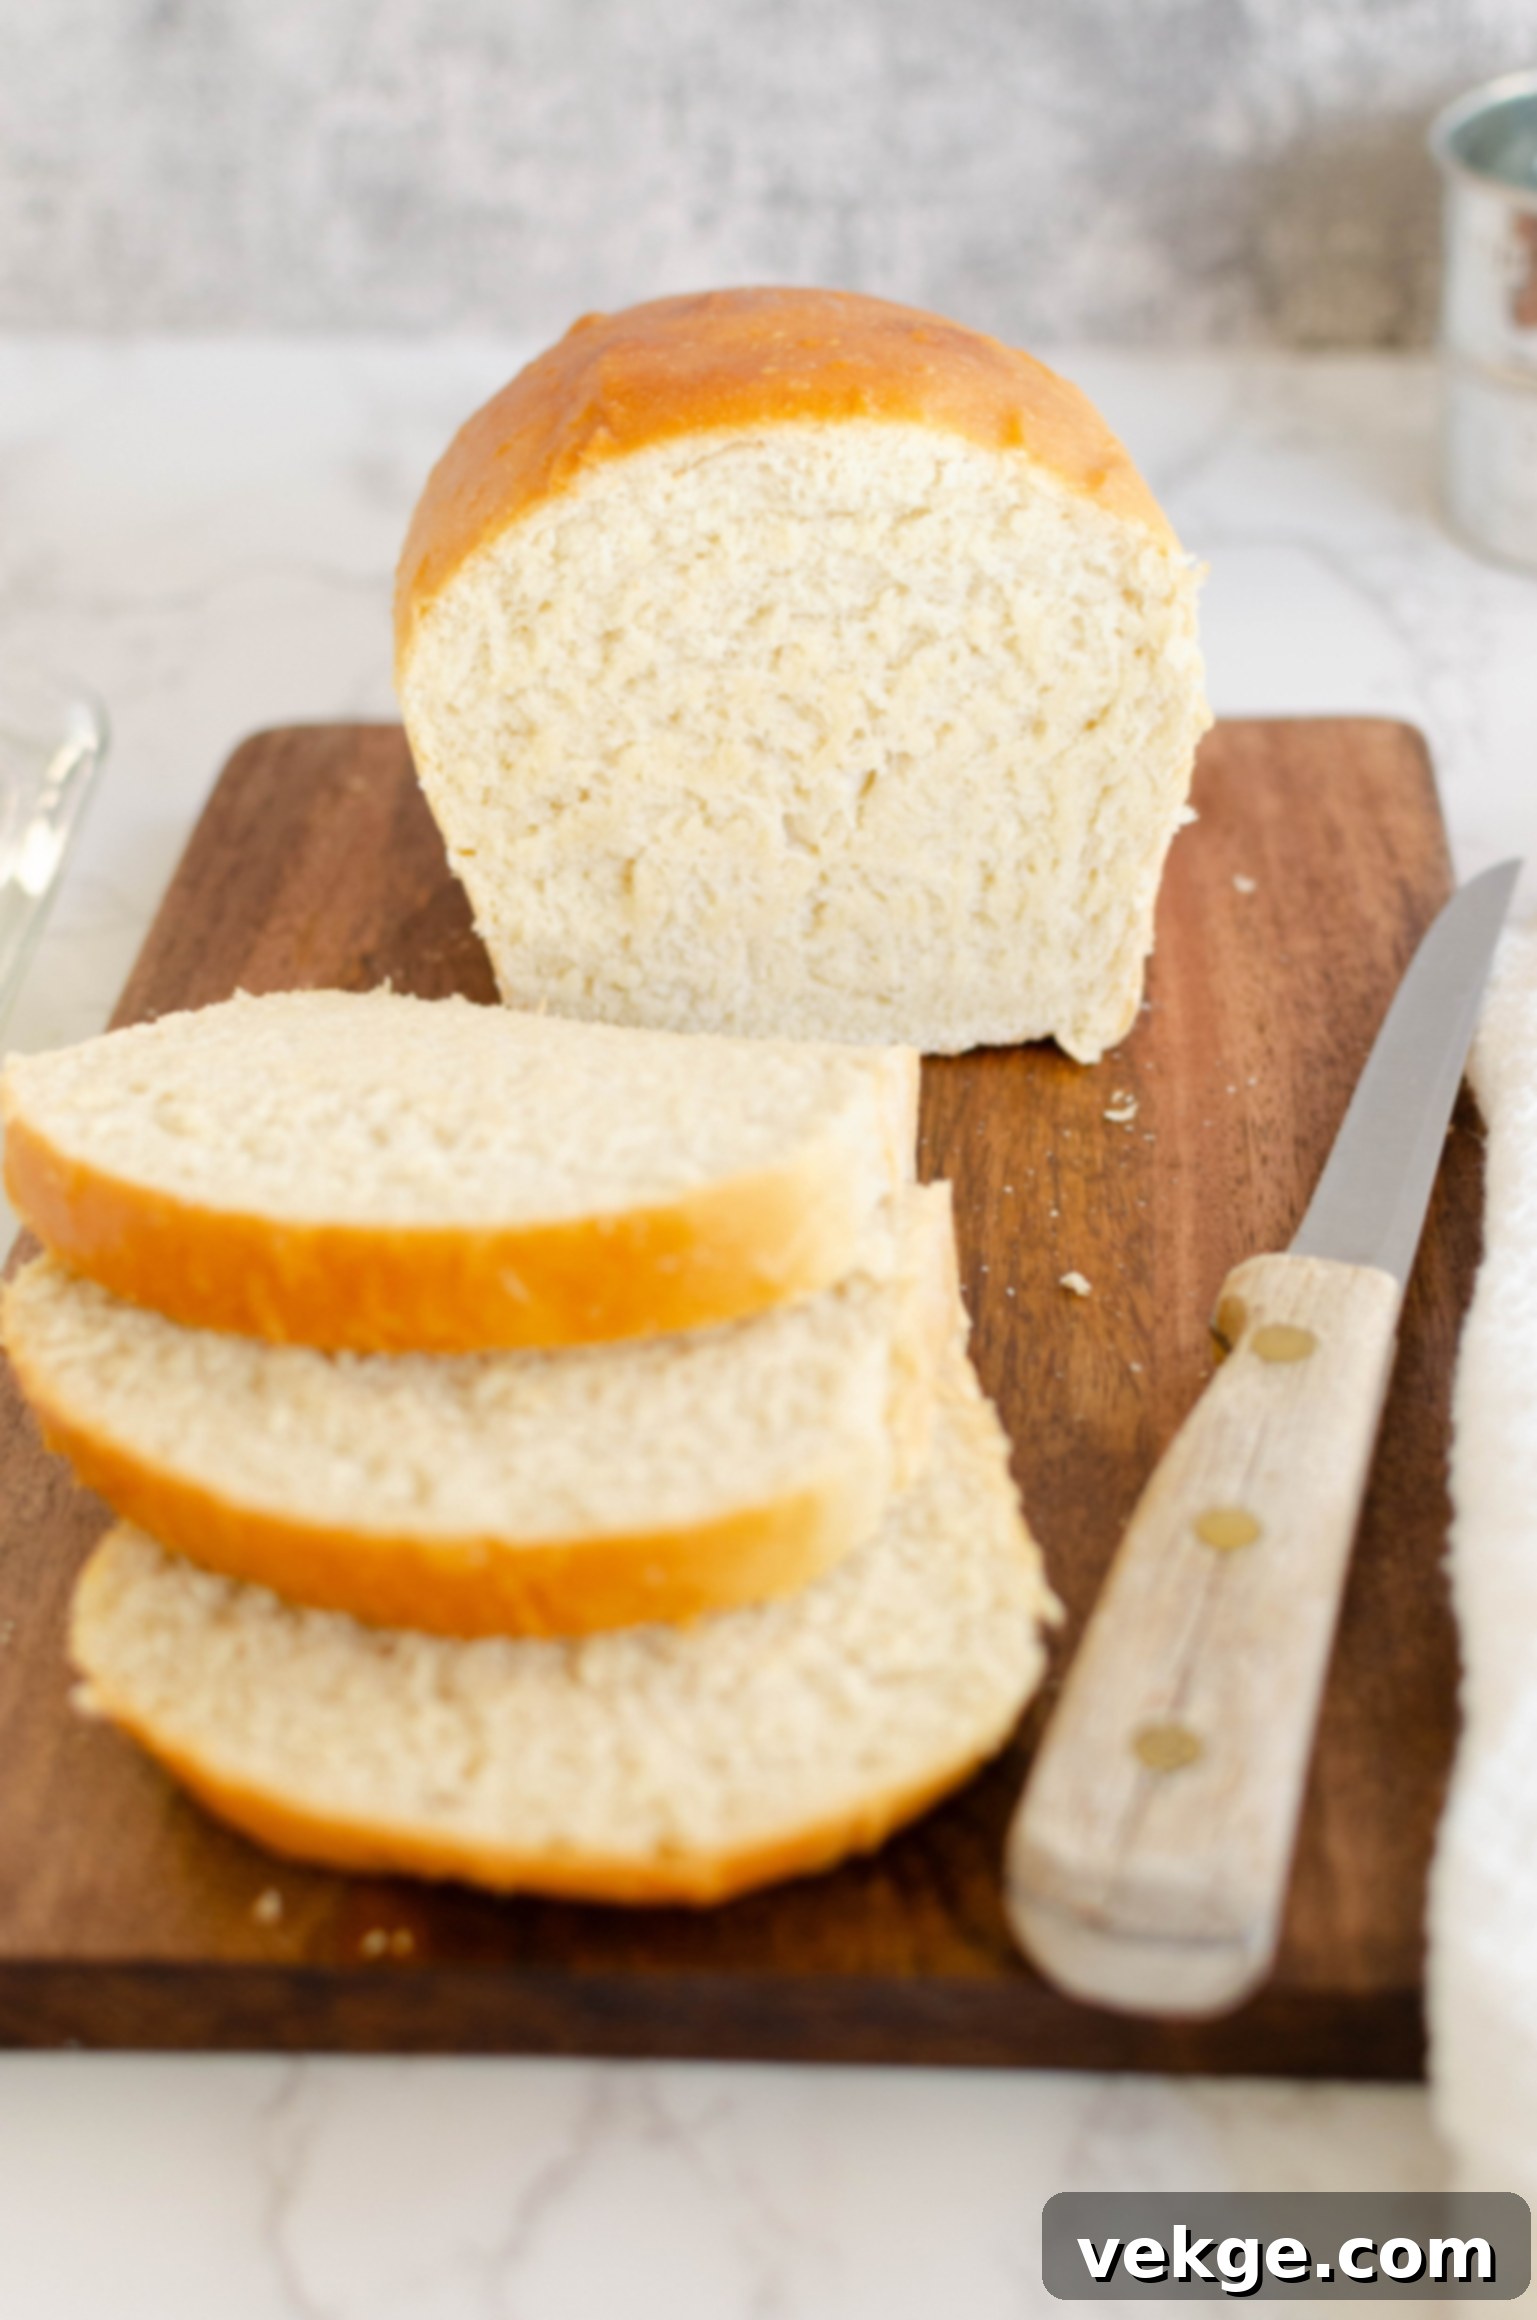
Classic White Bread
One of the easiest breads you’ll ever make and the best you’ll ever eat. This Classic White Bread is simply satisfying and will keep you coming back again and again. Enjoy!
Rated 5 out of 5 stars from 12 votes.
Print Recipe |
Pin Recipe |
Rate Recipe
Course: Breads
Prep Time: 25 minutes | Cook Time: 25 minutes | Rising Time: 1 hour
Ingredients
- 3 cups warm water (baby bottle temperature)
- 1 1/2 tablespoons active dry yeast
- 3/4 cup sugar or honey
- 1 tablespoon salt
- 1 egg, beaten
- 1/3 cup coconut oil, melted
- 8 1/2 cups all-purpose flour or bread flour (give or take 1/2 cup)
Instructions
- For bread loaves, use three 1.5-quart loaf pans or pans that measure 4×8 or 5×9 inches.
- Combine water, yeast, and sugar. Mix gently, cover, and let the yeast proof for ten minutes. If the yeast does not foam up, do not proceed; start again with new yeast.
- Add salt, egg, and oil to the yeast mixture. Mix to combine thoroughly.
- Add flour, one cup at a time, mixing in between each addition. You have enough flour when the dough starts to pull away from the sides of the bowl and becomes tacky but not overly sticky. Use the “touch test” (described below) to determine if the dough has the correct amount of flour. If it needs more, add a little flour and knead. If it has too much, add a teaspoon of oil and knead. Avoid adding too much flour!
- Touch test: After kneading, touch the dough with three fingers. If a lot of dough sticks, it needs more flour. If hardly any sticks and it feels tacky but clean, it’s just right. If it’s dry, crumbly, and has visible pockets of flour, it has too much flour. Kneading for a few extra minutes can help hydrate any excess flour.
- Knead the dough for 10-15 minutes. Cover with a clean kitchen towel, a bowl lid, or plastic wrap. Let rise until doubled in size (approximately one hour).
- Punch down the dough and turn it onto a clean, floured surface. Divide into portions for either 3 large loaves, 9 mini loaves, or 24-32 rolls. Form into your desired shape and place on a greased cookie sheet or in greased loaf pans. Cover again and allow to rise until doubled in size. Preheat oven to 375°F (190°C) for loaves or 350°F (175°C) for rolls.
- Bake as follows:
- 3 large loaves: Bake at 375°F for 25-30 minutes, or until the internal temperature reaches 180°F.
- 9 mini loaves: Bake at 375°F for 22-25 minutes, or until the internal temperature reaches 180°F.
- 32 rolls (16 per cookie sheet): Bake at 350°F for 17-20 minutes.
- 24 rolls (12 per cookie sheet): Bake at 350°F for 17-20 minutes.
- Remove from the oven and transfer the bread from the pans immediately onto a cooling rack to prevent condensation and sogginess. Brush the tops with melted butter if desired.
- Let the bread or rolls cool completely. Then, store them in twist-tie bread storage bags. They will remain fresh at room temperature for 4-5 days. Remember they contain no preservatives, so they may start to mold around day 7. It’s recommended to freeze any portions not consumed within 4-5 days.
