This post contains affiliate links and I may receive a commission on your purchase. Thank you for shopping through my links.
Craving a taste of France without leaving your kitchen? Look no further! Mastering the art of making delicious **homemade crepes** is surprisingly easy and incredibly rewarding. Forget expensive plane tickets or fancy restaurants – with this simple **crepe recipe**, you can whip up light, delicate, and utterly delightful crepes right in your own home. The best part? Once you’ve prepared the batter, it can be stored in the fridge for up to five days, allowing you to enjoy freshly cooked crepes whenever the craving strikes. Whether you prefer them adorned with sweet toppings like fresh berries and whipped cream, or loaded with your favorite savory fillings, these versatile thin pancakes are perfect for any meal, from a special breakfast to a delightful dinner.
Crepes are a quintessential French delicacy, known for their thin, pliable texture, which makes them a perfect canvas for an endless array of flavors. Unlike their fluffier American pancake cousins, crepes are designed to be delicate and airy, allowing the fillings to truly shine. This recipe will guide you through creating the ideal batter and cooking technique, ensuring your crepes are consistently thin, tender, and irresistible. Get ready to impress your family and friends with a culinary experience that’s both elegant and effortlessly achievable.

Essential Ingredients for Perfect Homemade Crepes
Creating the perfect **crepe batter** requires a careful balance of a few simple ingredients. Each component plays a crucial role in achieving the desired light, tender, and flavorful result. Here’s a closer look at what you’ll need and why each ingredient is important for your homemade crepes:
Unbleached All-Purpose Flour
Unbleached all-purpose flour is my preferred choice for all baking endeavors, and it’s particularly excellent for crepes. Unlike bleached flour, which undergoes chemical processing that can strip away natural nutrients and often results in a weaker gluten structure, unbleached flour is processed more naturally. This means it retains more of its natural goodness and provides a slightly stronger yet still tender structure, crucial for crepes that are thin but don’t easily tear. Opting for unbleached flour contributes to a more wholesome and flavorful crepe.
Milk and Water: The Liquid Foundation
The combination of milk and water is key to achieving the signature thin and liquidy consistency of crepe batter. Whole cow’s milk is my go-to for its richness and flavor, which adds a lovely depth to the crepes. However, if you’re looking for a dairy-free alternative, plant-based milks such as almond milk, oat milk, or soy milk can work beautifully as well. Ensure they are unsweetened if you’re making savory crepes. The water helps to thin the batter further, ensuring that the crepes are incredibly delicate and cook quickly without becoming too heavy. The overall liquid content is vital for that characteristic thinness.
Farm-Fresh Eggs for Richness and Structure
Eggs are absolutely indispensable in this **crepe recipe**. They serve multiple purposes: binding the ingredients together, adding richness, and contributing to the soft, bouncy texture that makes crepes so appealing. The proteins in the eggs help to create structure, allowing the crepes to hold their shape while remaining incredibly pliable. Unfortunately, there isn’t a reliable substitute for eggs in traditional crepe recipes that will yield the same authentic texture and taste, so fresh eggs are a must for the best results.
A Pinch of Quality Salt
Even in a seemingly sweet dish like crepes, salt plays a vital role in balancing and enhancing all the other flavors. Just a small amount can transform bland into brilliant. For years, Redmond Real Salt has been my only choice for cooking and baking. Mined from an ancient seabed, this unrefined sea salt retains naturally occurring trace minerals that are often stripped away from common table salt. These minerals not only contribute to a more complex flavor profile but also offer health benefits. To try Redmond products yourself, use my affiliate code AMBERSKITCHEN at checkout to receive 15% off any Redmond product, including their Real Salt shaker.
Melted Butter for Richness and Non-Stick Qualities
Incorporating melted butter directly into the crepe batter is a secret weapon for achieving perfect crepes. It infuses them with a wonderful richness and a subtle nutty flavor, while also contributing to their light and airy texture. Furthermore, the fat from the butter helps prevent the crepes from sticking to the pan, making them easier to cook and flip. This ingredient ensures your crepes are not only delicious but also beautifully golden and easy to handle.
Sugar: For Sweetness or Skip for Savory
A few tablespoons of granulated sugar add just the right amount of sweetness to these crepes, making them ideal for traditional sweet fillings. This subtle sweetness enhances the overall flavor without overpowering it. However, one of the fantastic things about crepes is their adaptability. If your culinary leanings are more towards **savory crepes**, simply omit the sugar entirely. The batter will perform just as beautifully, creating a neutral base ready for cheeses, meats, and vegetables. This flexibility makes them suitable for any meal occasion.
Your Step-by-Step Guide to Perfect Homemade Crepes
Making crepes at home might seem intimidating, but I assure you, it’s not! If you’re comfortable making pancakes, you’ll find that mastering delicious crepes is a skill easily within your reach. The key is in the preparation of the batter and a few simple techniques. Follow this detailed guide to ensure your **easy crepes** turn out perfect every time.
Preparing the Batter: Smooth and Consistent
The first step is to combine all the ingredients to create your smooth crepe batter. A blender is your best friend here, ensuring that everything is perfectly incorporated without any lumps. Simply add the unbleached flour, milk, water, eggs, salt, melted butter, and sugar (if using) into your blender. Pulse on high until the mixture is completely smooth and uniform. This usually takes just a minute or two. The goal is a very thin, liquidy batter, which is essential for achieving ultra-thin crepes.
The Crucial Resting Period for Batter
While you might be eager to start cooking, allowing the batter to rest is a crucial step that significantly improves the final texture of your crepes. Ideally, let the batter sit for at least one hour in the refrigerator. This resting period allows the flour to fully hydrate, resulting in a more tender and pliable crepe. It also gives any air bubbles created during blending a chance to dissolve, which prevents small holes in your cooked crepes and ensures a smoother surface. If you can, preparing the batter the night before and refrigerating it overnight works exceptionally well. Don’t worry if you’re short on time; you can still make good crepes right away, but the rest time truly makes a difference. Patience here will be rewarded with superior crepes.
Setting Up Your Cooking Station: Pan and Heat
Once your batter has rested, it’s time to cook! A good quality nonstick pan is absolutely essential for crepes. I highly recommend using a dedicated **crepe pan** if you have one, as their shallow sides make flipping much easier. I personally love and use this crepe pan from Amazon. My friend Emily gifted me two of these, and they are truly the best! Using two pans simultaneously is a huge time-saver, especially if you’re making a double batch, which we almost always do for our family. Heat your nonstick pan to a medium to medium-high setting. The exact heat level may require a little adjustment for your specific stove. Lightly grease the hot pan with nonstick cooking spray or a small amount of melted butter applied with a pastry brush or paper towel. You only need a thin coating.
Pouring and Swirling: The Art of Thinness
This is where the magic happens! Working quickly, pour about 1/3 cup of batter into the center of your heated and greased pan. Immediately, pick up the pan by its handle and gently swirl the batter around in a circular motion. Continue swirling until the batter evenly coats the entire bottom surface of the pan and reaches the edges, creating a thin, uniform layer. This swift action is critical for achieving the characteristic thinness of crepes. Place the pan back on the stove and let the crepe cook for approximately 1-2 minutes, or until the edges start to look set and slightly golden, and the surface appears dry.
The Flip and Finish: Achieving Golden Perfection
Once the first side is set, it’s time to flip! This can be a bit tricky at first, but practice makes perfect. Use a thin, wide spatula to gently loosen the edges of the crepe, then slide it underneath the crepe and swiftly flip it over to cook the second side. Cook for another 60-90 seconds, or until it’s lightly golden brown. Remember, the first crepe rarely turns out perfect, and that’s completely normal! Consider it your “tester” crepe to adjust the heat and technique. Don’t get discouraged; you’ll quickly get the hang of it.
Stacking and Storing Cooked Crepes
As each crepe finishes cooking, gently slide it onto a plate. Stack the cooked crepes on top of each other; this helps them stay warm and soft while you finish the rest of the batch. The great thing about crepes is their versatility in serving temperature – they are delicious warm, at room temperature, or even cold. Stacking them right after cooking also helps to retain their moisture and freshness. If you have any leftover batter, transfer it to an airtight container and store it in the refrigerator for up to five days. Cooked crepes can also be stored in an airtight container in the fridge for 2-3 days, or even frozen between layers of parchment paper for longer storage.

Inspiring Crepe Fillings: Sweet and Savory Delights
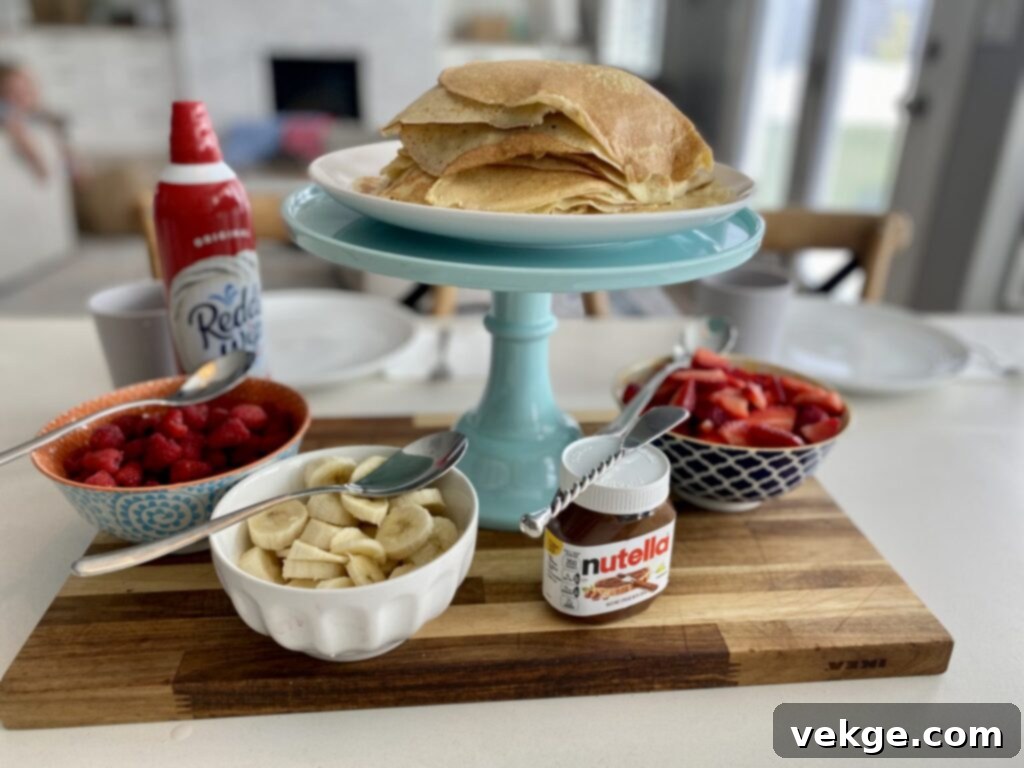
One of the most exciting aspects of making **homemade crepes** is the endless possibilities for fillings. Crepes are incredibly versatile, acting as a perfect culinary canvas for both sweet and savory creations. I love turning crepe filling into a fun, interactive experience by setting out various ingredients in bowls, allowing everyone to customize their own delicious crepe buffet-style. Here are some beloved combinations and ideas to get your inspiration flowing:
Delightful Sweet Crepe Fillings
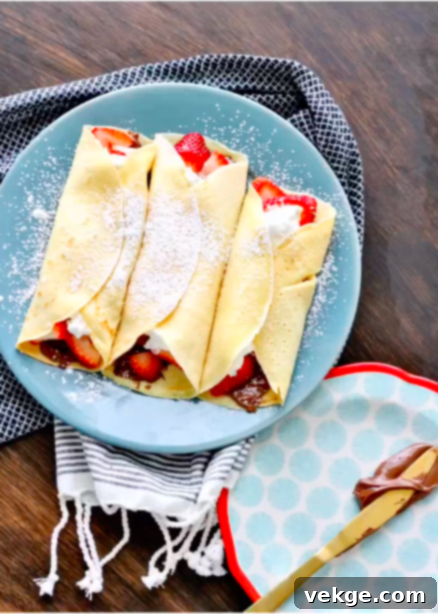
- Classic Nutella and Banana: A timeless combination that’s always a crowd-pleaser. Spread a generous layer of Nutella, then add sliced fresh bananas. A sprinkle of powdered sugar or a drizzle of chocolate syrup can elevate this simple pleasure.
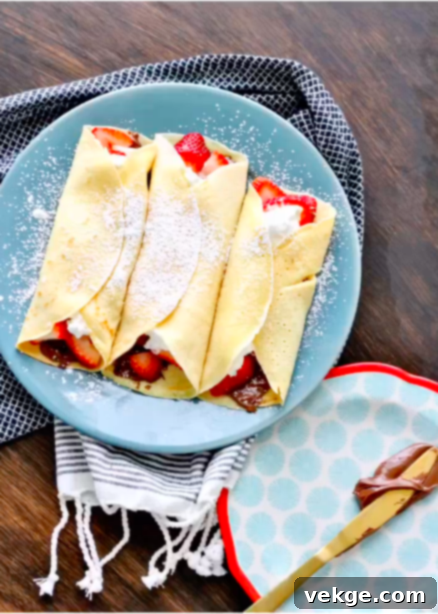
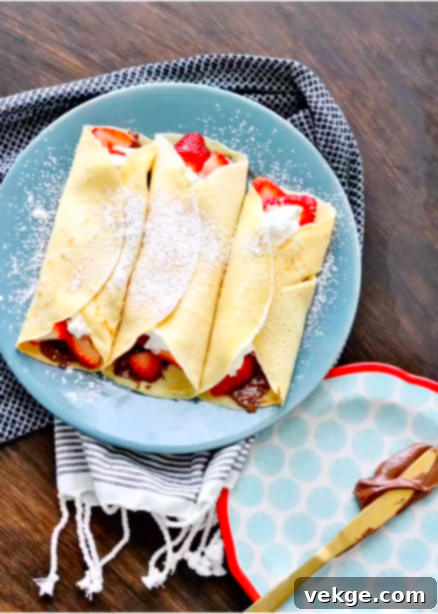
- Fresh Berries and Whipped Cream: A light and refreshing option. Fill your crepes with a medley of fresh strawberries, blueberries, raspberries, or blackberries, topped with a dollop of homemade whipped cream. A squeeze of fresh lemon juice can add a bright counterpoint.
- Cookie Butter and Strawberries: For those who love a rich, spiced sweetness. Cookie butter (like Biscoff) paired with juicy sliced strawberries is an indulgent treat.
- Fruit Jam and Whipped Cream: Simple yet satisfying. Your favorite fruit jam (strawberry, apricot, raspberry) spread thinly, perhaps with a touch of whipped cream for creaminess.
- Lemon Juice and Powdered Sugar: The epitome of French simplicity. A squeeze of fresh lemon juice and a dusting of powdered sugar creates a perfectly tart and sweet balance. This is often served folded simply.
- Maple Syrup and Powdered Sugar: A comforting, familiar sweetness. Drizzle with pure maple syrup and finish with powdered sugar. Consider adding a sprinkle of cinnamon for warmth.
- Chocolate Chips and Marshmallows: For a s’mores-inspired treat. Melted chocolate chips and mini marshmallows, perhaps lightly toasted under the broiler for a few seconds.
- Cinnamon Sugar: A quick and easy delight, perfect for kids. A simple sprinkle of cinnamon mixed with granulated sugar.
Hearty Savory Crepe Fillings
Remember, for savory crepes, you’ll want to omit the sugar from the batter recipe.
- Ham and Cheese: A classic French combination, often with Gruyere or Emmental cheese. Add a sprinkle of fresh chives for an extra touch.
- Bacon and Cheese: Crispy bacon bits with melted cheddar or Swiss cheese make for a robust and satisfying crepe.
- Sautéed Veggies and Cheese: A versatile option. Think mushrooms, spinach, bell peppers, or caramelized onions, gently sautéed and folded in with a sharp cheese like feta or goat cheese. A drizzle of balsamic glaze can add depth.
- Chicken and Mushroom with Béchamel: For a more substantial meal, consider a creamy chicken and mushroom filling bound in a delicate béchamel sauce.
- Smoked Salmon and Cream Cheese: A sophisticated brunch option. Spread a thin layer of cream cheese, add slices of smoked salmon, and garnish with fresh dill and capers.
- Spinach and Ricotta: A vegetarian favorite, often enhanced with a touch of nutmeg and Parmesan cheese.
Don’t hesitate to get creative with your fillings! The possibilities are truly endless, allowing you to tailor your crepes to any palate or occasion.
Exploring Sourdough Crepes: A Tangy Twist
If you’re a fan of sourdough and looking for a fantastic way to utilize your sourdough discard, making **sourdough crepes** is an absolute game-changer. Adding unfed sourdough starter (discard) to your crepe batter introduces a delightful, yet mild, tangy sourdough flavor that elevates the entire experience. It’s an excellent method to reduce waste from your sourdough baking routine while adding a unique complexity to your crepes.
For one batch of crepes, I recommend incorporating about 1/2 cup of unfed sourdough starter. The beauty of using sourdough discard isn’t just about the flavor; it also brings a subtle lightness and elasticity to the crepes. To fully harness the unique qualities of sourdough, including its slight tang and potential for enhanced digestibility, it’s best to allow the batter to ferment. After mixing in the sourdough discard, cover the batter and refrigerate it for at least 12 hours, and ideally up to 72 hours. This extended fermentation period allows the wild yeasts and bacteria in the sourdough to work their magic, deepening the flavor and improving the texture. The longer rest will produce a more pronounced sourdough character in your crepes, making them truly special.
More Delicious Brunch Recipes to Try
If you love starting your day with a satisfying and delightful meal, here are a few other brunch recipes you might enjoy:
Sourdough German Pancakes
Breakfast Casserole
Crispy Cheese Breakfast Sandwich
Happy Cooking!
I genuinely hope you cherish this **easy crepe recipe** as much as my family and I do. It’s a versatile dish that brings so much joy and deliciousness to any meal. Whether you’re making them for a special occasion or a simple weeknight treat, these homemade crepes are sure to become a staple in your kitchen. If you’d like to follow along with my culinary adventures and discover more recipes, be sure to connect with me on Instagram @AMBERSKITCHEN. Happy cooking, and bon appétit!

Classic Homemade Crepes
Good news, crepes are actually really easy to make! And who doesn’t love them?
Course: Breakfast
Prep Time: 5 minutes
Cook Time: 3 minutes
Servings: 6
Ingredients
- 2 cups unbleached flour
- 1 cup milk
- 1 1/4 cups water
- 4 eggs
- 1/2 tsp salt
- 4 T melted butter
- 2 T sugar (skip the sugar if you are making savory crepes)
Instructions
- In a blender, combine all ingredients and blend on high until well mixed and smooth.
- Let the batter rest for an hour or two in the fridge until the bubbles have dissolved and it is no longer frothy. (Note: While recommended for best results, you can often skip this step and still achieve good crepes).
- Heat a non-stick frying pan with a handle to medium heat. Lightly coat the pan with cooking spray or melted butter.
- Pour about 1/3 cup of batter into the heated pan. Immediately pick up the pan by the handle and quickly swirl the batter to evenly coat the entire bottom and edges of the pan. Let cook for about 1 to 2 minutes, then carefully flip to the other side and cook for another 90 seconds or so, until lightly golden.
- Repeat with the remaining batter, stacking cooked crepes on top of each other as you finish.
- Fill your delicious crepes with yummy toppings such as Nutella, cookie butter, fresh berries, real whipped cream, sliced banana, or savory options like ham and cheese.
