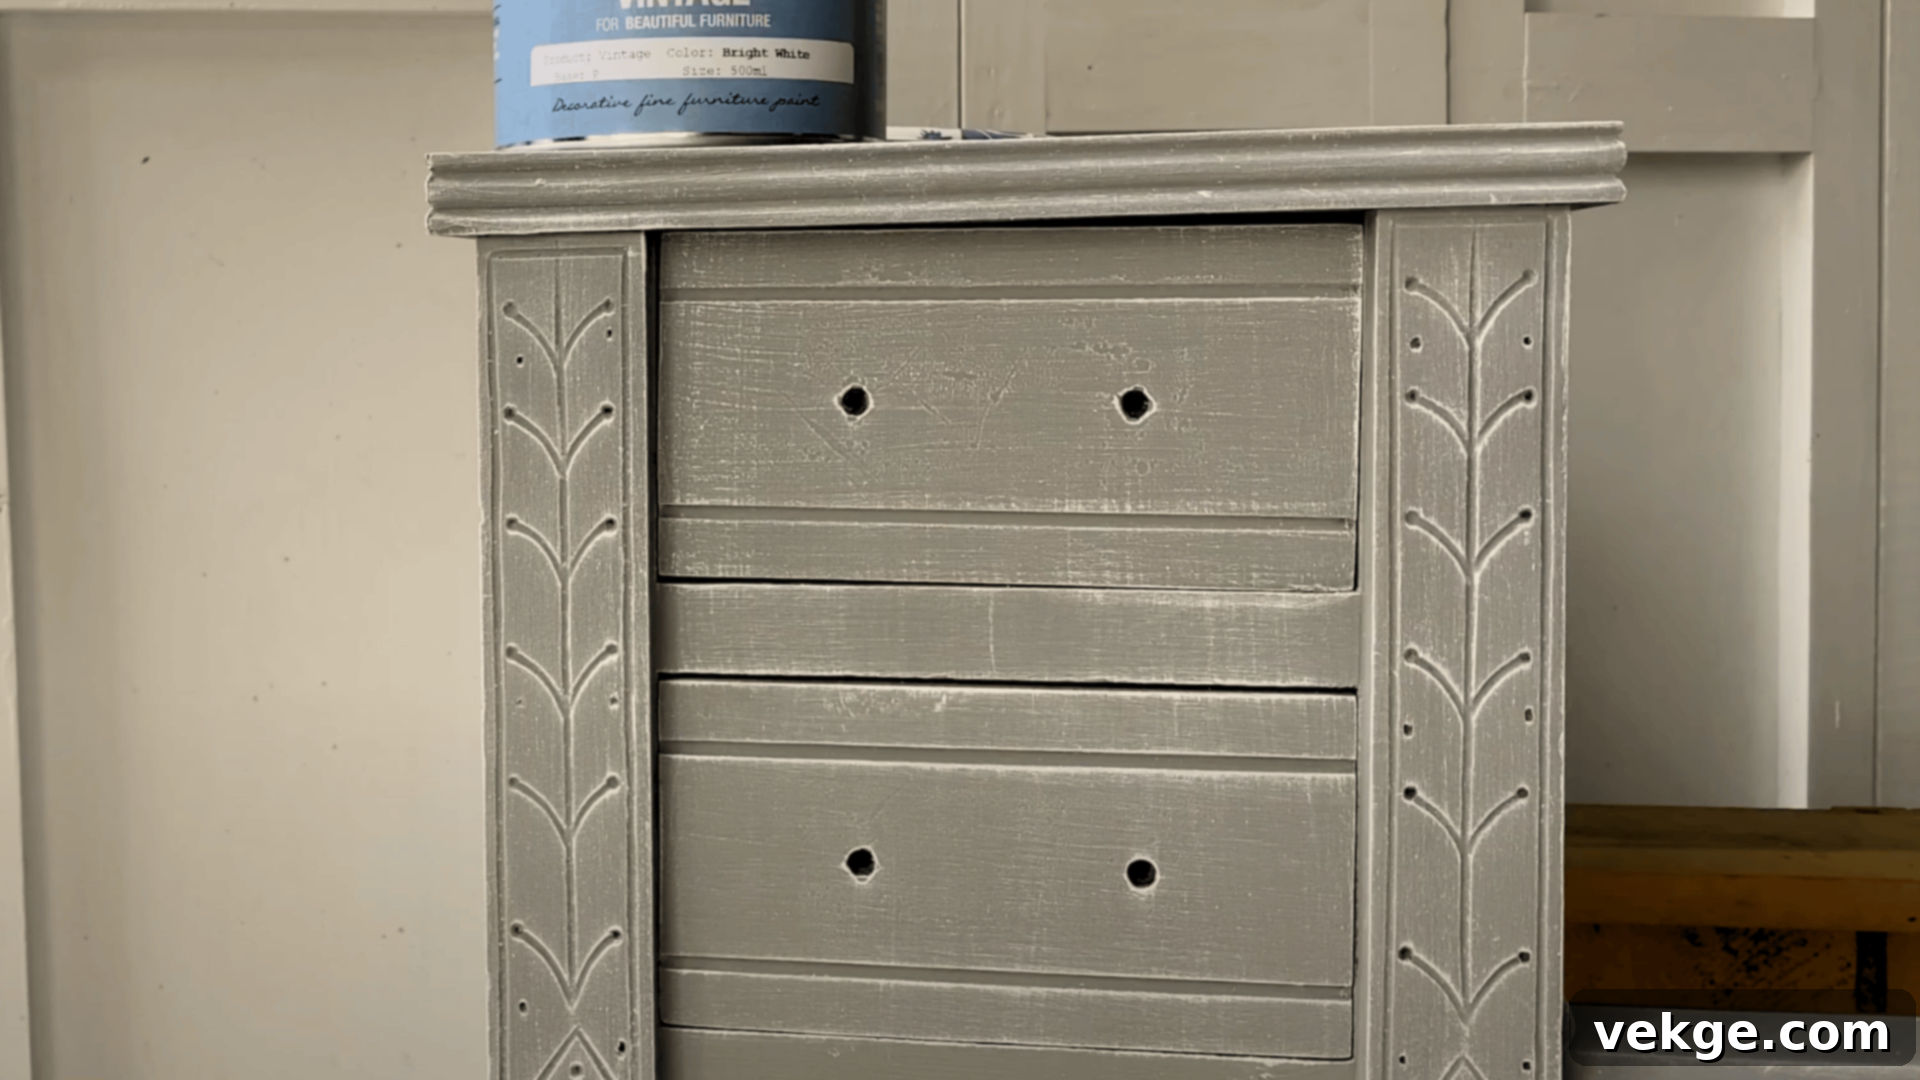
Master the Art of Dry Brushing Paint: Your Ultimate Guide to Adding Depth and Texture
Are your painting projects lacking that distinctive pop, often appearing flat or one-dimensional? If you’re nodding along, you’re in for a treat. The simple yet incredibly effective technique of dry brushing paint can be a game-changer for artists and hobbyists alike. It’s a method celebrated for its ability to transform ordinary surfaces into extraordinary works of art by adding significant depth, realistic texture, and subtle highlights.
Whether your passion lies in bringing miniature figures to life, giving old furniture a charming, aged character, or adding nuanced effects to larger canvases and walls, dry brushing offers a versatile solution. This technique allows you to emphasize intricate details, catch raised surfaces with a delicate touch, and create stunning visual interest with minimal effort.
In this comprehensive guide, we will delve deep into the world of dry brushing. You’ll learn exactly what dry brushing is, why it’s so powerful, and the essential tools you’ll need to get started. We’ll also walk you through a detailed, step-by-step process, complete with expert tips to help you avoid common mistakes and ensure your pieces truly stand out. Prepare to elevate your painting skills and discover a technique that will add a new dimension to all your creative endeavors!
What Exactly is Dry Brushing Paint?
At its core, dry brushing is a painting method characterized by using a brush with an extremely minimal amount of paint. The fundamental principle is to remove nearly all the paint from your brush before applying it to your chosen surface. This unique approach allows only the highest points and raised textures of your object to pick up the pigment, leaving the recessed areas untouched.
Unlike traditional painting techniques where brushes are typically loaded with a generous amount of paint for smooth, even coverage, dry brushing intentionally aims for a sparse application. The objective is to create subtle highlights, emphasize contours, and build up color gradually, resulting in a textured, almost dusty appearance. This technique is perfect for simulating effects like wear and tear, rust, highlights on fabric folds, or the natural variations of stone and wood.
The Transformative Benefits of Dry Brushing
Incorporating dry brushing into your artistic toolkit offers a multitude of advantages that can dramatically enhance the quality and visual appeal of your work:
- Brings Out Intricate Details: Dry brushing excels at highlighting the finest textures, carvings, and sculpted details on your surfaces. It’s like turning up the contrast, making those delicate features truly pop without obscuring them. For miniature painters, this means every buckle, button, and scale can be accentuated with precision.
- Adds Remarkable Depth and Dimension: By catching only the raised areas, dry brushing creates a striking interplay of light and shadow. This layering effect makes your artwork feel more dynamic, less flat, and visually engaging, giving it a three-dimensional quality that draws the viewer’s eye.
- Achieves Weathered, Aged, or Realistic Looks: This technique is unparalleled for creating authentic distressed, vintage, or rustic finishes. Whether you’re aiming for the appearance of ancient stone, worn leather, rusty metal, or sun-faded wood, dry brushing can replicate these effects with incredible realism.
- Emphasizes Edges and Contours: The very nature of dry brushing ensures that the edges and prominent areas of your subject receive the paint. This naturally draws attention to the object’s form, providing clear definition and strong visual contrast against darker base coats.
- Enhances Visual Interest and Character: With just a few simple strokes, dry brushing can add significant complexity and character to your pieces. It introduces visual richness and tactile appeal, making your artwork more engaging and unique.
- User-Friendly and Forgiving: One of the best aspects of dry brushing is its forgiving nature. It’s difficult to over-apply paint, and if you do, it’s often easy to blend or remove. This makes it an ideal technique for beginners and experienced artists alike, encouraging experimentation and building confidence.
Dry Brushing Paint Across Diverse Surfaces
The beauty of the dry brushing technique lies in its incredible adaptability. No matter the material or project you’re tackling, dry brushing can be applied to a wide array of surfaces, each offering unique possibilities and stunning results. Understanding how it interacts with different materials will help you achieve the best outcome.
1. Miniatures and Models: A Game-Changer for Detail
For miniature painters, wargamers, and model builders, dry brushing is an indispensable technique. It’s an absolute game-changer for bringing tiny figurines and scale models to life. The technique helps to effortlessly emphasize the smallest details, from the texture of a knight’s armor to the folds of a wizard’s robe, or the gritty surface of a dungeon base. By lightly skimming the brush over the raised areas, you can perfectly highlight details like:
- Fabric Folds: Making cloaks and clothing appear more realistic.
- Stone & Brickwork: Giving architectural elements a natural, weathered look.
- Metal Edges: Adding a worn, reflective glint to armor and weapons.
- Fur & Scales: Creating a sense of depth and individual strands on creature models.
The technique works especially well on the pronounced edges and sculpted contours of your models, providing quick, effective highlights that save hours compared to traditional layering.
2. Furniture Painting: Creating Character and Age
Transforming wooden furniture with dry brushing is a fantastic way to infuse pieces with personality and history. Wood surfaces come alive as the technique catches the natural grain and highlights its unique texture. This method is exceptionally effective for creating an antique, distressed, or elegantly worn look on chairs, tables, dressers, and decorative pieces. You can:
- Enhance Wood Grain: Bring out the natural beauty and texture of the wood beneath.
- Achieve a Shabby Chic Look: Mimic years of gentle wear for a charming, rustic aesthetic.
- Add Subtle Color Blends: Introduce secondary colors that peek through, creating complex finishes.
- Accentuate Carvings: Make ornate details on furniture pop with highlights.
It’s also an excellent way to soften harsh edges and blend different color layers, giving furniture a bespoke, hand-finished quality.
3. Walls and Large Areas: Subtle Texture and Visual Interest
While often associated with intricate detail work, dry brushing can also be effectively applied to larger surfaces like walls and canvases. It’s an excellent method for adding depth and subtle texture to expansive areas, creating interesting visual effects that catch light in unique ways. This can be used for:
- Faux Finishes: Mimicking the look of plaster, stone, or aged concrete.
- Textured Backgrounds: Adding depth to a canvas before painting a main subject.
- Architectural Accents: Highlighting relief on decorative wall panels or fireplace surrounds.
- Subtle Color Variation: Introducing a whisper of color that creates a soft, cloudy, or mottled effect, far more interesting than a flat coat.
When working on large areas, the key is to use larger brushes and maintain consistent, broad strokes to ensure an even, yet textured, application.
4. Canvas and Fine Art: Adding Dimension and Expressive Brushstrokes
In fine art, dry brushing can be used to add expressive texture, create atmospheric effects, and build layers of color without completely covering the underlying tones. It’s particularly useful for:
- Creating Impressionistic Effects: Mimicking the play of light and shadow with broken color.
- Texturizing Landscapes: Adding depth to foliage, rocks, or stormy skies.
- Highlighting Portrait Features: Bringing out the subtle contours of a face or the texture of hair.
- Developing Abstract Textures: Building rich, tactile surfaces in abstract compositions.
It allows for a unique blend of control and serendipity, resulting in dynamic and visually engaging compositions.
Step-by-Step Guide: How to Master Dry Brushing Paint
Ready to put theory into practice? This step-by-step guide will walk you through the entire dry brushing process, from setting up your workspace to achieving that perfect, subtle highlight. Let’s dive in!
Tools and Materials You’ll Need
Having the right equipment is crucial for successful dry brushing. While the technique is simple, specific tools will make your experience much smoother and yield better results.
- Stiff, Short-Bristled Brushes: This is perhaps the most important tool. Look for brushes with firm, resilient bristles that can flick paint off easily.
- Flat Brushes: Excellent for larger areas and applying broad strokes.
- Round or Detail Brushes: Ideal for intricate work on miniatures or small features.
- Old Brushes: Dry brushing can be tough on brushes, so older, slightly frayed brushes often work best as their splayed bristles are perfect for catching texture. Synthetic bristles tend to hold their shape better and are easier to clean.
- Acrylic Paints: Acrylics are generally preferred for dry brushing due to their fast drying time and versatility. Lighter colors are typically used for contrast over a darker base coat, but you can experiment with various color combinations to achieve different effects. Chalk paints also work exceptionally well for furniture due to their matte finish and excellent adhesion.
- Paper Towels or a Clean Cloth: Absolutely essential for removing excess paint from your brush. Lint-free options are best to avoid transferring fibers to your project.
- Palette or Flat Surface: Any non-porous surface will work – a ceramic tile, an old plastic lid, or a dedicated artist’s palette – for dispensing paint and working it into your brush.
- Your Project: Whether it’s a miniature, a piece of furniture, a canvas, or a wall, ensure your project surface is clean, dry, and has a base coat applied if desired.
Step 1: Preparing Your Workspace for Success
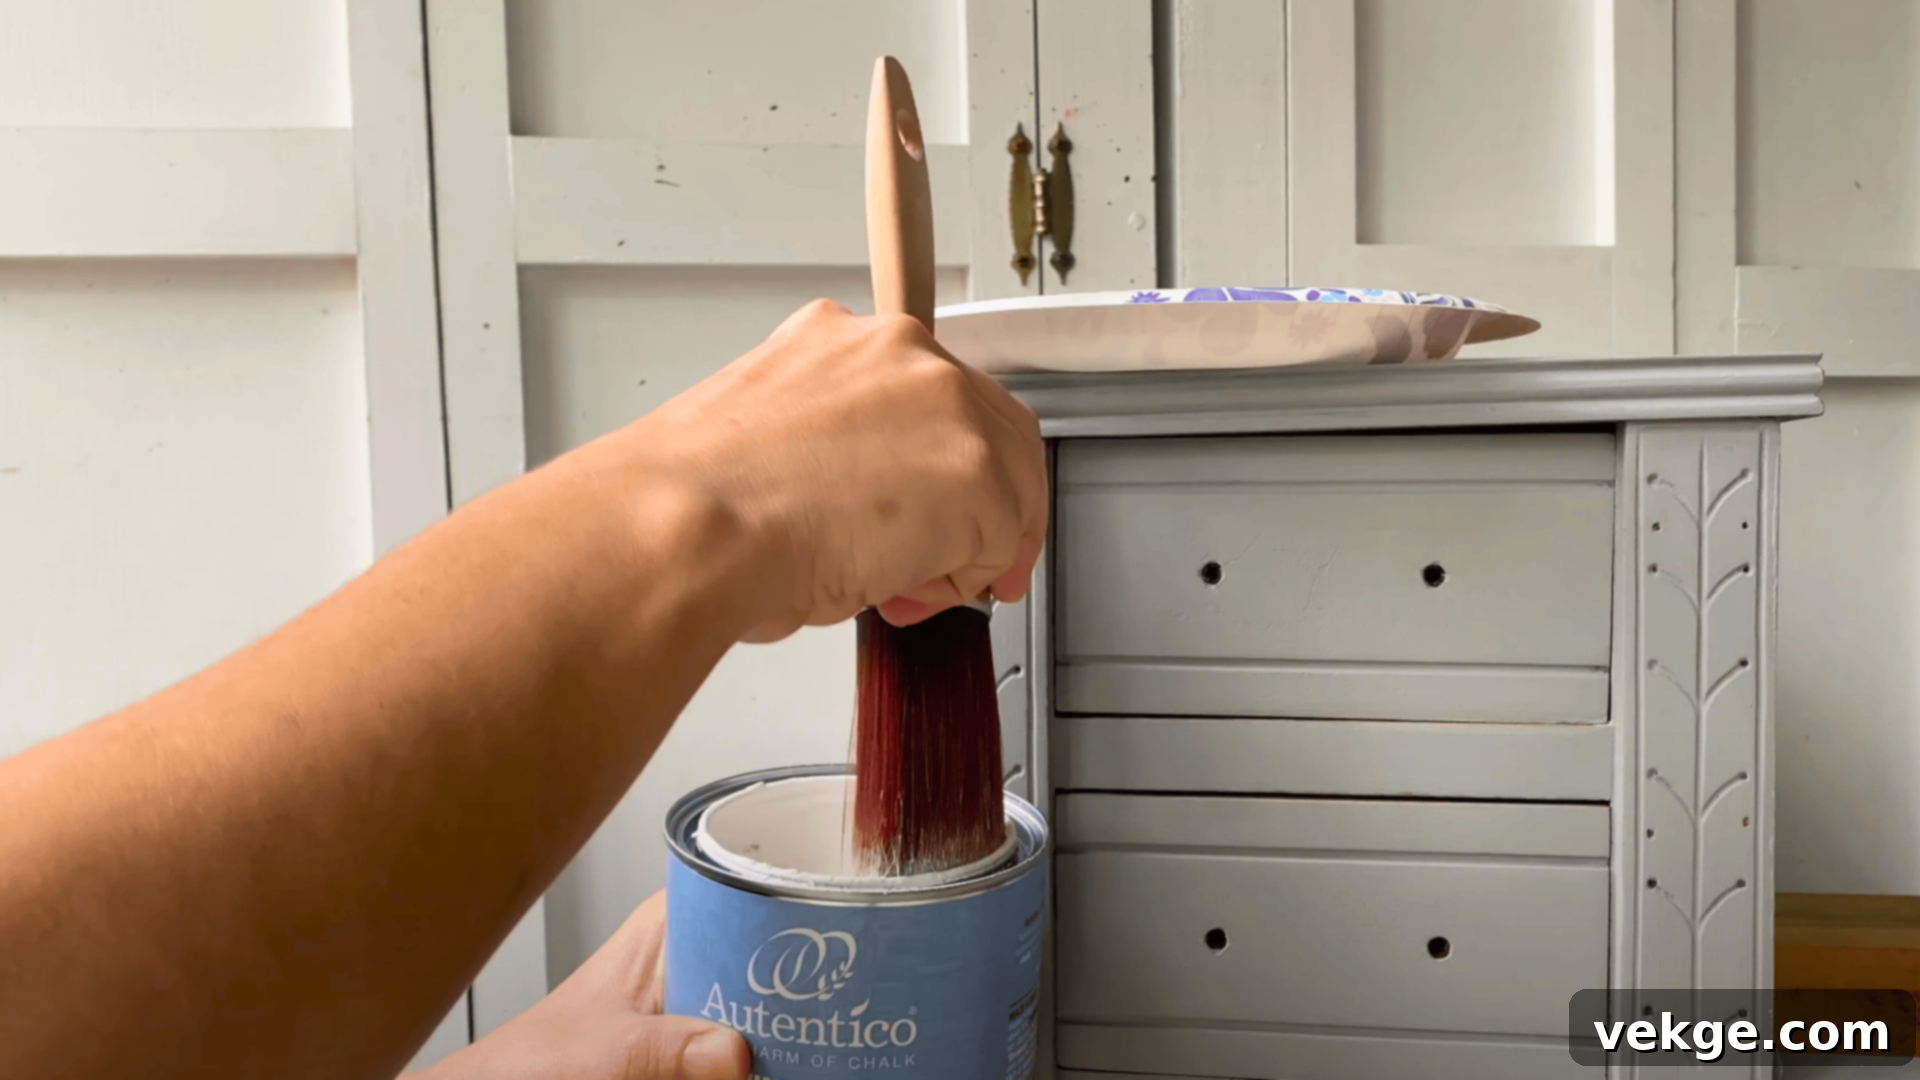
A well-organized workspace makes any painting project more enjoyable and efficient. Before you begin, take a few moments to set up your area:
- Clean and Well-Lit Area: Ensure you’re working in a space that is free from dust and debris. Good lighting, preferably natural daylight or a bright, balanced artificial light source, is crucial for seeing the subtle effects you’re creating.
- Protective Covering: Lay down newspaper, a drop cloth, or a plastic sheet over your work surface. This will protect your desk or table from accidental paint splatters and spills.
- Accessibility: Gather all your necessary materials – brushes, paints, paper towels, and your project – and arrange them within easy reach. This prevents interruptions and helps maintain your flow.
- Ventilation: If you’re using paints with strong odors or working in a small space, ensure adequate ventilation.
Step 2: How to Load the Brush Properly – The Key to Dry Brushing
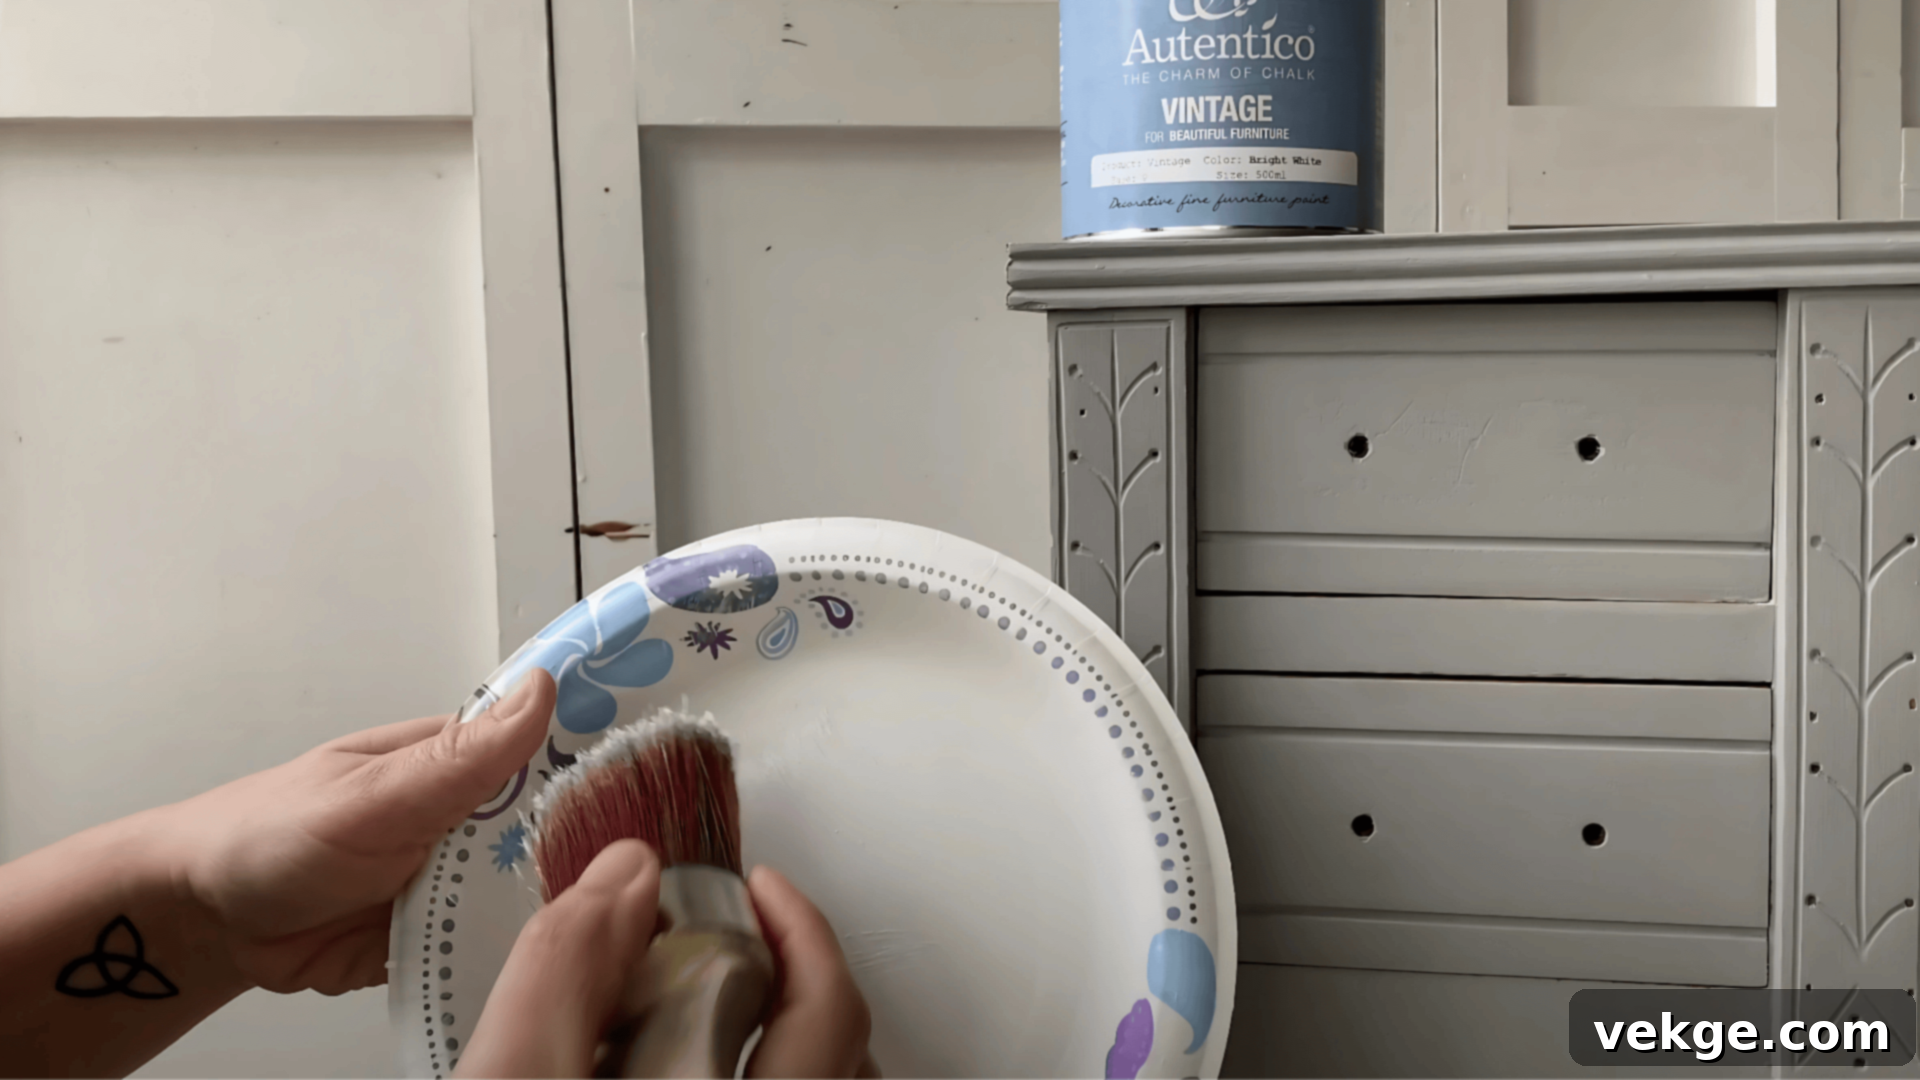
This is arguably the most critical step in dry brushing, as it dictates the outcome of your application. The goal is to have a brush that feels almost dry, with just a whisper of paint remaining. Follow these steps carefully:
- Dip Lightly: Dip the very tip of your stiff-bristled brush lightly into your chosen paint color. You only need a tiny amount – don’t overload the brush.
- Remove Excess Paint: This is where the “dry” in dry brushing comes from. Vigorously wipe almost all the paint off your brush onto a paper towel or clean cloth. You should work the brush back and forth until it appears that very little paint is left. You’ll notice the bristles splaying out a bit, and the paint should leave only a very faint trace on the paper towel.
- Test and Observe: Before touching your project, test the brush on a scrap piece of paper or a hidden area of your project. The paint should apply as a very light, broken line or subtle dusting, rather than a solid stroke. If it’s too strong, wipe off more paint. If it’s too weak, add a tiny bit more paint and wipe again. The less paint on the brush, the better for achieving those delicate highlights.
Step 3: The Application Process – Gentle Strokes for Maximum Effect
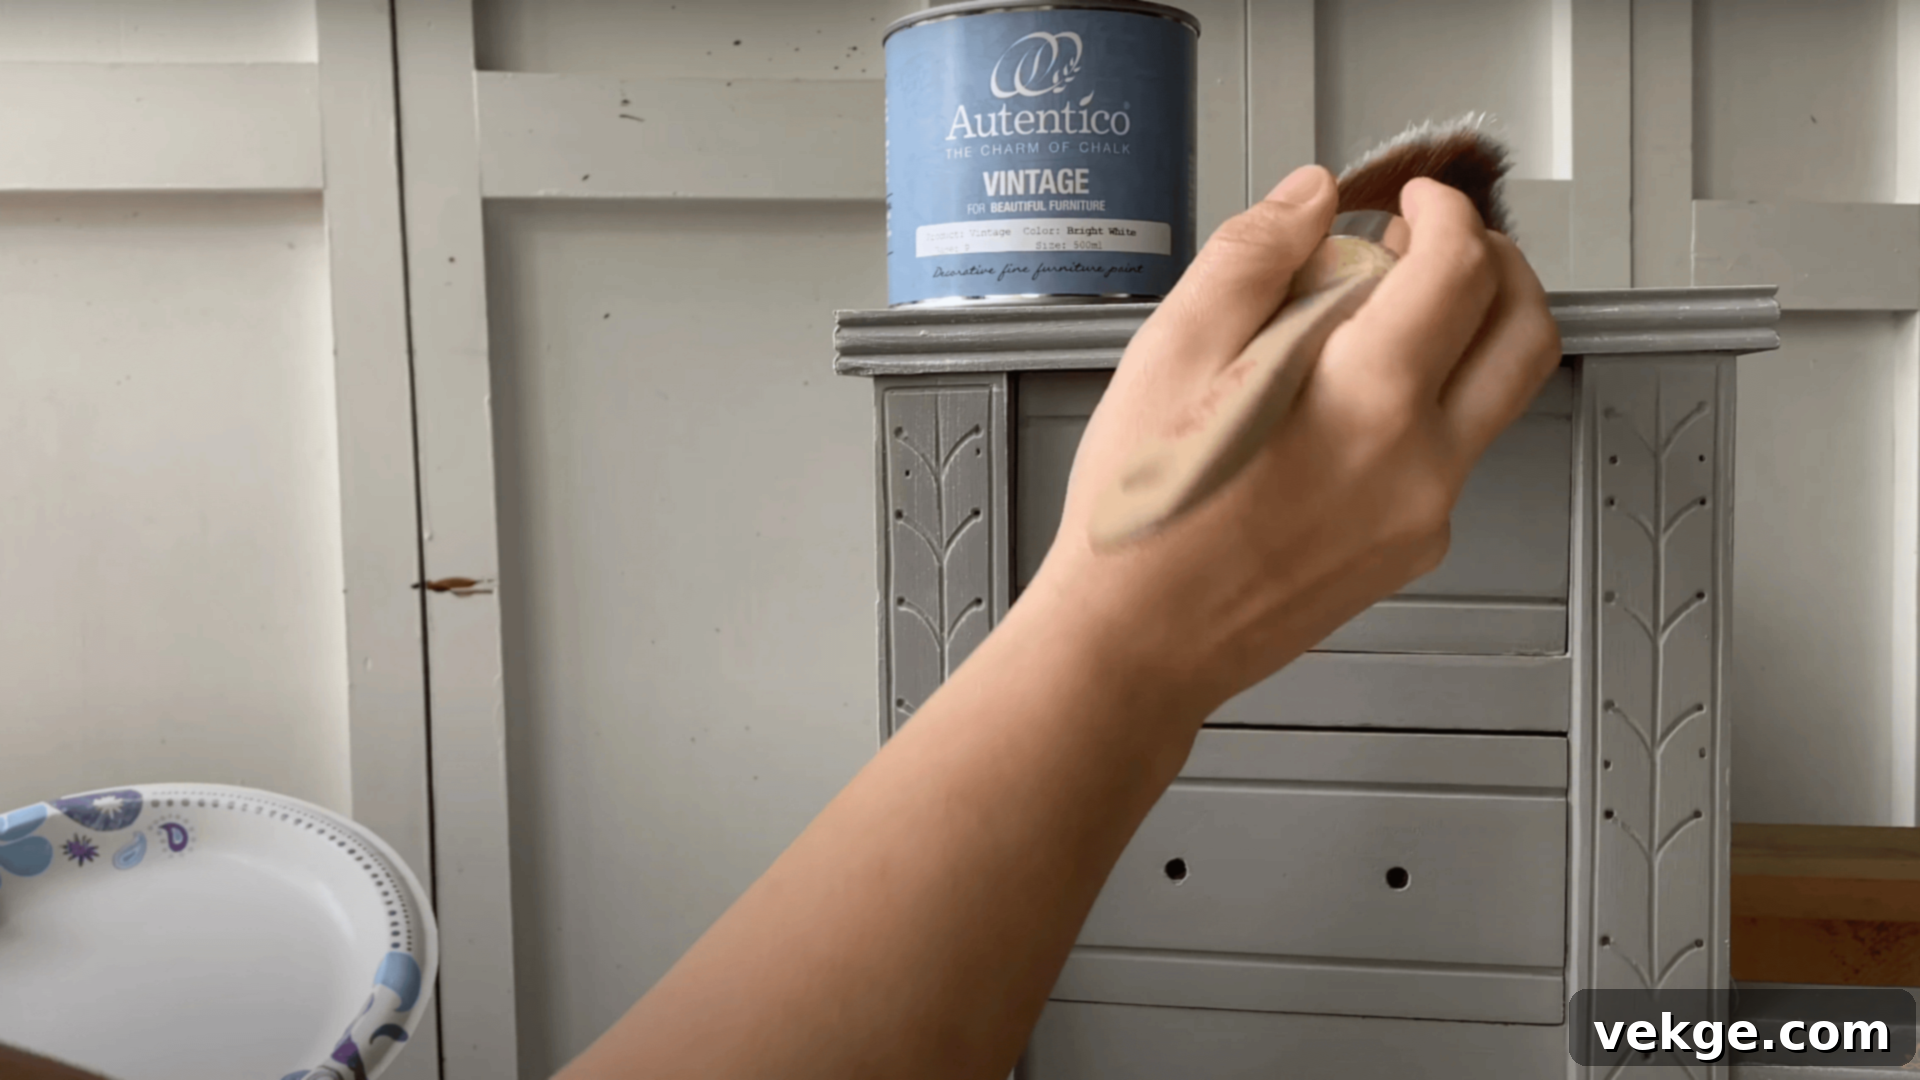
With your brush properly loaded and almost dry, it’s time to apply the paint to your project. The technique is all about light pressure and consistent movement:
- Hold at an Angle: Hold your brush at a slight angle, almost parallel to the surface you are painting. This ensures that only the bristles’ edges make contact with the raised areas.
- Light, Quick Strokes: Use light, quick, back-and-forth or sweeping strokes across the raised surfaces of your project. Avoid pressing down hard; let the bristles dance over the texture.
- Focus on Raised Areas: The key is to move the brush in a way that it primarily catches the highest points and prominent edges of your object. The more textured the surface, the more pronounced the dry brushing effect will be.
- Direction Matters: Experiment with different stroke directions. Sometimes, stroking perpendicular to a raised edge works best; other times, a diagonal or circular motion might be more effective for broader textures.
- Build Layers Gradually: Remember, you’re not aiming for solid coverage in one go. Start with a very subtle application and build up the intensity with multiple light layers until you achieve your desired effect. This gradual approach provides greater control and prevents over-application.
Step 4: Tips for Creating Subtle and Effective Highlights
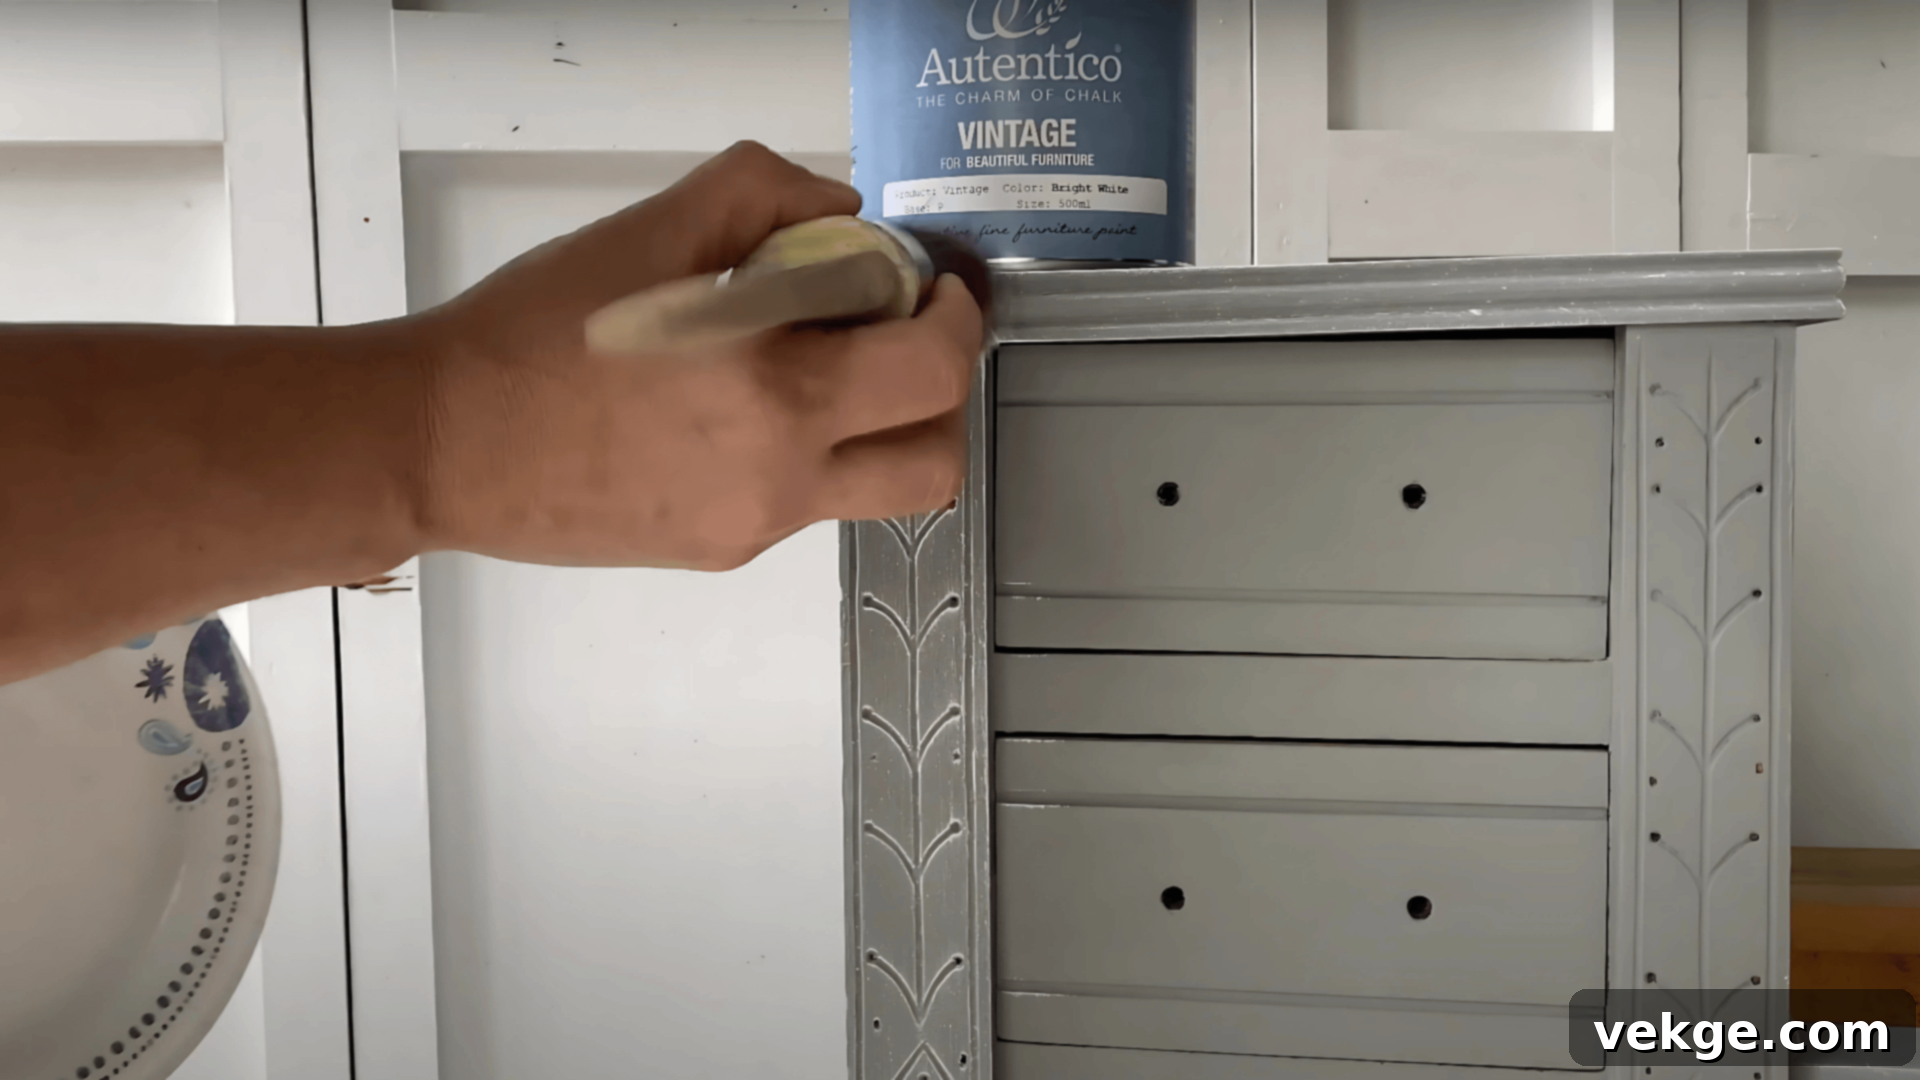
Achieving truly professional-looking dry brushing involves a bit of finesse and understanding how to control the intensity of your highlights:
- Start with a Very Light Touch: Always begin with less pressure and less paint than you think you need. The beauty of dry brushing is its buildable nature. It’s much easier to add more paint than to remove it.
- Layer by Layer: Apply several thin, almost invisible layers of dry-brushed paint rather than one heavy application. This allows you to gradually build up the color and brightness, creating a more natural and integrated highlight.
- Work from Dark to Light: If you’re using multiple colors, typically you’ll apply a darker base coat, then dry brush with progressively lighter shades of the same color or complementary colors to create a gradient effect. This enhances depth.
- Observe from a Distance: Periodically step back from your project to assess the effect. What looks subtle up close might be perfect from a normal viewing distance, or it might need more intensity.
- Control the Brush Pressure: Vary your brush pressure slightly. Lighter pressure will pick up only the absolute highest points, while slightly more pressure will catch a broader area, allowing you to blend or cover more surface if needed.
- Clean Your Brush Frequently: Even with minimal paint, tiny bits of dried paint can accumulate. Wiping your brush on a clean paper towel every so often helps keep the bristles working effectively.
For a detailed visual overview of the dry brushing process, check out this helpful YouTube video:
Essential Brush Care: How to Clean Brushes After Dry Brushing
Proper brush care is crucial for prolonging the life of your tools, especially since dry brushing can be quite demanding on bristles. Keeping your brushes clean and well-maintained ensures they’re ready for your next project and perform optimally.
- Remove Excess Paint Immediately: As soon as you finish dry brushing, or even during your session, wipe off as much remaining paint as possible on a paper towel or a dedicated rag. Don’t let paint dry in the bristles, as this is the primary cause of damage.
- Wash with Mild Soap and Warm Water: Rinse the brush under warm running water. Apply a small amount of mild soap (dish soap, hand soap, or specialized brush cleaner works well) to the bristles. Gently work the soap into the brush using your fingers, pressing the bristles against your palm to dislodge paint deep within the ferrule (the metal part).
- Rinse Thoroughly: Continue rinsing under warm water until no traces of paint or soap remain. The water should run clear, and the bristles should feel smooth, not sticky or stiff.
- Condition the Bristles (Optional but Recommended): For natural hair brushes especially, a tiny dab of hair conditioner or baby shampoo can help soften and protect the bristles. Work it in, then rinse thoroughly. This step helps restore the brush’s flexibility and shape.
- Reshape and Dry Properly: Gently reshape the brush head with your fingers, returning the bristles to their original point or chisel edge. Lay the brush flat to dry on a clean surface or hang it with the bristles pointing downwards if you have a brush drying rack. Avoid standing brushes upright in water, as this can cause water to seep into the ferrule, weakening the glue and damaging the handle.
Consistent cleaning will keep your brushes in excellent condition, ensuring they serve you well for many painting adventures to come!
Troubleshooting Common Dry Brushing Challenges
Even with the right technique, you might encounter a few hurdles. Here’s how to troubleshoot common dry brushing issues and refine your approach:
- Managing Paint Texture (Too Much Buildup): If your dry brushing looks clumpy or leaves too much solid color, your brush likely has too much paint.
Solution: Always, always wipe off more paint than you think is necessary on a paper towel. The brush should feel almost dry. If buildup occurs, you can often gently scrape it away with a hobby knife or fine sandpaper once dry, or lightly wipe with a damp cloth if still wet. - Achieving the Right Look (Not Enough Contrast/Effect): If your dry brushing isn’t making an impact, the paint color might be too similar to the base coat, or you’re not using enough pressure.
Solution: Experiment with brighter or lighter colors for your dry brush layer to create a stronger contrast. Also, try varying your brush pressure slightly – a little more pressure can pick up more texture. Remember to build up layers gradually. - Uneven Coverage (Patchy or Streaky Results): If your dry brushing appears inconsistent, it could be due to uneven paint on the brush or inconsistent stroke application.
Solution: Ensure your brush is evenly “dry-loaded” with paint across all bristles. Maintain light, consistent strokes across the surface, moving in one general direction to avoid harsh lines. Avoid pressing too hard, which can push paint into recesses. - Brush Damage (Splayed or Bent Bristles): Dry brushing can be tough on brushes, causing bristles to splay prematurely.
Solution: Use dedicated, stiff-bristled brushes specifically for dry brushing, or repurpose older brushes. Avoid applying excessive force. Clean your brushes thoroughly after each use and reshape them while wet. Consider synthetic brushes as they tend to be more durable. - Color Choice & Base Coat Issues: Sometimes the problem isn’t the technique, but the colors you’ve chosen.
Solution: Generally, dry brushing with a lighter color over a darker base coat provides the most dramatic contrast and highlights. For a more subtle effect, use a color that is only a few shades lighter than your base. Experiment with complementary colors for unique results. - Fixing Over-Application: If you’ve accidentally applied too much paint and it looks too harsh or heavy.
Solution: If the paint is still wet, you can often gently wipe away some excess with a damp cloth or a clean, dry brush. If it’s dry, you can lightly sand the area with fine-grit sandpaper, or carefully paint over it with your base coat and re-dry brush. Another option is to use a slightly thinned wash or glaze over the area to mute the harshness.
Final Thoughts: Embrace the Art of Dry Brushing
Dry brushing is a wonderfully versatile, fun, and forgiving technique that has the power to breathe life and realism into almost any painting project. From the intricate details of miniatures to the charming character of upcycled furniture or the subtle textures on a canvas, it’s an invaluable method for adding depth, dimension, and an undeniable sense of realism.
Now that you’re equipped with a thorough understanding of what dry brushing is, the tools you’ll need, and a detailed step-by-step guide, you have everything required to start your own dry brushing journey. Remember, artistic exploration is about experimentation. Don’t be afraid to try new colors, different brush types, and varied stroke patterns. Each project is an opportunity to learn and grow.
Practice truly makes perfect in painting, and with every piece you tackle, you’ll gain confidence, refine your technique, and gradually discover your own unique dry brushing style. So grab your stiff brush, find your favorite paint, and let your creativity flow. Keep painting, keep exploring, and most importantly, enjoy the incredibly rewarding process of bringing your artistic visions to life!
If you’re eager for more painting tips, advanced techniques, or inspiration for your next project, be sure to explore my other blogs for a wealth of ideas and guidance.
