Did you know that crafting your own applesauce at home is incredibly simple, especially when using an Instant Pot or Crockpot? Forget store-bought varieties loaded with added sugars and preservatives; homemade applesauce offers a fresh, wholesome taste that’s far superior. This comprehensive guide will walk you through everything you need to know, from selecting the perfect apples to mastering both pressure cooking and slow cooking methods, ensuring you achieve delicious results every time.
Making your own applesauce is not just about taste; it’s a step towards healthier eating and culinary satisfaction. It’s a fantastic way to utilize a bounty of fresh apples, transforming them into a versatile staple that can be enjoyed in countless ways. Whether you prefer a silky-smooth puree or a hearty, chunky sauce, the power to customize is in your hands. Get ready to impress your taste buds and embrace the delightful simplicity of homemade applesauce.

Why Homemade Applesauce is a Must-Try
There are numerous compelling reasons to ditch the jars from the grocery store and make your applesauce from scratch:
- Unbeatable Flavor: Homemade applesauce boasts a vibrant, natural apple flavor that simply cannot be replicated by commercial products. You control the sweetness and spice, allowing the true essence of the apples to shine.
- Healthier Choice: By making it yourself, you can avoid unnecessary added sugars, high-fructose corn syrup, and artificial flavors. It’s a fantastic way to enjoy a naturally sweet treat or a healthy side dish for the whole family, especially for young children.
- Cost-Effective: When apples are in season, they can be quite affordable, especially if purchased in bulk. Turning them into applesauce is a smart way to preserve their goodness and save money in the long run.
- Customizable: Want more cinnamon? Less sugar? A mix of sweet and tart apples? Homemade allows for endless customization. You can experiment with different apple varieties, spices, and even add other fruits.
- Simple and Rewarding: Despite its gourmet taste, homemade applesauce is remarkably easy to prepare. Both the Instant Pot and Crockpot methods require minimal hands-on time, making it a perfect recipe for busy schedules.
Choosing the Best Apples for Your Applesauce
The type of apple you choose will significantly impact the flavor and texture of your applesauce. A blend of different apple varieties often yields the most complex and delicious results. Consider these popular options:
- Sweet Apples: Fuji, Gala, Honeycrisp, Golden Delicious. These apples break down beautifully and provide a naturally sweet base, often requiring little to no added sugar.
- Tart Apples: Granny Smith, Braeburn, McIntosh. Tart apples add a zingy counterpoint, preventing the applesauce from being overly sweet and adding depth of flavor. McIntosh apples are also known for breaking down very easily, creating a smooth texture.
- Firm Apples: Granny Smith, Fuji, Honeycrisp. These hold their shape better during cooking, contributing to a chunkier applesauce if desired.
- Soft Apples: McIntosh, Golden Delicious. These apples soften quickly, making them ideal for a smoother applesauce with minimal mashing.
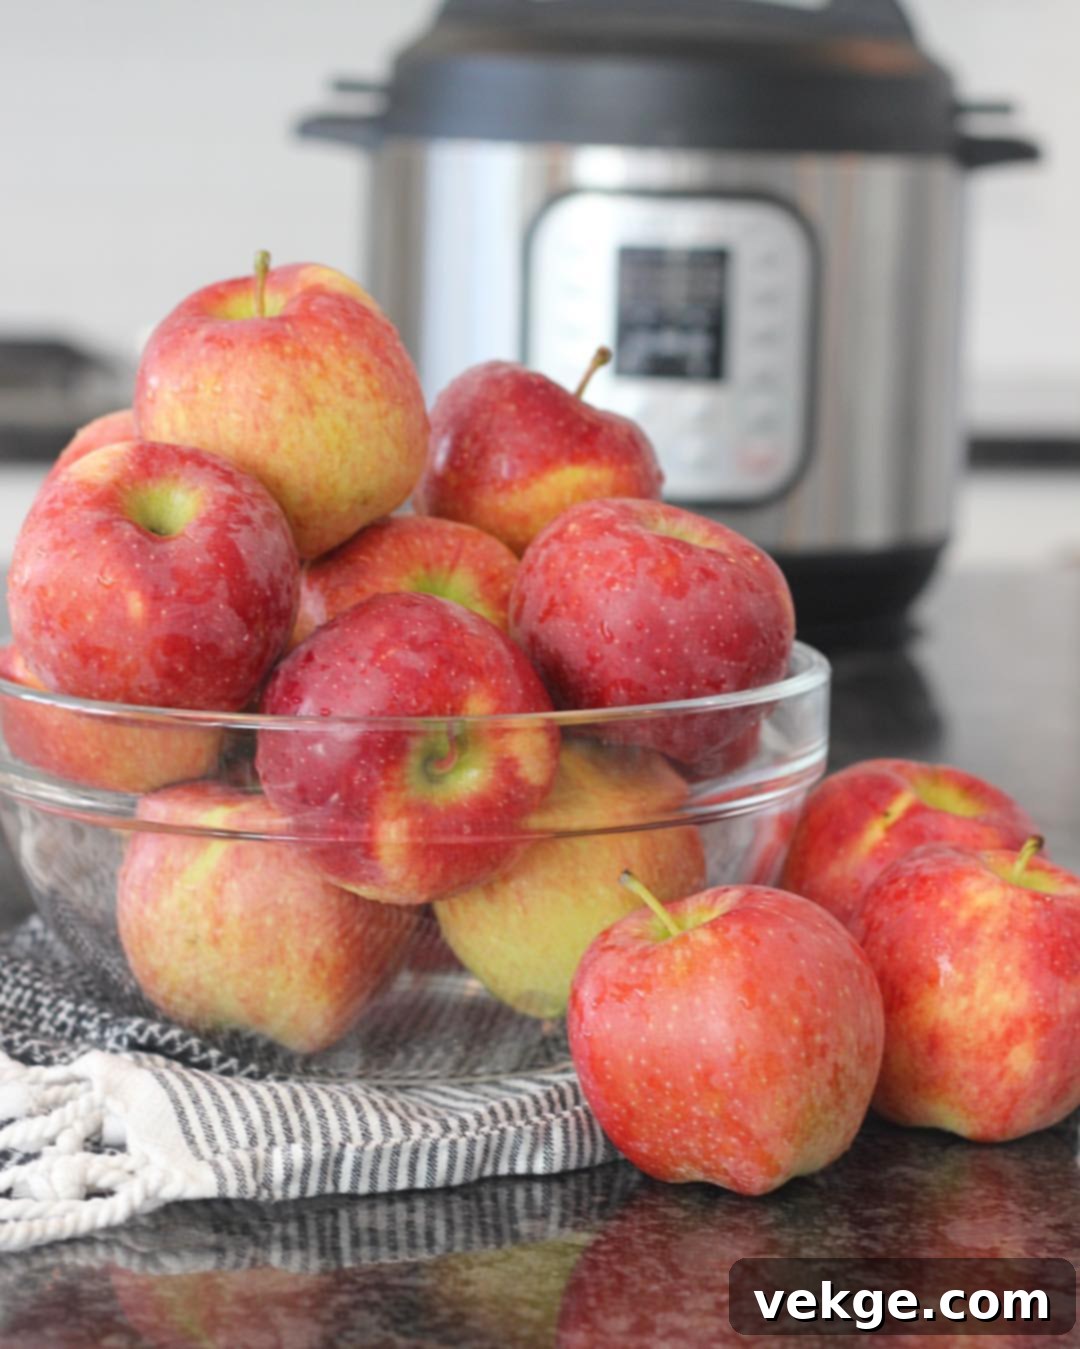
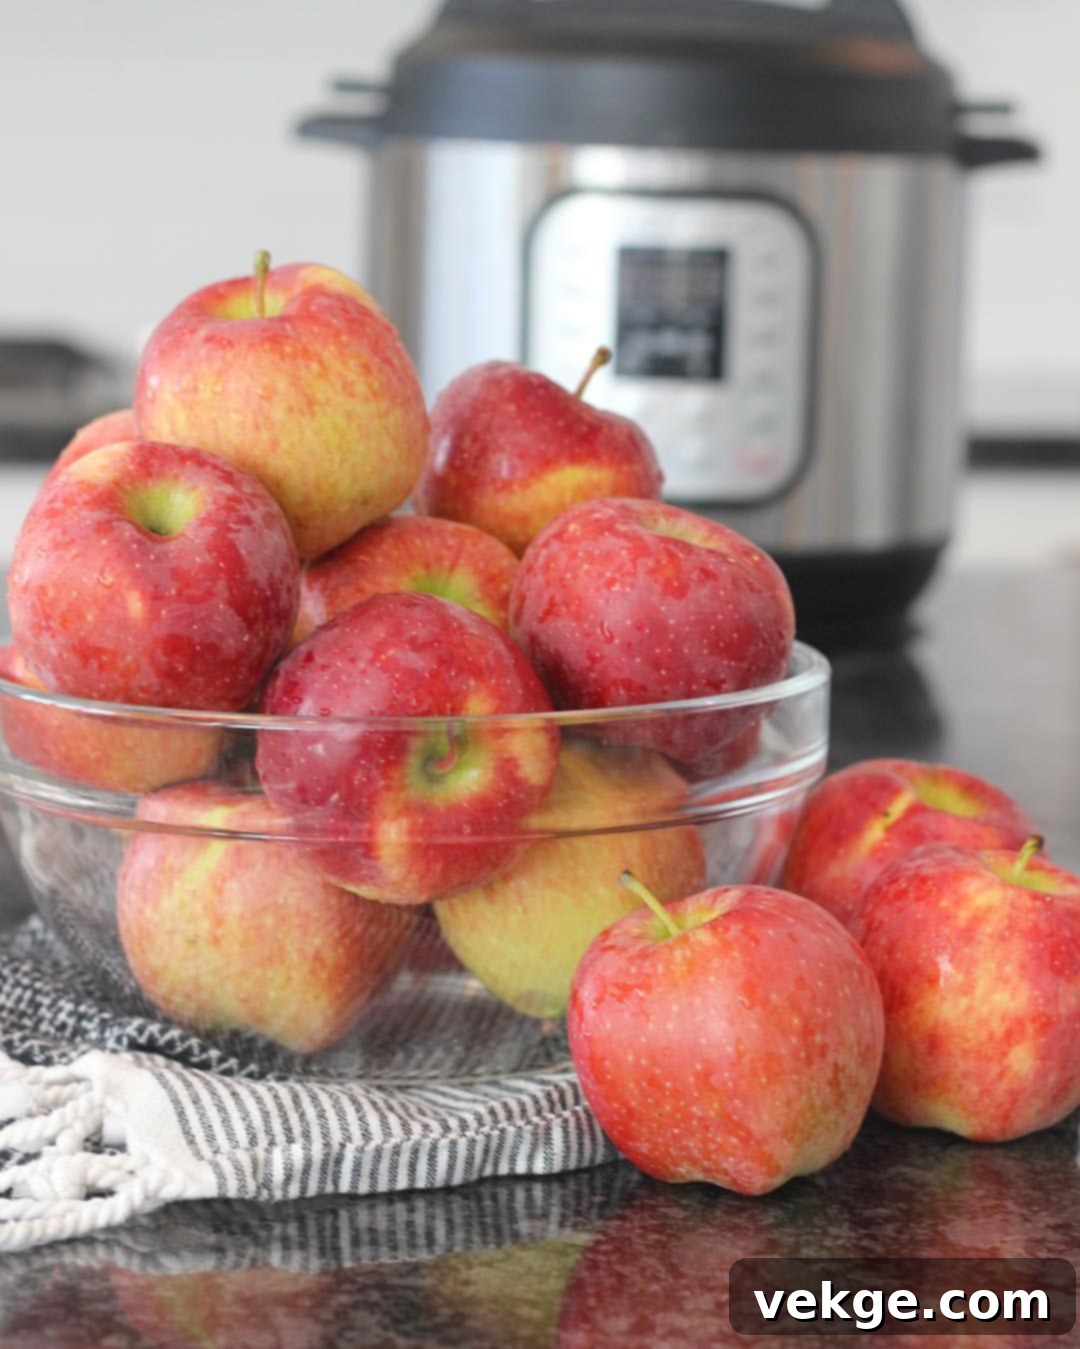
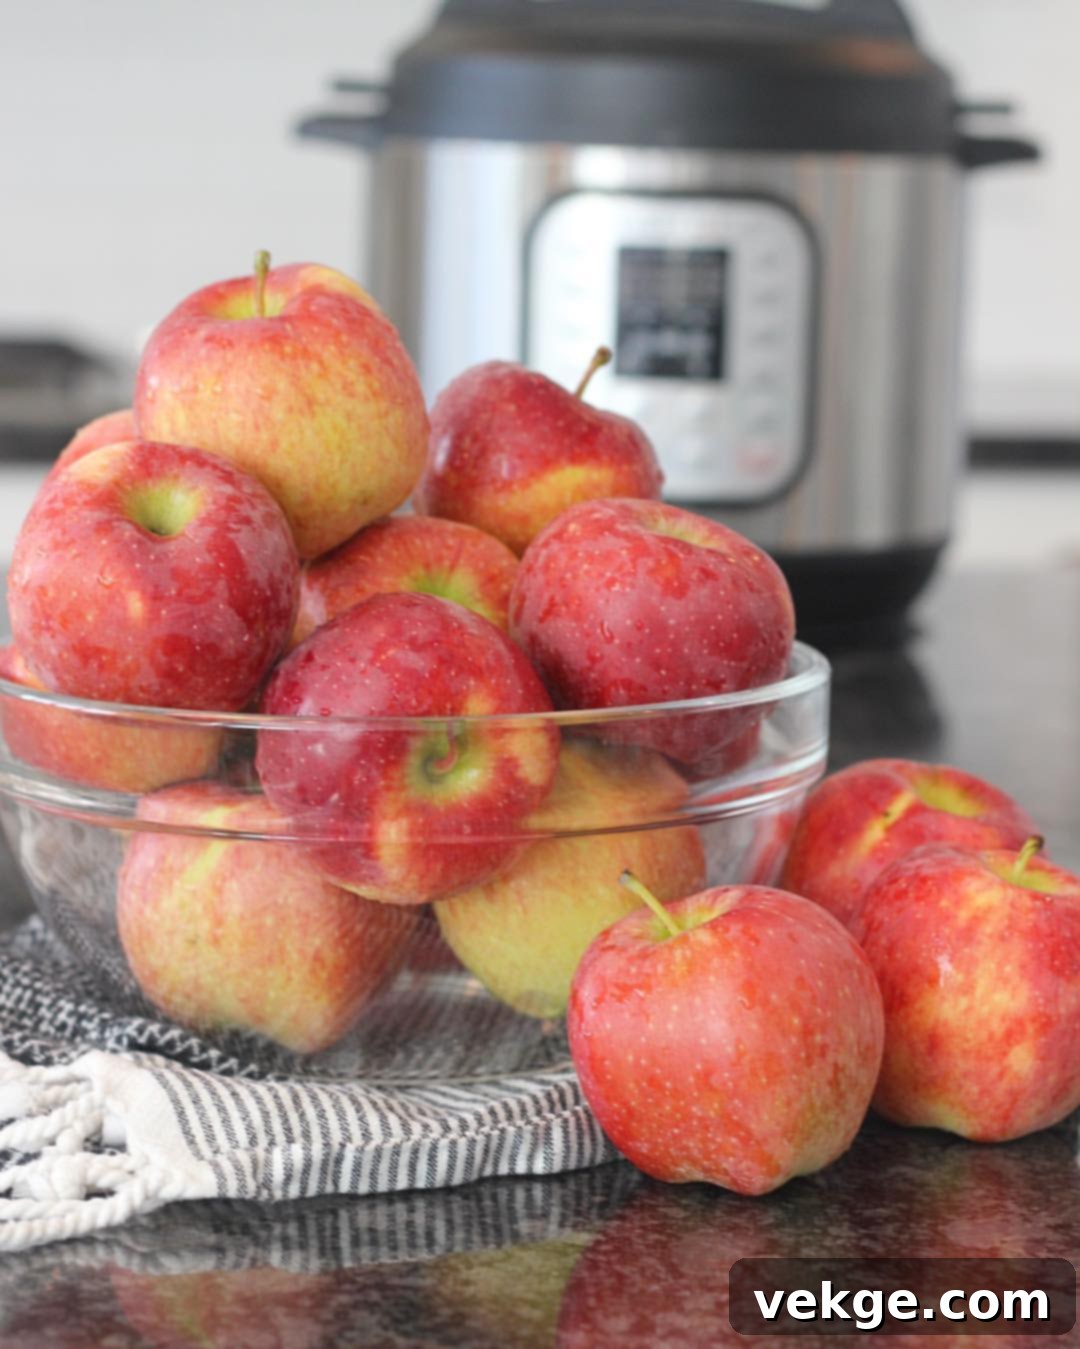
For a balanced flavor profile, we recommend using a combination of sweet and tart apples. If you’re unsure, “Red Delicious” apples, as suggested in the original recipe, are a widely available and generally sweet option that works well for a straightforward applesauce. Ultimately, experiment with what’s available and what you enjoy!

Essential Equipment and a Crucial Tip: The Rubber Ring Dilemma
For this recipe, your primary equipment will be an Instant Pot (or another brand of electric pressure cooker) or a Crockpot (slow cooker). Both offer excellent results with minimal fuss. However, there’s a crucial tip for Instant Pot users that cannot be overlooked:
The Instant Pot Rubber Ring: A Flavor-Saving Secret
If you’re an Instant Pot enthusiast, you know that the silicone sealing ring inside the lid is notorious for absorbing odors from strongly flavored dishes like curries, chilis, or tacos. This means if you use the same ring for sweet applesauce, your delicious dessert might end up with an unexpected savory undertone. To prevent this culinary catastrophe:
- Dedicate Rings: Invest in at least two rubber rings – one exclusively for savory dishes and another specifically for sweet foods. They are inexpensive and a worthwhile investment for any Instant Pot owner. Color-coding them (e.g., red for savory, clear for sweet) can help keep them organized.
- Cleaning Tips: Avoid putting your silicone rings in the dishwasher, as they can absorb the scent of dish soap, which will also transfer to your food. Instead, clean them by hand with warm, soapy water immediately after use. For stubborn odors, a baking soda scrub can work wonders: make a paste with baking soda and a little water, rub it onto the ring, let it sit for a few minutes, then rinse thoroughly. Another trick is to soak the ring in white vinegar for a few hours.
- Storage: Store your rings separately from your Instant Pot lid when not in use, allowing them to air out completely.
Homemade Applesauce
Discover how incredibly simple it is to make your own delicious, wholesome applesauce from scratch!
Pin Recipe
Rate This Recipe
Recipe Details
- Course: Side Dish
- Cook Time: 8 minutes (Instant Pot)
- Servings: 20
Equipment
- Instant Pot or Crock Pot
Ingredients:
- Approximately 15-20 apples (e.g., Red Delicious), peeled and roughly chopped
- 1/2 cup water
- 1 teaspoon cinnamon (optional, adjust to taste)
- Optional: Sweetener to taste (honey, maple syrup, sugar)
- Optional: A squeeze of lemon juice (to prevent browning and brighten flavor)
Instructions
Instant Pot Directions
- Before starting, ensure your Instant Pot lid’s rubber ring is dedicated to sweet foods to prevent flavor transfer from savory meals. If not, replace it or clean it thoroughly as described above.
- Peel and roughly chop your chosen apples. For an 8-quart Instant Pot, you can typically fit about 20 medium-sized apples (like Red Delicious). If using a 6-quart model, aim for approximately 15 apples. Always be mindful not to exceed the “max fill” line inside your pot.
- Add 1/2 cup of water and 1 teaspoon of cinnamon (if using) to the Instant Pot with the chopped apples. A squeeze of fresh lemon juice can also be added at this stage to prevent browning and enhance flavor.
- Secure the lid on your Instant Pot, ensuring it’s properly sealed. Twist the steam release valve to the “Sealing” position.
- Cook on Manual/Pressure Cook (High Pressure) for 8 minutes. The Instant Pot will take some time to come to pressure before the cooking timer begins.
- Once the cooking cycle is complete, allow the pressure to release naturally for at least 10 minutes. This helps to prevent frothing and ensures the apples continue to tenderize. After 10 minutes, you can carefully turn the steam release valve to “Venting” to quick release any remaining pressure.
- Carefully open the lid. With a sturdy spoon or a potato masher, gently stir and mash the cooked apples to your desired consistency. For a smoother applesauce, you can use an immersion blender directly in the pot.
- Taste the applesauce. If desired, add sweetener (like honey, maple syrup, or a pinch of sugar) a little at a time until it reaches your preferred sweetness. We often find that with naturally sweet apples, no added sugar is needed!
- Serve your warm homemade applesauce immediately. It’s absolutely delightful with a dollop of whipped cream or a sprinkle of extra cinnamon. Alternatively, let it cool completely before storing it.
- For long-term preservation, you can bottle this applesauce. Fill sterilized quart-sized mason jars with hot applesauce, leaving about 1/2 inch headspace. Apply lids and rings fingertip-tight. Process in a boiling water bath canner for 40 minutes. Ensure the lids “pop” inward when cooled, indicating a proper seal.
Crockpot Directions
- Peel and chop your apples (using varieties like Red Delicious works well) and fill your Crockpot. There’s no strict limit other than not overfilling your slow cooker, leaving some space for steam.
- Add 1 teaspoon of cinnamon (optional) and 1/2 cup of water to the apples in the Crockpot. You can also add a splash of lemon juice here.
- Place the lid on your Crockpot.
- Cook on LOW for 6-8 hours or on HIGH for 3-5 hours. The cooking time will vary depending on your slow cooker model and the firmness of your apples. The apples should be very tender and easily mashable when done.
- Once cooked, use a potato masher to mash the apples to your desired consistency – smooth or chunky. Taste and adjust sweetness if necessary.
- Serve immediately or refrigerate any leftovers once cooled.
Achieving Your Desired Applesauce Consistency
Whether you prefer your applesauce velvety smooth or delightfully chunky, it’s easy to achieve the perfect texture:
- For Chunky Applesauce: After cooking, simply use a potato masher to break down the apples to your preferred level of chunkiness. A few quick mashes will leave plenty of apple pieces for a rustic feel.
- For Smooth Applesauce: For a silky-smooth puree, an immersion blender is your best friend. Blend directly in the pot until the applesauce reaches your desired consistency. Alternatively, you can transfer the cooked apples to a regular blender or food processor, being careful when blending hot liquids (blend in batches and allow steam to escape). A food mill is another excellent tool for creating a perfectly smooth, seedless, and skinless applesauce, even if you didn’t peel the apples beforehand.
Flavorful Variations and Creative Additions
While classic applesauce with cinnamon is a timeless favorite, don’t hesitate to get creative with flavor variations:
- Spice It Up: Beyond cinnamon, consider adding a pinch of nutmeg, allspice, ground cloves, or even a touch of ground ginger for a warmer, spicier profile. Apple pie spice blends also work wonderfully.
- Fruity Blends: Introduce other fruits for a unique twist. Pears, berries (like blueberries or cranberries), or even a handful of dried apricots can be cooked alongside the apples to create a delicious fruit compote.
- Citrus Zest: A little lemon or orange zest added at the end of cooking can brighten the flavor and add a fragrant note.
- Vanilla Extract: Stir in a teaspoon of vanilla extract after cooking for a subtle, comforting aroma and taste.
- Sweetener Alternatives: If you find your applesauce needs a little extra sweetness, try honey, maple syrup, or brown sugar instead of white sugar for different flavor depths.
Storing and Preserving Your Homemade Applesauce
Once you’ve made a batch of delicious applesauce, you’ll want to ensure it lasts. Here’s how to store and preserve it:
Refrigeration
Homemade applesauce can be stored in an airtight container in the refrigerator for up to one week. It’s perfect for quick breakfasts, snacks, or as a healthy side dish throughout the week.
Freezing
Freezing is an excellent option for longer-term storage. Applesauce freezes beautifully for up to 3-6 months.
- Allow the applesauce to cool completely before freezing.
- Portion the applesauce into freezer-safe containers, heavy-duty freezer bags, or even ice cube trays for smaller servings. Leave some headspace if using rigid containers, as liquids expand when frozen.
- Label with the date.
- To thaw, simply transfer it to the refrigerator overnight or gently warm it on the stovetop.
Canning for Shelf Stability
For truly long-term storage, canning is a fantastic method that makes your applesauce shelf-stable for up to a year or more. This is particularly useful if you’ve made a very large batch.
- Prepare Jars: Start with clean, sterilized canning jars (quart or pint size), new lids, and bands. You can sterilize jars by washing them in hot, soapy water and then keeping them hot until ready to fill, or by running them through a dishwasher’s sterilize cycle.
- Heat Applesauce: While your jars are heating, bring your finished applesauce to a simmer on the stovetop. It should be hot when you fill the jars.
- Fill Jars: Carefully ladle the hot applesauce into the hot, sterilized jars, leaving a 1/2-inch headspace (the space between the applesauce and the rim of the jar).
- Remove Air Bubbles: Use a non-metallic spatula or chopstick to gently remove any air bubbles from the jars. Add more applesauce if needed to maintain the headspace.
- Clean Rims: Wipe the rims of the jars with a clean, damp cloth to ensure a good seal.
- Apply Lids and Bands: Center a new, hot lid on each jar. Screw on the bands “fingertip tight”—just until resistance is met, don’t overtighten.
- Water Bath Canning:
- Place jars on a rack in a large canning pot (water bath canner) filled with hot water. Ensure the water level covers the tops of the jars by at least 1-2 inches.
- Bring the water to a rolling boil.
- Once boiling, process quart jars for 20 minutes (or 15 minutes for pint jars) at altitudes up to 1,000 feet. Adjust processing time for higher altitudes according to canning guidelines.
- After processing, turn off the heat and let the jars sit in the hot water for 5 minutes before carefully removing them.
- Cool and Check Seals: Place the hot jars on a towel-lined counter, spaced apart, and allow them to cool undisturbed for 12-24 hours. You should hear a “pop” as the lids seal. After cooling, check the seals by pressing down on the center of each lid; it should not flex. If a jar hasn’t sealed, refrigerate it and use it within a week.
- Store: Remove the bands (they can be reused), label your sealed jars with the contents and date, and store them in a cool, dark place.
Serving Suggestions for Homemade Applesauce
Homemade applesauce is incredibly versatile. Here are some delicious ways to enjoy it:
- Breakfast Booster: Stir it into oatmeal or yogurt, serve it alongside pancakes or waffles, or swirl it into a smoothie.
- Savory Side: It’s a classic pairing with pork chops, roast chicken, or even turkey.
- Dessert Delight: Enjoy it warm with a dollop of whipped cream, a scoop of vanilla ice cream, or simply on its own as a wholesome treat.
- Baking Ingredient: Use applesauce as a healthy substitute for oil or butter in muffins, cakes, and other baked goods to reduce fat content and add moisture.
- Snack Time: A simple bowl of applesauce is a comforting and nutritious snack at any time of day.
Frequently Asked Questions About Homemade Applesauce
Here are answers to some common questions about making applesauce at home:
- Do I have to peel the apples?
- No, you don’t! Leaving the peels on adds extra fiber and nutrients. If you leave them on, you’ll likely want to use an immersion blender or food mill to achieve a smooth consistency, as the peels will become very soft but might still be noticeable if only mashed with a potato masher.
- What apples are best for applesauce?
- A mix of sweet and tart apples typically yields the best flavor. Good choices include Fuji, Gala, Honeycrisp (sweet) mixed with Granny Smith or McIntosh (tart). Experiment to find your favorite blend!
- Can I use frozen apples?
- Yes, you can! If you have frozen apples from a previous harvest, they work perfectly for applesauce. Thaw them slightly before cooking, or simply add them to the pot frozen (you might need to add a few extra minutes to the cooking time).
- How long does homemade applesauce last?
- Homemade applesauce lasts about 1 week in the refrigerator, 3-6 months in the freezer, and over a year if properly canned.
- Can I make it without water?
- While a little water (or apple juice) helps get the cooking process started and prevents sticking, especially in the Instant Pot, you can significantly reduce the amount or even skip it if your apples are very juicy. Just be mindful of scorching, particularly in the Crockpot.
- Why did my applesauce turn brown?
- Applesauce can brown due to oxidation. To prevent this, add a squeeze of lemon juice (about 1-2 tablespoons per batch) to the apples before cooking. Lemon juice also brightens the flavor.
Conclusion
Making homemade applesauce is a wonderfully rewarding culinary endeavor that brings fresh, wholesome goodness into your home. With the ease of an Instant Pot or Crockpot, you can whip up a batch of delicious, customizable applesauce with minimal effort. From its superior flavor and health benefits to the simple joy of creating something from scratch, homemade applesauce is a staple you’ll be glad to add to your repertoire. So grab some apples, choose your method, and get ready to enjoy the best applesauce you’ve ever tasted!
