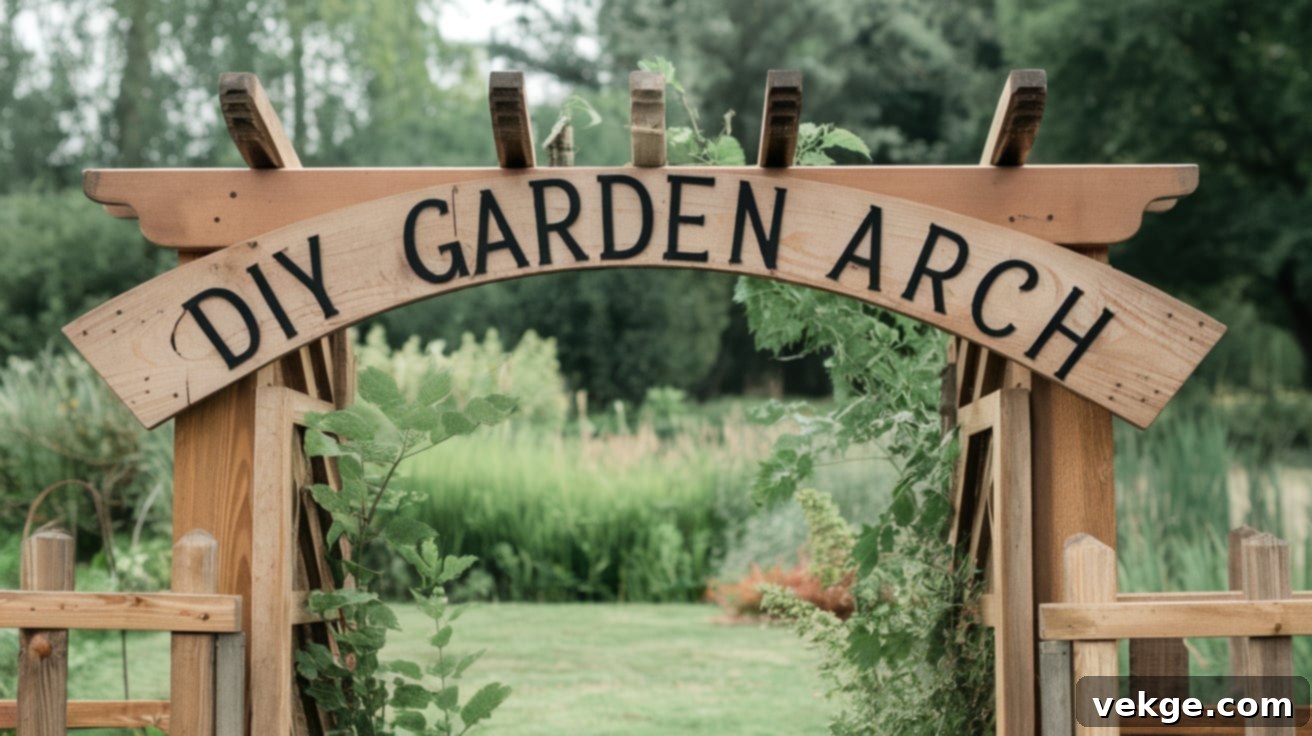
Build Your Own Stunning Garden Arch: A DIY Guide for Under $100
Imagine a charming entrance to your garden, adorned with climbing roses or fragrant jasmine, guiding your eye to a secret seating area. You want to add this touch of beauty without spending a fortune on a pre-built arch, right?
I understand completely. Last summer, I faced the same dilemma. My garden entrance felt plain, lacking that special something. Every store-bought arch I considered was either prohibitively expensive or looked so flimsy it wouldn’t last a season. It felt like I had to choose between my hard-earned money and my garden’s aesthetic appeal.
But here’s the exciting news: I discovered a practical and rewarding way to construct a strong, beautiful garden arch using materials that cost less than $100. This isn’t just about saving money; it’s about creating a truly personal feature that perfectly complements your outdoor space.
In this comprehensive guide, I’ll share my step-by-step process for creating a garden feature that consistently draws compliments from my neighbors. Trust me—if I could achieve this with basic DIY skills and a limited budget, you absolutely can too! Get ready to transform your garden entrance into a captivating focal point.
Benefits of Adding a Garden Arch to Your Landscape
Adding a garden arch is more than just a decorative choice; it significantly enhances your outdoor space in numerous practical and aesthetic ways. Let me share some key benefits I’ve discovered:
Makes Your Space Feel Bigger and Deeper
One of the most surprising benefits of a garden arch is its ability to create an illusion of greater space. By framing a view or marking a transition, an arch draws the eye forward, adding depth and perspective to your yard. This visual trick can make even a small garden feel more expansive and interesting, turning a simple path into an inviting journey.
Creates a Natural Focal Point
From the moment I installed my arch, it became the undisputed star of my garden. It naturally commands attention, guiding visitors’ eyes and giving a sense of purpose to the surrounding area. You can strategically place an arch to highlight a serene seating nook, mark the beginning of a meandering garden path, or simply serve as a standalone sculptural element that anchors your landscape design.
Supports Climbing Plants and Enhances Greenery
A garden arch provides an ideal framework for a wide array of climbing plants, from fragrant roses and vibrant clematis to lush wisteria and edible vines. As these plants grow up and over the structure, they breathe life into the arch, transforming it into a living, ever-changing sculpture. The vibrant flowers and rich greenery add continuous color and texture through the seasons. Furthermore, the canopy of climbing plants offers welcome shade, creating a cool, inviting spot to relax on hot summer days.
Divides Garden Areas with Grace
Without resorting to solid walls or harsh fences, an arch beautifully delineates different zones within your garden. I use my arch as a gentle, permeable barrier between my bustling vegetable patch and my peaceful sitting area. This subtle division helps create distinct, cozier “rooms” outdoors, enhancing functionality and design without obstructing views or feeling restrictive.
Adds Year-Round Interest and Structure
Even when the vibrant summer blooms fade and the climbing plants go dormant in winter, a well-designed garden arch remains a striking feature. Its architectural form provides essential structure and visual interest to the garden, preventing it from looking barren or flat during the colder months. It truly offers charm and presence, no matter the season.
Exploring Different Types of Garden Arches
Before you embark on your DIY project, understanding the various types of garden arches available can help you select the best materials and design for your specific needs and garden aesthetic. Each material offers unique characteristics in terms of appearance, durability, and maintenance requirements.
| Material | Key Features | Pros | Cons | Ideal For |
|---|---|---|---|---|
| Wooden Arches | Crafted from outdoor-suitable woods like cedar, redwood, or pressure-treated pine. | – Natural, warm, and aesthetically pleasing. – Highly customizable in shapes and sizes. – Durable and long-lasting if properly treated and maintained. |
– Requires regular maintenance (staining, sealing). – Susceptible to pests, rot, and weathering if untreated. |
Traditional, rustic, cottage, or natural garden themes. |
| Metal Arches | Often made from robust materials like steel, wrought iron, or repurposed cattle/utility panels. | – Exceptionally durable and weather-resistant. – Offers a modern, industrial, or classic look. – Provides strong support for even the heaviest climbing plants. |
– Can be heavy and potentially more challenging to install. – Prone to rust if not treated or coated properly. |
Modern, industrial, formal, or long-lasting architectural designs. |
| PVC Pipe Arches | Utilizes flexible, lightweight PVC pipes, often bent into arches using heat or natural curvature. | – Very lightweight and easy to handle and assemble. – Extremely affordable and readily available. – Naturally resistant to rust, rot, and decay. |
– Less sturdy for very heavy or aggressive climbing plants. – Can become brittle or degrade over time with prolonged extreme sunlight exposure. |
Temporary installations, budget-friendly projects, or light-duty plant support. |
| Recycled/Sustainable Materials | Creative constructions using reclaimed wood, pallets, old ladders, bicycle frames, or other repurposed items. | – Highly eco-friendly and sustainable, reducing waste. – Often low-cost or free materials. – Results in unique, character-filled, and creative designs. |
– May require more effort to source, prepare, and treat materials. – Durability can vary greatly depending on the original material and treatment. |
Eco-conscious gardeners, DIY enthusiasts, or rustic and whimsical garden styles. |
Selecting the Right Design for Your Garden
Before I even picked up a tool, I spent considerable time assessing my garden space. The right design isn’t just about aesthetics; it’s about functionality and harmony with its surroundings. Here’s how I approached the design selection process:
1. Conduct a Thorough Size Check
Precision is key. I carefully measured the width and height of my garden path or the area where the arch would stand. This ensures the arch fits perfectly and doesn’t feel cramped or disproportionate. My personal tip: always add a little extra width and height to your measurements. This allows ample space for climbing plants to grow robustly without overwhelming the arch or impeding passage, creating a more lush and inviting tunnel effect.
2. Match Your Garden’s Style
The arch should feel like a natural extension of your garden’s existing character. Consider the overall theme and elements already present:
- For my charming cottage garden, I envisioned and ultimately chose a design with a gently curved top and classic lattice sides, which perfectly complemented the romantic and informal vibe.
- Modern gardens often benefit from clean lines, minimalist designs, and sleek metal finishes, creating a contemporary and refined statement.
- Japanese gardens, with their emphasis on natural materials and serene aesthetics, shine with graceful bamboo structures or elegant wooden moon gates.
- Rustic or farmhouse gardens might feature reclaimed wood or a more robust, simple structure that blends seamlessly with natural elements.
3. Personalize and Make It Yours
This is where your creativity truly comes into play. Think about the details that will make your arch unique:
- Paint Colors: Choose colors that either complement your home’s exterior or add a vibrant pop of contrast to your garden’s palette.
- Side Panels: Decide between open designs that emphasize views or closed options with decorative lattice, wire mesh, or solid panels for more privacy or climbing plant support.
- Top Style: The top shape significantly influences the arch’s character—whether you prefer a classic flat top, a dramatic pointed peak, a soft rounded curve, or even a gothic arch.
Remember: The most successful arch designs are those that feel deeply integrated and truly belong in your space. I selected a design that not only served a purpose but also echoed my garden’s unique personality, and I encourage you to do the same.
DIY Garden Arch: Materials and Step-by-Step Instructions
Building your own garden arch is a rewarding project that can be accomplished with basic tools and a careful approach. For this guide, we’ll focus on constructing a sturdy, simple wooden arch, which offers a great balance of durability, aesthetics, and DIY accessibility. This design is adaptable and can be customized with lattice or decorative elements later.
1. Gather Your Tools and Materials
Before you begin, ensure you have all the necessary items. Using pressure-treated lumber is highly recommended for longevity in outdoor conditions.
| Tools | Materials |
|---|---|
| Measuring tape | (4) 4×4 or 4×6 pressure-treated wooden posts (e.g., 8-10 ft long) |
| Post-hole digger or shovel | (2-3) 2×4 or 2×6 pressure-treated wooden boards (for crossbeams/top arch) |
| Level (long and short) | Exterior-grade wood screws (3-4 inch) |
| Circular saw or hand saw | Exterior-grade wood glue |
| Drill and drill bits | Concrete mix (2-4 bags, optional but recommended for stability) |
| Rubber mallet (optional) | Gravel or crushed stone (for drainage) |
| Safety glasses and gloves | Exterior paint, stain, or sealant |
| Clamps (optional, for assembly) | Optional: Lattice panels, decorative trim, metal angle brackets |
2. Plan and Prepare the Site
- Choose a flat, stable area in your garden for the arch. Consider the width of your path and the desired height for clearance.
- Mark the exact positions for your four vertical posts. For a standard arch, the posts should be 3-4 feet apart horizontally (to allow comfortable passage) and 10-12 inches apart front-to-back (for depth and stability). Use string and stakes to outline the arch’s footprint.
- Dig post holes at each marked position. Each hole should be approximately 10-12 inches in diameter and at least 2 feet deep (deeper in areas with frost heave or for taller arches). The depth ensures stability.
3. Install the Vertical Posts
- Add 4-6 inches of gravel or crushed stone to the bottom of each post hole for drainage.
- Place one 4×4 post into each hole. Ensure the posts are plumb (perfectly vertical) using your level.
- If using concrete: Mix the concrete according to package directions and pour it around the posts. Continuously check for plumbness as you pour and until the concrete sets. Allow the concrete to cure for at least 24-48 hours before proceeding.
- If not using concrete: Backfill the holes with the excavated soil, compacting it firmly in layers around the posts. This method is suitable for lighter arches or in areas with very stable soil.
4. Construct the Arch Top and Crossbeams
- Once your posts are securely in place, measure the exact distance between the top of your vertical posts (both width and depth).
- Cut two 2x4s or 2x6s to span the width of the arch (these will be the horizontal top beams connecting the front two posts and back two posts).
- Cut additional 2x4s or 2x6s for side crossbeams or for creating a curved top. For a simple flat top, you’ll use two long pieces for the width and two shorter pieces for the depth to form a rectangular frame on top of the posts.
- Apply exterior-grade wood glue to the joints where the top beams will meet the vertical posts and each other.
- Attach the top beams using long exterior-grade wood screws (e.g., 3-4 inches). Predrill pilot holes to prevent splitting. For extra strength, you can use metal angle brackets on the inside of the joints.
- If you desire a curved arch, you might need to laminate thinner strips of wood into an arc, or cut a curve from a wider board using a jigsaw (this requires more advanced skills). Alternatively, use metal cattle panels bent into an arch and secured to the wooden posts.
5. Add Support for Climbing Plants (Optional)
- To help climbing plants, attach lattice panels, sections of wire mesh, or thin horizontal slats to the sides of the arch structure.
- Ensure these elements are securely fastened with screws or staples, providing plenty of grip for vines to climb.
6. Sand and Finish
- Once assembled, sand all rough edges and surfaces of your arch to remove splinters and prepare it for finishing.
- Apply an exterior-grade paint, wood stain, or clear sealant. This step is crucial for protecting the wood from moisture, UV rays, and insect damage, significantly extending the life of your arch.
- Allow the finish to dry completely according to the manufacturer’s instructions. A second coat is often recommended for maximum protection.
7. Decorate and Plant
- With the finish dry, your DIY garden arch is ready! Plant your chosen climbing roses, clematis, wisteria, or other vines at the base of the posts.
- Gently guide the new growth onto the arch structure, helping it establish a climbing pattern.
- Step back and admire your handiwork—a beautiful, custom garden arch that adds charm and character to your outdoor space!
For a more detailed tutorial on DIY garden arch, check out the video below:
Essential Maintenance and Care Tips for Your Garden Arch
To ensure your DIY garden arch remains a beautiful and sturdy feature for years to come, regular maintenance is essential. A little care goes a long way in preserving its structural integrity and aesthetic appeal.
- Rust Prevention (Metal Arches): Each spring, thoroughly clean any metal components and apply a fresh coat of rust-preventive spray or paint, especially to welds and joints.
- Tighten Fasteners: Periodically inspect all screws, bolts, and other fasteners, particularly after harsh weather conditions. Tighten any loose connections immediately to maintain stability and prevent structural weakness.
- Clear Debris: Monthly, remove any accumulated dead leaves, plant debris, or soil from the arch’s base and joints. This prevents moisture retention, which can lead to rot or rust.
- Wood Treatment (Wooden Arches): Annually, give wooden arches a fresh coat of weather-resistant stain, paint, or sealant. This protects the wood from UV damage, moisture, and pests, refreshing its appearance.
- Prune Climbing Plants: Regularly remove weak, dead, or overgrown climbing plant stems. This prevents them from becoming too heavy and overloading the arch structure, and also promotes healthier plant growth.
- Inspect for Rot/Damage: After particularly rainy seasons or harsh winters, carefully inspect wooden arches for any signs of wood rot, cracks, or pest damage. Address affected areas quickly by repairing, replacing, or treating.
- Manage Plant Overgrowth: Keep climbing plants trimmed and trained. While lush growth is desirable, excessive overgrowth can hide structural issues and put undue stress on the arch.
- Pest Checks: Occasionally check the arch joints and hidden crevices for signs of insect nests or pest activity. Clear them gently with a soft brush or appropriate treatment if necessary.
- Address Instability: If you notice any wobbling or instability in the arch, investigate and fix the cause promptly. Ignoring small issues can lead to bigger, more expensive problems down the line.
- Routine Cleaning: Give your arch a thorough cleaning with plain water and a soft brush or cloth each spring and fall to remove dirt, mildew, and general grime, keeping it looking fresh.
Creative Ideas for Inspiring DIY Garden Arches
Beyond the basic wooden arch, there are countless ways to get creative with your DIY garden arch project. These ideas showcase the versatility of materials and designs, allowing you to craft a unique statement piece for your outdoor oasis.
1. Sleek Metal Rod Arch
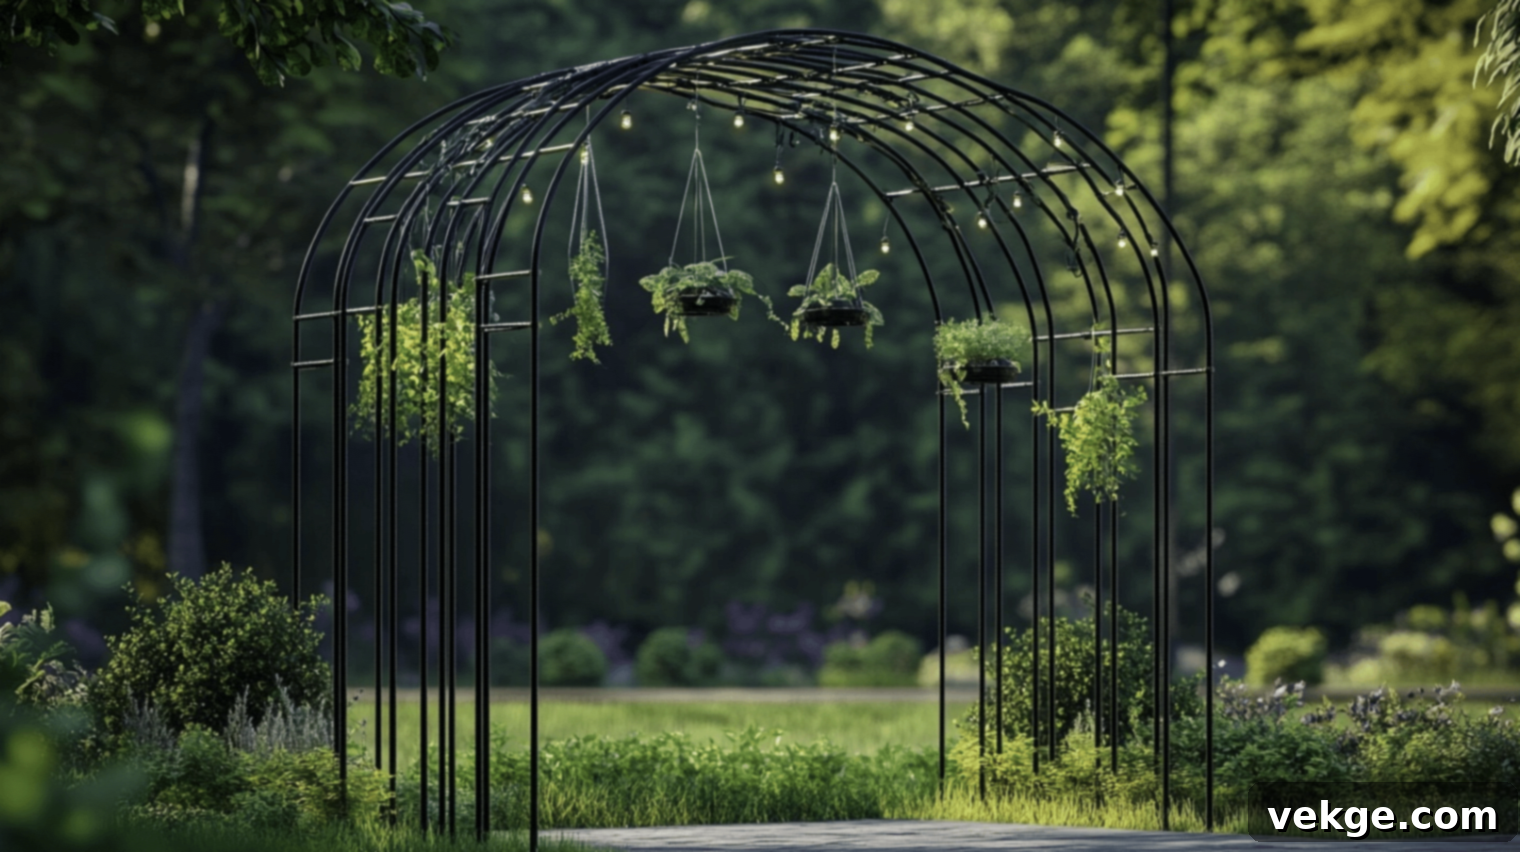
Utilize robust steel or aluminum rods, possibly repurposed rebar or conduit, to craft a sleek, modern arch. This minimalist design offers both incredible strength and a contemporary aesthetic, making it perfect for structured gardens.
- Why It Works: Highly durable, incredibly strong, and weather-resistant, ideal for permanent installations supporting heavy climbing plants.
- Maintenance Tips: Regularly inspect for any signs of rust and touch up with metal-safe, rust-inhibiting paint as needed to maintain its pristine look.
- Seasonal Styling Ideas: Entwine with delicate fairy lights for a magical evening glow in winter, or hang lightweight decorative planters filled with seasonal blooms in summer for added charm.
2. Rustic Willow Branch Arch

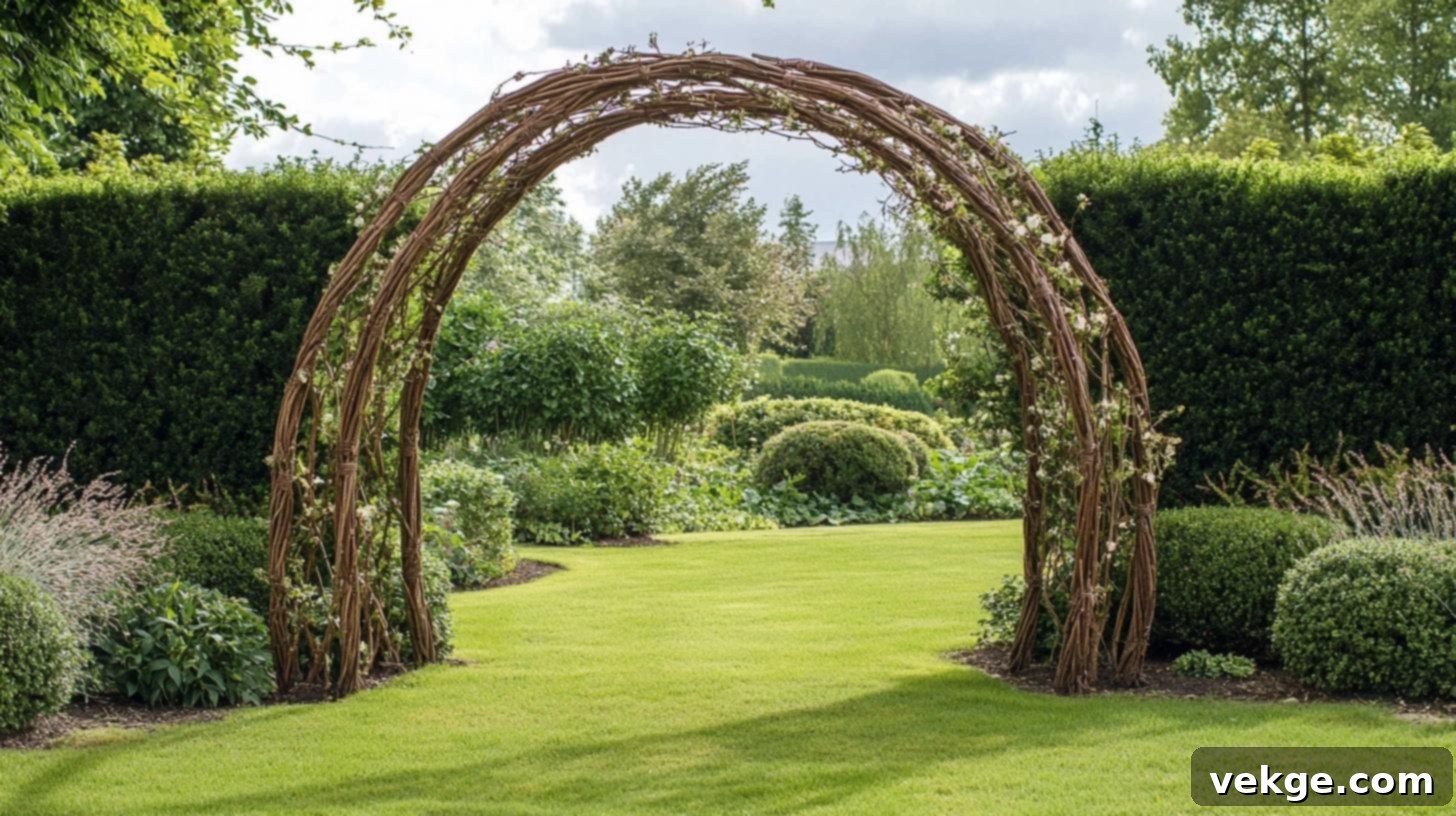
Embrace nature by bending pliable willow branches or other flexible saplings into an organic arch. Secure them together with natural twine or wire, creating an enchanting, earthy structure that blends seamlessly with ornamental or naturalistic garden styles.
- Why It Works: Offers a truly natural and eco-friendly aesthetic, harmonizing perfectly with the garden’s environment and creating a whimsical feel.
- Maintenance Tips: Annually inspect the branches and replace any that have weakened, broken, or started to decay to maintain the arch’s structural integrity.
- Seasonal Styling Ideas: Drape with colorful, lightweight ribbons in spring for a festive touch, or adorn with battery-operated twinkle lights for charming evening events.
3. Whimsical Ladder Arch
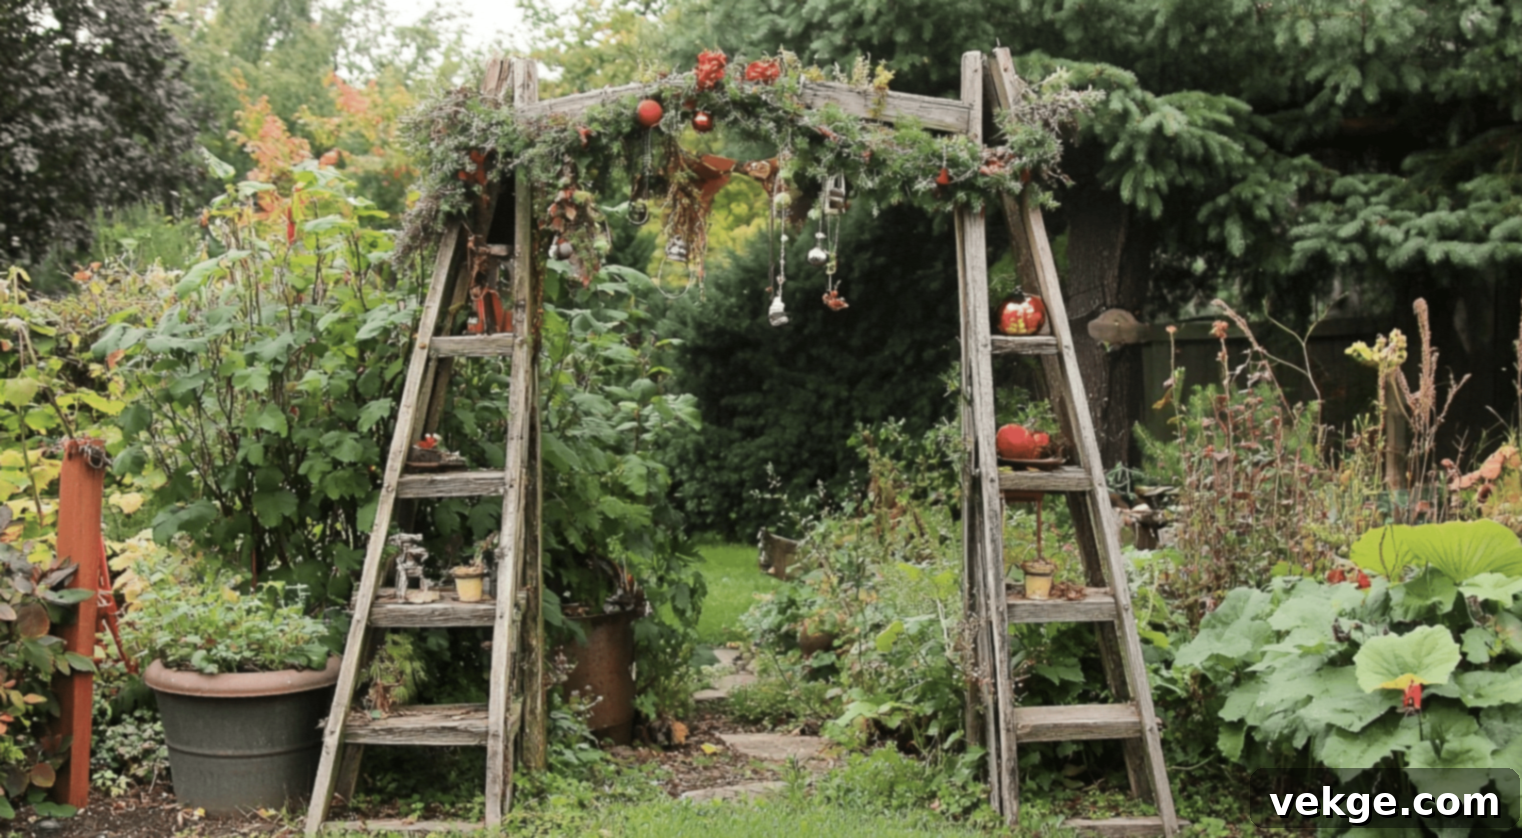
Repurpose two old wooden or metal ladders by joining them securely at the top, forming an intriguing archway. The rungs provide an instant, sturdy framework for climbing plants to ascend, transforming a functional item into a whimsical garden feature.
- Why It Works: An excellent way to upcycle materials, providing a unique, sturdy frame for a variety of climbers with a charming, rustic appeal.
- Maintenance Tips: Thoroughly inspect the ladders for stability, loose rungs, or rot. Paint or seal the wood/metal to protect against weather damage and prolong its life.
- Seasonal Styling Ideas: Decorate with festive ornaments during the holidays, or wrap with lush garlands of greenery and flowers for special garden celebrations.
4. Grand Stone Base Arch
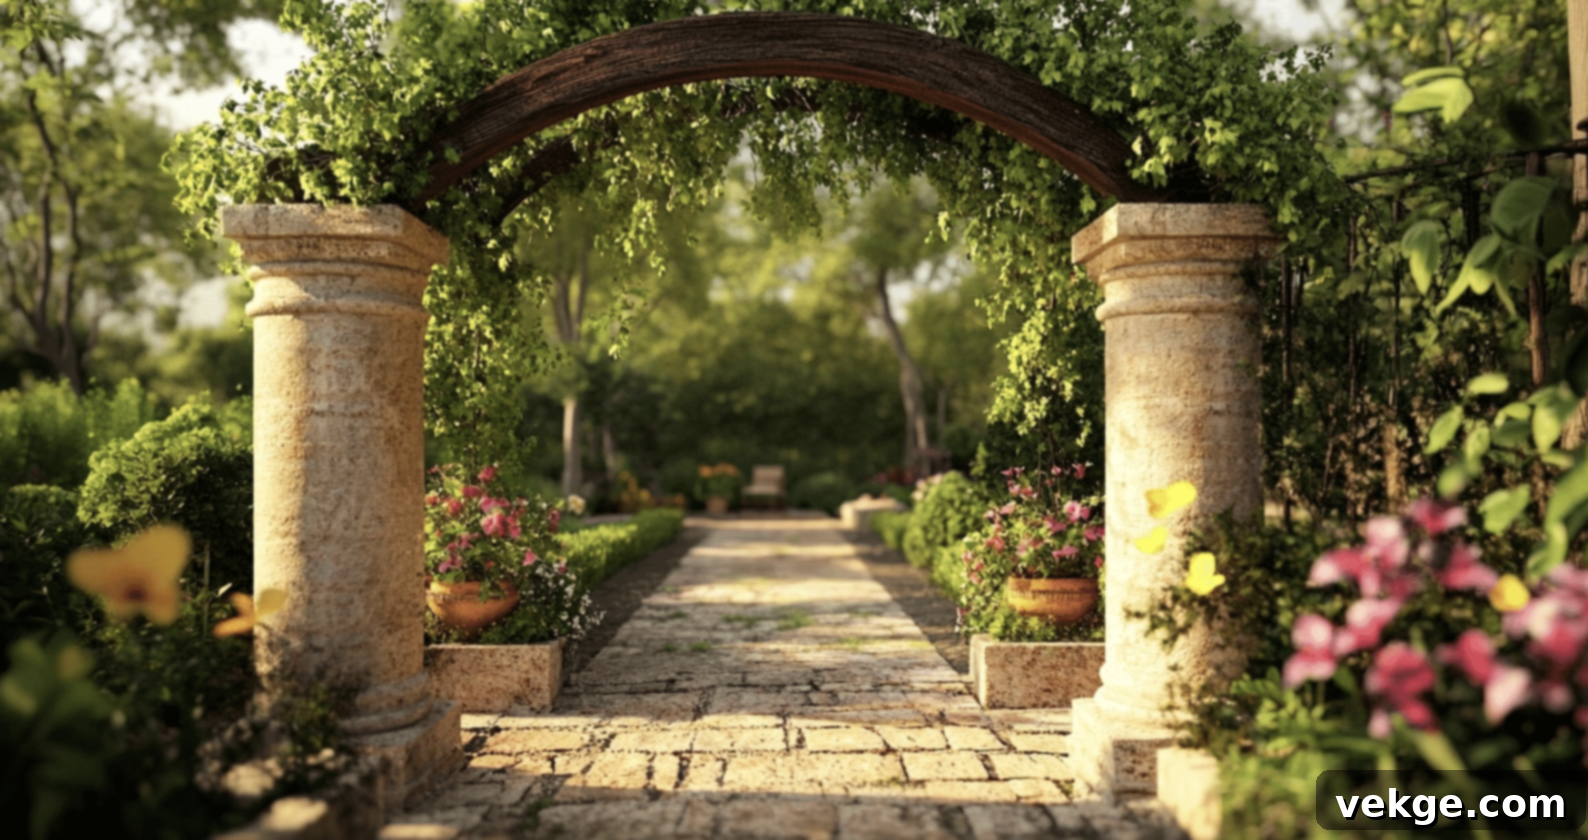
For a more substantial and permanent structure, construct sturdy stone columns or pillars on each side, then connect them at the top with robust wooden beams or a pre-fabricated arch kit. This design combines the permanence of stone with the warmth of wood for a timeless, elegant look.
- Why It Works: Combines natural, durable materials for a stately and enduring design that adds significant architectural weight to your landscape.
- Maintenance Tips: Periodically check for shifting stones or mortar cracks. Re-seal any cracks in the wooden beam and check its finish annually.
- Seasonal Styling Ideas: Place large potted flowers or cascading vines at the base of the stone columns for a touch of seasonal color and texture.
5. Enchanting Door Frame Path
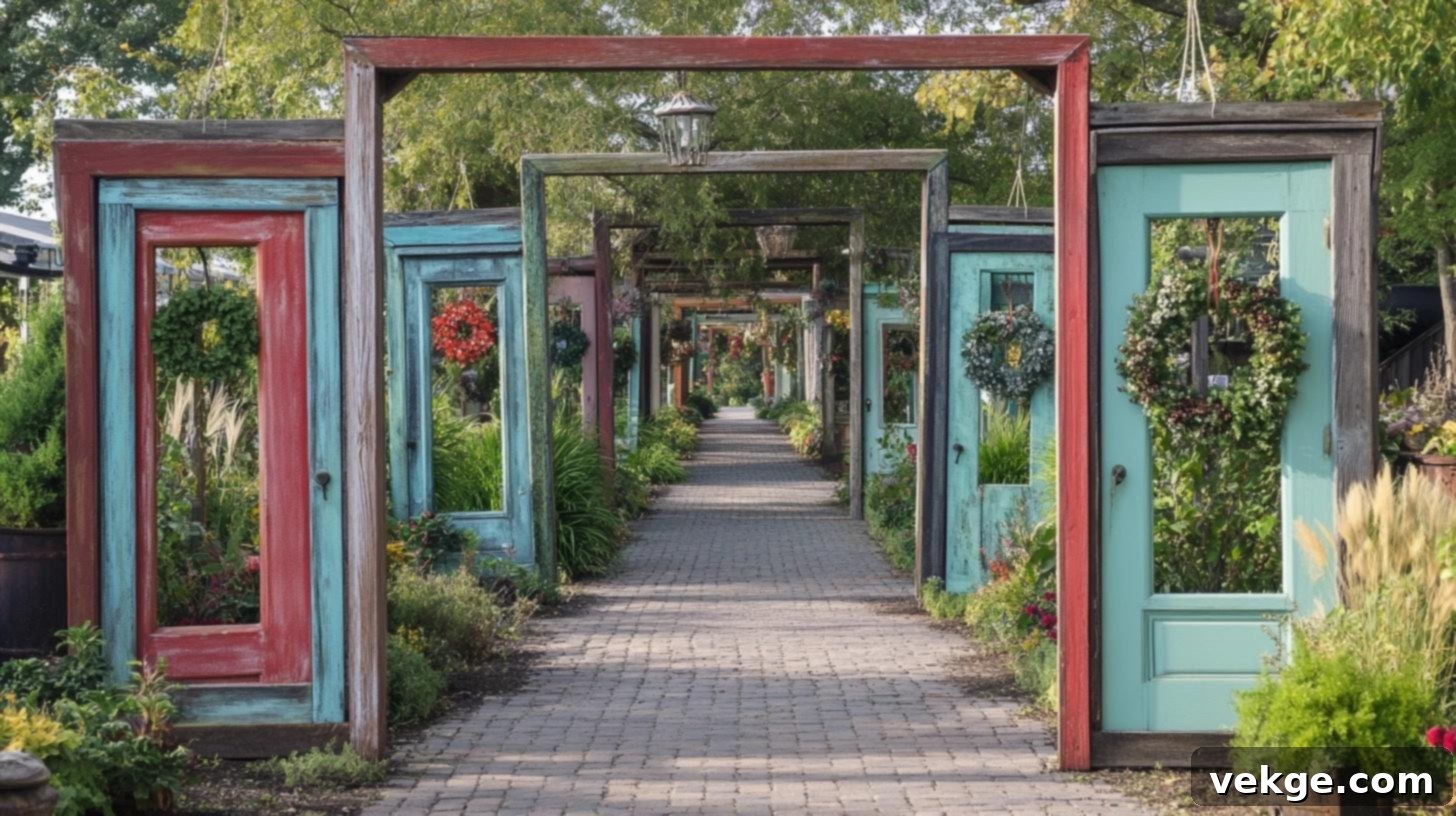
Create a truly unique and whimsical tunnel-like walkway by linking several old, repurposed door frames in succession. This unexpected feature creates an intriguing passage and can be adorned with plants or other decorations.
- Why It Works: Generates a highly distinctive and charming focal point, offering a sense of passage and discovery within the garden.
- Maintenance Tips: Treat the wood of the door frames with an appropriate sealant or paint to prevent rotting. Inspect hinges and connections for security and stability regularly.
- Seasonal Styling Ideas: Adorn each frame with seasonal wreaths, hanging baskets, or string lights to match the garden’s theme or celebrate holidays.
6. Organic Basket Weave Arch
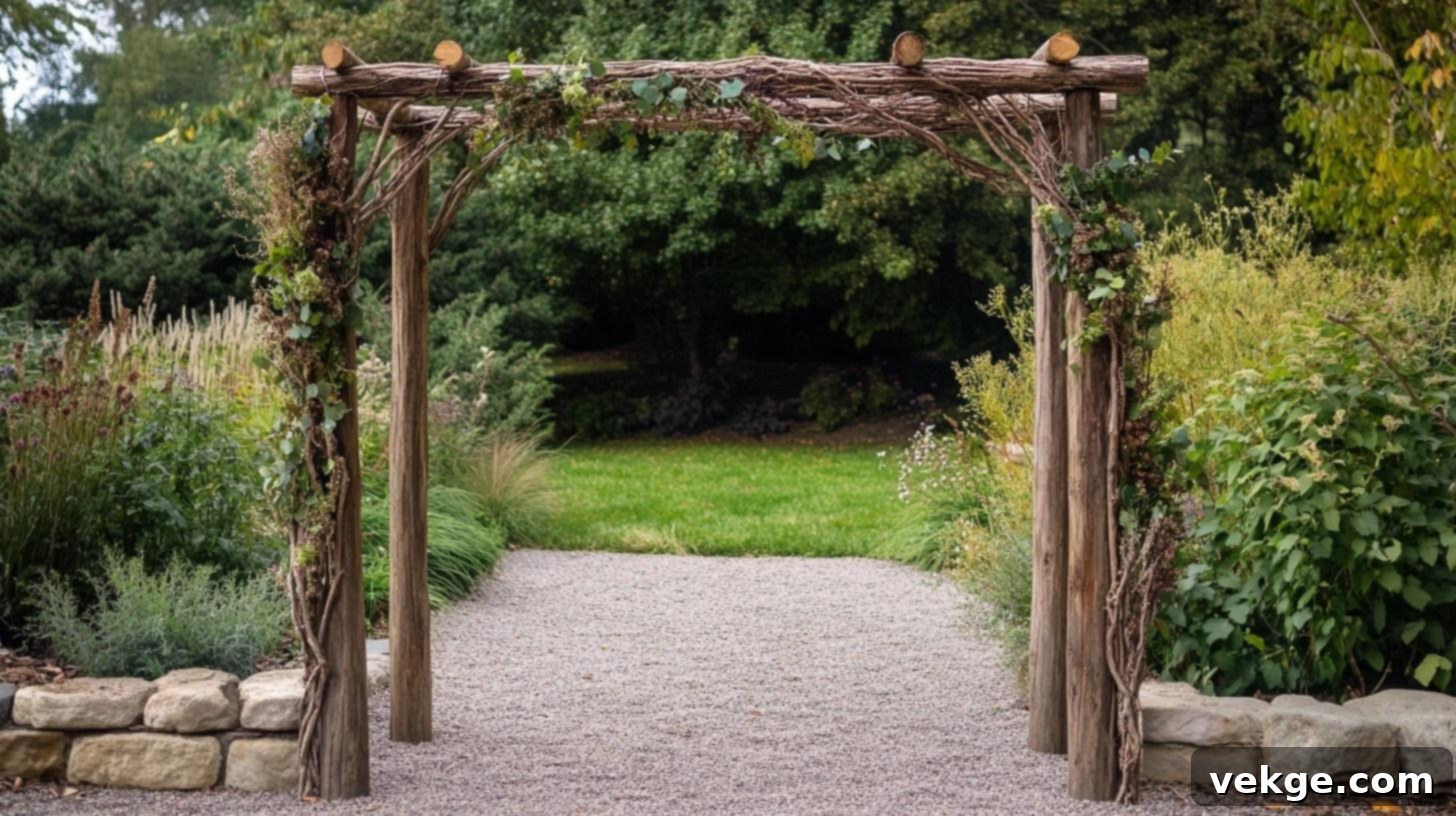
Weave flexible branches (like willow, hazel, or dogwood) between a series of strong vertical posts to form a living, textured screen or archway. This naturalistic approach creates a rustic and tactile element.
- Why It Works: Simple to construct and provides a beautiful, textured, rustic look that integrates perfectly into a natural garden setting.
- Maintenance Tips: Periodically reweave or replace loose, broken, or decayed branches to maintain the arch’s structural integrity and appearance.
- Seasonal Styling Ideas: Enhance its natural beauty with dried flowers and grasses in the fall, or intertwine with fresh greenery and small lights in the spring.
7. Lightweight Bamboo Arch
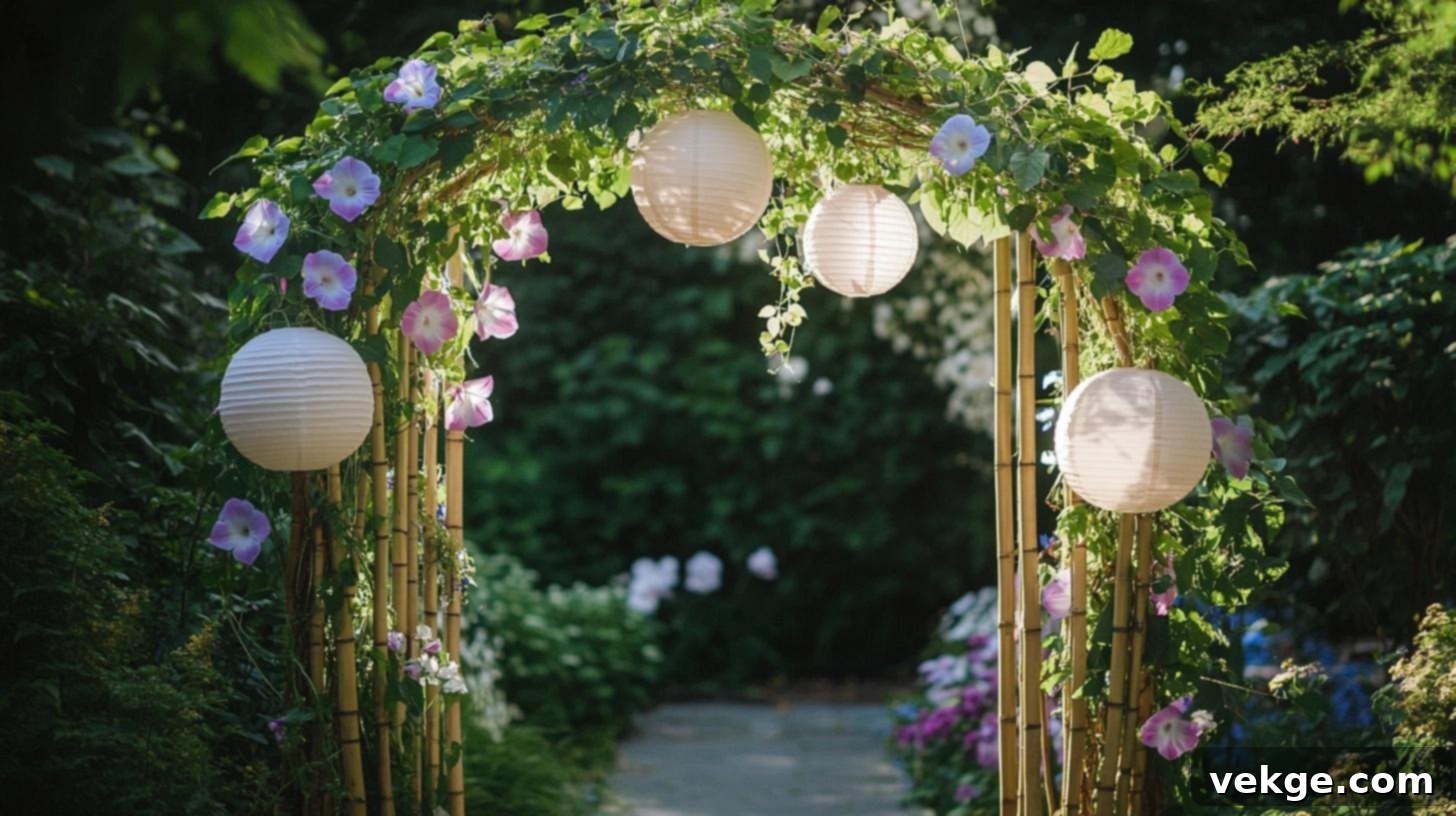
Harness the natural flexibility and strength of bamboo poles by tying them together to form a lightweight, eco-friendly arch. This design is perfect for supporting more delicate climbers such as morning glories, sweet peas, or small gourds, lending an Asian-inspired touch.
- Why It Works: Extremely lightweight, flexible, and highly sustainable, making it ideal for supporting delicate climbing plants and creating a serene, natural aesthetic.
- Maintenance Tips: Treat the bamboo poles with a weatherproof coating or sealant to extend their life and protect against rot or splitting.
- Seasonal Styling Ideas: Decorate with paper lanterns during garden festivals, or hang delicate fresh garlands for a touch of springtime elegance.
8. Characterful Reclaimed Wood Arch
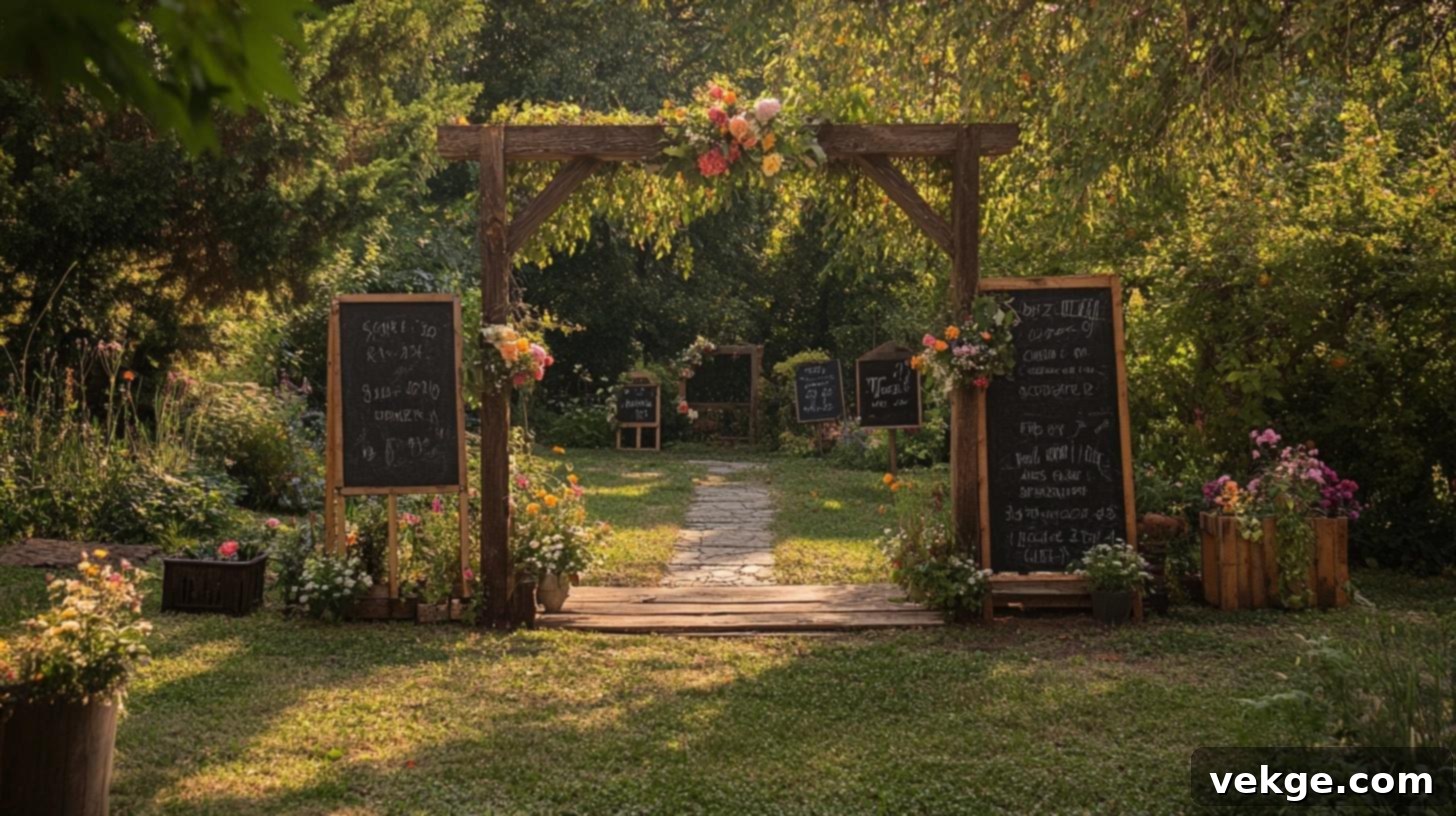
Give new life to old wooden pallets, leftover timber, or discarded fence posts by repurposing them into a charming rustic wooden arch. This eco-conscious choice creates a unique structure with inherent character that harmonizes beautifully with natural surroundings.
- Why It Works: Highly budget-friendly and environmentally conscious, offering a charming, weathered rustic appeal that tells a story.
- Maintenance Tips: Thoroughly sand and seal the reclaimed wood with an exterior-grade preservative to protect it against rot, pests, and weathering.
- Seasonal Styling Ideas: Attach small chalkboards for seasonal messages, or hang themed decorations that change with the holidays or garden events.
9. Quirky Bicycle Arch
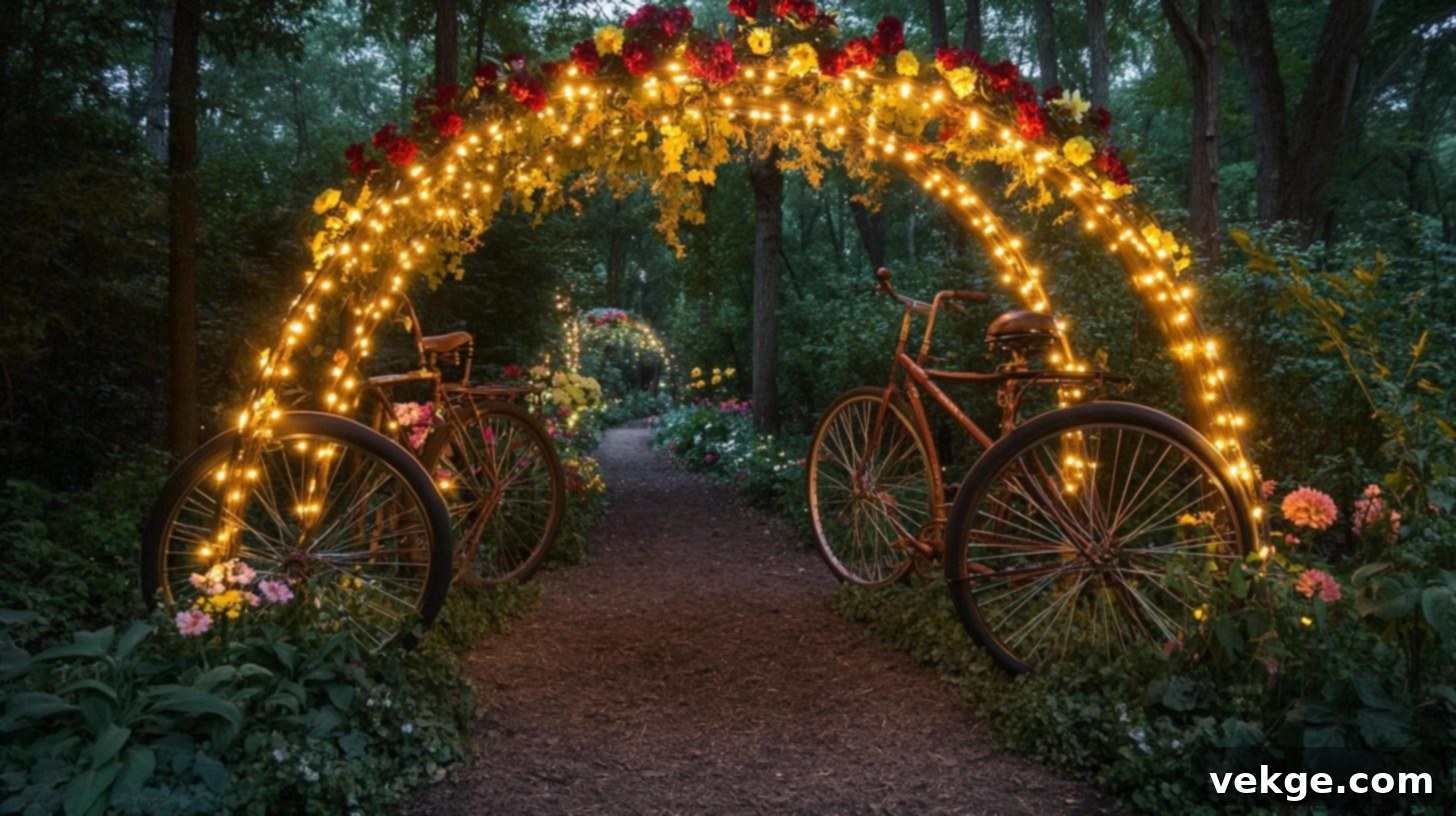
For the truly unconventional gardener, transform two old bicycles by positioning them upside down and securely connecting their wheels or frames at the top. This results in an incredibly quirky and fun entrance that makes an unforgettable statement.
- Why It Works: Offers an undeniably quirky and playful aesthetic, artistically repurposing materials into a unique, eye-catching garden sculpture.
- Maintenance Tips: Paint the bicycles with a durable, weather-resistant paint to prevent rust. Regularly inspect all connections for stability and reinforce as needed.
- Seasonal Styling Ideas: Adorn the bicycle frames and wheels with vibrant fresh flowers in summer, or wrap them with string lights for a whimsical, glowing display during evening events.
Wrapping It Up: Your Arch Awaits!
Let me conclude this guide with a personal reflection. Building a garden arch might seem like a substantial undertaking at first glance. The thought of construction, measurements, and materials can feel daunting. However, as my own experience has vividly shown me, it’s an entirely achievable and deeply satisfying project, even with just basic tools and a healthy dose of patience.
The effort you invest—the time spent planning, carefully measuring, precisely cutting, and thoughtfully assembling each piece—is a truly rewarding process. That effort culminates in a moment of pride when you look out your window and see that beautiful, custom-built structure standing proudly in your garden, a testament to your creativity and hard work.
Today, my arch is far more than just a garden feature; it’s a cherished story I get to share, a personal project I’m immensely proud of. It’s transformed my garden entrance into a welcoming, living gateway that evolves with the seasons.
Are you ready to embark on your own garden arch project? Remember, the planning phase is crucial, so take your time to envision the perfect design for your space. And once it’s complete, don’t hesitate to share photos of your magnificent finished arch in the comments below! I’d love to see your creations.
Want more inspiring garden DIY ideas to enhance your outdoor space? Be sure to check out my comprehensive guide on DIY Garden Markers for another simple yet impactful project.
