This post contains affiliate links and I may receive a commission on your purchase. Thank you for shopping through my links.
Effortless Sourdough: The Ultimate Easy Dutch Oven Sourdough Bread Recipe
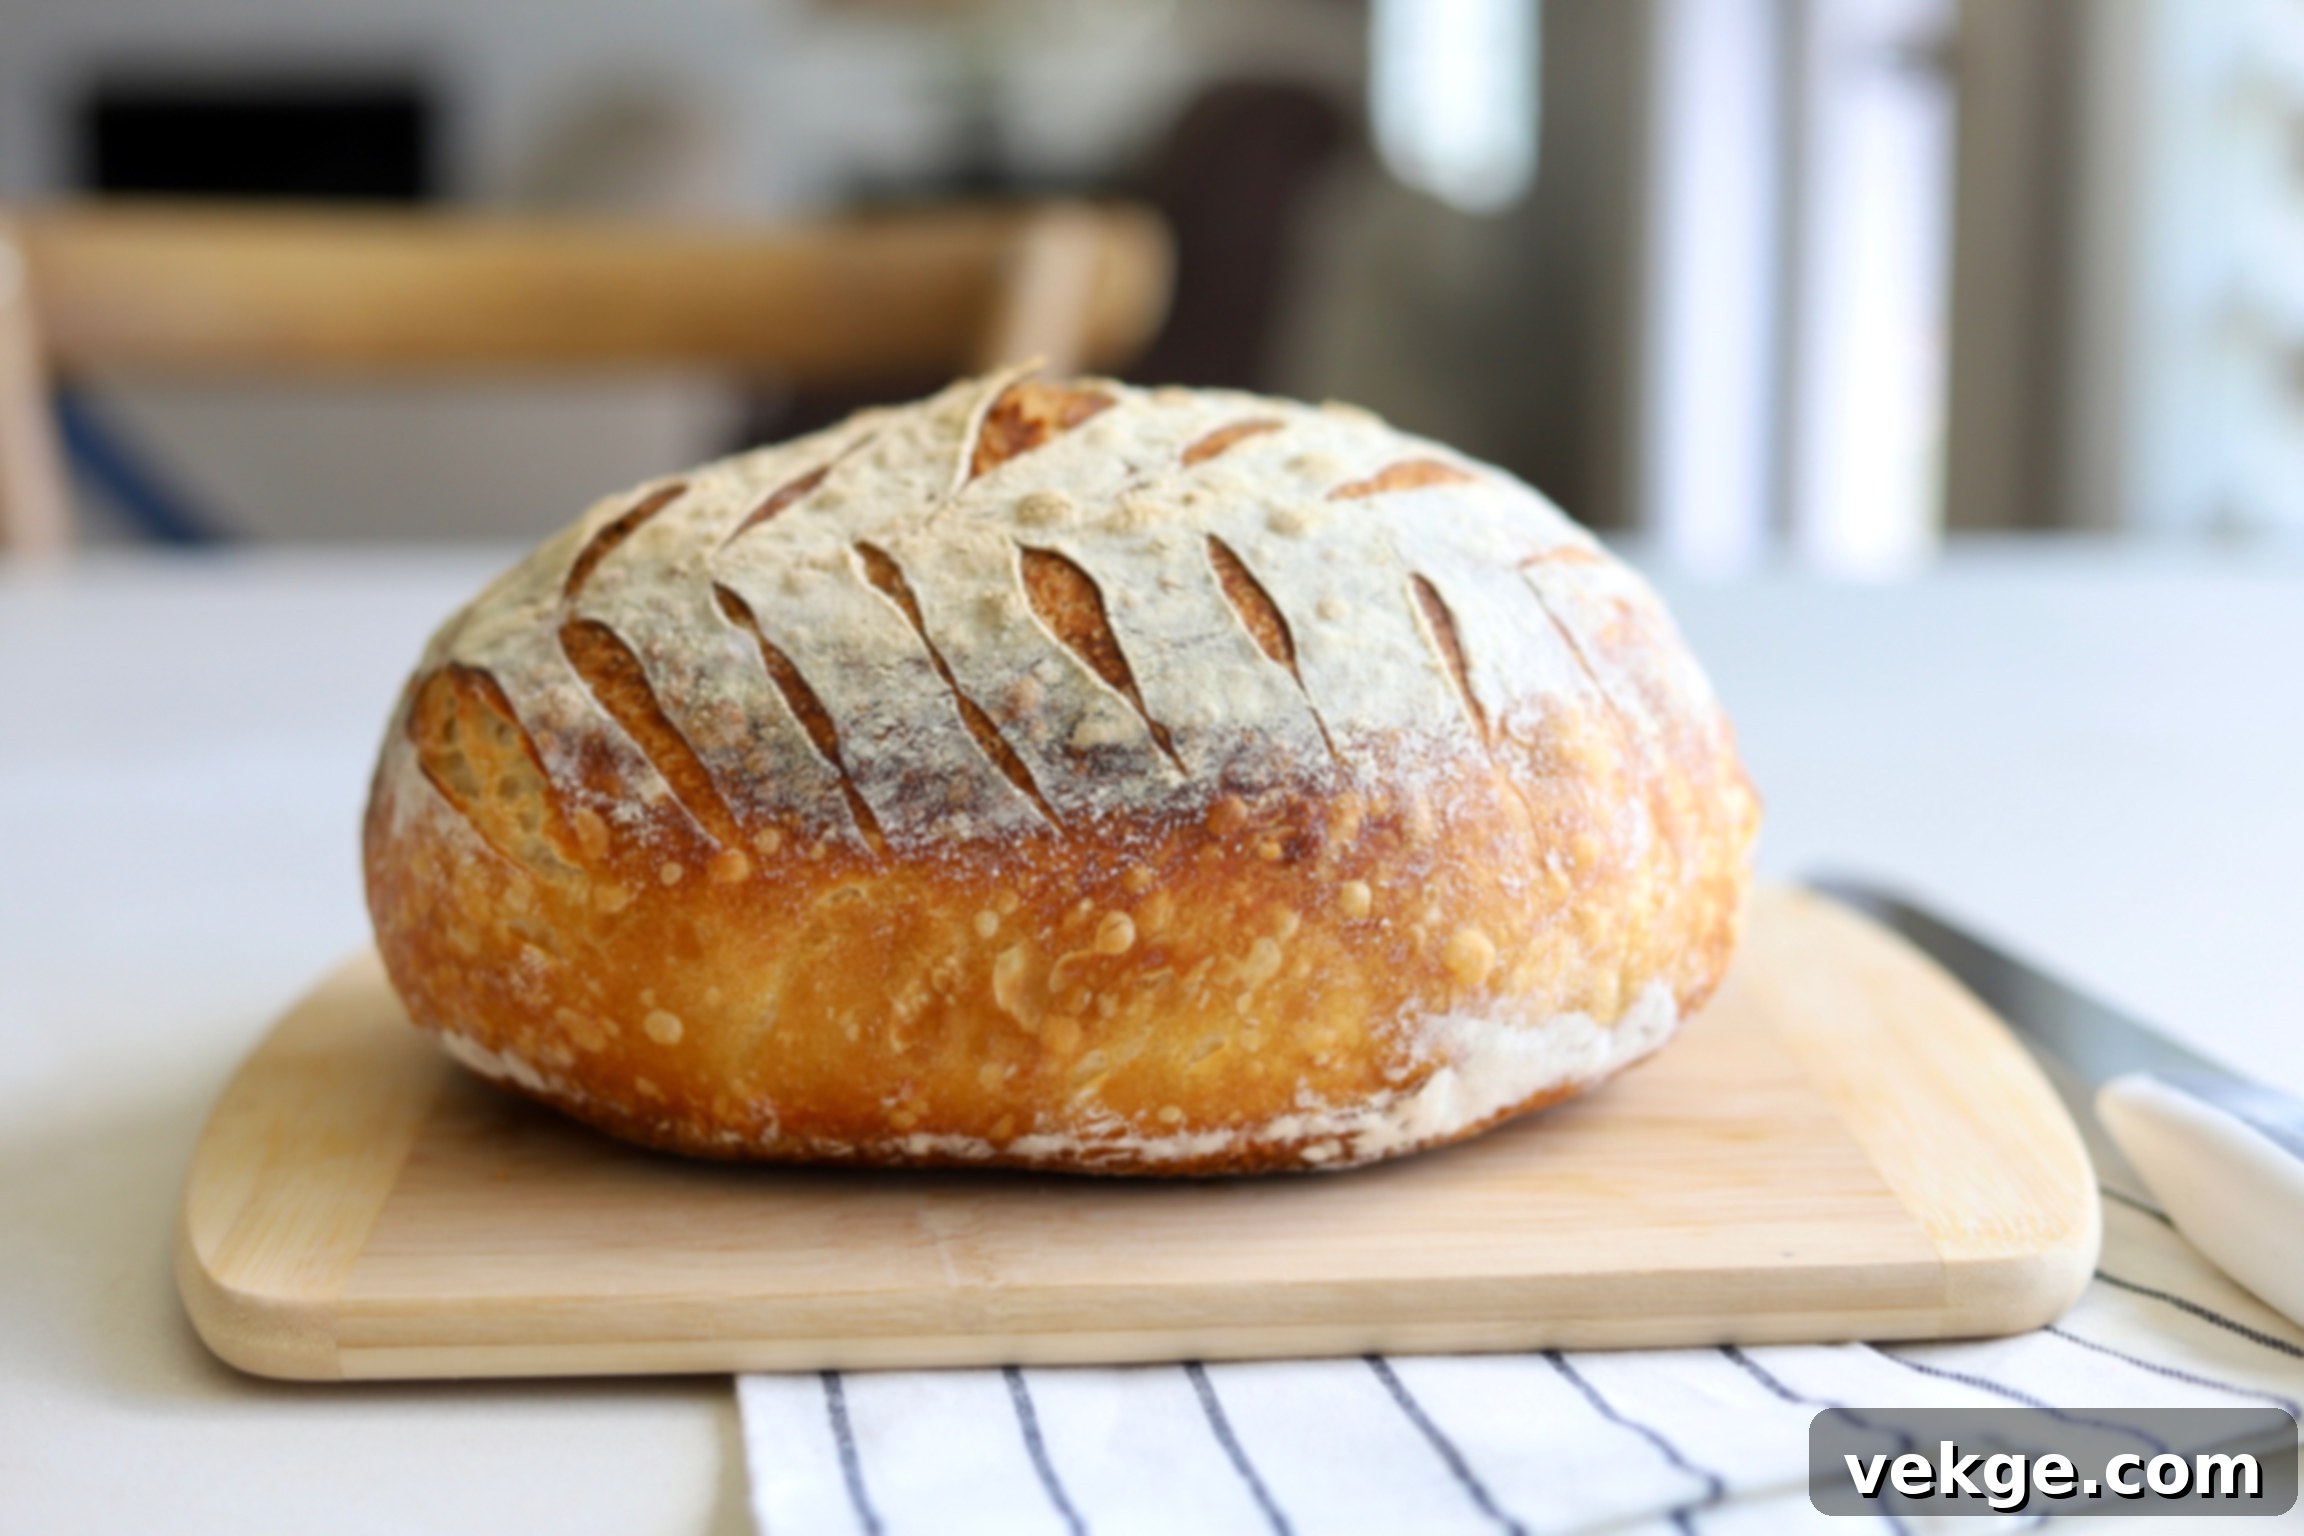
Imagine baking a truly delicious sourdough loaf without the fuss, the endless steps, or the specialized equipment. No complex stretch and folds, no time-consuming laminating, no multi-day cold proofs, and no need for banneton baskets or shower caps. Just pure, unadulterated, flavorful sourdough bread! My Easy Dutch Oven Sourdough Bread recipe is meticulously crafted to be the perfect low-effort method, promising maximum payoff for every home baker, from novice to experienced.
I developed this recipe with one core philosophy in mind: sourdough baking should be accessible to everyone. The joy of creating a warm, crusty loaf should not be hidden behind a mountain of intimidating techniques or a dictionary of complex terminology. This streamlined approach offers a significant shortcut compared to many traditional sourdough recipes, including my original Crusty Dutch Oven Sourdough recipe. Yet, it consistently delivers incredible results, making it a go-to method in my kitchen for its simplicity and exceptional taste.
This beginner-friendly recipe distills the sourdough process into just a few straightforward steps, making homemade sourdough achievable on any schedule:
- Combine all ingredients in a bowl.
- Give it a light, quick mix until just incorporated.
- Cover the dough.
- Allow it to rise at room temperature for 8-12 hours.
- Shape the dough into a beautiful ball.
- Let it rest for one more hour, covered, while your Dutch oven preheats.
- Bake to golden perfection.
- Slice, savor, and enjoy! 🥖
Mastering Easy Dutch Oven Sourdough: Step-by-Step Guide
While this recipe is incredibly simple, a thorough understanding of each step will ensure you achieve the best possible loaf. Follow these detailed instructions to create your own delicious, artisan-quality sourdough bread.
Step 1: The Initial Mix
Begin by combining all your ingredients – sourdough starter, water, salt, and flour – in a large mixing bowl. The beauty of this recipe lies in its minimal fuss: you don’t need extensive kneading. Simply mix the ingredients together until there are no dry spots of flour remaining and everything is thoroughly incorporated. A wooden spoon, a Danish dough whisk, or even your hands will work perfectly for this. Resist the urge to overmix; a light touch is all that’s required to start the magic of sourdough.
Step 2: Cover and Bulk Ferment (The Overnight Rise)
Once mixed, cover your dough with a lid or plastic wrap to prevent it from drying out. Place the bowl at room temperature and let it rise for approximately 8 to 12 hours. This extended, hands-off rise is where the sourdough starter works its wonders, developing flavor and structure. While some traditional methods incorporate “stretch and folds” during this period, this recipe is designed to be successful without them. If you happen to be home and feel inclined, you can perform a few gentle stretch and folds in the first few hours, but rest assured, your bread will still turn out wonderfully if you skip this step entirely. The goal is for the dough to show visible signs of activity and growth, often doubling in size, indicating a successful bulk fermentation.
Step 3: Shaping Your Sourdough Loaf
After the bulk rise, gently transfer your dough onto a lightly floured surface. To shape, carefully flatten the dough with your hands until it’s about ½ to 1 inch thick. This is also the ideal time to add any desired inclusions like cheese, herbs, or dried fruits. Sprinkle them evenly over the flattened dough. Next, fold one-third of the dough inward towards the center, then fold the opposite one-third over the top, creating a rectangle. Finally, roll the dough up into an “awkward ball shape.” The key to creating good surface tension, which is crucial for a well-structured loaf, is to cup your hands around the dough and perform a sliding, “bench pull” motion. This technique involves gently pulling the dough towards you while tucking it underneath itself, rotating as you go, until you achieve a uniformly smooth and taut ball. For a visual guide, you can watch a demonstration here.
Step 4: Rest and Preheat
Once shaped, place your dough ball onto a piece of parchment paper. This makes transferring it to the hot Dutch oven much easier. Cover the dough with an upside-down bowl (the same one you used for mixing works perfectly) to prevent it from drying out. Let the dough rest for one hour while you begin preheating your oven and Dutch oven. Preheat your oven to 450ºF (232ºC) and place the Dutch oven inside as it heats up. This step is critical for achieving that coveted crispy crust. I always place my Dutch oven on top of a pizza stone or a sturdy baking sheet. This simple trick helps to prevent the bottom of the bread from becoming overly crusty or burnt, ensuring an even bake. Just position the hot Dutch oven directly onto the baking pan in the oven.
Step 5: Score and Bake to Perfection
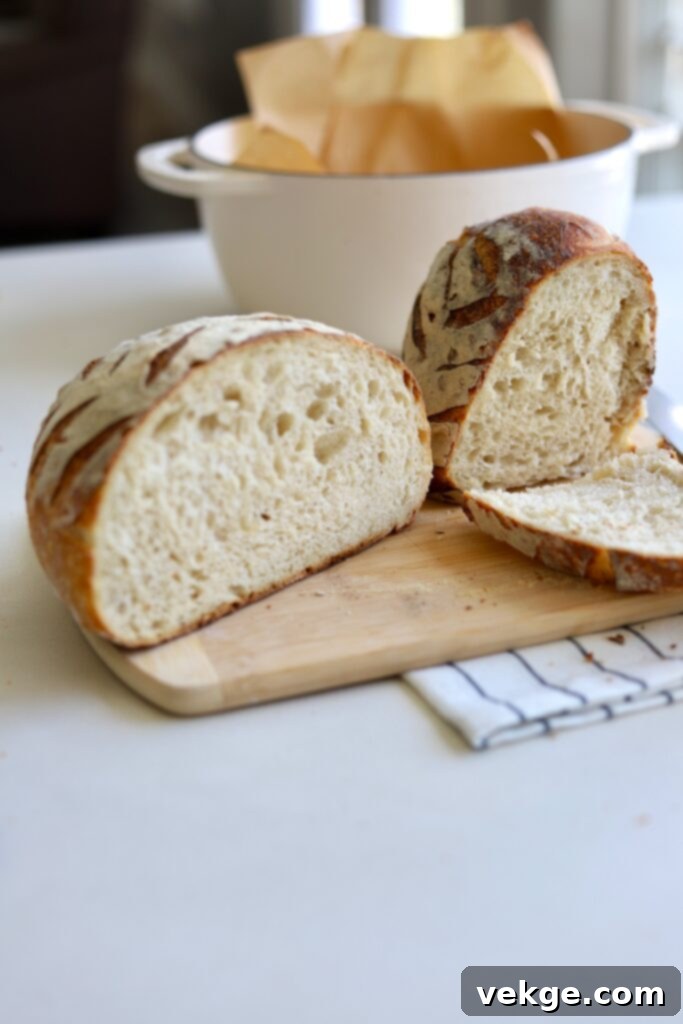
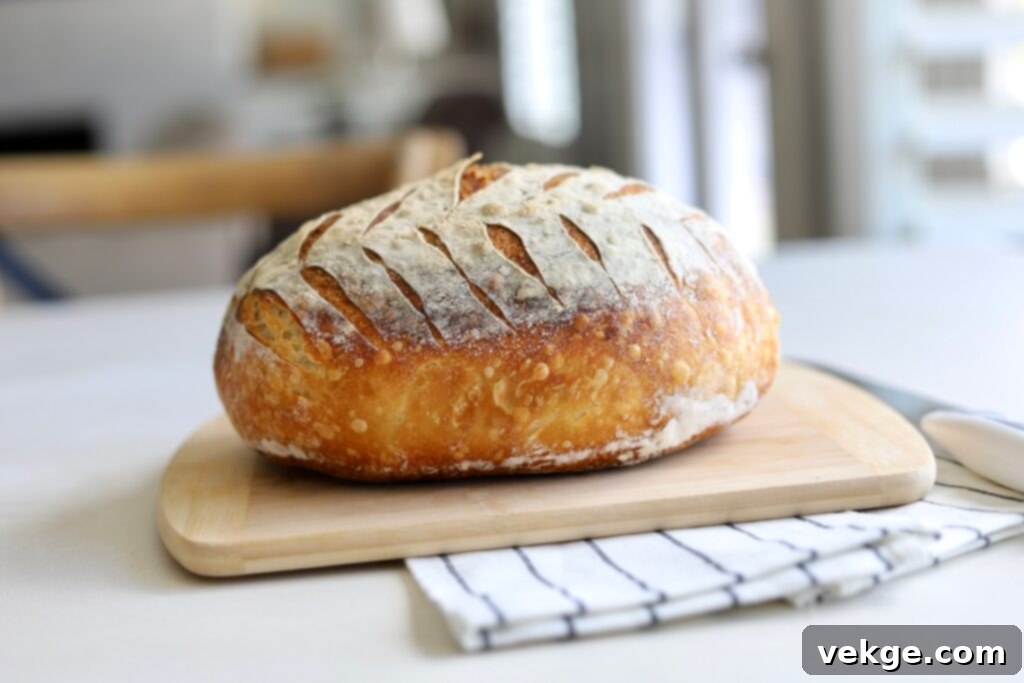
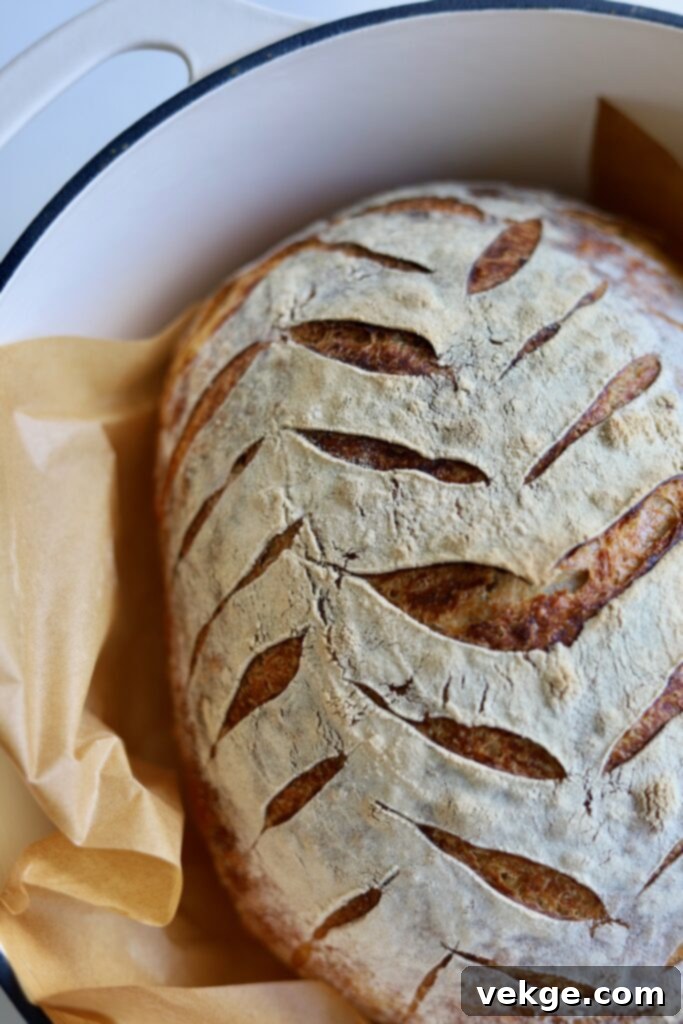
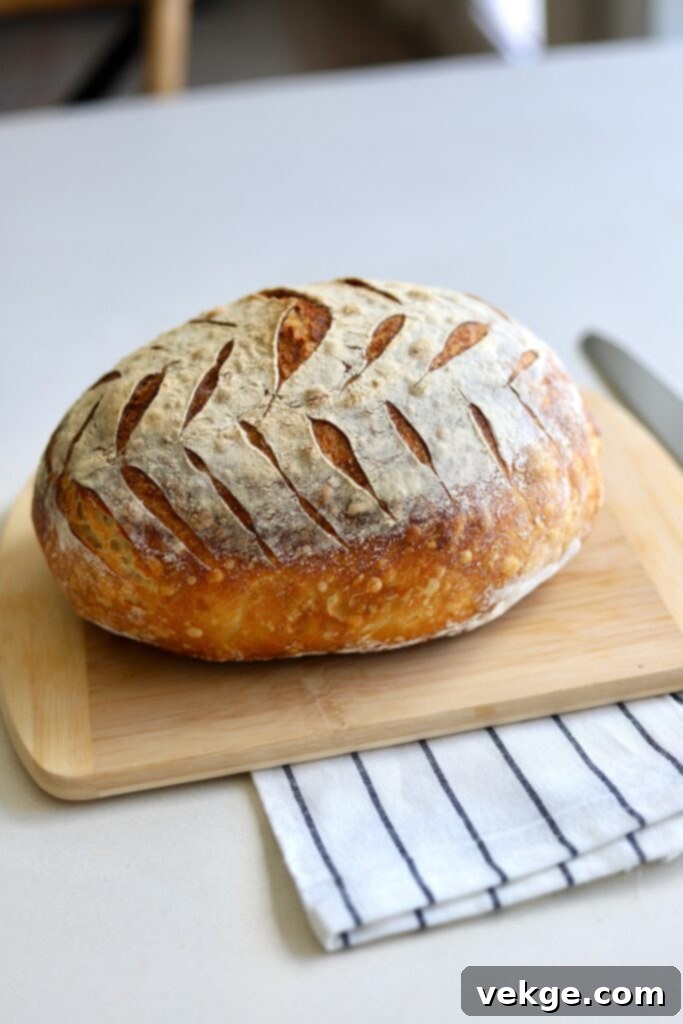
After the final rest and once your Dutch oven is thoroughly preheated, gently remove the covering bowl from your dough. Lightly dust the top of the dough with a sprinkle of flour. Using a sharp blade (a bread lame is ideal) or a very sharp knife, score the dough to your liking. Scoring isn’t just for aesthetics; it provides a controlled exit for steam during baking, directing the dough’s expansion and preventing uncontrolled cracks. Carefully transfer the dough, along with its parchment paper, into the screaming hot Dutch oven. Place the lid back on the Dutch oven and return it to the oven.
Reduce the oven temperature to 400ºF (204ºC) and bake, covered, for 40 minutes. This covered period creates a steamy environment, crucial for the dough to fully expand and achieve a soft interior. After 40 minutes, remove the lid and continue baking for another 3-5 minutes, or until the crust reaches a beautiful golden-brown color. I use a slightly lower baking temperature for this recipe compared to some of my others because the dough starts at room temperature, not cold from a refrigerator proof. Once baked, carefully remove the bread from the Dutch oven and transfer it to a wire cooling rack. Allow the bread to cool for at least one hour before slicing. Slicing too early can result in a gummy texture, so patience here is key for the best experience!
Essential Supplies for Your Sourdough Baking Journey
One of the beauties of this easy sourdough recipe is its minimal equipment requirements. While a multitude of specialized tools exist for sourdough enthusiasts, to get started with this method, you truly only need a few core items. Focusing on these essentials allows you to dive into baking without significant initial investment, proving that delicious sourdough doesn’t require a fully stocked professional kitchen.
Here are the absolute must-haves for this recipe, along with some context:
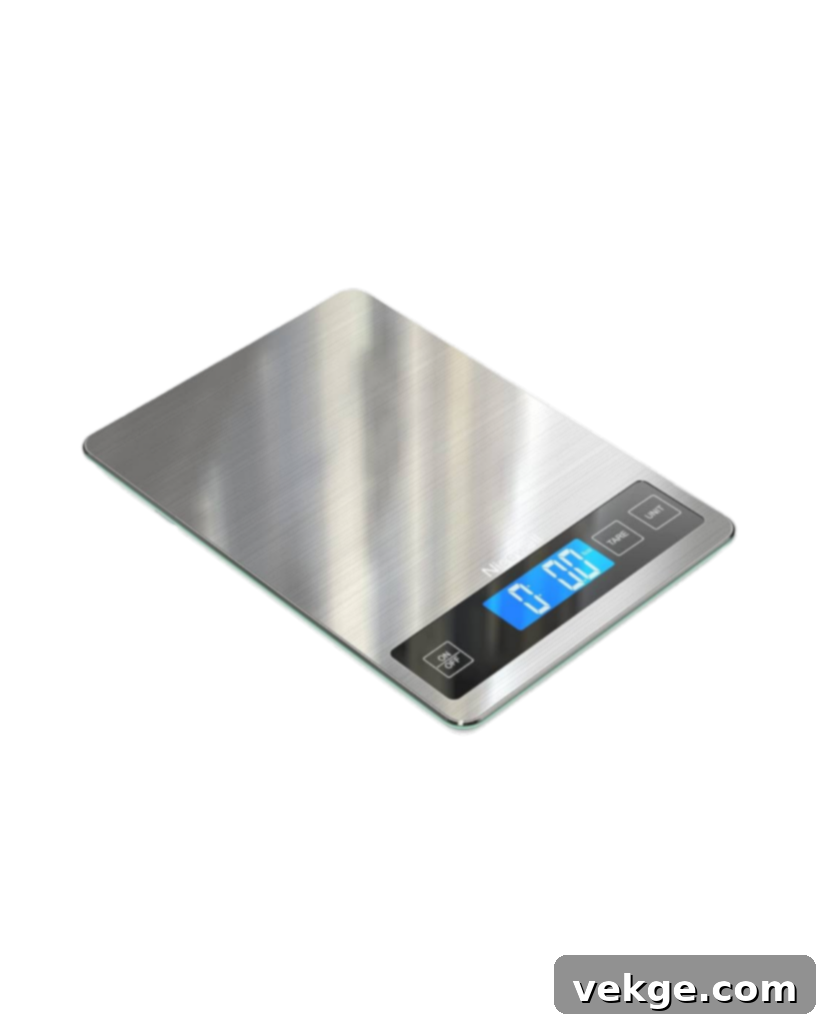
- Digital Scale: Precision is key in baking, especially with sourdough. A digital scale ensures accurate measurements of your starter, flour, and water, leading to consistent results every time.
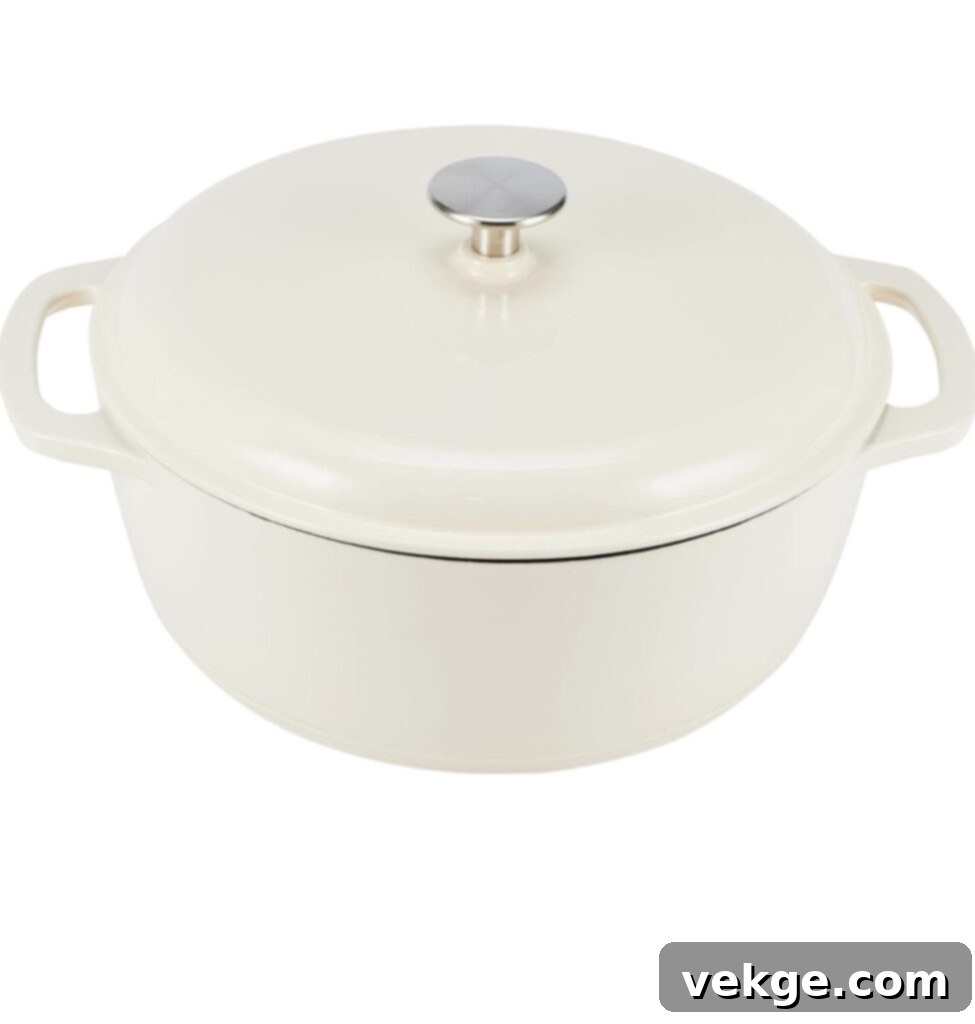
- Dutch Oven: This heavy, lidded pot is your secret weapon for amazing sourdough crust. It traps steam, mimicking a professional bakery oven, which allows the dough to expand fully before the crust sets.
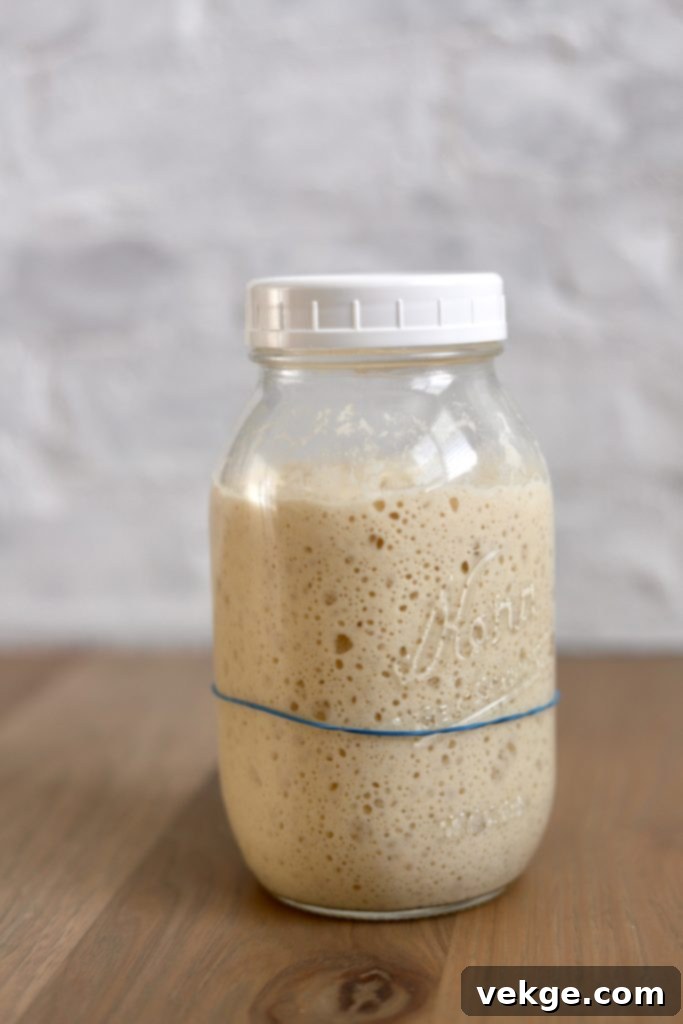
- Jar for Your Starter: A simple glass jar, preferably wide-mouthed for easy feeding and mixing, is essential for housing and maintaining your sourdough starter.
While the above are sufficient, tools like a stand mixer for hands-off mixing, a bread lame for precise scoring, or a banneton basket for traditional shaping can certainly make the process even smoother or elevate your results. You can explore all my recommended sourdough supplies, including these optional enhancements, here.
Key Ingredients for Your Easy Dutch Oven Sourdough
The magic of sourdough relies on just a few high-quality ingredients. Understanding each one and its role is crucial for baking success and adapting the recipe to your preferences.
Sourdough Starter: Active or Discard?
Perhaps the most liberating aspect of this recipe is its flexibility regarding your sourdough starter. I frequently make this bread using **discard starter** (unfed, flat, and runny) instead of a freshly fed, bubbly, active starter, and the results are every bit as delicious! I simply use the same weight measurements for discard as I would for active starter. This goes against much of the traditional sourdough advice I once believed, but I’ve come to realize that sourdough baking is far less rigid than often portrayed. If you’re confident in the underlying strength and health of your starter, feel free to use unfed discard. However, if your starter is new, struggling, or you prefer predictable results, using an active, fed, and bubbly starter will always yield fantastic bread. It’s truly a testament to the resilience of sourdough!
If you don’t yet have a sourdough starter, don’t worry, you have several excellent options to get started:
- Obtain a starter from a friend: Many bakers are happy to share their mature starters, offering a quick start to your journey.
- Create your own starter: This rewarding process typically takes 10-20 days. I have a detailed guide on how to cultivate your own robust starter available here.
- Try my Easy Dutch Oven Bread with commercial yeast: If you’re eager to bake immediately and don’t have a starter, this recipe offers a delicious alternative using commercial yeast, found here.
Salt: The Flavor Enhancer
Salt is more than just a seasoning; it plays a vital role in controlling fermentation, strengthening gluten, and enhancing the overall flavor of your bread. I am particularly selective about the salt I use, exclusively choosing Redmond Real Salt. This salt is harvested from an ancient sea bed in central Utah, making it a true sea salt rich in naturally occurring trace minerals. It is unprocessed, free from fillers, anti-caking agents, additives, or harmful pollutants, ensuring a pure and flavorful addition to your bread. You can find my preferred salt HERE. To make it more cost-effective for frequent baking, I purchase it in bulk, often a 25-pound bag, which lasts for several years when stored in mason jars. Remember, my affiliate coupon code **AMBERSKITCHEN** will save you 15% on any Redmond products.
Flour: The Foundation of Structure
For all my bread recipes, I consistently use bread flour. The higher protein content in bread flour is essential for developing strong gluten, which in turn creates that wonderfully chewy texture and robust structure so characteristic of a delicious sourdough loaf. Strong gluten networks are what give sourdough its signature open crumb. I typically source my bread flour from a local mill in Utah, Lehi Mills, known for its quality. Their flours can also be ordered online and shipped directly to your home. Don’t forget to use my affiliate code **AMBERSKITCHEN** for 10% off your purchase.
Frequently Asked Questions (FAQs) About Easy Dutch Oven Sourdough
Here are answers to some of the most common questions about making this easy sourdough bread, ensuring you have all the information you need for a successful bake.
Can I double this Easy Dutch Oven Sourdough recipe?
Absolutely, this recipe scales beautifully. You can easily double the ingredients to make two loaves. If you own two Dutch ovens, you can even bake both loaves simultaneously, saving time. After the initial bulk rise, simply divide the dough in half. Lightly flour a clean countertop to shape each portion into a ball. Once both loaves are formed, place them side-by-side in two separate 6-quart Dutch ovens in your oven and bake as directed.
Can I use all-purpose flour instead of bread flour?
Yes, you can certainly use all-purpose flour as a substitute for bread flour. However, be aware that all-purpose flour has a lower protein content, which can result in a slightly wetter dough. You will likely need to adjust the hydration by adding a bit more flour. Start by incorporating an additional 25 grams (approximately 2 tablespoons) and assess the dough’s consistency from there. The goal is a dough that is tacky but not excessively sticky.
How long should I proof the bread?
The proofing time for your bread is influenced by several factors, including the strength and activity of your sourdough starter, the ambient temperature of your kitchen, and even your elevation. Therefore, a definitive timeline is challenging to provide. However, a general guideline for this recipe is 8 to 12 hours. The primary indicator of a successful proof is that the dough should noticeably increase in size, ideally doubling. I often lean towards the 8-hour mark, especially in warmer months when fermentation is more active. But always observe the dough; if your kitchen is cooler or your starter is less vigorous, it might take the full 12 hours to reach its optimal state. Trust your dough!
Can I do a cold proof with this method?
While this recipe is designed for a room-temperature rise, you can absolutely incorporate a cold proof for added depth of flavor and increased convenience. Here are two ways to do it:
- Option One (after shaping): After the initial bulk rise and once you’ve formed the dough into a tight ball, transfer it to a lightly floured banneton basket and cover it with a shower cap (or plastic wrap). It can then be refrigerated for anywhere from 1 to 72 hours. When you’re ready to bake, preheat your Dutch oven. Once hot, remove the dough from the fridge, uncover it, and place a piece of parchment paper on top. Holding the parchment paper firmly, gently invert the dough so the parchment is now underneath. Lift off the banneton basket. Score the cold dough (you’ll find it much easier to score than room-temperature dough!) and immediately transfer it to the hot Dutch oven. Bake as normal, no need for the dough to come to room temperature first.
- Option Two (bulk proof in fridge): After the initial mix, transfer the dough to an airtight container and place it directly into the refrigerator. It can be cold-fermented for 1 to 72 hours. When you’re ready to bake, remove the dough from the fridge. Shape it while it’s still cold, then place it on parchment paper and cover it with an upside-down bowl to prevent drying. Allow it to rest at room temperature for 2-4 hours. This allows the dough to warm slightly and get a final small rise after shaping. During this time, preheat your Dutch oven. Once the dough has had its final rest, score it and transfer it to the hot Dutch oven, then bake as usual.
My dough is really wet. What do I do?
If your dough feels excessively wet immediately after mixing, it’s perfectly fine to add a little more flour. The exact amount of flour needed can vary based on several environmental factors, such as the hydration level of your starter and the humidity in your kitchen. Your dough should be tacky to the touch but not so sticky that it’s unmanageable. If, however, your dough is still very wet after the bulk fermentation, it might indicate that it has over-fermented. In this situation, don’t despair! You can sprinkle in some additional flour and gently knead it in until the dough achieves a workable texture. It should be able to hold its shape when formed. If it remains extraordinarily sticky and won’t hold its form even after this adjustment, it’s likely to bake flat. A final light flouring and gentle kneading can often rescue it.
My bread turned out gummy. What went wrong?
A dense and gummy texture in sourdough bread typically suggests that your starter did not effectively leaven the dough. This can occur for a few common reasons:
- Starter Health: Was your sourdough starter robust, active, and healthy, or was it more on the dormant side? A weak starter won’t have the power to lift the dough. “Power feeds” (feeding your starter more frequently for a day or two) can help revitalize it.
- Overproofing: This method, with its long overnight rise, carries a slight risk of overproofing, especially in warmer kitchens. Overproofing means the yeast may have consumed all its available food, leading to a collapse in structure.
- Underproofing: Conversely, underproofing can also cause a gummy texture. This might happen if your kitchen was too cold, you didn’t allow enough proofing time, or your starter simply wasn’t strong enough to achieve full rise.
Can I freeze this Easy Dutch Oven Sourdough bread?
I do not recommend freezing the dough before it has been baked, as this can negatively impact its texture and rise. However, once your sourdough bread is baked and completely cooled, it freezes beautifully! Freezing is an excellent option if you don’t plan to consume the entire loaf within a couple of days, helping to preserve its freshness and flavor.
How do I thaw and refresh this bread?
To thaw and refresh your frozen sourdough, simply remove it from the freezer. Briefly run the loaf under cold water for a second or two, just enough to lightly moisten the exterior. Then, place the damp loaf directly into a preheated oven at 400°F (204°C) for about 5-10 minutes, or until it’s fully thawed through and the crust has become wonderfully crispy again. This method revives the bread, making it taste almost as good as fresh out of the oven.
Can I add mix-ins to the dough?
Absolutely! Adding mix-ins is a fantastic way to customize your sourdough loaf and explore new flavors. For a savory treat, I love incorporating Parmesan cheese and fresh rosemary. Other delicious combinations include jalapeño and sharp cheddar, or for a sweeter option, cinnamon and sugar. The ideal time to add your mix-ins is right after you flatten the dough, just before you fold it in thirds and shape it into a ball. This ensures they are evenly distributed throughout the loaf. You can see a demonstration of adding mix-ins here.
How do I care for my sourdough starter?
Proper starter care is fundamental to consistent sourdough success. Luckily, I’ve dedicated an entire blog post to guiding you through the ins and outs of maintaining a healthy and vigorous sourdough starter. You can find all the essential information and tips on how to care for your starter here.
Do I need to preheat my Dutch oven?
For truly superior results, I highly recommend pre-heating your Dutch oven. This step is critical for achieving that glorious, deeply crusty exterior that makes Dutch oven sourdough so special. A screaming hot Dutch oven provides an immediate burst of heat to the dough, creating a sudden expansion (oven spring) and trapping steam around the loaf. This initial steam allows the crust to remain pliable longer, promoting maximum rise before it sets into a crisp, golden shell. I love this enameled Dutch oven from Amazon for its consistent performance!
Explore More Delicious Bread Recipes
If you’ve enjoyed making this easy Dutch oven sourdough, you might be ready to explore other delightful bread recipes:
- Classic White Bread
- Natural Yeast Sourdough Sandwich Bread
- Sourdough Cinnamon Rolls
HAPPY COOKING!
I genuinely hope you cherish this Easy Dutch Oven Sourdough recipe as much as I do. It’s a gateway to homemade bread that truly simplifies the process without compromising on flavor or texture. For more culinary inspiration and to follow along with my latest cooking adventures, be sure to connect with me on Instagram @AMBERSKITCHEN.
Easy Dutch Oven Sourdough Recipe
The most delicious sourdough bread in just a few simple steps!
- Course: Breads
- Cuisine: American
- Keyword: baking recipes, baking with sourdough, bread, easy sourdough, Dutch oven bread
- Prep Time: 10 minutes
- Cook Time: 40 minutes
- Total Time: 10 hours (includes long proofing time)
Equipment
- Dutch oven
- Digital kitchen scale
- Large mixing bowl
- Parchment paper
- Wire cooling rack
Ingredients
- 125 g sourdough starter (active or discard; see notes)
- 12 g salt
- 350 g water (filtered, room temperature)
- 500 g bread flour (or all-purpose, with adjustments)
Instructions
- In a large bowl, combine the water, sourdough starter, and salt. Mix gently until the salt is dissolved and the starter is distributed.
- Add the flour to the wet ingredients. Mix just until all the flour is incorporated and there are no dry spots remaining. Avoid over-kneading at this stage.
- Cover the dough bowl with a lid or plastic wrap and let it rise at room temperature for 8-12 hours, or overnight, until visibly grown and bubbly.
- Preheat your oven to 450°F (232°C) with your empty Dutch oven inside for 30-60 minutes. For best results and to prevent a burnt bottom, place the Dutch oven on a pizza stone or baking sheet.
- Once the oven and Dutch oven are preheating, turn the risen dough out onto a clean, lightly floured surface. Gently shape the dough into a smooth ball by tucking, stretching, or rolling it. (Refer to the shaping tips and video in the main article for technique.)
- Transfer the shaped dough ball onto a piece of parchment paper. Cover it with an upside-down bowl (the one used for mixing works well) and let it rest at room temperature for one hour while the oven finishes preheating.
- After the rest, remove the bowl covering and lightly dust the top of the dough with a small amount of flour. Using a sharp blade or knife, score the dough to create an appealing design and allow for controlled expansion during baking.
- Carefully transfer the parchment paper with the dough into the preheated, hot Dutch oven. Cover with the lid.
- Place the covered Dutch oven back into the oven. Immediately reduce the oven temperature to 400°F (204°C) and bake for 40 minutes.
- After 40 minutes, remove the lid from the Dutch oven and continue baking for an additional 3-5 minutes, or until the crust achieves a beautiful golden-brown color.
- Remove the bread from the oven and transfer it to a wire cooling rack. Allow it to cool completely for at least one hour before slicing. Slicing warm bread can lead to a gummy texture.
Notes
- You can use either active, bubbly starter or unfed discard starter for this recipe. Both yield excellent results.
- I frequently use unfed, flat, and runny discard starter in place of active, fed starter, using the same weight measurements. It turns out wonderfully!
- Approximate measurements in cups for convenience: 1/2 cup sourdough starter, 2 tsp salt, 1 1/2 cups water, 4 cups flour. (For best accuracy, always use a digital scale.)
