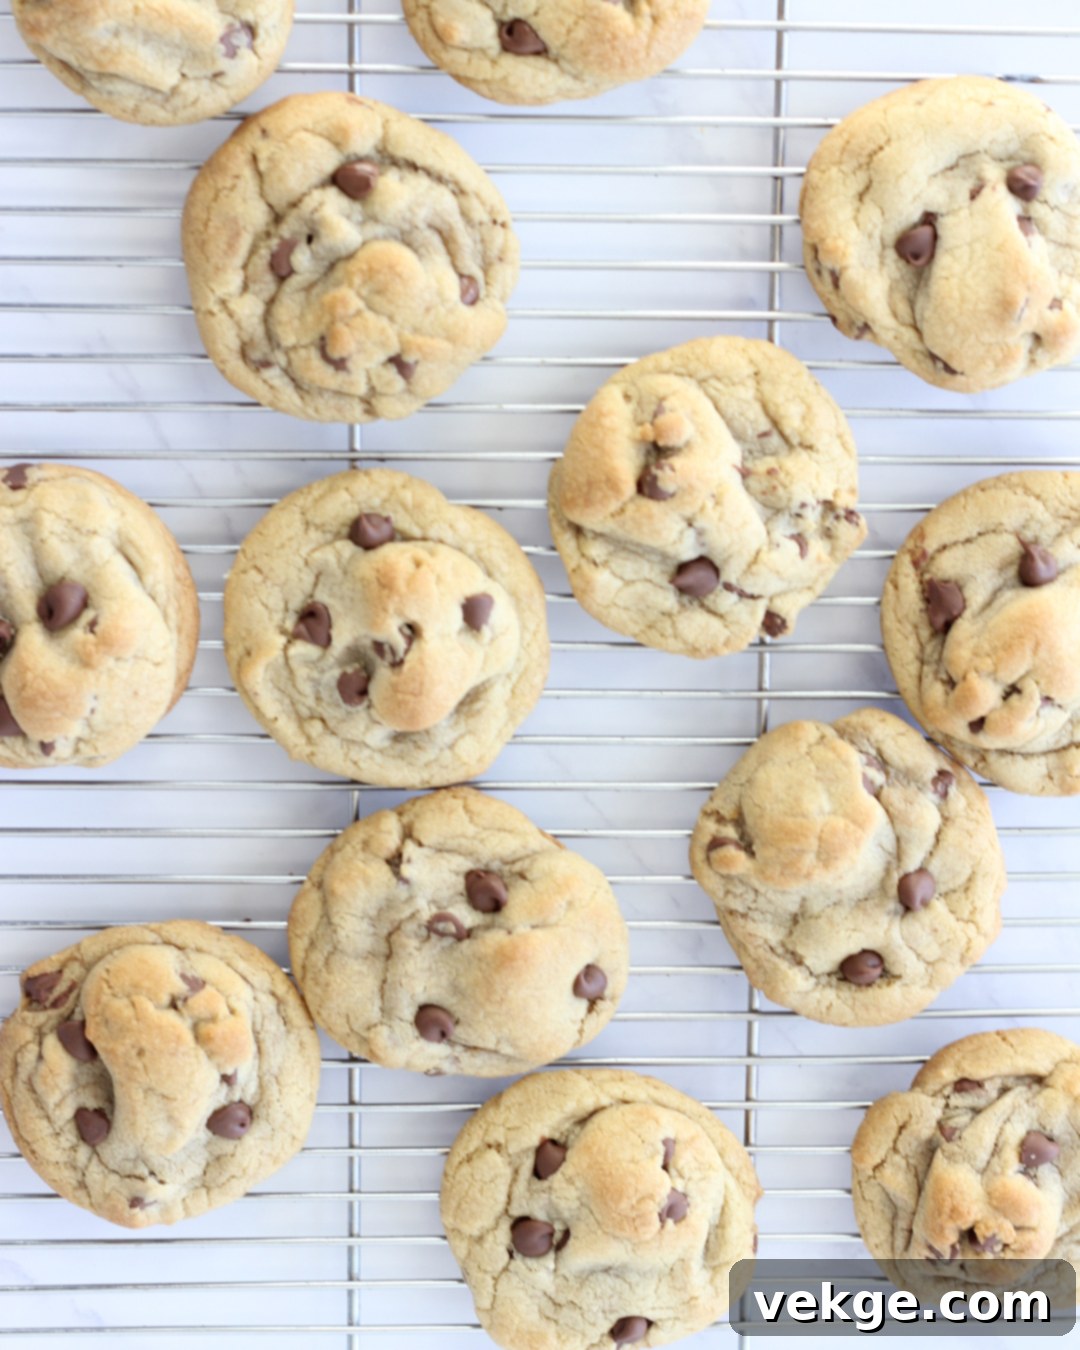
There’s nothing quite like a freshly baked chocolate chip cookie. But not just any cookie – we’re talking about those magnificent, thick, and chewy behemoths that look like they came straight from a gourmet bakery. For too long, many of us have settled for flat, crispy chocolate chip cookies, a common disappointment in the home baking world. The quest for the perfectly rounded, delightfully soft-centered cookie, packed with molten chocolate chips, has been a passionate pursuit for countless dessert enthusiasts, including myself.
I embarked on a culinary experiment, a delicious journey of trial and error, all in the name of cookie perfection. To truly master this art, I rigorously tested this recipe not once, not twice, but three times. Each batch was a scientific endeavor, meticulously documented, with minor adjustments made to achieve that elusive, ideal texture. The results were consistently astounding! Every single time, these cookies emerged from the oven exactly as envisioned: grand in size (requiring a generous 1/4 cup of dough per cookie!), boastfully thick, and wonderfully chewy. The secret, as you’ll soon discover, lies in a clever technique for shaping the dough that prevents them from sprawling out into disappointing pancakes. Get ready to elevate your cookie game and create treats that are truly “large and in charge.”
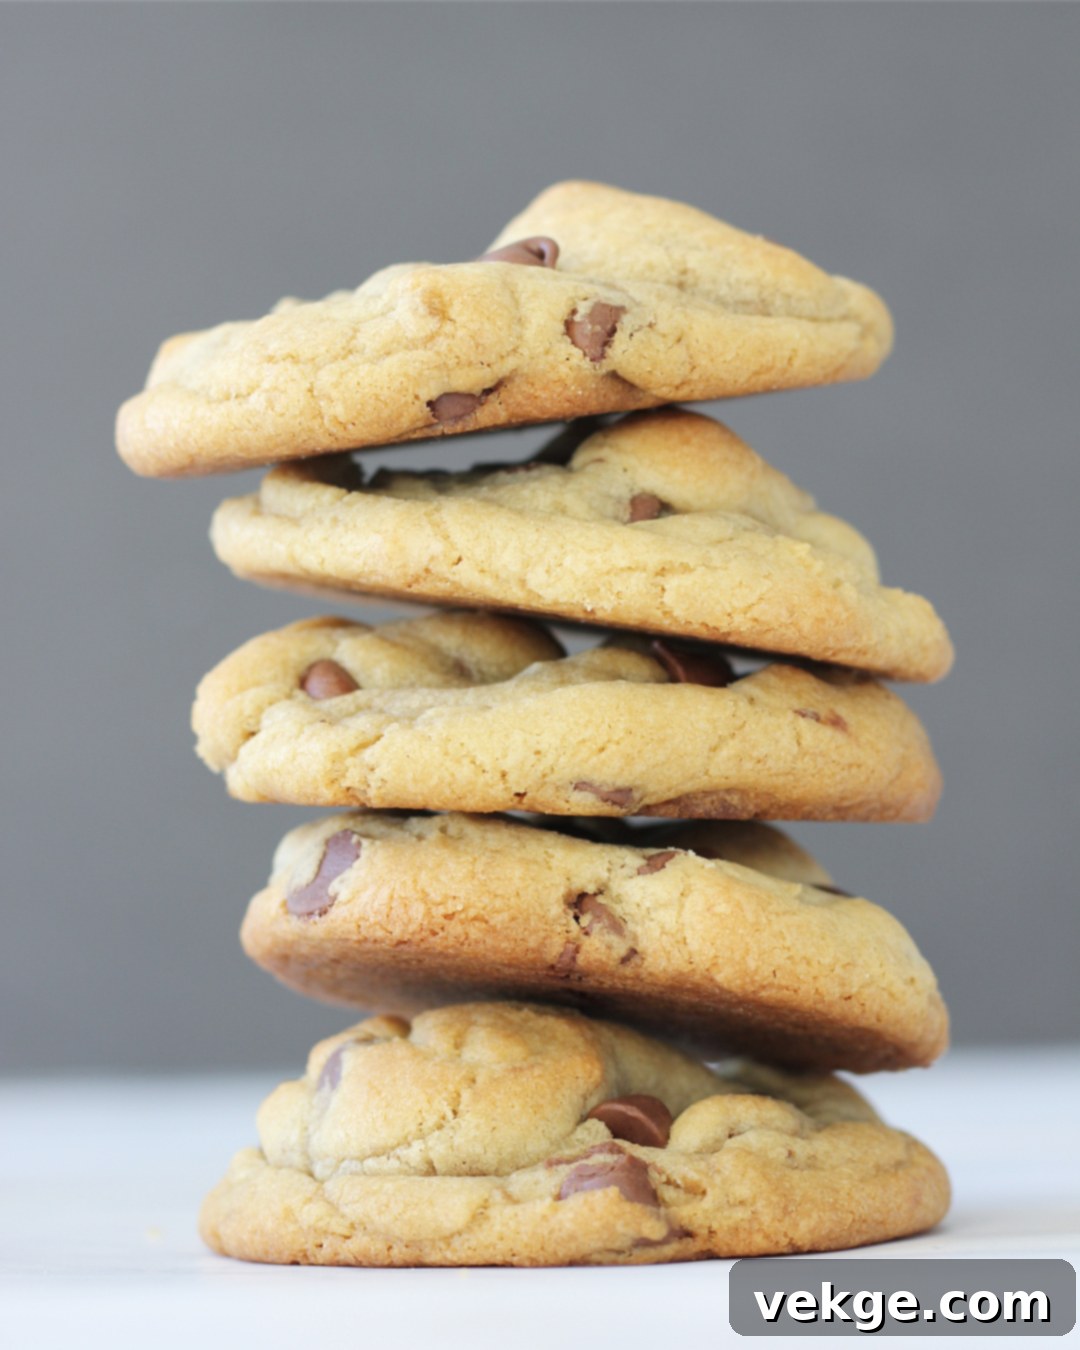
The Quest for the Perfect Cookie: Large, Chewy, and Never Flat
For many home bakers, the dream chocolate chip cookie is a contradiction: large and substantial, yet soft and chewy, with a glorious height that doesn’t collapse into a flat disk. We’ve all seen those mesmerizing images of bakery-style cookies – tall, craggy, and bursting with chocolate. The common challenge? Getting our homemade versions to replicate that luxurious density and chewiness without spreading excessively on the baking sheet.
My own journey to this recipe was born out of a desire to solve this exact problem. I wanted a cookie that not only tasted incredible but also had that impressive visual appeal. Through extensive experimentation, I discovered that while ingredients play a crucial role, the most significant factor in achieving a truly thick, non-flat cookie is surprisingly simple and often overlooked: how you shape the dough. This isn’t just about rolling a ball; it’s about a specific shaping technique that coaxes the cookie to bake upwards, creating that desired plump profile rather than allowing it to melt into a thin wafer.
This recipe is designed to deliver consistent results, ensuring that your efforts are always rewarded with cookies that are crispy on the edges, wonderfully gooey in the center, and maintain their impressive stature. Gone are the days of sad, thin cookies. Welcome to the era of large, in-charge, utterly irresistible chocolate chip cookies that will have everyone asking for your secret.


The Secret Revealed: Crafting Your Dough for Bakery-Style Thickness
The magic behind these remarkably thick cookies lies in a specific, yet simple, dough-shaping technique. It’s a game-changer that sets these apart from standard recipes. Instead of simply rolling your dough into a perfect sphere, we introduce a subtle modification that encourages the cookie to bake upwards, creating that desirable plump, chewy interior without sacrificing those delightful crisp edges.
When you scoop out your generous 1/4 cup of dough, you’ll first form it into a loose ball, just as you normally would. However, this is where the “secret trick” comes into play: gently pinch the top half of the dough upwards. Imagine you’re creating a small, sturdy pyramid or a little “mountain peak” on top of your cookie base. The goal is to make it as tall as possible while ensuring the base remains stable and firmly presses against the parchment paper. This vertical shaping provides a structural head start, guiding the cookie’s expansion during baking. As the butter melts and the leavening agents activate, the dough expands, but instead of spreading outwards with gravity, the pinched top helps it maintain its height and bake into a beautiful, thick shape.
Using your fingers, gently but firmly press the base of this shaped dough onto the parchment-lined cookie sheet. This isn’t just to keep it from toppling over; it helps anchor the cookie, ensuring that as it bakes, its energy is directed upwards and inwards, resulting in a denser, chewier center and a perfectly craggy exterior. This step is crucial for preventing the dreaded “pancake” effect and is the cornerstone of achieving that coveted bakery-style thickness and soft, gooey texture you’ve been dreaming of.
Previous
Next
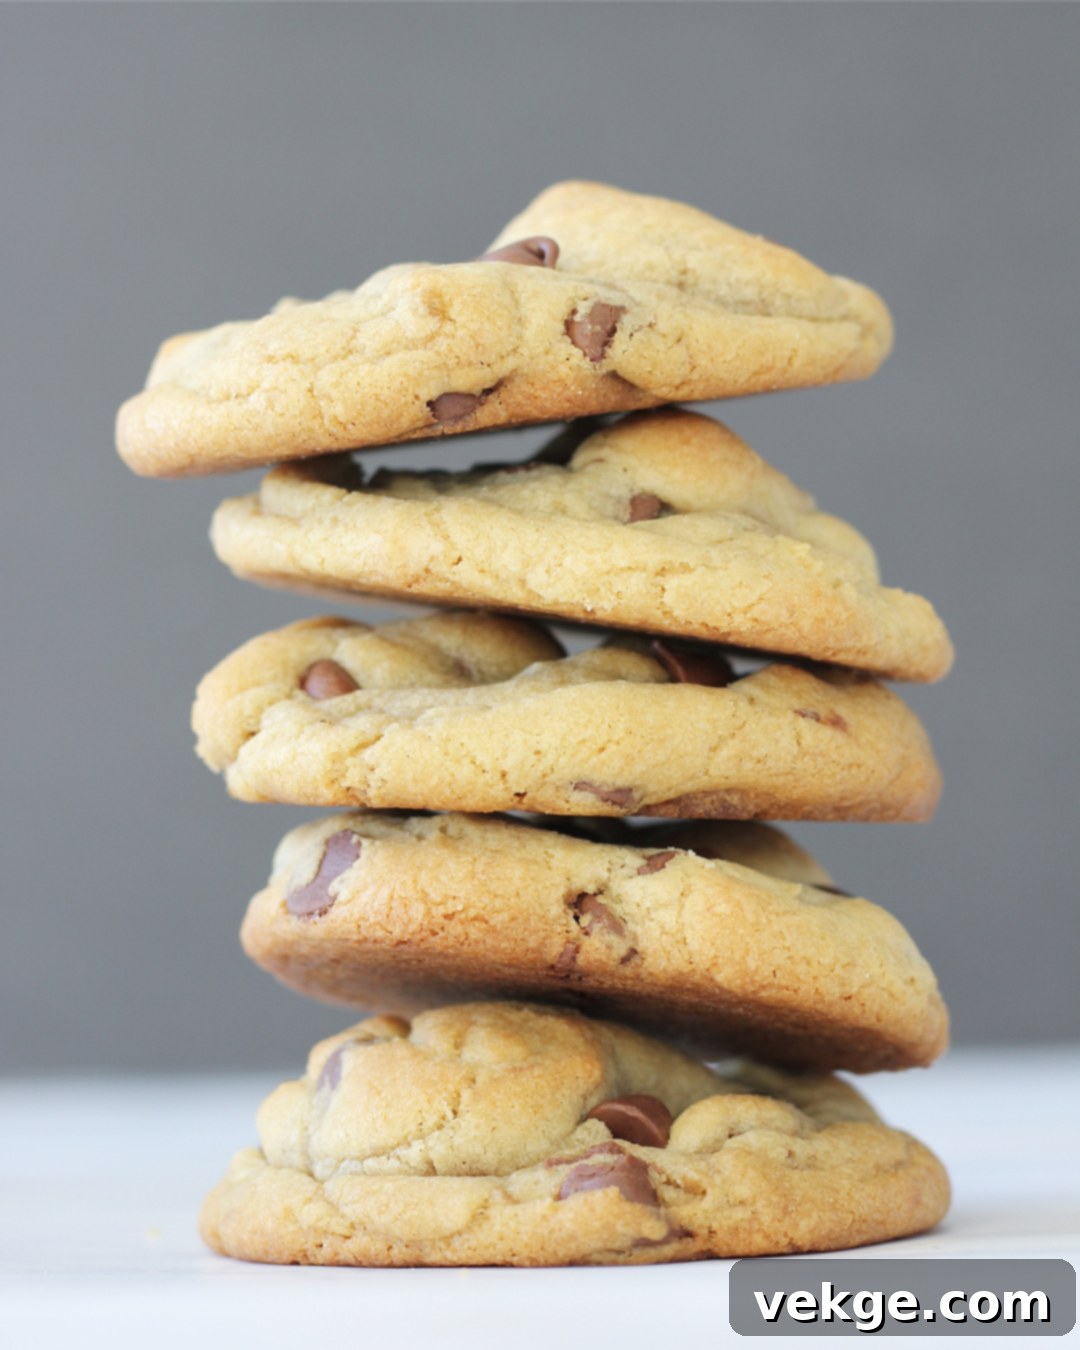
Understanding Key Ingredients for Optimal Texture
While the shaping technique is paramount, the ingredients themselves also play vital roles in achieving the ideal large and in-charge chocolate chip cookie. Understanding their functions can help you troubleshoot and even experiment with confidence.
Butter: The Foundation of Flavor and Texture
For these cookies, using 12 tablespoons of butter, ideally at room temperature, is key. Room temperature butter creams beautifully with sugar, incorporating air that contributes to a lighter, chewier texture. If your butter is too cold, it won’t cream properly; if it’s melted, your cookies are more likely to spread excessively, losing their desired thickness.
Sugars: A Symphony of Sweetness and Structure
This recipe calls for a combination of packed brown sugar (3/4 cup) and granulated sugar (1/2 cup). Brown sugar, with its molasses content, adds moisture, depth of flavor, and contributes significantly to the chewy texture. Granulated sugar, on the other hand, helps with crispness around the edges and aids in the overall structure. The balance between these two sugars is essential for both flavor and that perfect chewy-crispy dichotomy.
Eggs: Binding and Enriching
The inclusion of one large egg yolk alongside one whole large egg is a deliberate choice. The extra egg yolk provides richness and chewiness without adding too much liquid, which can lead to thinner cookies. It acts as an emulsifier, binding the ingredients together and creating a more cohesive, tender dough. The whole egg provides structure and moisture balance.
Flour: The Structural Backbone
Using 2 cups plus 2 tablespoons of all-purpose flour provides the necessary structure. Accurate measurement is critical here. Too little flour can lead to excessive spreading, while too much can result in dry, crumbly cookies. Flour provides the gluten framework that holds the cookie together and gives it its shape and chew.
Leavening and Flavor Enhancers: Baking Soda, Salt, and Vanilla
Baking soda (1 tsp) works with the acidic brown sugar to create lift and a tender crumb. Salt (1/2 tsp) is not just for seasoning; it balances the sweetness and enhances all the other flavors. Pure vanilla extract (1 tsp) is a non-negotiable for classic chocolate chip cookies, adding warmth and aromatic depth that elevates the entire experience.
Chocolate Chips: The Star Attraction
One cup of milk chocolate chips is specified, with extra for pressing on top. Milk chocolate provides a classic, sweet, and creamy counterpoint to the dough. Using good quality chocolate chips will make a noticeable difference in flavor and how they melt. The extra chips pressed on top immediately after baking are purely for aesthetic appeal, mimicking that professional bakery look.
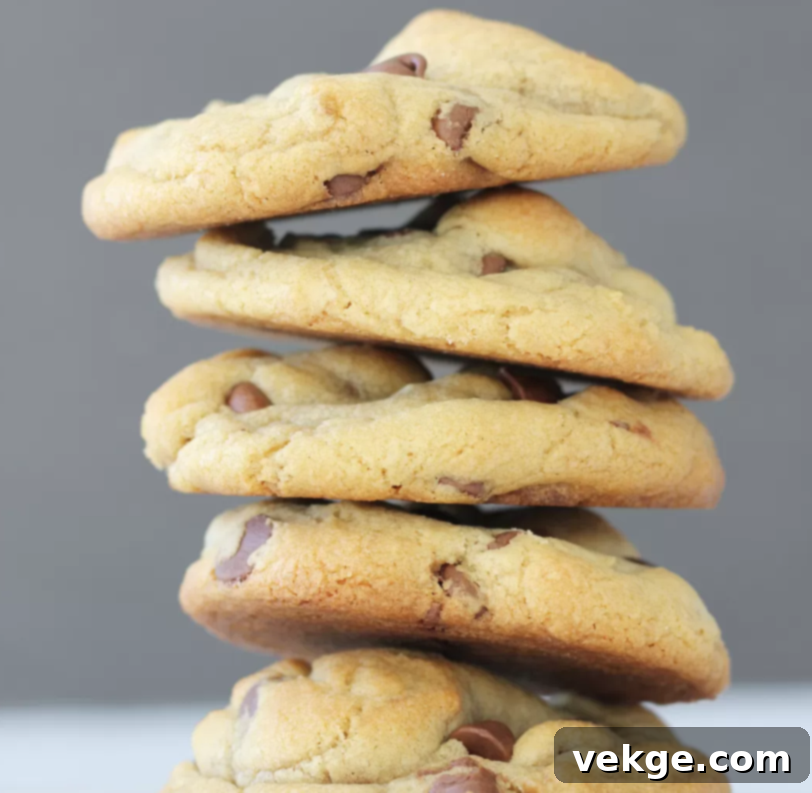
Large and In-Charge Chocolate Chip Cookies
Ingredients
- 12 T unsalted butter, softened
- ¾ cup packed light brown sugar
- ½ cup granulated sugar
- 1 large egg yolk
- 1 large egg
- 1 tsp pure vanilla extract
- 2 cups plus 2 T all-purpose flour
- 1 tsp baking soda
- ½ tsp fine sea salt
- 1 cup milk chocolate chips, plus 3-5 extra per cookie for topping
Instructions
- Preheat oven to 325° F (160° C). Line 2 large baking sheets with parchment paper to prevent sticking and ensure even baking.
- In a large mixing bowl, combine the softened butter, packed brown sugar, and granulated sugar. Using an electric mixer, beat on medium speed until the mixture is light, creamy, and fluffy – this usually takes about 2-3 minutes. This step incorporates air, vital for cookie texture.
- Add the large egg yolk, the whole large egg, and pure vanilla extract to the creamed butter and sugar. Continue to beat until just combined and smooth, scraping down the sides of the bowl as needed. Avoid overmixing.
- In a separate bowl, whisk together the all-purpose flour, baking soda, and fine sea salt. Gradually add the dry ingredients to the wet ingredients, mixing on low speed until just combined. Be careful not to overmix the dough, as this can lead to tough cookies.
- Gently fold in the 1 cup of milk chocolate chips using a spatula until they are evenly distributed throughout the dough.
- Scoop 1/4 cup of dough for each cookie. Shape the dough into a ball, then, crucially, pinch the top half of the dough upwards to create a tall, sturdy mound (refer to the images above for visual guidance). This unique shaping technique prevents spreading. Gently press the base of the dough firmly onto the parchment-lined cookie sheet to ensure it holds its shape while baking. Arrange cookies at least 2 inches apart.
- Bake for 12-15 minutes. The baking time can vary slightly depending on your oven. Look for edges that are lightly golden brown and set, while the centers still appear slightly soft and underbaked. Overcooking will result in dry cookies.
- Immediately upon removing the cookie sheets from the oven, press an additional 3-5 chocolate chips onto the tops of each warm cookie. This creates that iconic, appealing bakery-style finish.
- Allow the cookies to cool on the baking sheet for approximately 5 minutes. This crucial resting period allows them to set properly before being transferred. Afterward, carefully move them to a wire rack to cool completely, ensuring a perfectly chewy texture.
Step-by-Step Baking Perfection: Ensuring Success
Following the instructions meticulously is your guarantee for baking success. Each step is designed to contribute to the final thick, chewy, and utterly delicious outcome.
- Preheat with Purpose: Setting your oven to 325° F (160° C) and allowing it to fully preheat is not just a suggestion; it’s essential. A consistently heated oven ensures even baking, preventing your cookies from spreading too quickly before they set. Lining your baking sheets with parchment paper is also key, providing a non-stick surface and promoting uniform browning.
- Creaming for Air: The creaming of butter and sugars isn’t just about mixing; it’s about incorporating air. This aeration is vital for the cookie’s final texture, contributing to its chewiness and helping it rise. Don’t rush this step – beat until genuinely light and fluffy.
- Careful with Eggs and Vanilla: Once eggs and vanilla are added, mix just until combined. Overmixing at this stage can develop too much gluten in the flour, leading to tough cookies.
- Gentle Flour Incorporation: When adding the dry ingredients, mix on low speed until the flour streaks barely disappear. Overmixing flour develops gluten, making cookies less tender. A gentle hand here is crucial for a soft, chewy cookie.
- Folding in Chocolate Chips: Use a spatula to gently fold in your chocolate chips. This prevents overworking the dough and ensures an even distribution of those delicious morsels.
- The Shaping Technique – Revisited: This is where the magic happens! Revisit the detailed explanation above about pinching the dough upwards after forming a ball. This unique shaping is what gives these cookies their incredible height and prevents them from spreading flat. Remember to press the base onto the parchment paper.
- Bake, Don’t Overbake: Baking at a slightly lower temperature (325° F) for 12-15 minutes allows the cookies to bake through without burning the edges or becoming too crispy. The key is to remove them when the edges are set and lightly golden, but the centers still look slightly soft and underbaked. They will continue to cook and set as they cool.
- The Finishing Touch: Pressing extra chocolate chips onto the warm cookies immediately after baking is a professional trick that enhances their visual appeal. The residual heat melts them slightly, creating that irresistible, glistening top.
- Crucial Cooling Steps: Allowing the cookies to cool on the baking sheet for 5 minutes is critical. They are delicate right out of the oven and need this time to firm up. Transferring them too soon can cause them to break. Moving them to a wire rack after this initial cooling period ensures air circulation, preventing the bottoms from becoming soggy and promoting a perfect texture throughout.
Customizing Your Large Chocolate Chip Cookies
While the classic milk chocolate chip cookie is undeniably delicious, this robust recipe serves as an excellent canvas for your creative additions. Don’t hesitate to experiment and make these cookies truly your own!
- Chocolate Varieties: Swap out milk chocolate chips for semi-sweet, dark, or even white chocolate chips. A mix of different chocolates, like dark chocolate chunks and milk chocolate chips, can create a complex and irresistible flavor profile.
- Nutty Add-ins: Enhance the texture and flavor with a handful of toasted nuts. Chopped walnuts, pecans, or even macadamia nuts would be fantastic additions, adding a delightful crunch.
- Sweet Surprises: Consider folding in toffee bits, shredded coconut, or even mini marshmallows during the last minute of baking for a gooey surprise.
- Flavor Boosters: A dash of espresso powder can deepen the chocolate flavor without making the cookies taste like coffee. A hint of almond extract alongside vanilla can also add a unique aromatic twist. A sprinkle of flaky sea salt on top after baking can beautifully balance the sweetness and elevate the flavors.
Storage Tips for Lasting Freshness
These large, in-charge cookies are best enjoyed fresh, but they also store wonderfully, allowing you to savor their deliciousness for days.
- Room Temperature: Store baked cookies in an airtight container at room temperature for up to 3-4 days. To keep them extra soft, you can place a slice of bread in the container with them – the cookies will absorb moisture from the bread.
- Freezing Baked Cookies: Once completely cooled, wrap individual cookies tightly in plastic wrap, then place them in a freezer-safe bag or container. They can be frozen for up to 3 months. Thaw at room temperature or gently warm in the microwave or oven for a “freshly baked” experience.
- Freezing Dough: For future cookie cravings, scoop and shape the dough as instructed, then place the shaped dough balls on a parchment-lined baking sheet and freeze until solid. Once frozen, transfer them to a freezer-safe bag. When ready to bake, place frozen dough balls on a prepared baking sheet and bake for a few extra minutes (approximately 15-18 minutes total) until golden.
Frequently Asked Questions (FAQ) about Thick Cookies
Here are some common questions you might have about achieving perfect, thick chocolate chip cookies:
Why are my cookies still flat?
The most common reasons for flat cookies are using melted butter instead of softened, oven temperature being too low, or not using the specific shaping technique outlined in this recipe. Ensure your butter is softened but not greasy, your oven is accurately preheated, and you pinch the dough upwards to create that initial height.
Can I use all brown sugar?
While you could, using all brown sugar would result in a very soft and chewy cookie, potentially without the desired crisp edge, and might affect the spread. The combination of brown and granulated sugar provides the best balance of chewiness, crispness, and structure for these large cookies.
Do I need to chill the dough?
Many recipes recommend chilling cookie dough to prevent spreading. However, with this specific shaping technique, chilling the dough is not strictly necessary to achieve a thick cookie. If you prefer to chill for flavor development or to bake later, you certainly can, but it won’t be the primary factor in preventing spread here.
Can I use a different type of flour?
This recipe is developed for all-purpose flour. Using other flours like bread flour (higher protein) or cake flour (lower protein) will alter the texture significantly and is not recommended without further adjustments.
What if I don’t have an electric mixer?
While an electric mixer makes creaming butter and sugar easier and more efficient, you can absolutely make these cookies by hand. You’ll need a good sturdy whisk and some arm strength to get the butter and sugars light and fluffy, and then a spatula for folding in the dry ingredients and chocolate chips.
Embrace the joy of baking these truly magnificent Large and In-Charge Chocolate Chip Cookies. With this recipe and its unique shaping secret, you’re not just baking cookies; you’re crafting an experience. Each bite delivers a perfect harmony of crisp edges, a gooey, chewy center, and an abundance of rich chocolate. Prepare to impress your family and friends with these bakery-worthy treats!
