This post contains affiliate links and I may receive a commission on your purchase. Thank you for shopping through my links.
Jump to Recipe
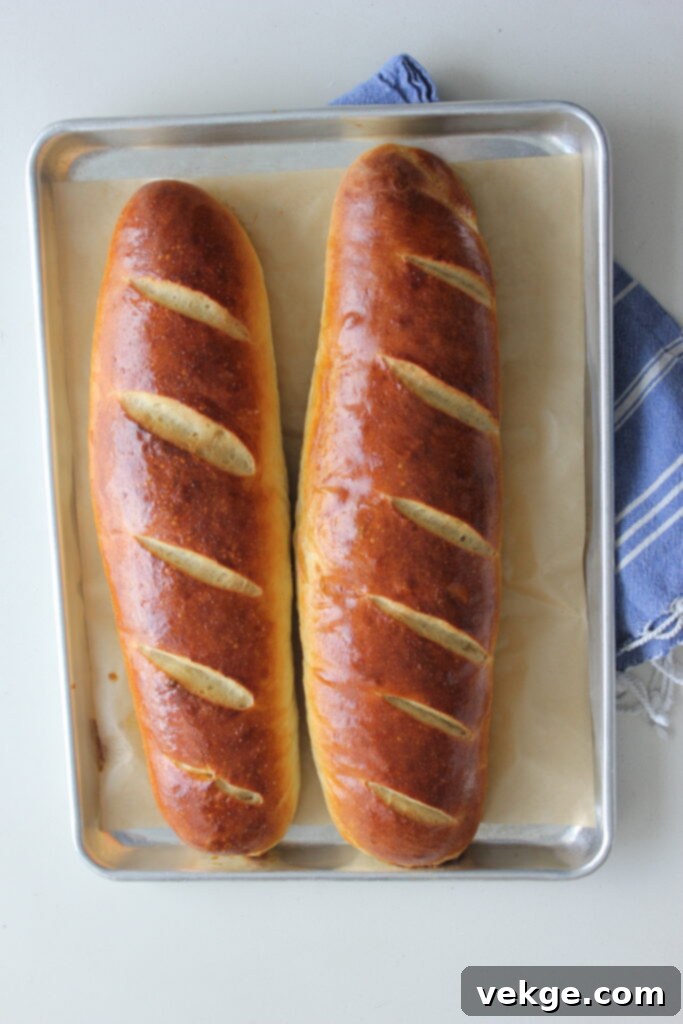
There’s a special kind of magic that happens when you bake bread at home. The aroma filling your kitchen, the satisfying warmth, and the sheer joy of pulling a golden loaf from the oven are unparalleled. But what if I told you there’s a recipe that elevates this experience even further? This Sourdough Rosemary French Bread isn’t just a recipe; it’s a culinary revelation that my family, especially my kids, consistently declares as the best bread I’ve ever made. And considering I’ve been baking almost all our bread for a decade, that’s incredibly high praise!
This particular French bread stands out for several reasons, making it a staple in our home and hopefully yours too. First, it boasts a truly fantastic rosemary flavor that is both subtle and pronounced, infusing every bite with an herbaceous delight. Second, the interior crumb is wonderfully soft and airy, perfect for tearing or slicing. Third, the crust achieves that ideal balance—not too crunchy, but with just enough chew and delicate crispness. What makes it even more appealing is its simplicity, requiring only five core ingredients to achieve such sophisticated results. Finally, its exquisite taste makes it an incredibly versatile companion, perfect for any savory dish, from hearty stews to simple charcuterie boards.
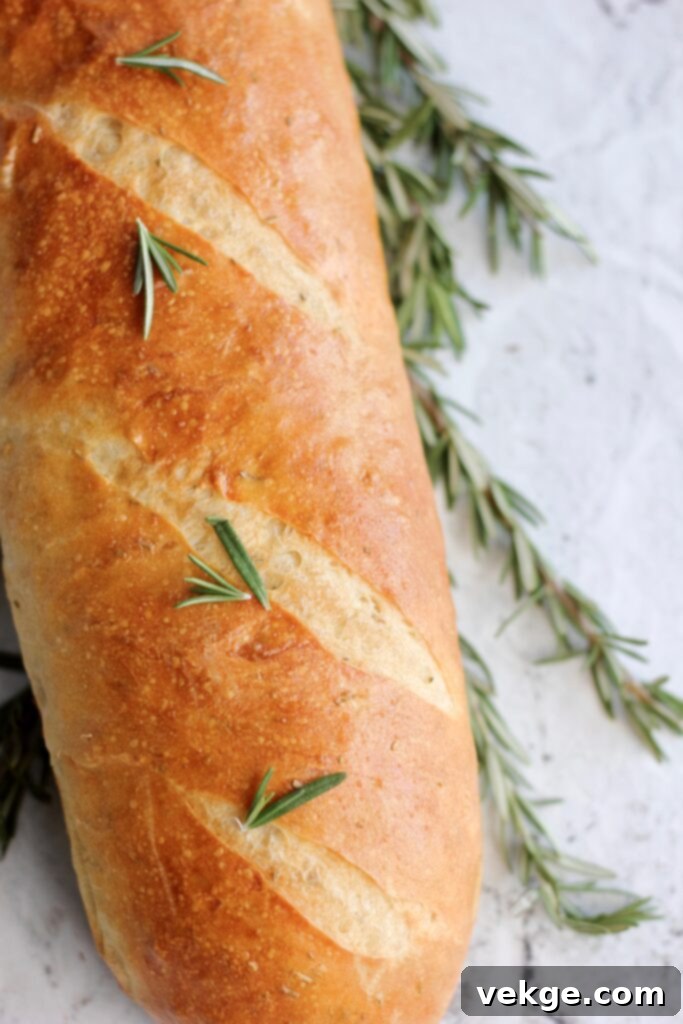
Unlocking Flavor: A Deep Dive into Our Ingredients
The secret to extraordinary bread lies in understanding each ingredient’s role. Here’s a closer look at what goes into our exceptional Sourdough Rosemary French Bread and why each component is crucial.
Water
Water is more than just a liquid in bread making; it’s the catalyst for activating your sourdough starter and hydrating your flour to form gluten. For this recipe, lukewarm to barely warm water is perfect. Think of it as bathwater temperature – comfortable to the touch. Water that is too hot can kill your starter’s beneficial bacteria and yeast, while water that is too cold can significantly slow down fermentation. Using filtered water is often recommended to avoid any chlorine or other chemicals present in tap water that could potentially interfere with your starter’s activity.
Flour
Choosing the right flour is paramount for the desired texture of your French bread. My strong preference for this recipe is bread flour. Bread flour has a higher protein content compared to all-purpose flour, which means it develops more gluten during kneading. This results in a final loaf that is beautifully elastic, chewy, and “billowy” – a classic characteristic of great French bread. While all-purpose flour can be used in a pinch, expect a slightly less chewy and more tender crumb. If you’re feeling adventurous, you could also incorporate a portion of whole wheat flour or kamut flour for added nutritional value and a nuttier flavor. Keep in mind that both whole wheat and kamut are “thirsty” flours, absorbing more water, so you might need to slightly reduce the overall flour quantity or increase hydration, and your dough may not rise quite as high. However, the resulting bread will still be incredibly delicious and unique.
Sourdough Starter
At its core, sourdough starter is a living culture of fermented flour and water, responsible for the bread’s leavening, distinctive tang, and complex flavor. For this recipe, the quality of your starter directly impacts the success of your bread. You absolutely must use a happy, fed, bubbly, and active starter. This means it should have been fed several hours prior, showing signs of significant activity (doubled in size, filled with numerous bubbles, and passed the float test). A strong starter ensures a robust rise and excellent flavor development. If you’re new to the world of sourdough or need a refresher on starter care, I highly recommend checking out my comprehensive SOURDOUGH 101post for all the essential tips and tricks to keep your starter thriving.
Salt
Never underestimate the power of salt in bread making! Omitting it, or not adding enough, will lead to a bland loaf with an underdeveloped structure, potentially destined for the trash. (Trust me, I speak from unfortunate experience!). Salt doesn’t just enhance flavor; it plays a critical role in controlling fermentation speed and strengthening the gluten network, leading to a better rise and texture. I exclusively use Redmond fine sea salt in all my recipes, including this one. It’s unrefined and packed with naturally occurring trace minerals, which not only contribute to a more nuanced flavor profile but also provide essential nutrients. CLICK HERE TO GET YOURSELF SOME REDMOND SALT, OR ANY REDMOND PRODUCTS. YOU CAN GET 15% OFF WITH MY AFFILIATE COUPON CODE, “AMBERSKITCHEN”.
Dried Rosemary
The dried rosemary is truly what transforms this into an incredibly delicious and aromatic loaf, setting it apart from traditional French bread. Its piney, slightly peppery notes complement the tangy sourdough perfectly, creating a savory experience that is truly addictive. When using dried rosemary, remember that it is much more potent and concentrated than fresh rosemary. If you prefer to use fresh rosemary, you’ll need to use approximately three times the amount of fresh herbs to achieve a similar intensity of flavor. For those who simply adore the classic sourdough French bread, you can absolutely leave out the rosemary for a plain, yet still spectacular, loaf.
Extra Virgin Olive Oil
Extra Virgin Olive Oil adds a subtle richness and wonderful depth of flavor that harmonizes beautifully with both sourdough and rosemary. Beyond taste, olive oil contributes to the bread’s soft interior crumb and helps keep it moist. If Extra Virgin Olive Oil isn’t available, don’t fret! You can successfully substitute it with other mild-flavored oils like avocado oil, melted butter, coconut oil, or even a neutral vegetable oil. Each alternative will impart a slightly different nuance, but the core essence of the bread will remain.
Egg for Eggwash
While this ingredient isn’t mixed into the dough itself, an egg wash is an optional, but highly recommended, final touch. Brushed onto the dough loaves just before they go into the oven, a simple beaten egg creates a gorgeous, glossy, golden-brown crust, giving your homemade bread a professional, artisan finish. It also contributes to a slightly crisper exterior.
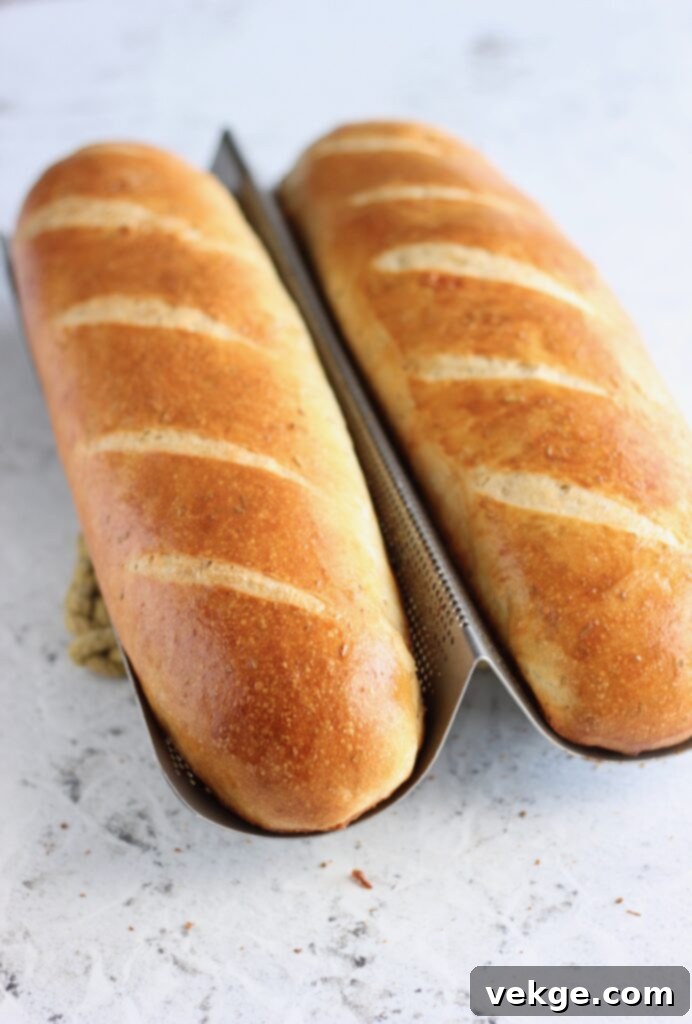
Exploring Alternatives: French Bread Beyond Sourdough
Sourdough baking, while rewarding, can seem daunting if you’re just starting out or don’t yet have an active starter. But don’t let that stop you from enjoying a delicious homemade French bread! If you don’t have a sourdough starter, or if you’re still building your sourdough confidence, you can absolutely adapt this recipe to use active dry yeast instead. The core techniques of mixing, kneading, and shaping remain largely the same, only the leavening agent and rise times will differ. This means you can still achieve a soft, chewy, and flavorful French bread without the sourdough commitment. For a comprehensive guide on making a fantastic yeast-based French bread, CLICK HERE TO SEE MY FRENCH BREAD RECIPE.
Mastering Sourdough: Your Journey to Becoming a Pro Baker
If the allure of sourdough has captured your imagination, and you aspire to become a sourdough pro, you’ve come to the right place. Sourdough baking is a journey of learning and discovery, offering endless rewards in flavor and technique. To help you on this path, I’ve dedicated an entire blog post to everything I know about sourdough, packed with essential information, troubleshooting tips, and practical advice. Understanding the basics will give you confidence and control over your bakes, leading to consistently amazing results. CLICK HERE TO READ MORE ABOUT SOURDOUGH BASICS and unlock the secrets to a thriving starter and perfect loaves.
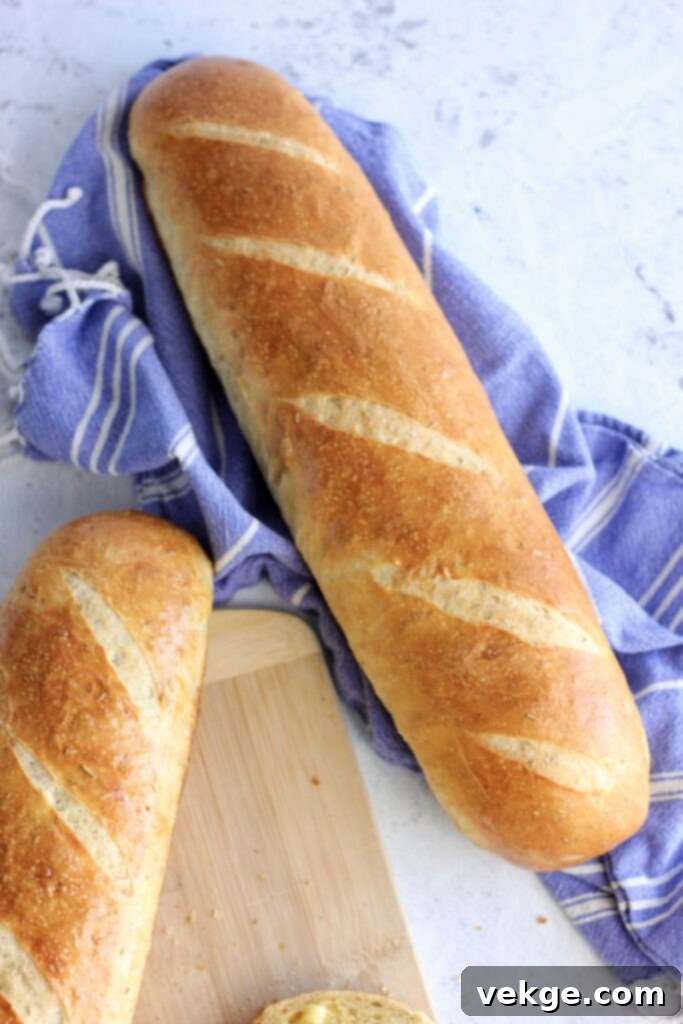
Precision Baking: Ingredients by Weight
For consistent and professional-level baking results, measuring ingredients by weight is always superior to measuring by volume. This eliminates variability caused by different packing methods and humidity, ensuring your dough always has the correct hydration and balance. For your convenience, here are the precise measurements for this Sourdough Rosemary French Bread:
- Water: 478 grams (approximately 2 cups)
- Active Sourdough Starter: 200 grams (approximately 1 cup)
- Salt: 16 grams (approximately 2.5 teaspoons)
- Dried Rosemary: 7 grams (approximately 2 Tablespoons)
- Extra Virgin Olive Oil: 49 grams (approximately 1/4 cup)
- Bread Flour: 800 grams (approximately 5.5 to 6 cups – adjust by +/- 50g based on your flour and starter’s hydration)
Strategic Sourdough: Timing Tips for Busy Bakers
One of the beauties of sourdough is its flexibility, but the fermentation process does take time. Learning to manipulate this timeline can help you fit sourdough baking into even the busiest schedules. Here are some invaluable tips to maximize your time and achieve perfect loaves when it suits you best:
- Leverage the Refrigerator (Cold Fermentation): The fridge is your best friend in sourdough baking! You can “pause” or significantly slow down your sourdough fermentation by placing the dough in the refrigerator for anywhere from 1 to 72 hours. This cold fermentation not only adds incredible depth of flavor to your bread but also offers unparalleled scheduling flexibility. In fact, the dough can complete its entire first bulk rise (or a significant portion of it) while in the fridge. If the dough is refrigerated for at least 12 hours, this can count as your full bulk rise.
For Example: Feed/activate your starter at noon. Once it’s active later in the afternoon, make the dough. Instead of letting it rise at room temperature, immediately place the dough into an airtight container and put it into the fridge. The next day, around 10 AM, you can pull the dough out, form it into loaves, cover, let it rise at room temperature, and then bake. This method allows you to pull hot, fresh bread out of the oven around 4 PM, with minimal active time on baking day. - Activate Your Starter Overnight (The “Giant Feed”): This is arguably my most frequently used sourdough hack for morning baking. I love to give my starter a generous “giant feed” right before I go to bed. This provides enough food for it to become robustly active overnight. By the time I wake up in the morning, my starter is perfectly bubbly, active, and ready to use for making dough right away. An example of a “Giant Feed” ratio is 1 part unfed starter to 8 parts flour to 8 parts water. For this recipe, that might look like 2 Tablespoons of unfed discard starter fed with 1 cup flour and 1 cup water.
With this schedule: I make my dough first thing in the morning, let it complete its first bulk rise at room temperature until about noon, then shape it into loaves and allow for a second rise for a few more hours. This typically means delicious, hot bread could be coming out of the oven around 3 or 4 PM.
Crafting Your Loaf: Example Schedule and Directions
Sourdough baking is an art influenced by many factors. This timing example is a guideline, not a strict rule, as its pace can depend on 1) the ambient temperature in your home, 2) the inherent strength and activity of your sourdough starter, and 3) your personal schedule and daily routine. Feel free to adapt it using the timing tips above.
7 AM: Feed Your Starter.
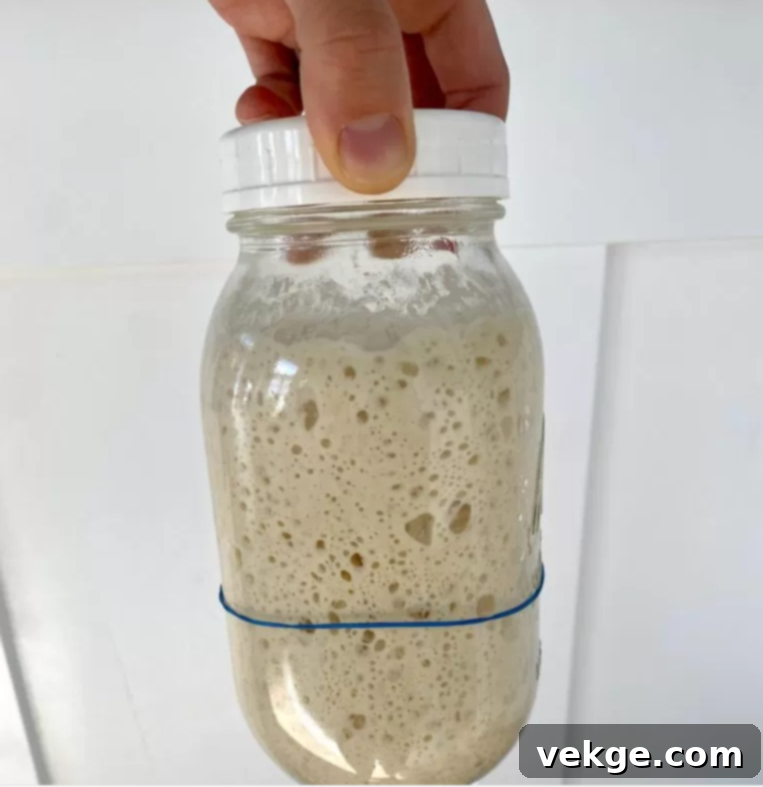
To prepare your starter, combine 1 part discard starter with 1 part water and 1 part flour. For instance, use 1/2 cup unfed discard starter, 1/2 cup warm water, and 1/2 cup flour. Mix these ingredients thoroughly until the consistency resembles a thick pancake batter – add a touch more flour or water as needed to achieve this. Loosely cover the container and mark the starter’s initial height with a dry erase marker or a rubber band. Leave the fed starter at room temperature and observe it. Over the next few hours, a healthy starter *should* visibly fill with large bubbles and approximately double in size, indicating peak activity. This active starter is crucial for a successful rise.
10:00 AM: Prepare Your Dough.
Proceed with this step *only if* your starter has doubled in size and is full of bubbles, showing clear signs of readiness and activity. In a large mixing bowl or the bowl of an electric countertop mixer (like a Bosch), combine your active sourdough starter, lukewarm water, Redmond salt, extra virgin olive oil, and dried rosemary. Mix these wet ingredients until well combined. Gradually add the bread flour, cup by cup, mixing until a shaggy dough forms. Turn the dough out onto a clean, lightly floured surface or continue in your mixer. Knead the dough until it becomes smooth, elastic, and passes the windowpane test (where a small piece of dough can be stretched thin enough to see light through it without tearing). This kneading process helps develop the gluten structure, essential for a good crumb. Once kneaded, place the dough into a clean bowl, cover it tightly with plastic wrap, a reusable shower cap, or a clean, damp dish towel to prevent drying. Allow the dough to undergo its first bulk rise at room temperature until it has clearly risen or doubled in size. This can take anywhere from 4 to 8 hours, depending on your ambient room temperature and the vigor of your starter. *Alternatively, you can skip the room temperature bulk rise and place the dough directly into an airtight container in the fridge for 12-72 hours before proceeding to the next step (cold fermentation).*
3:00 PM: Shape the Dough into Loaves.
Once your dough has completed its first rise, gently turn it out onto a lightly floured surface. Divide the dough into two equal portions. Work each portion into a long, even “snake” or French baguette shape, creating surface tension as you roll to ensure a good crust and rise. Carefully transfer these shaped loaves onto a greased baking sheet or into specialized French bread loaf pans. Immediately cover the formed loaves with plastic wrap or a clean dish towel to prevent the surface from drying out. Allow them to undergo their second rise (proofing) until they have doubled in size. This secondary rise is critical for the final texture and can take approximately 2 to 5 hours, again depending on environmental factors and starter strength.
6:00 PM: Bake Your Masterpiece!
*It is crucial to only bake dough that has visibly doubled in size after the second rise. Under-proofed dough will result in a dense, brick-like loaf.* Preheat your oven to 375 degrees Fahrenheit (190°C). While the oven preheats, gently remove the covering from your dough loaves. In a small bowl, lightly beat one egg to create an egg wash, and brush an even layer over the entire top surface of the dough. Using a sharp blade or a specialty lame blade, carefully cut a few diagonal slits into the tops of the dough. These scores allow the bread to expand predictably in the oven. Transfer the prepared loaves to the preheated oven and bake for 25 to 30 minutes, or until the crust is a beautiful golden brown and the internal temperature reaches 190 degrees Fahrenheit (88°C). This schedule works particularly well in warmer summer months; during colder winter months, the timeline may be slower, so refer back to the other “TIMING TIPS” section above for alternative strategies to accommodate cooler temperatures.
Step-by-Step: How to Make This Delicious Bread
Making this Sourdough Rosemary French Bread is a rewarding process. Follow these steps for a perfect loaf:
First, ensure your sourdough starter is active and ready. This typically involves feeding it several hours prior so it’s bubbly and at its peak. If you need guidance on activating your starter, refer to the ratios and advice provided earlier in the “TIMING TIPS” paragraph.
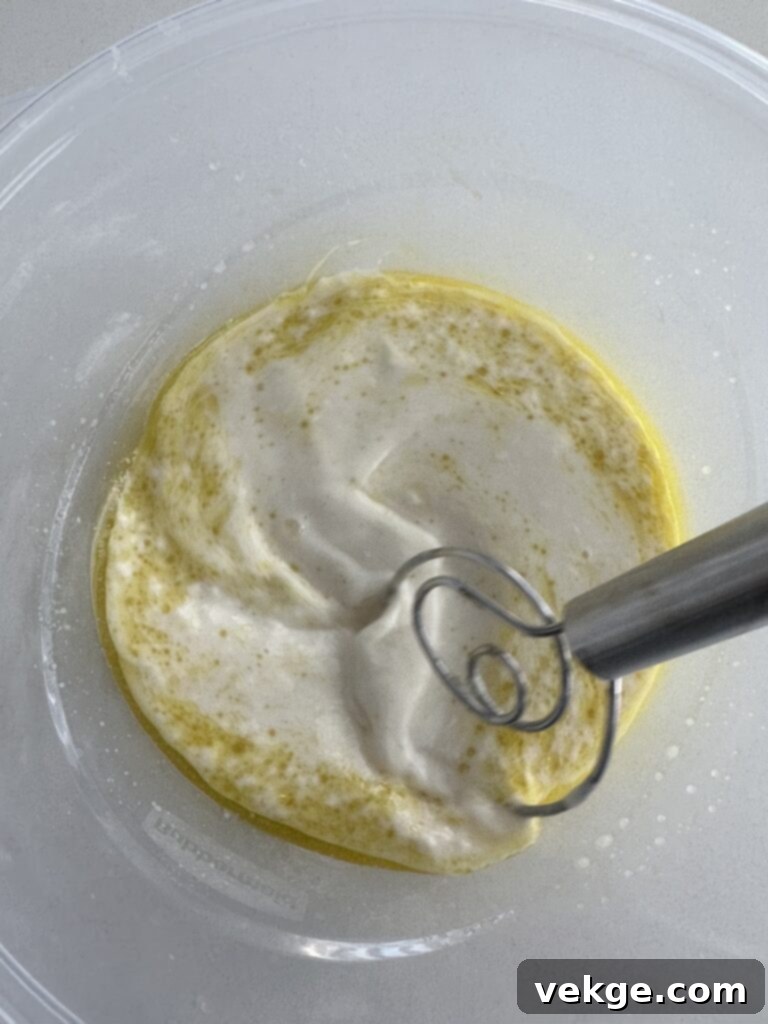
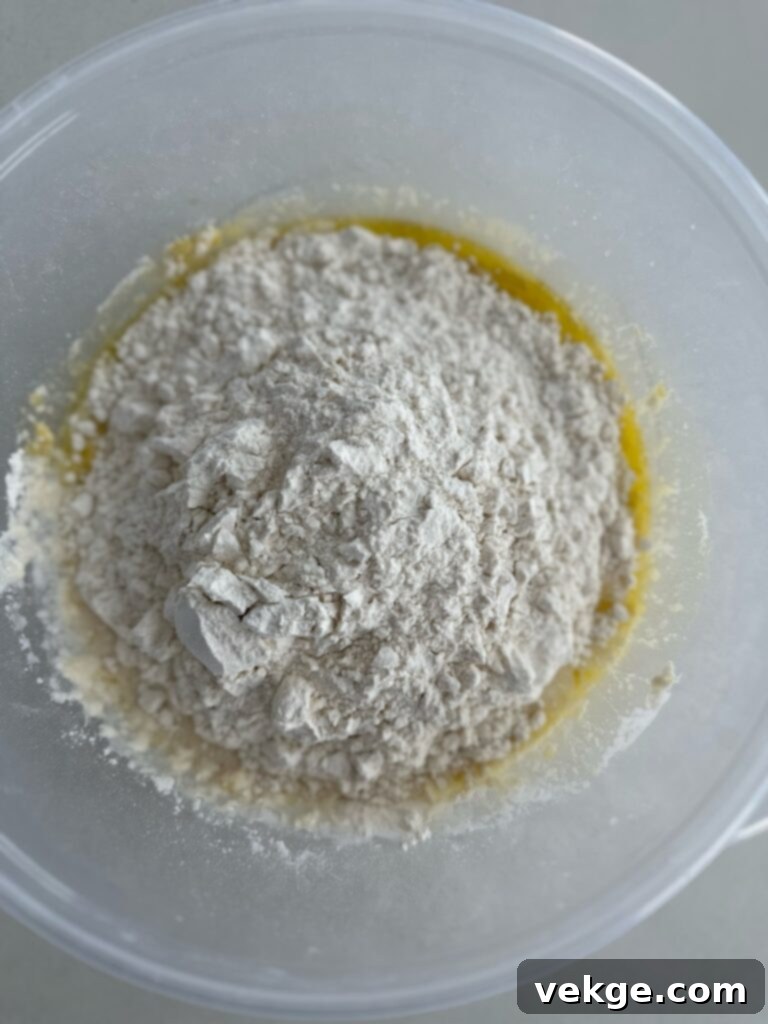
In a spacious mixing bowl or the bowl of an electric countertop mixer, begin by combining your active sourdough starter, the lukewarm water, Redmond salt, dried rosemary, and extra virgin olive oil. Mix these wet and flavorful ingredients together until they are well incorporated. Next, gradually add the bread flour, cup by cup, allowing it to slowly come together. For initial mixing, a Danish dough whisk is excellent for combining ingredients without overworking them. While I frequently use my powerful BOSCH MIXER for this and other bread recipes, this dough can absolutely be made by hand with excellent results and a satisfying tactile experience.
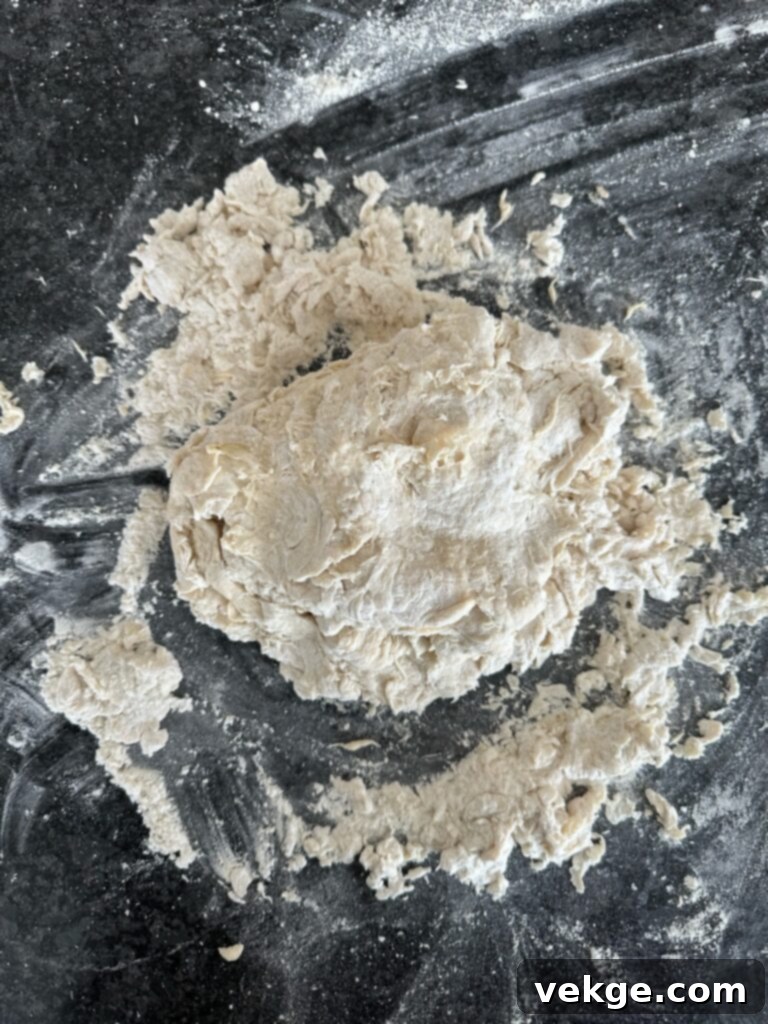
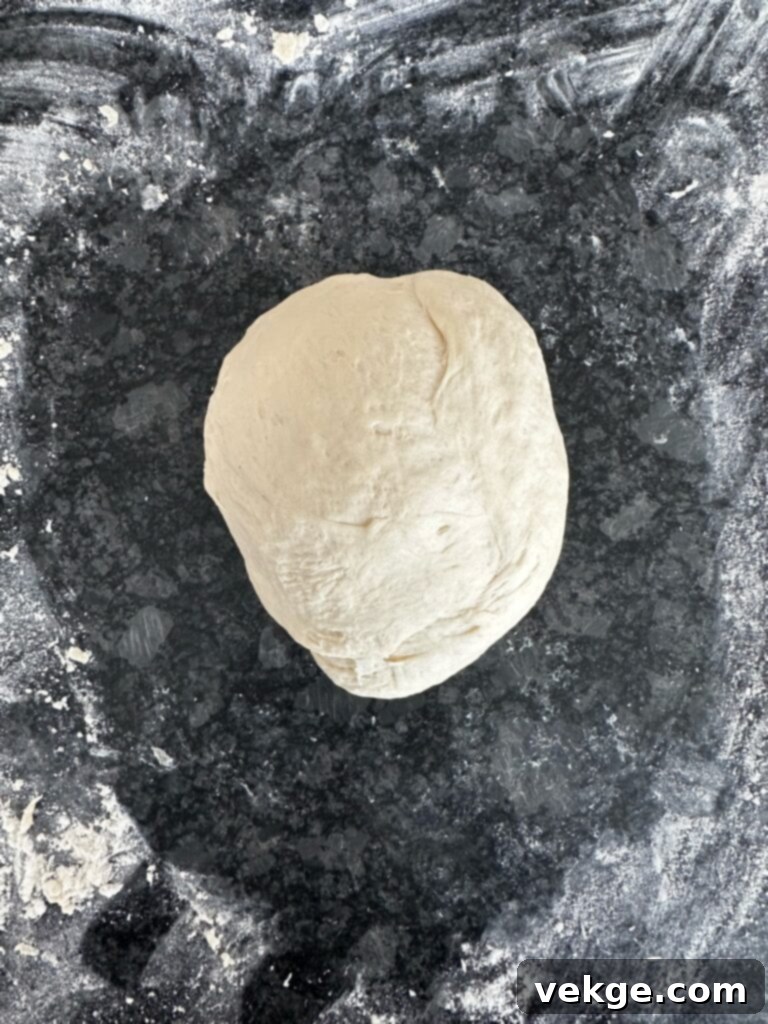
As you begin to mix and knead, the dough might initially appear dry and shaggy, making it seem like there’s too much flour and that it won’t ever come together. Don’t be discouraged – just keep kneading! The flour needs time to fully hydrate and for the gluten to develop. Continue to knead consistently. If kneading by hand, prepare for a good arm workout; knead until your muscles feel a slight burn (a slight exaggeration, but it does take effort!). If using a countertop mixer, knead for approximately 10 to 15 minutes on medium speed. The dough will gradually transform into a smooth, elastic, and cohesive ball. A good indicator of properly kneaded dough is the “windowpane test” – you should be able to gently stretch a small piece of dough thin enough to see light through it without it tearing. The finished dough should be tacky to the touch but not excessively sticky. If it feels too sticky, add a sprinkle more flour; if it’s too dry and crumbly with visible flour pockets, it may need a tiny bit more water or just a few more minutes of kneading to fully hydrate.
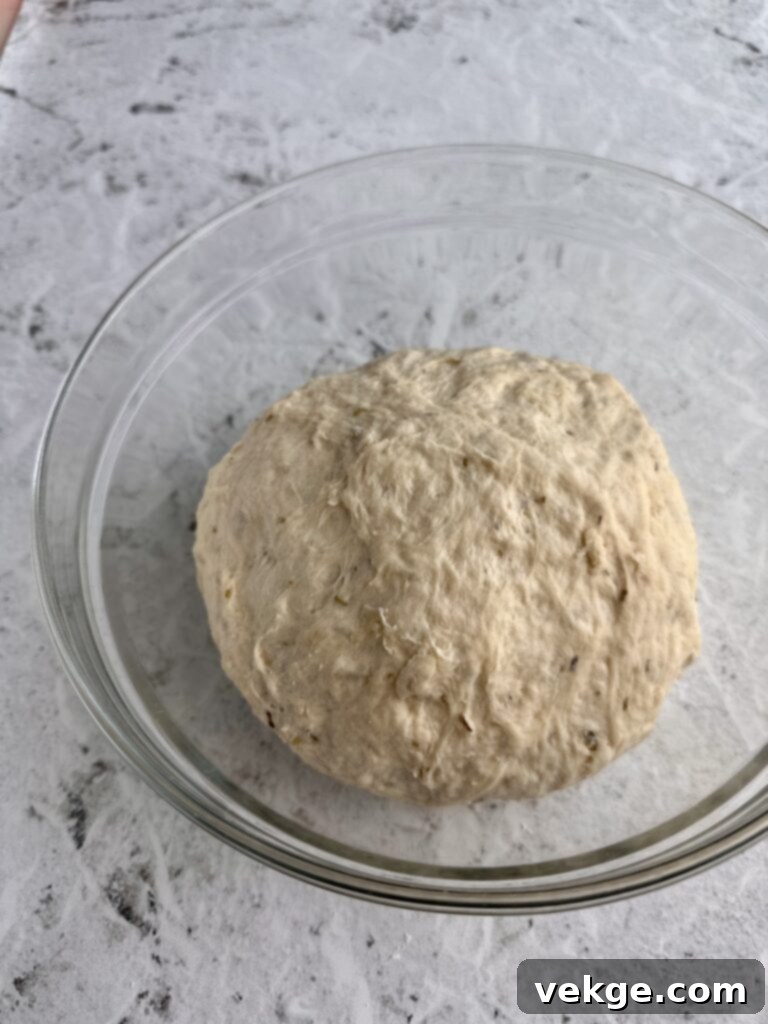
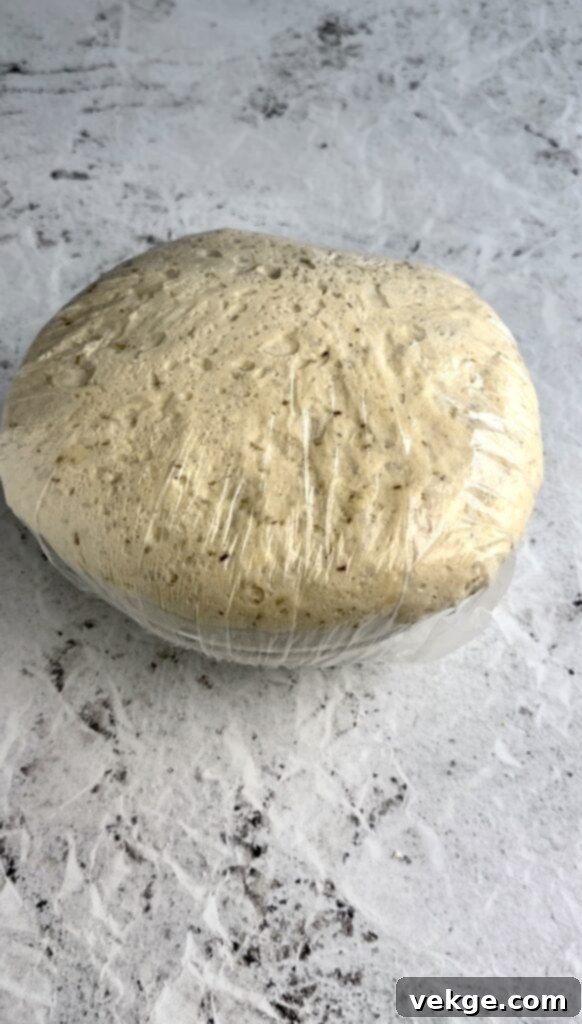
Once your dough is perfectly kneaded, transfer it into a clean bowl for its first bulk rise. This is where the magic of fermentation truly begins, developing both flavor and texture. It’s crucial to cover the dough to prevent a dry skin from forming, which can hinder its rise. I find a reusable shower cap works wonderfully for bowls, creating a snug seal. Alternatively, you can use plastic wrap or a clean, damp dish towel. This first bulk rise can vary significantly, taking anywhere from 4 to 12 hours, largely depending on the ambient temperature of your kitchen and the strength of your sourdough starter. The key visual cue to look for is that the dough has distinctly DOUBLED IN SIZE, indicating sufficient fermentation and gluten development.
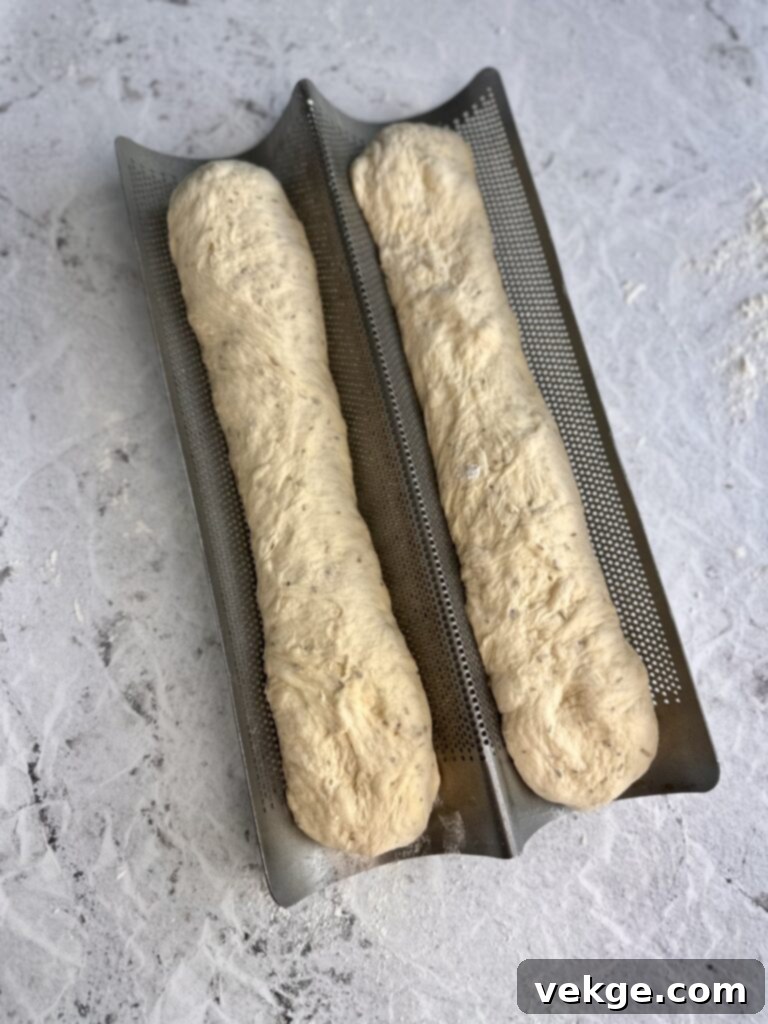
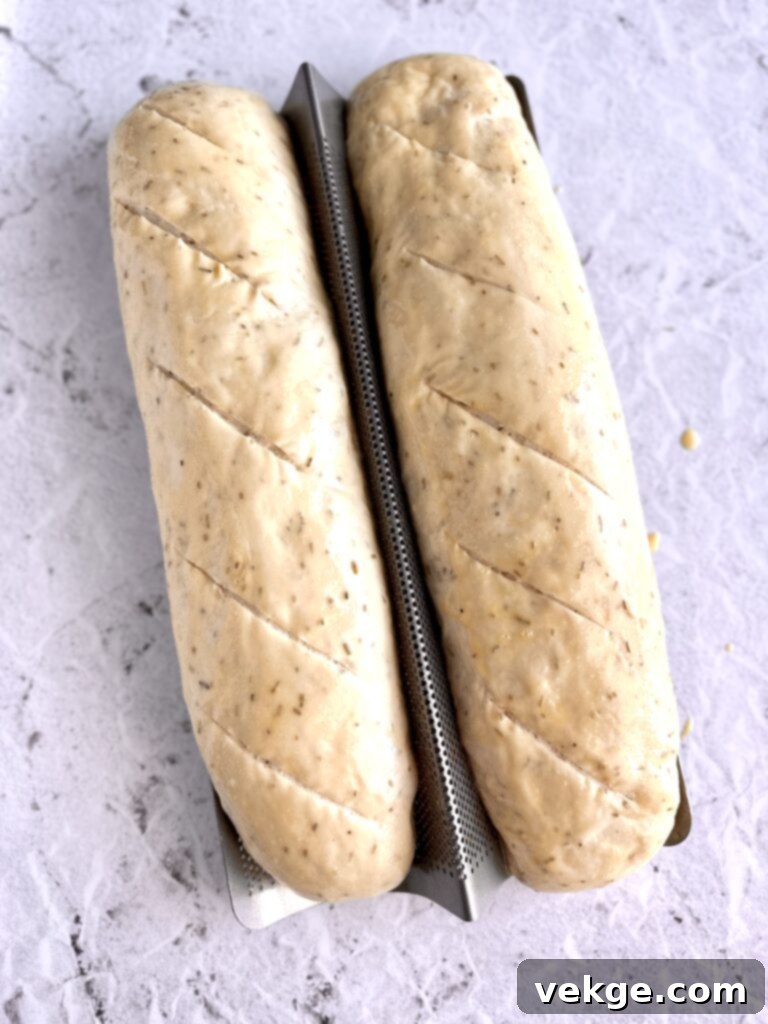
After the dough has successfully completed its first bulk rise and doubled in size, gently turn it out onto a lightly floured surface. Divide the dough into two equal portions. Expertly shape each half into a long, smooth loaf, creating good surface tension. Then, carefully place them onto a greased baking sheet or, for that classic French bread shape, into specialized French bread loaf pans. Once the dough is formed and on the pan, follow these crucial final steps:
- Cover the shaped loaves securely to prevent their tops from drying out during the final proof. A clean dish towel or loose plastic wrap works well.
- Allow the dough to undergo its second rise (final proof) until it has once again doubled in size. This crucial step can take approximately 2 to 6 hours, contingent on your ambient room temperature and the vitality of your sourdough starter.
- Once the dough has fully risen, preheat your oven to a steady 375 degrees Fahrenheit (190°C).
- Prepare a simple egg wash by lightly beating one raw egg. Gently brush this egg wash evenly over the tops of both dough loaves. This will give your bread a beautiful golden crust and a slight sheen.
- Using a very sharp knife or a dedicated lame blade, carefully cut a few horizontal or diagonal slits across the top surface of each loaf. These scores allow the bread to expand without bursting irregularly and contribute to its artisan appearance.
- Carefully place the prepared dough into the preheated oven and bake for 25 to 30 minutes, or until the bread achieves a rich golden-brown color and its internal temperature registers 190 degrees Fahrenheit (88°C) when checked with an instant-read thermometer.
Note: While special French bread pans can help achieve a perfect baguette shape, they are not strictly necessary. You can absolutely achieve delicious results by simply letting your shaped loaves rise and bake flat on a standard cookie sheet lined with PARCHMENT PAPER to prevent sticking.
Storage and Enjoyment: Keeping Your Bread Fresh
Unlike commercially produced French bread, your homemade Sourdough Rosemary French Bread contains no preservatives. This means it has a shorter shelf life and is best enjoyed fresh. To keep it at its peak:
- Room Temperature: For immediate consumption, store the bread in an airtight bread bag or container at room temperature for up to two days. This will help maintain its soft interior and tender crust.
- Freezing for Longer Storage: To prolong its freshness, I highly recommend freezing any bread you don’t plan to consume within the first two days. Slice the cooled bread first, then wrap individual slices or halves tightly in plastic wrap, followed by a layer of aluminum foil, or place them in freezer-safe bags. Frozen bread can last for several weeks. When you’re ready to enjoy, simply thaw at room temperature or toast directly from frozen for a quick treat.
I typically store my loaves in twist-tie bread storage bags. Since French bread is often quite long, I sometimes use two bags, placing one on each end, then tying them tightly in the middle to create a snug seal. This ensures maximum freshness.
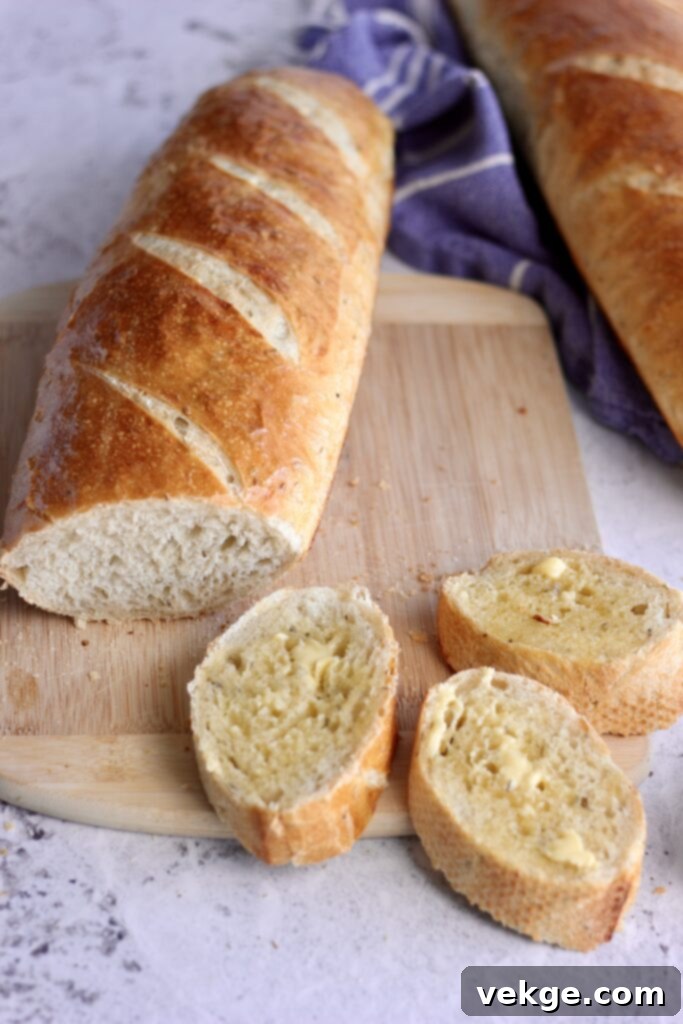
This Sourdough Rosemary French Bread is incredibly versatile. It’s best served warm with a generous smear of butter, alongside a hearty bowl of soup, with a flavorful pasta dish, or as the base for gourmet sandwiches. The rosemary adds a depth that makes it stand out.
As always, I sincerely hope you love this recipe. If you make it and find yourself delighted by the results, please consider leaving a 5-star review and a comment below to share your experience. Thank you for visiting and for trusting me with your baking adventures! ENJOY! Love, Amber
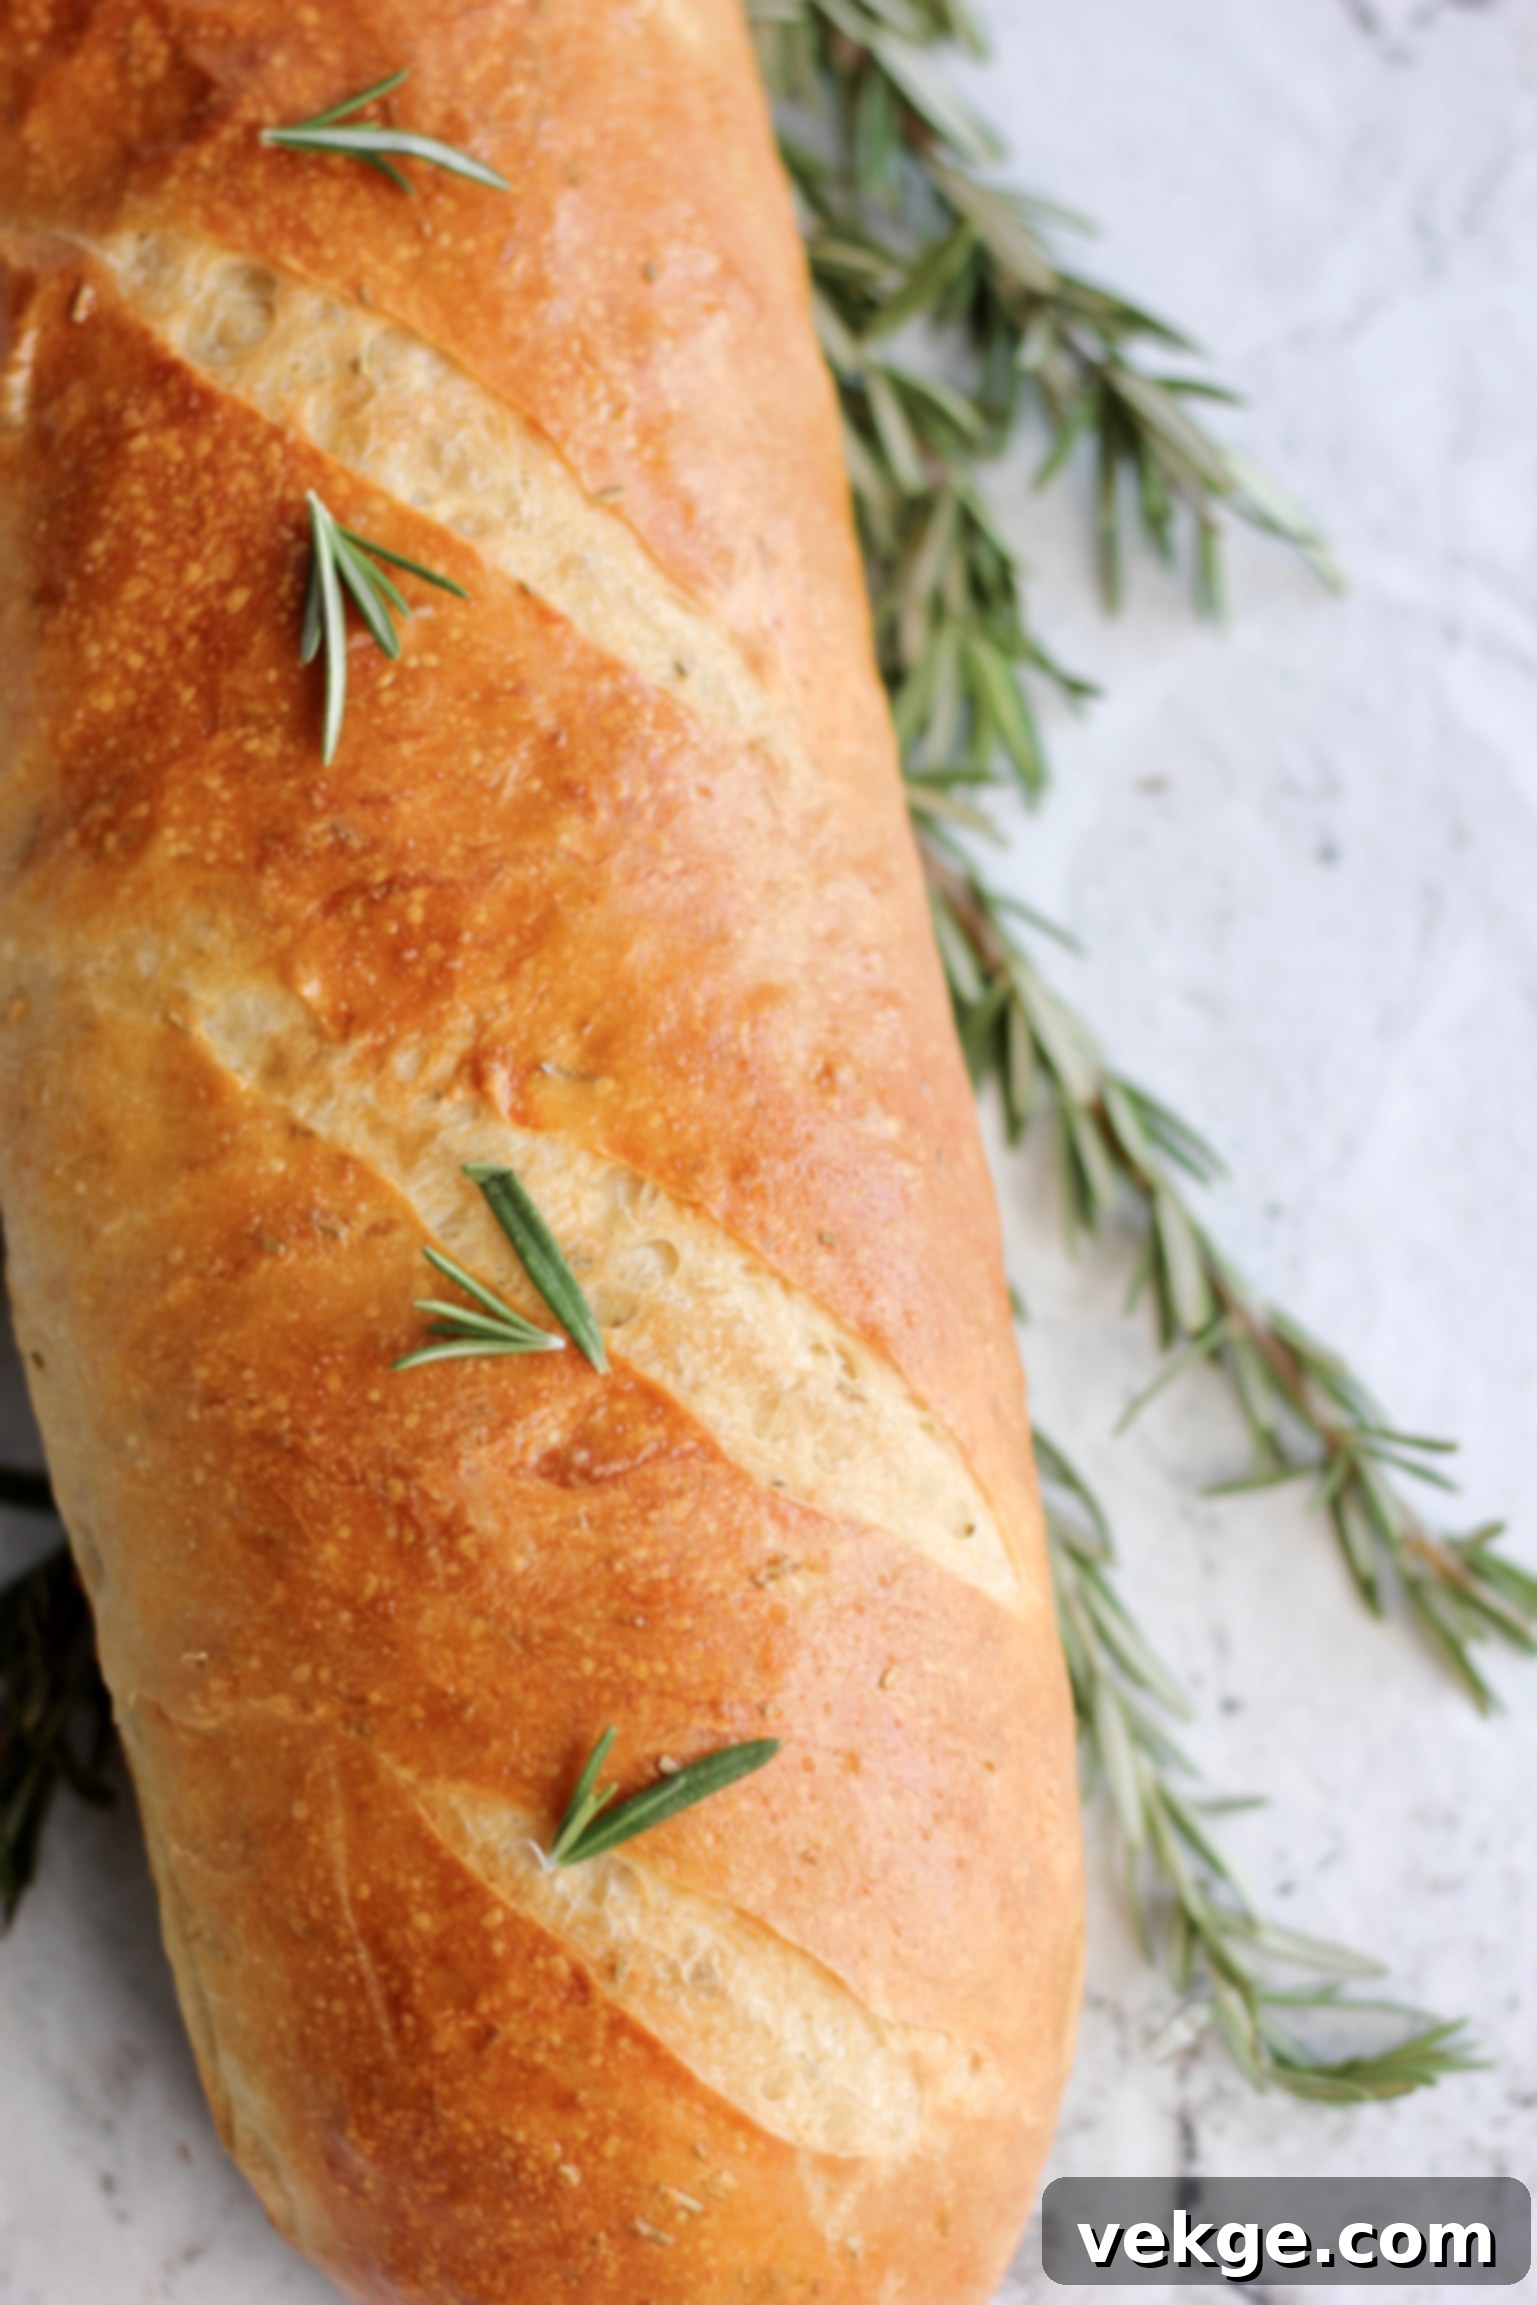
Sourdough Rosemary French Bread
Print
Pin
Rate
Ingredients
- 2 cups warm water (478 g)
- 1 cup active sourdough starter (200 g)
- 2.5 teaspoons salt (16 g)
- 1/4 cup olive oil (49 g)
- 2 Tablespoons dried rosemary (7 g)
- 5.5 to 6 cups bread flour (762-809 g, adjust for hydration)
- *Optional* one egg for the egg wash
Instructions
- Combine active sourdough starter, warm water, salt, olive oil, and dried rosemary in a large mixing bowl. Mix thoroughly.
- Gradually add bread flour, cup by cup, mixing until a shaggy dough forms.
- Knead the dough. You can use an electric countertop mixer (like a Bosch) for about 10-15 minutes, or knead by hand on a lightly floured surface until the dough is smooth and elastic. Initially, the dough may seem dry or sticky, but continue kneading until it becomes tacky, not overly sticky, and passes the windowpane test. Adjust with small sprinkles of flour if too sticky, or a tiny bit more water if too dry.
- Place the kneaded dough in a clean bowl and cover it tightly (e.g., with plastic wrap or a shower cap). Let it rise at room temperature until it has doubled in size (this typically takes 4-8 hours, depending on ambient temperature and starter strength). Alternatively, perform a cold bulk rise in the refrigerator for 12-72 hours.
- Gently transfer the risen dough to a lightly floured surface. Divide it into two equal portions. Shape each portion into a long, smooth loaf. Place the shaped loaves on a greased baking sheet or in French bread loaf pans.
- Cover the loaves again and let them undergo their second rise (proofing) until they have doubled in size (this typically takes 2-5 hours). Ensure the dough is fully proofed for a light and airy texture.
- Once the dough has fully risen, preheat your oven to 375°F (190°C). Uncover the loaves. If using, brush the tops with a lightly beaten egg for a glossy finish, and score a few diagonal slits into the top surface of each loaf with a sharp knife or lame.
- Bake for 25 to 30 minutes, or until the bread is golden brown and the internal temperature reaches 190°F (88°C).
- Allow the bread to cool on a wire rack for at least ten minutes before slicing. Serve warm, ideally with butter, and ENJOY!