This post contains affiliate links and I may receive a commission on your purchase. Thank you for shopping through my links.
There are some recipes that transcend mere sustenance and become legends. For our family, Grandma Bette’s renowned butter rolls are precisely that. A true culinary maestro, Grandma Bette, Jake’s beloved grandmother, was a woman of exceptional grace and talent. While she may no longer be with us, her incredible legacy endures through these soft, tender, and utterly irresistible rolls. In her bustling neighborhood, and even across her city, she was celebrated for making what everyone unanimously declared to be the absolute BEST ROLLS. It’s with immense joy and a touch of nostalgia that we share her cherished recipe with you today. Prepare to impress your family and friends with these legendary homemade butter rolls that promise to become a staple in your kitchen. ❤️
Grandma Bette always insisted that the secret to her extraordinarily light and flavorful rolls lay in her choice of flour. She swore by Lehi Roller Mills’ “Turkey” flour, which is their specific label for a high-quality bread flour. This particular mill is a local treasure in Utah, deeply rooted in the community. If you’re not in an area where Lehi Roller Mills flour is readily available, don’t fret! Simply opt for another premium-quality bread flour. The higher protein content in bread flour is crucial for developing strong gluten, which ultimately gives these rolls their characteristic chewiness and magnificent rise, truly making a noticeable difference in the final texture and taste of these delightful classic butter rolls.

Unlocking the Flavor: A Deep Dive into Key Ingredients for the Best Homemade Rolls
Crafting the perfect batch of fluffy homemade dinner rolls requires an understanding of each ingredient’s role. Grandma Bette’s recipe, while seemingly simple, leverages these components brilliantly to achieve unparalleled flavor and texture. Let’s explore each key ingredient and why it’s vital for these legendary butter rolls:
MILK: The Foundation of Richness and Tenderness
The milk in this recipe is not just a liquid; it’s a fundamental component that infuses the dough with a luxurious richness and a subtle sweetness, contributing significantly to the rolls’ incredible tenderness. For the most indulgent results, we highly recommend using whole milk, as its higher fat content further enhances the soft crumb. However, don’t hesitate to use whatever type of milk you have on hand; the recipe is forgiving. For those looking to make these rolls dairy-free, or if you simply don’t have milk, water can be used as a direct substitute. While water will still produce delicious rolls, they might lack a bit of the depth and tenderness that milk provides.
A crucial step in Grandma Bette’s method is scalding the milk. This process involves heating the milk just until tiny bubbles begin to form around the edges, but before it comes to a boil. Scalding deactivates enzymes in the milk that can hinder gluten development, leading to a weaker dough and a less airy rise. After scalding, it’s absolutely vital to allow the milk to cool sufficiently before adding the yeast. If the milk is too hot to the touch – think baby-bottle warm, not scalding hot – it will kill the yeast, preventing your rolls from rising. A simple finger test works best: if it’s too hot for your skin, it’s too hot for the yeast. If you find yourself in a time crunch and can’t complete the scalding and cooling process, using room temperature milk is an acceptable alternative, though scalding is recommended for the best texture.
ACTIVE DRY YEAST: The Heartbeat of Fluffy Rolls
Yeast is the magical ingredient responsible for the airy, light texture of these phenomenal classic butter rolls. We generally recommend active dry yeast for this recipe. Active dry yeast needs to be proofed (activated) in a warm liquid, which is precisely what the cooled scalded milk, along with a touch of sugar, provides. This step confirms the yeast is alive and ready to work its magic, ensuring your dough rises beautifully. If your pantry only contains instant yeast, rest assured, you can use it as an equal substitution. Instant yeast doesn’t strictly require proofing, meaning you could add it directly to the flour, but mixing it with the warm milk and sugar will still yield excellent results and simply combines the proofing step with the initial wet ingredient mixture. The result will be a batch of wonderfully fluffy homemade dinner rolls, regardless of the yeast type, as long as it’s active.
SUGAR: Sweetness, Fuel, and Golden Hues
This recipe calls for 1/2 cup of white granulated sugar, which serves multiple important roles beyond just adding sweetness. Firstly, sugar acts as a crucial food source for the yeast, helping it to activate and multiply, leading to a vigorous rise. Secondly, it contributes to the rolls’ wonderfully mild sweetness, balancing the richness of the butter and milk without making them overly dessert-like. These rolls strike a perfect harmony, offering just enough sweetness to be incredibly palatable without being cloying. If you prefer a less sweet roll, you can certainly reduce the sugar amount slightly. Alternatively, for a different flavor profile, you could substitute honey for the sugar, keeping in mind that honey is sweeter than granulated sugar and may require slight adjustments to the liquid content if used in large quantities. Sugar also aids in the beautiful golden-brown color of the crust during baking, creating an appealing finish for these perfect butter rolls.
SALT: The Unsung Hero of Flavor and Control
Often underestimated, salt is an absolutely essential ingredient in baking, especially for yeast breads like Grandma Bette’s legendary butter rolls. It doesn’t just add flavor; it significantly enhances the overall taste profile of the dough, making the other ingredients shine brighter. More importantly, salt plays a critical role in controlling yeast activity, preventing the dough from rising too quickly and ensuring a more controlled, even fermentation. This results in a better textured, more flavorful roll. For the best results, we highly recommend using a good quality sea salt if you have it. Its natural mineral content often provides a cleaner, more nuanced flavor. Our personal preference, and one we consistently use, is Redmond Real Salt.
EGGS: For Structure, Color, and a Tender Crumb
Eggs are vital for adding richness, contributing to the beautiful golden hue of the crust, and providing essential structure to these delicious homemade rolls. They also help create a wonderfully tender and moist crumb, making each bite truly melt-in-your-mouth. To ensure an optimal rise and consistent dough temperature, it’s best to use room temperature eggs. Cold eggs can significantly lower the temperature of your dough, which in turn slows down the yeast’s activity and inhibits a robust rise. A quick trick to warm up cold eggs is to place them in a bowl of warm (not hot!) water for about 10-15 minutes before you begin mixing your ingredients. This simple step can make a big difference in the final texture of your fluffy homemade dinner rolls.
For those with egg allergies or following a vegan diet, this recipe is quite adaptable. Flax eggs (1 tablespoon ground flaxseed mixed with 3 tablespoons water per egg, allowed to sit for 5 minutes) or aquafaba can be excellent substitutes. Aquafaba, the liquid from a can of chickpeas, is particularly praised in vegan baking for its ability to mimic egg properties, especially in terms of binding and leavening. A general rule of thumb is to use 1/4 cup of aquafaba as a replacement for one egg. If you need to omit eggs entirely without substitution, the rolls will still work, though they might be slightly less rich and tender. In this scenario, you would generally need to reduce the flour quantity by about 1/4 cup to maintain the correct dough consistency.
MELTED BUTTER: The Ultimate Flavor Infusion
Ah, butter! This ingredient is a cornerstone of Grandma Bette’s recipe, and arguably the secret to the Rolls’ legendary status. When combined with the scalded milk and sugar, melted butter creates an incredibly rich and nuanced flavor profile that truly makes these rolls shine. It also contributes significantly to the dough’s tenderness and moisture, resulting in that coveted soft texture. While butter offers an unrivaled flavor, if you find yourself without it, or prefer an alternative, you can absolutely substitute it with other fats. Avocado oil, a neutral and healthy option, or a mild olive oil would work well. Coconut oil is another viable alternative, though it will impart a subtle coconut flavor to the rolls, which some may enjoy. Experimentation can lead to delightful variations, but for the classic Grandma Bette experience, butter is king.
FLOUR: The Backbone of Perfect Rolls
The choice of flour is paramount for achieving the signature texture of these fluffy homemade dinner rolls. We primarily recommend using bread flour for its higher protein content (typically 12-14%). This higher protein level means more gluten can develop during kneading, which is essential for creating a strong, elastic dough that can trap gases produced by the yeast, leading to a spectacular rise and a wonderfully chewy yet tender crumb. Bread flour is what gives these classic butter rolls their ideal structure.
However, this recipe is also versatile enough to accommodate other flours. You can confidently use whole wheat flour or Kamut flour, either in part or entirely. For a balanced approach, consider a 50% bread flour and 50% whole wheat blend, or go for 100% whole wheat or 100% Kamut for a heartier roll. It’s important to be aware that whole wheat flour will generally result in a slightly more dense and sometimes crumbly texture compared to rolls made with bread flour, due to the bran interfering with gluten development. Despite this, the nutty flavor of whole wheat can be absolutely fantastic. Kamut flour, an ancient grain, is another excellent option if you’re seeking a different flavor and nutritional profile. Rolls made with Kamut flour tend to be less elastic and may not rise quite as high as those made with bread flour, but they offer a lovely, sweet, buttery flavor. Both Kamut flour and whole wheat flours are known to be “thirstier” than white bread flour, meaning they absorb more liquid. Therefore, if you opt to use either of these alternative flours, you’ll need to reduce the total flour quantity by approximately 10% to achieve the desired dough consistency. This ensures your dough remains appropriately tacky and not too dry.

Tips for Baking the Best Butter Rolls: Grandma Bette’s Secrets for Success
To ensure your homemade butter rolls turn out as perfect as Grandma Bette’s, pay attention to these crucial steps and expert tips:
Perfecting Your Dough: The Art of Kneading
Kneading is not just a chore; it’s an art that transforms sticky ingredients into a smooth, elastic dough. The 10 minutes of thorough kneading specified in the recipe are vital for developing the gluten structure in the flour. This process strengthens the dough, allowing it to stretch and hold the gases produced by the yeast, which is what gives the rolls their signature light and airy texture. A well-kneaded dough will feel smooth, elastic, and will pass the “windowpane test” – meaning you can stretch a small piece thin enough to see light through it without it tearing. Don’t rush this step!
The Magic of Rising: Two Crucial Proofs
These classic butter rolls benefit from two distinct rising periods, often called “proofs.” The first rise, typically lasting about an hour or until the dough has doubled in size, allows the yeast to work vigorously, building flavor and creating volume. Ensure your dough is in a warm, draft-free environment for optimal rising. The second rise, after shaping, is shorter (30-45 minutes) but equally important. This final proof allows the shaped rolls to puff up further, ensuring they are light and airy when baked. Don’t over-proof, as this can lead to a less structured, crumbly roll.
Shaping Your Knotted Masterpieces
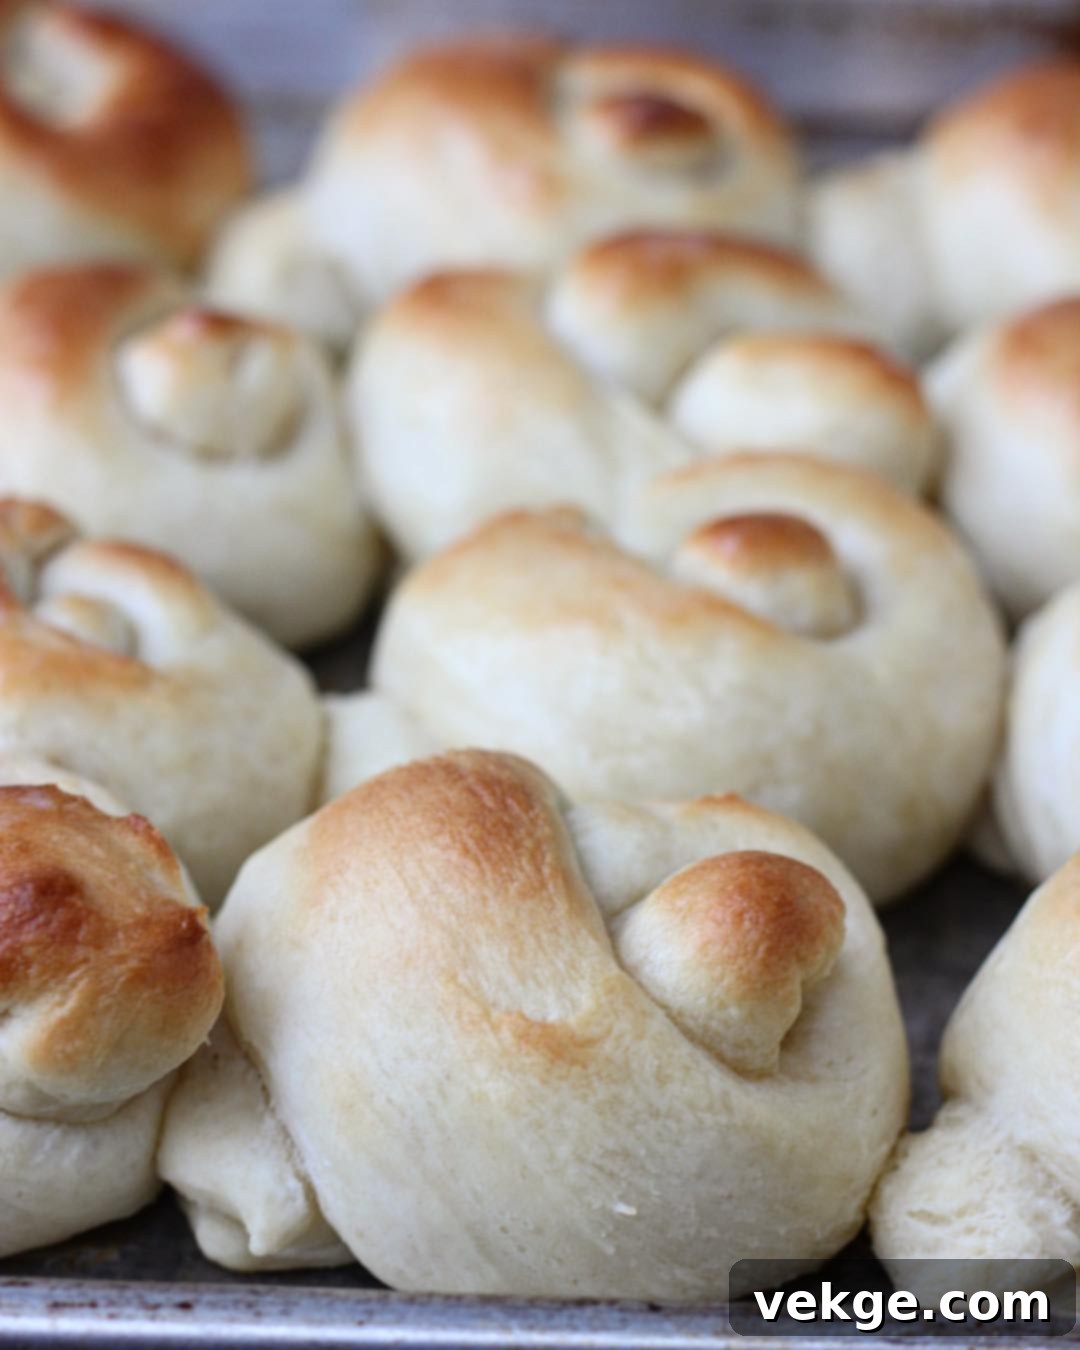
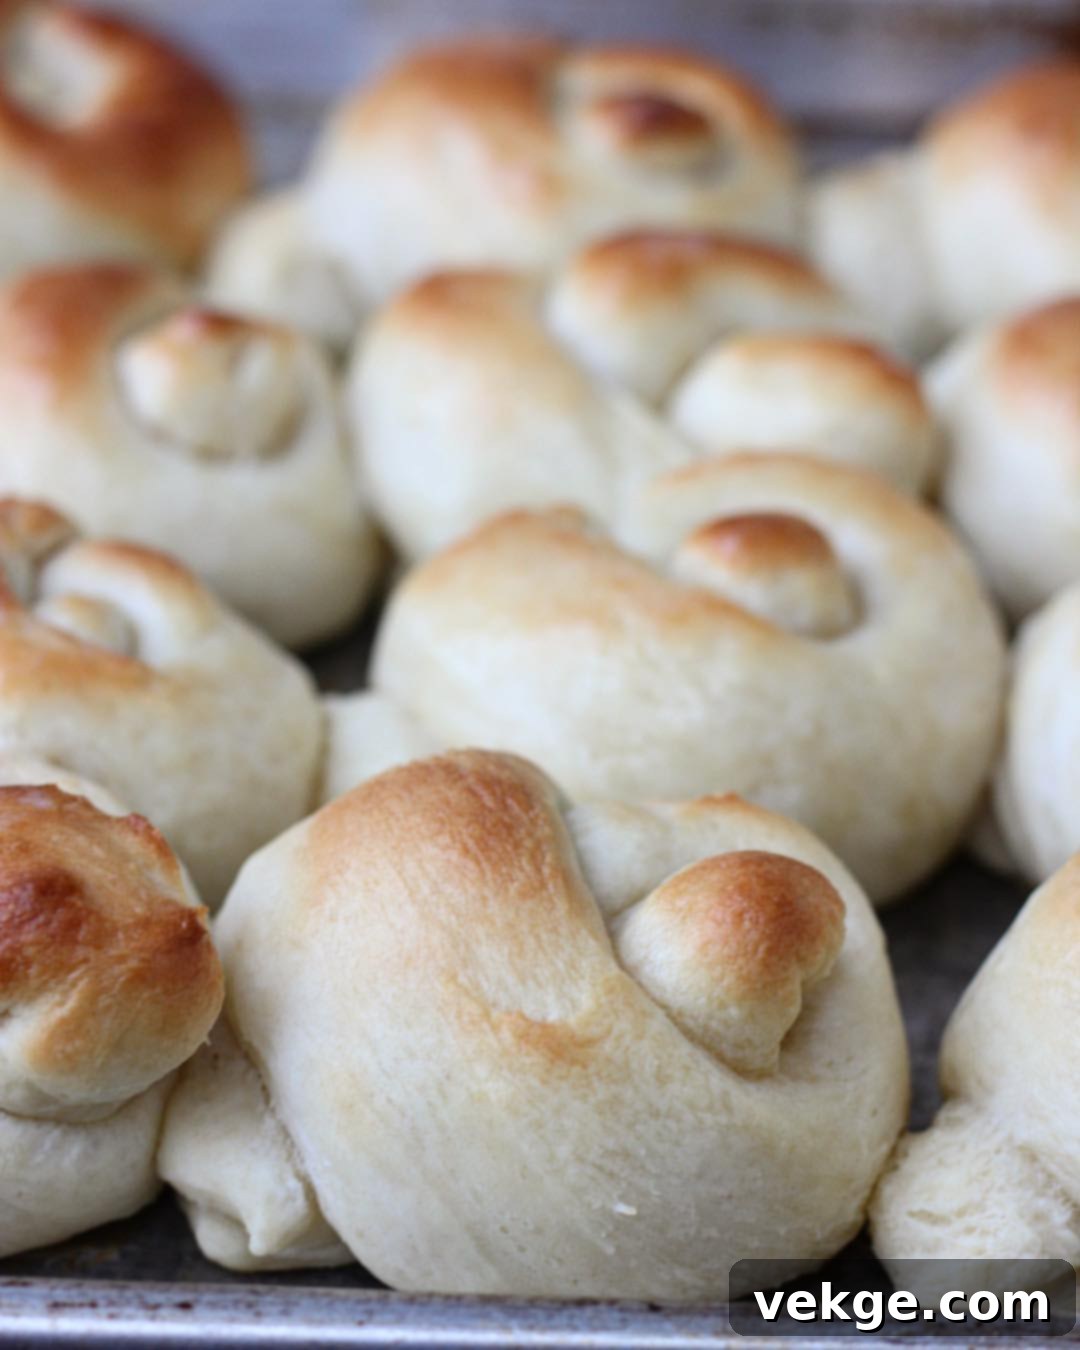
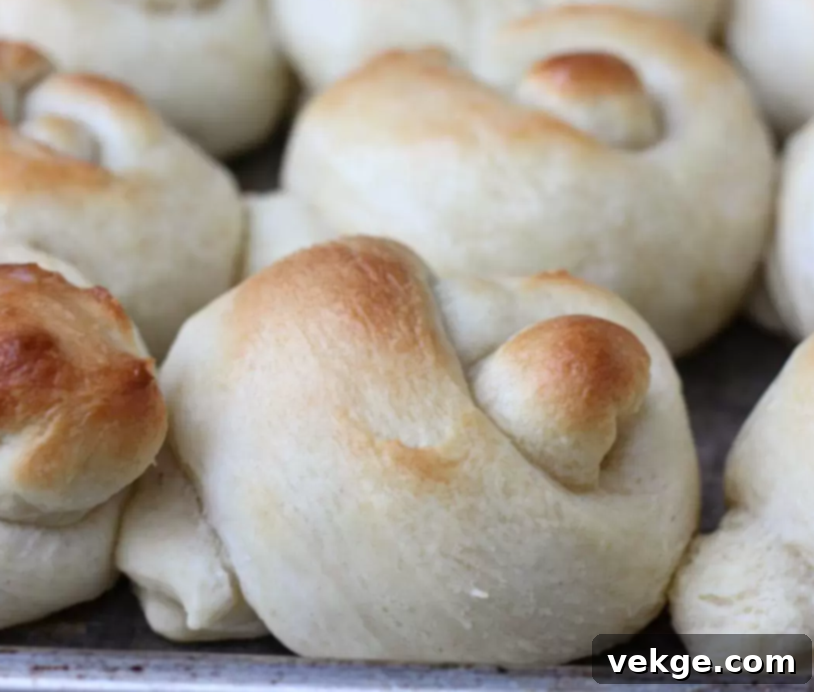
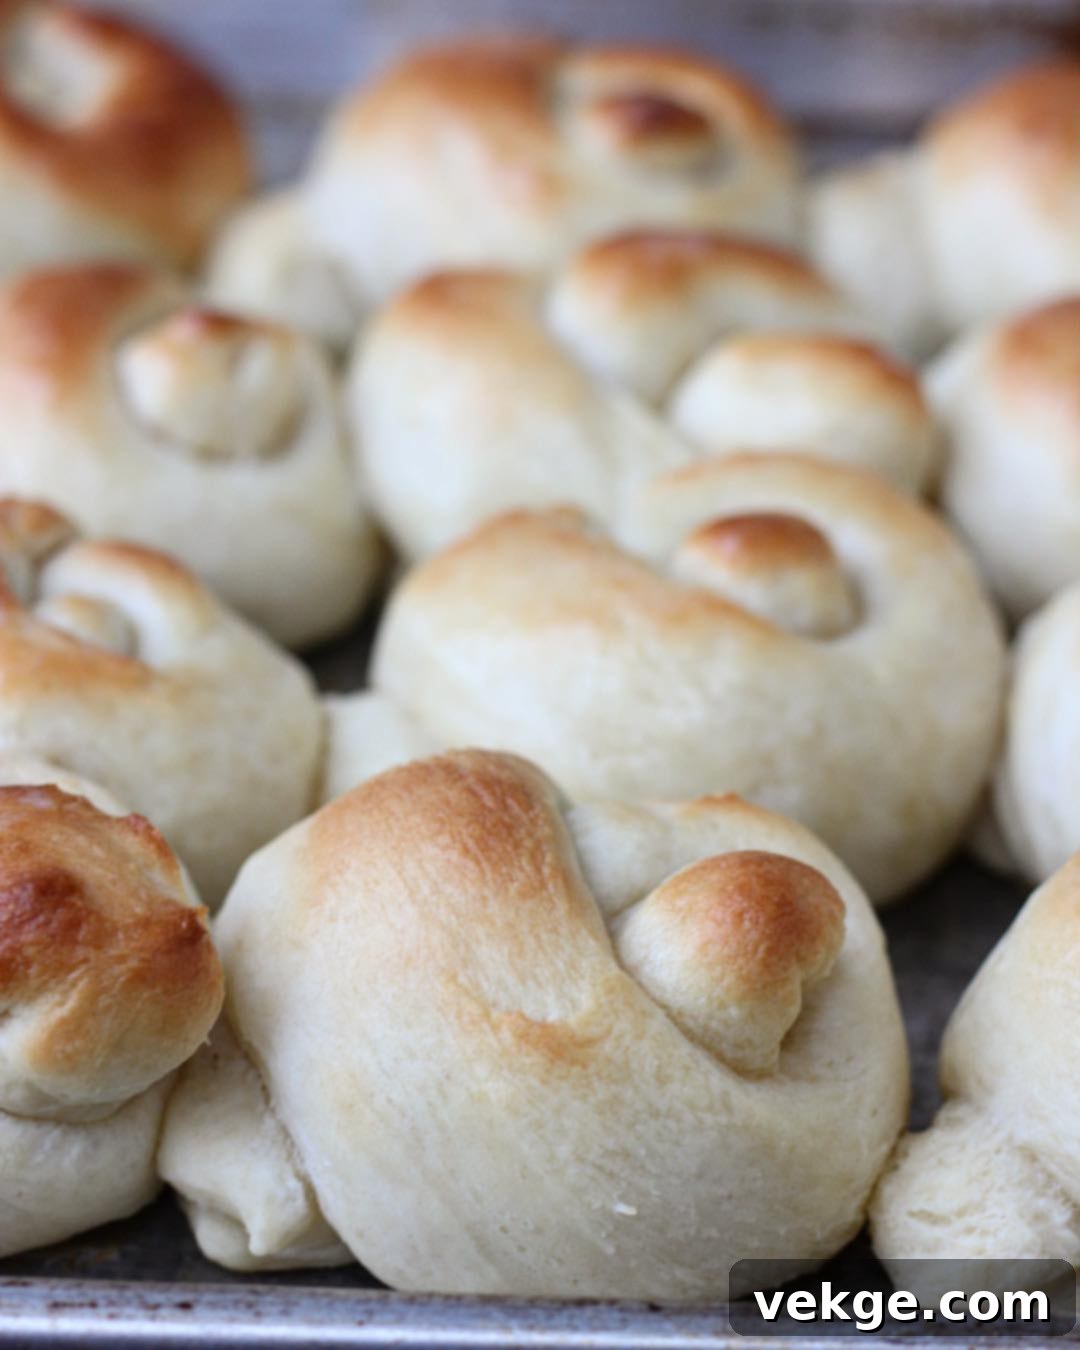
Grandma Bette’s rolls are famously “knotted,” adding a charming rustic touch. While rolling each piece into a 4-6 inch snake and tying a single knot might seem intricate, it’s quite simple and adds to the visual appeal. The key is to be gentle with the dough to avoid deflating it after its first rise. If you find the dough too springy, let it rest for a few minutes before trying again. Uniform shaping helps ensure even baking.
Baking to Golden Perfection
Oven temperatures can vary significantly, so it’s always a good idea to know your oven. The recipe calls for baking at 425°F (220°C) for 10-12 minutes. However, as noted, a slightly lower temperature like 400°F (200°C) might be perfect for some ovens that run a bit hot. Keep a close eye on your rolls during the last few minutes of baking; you’re looking for a beautiful golden-brown crust. Brushing with melted butter just before baking adds an extra layer of richness and contributes to that desired golden finish and soft crust.

Grandma’s Legendary Butter Rolls
Print
Pin
Rate
Ingredients
- 4 cups scalded milk
- 1 cup butter
- 3 T active dry yeast
- 1/2 cup granulated sugar
- 1 T sea salt
- 6 large eggs, beaten and at room temperature
- 10-12 cups Lehi Roller Mills’ Turkey Flour (or high-quality bread flour)
Instructions
- In a medium saucepan, gently scald 4 cups of milk by heating it over medium heat just until tiny bubbles begin to form around the edges of the pan. Do not let it boil.
- While the milk is heating, cut the butter into tablespoon-sized chunks and place them into the bowl of your stand mixer, or a large mixing bowl if kneading by hand.
- Once the milk is scalded, carefully pour it over the butter in the mixing bowl. The heat from the milk will effectively melt the butter.
- Allow the milk and butter mixture to cool down until it reaches a warm, baby-bottle temperature (approximately 105-115°F or 40-46°C). It’s crucial that it’s not too hot, as excessive heat will kill the active yeast. Once cooled, stir in the active dry yeast and sugar. Let this mixture sit for 5-10 minutes until it becomes foamy, indicating the yeast is active and proofing.
- After the yeast has proofed, add the salt and the beaten room temperature eggs to the bowl. Mix all the wet ingredients thoroughly until well combined.
- Begin adding the flour, one cup at a time, incorporating each addition fully before adding the next. If using a stand mixer with a dough hook, knead for about 10 minutes. If kneading by hand, knead vigorously for 12-15 minutes. The total amount of flour will vary slightly (between 10-12 cups) depending on factors like humidity and the specific flour used. You want the dough to be soft, elastic, and slightly tacky to the touch, but it should not be overly wet or sticky. When in doubt, it’s better to use slightly less flour. The extended kneading time is essential for developing strong gluten, which makes the rolls wonderfully stretchy and light.
- Lightly grease a large bowl, place the kneaded dough in it, and turn once to coat. Cover the bowl with plastic wrap or a clean kitchen towel and let it rise in a warm, draft-free place until it has doubled in size, which typically takes about 1 hour.
- Once doubled, gently punch down the dough to release the air. Divide the dough into 4 equal portions. From each quarter, form 16 smaller, equal portions (this will yield 64 rolls in total). Take each small piece of dough, roll it into a snake approximately 4-6 inches long, then tie it into a single knot. Arrange the knotted rolls on a greased baking sheet, ensuring they have a little space between them to rise. Cover the entire pan with a clean kitchen towel and let them rise for a second time for 30-45 minutes, or until visibly puffy.
- Preheat your oven to 425°F (220°C). Just before baking, gently brush the tops of the rolls with additional melted butter. Bake for 10-12 minutes, or until they are beautifully golden brown. Keep in mind that oven temperatures can vary; if your oven tends to run hot, consider reducing the temperature to 400°F (200°C) to prevent over-browning. Serve warm and enjoy these irresistible homemade dinner rolls!
Serving Suggestions & Storage Tips for Your Homemade Butter Rolls
Grandma Bette’s legendary butter rolls are incredibly versatile and perfect for almost any meal. Serve them warm with a pat of extra butter, a drizzle of honey, or your favorite jam for a truly comforting experience. They are the ideal accompaniment to holiday feasts like Thanksgiving or Christmas, soaking up gravies and sauces beautifully. These fluffy homemade dinner rolls also make an excellent addition to everyday family dinners, Sunday roasts, or even alongside a simple soup or salad. Imagine them fresh out of the oven, filling your home with an aroma that speaks of warmth and love.
If you happen to have any leftovers (a rare occurrence!), these classic butter rolls store wonderfully. Place cooled rolls in an airtight container or a large zip-top bag at room temperature for up to 2-3 days. For longer storage, you can freeze them for up to 2 months. To reheat, simply place them in a preheated oven at 300°F (150°C) for 5-10 minutes, or until warmed through and soft again. You can also quickly warm individual rolls in the microwave for 15-30 seconds, though the oven method is best for restoring their original texture. Freshly reheated, they’ll taste almost as good as they did straight from the oven, proving that Grandma Bette’s recipe truly stands the test of time.
Embrace the Legacy: Bake Your Own Legendary Dinner Rolls Today!
There’s something uniquely satisfying about baking homemade bread, and Grandma Bette’s butter rolls offer an experience that is both rewarding and delicious. This recipe isn’t just about ingredients and instructions; it’s about tradition, family, and sharing love through food. Each soft, tender bite of these fluffy homemade dinner rolls carries the essence of a cherished legacy.
We encourage you to embark on this culinary journey and bring the magic of Grandma Bette’s kitchen into your home. Whether you’re a seasoned baker or new to yeast breads, the detailed guidance and inherent deliciousness of this recipe promise a successful and delightful outcome. Don’t be afraid to experiment with the flour types as suggested, and always remember the importance of patience and warmth in yeast baking. Share these legendary butter rolls with your loved ones, create new memories, and keep the tradition alive. We can’t wait to hear how your rolls turn out – please share your experiences and questions in the comments below!
