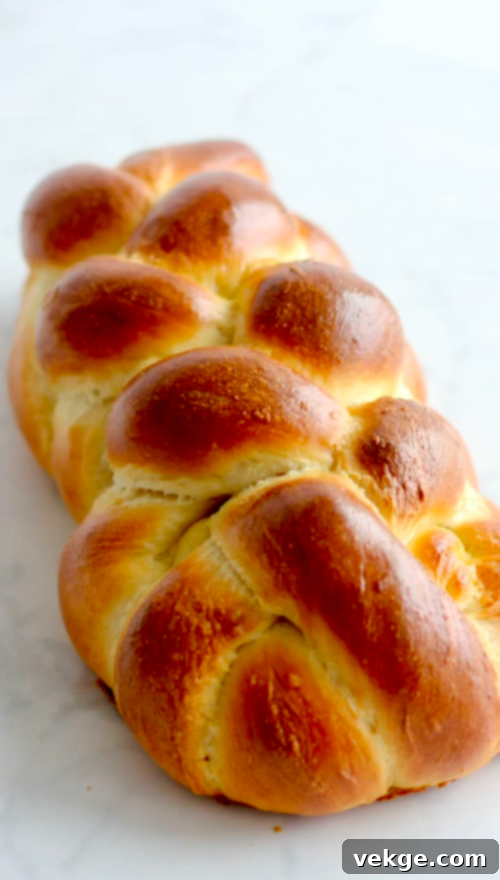
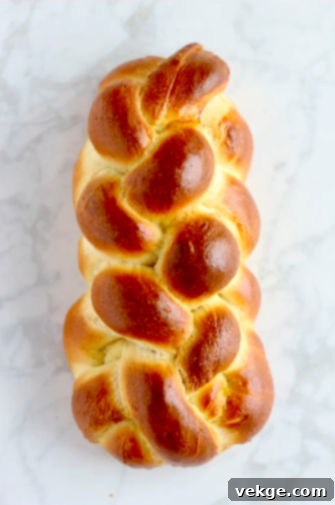
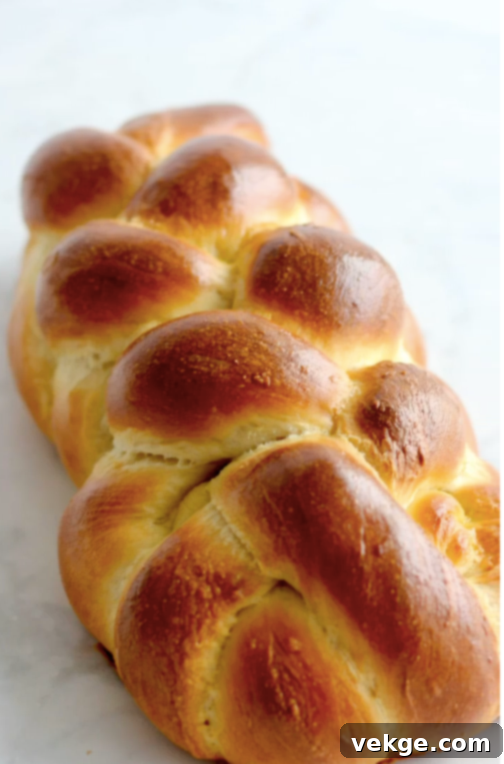
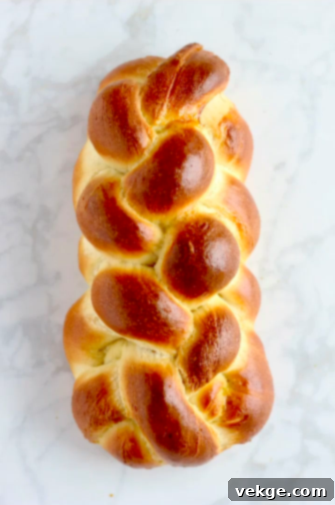
There’s something uniquely satisfying about pulling a perfectly baked loaf of bread from the oven, especially when it’s as visually stunning as it is delicious. Imagine gracing your table with a masterpiece that looks like it came from an artisanal bakery, yet was lovingly crafted right in your own kitchen. We believe that pretty bread truly tastes better, and this guide will show you how to form the most beautiful braided loaf of bread you’ve ever seen.

The Art and History of Braided Bread
Braided bread holds a special place in culinary traditions worldwide, often recognized in its most iconic form as Challah bread. Challah, a rich, egg-based bread, carries deep and beautiful symbolic significance within the Jewish religion. Traditionally, on the eve of Shabbat, two loaves of Challah are placed on the table. This practice references the ancient Jewish teaching that a double portion of manna fell from heaven on Friday, ensuring sustenance through the Saturday Shabbat, a day of rest.
If you choose to honor this tradition, or simply wish to have plenty of this delectable bread on hand, don’t hesitate to double the recipe and bake two magnificent loaves for your table. While Challah is perhaps the most famous braided bread, the technique itself is incredibly versatile.
Beyond Challah: Braiding Any Bread Dough
One of the most wonderful aspects of mastering the six-strand braid is its adaptability. You can apply this impressive braiding technique to virtually ANY bread recipe, not exclusively to a Challah recipe. Whether you prefer the classic comfort of a white sandwich bread, the rustic charm of a French bread, the tangy complexity of sourdough, or the richness of brioche, the six-strand braid can transform your ordinary dough into an extraordinary centerpiece.
The key lies in the dough’s consistency. A well-kneaded, elastic dough that is neither too sticky nor too dry will yield the best results for braiding. As you become more comfortable with the technique, you’ll discover how different doughs respond to shaping and braiding, allowing you to experiment and find your favorite variations. For those interested in working with natural yeast, preparing a sourdough base for your braided bread adds another layer of flavor and artisanal appeal.
For more detailed instructions about how to maintain and use sourdough starter, see our
Natural Yeast Sourdough Sandwich Bread post.


Why Choose the Six-Strand Braid?
While a simple three-strand braid is common, and more complex braids exist, the six-strand braid offers a stunning balance of intricate appearance and achievable technique. It creates a visually rich, symmetrical pattern that truly elevates the aesthetic of your loaf. This impressive look suggests a higher level of skill, yet with a little practice, it becomes surprisingly straightforward. Its “wow factor” makes it ideal for holiday meals, special gatherings, or simply for adding a touch of elegance to your everyday baking.
The six-strand braid also tends to create a slightly denser, more uniform crumb structure than a simple loaf, as the weaving compresses the dough gently. This can lead to a satisfying chewiness and a beautiful presentation when sliced, revealing the delightful spiral of the braid within each piece.
Mastering the Six-Strand Braid: A Step-by-Step Guide
The secret to a beautiful six-strand braid lies in understanding the simple sequence of movements. Don’t be intimidated; once you grasp the pattern, it becomes quite intuitive. Here’s how to do it:
Preparing Your Dough for Braiding
- Divide the Dough: After the first rise, gently punch down your dough and divide it into six equal portions. For precision, you can weigh each portion.
- Shape the Ropes: On a lightly floured surface, take each portion and roll it into a long, even rope. Aim for a consistent thickness along the entire length, roughly 12-18 inches long, depending on your desired loaf size. Slightly tapered ends can help create a neater finish.
- Arrange the Ropes: Line up the six ropes parallel to each other. Pinch them together firmly at one end to create a secure starting point. This pinched end will be the top of your loaf.
The Braiding Pattern: Simplified
There are several ways to describe the six-strand braid, but this method is often found to be the easiest to remember:
- Setup: Lay your six ropes out. Mentally (or physically, if it helps at first) number them 1-2-3-4-5-6 from left to right.
- Left Sequence: Take the leftmost strand (number 1). Move it over the next strand (number 2), then under the third strand (number 3). Lay it down. It is now the new third strand from the left.
- Right Sequence: Now, take the rightmost strand (number 6). Move it over the fifth strand (number 5), then under the fourth strand (number 4). Lay it down. It is now the new fourth strand from the right.
- Repeat: Continue this pattern, always taking the new leftmost strand and performing the “over two, under one” sequence, then taking the new rightmost strand and performing the “over two, under one” sequence. Keep your ropes somewhat tight but don’t pull too hard, as this can tear the dough. Try to maintain even tension throughout.
- Finishing the Braid: Once you reach the end of your ropes, firmly pinch the loose ends together. Tuck both pinched ends underneath the loaf to create a seamless, rounded appearance. This helps the loaf hold its shape during the second rise and baking.
Practice makes perfect! Don’t worry if your first attempt isn’t flawless. Each braid will get neater as you get a feel for the rhythm.

Six Strand Braided Sourdough Bread
This bread is a win-win: absolutely gorgeous and undeniably delicious. Prepare to impress your family and friends with its stunning presentation and delightful taste!
Pin Recipe
Course: Breads
Prep Time: 30 minutes
Cook Time: 35 minutes
Rising time: 1 hour (first rise) + 1 hour (second rise) = 2 hours total rising
Total Time: Approximately 2 hours 5 minutes (excluding bulk fermentation time, which can vary)
Servings: 1 loaf
Ingredients
- 1 1/4 cup active sourdough starter
- 1/4 cup warm water (approximately 95-105°F / 35-40°C)
- 1 1/2 tsp salt
- 1/4 cup avocado oil (or other neutral oil like olive oil)
- 3 Tablespoons honey
- 3 1/2 cups bread flour (plus more for dusting)
- *1 egg, beaten (for egg wash, optional)
- *Optional toppings: sesame seeds, poppy seeds, everything bagel seasoning
Instructions
Combine Ingredients (if using this recipe): In a large mixing bowl, combine the active sourdough starter, warm water, salt, avocado oil, and honey. Stir until well combined. Gradually add the bread flour, mixing until a shaggy dough forms. If you are using your own pre-made dough, skip to step 3.
Knead the Dough: Turn the dough out onto a lightly floured surface. Knead for approximately 10-15 minutes until the dough becomes smooth, elastic, and passes the “windowpane test” (meaning you can stretch a small piece thin enough to see light through it without tearing).
First Rise (Bulk Fermentation): Place the kneaded dough in a lightly oiled bowl, turning it once to coat. Cover the bowl with plastic wrap or a damp kitchen towel and let it rise in a warm place until doubled in size. This can take anywhere from 1 to 4 hours, depending on the activity of your starter and the ambient temperature. For a sourdough, this could be longer, even up to 6-8 hours or an overnight cold proof in the fridge.
Divide and Shape Ropes: Gently punch down the risen dough to release the air. Transfer it to a lightly floured surface and divide it into six equal portions. Roll each portion into a long, even rope, roughly 12-18 inches in length, ensuring consistent thickness from end to end. Pinch one end of all six ropes together firmly to secure them.
Braid the Dough: Lay the six ropes out parallel to each other. Follow the detailed braiding instructions described above: take the leftmost strand (1) over strand (2) and under strand (3), then take the rightmost strand (6) over strand (5) and under strand (4). Repeat this sequence, always starting with the new outermost left and right strands, until the entire loaf is braided. Pinch the ends firmly together and tuck them underneath the loaf for a neat finish.
Second Rise (Proofing): Carefully transfer the braided loaf to a baking sheet lined with parchment paper. Cover it loosely with plastic wrap or a light kitchen towel and let it rise again in a warm spot until doubled in size, or until it passes the “finger poke test” (gently press a floured finger into the dough; if the indentation slowly springs back, it’s ready). This second rise usually takes about 1 to 1.5 hours.
Preheat and Egg Wash: While the bread is undergoing its second rise, preheat your oven to 350°F (175°C). Just before baking, gently brush the entire surface of the risen braided loaf with a beaten egg. This egg wash will give the bread a beautiful golden-brown crust and a lovely sheen. If desired, sprinkle your chosen toppings like sesame seeds or poppy seeds over the egg-washed surface.
Bake: Bake the bread in the preheated oven for 35-40 minutes. Keep an eye on the browning; if the crust starts to get too dark too quickly, loosely tent the loaf with aluminum foil to prevent scorching while allowing the inside to continue cooking. The bread is done when it’s deeply golden brown and sounds hollow when tapped on the bottom. An internal temperature of 200-210°F (93-99°C) indicates it is fully cooked.
Cool: Once baked, remove the loaf from the oven and transfer it to a wire rack to cool completely before slicing. This cooling process is crucial, as it allows the internal structure of the bread to set and prevents a gummy texture. Patience will be rewarded with the best possible crumb.
Serving Suggestions and Enjoyment
A freshly baked, warm braided loaf is a true delight. Its slightly sweet and rich flavor profile makes it versatile for many meals. Enjoy it simply sliced with a pat of butter, alongside a hearty soup or stew, or as the star of your breakfast table with jam or honey. It also makes incredible sandwiches and toast the next day, if there’s any left!
To store your braided bread, wrap it tightly in plastic wrap or place it in an airtight container at room temperature for up to 3-4 days. For longer storage, you can slice the cooled loaf and freeze the slices, then simply toast them as needed for a quick and delicious treat.
Conclusion: Bake Your Own Beautiful Loaf
Baking a six-strand braided bread is more than just following a recipe; it’s an act of creation that results in both visual splendor and incredible taste. From the rich history of Challah to the satisfying process of weaving the dough, every step is a rewarding experience. We encourage you to try this technique with your favorite bread dough, whether it’s sourdough, white bread, or something else entirely. The satisfaction of presenting such a beautiful, homemade loaf to your loved ones is immeasurable. Happy baking!
