Ultimate Guide: How to Build a Solid Shed Foundation with Concrete Piers
Building a new shed, whether for storage, a workshop, or a garden office, is an exciting project. However, the success and longevity of your shed depend almost entirely on one critical component: its foundation. A strong, stable foundation prevents future issues like shifting, cracking, or sinking, which can compromise the entire structure. Many DIY enthusiasts and homeowners often overlook the importance of a robust base, leading to costly repairs down the line.
I’ve personally faced the challenge of ensuring a shed foundation would stand the test of time, battling concerns about ground movement, soil settling, and the destructive power of frost heave. This led me to discover the superior stability offered by shed foundation piers. These vertical concrete supports provide unparalleled stability, especially on challenging terrain like sloped or soft ground.
In this comprehensive guide, I will walk you through the exact process of constructing shed foundation piers. We’ll cover everything from the essential tools and materials you’ll need to clear, step-by-step instructions, and invaluable tips I wish I had known when I started. If you’re looking to build a foundation that is strong, durable, and manageable as a DIY project, you’ve come to the right place. Let’s get it done right the first time and ensure your shed stands strong for decades.
Why Shed Foundation Piers Are the Smart Choice
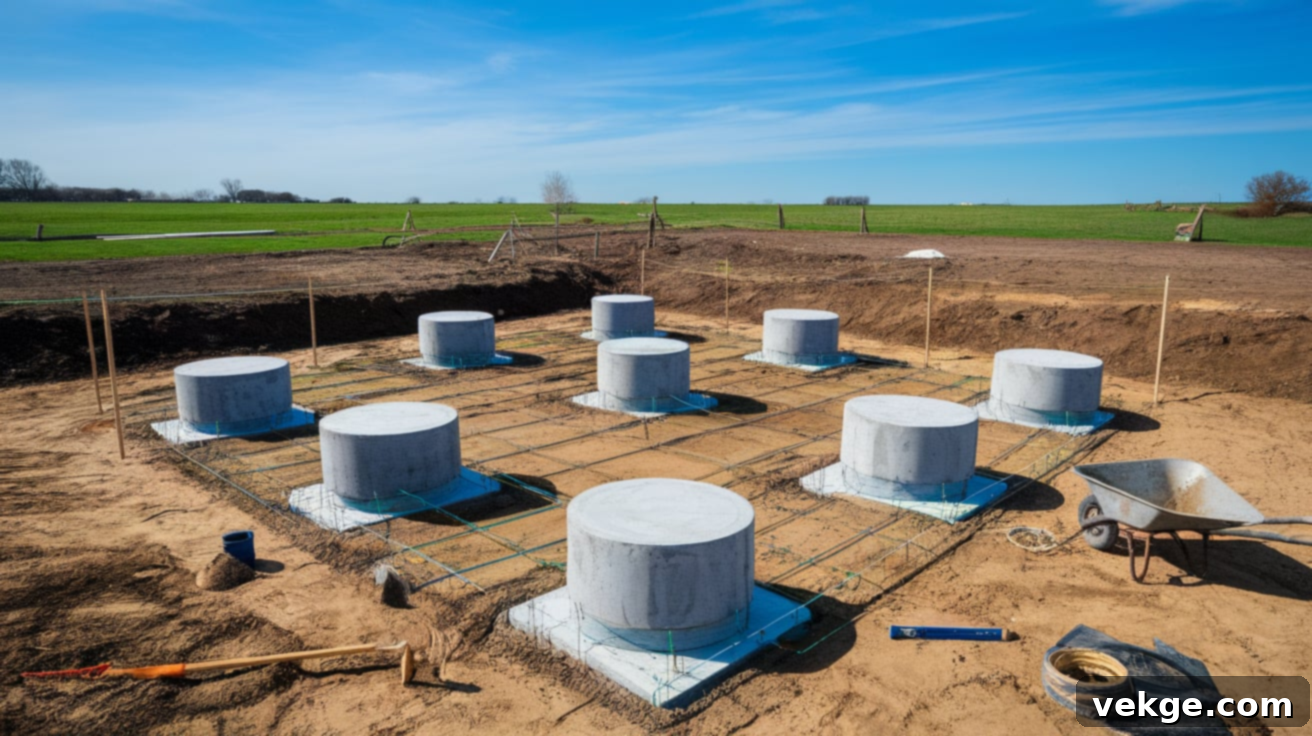
Shed foundation piers are engineered vertical concrete supports designed to hold your shed firmly in place. Unlike surface-level solutions, these piers extend deep into the ground, acting as robust anchors that distribute the shed’s weight evenly across a broader, more stable soil base. This engineering marvel ensures remarkable stability, even when the surrounding soil undergoes seasonal shifts due to moisture or temperature changes.
One of the primary advantages of piers over alternatives like gravel pads or simple deck blocks is their ability to resist frost heave. In cold climates, water in the soil freezes, expands, and pushes objects upwards. As it thaws, the ground settles, often unevenly. Piers are installed *below the frost line*—the maximum depth to which soil freezes in winter—effectively bypassing this destructive freeze-thaw cycle. This makes them an indispensable choice for anyone building in regions prone to cold winters.
Beyond cold weather resilience, piers are also incredibly versatile for various site conditions. Consider piers if your yard isn’t perfectly level, or if your shed will house heavy equipment, requiring maximum load-bearing capacity. Their inherent strength and durability make them exceptionally reliable for building on uneven or soft ground. They also simplify construction on slopes, as they eliminate the need for extensive site leveling, saving you significant time, labor, and excavation costs. By elevating the shed, piers also promote crucial airflow underneath, preventing moisture buildup, wood rot, and deterring pests like rodents and termites.
Essential Tools and Materials Checklist
Before you begin, gathering all the necessary tools and materials will ensure a smooth and efficient construction process. Here’s a comprehensive checklist for building your shed foundation piers, from preparing the site to pouring and curing the concrete:
- Post Hole Digger or Auger: Essential for digging deep, consistent holes. An auger (manual or powered) is highly recommended for multiple holes or tough soil.
- Level (Spirit Level, Laser Level, or Water Level): Crucial for ensuring all piers are perfectly plumb and at the correct height. A long builder’s level or laser level is best for checking across multiple piers.
- Tape Measure: For accurate layout and spacing of piers.
- String Line and Stakes: Used to establish a perfectly square grid for pier placement and to maintain consistent height.
- Circular Saw (with appropriate blade): If you need to trim Sonotube forms to exact heights.
- Wheelbarrow and Mixing Tools (or Concrete Mixer): For mixing concrete. A mixer is highly recommended for larger projects to ensure consistency and save labor.
- Concrete Mix (Fast-set or Standard): Choose a high-strength concrete mix. Fast-set can speed up the process, but standard concrete allows more working time. Calculate the volume needed carefully.
- Sonotube Forms (12”–24” diameter): These cardboard tubes act as molds for your concrete piers. Select the diameter appropriate for your shed’s size and weight.
- Gravel (for base): 4-6 inches of crushed stone (e.g., ¾” clear gravel) for the bottom of each hole to aid drainage and provide a stable footing.
- Rebar (Reinforcing Bar – optional but highly recommended): Steel bars inserted into the concrete for added tensile strength, preventing cracking.
- Post Base Anchors or Brackets: Metal connectors embedded into the wet concrete to attach your shed’s main beams securely to the piers. Choose brackets compatible with your shed’s framing.
- Marking Paint or Stakes: For accurately marking pier locations on the ground.
- Water: For mixing concrete and potentially for compacting the sub-base.
- Tamper: For compacting the gravel base at the bottom of the holes.
- Shovel and Trowel: Basic digging and finishing tools.
- Safety Gear: Gloves, safety glasses, and sturdy footwear.
How to Build Shed Foundation Piers (Step-by-Step Guide)
Follow these detailed steps to install robust shed foundation piers correctly. Take your time with each stage to ensure a strong, level, and long-lasting base for your shed.
Step 1: Plan and Prepare the Site
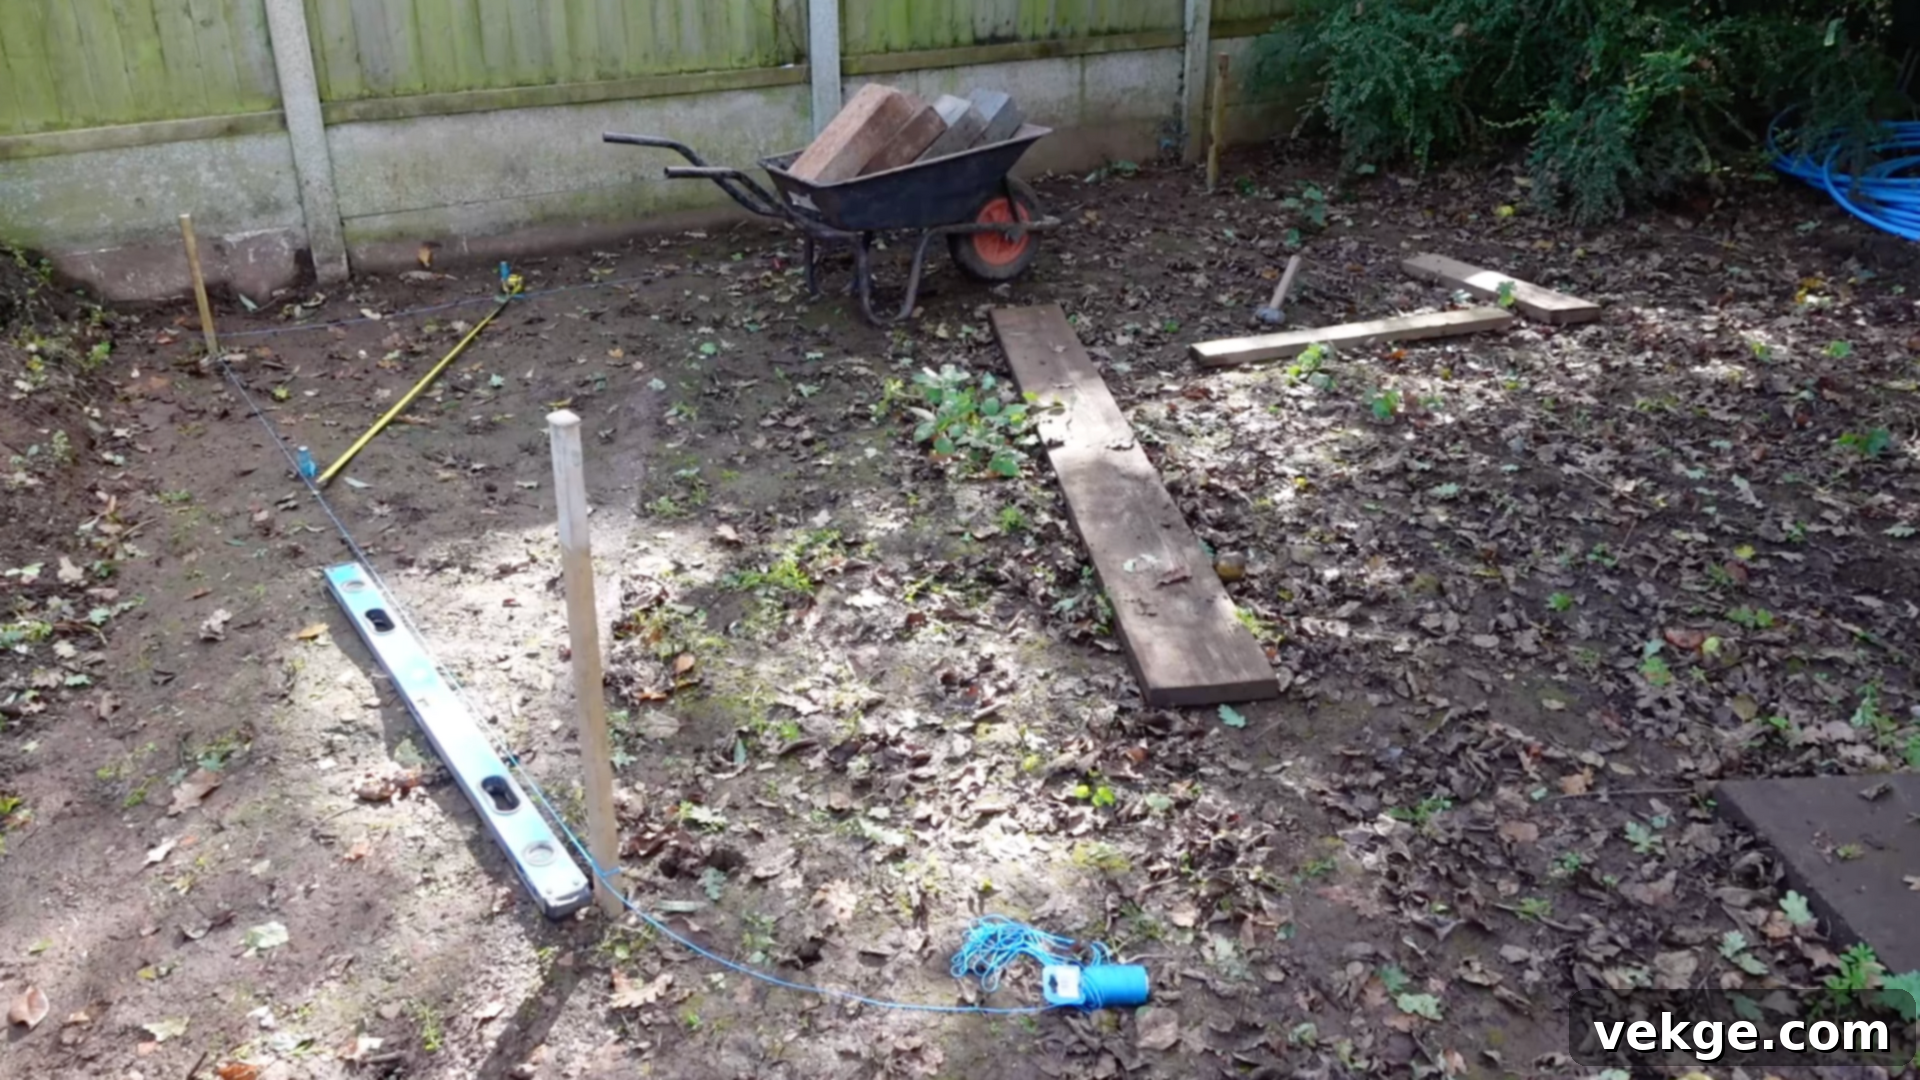
Begin by carefully planning your shed’s exact location. Clear the area of any vegetation, debris, or rocks. Once cleared, accurately mark the corners of your shed’s footprint using wooden stakes. For a 4×3-meter (or similar dimensions) structure, ensure the corners are perfectly square. The reliable 3-4-5 triangle method is invaluable here: measure 3 units along one side from a corner, 4 units along the adjacent side, and the diagonal between these two points should be 5 units. This confirms a perfect 90-degree angle. Stretch a string line tautly between the stakes to define the perimeter and help guide the precise placement of your foundation piers. Consult local building codes regarding required setbacks from property lines and any necessary permits.
Step 2: Dig and Compact Pier Holes
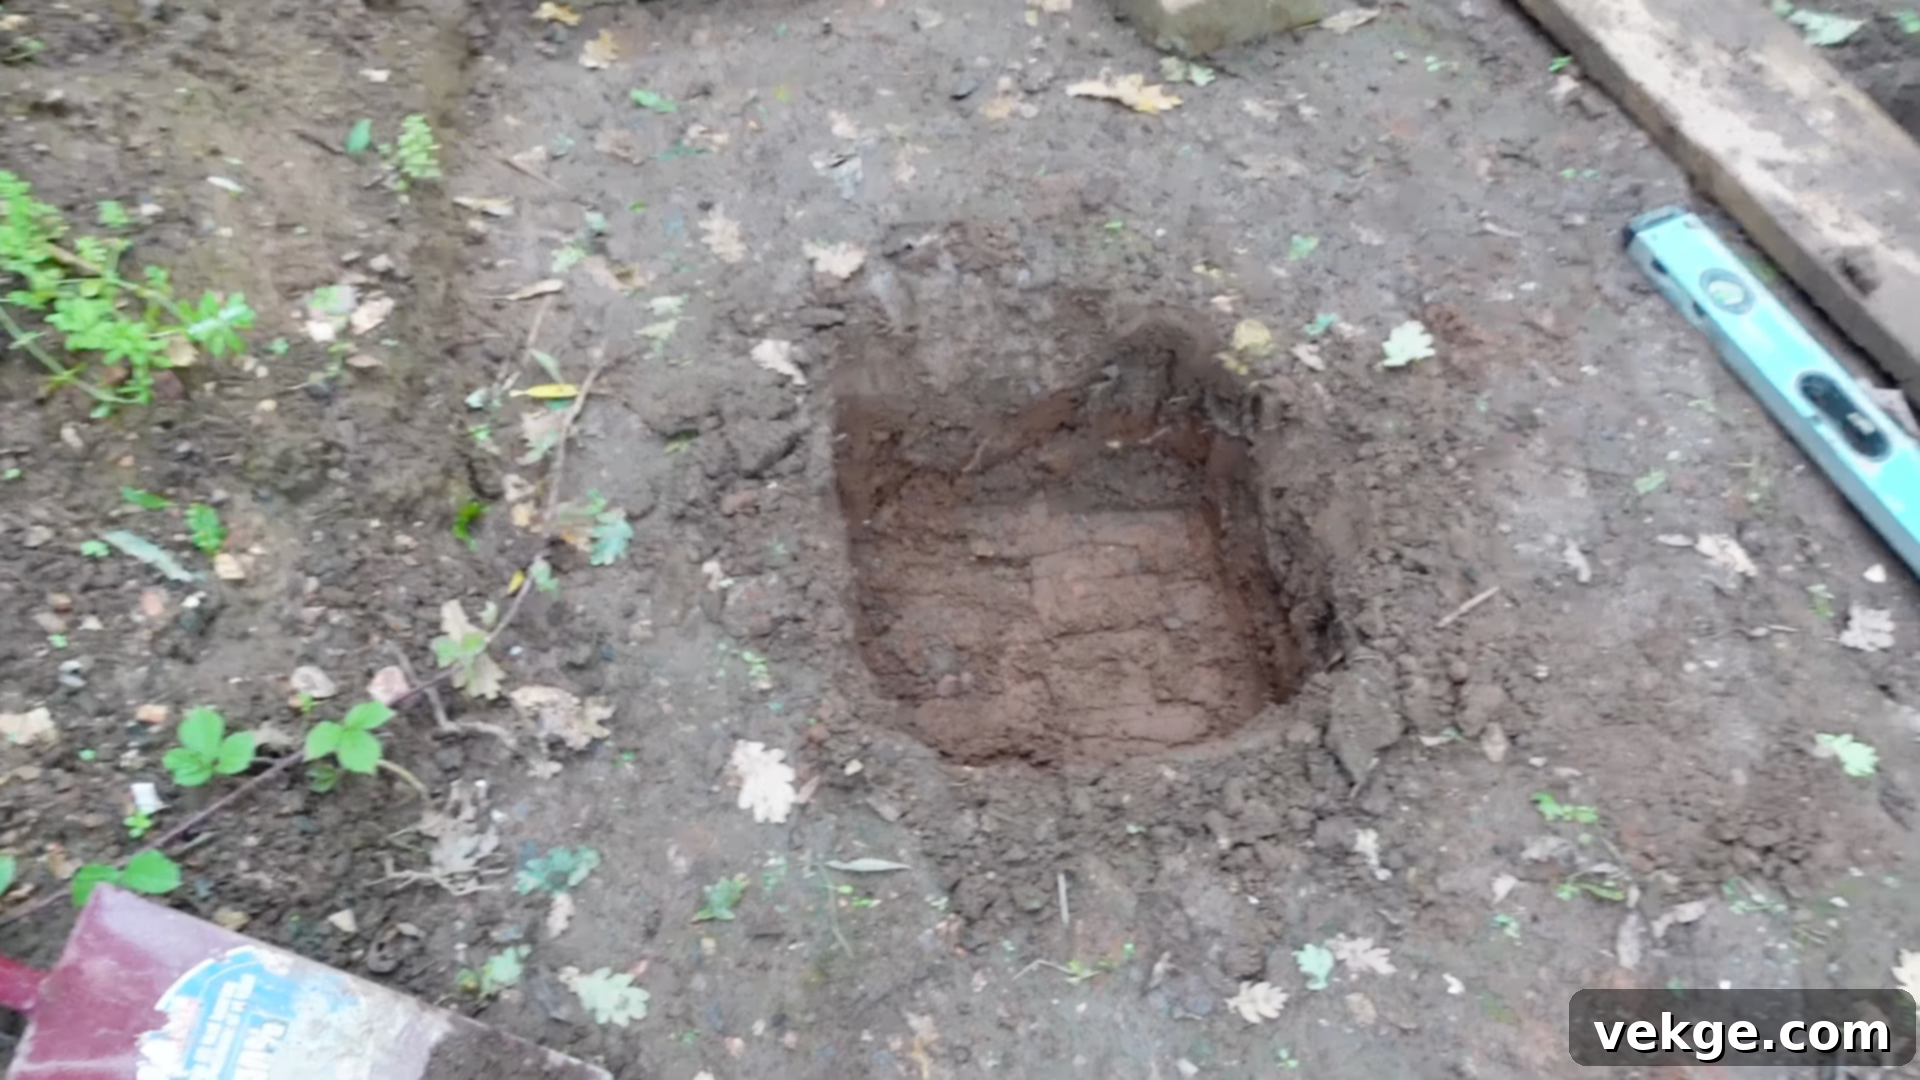
Using your string line as a guide, mark the exact locations for each pier. The number and spacing of piers will depend on your shed’s size and weight distribution. For example, a 4×3-meter shed might require 9-12 piers strategically placed. Dig holes at each marked spot using a post-hole digger or auger. Each hole must extend below your local frost line to prevent future movement from freeze-thaw cycles. Typically, holes should be 12-24 inches in diameter (matching your Sonotube size) and considerably deeper than the frost line (e.g., 500mm or more, depending on your region). Once dug, add about 4-6 inches of compacted gravel (MOT Type 1 hardcore or similar crushed stone) to the bottom of each hole. This layer improves drainage and provides a stable, firm base for the concrete pier.
Step 3: Install Sonotube Forms
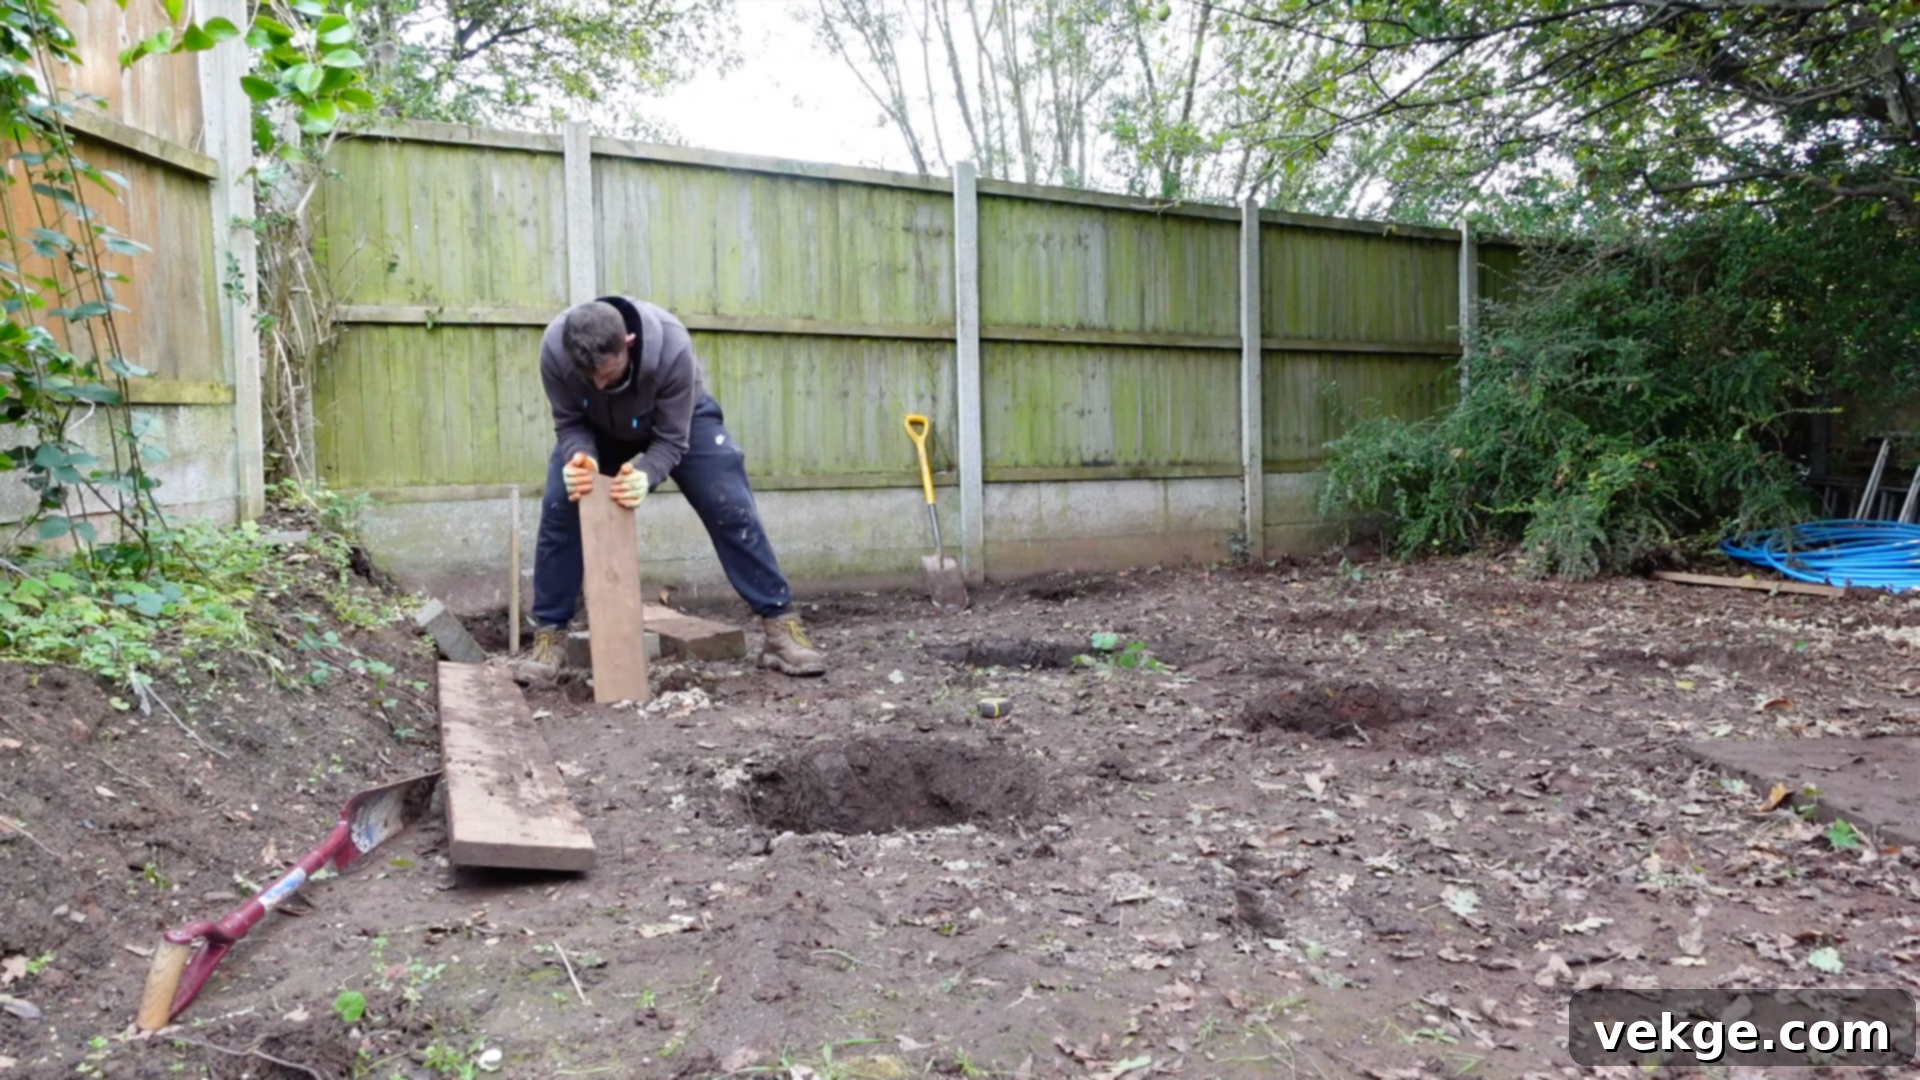
Carefully lower a Sonotube form into each prepared hole, ensuring it rests firmly on the compacted gravel base. The top of each Sonotube should extend above the final desired height of your concrete pier, as you will trim it later if needed. Use a spirit level to ensure each Sonotube is perfectly vertical (plumb). Once plumb, backfill around the outside of the Sonotubes with excavated soil, compacting it firmly as you go. This will hold the forms securely in place during the concrete pour. Re-check for verticality after backfilling. Use your string line and a long level to mark the desired cut height for each Sonotube, making sure all piers will be level with each other. Trim any excess Sonotube material with a circular saw.
Step 4: Prepare and Pour Concrete
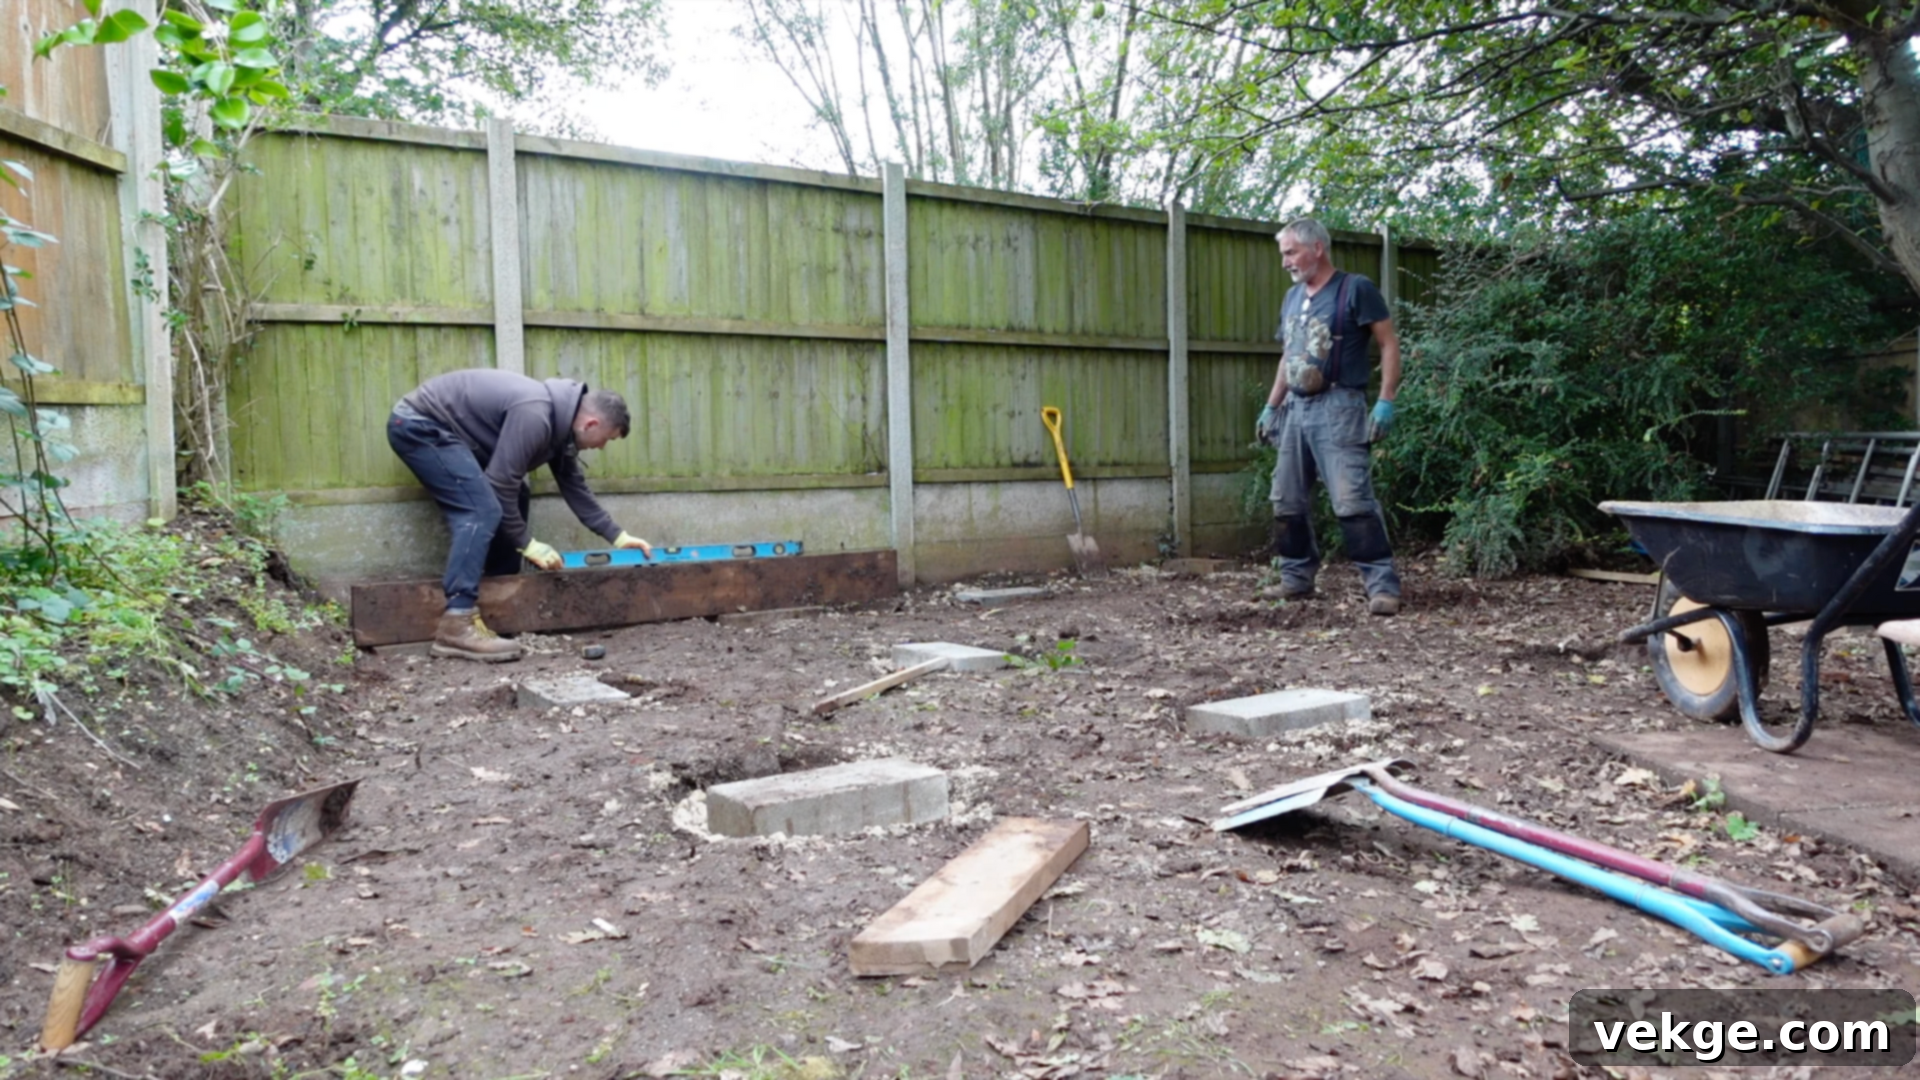
Now it’s time to pour the concrete. Mix your concrete according to the manufacturer’s instructions. For added strength, especially for larger or heavier sheds, insert rebar into the center of each Sonotube before pouring. The rebar should extend from near the bottom to about 2-3 inches from the top of the pier. Slowly pour the concrete into each Sonotube, tapping the sides with a hammer or a piece of wood to release any trapped air bubbles. Fill each form to the desired height, which should be slightly above ground level to prevent moisture wicking. Use a small trowel or a piece of scrap wood to level the top of the concrete, ensuring a smooth, flat surface. Immediately embed the post base anchors or brackets into the wet concrete, aligning them precisely with your shed’s framing plan. Double-check their alignment and level before the concrete begins to set.
Step 5: Cure and Finish the Foundation Area
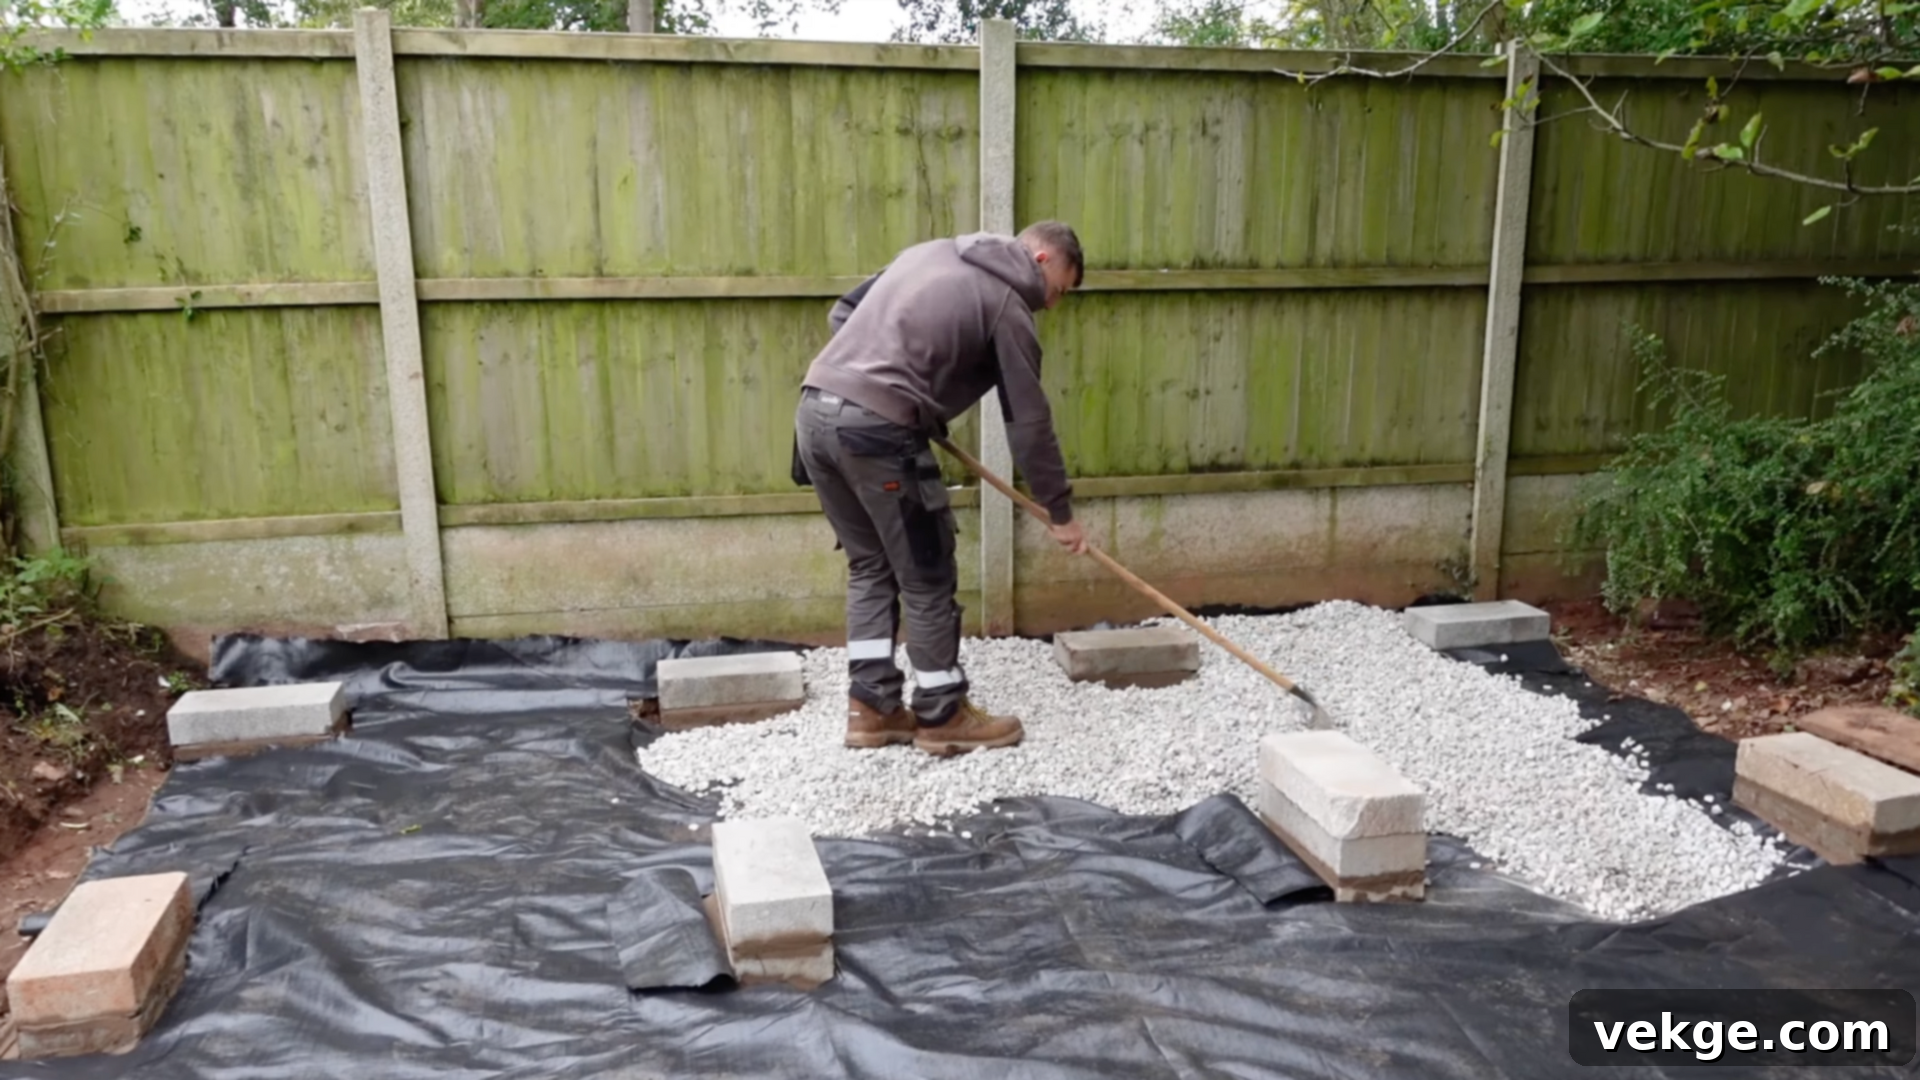
Allow the concrete to cure properly. This typically takes several days to a week, depending on the concrete mix and weather conditions. During this time, it’s beneficial to cover the piers with plastic sheeting or periodically mist them with water to ensure slow, even curing, which maximizes strength. Once the concrete is fully cured and the Sonotube forms can be carefully removed (if desired, though they often degrade naturally), you can finish the surrounding area. Lay a high-quality landscaping membrane across the entire foundation area, cutting openings for each concrete pier. This membrane acts as a weed barrier. Finally, spread a layer of clean limestone gravel or similar crushed stone over the membrane. This final layer helps with drainage, prevents weed growth, keeps the area tidy, and provides a stable, attractive base, ready for your shed’s subfloor to be constructed.
Shed Foundation Piers vs. Other Popular Options
Understanding the different types of shed foundations is key to choosing the best option for your specific needs, budget, and site conditions. Here’s a comparison of pier foundations with other common shed base types:
Pier Foundation (Poured Concrete)
As detailed above, poured concrete piers are vertical concrete columns typically formed by pouring concrete into cylindrical Sonotube forms. These piers are strategically spaced in a grid pattern and extend well below the frost line, offering superior stability and protection against frost heave. They lift the shed off the ground, allowing for excellent airflow, which is critical for preventing moisture-related issues, wood rot, and pest infestations. Post base anchors embedded in the wet concrete provide a direct and secure connection for the shed’s framing. While requiring more effort than a simple gravel pad, they offer unmatched long-term stability and are ideal for challenging terrains.
Gravel Pad Foundation
A gravel pad is essentially a raised, level bed of compacted crushed stone designed to provide a flat, well-drained surface for a shed. Installation involves excavating a shallow area, laying down landscape fabric to suppress weeds, and then filling the space with several layers of compacted gravel (typically 4-6 inches deep). The shed can either sit directly on the gravel or on concrete blocks placed on top of the gravel. This is generally the easiest and most budget-friendly foundation option, making it popular for small to medium-sized sheds on relatively flat ground. Its primary benefits include excellent drainage, which keeps moisture away from the shed floor, and a relatively straightforward DIY installation.
Concrete Slab Foundation
A concrete slab is the most robust and permanent type of shed foundation. It involves preparing a level base, building a wooden formwork, laying down a vapor barrier, placing wire mesh or rebar for reinforcement, and then pouring a solid, flat concrete slab. This type of foundation can handle the heaviest loads, making it ideal for large sheds, workshops with heavy machinery, or any structure intended for long-term, heavy-duty use. Concrete slabs are highly resistant to pests and ground movement and provide a completely solid, impermeable base. However, they are the most expensive, labor-intensive, and complex to install, often requiring professional help and significant excavation.
Comparison Table: Pier vs. Gravel vs. Slab
Here’s a quick overview of how shed foundation piers compare to gravel pads and concrete slabs across key criteria:
| Feature | Piers | Gravel Pad | Concrete Slab |
|---|---|---|---|
| Frost Resistant | Yes (when dug below frost line) | No | Yes (with proper footing/grade beam) |
| DIY Friendly | Moderate (requires precision) | Easy | Hard (complex, labor-intensive) |
| Cost | Medium | Low | High |
| Drainage | Excellent (elevated) | Good | Fair to Poor (can trap moisture if not graded correctly) |
| Best For | Cold climates, sloped/uneven ground, heavy sheds | Small to medium sheds, flat ground, budget-conscious | Large/heavy sheds, workshops, permanent structures |
Common Mistakes to Avoid When Building Pier Foundations
Even experienced DIYers can make mistakes. Being aware of these common pitfalls can save you significant time, money, and frustration in the long run, ensuring your foundation remains solid and stable:
- Not Leveling Piers Accurately: Failing to use a string line, laser level, or water level to ensure all pier tops are perfectly level before the concrete cures is a critical error. Uneven piers will result in a twisted, unstable shed frame.
- Building Before Piers Are Truly Level: It’s tempting to rush, but never start framing your shed until you’ve confirmed and, if necessary, corrected any height discrepancies among your piers. Shims are only a temporary fix for minor issues.
- Digging Holes Too Shallow (Above the Frost Line): This is the most common and damaging mistake in cold climates. If your piers don’t extend below the local frost line, they will be susceptible to frost heave, causing your shed to lift, crack, and shift seasonally.
- Skipping the Gravel Base: Omitting the compacted gravel layer at the bottom of each hole can lead to poor drainage, allowing water to accumulate and potentially undermine the pier’s stability or cause issues if the concrete is poured directly onto soft soil.
- Using Unsuitable Soil for Backfilling: Backfilling around Sonotubes with clay-heavy or poorly drained soil can trap water, leading to hydrostatic pressure against the forms or general instability around the pier. Always use well-draining material.
- Not Reinforcing Concrete: For larger or heavier sheds, skipping rebar in your concrete piers can lead to cracks under stress. Rebar provides essential tensile strength.
- Improperly Curing Concrete: Rushing the curing process or allowing the concrete to dry out too quickly weakens it. Proper curing (keeping it moist) is vital for achieving maximum strength and durability.
Important Build Tips for Long-Lasting Piers
Following these practical tips will significantly contribute to building a pier foundation that remains solid, performs well, and provides unwavering support for your shed over many years:
- Always Research Your Local Frost Line: Before you dig, contact your local building department or an experienced contractor to determine the exact frost line depth for your area. This is non-negotiable for pier foundations in cold regions.
- Add a Robust Gravel Base: Don’t skimp on the gravel. A minimum of 4–6 inches of compacted gravel at the bottom of each hole not only aids drainage but also provides a firm, stable base that prevents the pier from settling unevenly.
- Utilize Rebar for Strength: While optional for very small, light sheds, rebar is highly recommended for any substantial structure. It dramatically increases the pier’s resistance to cracking and sheer forces, especially important for large or heavy sheds.
- Backfill with Quality Material: After setting your Sonotubes, backfill around them with crushed gravel or dry, well-draining soil. This prevents water buildup and provides additional lateral support for the forms during pouring and curing.
- Double-Check Pier Height Before Concrete Sets: This is your last chance! Use a string line stretched across all piers or a laser level to verify that all pier tops are at the exact same elevation. Adjust as needed immediately after pouring, before the concrete hardens.
- Protect During Curing: Cover freshly poured concrete with plastic sheeting to slow down the drying process, especially in hot or windy weather. This allows for proper hydration and strength development.
- Consider a Vapor Barrier: Even with excellent airflow, consider laying a vapor barrier (heavy-duty plastic sheeting) under your shed’s subfloor to further protect against moisture coming up from the ground.
Conclusion
You’ve now gained a comprehensive understanding of how to construct durable shed foundation piers. By following this guide, you can confidently tackle the critical first step of building a strong, stable base for your shed. From meticulously planning your site and digging deep enough to carefully pouring and curing the concrete, every step is crucial, and now you possess the knowledge to execute each one with precision and confidence.
I’ve learned from my own past mistakes and the collective wisdom of others in the DIY community. Sharing this detailed guide is my way of helping you avoid those common pitfalls and achieve a professional-quality result. Remember, the key to a successful foundation lies in patience, accuracy, and attention to detail. This investment of time and effort truly pays off when your shed remains solid, level, and secure through every season, year after year.
If you found this guide helpful, I encourage you to explore more straightforward shed-building tips, backyard improvement projects, and expert advice available on our website. Keep building with confidence, and enjoy the lasting stability your new pier foundation provides!
