The Ultimate Easy Berry Trifle Recipe: Homemade Perfection for Any Crowd
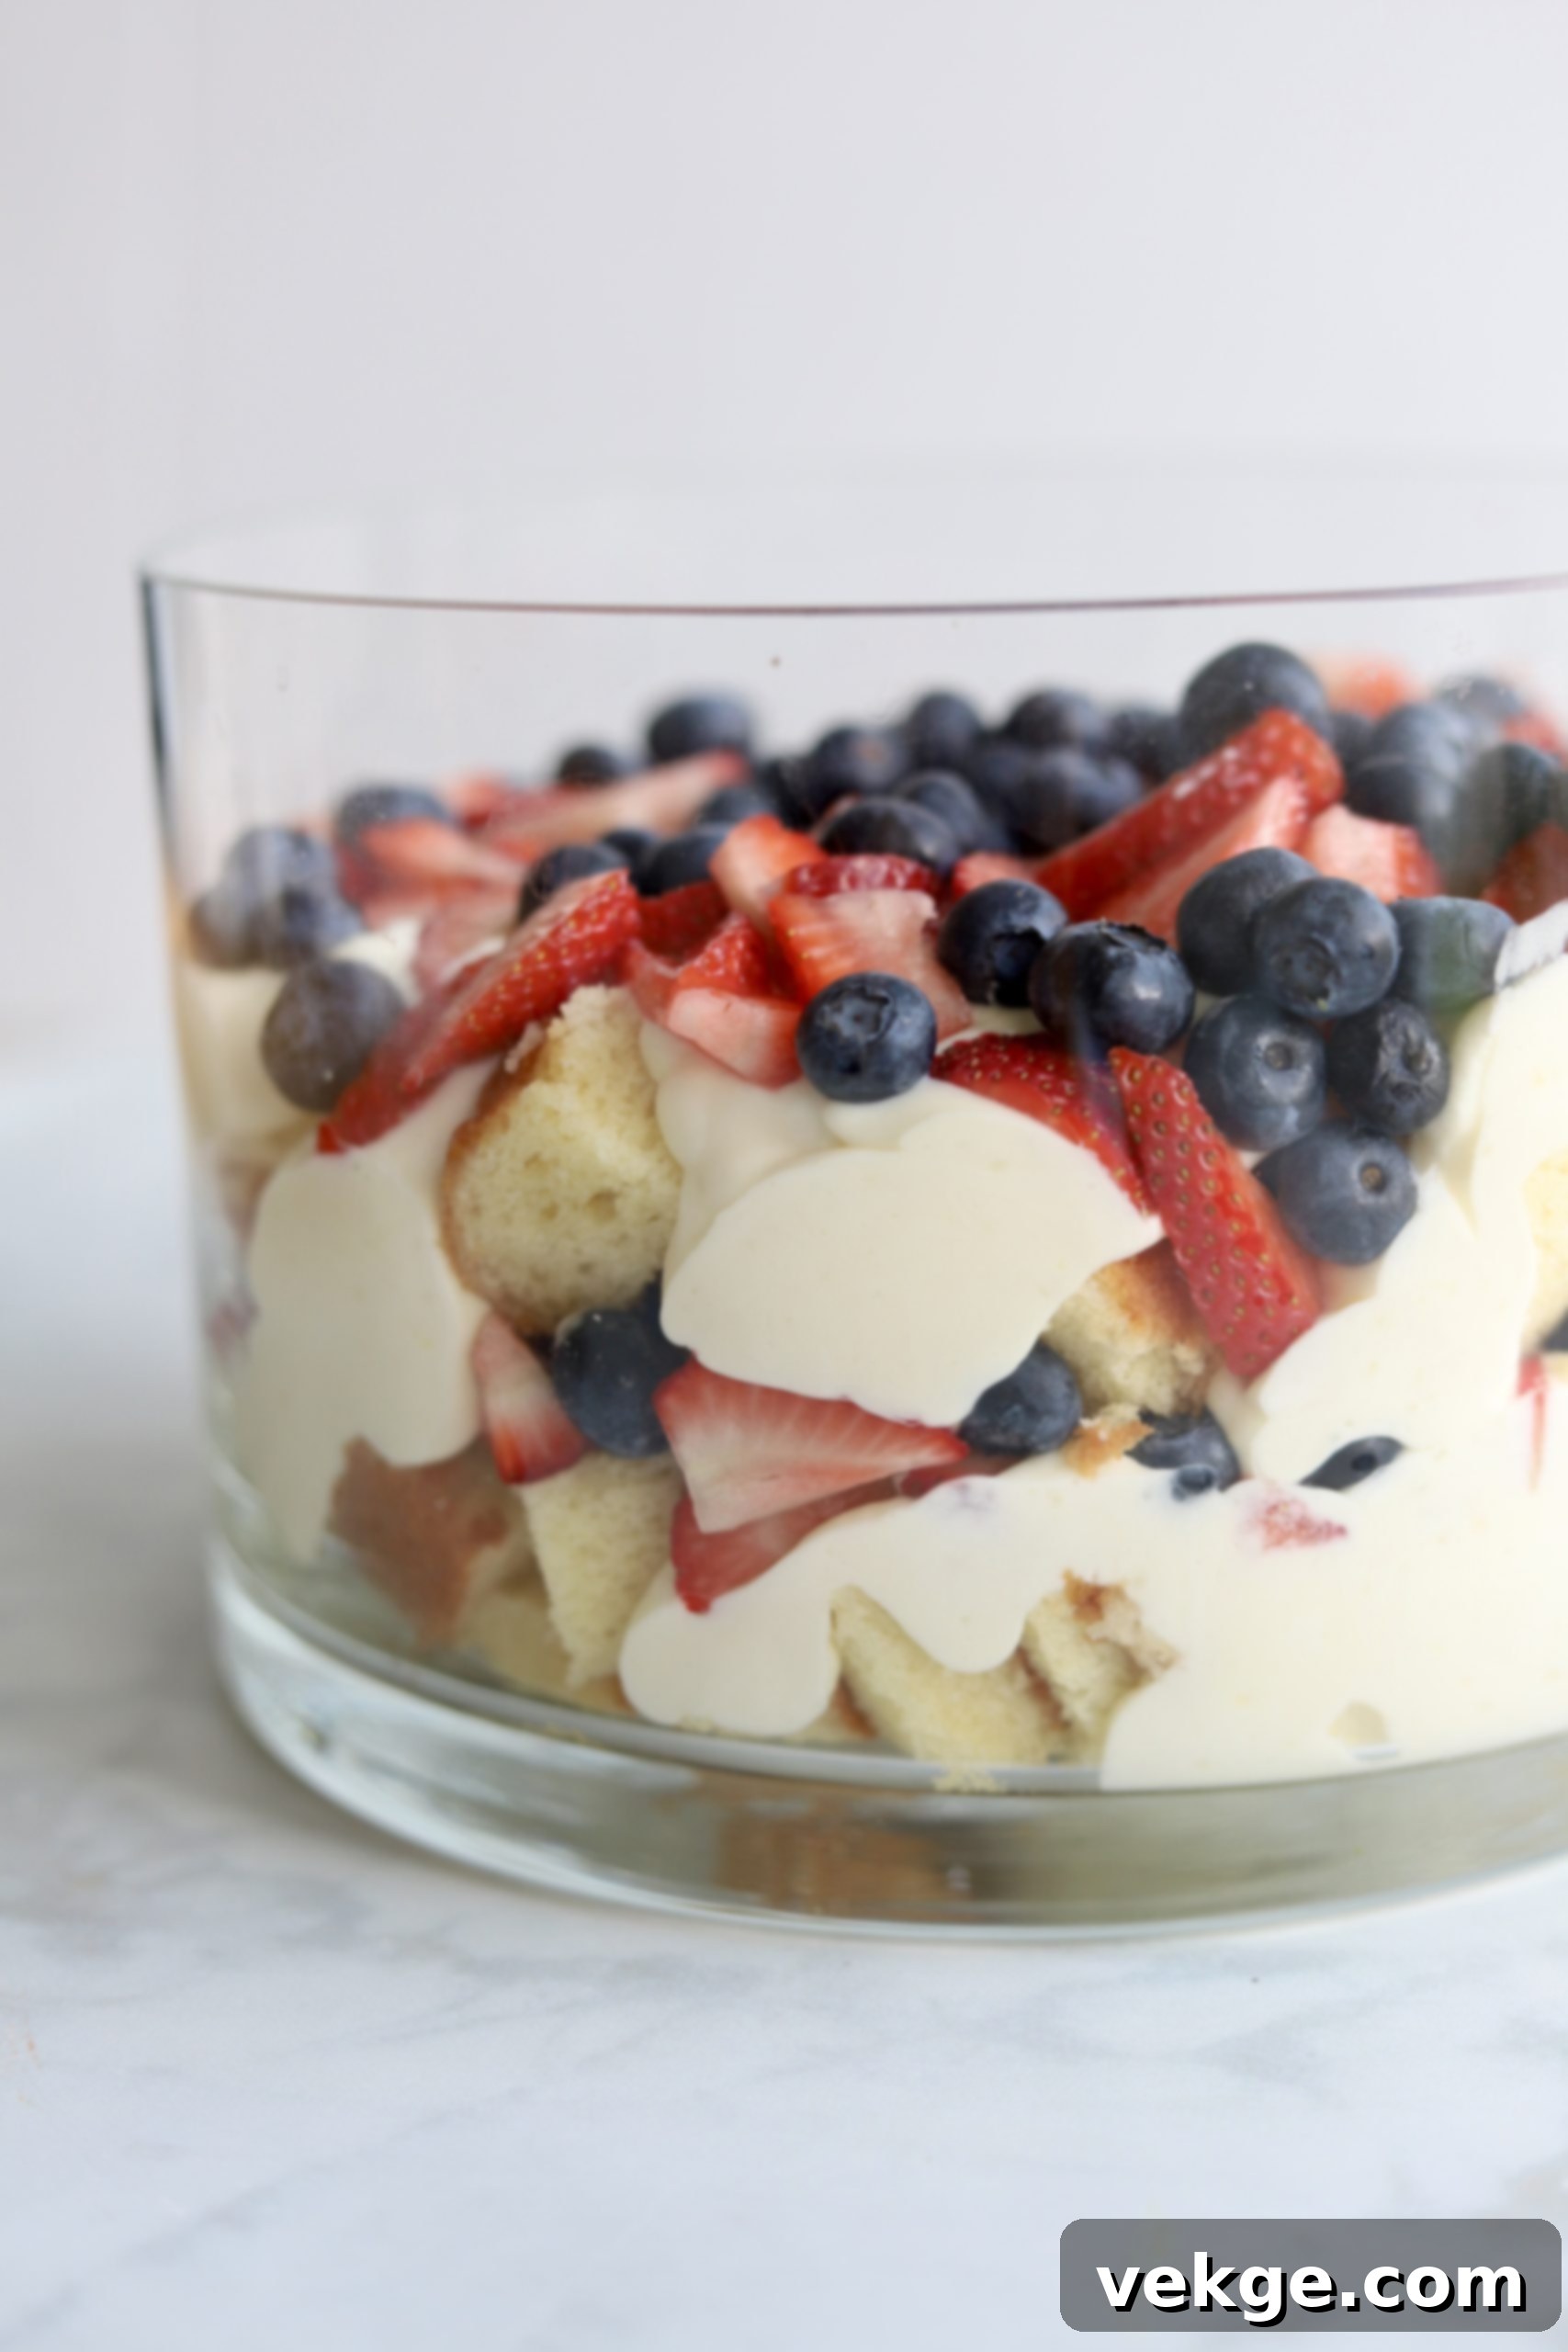
There are moments when only an extraordinary dessert will do – something that dazzles guests, satisfies every sweet craving, and yet remains surprisingly simple to prepare. For those grand occasions, or even just a memorable family gathering, our Berry Trifle steps forward as the undisputed star. This magnificent dessert isn’t just a treat for the taste buds; it’s a visual spectacle, a true centerpiece that effortlessly combines elegance with the comforting flavors of home.
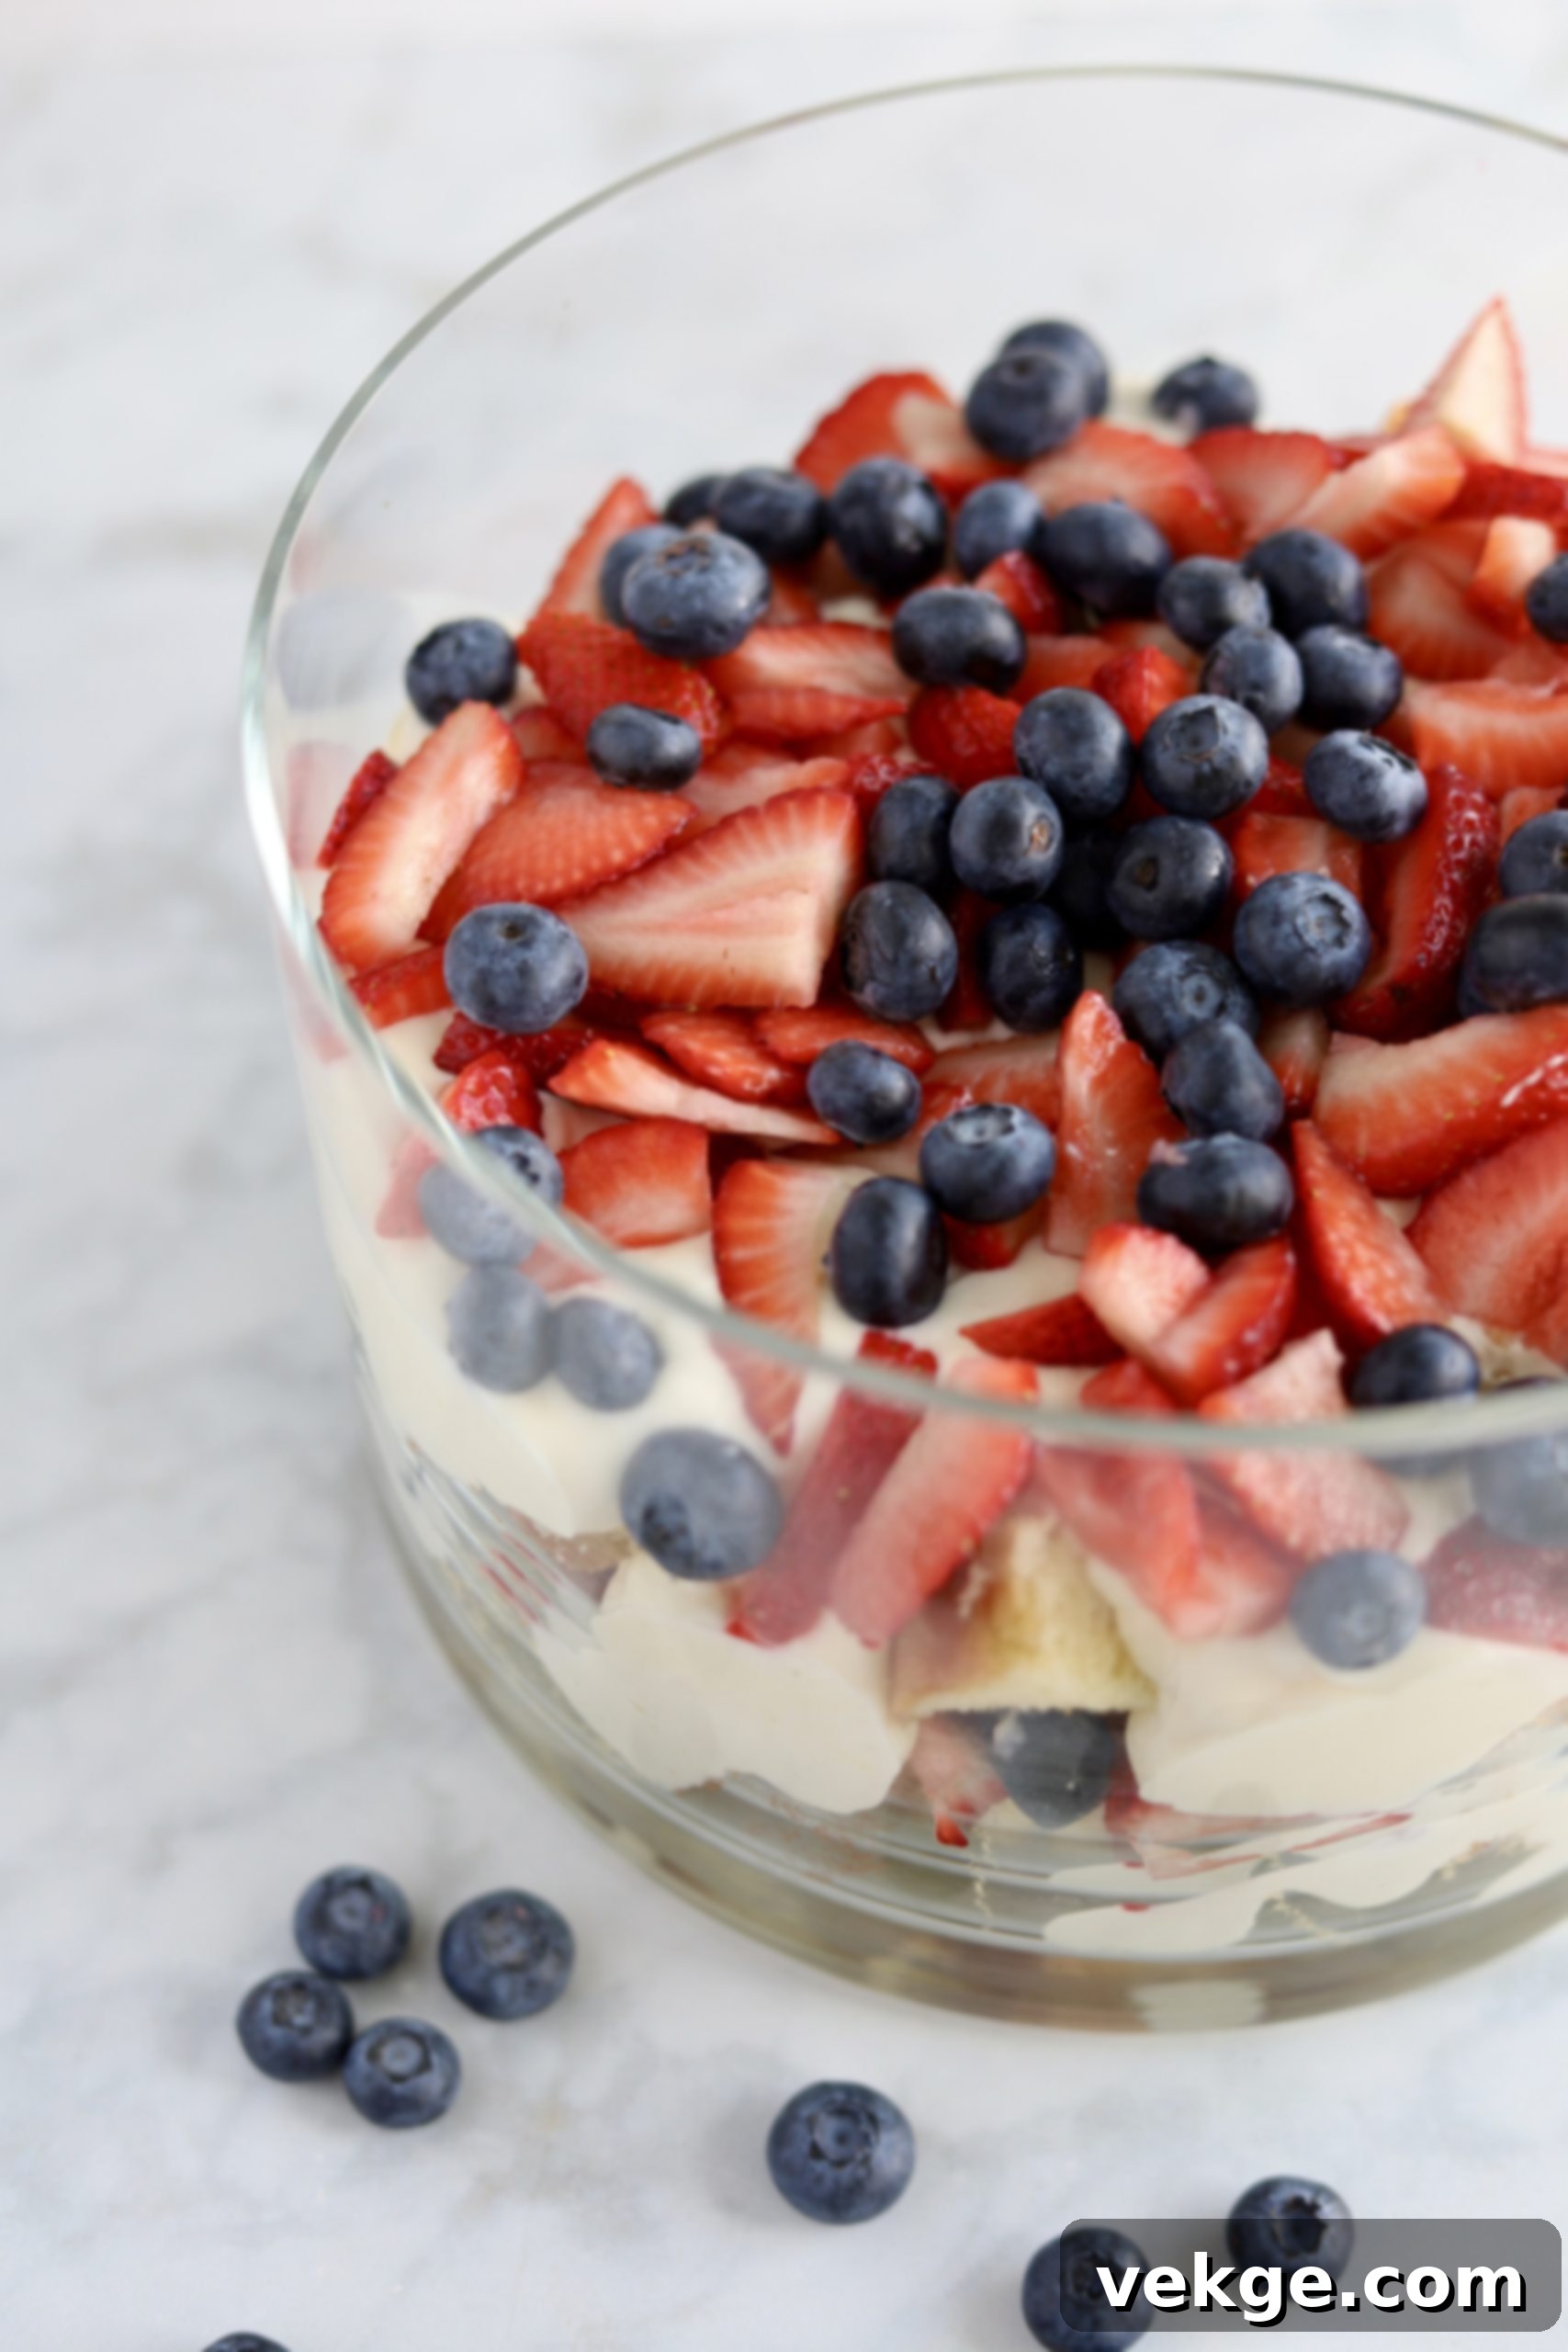
Trifle has long been celebrated for its beautiful layers, and this recipe embraces that tradition with vibrant berries, silky homemade pudding, and clouds of fresh whipped cream. Forget complicated techniques or obscure ingredients; this recipe champions the simplicity of scratch-made components that elevate the entire experience. While this trifle recipe yields a generous amount, perfect for serving 15-20 guests, its versatility means you can easily scale it down. For smaller gatherings or delightful individual portions, simply halve the recipe and assemble these mini-masterpieces in charming mason jars. Imagine the delight of each guest receiving their own perfectly layered Berry Trifle!
The secret to this trifle’s unparalleled taste lies in its homemade pudding. Many shy away from making pudding from scratch, but we’re here to tell you it’s incredibly easy. You likely have all the necessary ingredients in your pantry right now. With just about ten minutes of active cooking over the stove and a few hours of chilling in the refrigerator, you’ll achieve a rich, creamy pudding that store-bought versions simply can’t match. This foundational element is what transforms a good trifle into an unforgettable one, adding a depth of flavor and velvety texture that truly sets it apart.

Why You’ll Love This Homemade Berry Trifle
This Berry Trifle isn’t just a recipe; it’s an experience waiting to unfold in your kitchen and on your dessert table. Here’s why it deserves a spot in your culinary repertoire:
Effortless Elegance That Impresses
Despite its grand appearance, this berry trifle is surprisingly straightforward to assemble. The beauty of its distinct layers creates a stunning visual appeal that will undoubtedly garner compliments. It looks like you spent hours slaving away, but we promise, it’s our little secret how truly quick and easy it is. This makes it an ideal choice when you want to impress without the stress, giving you more time to enjoy your guests and the celebration.
Unbeatable From-Scratch Flavor
The real magic of this trifle comes from its homemade components. The creamy pudding, made from simple ingredients, boasts a richness and authentic vanilla flavor that store-bought mixes can’t replicate. Paired with freshly whipped cream, sweetened to perfection, every spoonful is a testament to the superior taste of homemade. The effort is minimal, but the flavor payoff is immense, creating a dessert that tastes genuinely special and wholesome.
Perfect for Any Occasion
Whether you’re hosting a large holiday dinner, a summer barbecue, a birthday party, or simply a casual get-together with friends, this Berry Trifle is universally loved. Its generous serving size makes it ideal for feeding a crowd, ensuring everyone gets a taste of this delightful creation. It’s light enough for warmer months but comforting enough for cooler evenings, making it a versatile dessert year-round.
Incredibly Versatile and Customizable
While we feature delicious mixed berries in this recipe, the beauty of a trifle lies in its adaptability. Feel free to experiment with your favorite seasonal fruits, different cake bases (like angel food cake, pound cake, or even ladyfingers), or add a hint of citrus zest or a splash of liqueur to the pudding. You can also easily adjust the sweetness to your preference. This adaptability ensures that each time you make it, it can be a unique culinary adventure tailored to your tastes.

The Secret to a Perfect Trifle: Homemade Pudding
The foundation of an exceptional trifle is a truly luscious pudding. While it might sound daunting, making pudding from scratch is a simple process that yields incredible results, far superior to any boxed mix. It gives you control over the texture and flavor, ensuring a silky, rich base that perfectly complements the fresh berries and light whipped cream. The key steps involve whisking ingredients over medium heat until thickened, then allowing ample time for it to chill and set properly. This chilling process is non-negotiable for achieving that classic trifle consistency.
Assembling Your Magnificent Berry Trifle
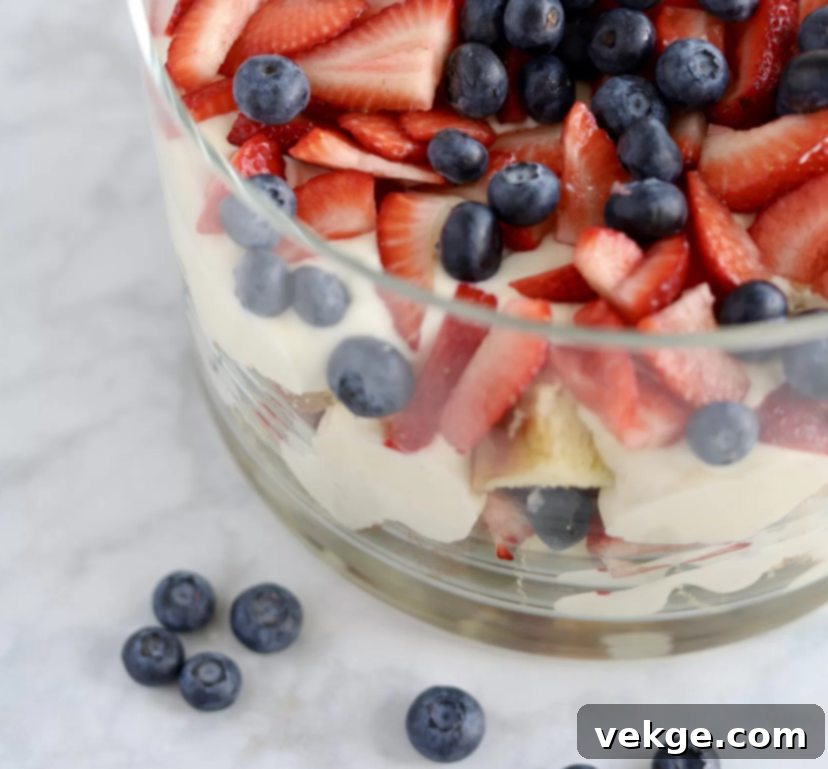
Once your homemade pudding is perfectly chilled and your whipped cream is fluffy, the fun begins! Assembling the trifle is where its visual magic comes to life. Start with a layer of your chosen cake or ladyfingers at the bottom of a large, clear trifle bowl. This provides a delicious, absorbent base for the subsequent layers. Next, spoon a generous amount of the creamy pudding over the cake, spreading it evenly. Then, scatter a vibrant layer of fresh mixed berries. Repeat these layers until your trifle bowl is gloriously full, typically ending with a generous dollop of whipped cream on top, garnished with a few extra berries for a final flourish. The beauty of a trifle lies in its layered appearance, so using a clear bowl is essential to showcase your culinary artistry.

Berry Trifle
Print
Pin
Rate
Ingredients
Pudding
- 2 1/2 cups whole milk
- 3 egg yolks
- 1/4 cup corn starch
- 1/2 cup sugar
- 1/8 tsp salt
- 1 tsp vanilla. optional
Whipped Cream
- 2 cups heavy whipping cream
- 1/3 cup powdered sugar
- 1 tsp vanilla
Trifle Assembly (Additional Ingredients)
- 1 (16 oz) pound cake, angel food cake, or ladyfingers, cut into 1-inch cubes
- 4-5 cups mixed fresh berries (strawberries, blueberries, raspberries)
Instructions
Pudding
- In a medium-sized saucepan, combine whole milk, egg yolks, sugar, corn starch, and salt.
- Whisk these ingredients thoroughly until smooth. Cook over medium heat, stirring often, for about 10-12 minutes, or until the mixture thickens considerably. It should be thick enough to coat the back of a spoon.
- Once thickened, remove the saucepan from the heat and stir in the vanilla extract (if using). Transfer the pudding to a clean glass dish.
- Cover the surface of the pudding directly with plastic wrap or a large plate to prevent a skin from forming.
- Refrigerate for at least 4 hours, or preferably overnight, until it is completely cooled and set. This step is crucial for the trifle’s structure.
Whipped Cream
- Using a stand mixer fitted with a whisk attachment or a hand mixer, beat the heavy whipping cream on high speed for a few minutes until stiff peaks begin to form. Be careful not to overbeat, or it will turn to butter.
- Gently add the vanilla extract and powdered sugar. Give it a quick, light mix until just combined and fluffy.
Trifle Assembly
- In a large, clear trifle bowl (typically 3-4 quart capacity), arrange half of the cubed cake or ladyfingers evenly at the bottom.
- Evenly spoon half of the chilled pudding over the cake layer, spreading it gently to the edges.
- Next, add about half of your mixed fresh berries over the pudding layer.
- Spread half of the prepared whipped cream over the berries.
- Repeat these layers: the remaining cake, then the remaining pudding, followed by the remaining berries, and finally, top with the rest of the whipped cream.
- Garnish the top with a few extra fresh berries for an appealing presentation.
- For best results and to allow flavors to meld, refrigerate the assembled trifle for at least 1-2 hours before serving.
Notes
Tips for Trifle Perfection
- **Choose a Clear Trifle Bowl:** The visual appeal of a trifle comes from its layers. A clear glass bowl is essential for showcasing this beauty.
- **Chill Pudding Thoroughly:** This is critical! The pudding must be completely cold and set before layering to prevent a runny trifle. Plan ahead and make the pudding the day before.
- **Don’t Overbeat Whipped Cream:** Beat the heavy cream until it forms stiff peaks, but stop before it becomes grainy or separates.
- **Soak Your Cake (Optional):** For an extra moist trifle, you can lightly brush the cake layer with a little fruit juice, a touch of sherry, or a sweet liqueur before adding the pudding.
- **Layer Evenly:** Take your time to spread each layer evenly to ensure a consistent taste and a beautiful presentation in every serving.
- **Fresh Berries Are Best:** While frozen berries can work in a pinch, fresh berries offer the best texture and vibrant flavor. If using frozen, thaw them and drain any excess liquid to prevent sogginess.
- **Garnish Last:** Add your final berry garnish just before serving to keep them looking fresh and appealing.
Variations to Explore
Once you’ve mastered the classic Berry Trifle, feel free to get creative with these delicious variations:
- **Tropical Trifle:** Replace berries with sliced mango, kiwi, and pineapple. You could even add a hint of coconut extract to the pudding or whipped cream.
- **Chocolate Trifle:** Use chocolate pudding (store-bought or homemade), chocolate cake cubes, and add chocolate shavings or cocoa powder for garnish. Cherries or raspberries pair wonderfully with chocolate.
- **Peach Melba Trifle:** Layers of pound cake, vanilla pudding, fresh or canned peaches (well-drained), and a swirl of raspberry sauce.
- **Lemon Trifle:** Use lemon-flavored pudding or curd, lemon cake, and fresh raspberries for a bright, zesty dessert.
- **Coffee Liqueur Trifle:** Infuse your cake layers with a light drizzle of coffee liqueur (like Kahlua) for an adult-friendly twist.
- **Individual Trifle Cups:** As mentioned, scale down the recipe and layer in charming mason jars or clear dessert cups for personalized treats that are perfect for picnics or parties.
This Berry Trifle recipe is more than just a dessert; it’s an invitation to create something truly special with ease. With its beautiful presentation, the creamy indulgence of homemade pudding and whipped cream, and the fresh burst of berries, it’s guaranteed to be a hit at any gathering. So, dust off that trifle bowl or grab your mason jars, and get ready to create a dessert that will be remembered long after the last spoonful is savored. Happy baking!