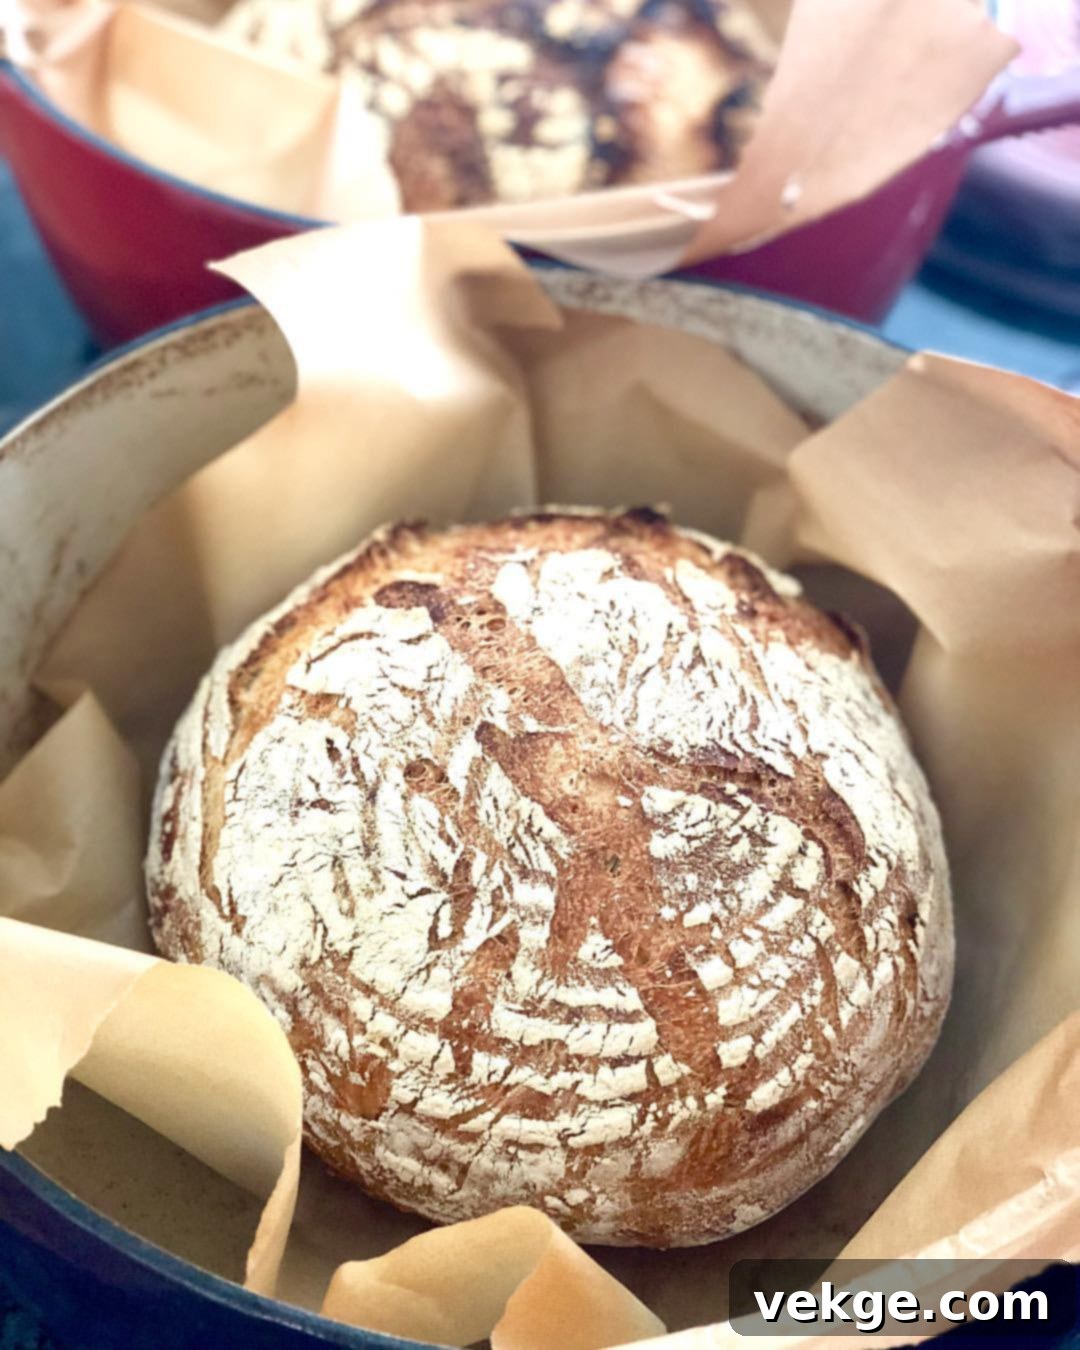
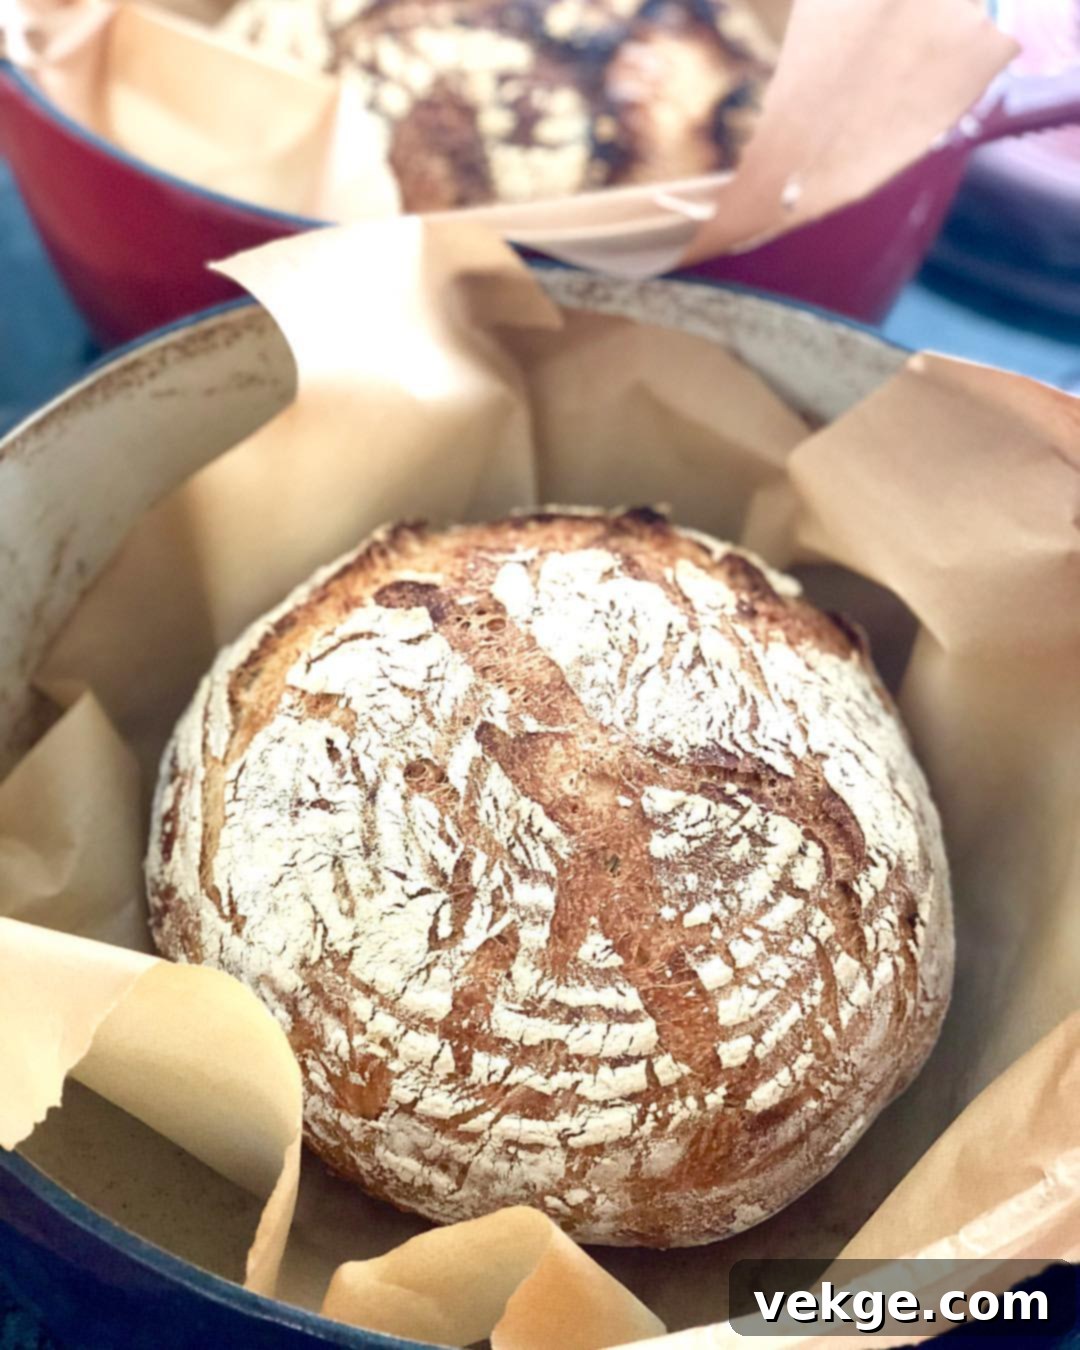
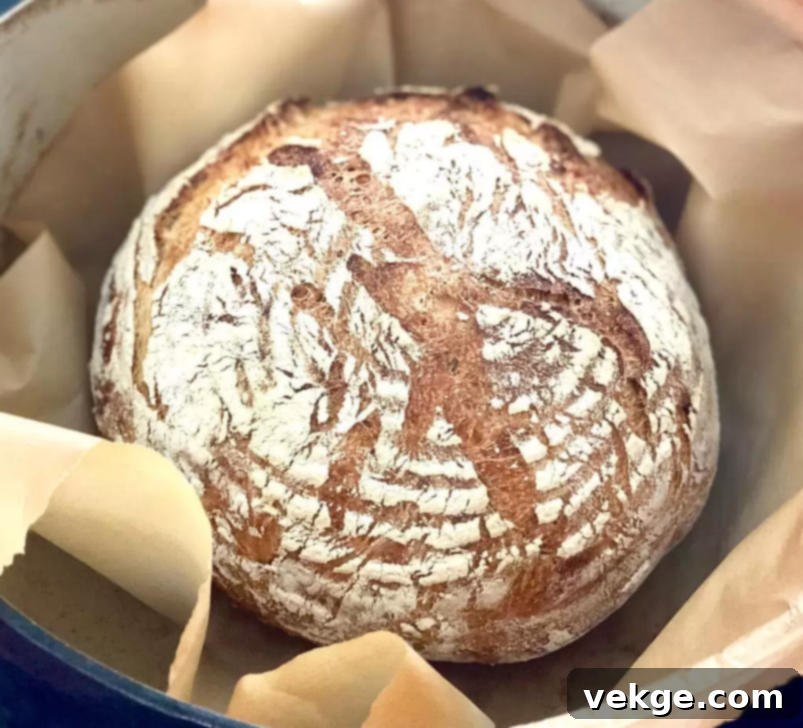
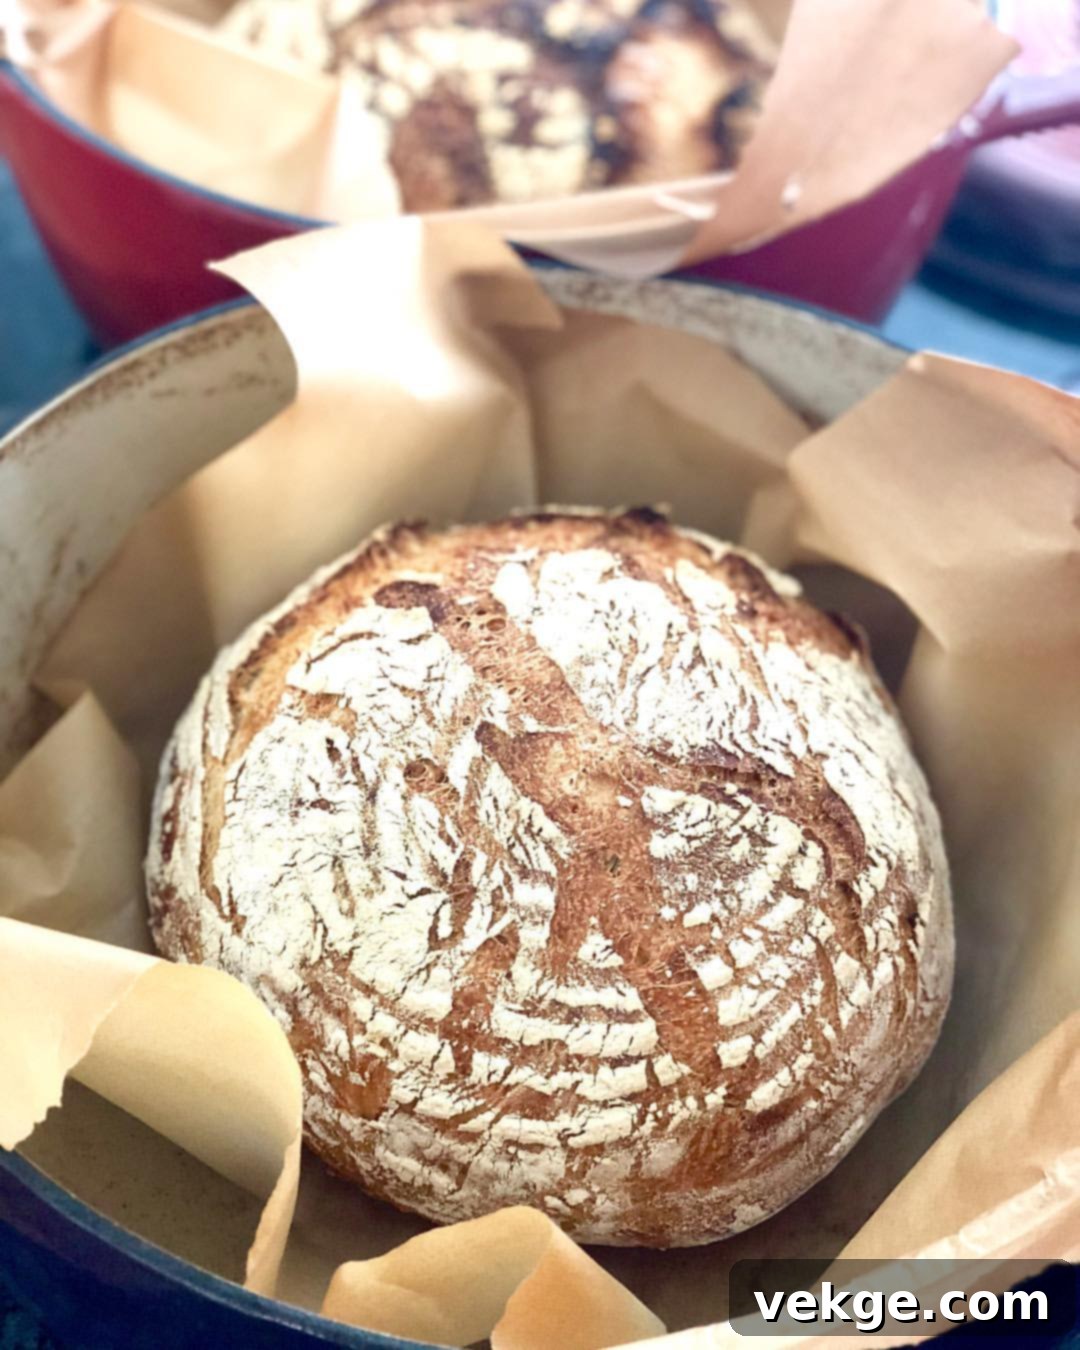
Imagine sinking your teeth into a perfectly crusty, yet incredibly tender, loaf of artisan bread. Now, imagine making that bread with minimal effort, no complicated kneading, and just a handful of basic ingredients. Sound like a dream? It’s not! Welcome to the world of Easy Dutch Oven Bread, where the most delicious bread you’ll ever bake is also astonishingly simple. This recipe is a true game-changer for anyone who loves homemade bread but shies away from complex baking techniques. Prepare to be amazed by how effortlessly you can create a masterpiece that will rival any bakery-bought loaf.

The Magic Behind Easy Dutch Oven Bread: Artisan Quality, Effortless Process
There’s a reason why Dutch oven bread has taken the internet by storm and become a beloved staple in so many homes. This particular method, often referred to as “no-knead bread,” leverages time and a heavy, preheated Dutch oven to do all the work for you. Unlike traditional bread recipes that demand vigorous kneading to develop gluten, this recipe relies on a long, slow fermentation process. This extended proofing allows the gluten structure to develop naturally, resulting in an incredibly flavorful and airy crumb without any physical exertion on your part.
Why a Dutch Oven is Essential for Perfect Bread
The Dutch oven plays a crucial role in achieving that signature artisan crust and moist interior. When preheated to a high temperature, the cast iron pot creates a superheated environment. As the dough is placed inside, the intense heat quickly sets the crust, preventing it from expanding too much. More importantly, the lid traps the steam released from the baking dough. This steam acts like a professional bakery oven, keeping the crust soft and pliable initially, allowing the bread to rise to its full potential before the crust hardens. Once the lid is removed, the remaining heat crisps up the crust to a beautiful golden brown, giving you that delightful crunch we all crave.

Easy Dutch Oven Bread Recipe: Your Path to Homemade Perfection
This recipe is designed for simplicity without compromising on taste or texture. It’s the ideal choice for beginner bakers and seasoned pros alike who appreciate a straightforward approach to creating truly exceptional bread. Get ready to impress your family and friends with this unbelievably easy and delicious no-knead bread.

Easy Dutch Oven Bread
Craft a rustic, crusty loaf of artisan bread right in your own kitchen with minimal effort. This no-knead Dutch oven bread recipe requires only four simple ingredients and yields an incredibly flavorful, chewy interior and a delightfully crisp exterior.
Course: Breads
Prep Time: 10 minutes
Cook Time: 45 minutes
Servings: 1 loaf
Print Recipe
Equipment You’ll Need
- Dutch Oven: A 5-7 quart enamel-coated cast iron Dutch oven with a lid is ideal. The heavy construction ensures even heat distribution and steam retention.
- Large Mixing Bowl: Essential for combining your ingredients and allowing the dough to rise without overflowing.
- Plastic Wrap or Kitchen Towel: For covering the dough during its long fermentation.
- Parchment Paper: Makes transferring the dough into the scorching hot Dutch oven safe and easy.
- Wooden or Plastic Spoon: Metal spoons can sometimes react with the yeast, so a non-reactive spoon is preferred for mixing.
Simple Ingredients
- 1 tsp Active Dry Yeast: This is the leavening agent that gives your bread its rise. Ensure your yeast is fresh and active for best results.
- 1 3/4 tsp Salt: Crucial for flavor and also plays a role in controlling yeast activity and strengthening the gluten structure. Fine sea salt or kosher salt are excellent choices.
- 1 3/4 cups Water (room temperature or slightly warm): The temperature of the water is important for activating the yeast. Aim for around 70-80°F (21-27°C) – warm to the touch, but not hot.
- 3 cups All-Purpose Flour: While all-purpose flour works wonderfully, bread flour can be used for an even chewier texture due to its higher protein content.
Step-by-Step Instructions
Combine Ingredients for the Dough: In your large mixing bowl, combine the active dry yeast, salt, and water. Stir gently until the yeast starts to dissolve slightly. Then, add the flour. Using a plastic or wooden spoon (avoid metal), mix all the ingredients together until a shaggy, somewhat sticky dough forms. The goal is just to ensure there are no dry patches of flour remaining. There’s absolutely no need to let the yeast fully dissolve before adding flour, and crucially, no kneading is required! The magic of this recipe is in its simplicity.
First Rise (Bulk Fermentation): Once your dough is mixed, cover the bowl tightly with plastic wrap. For an extra seal and to maintain warmth, you can double cover it with a kitchen towel or a lid. Let the dough sit at room temperature for an extended period, anywhere from 12 to 24 hours. This long, slow rise is essential for developing the complex flavors and unique texture of your no-knead artisan bread. Find a spot on your counter that isn’t too cold or drafty.
Shape the Dough for the Second Rise: After the first rise, your dough will appear bubbly and have expanded significantly. Generously flour a clean work surface. Carefully dump the risen dough onto this floured surface. Gently fold the edges of the dough towards the center a few times to form it into a loose ball. You can lightly knead it for just a minute or two if needed to create tension on the surface, adding a tiny bit more flour if the dough is too sticky, but avoid overworking it. Place this shaped dough ball onto a sheet of parchment paper, then cover it again with plastic wrap or a light kitchen towel. Allow it to rise for another 1-2 hours at room temperature for its second proofing.
Preheat Oven and Dutch Oven: Approximately one hour before you are ready to bake, place your empty Dutch oven (with its lid) into your cold oven. Then, preheat your oven to a blazing 450°F (232°C). It’s crucial that the Dutch oven gets thoroughly heated, as this is key to achieving that perfect crust. Allow it to preheat at the full temperature for at least 30-40 minutes. This step ensures the pot is scorchingly hot when the dough goes in, which creates the essential burst of steam and initial crust development.
Bake Your Artisan Loaf: Once your Dutch oven is fully preheated and the dough has completed its second rise, carefully remove the hot Dutch oven from the oven (using oven mitts!). Gently lift the parchment paper holding your dough and carefully transfer it into the preheated pot. Place the lid back on the Dutch oven and return the pot to the oven. Bake for 30 minutes with the lid on. This phase traps steam, allowing the bread to fully expand and achieve a soft, pliable crust. After 30 minutes, remove the lid and continue baking for another 15 minutes, or until the crust is a beautiful deep golden brown and sounds hollow when tapped.
Cool and Enjoy: Once baked to perfection, carefully remove the Dutch oven from the oven. Using the parchment paper, lift the bread out of the pot and transfer it to a wire cooling rack. It’s absolutely essential to let the bread cool completely, or at least until it’s warm to the touch, before slicing into it. Slicing hot bread can result in a gummy interior. Once cooled, slice your homemade artisan bread and dig in! You’ve just created something truly amazing.
Tips for Perfect No-Knead Dutch Oven Bread Every Time
While this recipe is incredibly forgiving, a few simple tips can elevate your baking experience and guarantee consistent success:
- Use Fresh Yeast: Ensure your active dry yeast is fresh. If your yeast is old or inactive, your bread won’t rise properly. You can test it by mixing a small amount with warm water and a pinch of sugar; it should foam within 5-10 minutes.
- Accurate Water Temperature: Aim for water that is around 70-80°F (21-27°C). Water that’s too cold won’t activate the yeast, and water that’s too hot can kill it.
- Don’t Overmix the Dough: The beauty of no-knead bread is its minimal effort. Just mix until no dry flour spots remain. Overmixing can actually hinder the natural gluten development that happens during the long rise.
- Patience with Rise Times: The long fermentation (12-24 hours) is crucial. Don’t rush it. The longer rise develops deeper flavors and a better texture. The exact time depends on your room temperature; warmer environments will mean a faster rise.
- Thoroughly Preheat Your Dutch Oven: This step is non-negotiable for that incredible crust. A hot Dutch oven creates immediate steam and sets the crust quickly, allowing for maximum oven spring.
- Flour Your Surface Liberally: The dough will be sticky after the first rise. Don’t be shy with flouring your work surface to prevent sticking when shaping.
- Score the Dough (Optional but Recommended): Just before placing the dough in the hot Dutch oven, you can make a few shallow cuts (about 1/2 inch deep) on the top with a sharp knife or razor blade. This helps control where the bread expands and adds a beautiful, professional touch.
- Cool Completely: Resist the urge to slice into your bread immediately after it comes out of the oven. Letting it cool on a wire rack allows the internal structure to set and prevents a gummy texture.
Delicious Variations to Explore
Once you’ve mastered the basic Easy Dutch Oven Bread, feel free to experiment with additions to customize your loaf:
- Herbs & Garlic: Incorporate 1-2 tablespoons of finely chopped fresh rosemary, thyme, or dried Italian herbs into the dough along with the flour. Add a clove or two of minced garlic for an aromatic twist.
- Cheesy Goodness: Mix in 1/2 cup of shredded Parmesan, cheddar, or Gruyère cheese during the initial mixing stage for a savory loaf.
- Whole Wheat Blends: Replace up to 1 cup of all-purpose flour with whole wheat flour for a nuttier flavor and denser texture. Adjust water slightly if needed, as whole wheat flour absorbs more liquid.
- Seeds and Grains: Add a quarter cup of sunflower seeds, pumpkin seeds, flax seeds, or even a mix of grains to the dough for added texture and nutrition.
Serving Suggestions for Your Homemade Loaf
This versatile artisan bread is perfect for almost any meal or occasion. Its robust flavor and satisfying texture make it an instant hit.
- Alongside Soups and Stews: There’s nothing quite like dipping a thick slice of crusty bread into a hearty bowl of soup or a rich stew.
- With Butter and Jam: A simple spread of good quality butter or your favorite homemade jam is a classic way to enjoy this bread for breakfast or a snack.
- For Sandwiches: Its sturdy crust and chewy interior make it an excellent choice for open-faced sandwiches or substantial deli sandwiches.
- Dipping Oil: Serve with a flavorful olive oil, a sprinkle of red pepper flakes, and a dash of balsamic vinegar for an elegant appetizer.
- As Toast: Leftover slices toast beautifully, offering a wonderful texture and taste for your morning routine.
Storage Tips to Keep Your Bread Fresh
To enjoy your Easy Dutch Oven Bread at its best, proper storage is key:
- Room Temperature: Store uncut bread at room temperature in a bread box or a paper bag for 2-3 days. This helps maintain its crusty exterior.
- Plastic Bag (for softer crust): If you prefer a softer crust, store it in a sealed plastic bag after it has completely cooled. This will soften the crust over time.
- Freezing: For longer storage, slice the cooled loaf and freeze the slices in an airtight bag for up to 3 months. You can toast individual slices directly from the freezer.
Frequently Asked Questions About Dutch Oven Bread
- Can I use instant yeast instead of active dry yeast?
- Yes, you can use instant yeast. The preparation method remains largely the same; you won’t need to “bloom” it in warm water first, just add it directly with the flour. However, the exact rise times might vary slightly, sometimes being a bit faster with instant yeast.
- Do I really not need to knead the dough?
- That’s the magic of this recipe! The long, slow fermentation process allows the gluten strands to develop naturally over time, providing the necessary structure and chewiness without any manual kneading. This makes it incredibly easy and hands-off.
- What if my dough isn’t rising?
- Several factors could be at play. Ensure your yeast is fresh and active, and that your water temperature is not too hot or too cold. Also, make sure your kitchen environment isn’t too cold; a slightly warmer spot can encourage a better rise. Give it adequate time, sometimes it just needs a little longer.
- Can I make this bread ahead of time?
- Absolutely! The dough can be prepared and left for its first rise in the refrigerator for up to 3 days. A colder rise can even enhance flavor. If refrigerating, allow the dough to come closer to room temperature for about 1-2 hours before shaping and proceeding with the second rise and baking.
- What if I don’t have parchment paper?
- While parchment paper is highly recommended for easy transfer into the hot Dutch oven, you can try flouring the bottom of the hot Dutch oven heavily before carefully dropping in the dough. However, this method carries a higher risk of sticking and can be more challenging. Some bakers also use cornmeal instead of flour for this.
Experience the Joy of Baking with This Easy Recipe
Baking homemade bread doesn’t have to be an intimidating task reserved for professional bakers. With this Easy Dutch Oven Bread recipe, you can effortlessly produce a stunning, flavorful loaf that will fill your home with an irresistible aroma and your belly with pure comfort. It’s a testament to the fact that sometimes, the simplest methods yield the most profound results. So, grab your Dutch oven, gather your ingredients, and prepare to embark on a delightful baking journey that will quickly become a favorite tradition in your kitchen. Happy baking!
