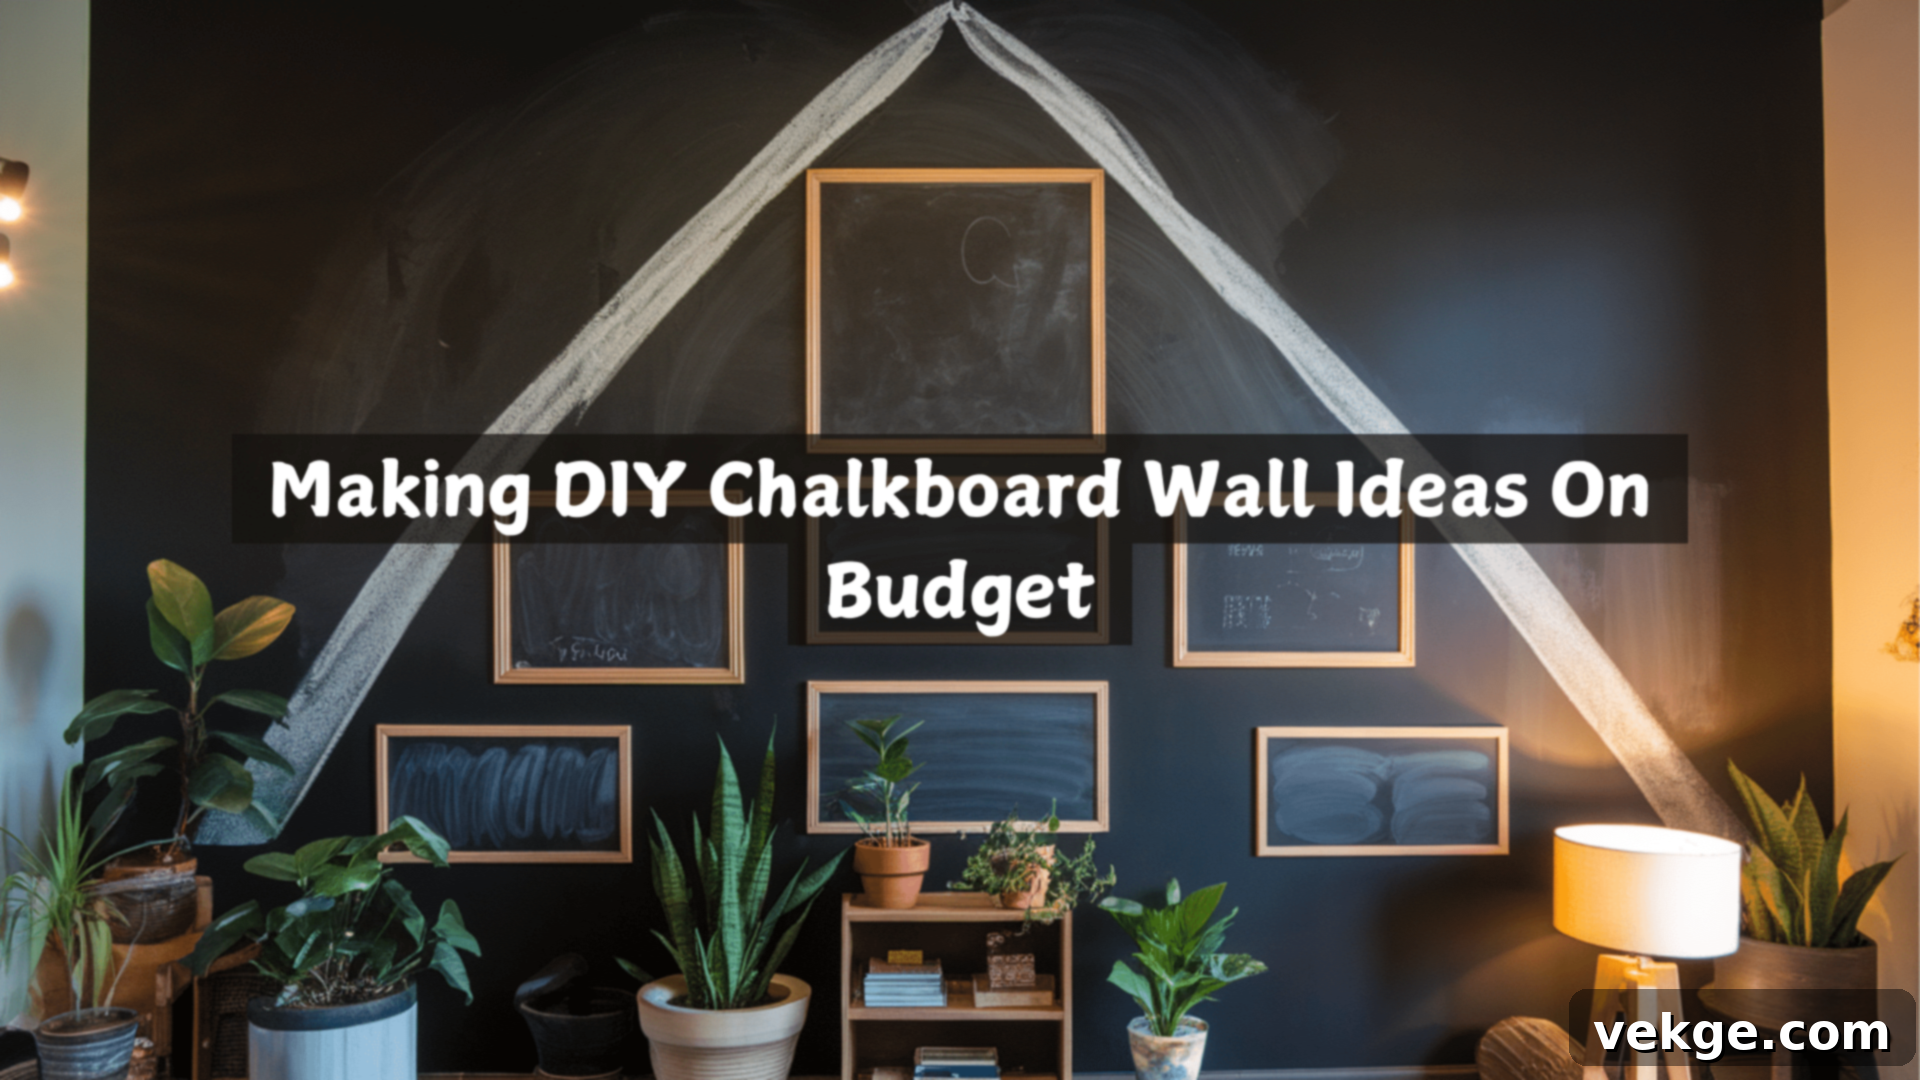
DIY Chalkboard Wall: Your Ultimate Guide to Easy & Budget-Friendly Home Transformation
Looking to infuse a touch of fun and functionality into your home without breaking the bank? Chalkboard walls have become a beloved trend for homeowners, offering a perfect blend of style and purpose. They effortlessly transform ordinary walls into dynamic canvases where you can jot down notes, unleash your artistic side, or share daily messages with loved ones.
What makes a DIY chalkboard wall truly special? Beyond their aesthetic appeal, they are incredibly budget-friendly and versatile enough for any room. Imagine a kitchen command center for grocery lists, an inspiring corner in your home office, or a creative haven in your children’s bedroom. The possibilities are endless!
This comprehensive guide will walk you through everything you need to know, drawing from years of personal experience and successful projects. You’ll discover:
- A detailed, step-by-step process to create your own chalkboard wall.
- Expert tips on selecting the ideal wall and the most effective materials.
- Simple yet effective tricks for maintaining your chalkboard wall to ensure its longevity.
- Innovative ideas to personalize your chalkboard space for every room in your home.
- Common pitfalls to avoid for a flawless finish.
Every piece of advice and every suggestion shared here is rooted in real-world application, ensuring you receive reliable, practical guidance that truly works. Let’s turn your vision into a captivating reality!
Essential Materials for Your DIY Chalkboard Wall Project
Before diving into the creative process, let’s gather the necessary tools and materials. I’ve carefully selected these items based on their effectiveness, ease of use, and overall value, ensuring you can achieve a professional-looking chalkboard wall while keeping costs to a minimum.
Must-Have Items for a Smooth Start:
- Chalkboard Paint: One quart typically covers approximately 100 square feet with two coats. Choose a high-quality brand for better durability and a smoother writing surface.
- Paint Roller (2-inch) and Tray: A good quality roller ensures even application and a smooth finish.
- Small Paintbrush: Essential for precise application around edges, corners, and tight spaces.
- Blue Painter’s Tape: Crucial for creating clean, crisp lines and protecting adjacent surfaces. Opt for a tape designed for delicate surfaces if your wall has fresh paint or wallpaper.
- Drop Cloth or Old Newspapers: Protects your floors and furniture from accidental spills and drips.
- Medium-Grit Sandpaper (120-180 grit): Prepares the wall surface by creating a smooth base, which is vital for chalkboard paint adhesion.
- Primer: A good primer creates an optimal bonding surface for the chalkboard paint, enhancing its durability and finish.
- Basic Cleaning Supplies: Warm water, mild soap, and sponges or cloths for thorough wall preparation.
- Regular Chalk: Needed for seasoning your new chalkboard wall before its first full use. Avoid dustless or oil-based chalk initially.
Pro Money-Saving Tip: Always check your local hardware store’s “oops paint” section. Sometimes, chalkboard paint or a suitable flat black latex paint is significantly discounted due to slight mixing errors. The color will still be black (or a very dark gray), but you’ll pay much less for a perfectly functional product.
A Crucial Note on Quality: While saving money is wise, I cannot stress enough the importance of not compromising on paint quality. I learned this lesson the hard way. Cheaper paints often result in a streaky finish, poor chalk adhesion, and quicker wear. Investing a little more in good quality chalkboard paint will save you time, effort, and frustration in the long run, yielding a wall that truly performs and lasts.
Step-by-Step Guide to Creating a Stunning Chalkboard Wall on a Budget
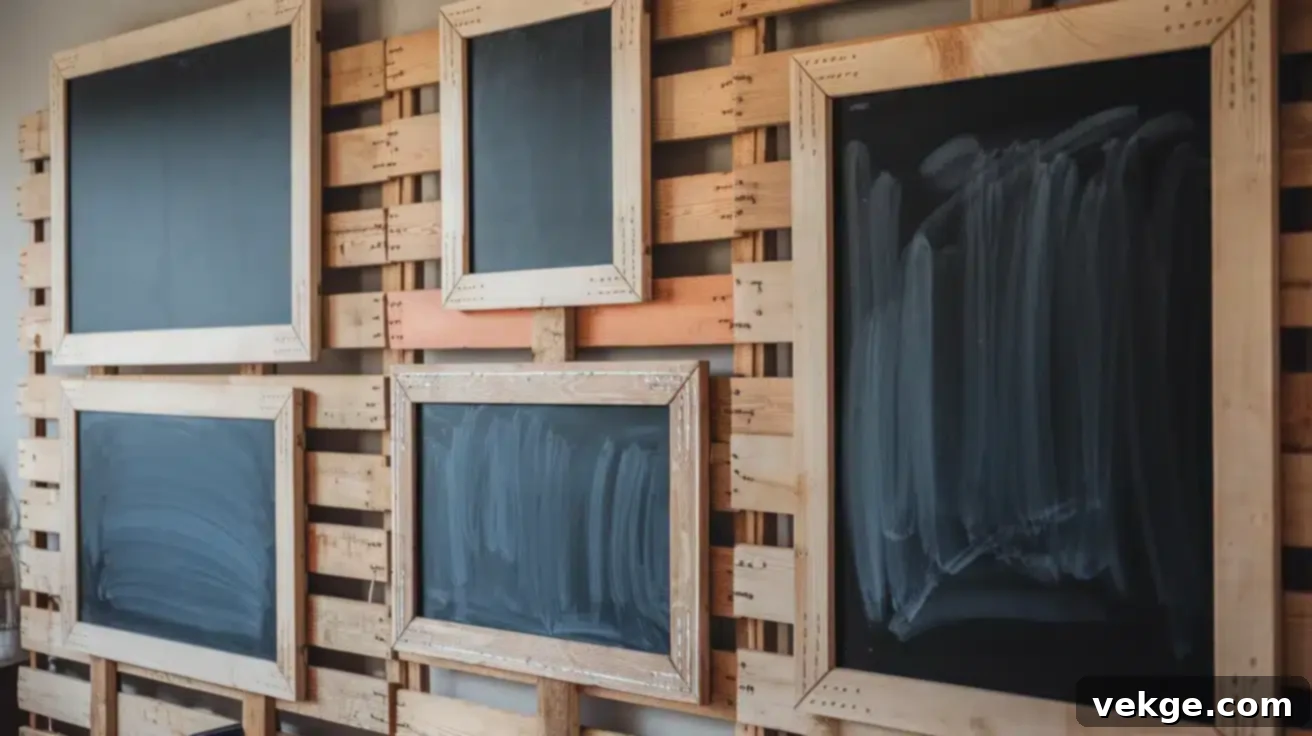
This detailed guide outlines the exact process I’ve successfully employed countless times to create durable and beautiful chalkboard walls. Follow these simple steps for a professional finish that will last for years.
1. Prepare Your Wall for Perfection
The foundation of a great chalkboard wall is a perfectly prepared surface. Start by thoroughly cleaning the wall with a mixture of warm water and a mild soap. This removes dirt, grease, and grime that could prevent paint adhesion. Allow the wall to dry completely.
Next, carefully inspect the wall for any imperfections such as bumps, small holes, or cracks. Fill these areas with spackling paste and allow it to dry according to the manufacturer’s instructions. Once dry, sand the entire wall surface with your medium-grit sandpaper until it feels completely smooth to the touch. A smooth surface is critical for an even chalkboard finish where chalk writes beautifully. Finally, wipe away all sanding dust with a damp cloth, then let it dry one last time.
2. Set Up Your Work Area
Protecting your surroundings is essential. Lay down your drop cloth or old newspapers to cover the floor and any nearby furniture. Then, precisely define your chalkboard area using blue painter’s tape. Apply the tape firmly, pressing down along the edges to prevent any paint from seeping underneath. This attention to detail ensures sharp, clean lines for your finished chalkboard.
3. Primer Time: The Secret to Longevity
Applying primer is a step often overlooked, but it’s vital for a durable and smooth chalkboard surface. Primer creates an ideal bonding layer for the chalkboard paint, ensuring better adhesion and a more even finish.
- Pour primer into your paint tray.
- Using your paint roller, apply an even coat of primer across the designated wall area.
- Switch to your small paintbrush for meticulous application in corners and along taped edges.
- Allow the primer to dry completely, typically for at least 4 hours (or as per product instructions). Good ventilation will help it dry faster.
- Lightly sand any rough spots or raised areas after the primer has dried, then wipe away dust.
4. First Coat of Chalkboard Paint
With your wall primed and ready, it’s time for the star of the show! Stir your chalkboard paint thoroughly before pouring it into the clean paint tray. A well-stirred paint ensures consistent color and texture.
Apply your first coat of chalkboard paint using even, consistent strokes. Work systematically from top to bottom, tackling small sections at a time. Don’t overload your roller; a thin, even coat is better than a thick, drippy one. It’s perfectly normal if the first coat appears a bit thin or translucent – the magic happens with the second coat!
5. The Waiting Game: Between Coats
Patience is key for a flawless finish. Rushing this stage can lead to an uneven surface, poor adhesion, and a less durable chalkboard.
- Wait a minimum of 6 hours (or longer, as specified by the paint manufacturer) before applying the second coat. This ensures the first coat is sufficiently cured.
- Maintain good air circulation in the room by opening windows or using a fan. This aids in drying and dissipates paint fumes.
- Resist the urge to touch the wall while it’s drying. Any smudges or marks will be permanent.
6. Second Coat and Quick Fixes
Apply your second coat of chalkboard paint with the same care and technique as the first, ensuring full coverage and an even appearance. This coat will deepen the color and create the characteristic chalkboard finish.
If you notice any drips or runs, gently smooth them out immediately with your roller. For any small missed spots or areas needing a touch-up, wait approximately 30 minutes until the paint is slightly tacky but not fully dry before applying a very light touch-up with your small brush. This prevents marring the partially dried surface.
7. The Final Reveal: Finishing Touches
You’re almost there! These final steps ensure your chalkboard wall looks professional and is ready for use.
- Allow the paint to dry for a full 24 hours before carefully removing the painter’s tape.
- Pull the tape off slowly at a 45-degree angle to prevent peeling the fresh paint.
- If you discover any rough edges where the paint might have bled slightly, very carefully sand them smooth with fine-grit sandpaper, then wipe away the dust.
Money-Saving Tip: Painting in the morning when temperatures are typically cooler can optimize drying conditions. This allows the paint to cure properly, potentially reducing the need for additional coats and ensuring a smoother finish.
DIY Chalkboard Paint: Create Your Own Mix for a Smooth Finish
Did you know you can make your own chalkboard paint at home for even greater savings? I’ve experimented with various concoctions, and this method consistently delivers excellent results, comparable to store-bought options, while significantly cutting costs.
Craft Your Own Paint Mix:
- 1 cup of Flat Latex Paint: Choose black or a very dark gray. Flat paint is crucial as it lacks the sheen that would make chalk difficult to write on.
- 2 tablespoons of Unsanded Tile Grout: The grout provides the gritty texture that makes the surface receptive to chalk.
- Small Plastic Container: For easy mixing. An old yogurt container or a disposable plastic cup works perfectly.
- Paint Stirrer or Wooden Spoon: For thoroughly combining ingredients.
Mixing Your Budget-Friendly Paint:
Pour the flat latex paint into your mixing container. Gradually add the unsanded tile grout, stirring continuously. The key is to mix thoroughly until the grout is completely blended into the paint, leaving no lumps. If you notice any stubborn clumps, you can strain the mixture through a paint strainer – these are usually available for about a dollar at hardware stores and are a worthwhile investment for a silky-smooth finish.
Achieving That Perfect Smooth Finish:
I’ve discovered that the secret to a flawless, professional-looking chalkboard surface lies in the application technique. Instead of a standard roller, opt for a foam roller. Foam rollers minimize the formation of bubbles, resulting in a much smoother finish.
When applying the paint, use a “roll-and-cross-roll” method: first, roll in one direction (e.g., vertically), then immediately go perpendicular to your first stroke (horizontally). This technique helps distribute the paint evenly and eliminates roller marks.
Budget-Smart Solutions for DIY Paint:
- Flat Black Latex Paint: It performs just as effectively as specialized chalkboard paint when mixed with grout, but often at a fraction of the cost.
- Sample-Size Paint Pots: For smaller projects, these inexpensive pots often contain enough paint to create a mini chalkboard area, eliminating waste.
- Clean Your Rollers: Thoroughly wash and dry your foam rollers after the first coat. Reusing them saves money and is environmentally friendly.
- Make Small Batches: Only mix what you need for each coat to prevent the grout from settling and hardening, avoiding waste.
Fixing Common DIY Paint Problems:
- For Streaks: Lightly sand between coats with fine-grit sandpaper (e.g., 220 grit) and then wipe clean. This creates an even surface for the next layer.
- For Bubbles: Roll slower and avoid pressing too hard on the roller. Overworking the paint or rolling too quickly can introduce air bubbles.
- For Rough Patches: If your paint mixture seems too thick, add a tiny drop of water (a quarter teaspoon at a time) and stir well. Too thick a mix can result in a textured, uneven surface.
Remember: The smoother your wall surface, the better your chalk will write and erase. Investing time in meticulous prep work and careful application will yield professional results and save you money by getting it right the first time.
Creative Chalkboard Wall Ideas for Every Room in Your Home
Chalkboard walls are not just functional; they’re an incredible canvas for creativity and personalization. Let me share some of my favorite ways to integrate them into different areas of your home, transforming spaces into useful and delightful zones.
1. Kitchen Command Center Magic
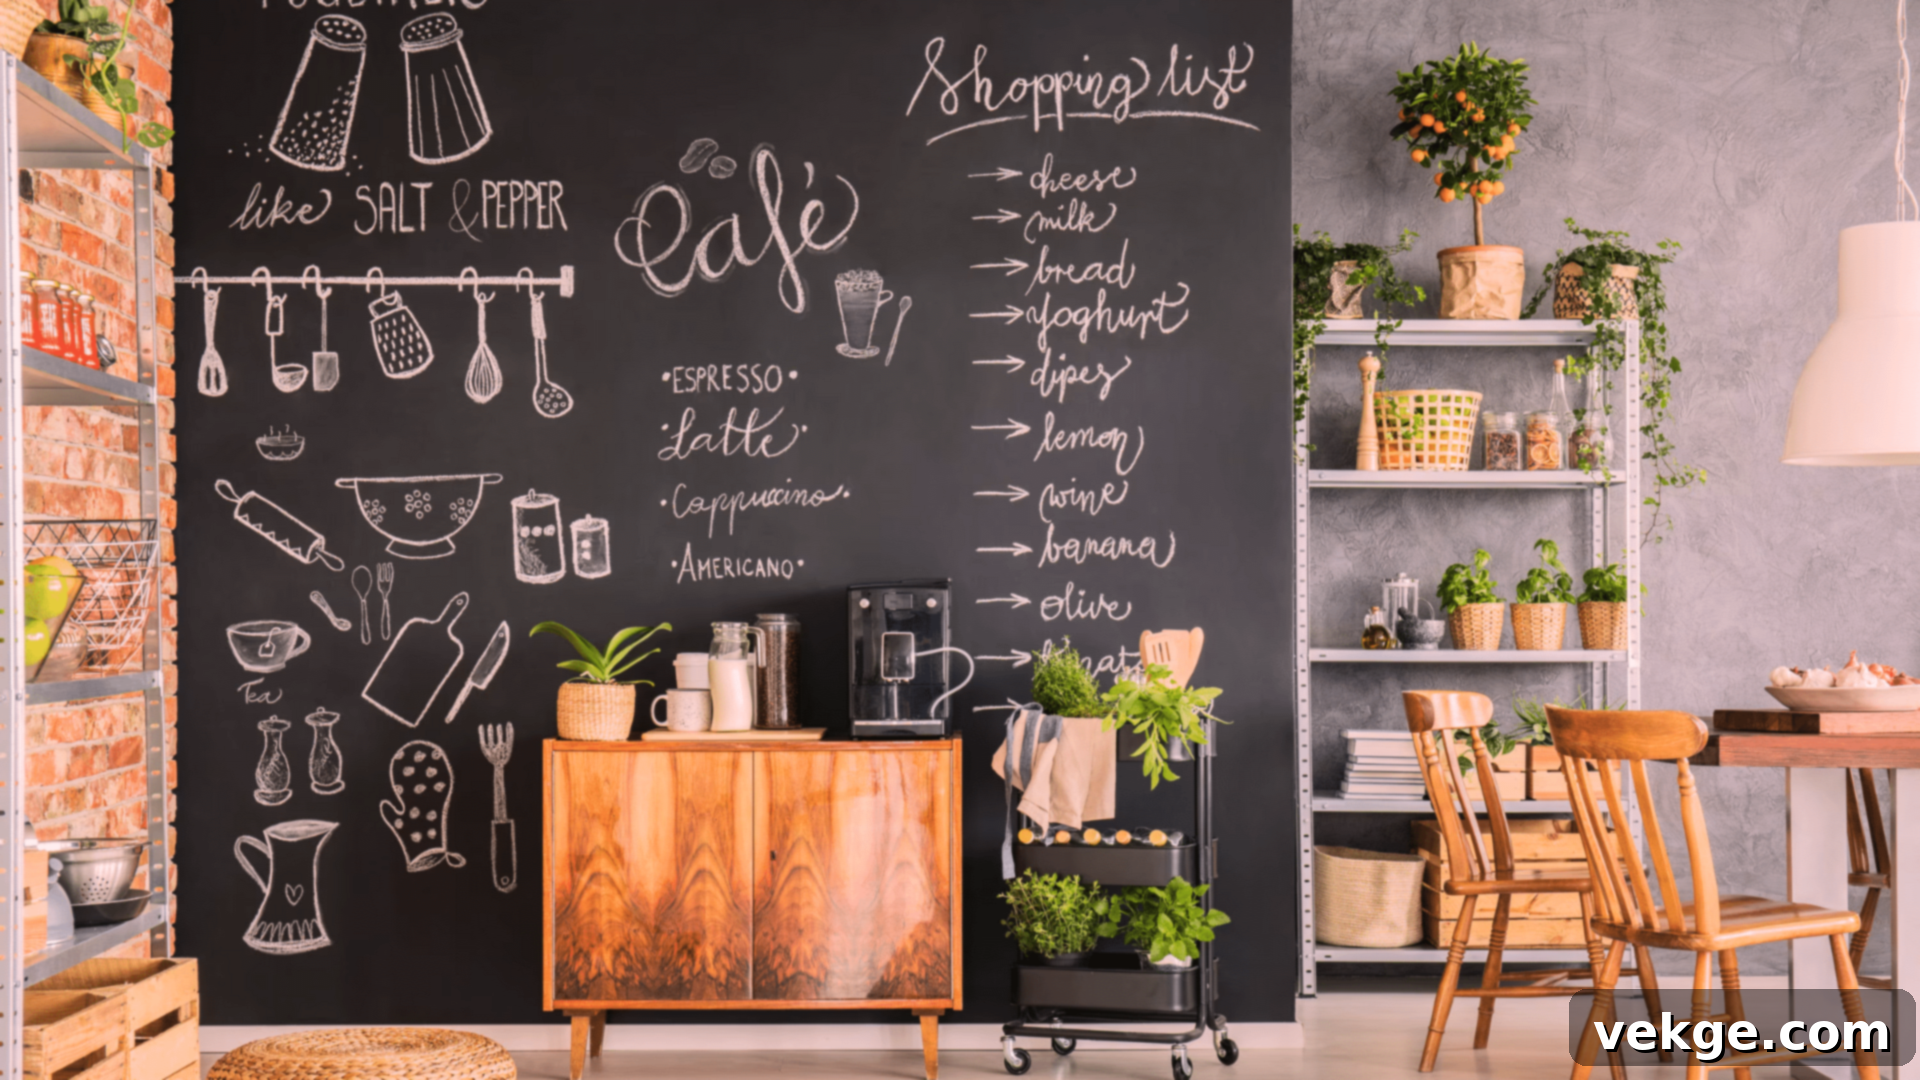
Designate a prominent space near your refrigerator or dining area for a dynamic weekly menu and shopping list hub. I love drawing boxes for each day’s meals, making meal planning a breeze. Create a dedicated spot for family members to jot down items they’ve used up – this is a fantastic paper-saving tip and ensures everyone stays updated on grocery needs.
2. Living Room Art Gallery
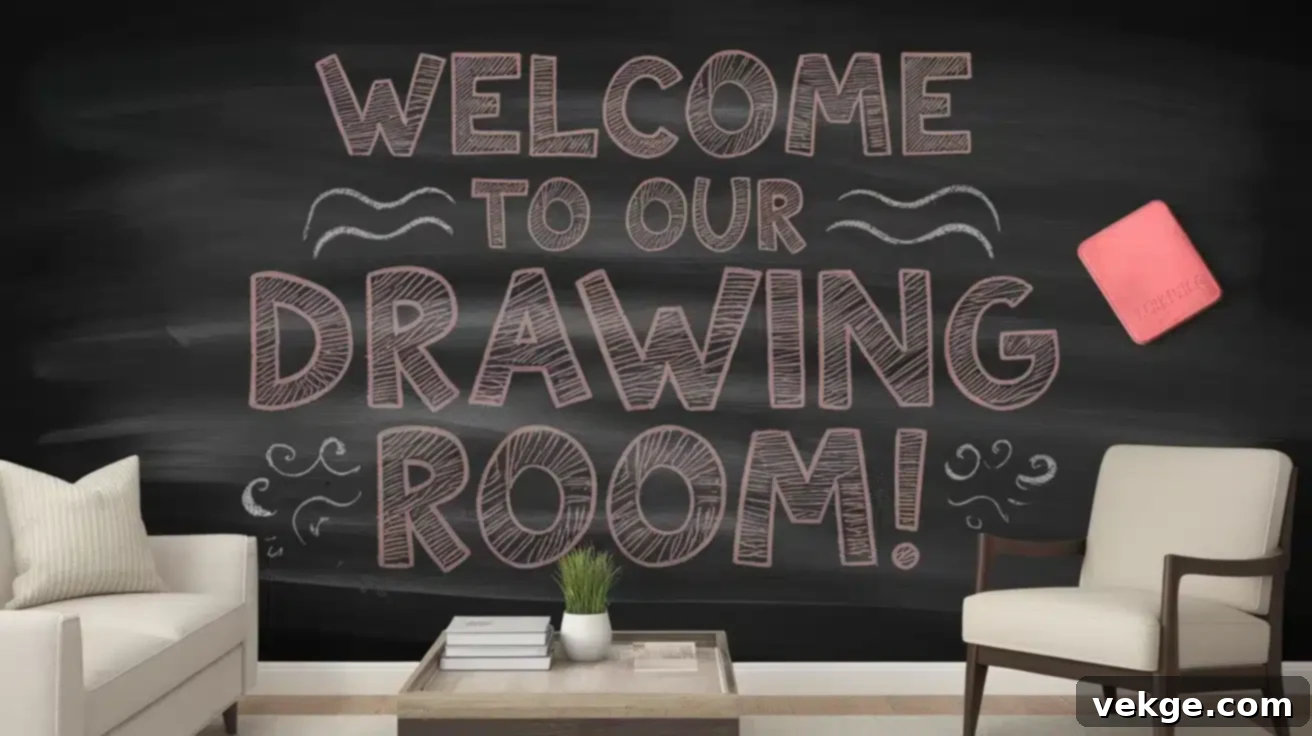
Transform a living room wall into an ever-changing art gallery. Draw various sized frames directly onto your wall with chalk. Fill these frames with seasonal art, inspirational quotes, or spontaneous family doodles. This instantly gives your room a unique, personal touch that you can refresh and update as often as your mood changes.
3. Kids’ Room Fun & Learning Zone
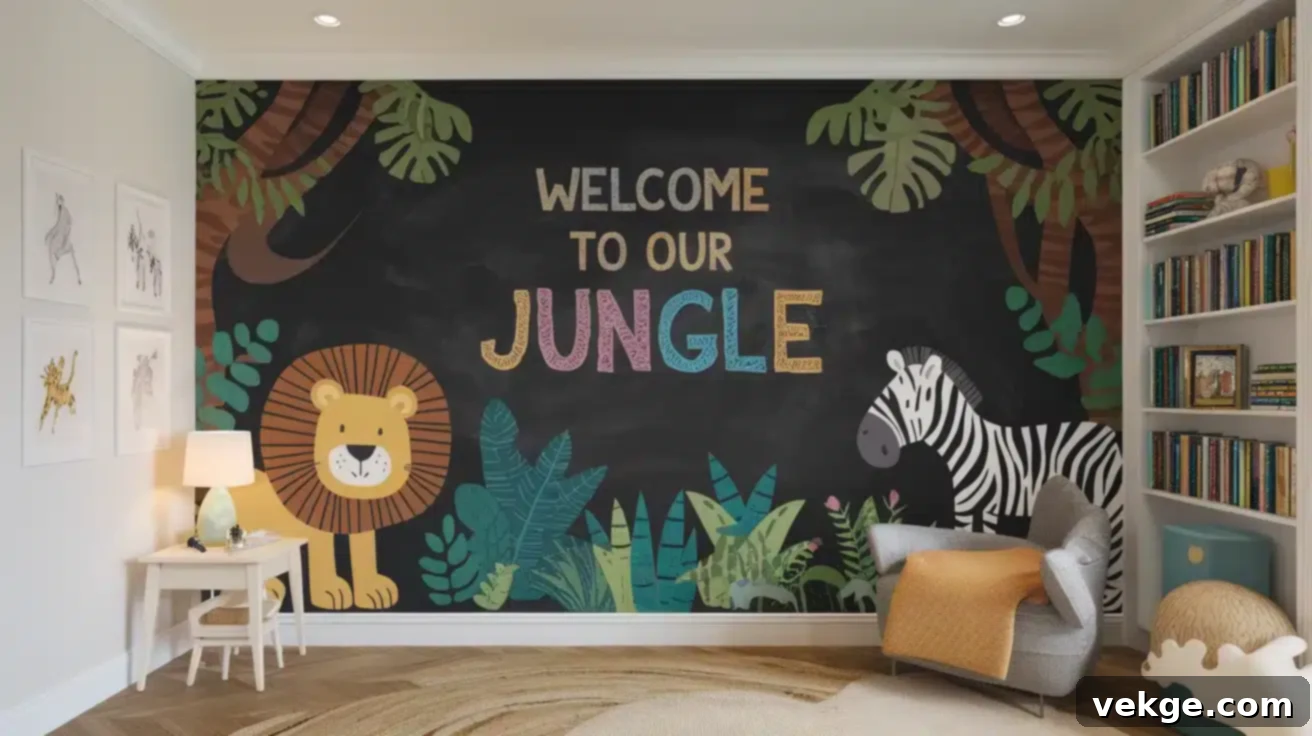
A chalkboard wall in a child’s room is a dream come true for creative minds. Divide the wall into interactive sections:
- Learning Zone: For practicing ABCs, numbers, and basic math.
- Art Space: A dedicated area for free drawing and imaginative play.
- Height Chart: A charming way to track growth year after year.
- Weekly Reward Charts: To encourage good behavior and chores.
- Homework Reminder Area: A visual aid for assignments and deadlines.
4. Home Office Organization Hub
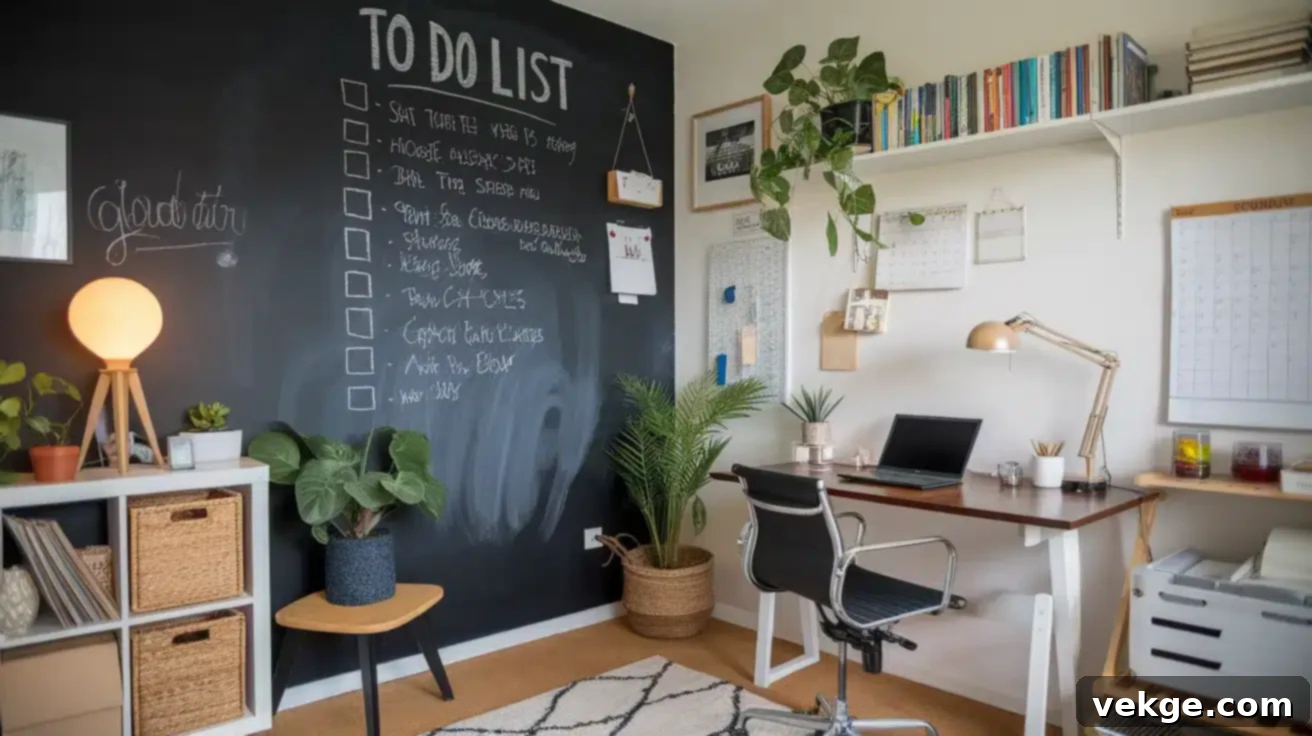
Boost your productivity with an organized chalkboard wall in your home office. Create structured sections for:
- Monthly Calendar: For important dates and appointments.
- Project Deadlines: Keep critical tasks in plain sight.
- Quick Notes & Brainstorming: A free-form space for ideas.
- Important Phone Numbers: Easy access to frequently called contacts.
- Meeting Times: A clear schedule for virtual or in-person meetings.
5. Hallway Communication Center
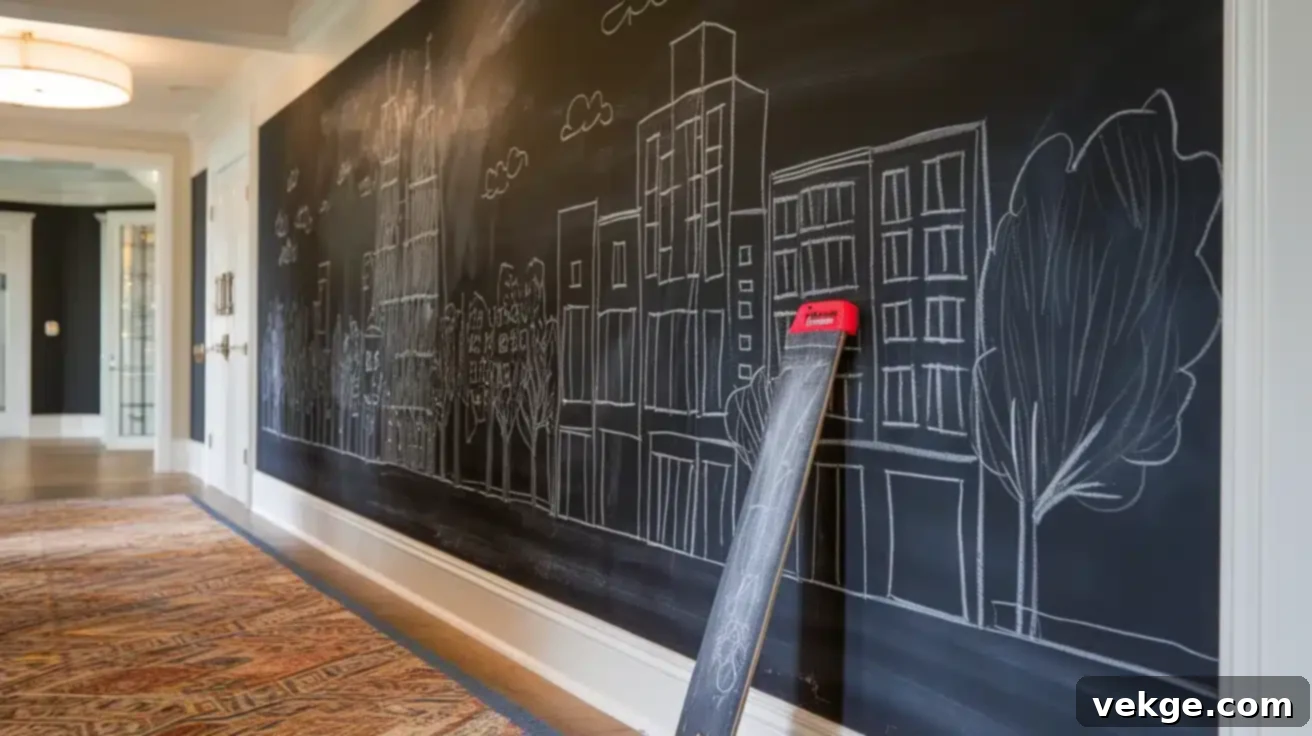
Maximize the utility of your hallway walls by turning them into a central family communication hub:
- Daily Reminders: “Don’t forget your lunch!” or “Turn off the lights.”
- Welcome Messages: A warm greeting for guests.
- Weather Updates: Quick checks before heading out.
- After-School Activity Schedule: Keep track of everyone’s whereabouts.
- Family Achievements Board: Celebrate successes and milestones together.
Money-Saving Tip: Instead of committing to entire walls, consider creating smaller chalkboard panels. You can paint a rectangular section of a wall, or even frame out smaller painted areas. This approach uses less paint, minimizes effort, and still provides ample interactive writing space, perfect for renters or those who prefer a less permanent solution.
How to Maintain and Clean Your Chalkboard Wall for Lasting Beauty
Proper maintenance is key to ensuring your chalkboard wall remains a beautiful and functional feature for years to come. After creating and caring for dozens of these walls, I’ve refined the best practices for long-term care and optimal performance.
Daily Cleaning for a Fresh Surface:
- Soft, Dry Eraser: For routine cleaning, always use a soft, dry felt eraser.
- Wipe Direction: Erase in one consistent direction (e.g., top-to-bottom), then repeat in the opposite direction (e.g., left-to-right) to remove chalk dust effectively.
- Microfiber Cloth: Keep a clean microfiber cloth handy for quick, dry touch-ups and to remove any lingering dust.
- Clean Your Erasers: Periodically take your erasers outside and clap them together or gently tap them against a hard surface to release accumulated chalk dust.
Weekly Deep Clean for Pristine Results:
For a more thorough clean that removes chalk residue and keeps your surface fresh, use a simple, effective homemade solution:
- Cleaning Mix: Combine 1 part warm water with 1 part white vinegar in a spray bottle or small bowl. White vinegar is a natural cleaner that effectively dissolves chalk residue without damaging the paint.
- Soft Cloth or Sponge: Lightly dampen your cloth or sponge with the vinegar solution.
- Gentle Wipe: Gently wipe the wall with the damp cloth. Avoid saturating the wall; a slightly damp cloth is all you need.
- Dry Completely: Allow the wall to air dry fully before writing on it again. Writing on a damp surface can cause chalk to stick and leave permanent marks.
Smart Tips for Extending Your Wall’s Life:
- Use Regular Chalk: Always opt for standard, good-quality chalk. Avoid oil-based markers, chalk markers (unless specifically stated they are safe for chalkboard paint), or crayons, as these can permanently stain the surface.
- Old Sock Trick: Keep an old, clean sock nearby. It’s perfect for quick wipes of small marks or smudges.
- Dust Management: Chalk dust naturally accumulates at the bottom edge of the wall. Wipe this area weekly to prevent buildup.
- Targeted Cleaning: If certain areas are used more frequently (like a grocery list section in the kitchen), clean those spots more often to prevent deep staining.
Fixing Stubborn Marks and Ghosting:
Even with good care, some stubborn marks or “ghosting” (faint remnants of previous writing) might appear. Here’s how to tackle them:
- Mr. Clean Magic Eraser: Use a Mr. Clean Magic Eraser very gently. Test a small, inconspicuous area first, as aggressive use can sometimes remove paint.
- Baking Soda Paste: Create a mild abrasive paste by mixing baking soda with a small amount of water.
- Small Circles: Apply the paste or gently use the Magic Eraser in small circular motions over the problematic area.
- Rinse & Dry: Rinse the area with a clean, plain water-dampened cloth, then allow it to dry completely.
Money-Saving Tricks for Chalkboard Care:
- Repurpose Old T-shirts: Cut up old cotton T-shirts into rags for effective and free cleaning cloths.
- DIY Erasers: Craft your own erasers from felt scraps or old sponges wrapped in fabric.
- Vinegar Power: Rely on inexpensive white vinegar instead of costly specialized chalkboard cleaners.
- Chalk Storage: Store your chalk in a covered container to keep it clean and prevent it from creating extra dust when not in use.
Remember: Regular, gentle cleaning takes just a few minutes but can add years to the life of your chalkboard wall. A well-maintained chalkboard wall can remain vibrant and functional for many years, often postponing the need for a fresh coat of paint.
Personalizing Your Chalkboard Wall: Fun and Functional Designs
Beyond its basic function, your chalkboard wall is an opportunity for creative expression. Let’s explore various ways to personalize it, making it both beautiful and highly functional for your family’s needs.
Simple Border Ideas to Frame Your Art:
Borders can define your chalkboard area and add a decorative touch:
- Straight Lines: Use a ruler and chalk to draw crisp, straight lines around the perimeter or to create internal sections.
- Dotted Edges: Add a playful touch with a series of evenly spaced dots along the edges.
- Basic Wave Patterns: Freehand simple, flowing wave patterns for a softer look.
- Corner Designs: Embellish corners with simple flower designs, swirls, or geometric shapes.
- Painter’s Tape Stripes: For a more polished look, use painter’s tape to create permanent, painted stripes as a border.
Useful Sections for Enhanced Organization:
Dividing your wall into dedicated areas helps you stay organized and on track:
- Weekly Schedule Boxes: Draw a grid for each day of the week to plan meals, activities, or appointments.
- Note Spaces for Each Family Member: Assign a personal section for individual messages, reminders, or chore lists.
- Weather Section: A small corner to update daily forecasts or seasonal notes.
- Monthly Calendar Grid: A larger, reusable calendar for a bird’s-eye view of your month.
- Meal Planning Area: Separate from the schedule, this can list ingredients needed or specific recipes.
Making DIY Templates for Consistency:
Templates are fantastic for creating uniform shapes or recurring designs effortlessly:
- Cardboard Sheets: Cut out custom shapes like clouds, stars, or speech bubbles from old cardboard.
- Paper Plates for Circles: Use various sizes of paper plates to draw perfect circles.
- Rulers for Straight Lines: An obvious but essential tool for clean, straight divisions.
- String for Curved Designs: Anchor one end of a string with tape or a thumbtack, tie chalk to the other, and draw sweeping curves or large circles.
- Old Folders for Shapes: Cut out letters, numbers, or small symbols from old file folders for reusable stencils.
Budget-Friendly Add-Ons to Boost Functionality:
Enhance your chalkboard wall with practical and charming accessories:
- Chalk Holders from Tin Cans: Decorate and mount empty tin cans to hold chalk sticks, keeping them tidy and accessible.
- Washi Tape for Removable Borders: Use colorful washi tape for temporary, decorative borders that can be changed easily without damaging the paint.
- Eraser Stations with Cup Hooks: Install small cup hooks beneath your wall to hang a cleaning cloth or small eraser.
- Small Shelves from Scrap Wood: Repurpose scrap wood into mini shelves to hold chalk, erasers, or small decorative items.
- Message Clips from Clothespins: Glue magnets to clothespins to hold notes, photos, or small drawings on the chalkboard surface (if your paint is magnetic, otherwise stick them to an adjacent magnetic surface).
Style Tips for a Harmonious Look:
When it comes to design, remember that less is often more. Over-cluttering your chalkboard wall with too many sections or elaborate drawings can make it look messy and difficult to use.
My advice is to pick one primary use for your wall (e.g., a family message center or a kid’s art space) and then add smaller, complementary helpful areas around it. This creates a clean, focused, and aesthetically pleasing design.
Quick Design Ideas to Get Started:
- Family Message Center: A central area for notes, greetings, and daily tasks.
- Growth Chart with Decorative Edges: A fun way to track your children’s height, adorned with whimsical designs.
- Sports Scoreboard: Perfect for a game room or child’s bedroom to track imaginary games or real scores.
- “Quote of the Day” Space: A dedicated section for daily inspiration or thought-provoking messages.
- Homework Station: A visual aid for assignments, study tips, and encouragement.
Remember: Your chalkboard wall should serve *your* needs and reflect your personal style. Start with a basic design and gradually add more elements as you discover what works best for your household. It’s an evolving canvas!
Common Mistakes to Avoid When Installing a Chalkboard Wall
While creating a chalkboard wall is a rewarding DIY project, certain missteps can hinder its success. Drawing from years of experience, I’ve identified common mistakes that people often make. By being aware of these, you can avoid frustrating issues and achieve the best possible results.
Wall Preparation Problems:
The foundation is everything. Skimping on prep leads to future problems:
- Not Cleaning the Wall First: Dirt, dust, and grease prevent paint from adhering properly, leading to peeling or an uneven finish.
- Skipping the Sanding Step: An unsanded wall might have minor bumps or an unideal texture, resulting in a rough chalkboard surface where chalk writes poorly.
- Using Old or Dirty Paint Supplies: Old rollers or brushes can leave lint, streaks, or uneven textures on your new wall.
- Starting with Bumpy or Damaged Walls: Chalkboard paint highlights imperfections. Always fill holes and smooth bumps before priming.
- Not Filling in Small Holes: Even tiny holes can become noticeable under chalkboard paint, impacting the writing surface.
Paint and Tool Issues:
The right materials make all the difference:
- Using Regular Wall Paint Instead of Chalkboard Paint: Standard paint lacks the specific texture needed for chalk to adhere and erase cleanly.
- Picking Cheap Brushes That Leave Marks: Low-quality brushes can shed bristles or leave visible stroke marks.
- Using Old or Hardened Rollers: Rollers past their prime will not apply paint smoothly and can create an uneven texture.
- Mixing Different Brands of Paint: While DIY paint works, mixing different brands of *pre-made* chalkboard paint can lead to inconsistent color or texture.
- Not Buying Enough Paint for Multiple Coats: Always factor in at least two coats, plus a little extra for touch-ups. Running out mid-project is frustrating and can cause color variations if you buy a new batch.
Coating Application Mistakes:
Proper application ensures a durable, functional surface:
- Putting on Thick Layers That Drip: Thick coats take longer to dry, are prone to drips, and can result in an uneven, textured finish.
- Not Waiting Between Coats: Applying a second coat too soon will lift the first layer, create bubbles, or lead to a patchy appearance.
- Skipping the Second Coat to Save Time: One coat rarely provides sufficient coverage or durability for a functional chalkboard.
- Using Different Rolling Patterns: Inconsistent rolling can create visible lines or uneven sheen. Stick to a systematic approach (e.g., vertical, then horizontal).
- Not Checking for Missed Spots: Review the wall from different angles in good light to catch any areas that need additional coverage.
Time Management Errors:
Patience truly is a virtue in painting:
- Not Allowing Each Coat to Dry Fully: Rushing drying times is a primary cause of paint failures, including peeling or an uneven finish. A full 24 hours between coats is ideal.
- Don’t Rush the Taping Process: Sloppy tape application leads to bleed-through and jagged lines.
- Not Checking Weather/Humidity: High humidity can significantly extend drying times. Plan your project for dry, well-ventilated days.
- Not Planning for Proper Ventilation: Paint fumes require good air circulation for safety and to aid drying.
- Not Waiting Three Days Before First Use: Chalkboard paint needs time to fully cure (often 3-7 days) before it’s “seasoned” and used, preventing ghosting.
Long-Term Planning Oversight:
Think beyond the painting phase:
- Location: Consider where kids can easily reach. Is it too high or too low for comfortable use?
- Cleaning Frequency: If it’s a high-use area, plan for regular cleaning to prevent excessive chalk dust buildup.
- Amount of Natural Light: A wall in direct sunlight might fade faster or show imperfections more clearly.
- Distance from Water Sources: Avoid areas prone to splashing water, as this can damage the paint.
- Future Room Changes: Think about how easy it will be to paint over the chalkboard if your decor changes in the future.
Quick Fix Tips: If you notice a problem during the painting process (like a drip or a missed spot), address it immediately. Waiting only allows the paint to set, making the correction much harder and more noticeable later. Also, always keep a small amount of leftover chalkboard paint for future touch-ups; you’ll be grateful for it down the line!
Conclusion: Unlock Your Walls’ Creative Potential
Creating a chalkboard wall is a surprisingly simple and affordable DIY project that offers immense decorative and functional value. You’ve now gained all the knowledge to confidently select the perfect spot, gather your materials economically, and transform any wall into an interactive masterpiece tailored to your needs.
My shared methods are tried, tested, and proven to deliver excellent results. The most exciting aspect of a chalkboard wall is its dynamic nature: it’s a living canvas that can evolve with your life. Jot down important notes today, inspire with drawings tomorrow, or meticulously plan your week ahead – the space is yours to command and personalize as you wish.
Have you embarked on the journey of creating your own chalkboard wall, or are you planning to start one soon? I’d genuinely love to see your creations! Please share a photo in the comments below, or feel free to ask any questions you have about kicking off your project. Let’s foster a community where we learn from each other and collectively enhance our homes with useful and beautiful DIY solutions.
Frequently Asked Questions About Chalkboard Walls
How Long Does a Chalkboard Wall Last With Regular Use?
With proper application and consistent, gentle care, a high-quality chalkboard wall can easily last 3 to 5 years before it might show signs of wear and potentially need a fresh coat of paint. Daily cleaning with a soft eraser and weekly deeper cleaning with a mild solution will significantly extend its functional lifespan and keep it looking fresh.
Can I Paint a Chalkboard Wall on Textured Walls?
Yes, you can paint a chalkboard wall on textured surfaces, but it requires extra preparation. To achieve the best writing and erasing surface, you must first smooth out the texture. This involves lightly sanding the existing texture, applying a skim coat of wall compound (or joint compound) to create an even surface, letting it dry completely, and then sanding it perfectly smooth again before priming and painting with chalkboard paint.
What’s the Best Way to Remove a Chalkboard Wall?
Removing a chalkboard wall is straightforward. First, lightly sand the entire chalkboard surface. This helps create a bit of “tooth” for the new paint to adhere to and can also slightly lighten the dark color. Next, apply a good quality primer (a stain-blocking or high-hide primer works best) over the entire sanded area. Finally, paint over the primed surface with your regular wall paint. You will likely need 2-3 coats of regular wall paint to completely cover the dark chalkboard paint and ensure a uniform new color.
