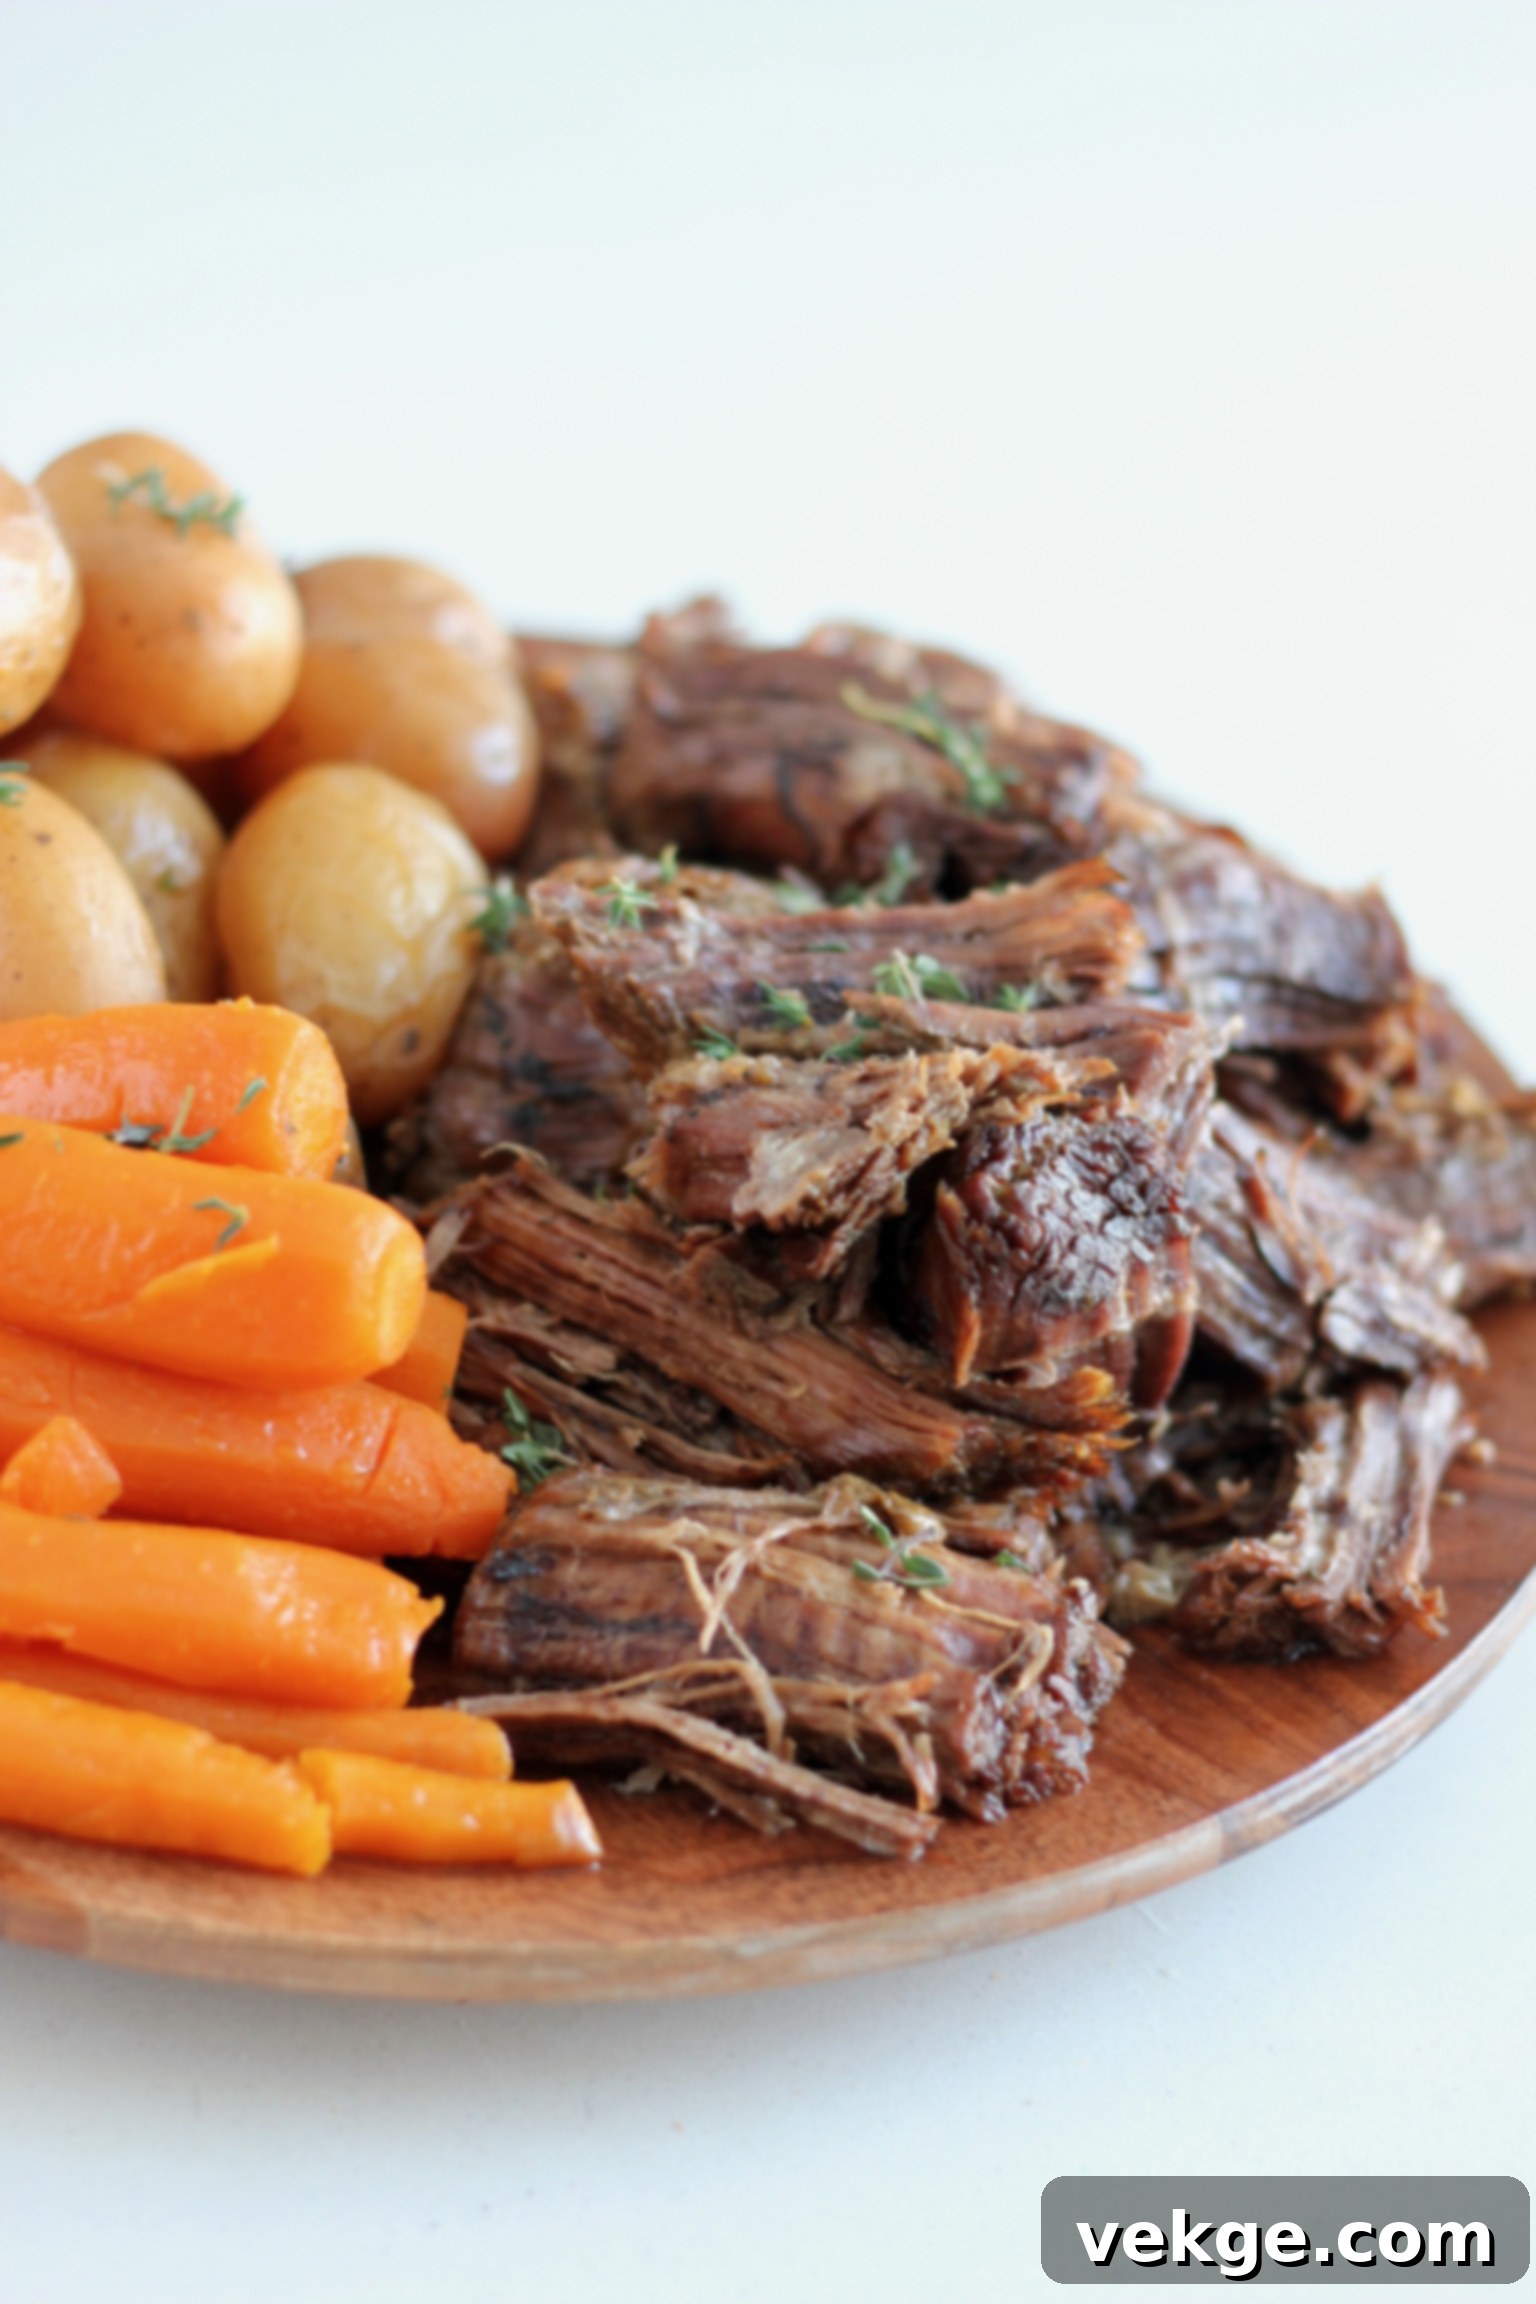
Are you ready to discover the secret to the most incredibly tender, flavorful pot roast you’ve ever tasted? Look no further than your Instant Pot! This revolutionary kitchen appliance transforms a classic comfort food into an effortless culinary masterpiece, slashing cooking time from hours to minutes while delivering results that will consistently impress. Forget about dry, tough meat; with this Instant Pot Chuck Roast recipe, you’re guaranteed a succulent, fall-apart tender meal with rich, savory gravy and perfectly cooked vegetables, all in a single pot. It’s truly a win-win: less time in the kitchen, fewer dishes to wash, and an absolutely delicious dinner on your table. Prepare to make this your new go-to recipe for the ultimate pot roast experience.
Selecting the Perfect Cut for Your Instant Pot Pot Roast
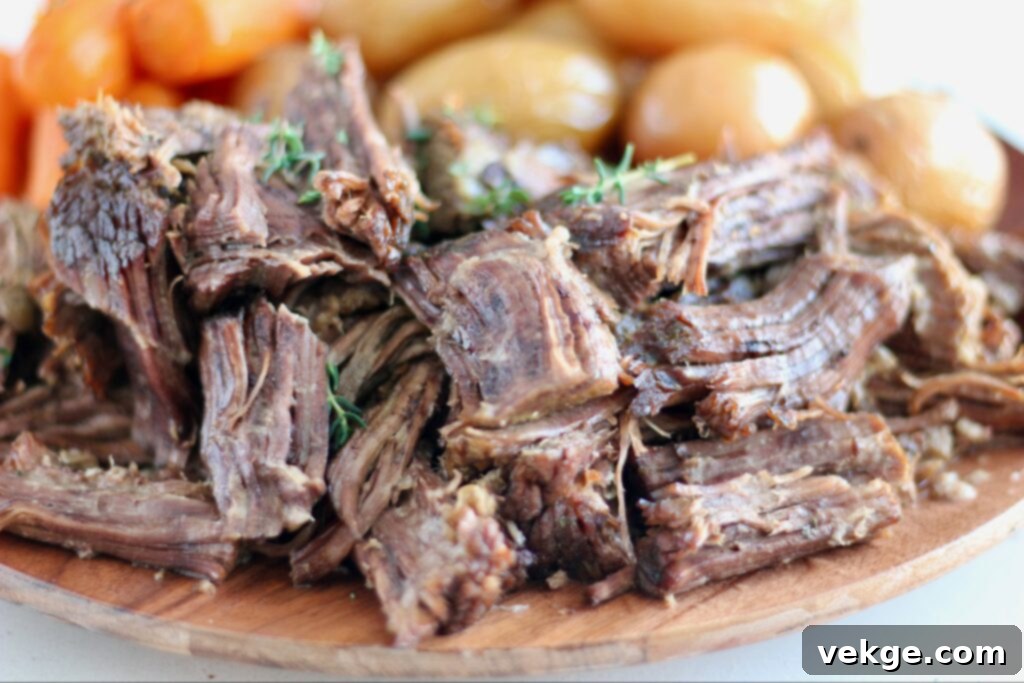
The foundation of any great pot roast begins with choosing the right cut of beef. For our Instant Pot Pot Roast, the undisputed champion is the **chuck roast**. This cut, originating from the shoulder of the cow, is renowned for its rich marbling – those fine streaks of fat that melt during cooking, infusing the meat with incredible moisture and unparalleled flavor. Historically, chuck roast has been the preferred choice for slow-cooked dishes because its tough muscle fibers break down beautifully over time, transforming into melt-in-your-mouth tenderness.
While a chuck roast is my top recommendation due to its inherent flavor and tenderizing capabilities under pressure, a **rump roast** can also be used. Rump roast is a leaner cut from the hindquarters, which means it has less marbling. While it can still become tender in the Instant Pot, it may not achieve the same level of succulent richness as a chuck roast. Other suitable cuts for pressure cooking include beef brisket or even a boneless beef short rib, each offering a slightly different texture and flavor profile, but all benefiting from the tenderizing power of the Instant Pot. For consistency and the most classic pot roast flavor, stick with a good quality chuck roast – ideally one that has a nice amount of visible marbling for that extra juicy finish.
Why the Instant Pot is Your Secret Weapon for Pot Roast
If you’re still cooking pot roast the traditional way – low and slow in an oven for 4-6 hours – prepare to have your world changed by the Instant Pot. This multi-cooker isn’t just a trendy gadget; it’s a genuine game-changer for tough cuts of meat like chuck roast. Here’s why the Instant Pot is easily the best cooking method for pot roast:
- **Unrivaled Tenderness in Record Time:** The Instant Pot utilizes high-pressure cooking, which drastically reduces cooking times. Instead of waiting all day, you can achieve fork-tender beef in about 70-90 minutes of active pressure cooking. The intense pressure and steam work wonders, breaking down the tough connective tissues and muscle fibers in the roast much faster than conventional methods.
- **Effortless & Foolproof:** One of the greatest advantages is its ease of use. Once you set it, the Instant Pot handles the rest. There’s minimal hands-on time, and it’s incredibly forgiving – it’s genuinely hard to mess up a pot roast in a pressure cooker!
- **One-Pot Wonder:** The sauté function allows you to sear your meat and sauté your aromatics directly in the pot before pressure cooking. This means all those delicious flavors are locked into a single vessel, reducing cleanup to just one dirty dish.
- **Consistent Results:** The sealed environment of the Instant Pot ensures even cooking and consistent moisture retention, leading to a perfectly juicy roast every single time.
- **Energy Efficient:** Compared to running an oven for several hours, the Instant Pot is a more energy-efficient way to cook, saving you on utility bills.
The high-pressure environment creates a moist heat that penetrates deep into the meat, ensuring that every bite is as tender and flavorful as the last. It’s this unique combination of speed, simplicity, and superior results that makes the Instant Pot the ultimate tool for cooking pot roast.
The Importance of Searing Your Pot Roast
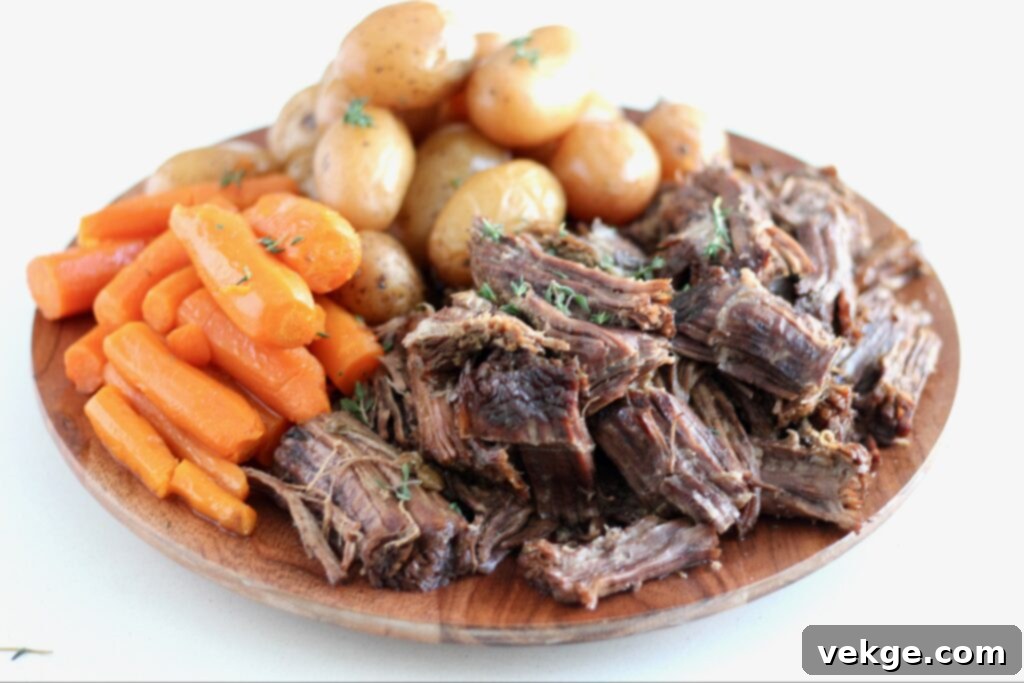
While technically optional, searing your chuck roast before pressure cooking is a step I highly recommend and one that significantly elevates the final flavor profile of your pot roast. Searing isn’t just about browning; it’s about flavor development and creating a beautiful texture.
When you sear the surface of the meat in hot oil, several magical things happen:
- **Maillard Reaction:** This is a complex chemical reaction between amino acids and reducing sugars that gives browned food its distinctive flavor. It creates hundreds of new flavor compounds, resulting in a rich, savory, and complex taste that you simply can’t achieve without searing.
- **Crust Formation:** Searing creates a delicious, slightly crispy brown crust on the exterior of the meat. This crust not only adds texture but also acts as a barrier, helping to lock in juices during the pressure cooking process.
- **Enhanced Appearance:** A beautifully seared roast is visually appealing. The deep golden-brown color adds to the appetizing presentation of your finished dish.
- **Adds Depth:** The caramelized sugars and browned proteins contribute layers of depth to the overall flavor of your pot roast and, ultimately, to the gravy you’ll make at the end.
The Instant Pot’s “Sauté” function makes searing incredibly convenient, allowing you to achieve this crucial step right in the same pot you’ll use for pressure cooking. This means less mess and more concentrated flavor!
Can I Use a Frozen Chuck Roast in the Instant Pot?
Life gets busy, and sometimes the best laid plans for dinner involve a forgotten frozen roast. The good news is, yes, you absolutely can cook a frozen chuck roast in your Instant Pot! This is another area where the Instant Pot shines, offering unparalleled flexibility compared to traditional cooking methods. However, there are a few adjustments and considerations to keep in mind:
- **Skip the Sear:** When working with a frozen roast, it’s best to skip the searing step. Trying to sear a frozen block of meat is ineffective and can lead to uneven cooking. You won’t achieve the desired crust or flavor development, and it might just steam the outside.
- **Adjust Cooking Time:** A frozen roast will require a longer cooking time to reach the same level of tenderness as a thawed roast. As a general rule, add about 20 minutes to the pressure cooking time. So, if a thawed roast cooks for 70 minutes, a similar-sized frozen roast would need approximately 90 minutes.
- **Consider Roast Size:** If your frozen roast is exceptionally large (e.g., over 3-4 pounds) or unusually thick, you may need to add even more time, potentially up to 100-120 minutes, to ensure it cooks through and becomes fall-apart tender. It’s always better to slightly overcook a pot roast in a pressure cooker than undercook it, as the moist environment prevents drying out.
- **Liquid is Key:** Ensure you have enough liquid in the pot when cooking a frozen roast, as it will contribute less of its own moisture initially.
- **Flavor Infusion:** While searing helps lock in flavors and create new ones, you can still achieve a delicious result with a frozen roast by ensuring your seasoning and liquids are robust.
The Instant Pot’s ability to handle frozen meats is a huge time-saver and makes dinner possible even when you haven’t planned ahead. Just remember to account for the extra cooking time for that perfectly tender result.
Mastering the Instant Pot Chuck Roast: A Step-by-Step Guide
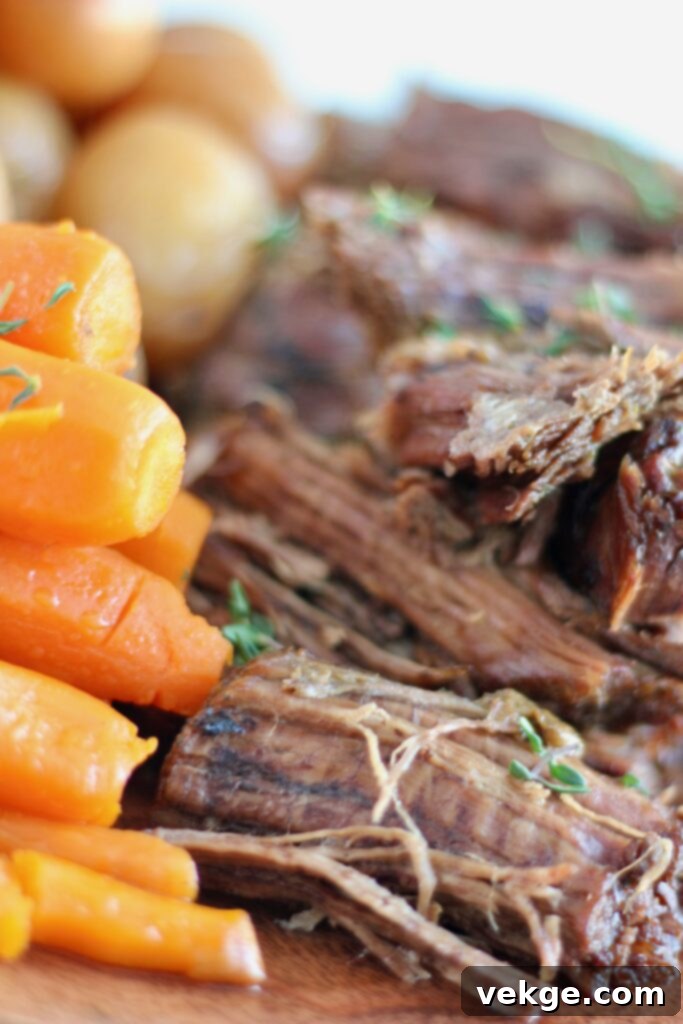
Creating this incredible Instant Pot Chuck Roast is a straightforward process when broken down into manageable steps. Follow these instructions carefully, and you’ll be enjoying a meal that tastes like it cooked all day, but with minimal effort.
1. Season with Care
Begin by preparing your seasoning blend. In a plate or shallow bowl, combine a generous amount of salt, freshly ground black pepper, onion powder, garlic powder, and Italian seasoning. These aromatic spices will infuse your roast with a foundational layer of flavor. Gently roll the chuck roast in this seasoning mixture, ensuring that most of its exterior is evenly coated. Don’t be shy with the seasonings – this is where much of the initial flavor for your roast and subsequent gravy comes from.
2. The Crucial Searing Step
Set your Instant Pot to the “Sauté” function and allow it to heat up for a few minutes until it indicates “Hot.” Add a tablespoon of a high-smoke-point oil, such as avocado oil, to the hot pot. Carefully place the seasoned chuck roast into the pot. Sear each side for 30-60 seconds, or until a beautiful, deep brown crust forms. This step is vital for developing rich flavor through the Maillard reaction. Work diligently to sear the entire exterior of the roast, turning it with tongs. Once thoroughly seared, remove the roast from the pot and set it aside.
3. Sauté Aromatics and Deglaze for Deep Flavor
With the Instant Pot still on “Sauté,” add the sliced white onion and butter to the pot. Sauté the onions until they begin to soften, typically 3-5 minutes. As the onions cook, use a wooden spoon or a spatula to scrape up all those delicious browned bits (the “fond”) from the bottom of the pot. This deglazing process is essential for incorporating all the rich flavors left by the seared meat into your liquid and preventing a “burn” notice during pressure cooking.
Once the onions are just barely soft and translucent, pour in the balsamic vinegar and Worcestershire sauce. These ingredients add a wonderful tangy depth and umami to the broth. Follow with 2 cups of rich beef broth. Continue to scrape the bottom of the pot to ensure no bits are stuck. At this point, you have a decision to make regarding the onions:
- If you prefer your onions to cook down completely and melt into the gravy, leave them in the pot.
- If you’d like to enjoy distinct pieces of onion with your other vegetables, remove them now and set them aside. You’ll add them back later with the carrots and potatoes.
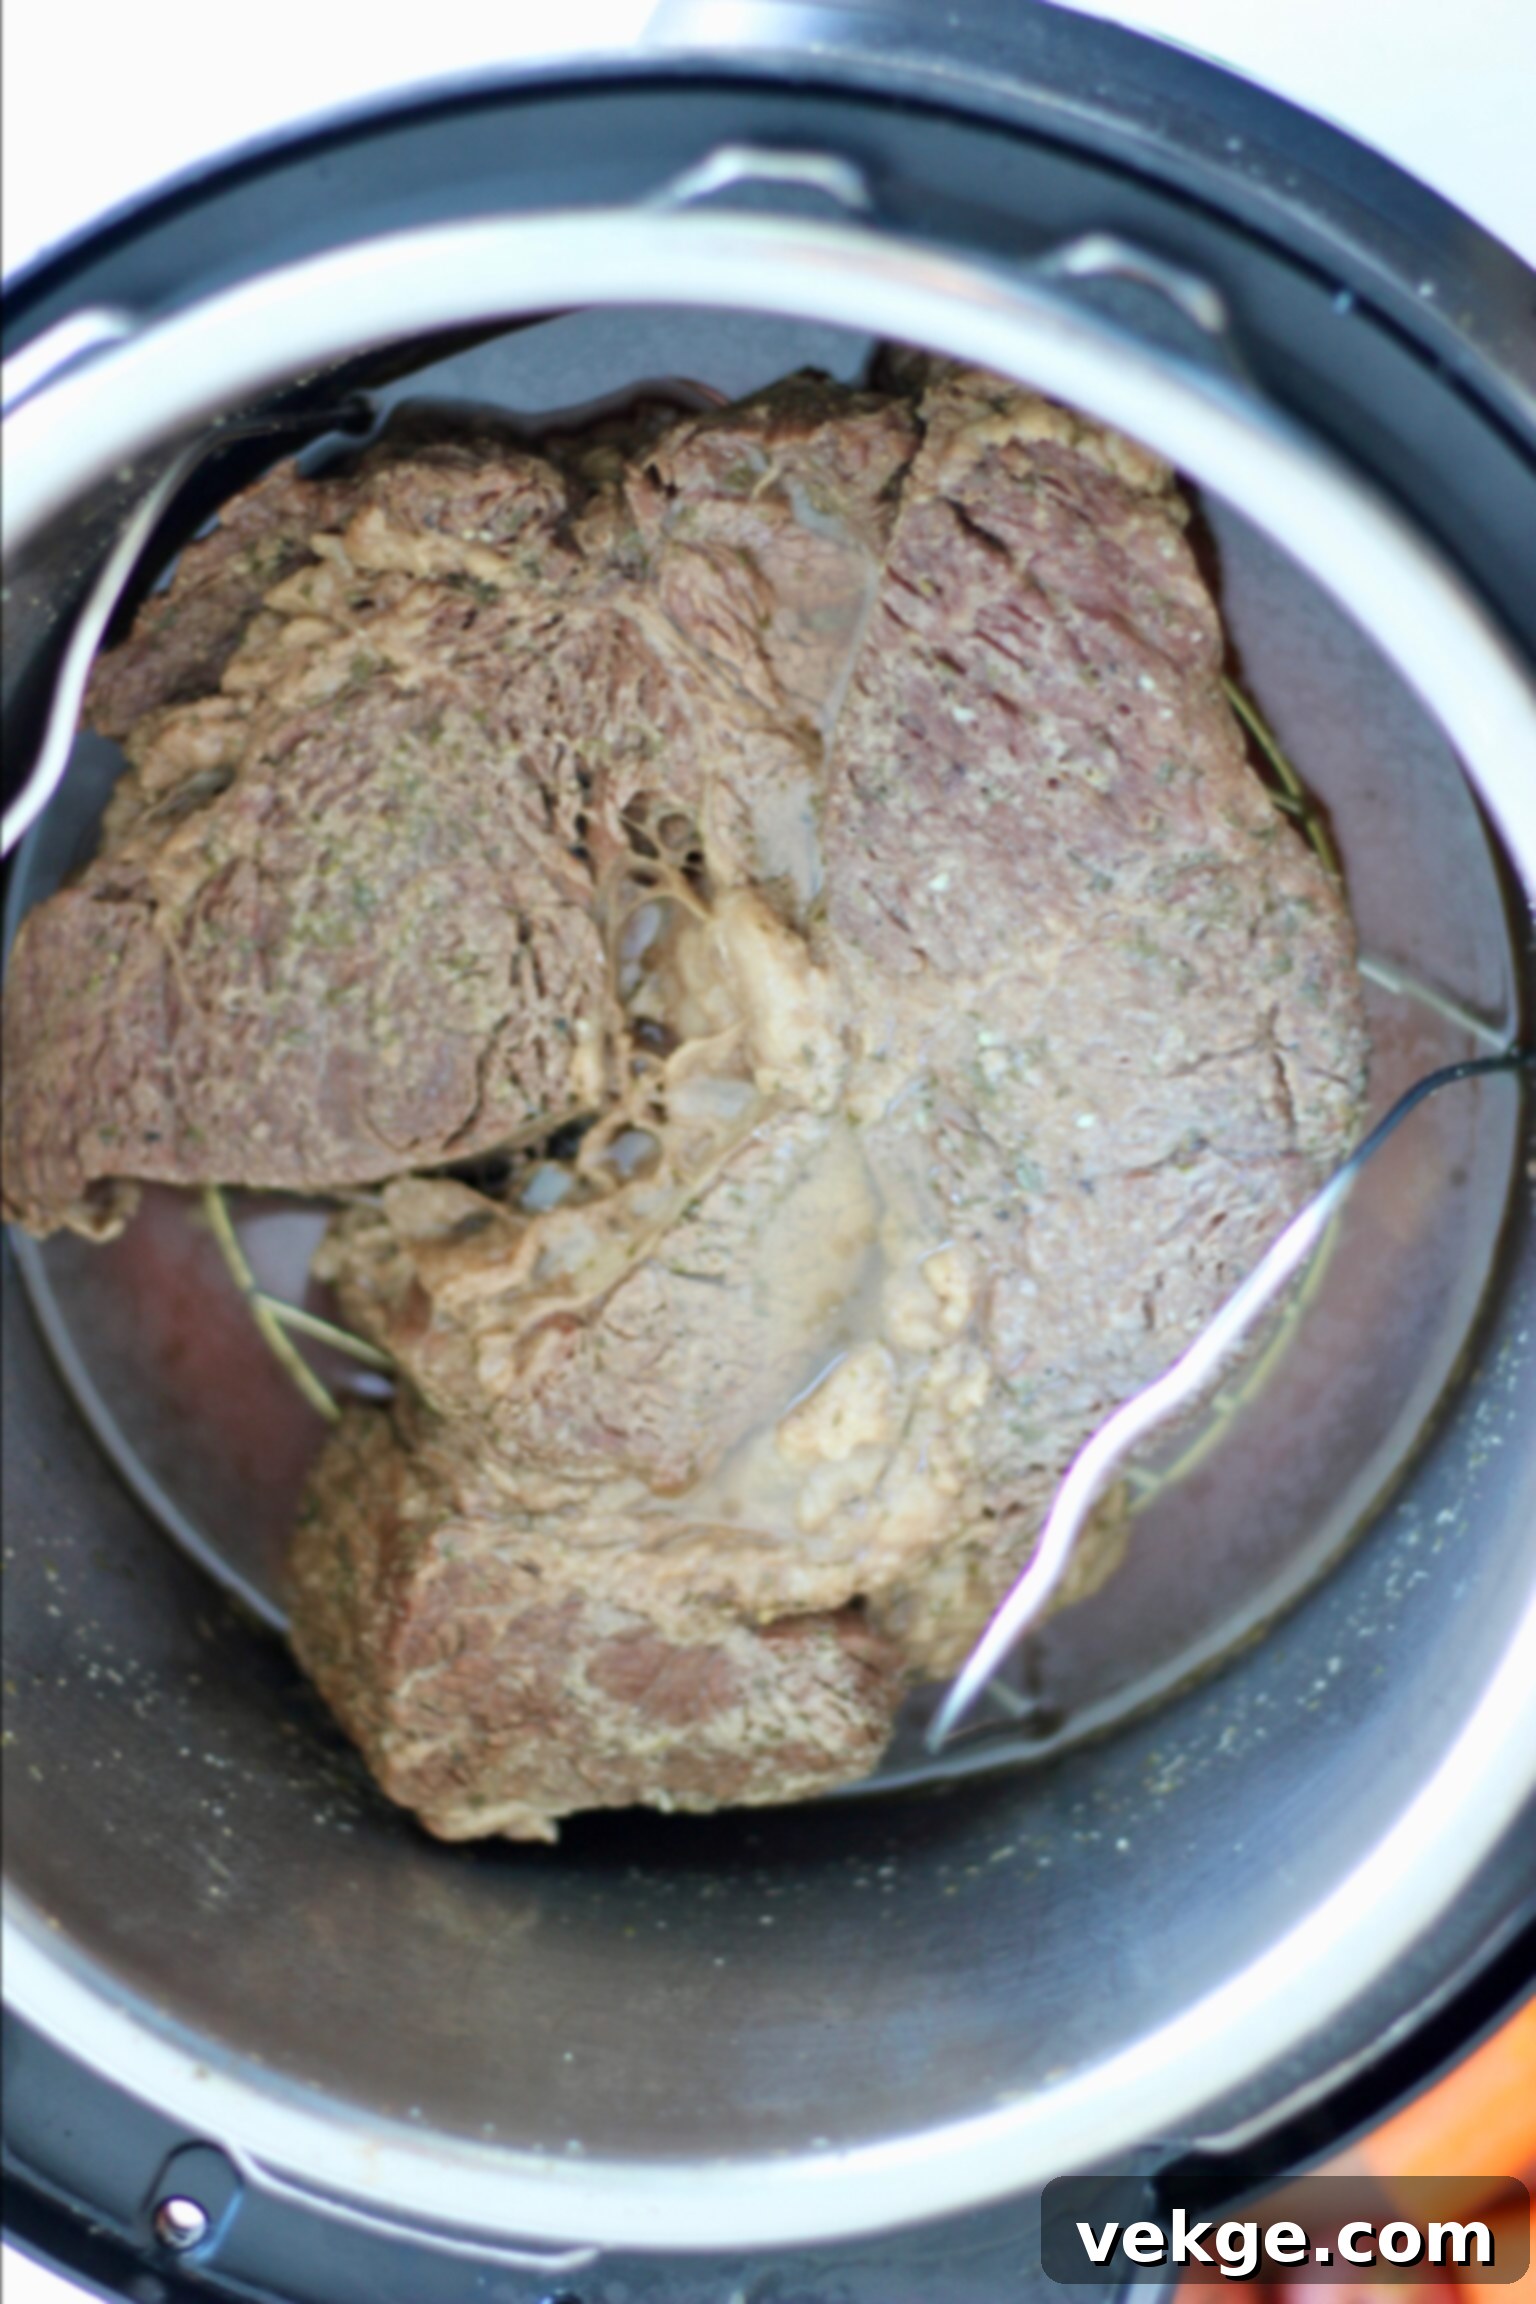
Next, insert a trivet (the metal rack that comes with your Instant Pot) into the bottom of the pot. Carefully place the seared chuck roast on top of the trivet. This prevents the roast from sitting directly in the liquid and helps with even cooking.
4. Pressure Cook to Perfection
Secure the lid on your Instant Pot, making sure the sealing ring is properly in place and the vent is set to “Sealing.” Select the “Meat/Stew” setting, or manually set it to High Pressure for 70 minutes. If you are using a frozen chuck roast or a significantly larger roast (e.g., over 3 pounds), increase the cooking time to 90 minutes. Remember, if starting from frozen, you would have skipped the initial searing step.
Once the cooking cycle is complete, the Instant Pot will beep. Do not immediately release the pressure! Allow for a Natural Pressure Release (NPR) for at least 20 minutes. This means letting the pressure dissipate on its own, without touching the valve. NPR is crucial for tough cuts of meat as it allows the internal temperature of the roast to drop slowly, reabsorbing juices and resulting in a more tender and moist outcome. After 20 minutes of NPR, carefully flip the valve to “Venting” to quick release any remaining pressure. Once the pin drops, you can safely open the lid.
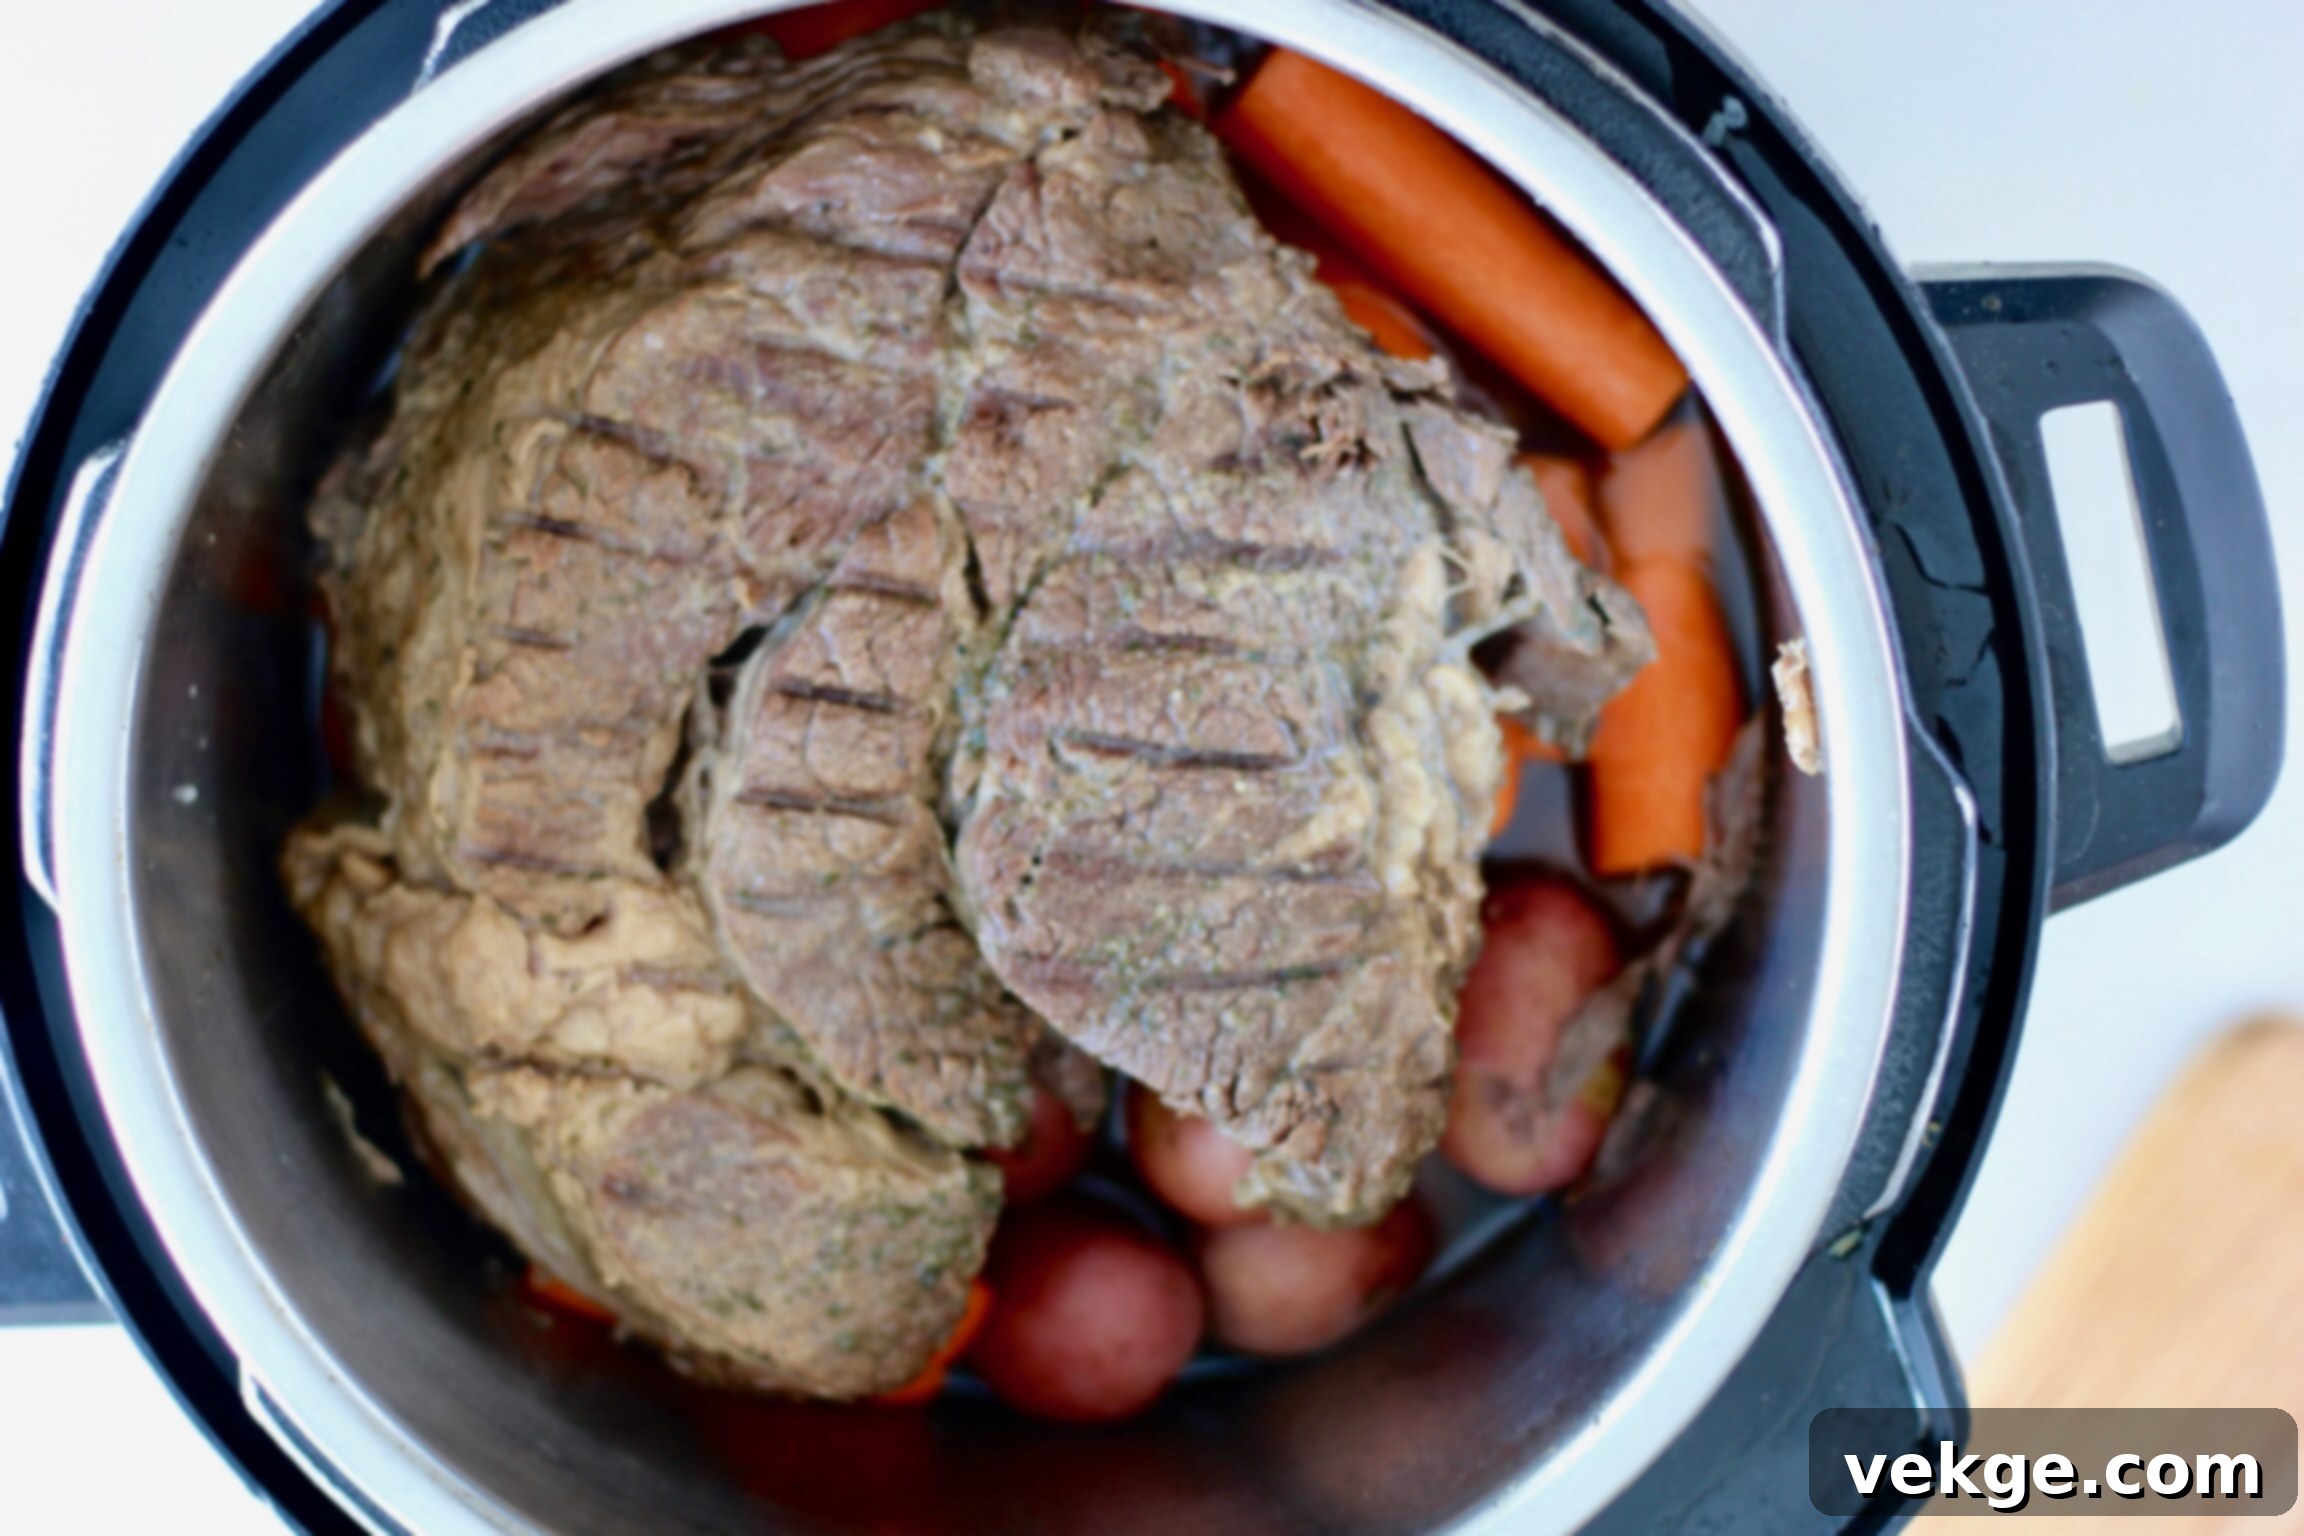
Now, carefully remove the roast from the pot and set it aside on a cutting board, tented loosely with foil. Add your chopped carrots and potatoes into the Instant Pot, directly into the flavorful broth. If you removed your onions earlier, add them back in now. Close the lid again, set the valve to “Sealing,” and cook on the manual/high-pressure setting for another 8-10 minutes. This second, shorter cooking phase ensures your vegetables are perfectly tender but not mushy. Once this cycle finishes, perform another 10-minute Natural Pressure Release before quick releasing any remaining pressure and opening the lid.
5. Crafting the Rich Gravy
With the meat and vegetables cooked, it’s time to transform the savory cooking liquid into a rich, luscious gravy. Carefully remove the cooked carrots and potatoes from the pot and add them to the platter with the roast. Place the Instant Pot back on the “Sauté” setting.
In a small bowl, prepare a cornstarch slurry by whisking together 1/4 cup of cold water with 3-4 tablespoons of cornstarch until smooth. Slowly whisk this slurry into the simmering liquid in the Instant Pot. Continue to stir gently as the gravy comes to a boil and begins to thicken. It will quickly achieve a beautiful, glossy consistency. Taste the gravy and adjust seasoning with additional salt and pepper as needed. Cook for a few more minutes until it reaches your desired thickness.
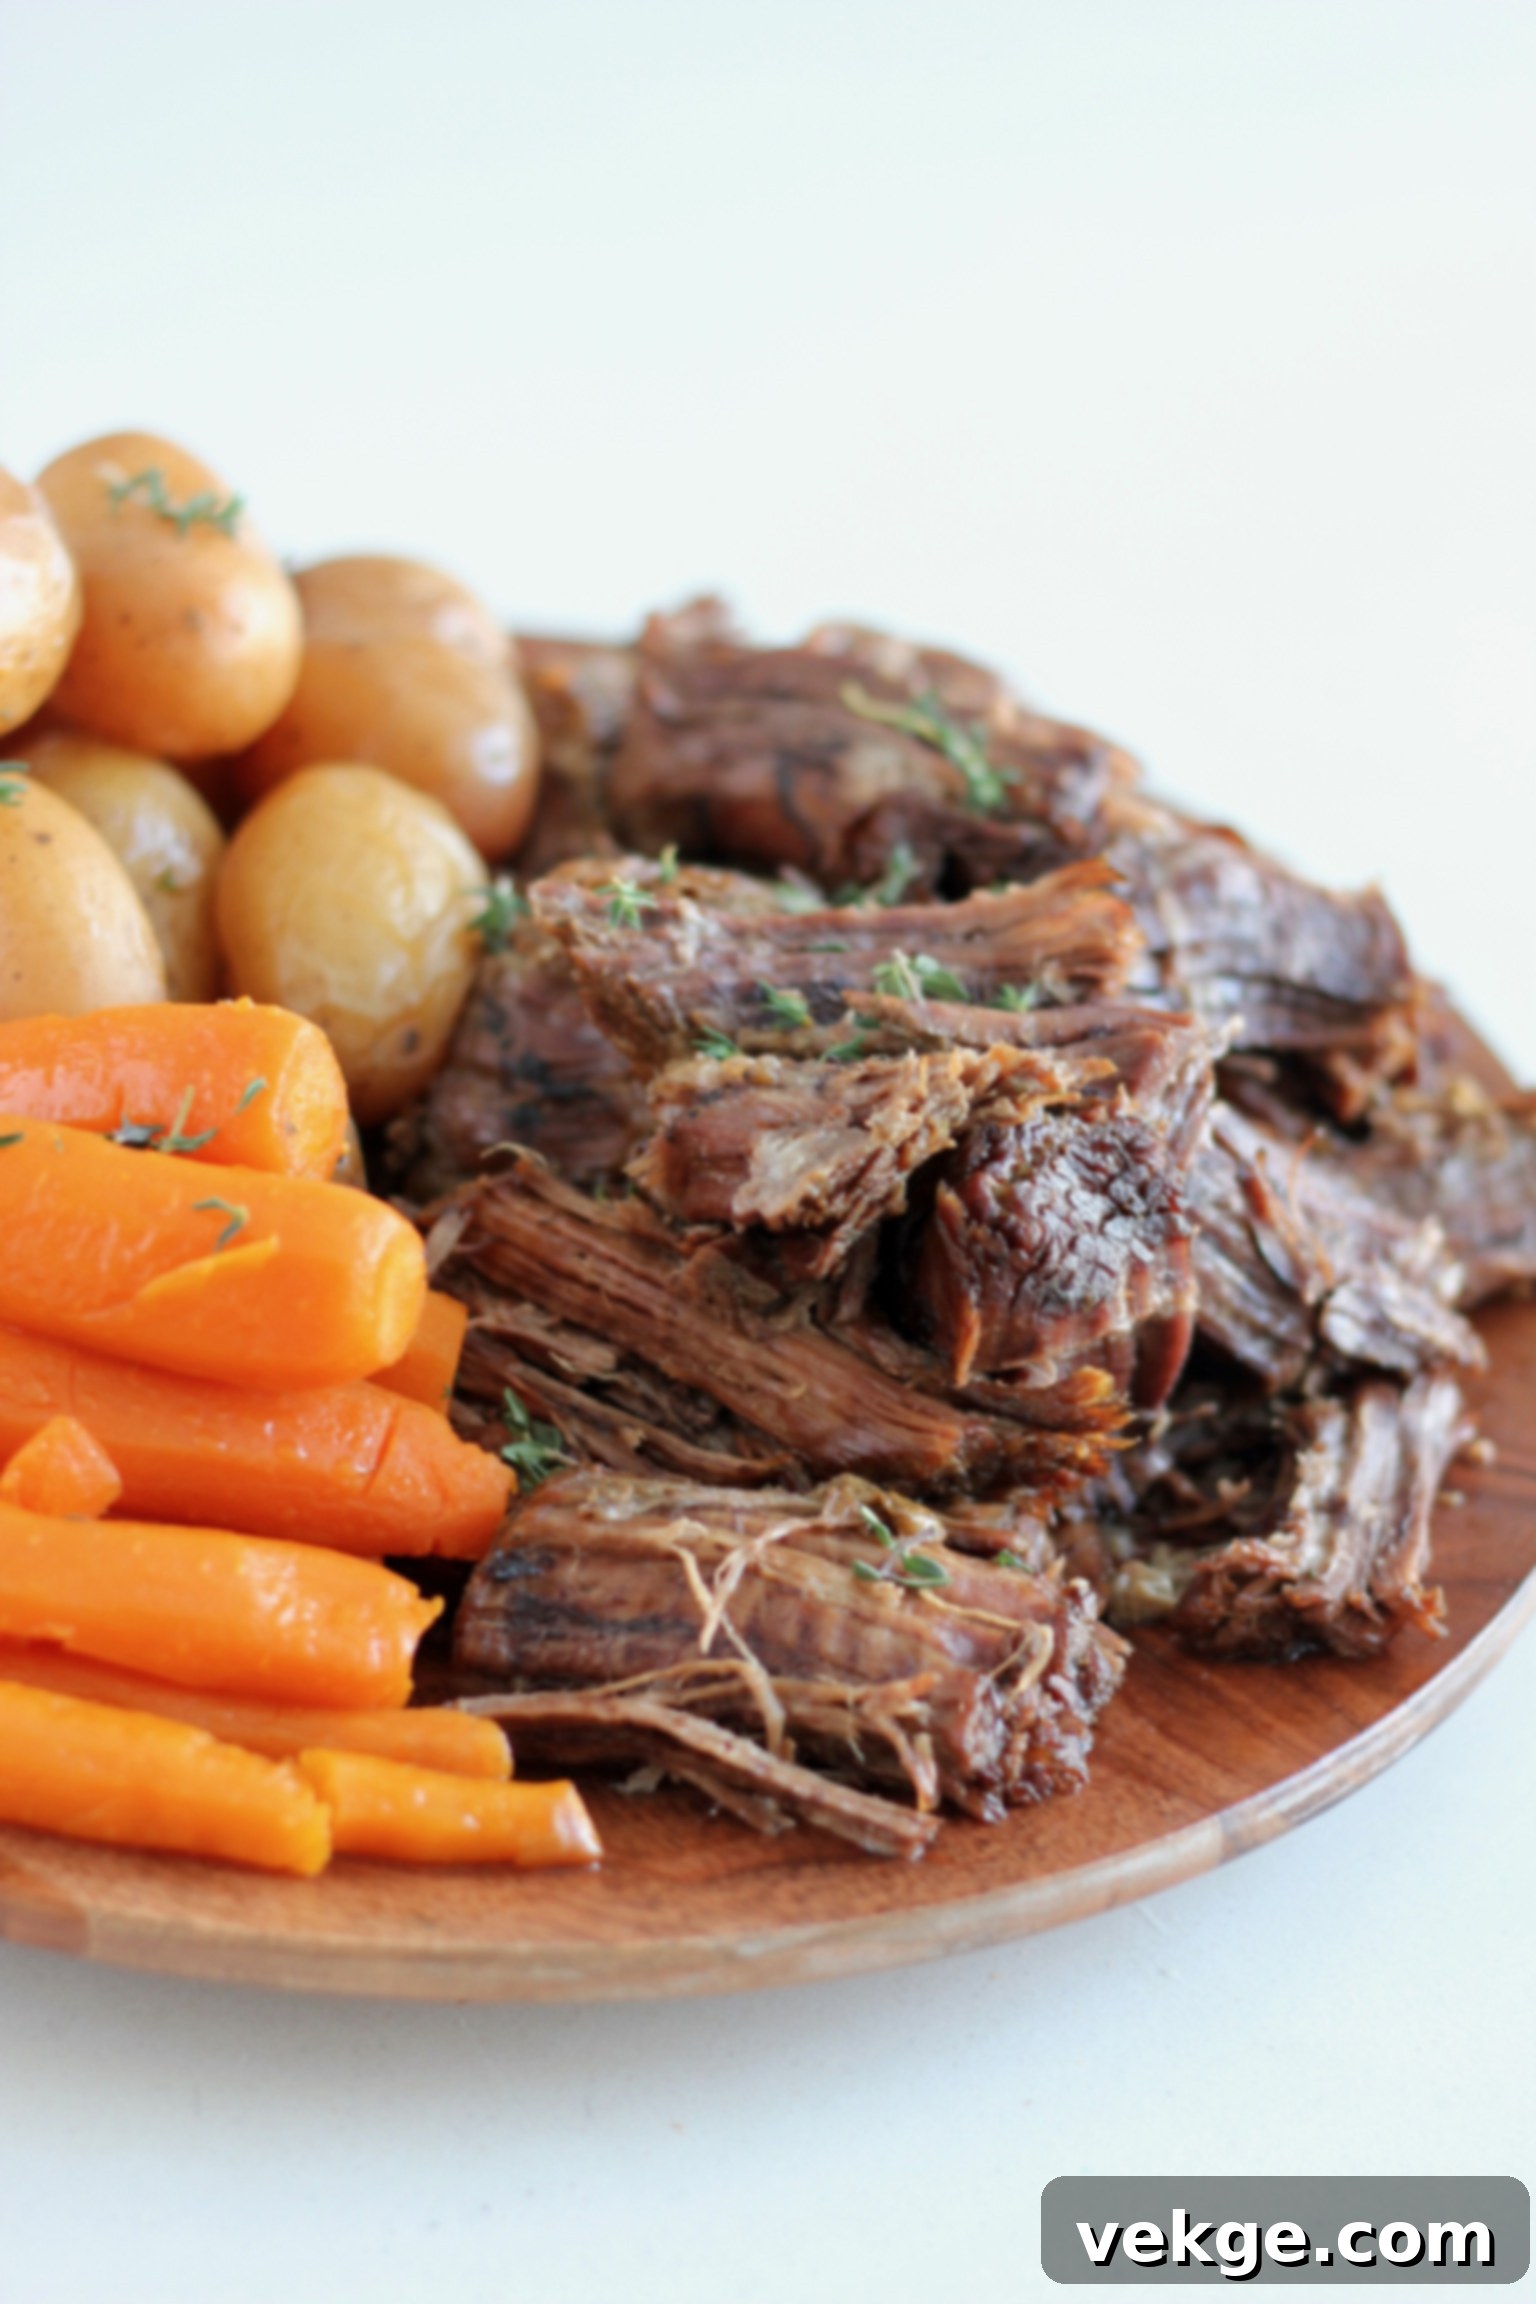
Slice or shred your tender chuck roast, arrange it with the cooked vegetables, and generously spoon the homemade gravy over everything. Serve immediately and savor every bite of this ultimate comfort food.
Tips for Instant Pot Pot Roast Success
- **Don’t Skimp on Searing:** As emphasized, this step adds significant flavor. Make sure the Instant Pot is hot and don’t overcrowd the pot.
- **Proper Deglazing:** Always scrape the bottom of the pot thoroughly after searing and sautéing. This prevents the dreaded “burn” message and incorporates all the flavorful fond into your gravy.
- **Natural Pressure Release (NPR) for Meat:** For tender meats, NPR is your friend. It helps the meat relax and reabsorb juices, making it more succulent.
- **Two-Stage Vegetable Cooking:** Adding vegetables later prevents them from becoming mushy, ensuring they are perfectly tender-crisp.
- **Adjust Seasoning:** Always taste and adjust your gravy and the overall dish before serving. A little extra salt or pepper can make a big difference.
Delicious Serving Suggestions and Variations
This Instant Pot Chuck Roast is a complete meal with its built-in carrots and potatoes, but you can certainly enhance it. Consider serving it alongside a fresh green salad, crusty bread to soak up the extra gravy, or even a side of mashed potatoes if you crave extra creaminess. For variations, try adding mushrooms with the onions, or a splash of red wine instead of some of the beef broth for an even richer flavor profile.
More Delicious Instant Pot Meat Recipes
Once you fall in love with the ease and flavor of Instant Pot cooking, you’ll want to explore more! Here are a couple of other fantastic meat recipes to try:
Salsa Verde Shredded Beef– A vibrant Mexican twist on shredded beef, perfect for tacos, burritos, or burrito bowls.
Instant Pot Pineapple Chicken– Experience tender, juicy chicken enveloped in a delectable sweet and savory pineapple sauce.
Happy Cooking!
I genuinely hope this Instant Pot Chuck Roast recipe brings as much joy and deliciousness to your table as it does to mine. It’s a comforting classic made incredibly simple, proving that gourmet flavors don’t have to come with hours of effort. Enjoy this tender, juicy, and flavorful meal with your loved ones!
If you want to follow along on my culinary adventures and discover more easy, delicious recipes, be sure to follow me on Instagram @AMBERSKITCHEN. Happy cooking!
Instant Pot Chuck Roast
Print
Pin
Rate
Main Dishes
4
Ingredients
- 2 pounds chuck roast
- 1 tsp salt
- 1/4 tsp pepper
- 1/4 tsp onion powder
- 1/4 tsp garlic powder
- 1 tsp Italian seasoning
- 1 T avocado oil (or other high-smoke-point oil)
- 1 white onion, sliced
- 2 T butter
- 1 T balsamic vinegar
- 1 T Worcestershire sauce
- 2 cups beef broth
- Carrots and potatoes, roughly chopped (quantity to your preference)
- 1/4 cup cold water (for slurry)
- 3-4 T cornstarch (for slurry)
- Additional salt and pepper to taste
Instructions
- Combine the seasonings (salt, pepper, onion powder, garlic powder, Italian seasoning) in a plate or shallow bowl, ensuring it’s well mixed.
- Meanwhile, set the Instant Pot to “Sauté” mode and let it heat up until it displays “Hot.” Roll the chuck roast in the seasoning mixture, pressing gently to ensure an even coating on all sides.
- Add avocado oil to the hot pot. Carefully place the seasoned roast into the pot and sear each side for 30-60 seconds until a deep golden-brown crust forms. Remove the roast and set it aside. (Skip this step if using a frozen roast.)
- Add the sliced white onion and butter to the pot. Sauté the onions until they soften, using a wooden spoon to scrape up any browned bits (fond) from the bottom of the pan to deglaze.
- Once onions are soft, add balsamic vinegar and Worcestershire sauce, followed by 2 cups of beef broth. Continue to scrape the bottom of the pot.
- Optional: If you prefer firmer onions, remove them now and set aside to add with carrots and potatoes later. Otherwise, leave them in the pot. Insert the trivet into the bottom of the pot and place the seared chuck roast on top of the trivet.
- Secure the Instant Pot lid, ensure the vent is set to “Sealing.” Select the “Meat/Stew” setting or Manual/High Pressure for 70 minutes. For a frozen or considerably larger roast (over 3 pounds), cook for 90 minutes.
- Once cooking is complete, allow for a Natural Pressure Release (NPR) for at least 20 minutes. After 20 minutes, quick release any remaining pressure, then carefully open the lid.
- Remove the tender roast from the pot and tent it with foil on a separate platter. Add your chopped carrots and potatoes (and reserved onions, if any) to the Instant Pot. Close the lid, ensure “Sealing,” and cook on Manual/High Pressure for another 8-10 minutes.
- After the vegetables finish cooking, perform a 10-minute Natural Pressure Release before quick releasing any remaining pressure and opening the lid.
- Remove the cooked vegetables from the pot and add them to the platter with the roast. Set the Instant Pot back to “Sauté.”
- In a small bowl, whisk together 1/4 cup cold water and 3-4 tablespoons of cornstarch to create a slurry. Slowly whisk this slurry into the simmering liquid in the Instant Pot, stirring constantly until the gravy thickens to your desired consistency.
- Season the gravy with salt and pepper to taste. Slice or shred the tender chuck roast, serve it with the perfectly cooked vegetables, and generously drizzle with the rich, homemade gravy. Enjoy!
