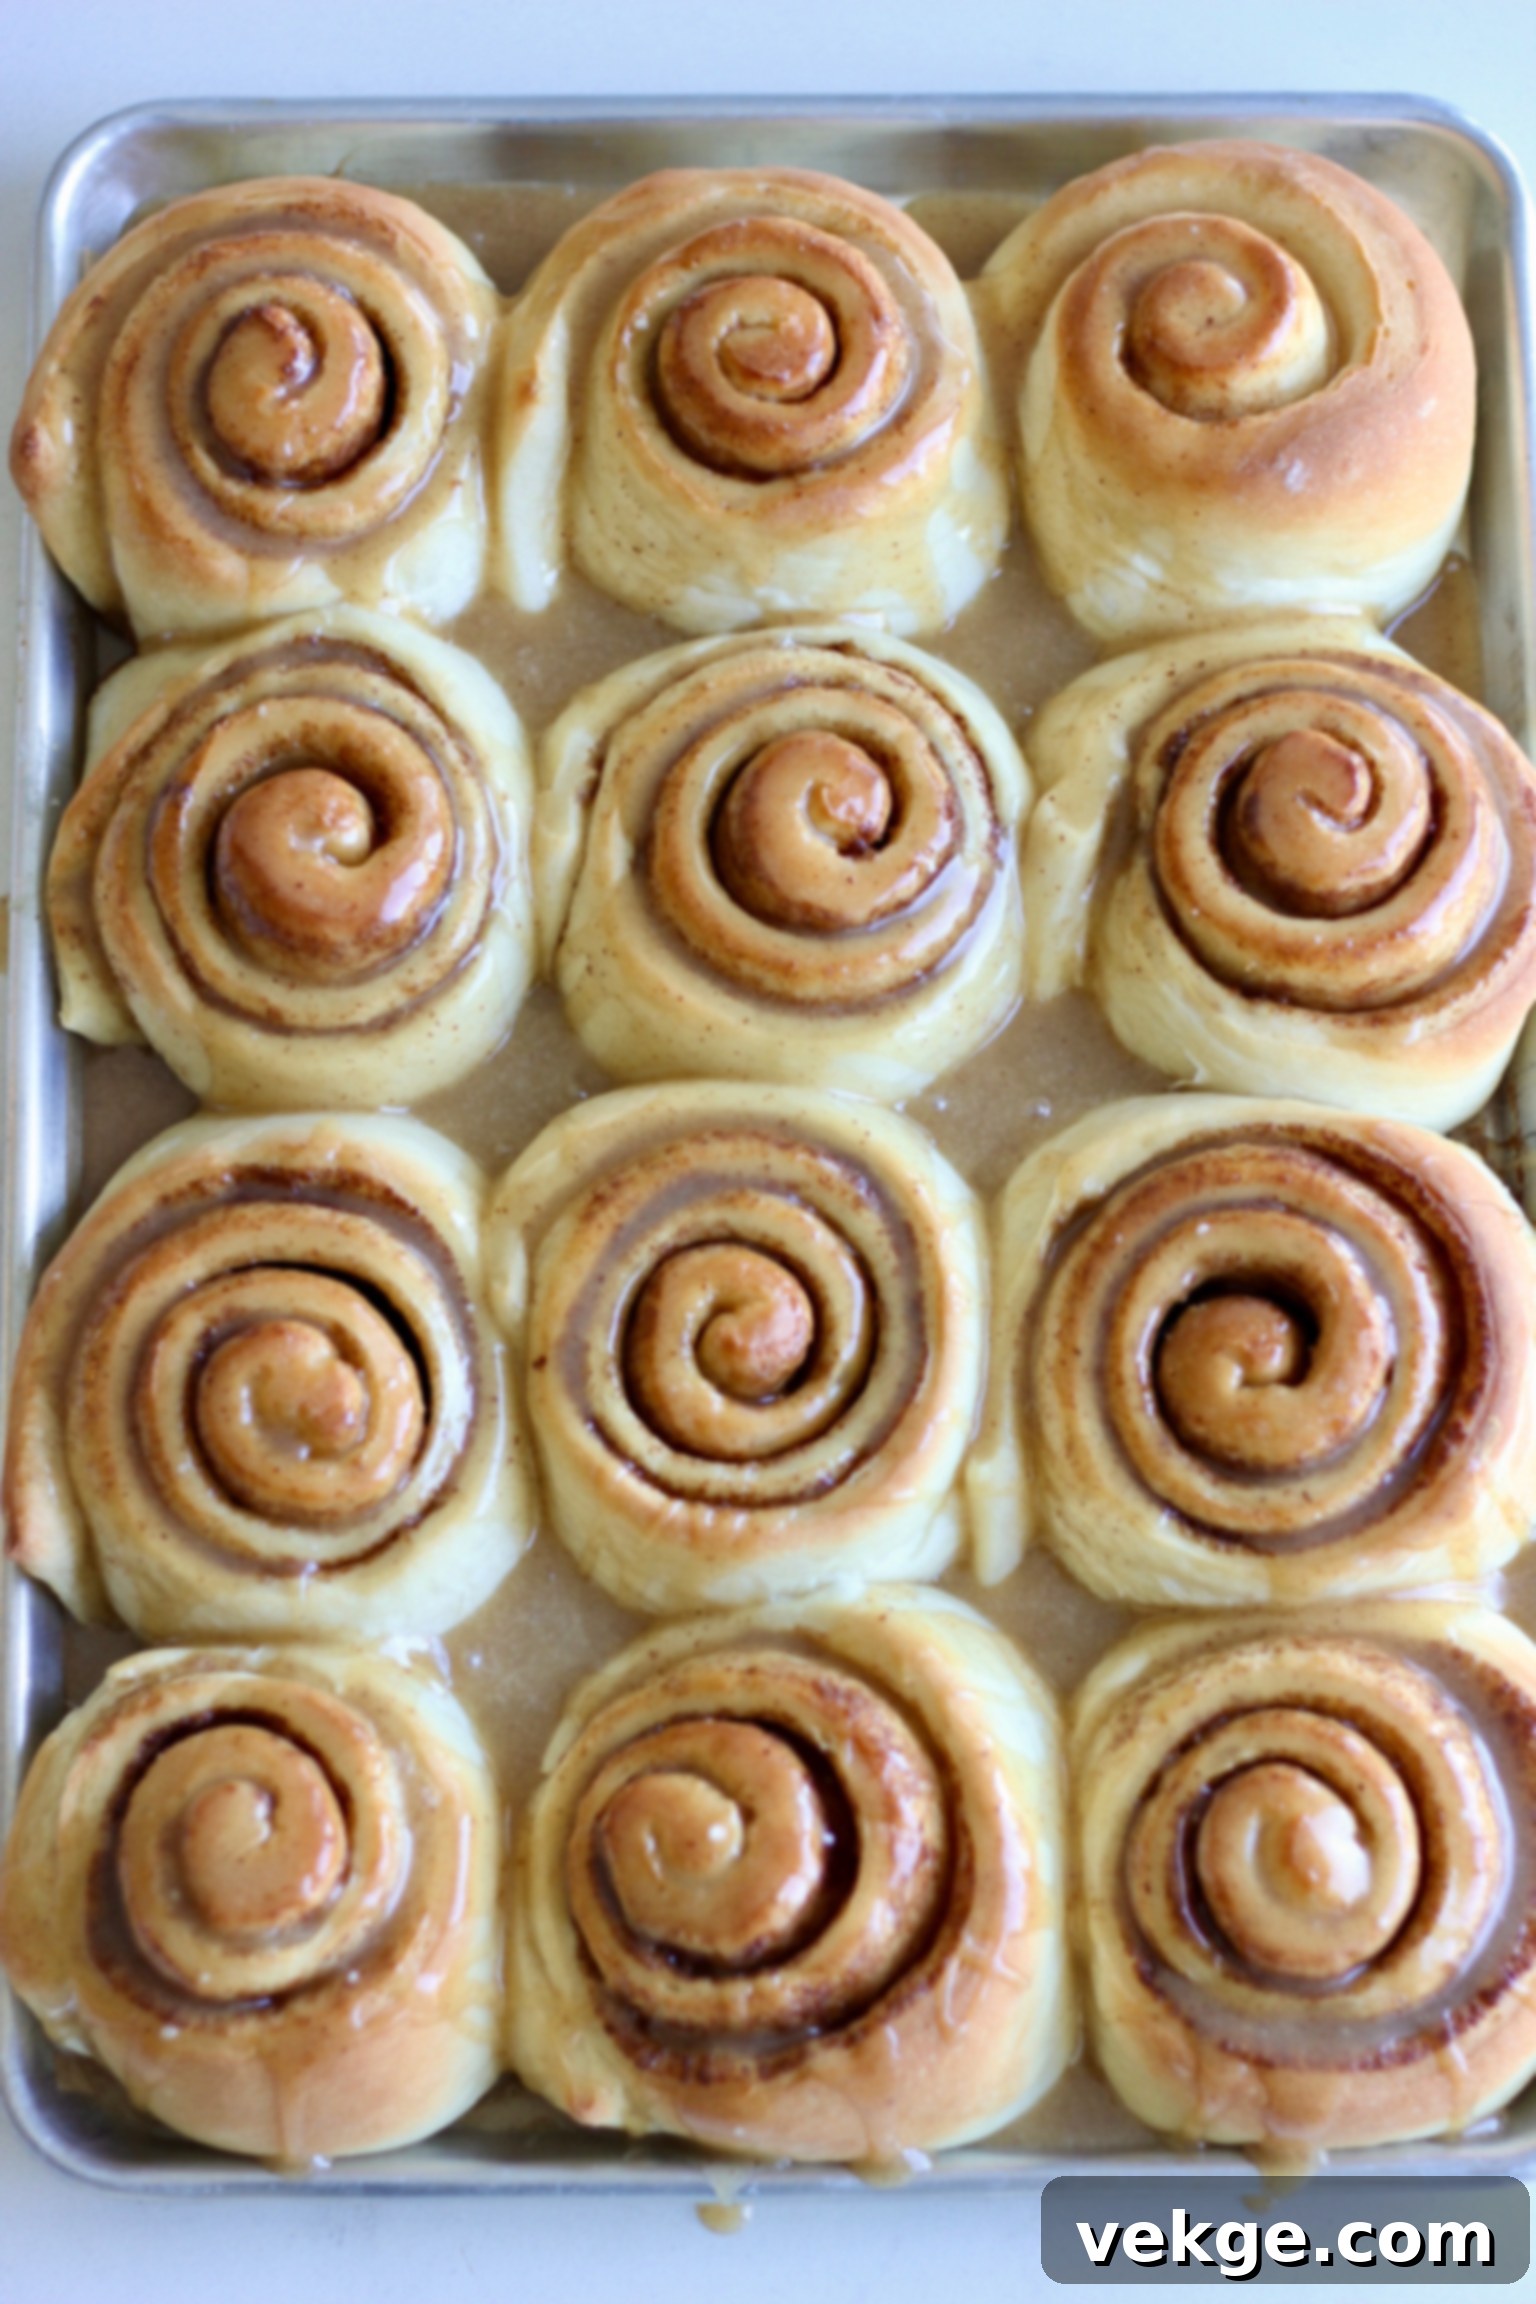
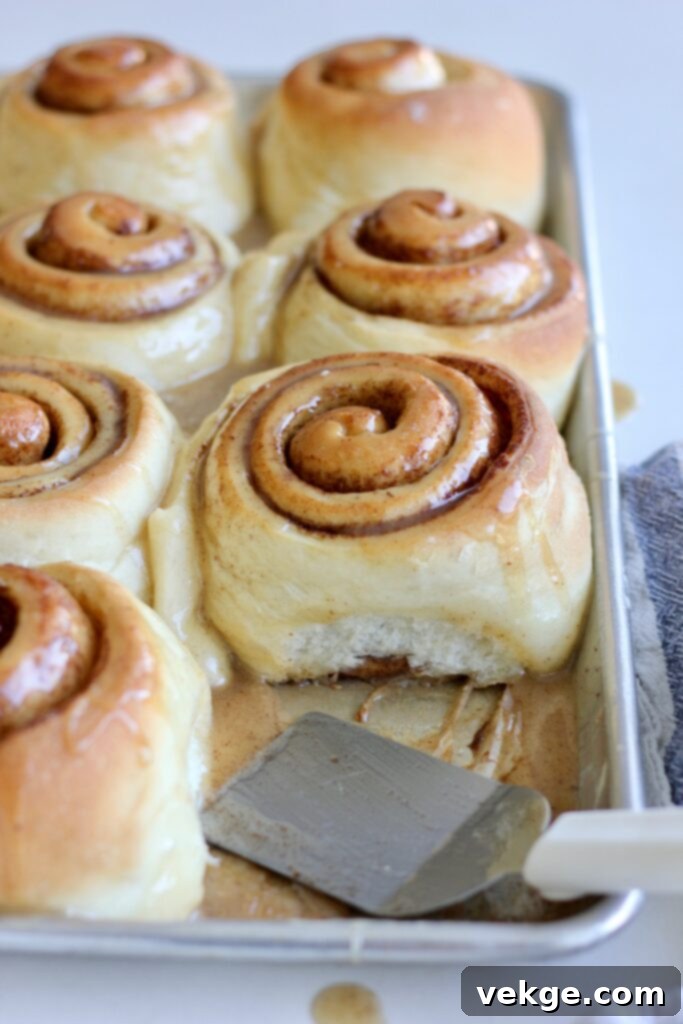
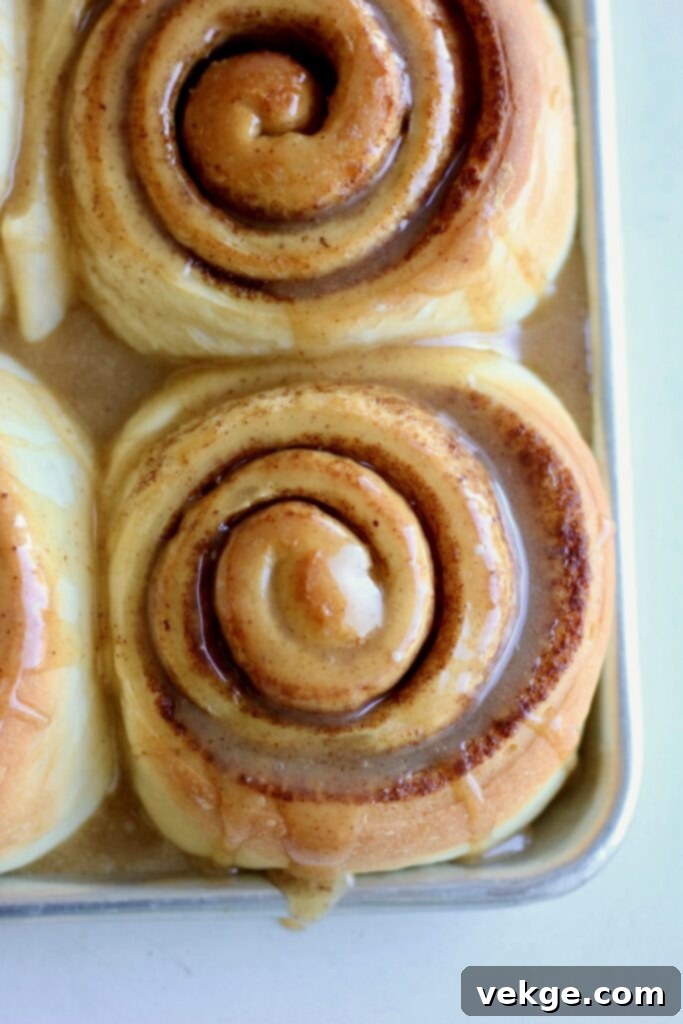
Imagine biting into a soft, fluffy, and utterly decadent cinnamon roll, generously slathered with a rich, nutty brown butter glaze. Now, picture that roll being so enormous it could easily satisfy two, or even three, cravings! These aren’t just any cinnamon rolls; these are truly Jumbo Cinnamon Rolls with Brown Butter Glaze, designed to deliver an unparalleled experience of sweet, spiced bliss. Forget those meager, store-bought pastries—we’re aiming for a homemade masterpiece that rivals the best bakeries, perhaps even surpassing them. Get ready to impress your family and friends with a treat so magnificent, it will instantly become a cherished favorite.
While this recipe builds upon the beloved foundation of my Quick and Heavenly Cinnamon Rolls, which is a fantastic large-batch option, this version is meticulously crafted to produce 12 extraordinary jumbo rolls. It’s the perfect solution when you’re catering to a smaller, yet incredibly hungry, crowd, or simply when you desire a truly substantial and indulgent cinnamon roll experience. Each roll is a generous serving of pure comfort, promising that signature gooey center and crisp, sugary edges, elevated by the unique depth of brown butter in the frosting. Prepare yourself for serious deliciousness!
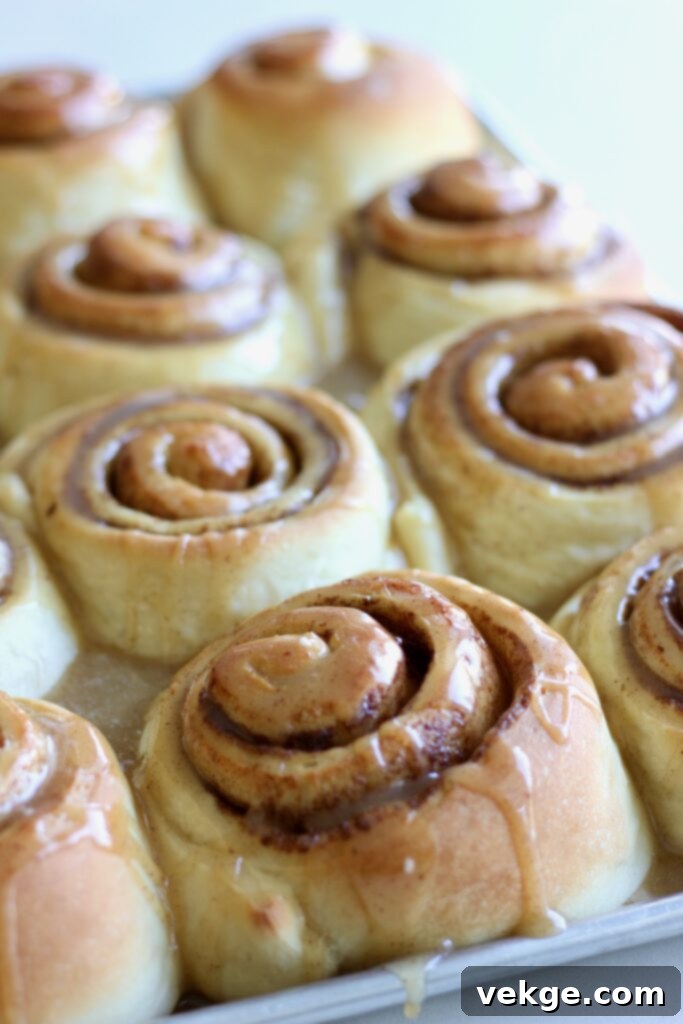
Crafting the Perfect Jumbo Cinnamon Rolls: Essential Ingredients
Creating these magnificent cinnamon rolls begins with understanding the role of each ingredient. For those familiar with my white bread recipes, many of these will feel like old friends, forming the foundation of a wonderfully soft and flavorful dough. Let’s dive into what makes this recipe truly special.
Warm Water: The Key to Yeast Activation
The temperature of your water is paramount when working with yeast. Aim for a “baby bottle” warm, somewhere between 105-115°F (40-46°C). Water that’s too hot will unfortunately kill the active dry yeast, preventing your dough from rising. Conversely, if the water is too cold, the yeast will activate sluggishly, leading to a much longer rise time or a less airy final product. This initial step is crucial for ensuring a vibrant, active yeast that will give your rolls their signature light and fluffy texture.
White Sugar & Cinnamon: The Heart of the Flavor
It wouldn’t be a cinnamon roll without a generous amount of sugar and spice! While I sometimes experiment with alternative sweeteners like coconut sugar or honey in my basic bread doughs, for the iconic gooey filling of these cinnamon rolls, white sugar is irreplaceable. Its fine crystals dissolve perfectly with the butter and cinnamon, caramelizing beautifully during baking to create that irresistible, sticky-sweet interior. The cinnamon, of course, provides the quintessential warmth and aromatic spice that defines this classic pastry. Don’t be shy with either – they are the stars of the show!
Active Dry Yeast: The Dough’s Magic Touch
I consistently rely on active dry yeast for my baked goods due to the reliable and consistent results it delivers. This type of yeast needs to be proofed in warm water with a touch of sugar, allowing it to activate and become foamy, which signals its readiness to work its magic. While instant yeast can be used directly without proofing, I find the extra step with active dry yeast provides a sense of control and confidence in the dough’s rise. For those who prefer a natural leaven, an exciting sourdough adaptation is also provided below, offering a unique depth of flavor.
Eggs: For Unrivaled Softness and Richness
Eggs are a secret weapon in this recipe, contributing significantly to the rolls’ incredibly soft, tender crumb and rich flavor. They add moisture, structure, and a beautiful golden hue to the dough. However, for those with dietary restrictions or who prefer not to use eggs, successful substitutions are readily available. I’ve had great results using egg replacers in my bread recipes. You can simply omit the egg entirely, use 1/4 cup of aquafaba (the liquid from canned chickpeas), or create a flax egg. To make a flax egg, combine 1 tablespoon of flaxmeal with 3 tablespoons of water in a small bowl and let it sit for about 5 minutes until it thickens into a gel-like consistency. Use this mixture as a direct substitute for one egg.
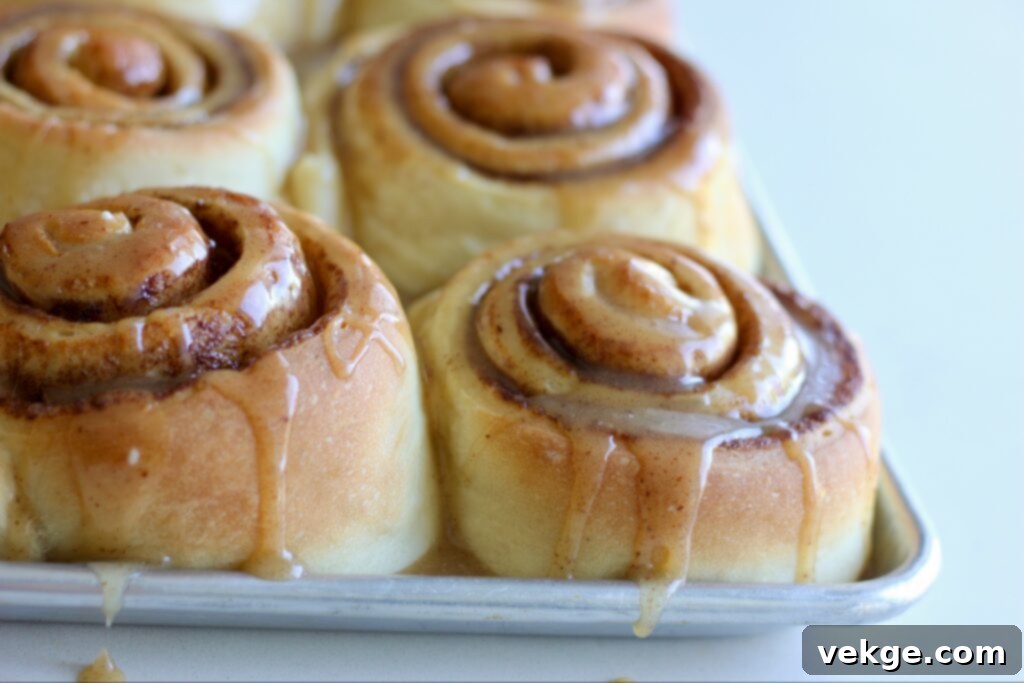
Coconut Oil: The Secret to Pillowy Dough
For truly pillowy soft cinnamon rolls, melted coconut oil is my go-to ingredient. It imparts an unparalleled tenderness to the dough, creating a texture that practically melts in your mouth. Many people worry about a coconut flavor, but I promise you, in this application, it is completely undetectable. Even the most ardent coconut skeptics won’t taste it! If, despite my assurances, you absolutely cannot use coconut oil, melted unsalted butter or a neutral-flavored oil like avocado oil (a personal favorite alternative) work wonderfully as substitutes, though the coconut oil truly provides that extra touch of softness.
Salt: Balancing Flavors and Enhancing Depth
Salt plays a far more critical role in baking than simply seasoning; it balances sweetness, strengthens gluten, and regulates yeast activity. As many of my Instagram followers know, I have a particular fondness for Redmond Real Salt. Sourced from an ancient seabed in central Utah, it is a true, unrefined sea salt packed with natural minerals that genuinely elevate the flavor of everything it touches. For cost-effectiveness, I purchase a 25-pound bulk bag every few years and store it in mason jars, ensuring a constant supply of this fantastic salt. Don’t forget, my affiliate coupon code “AMBERSKITCHEN” will save you 15% on any Redmond products!
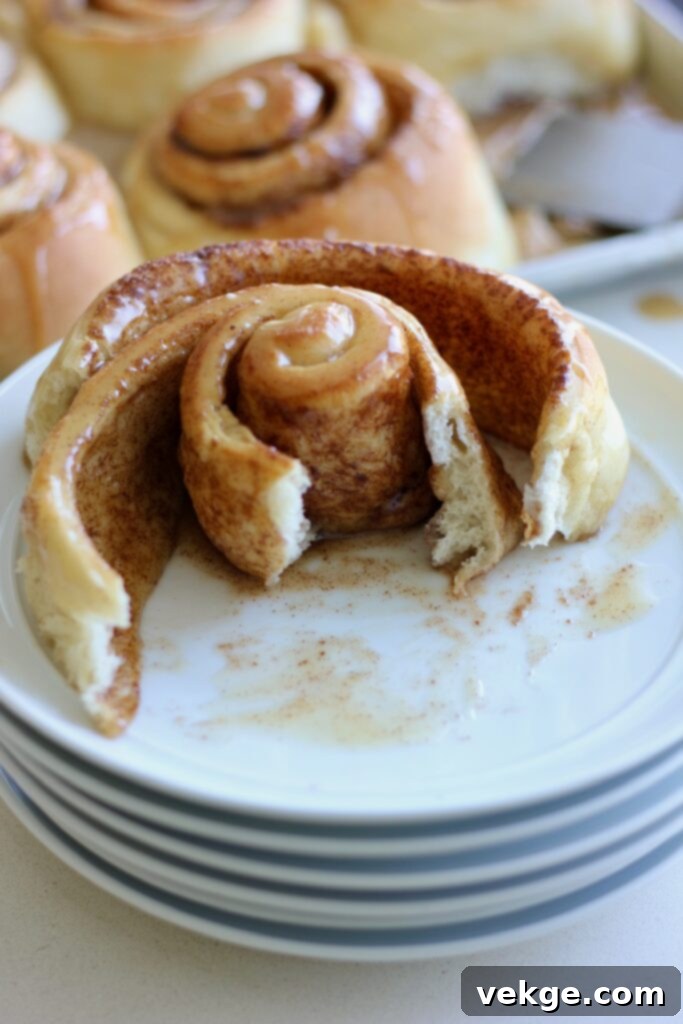
White Bread Flour: The Foundation of Structure
For an exceptionally chewy yet tender crumb, I prefer using bread flour in my white bread recipes, including these jumbo cinnamon rolls. Bread flour has a higher protein content than all-purpose flour, which means it develops more gluten during kneading. This increased gluten network provides the dough with elasticity and strength, allowing it to trap gases from the yeast and rise beautifully, resulting in a lighter, airier texture. While all-purpose flour can certainly be used, bread flour will give you that superior, bakery-style chew. My personal favorite is Lehi Mills Turkey Bread Flour, a high-quality option that consistently delivers excellent results. You can also use my affiliate coupon code “AMBERSKITCHEN” for 10% off your Lehi Mills purchases!
Butter: Double the Delight
This recipe thoughtfully incorporates two forms of butter to maximize flavor: regular butter for the luscious filling and brown butter for the unforgettable glaze. The regular butter in the filling melts into the sugar and cinnamon, creating that gooey, irresistible layer between the dough spirals. But it’s the brown butter in the glaze that truly elevates these rolls. If you’ve never browned butter before, you’re in for a treat! It transforms ordinary butter into a rich, nutty, and deeply aromatic ingredient that adds an incredible depth of flavor to the sweet glaze. Skipping the brown butter would mean missing out on a significant part of what makes this recipe so special.
Mastering the Art of Brown Butter
Brown butter, or beurre noisette, is more than just melted butter; it’s a culinary secret weapon that adds a layer of sophisticated, nutty, and toasted flavor to any dish. It’s particularly transformative in the glaze for these cinnamon rolls. The good news? Browning butter is surprisingly simple, requiring just a bit of attention and understanding of when to stop the process. Here’s a detailed, step-by-step guide to achieving perfect brown butter every time:
- Prepare Your Pan: Begin by adding your desired amount of butter to a light-colored saucepan. A light-colored pan is crucial because it allows you to easily observe the color changes as the butter browns, helping you prevent burning.
- Melt and Foam: Place the saucepan over medium-high heat. Allow the butter to melt completely. As it melts, the water content will begin to evaporate, and the milk solids within the butter will separate and rise to the surface, causing the butter to foam.
- Stir and Observe: Continue stirring the butter continuously. This constant movement helps prevent the milk solids from sticking to the bottom of the pan and burning, ensuring even browning. As you stir, the foam will gradually subside. Keep a close eye on the liquid beneath the foam. You’ll notice it starting to change color, progressing from a pale yellow to a golden hue, then to a rich amber, and finally developing beautiful dark brown flecks at the bottom of the pan.
- Scent Cues: Beyond visual cues, your nose is an excellent guide. As the butter transitions from melted to browned, it will emit a distinct, intoxicating toasted, nutty aroma, reminiscent of hazelnuts or roasted nuts. This is a clear indicator that you’re nearing perfection.
- Remove from Heat and Cool: The moment the liquid achieves an overall amber-brown color and those lovely brown flecks are prominent, immediately remove the pan from the heat. The butter will continue to cook slightly from residual heat, so removing it promptly is key to preventing it from burning. Pour the browned butter into a separate heatproof bowl to stop the cooking process entirely. Allow it to cool for at least 30 minutes before incorporating it into your glaze. This cooling period is vital, as it allows the flavors to deepen and the butter to firm up slightly, ensuring the perfect consistency for your glaze.
Sourdough Adaptation: A Tangy Twist
For those who love the distinctive tang and complex flavor of sourdough, these jumbo cinnamon rolls can be beautifully adapted to use a natural yeast starter. This method replaces commercial yeast with your active, bubbly sourdough starter, offering a unique depth and slightly chewier texture. To make this adaptation, you will substitute 1.5 cups of active, bubbly sourdough starter for the dry yeast. You’ll also need to be mindful of your flour additions, as sourdough starters can vary in hydration. Slightly increase the flour by 1/2 to 1 cup, or as needed, until you achieve a dough that is tacky but not overly sticky. The most significant difference will be in the rise times: sourdough works much more slowly than commercial yeast. Expect your dough to rise considerably longer, likely around 4 hours for each rise, depending on the ambient temperature of your kitchen and the vigor of your starter. This extended fermentation contributes to the unique flavor profile and improves the digestibility of the rolls, making the wait well worth it!
Explore More Cinnamon Roll Creations
If you’re as passionate about cinnamon rolls as I am, you might enjoy exploring some of my other delightful recipes:
- Sourdough Pumpkin Cinnamon Rolls with Browned Butter Frosting
- Classic Sourdough Cinnamon Rolls
- Quick and Heavenly Cinnamon Rolls
Happy Cooking!
I genuinely hope you find as much joy in baking and savoring these Jumbo Cinnamon Rolls with Brown Butter Glaze as I do. There’s a special kind of satisfaction that comes from creating something so delicious from scratch, especially when it brings smiles to the faces of those you share it with.
Should you decide to make this recipe, I would absolutely love to see your creations! Please take a moment to snap a photo and tag me on social media. It truly brightens my day to see you bringing my recipes to life in your own kitchens. Your shares and tags are incredibly appreciated!
For more culinary inspiration and to follow along with my latest cooking adventures, be sure to connect with me on Instagram @amberskitchen. Happy baking, and enjoy every glorious bite!
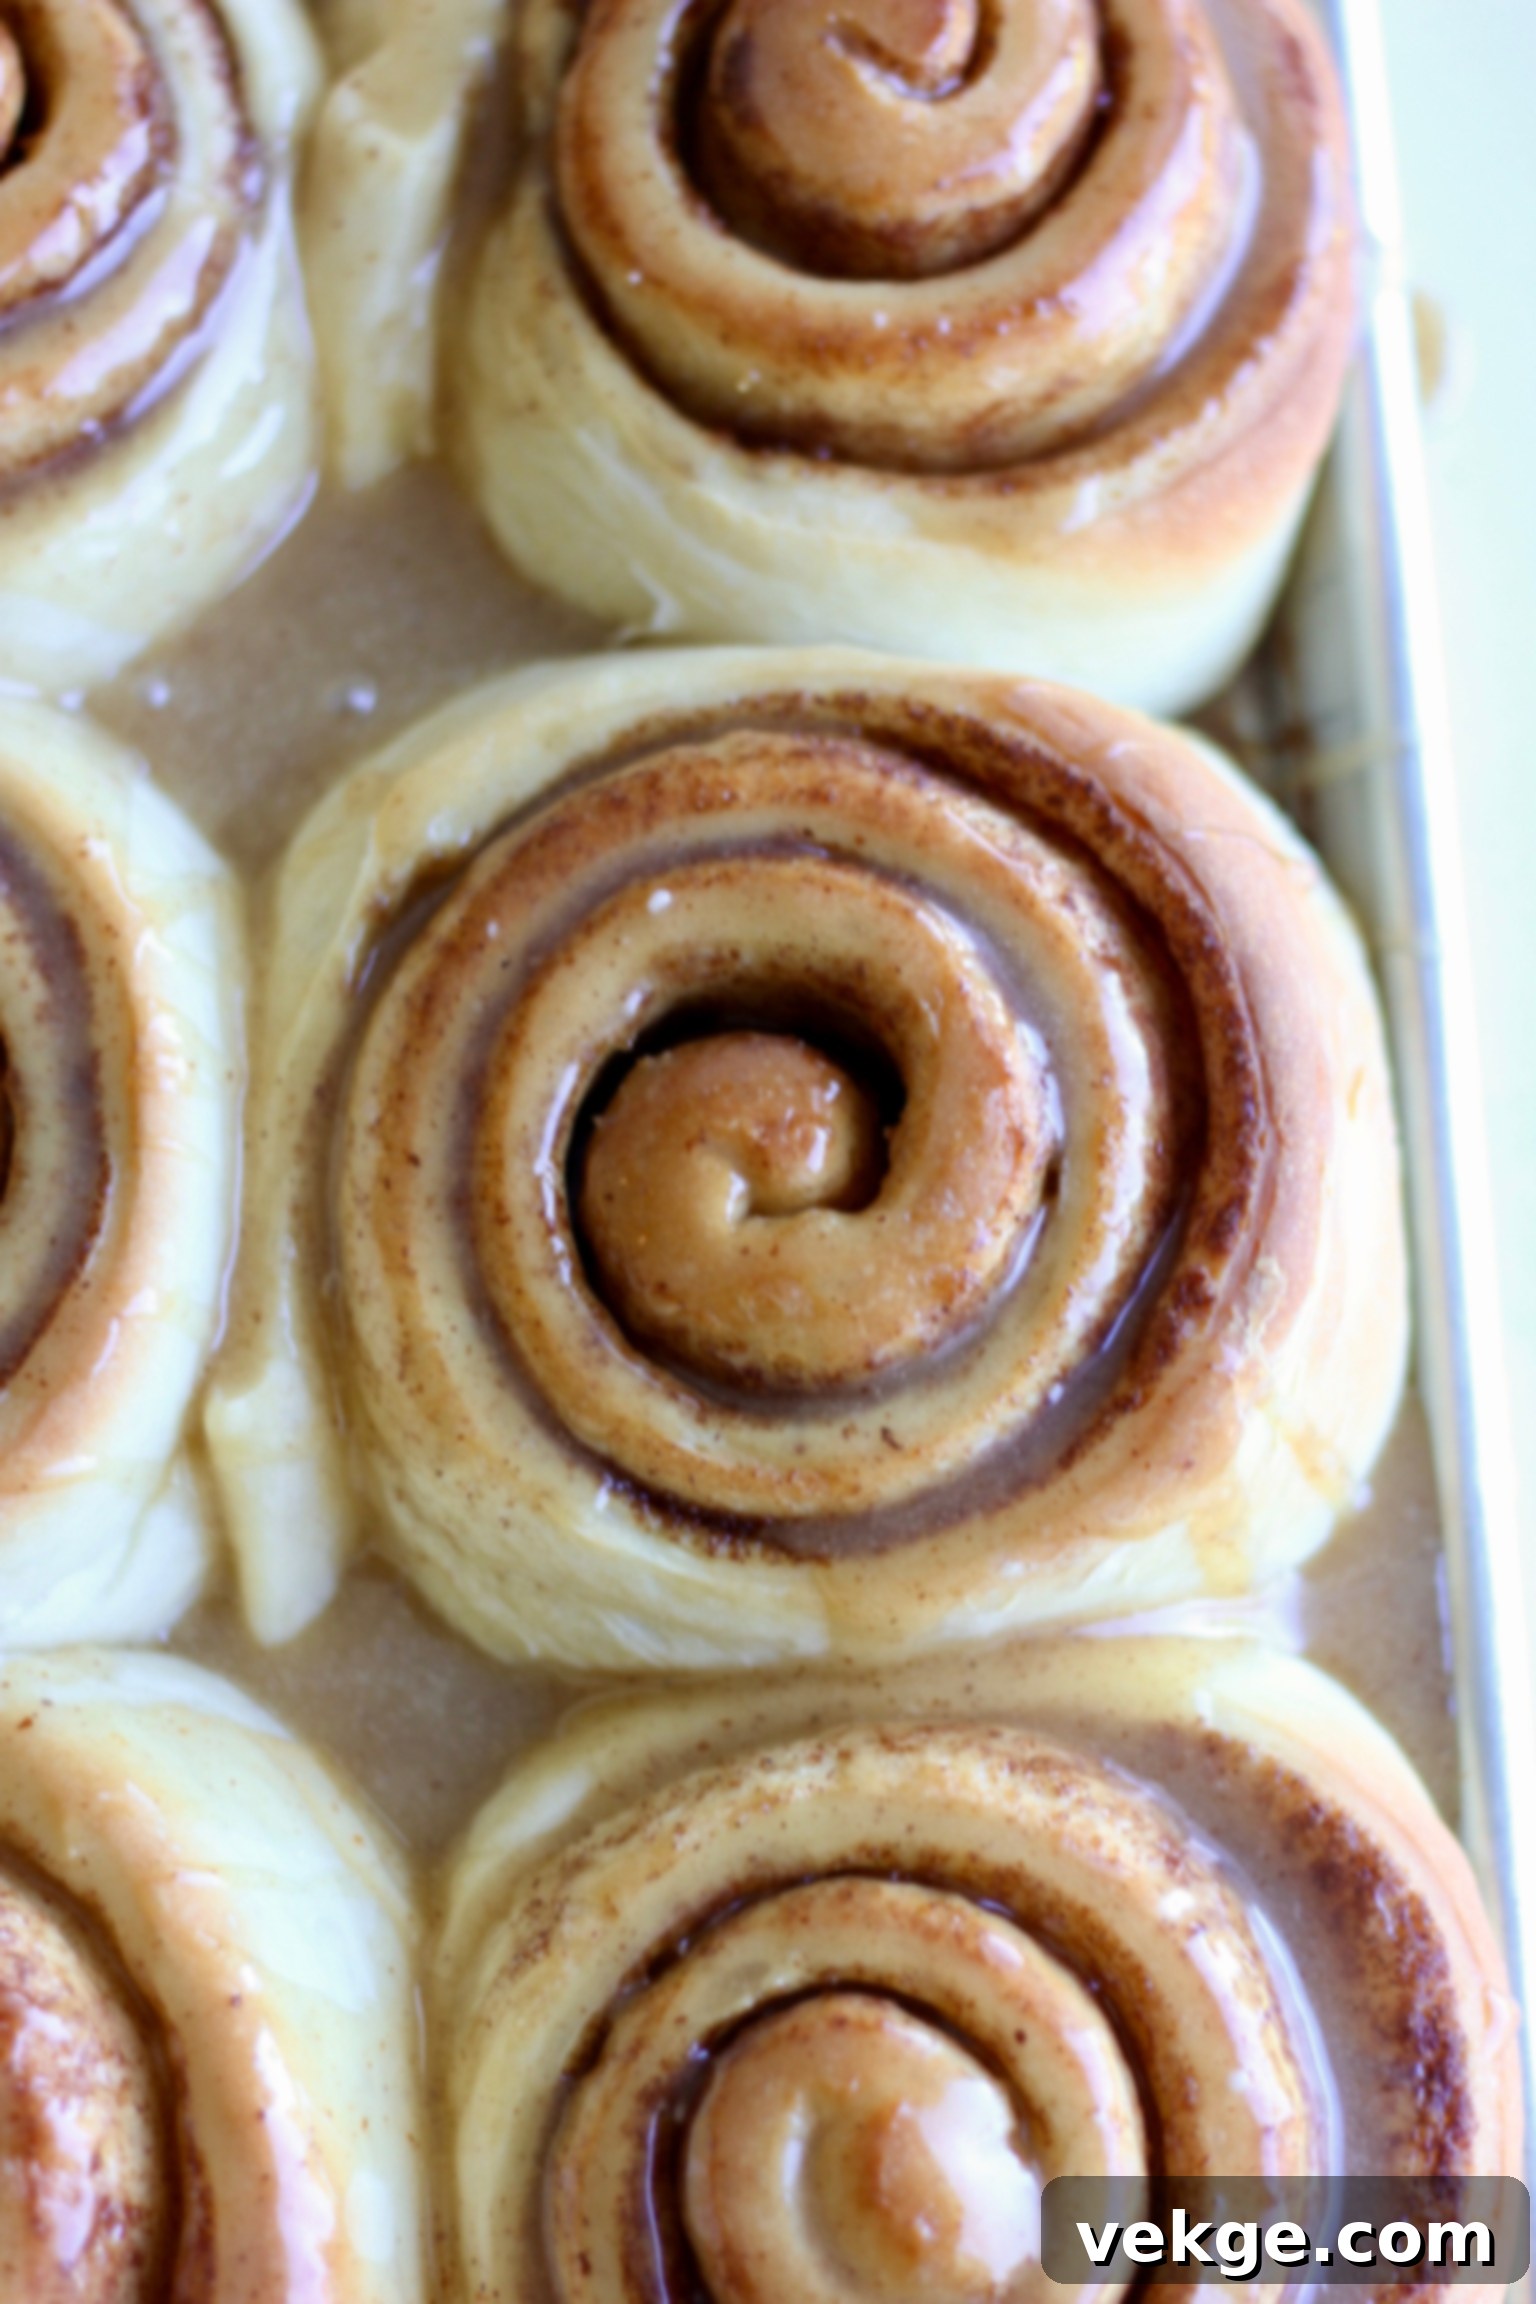
Jumbo Cinnamon Rolls with Brown Butter Glaze
Print
Pin
Rate
Ingredients
Dough
- 2 cups warm water
- 1/2 cups sugar
- 1.5 T active dry yeast
- 2 eggs
- 1/4 cup melted coconut oil
- 2 tsp salt
- 6-7 cups unbleached bread flour
Filling
- 8 T butter
- 1 cup brown sugar
- 1½ T cinnamon
Frosting
- 12 T brown butter (directions in notes)
- 3/4 cup heavy cream
- 1½ cups powdered sugar
Instructions
- In a stand mixer or a large bowl, combine the sugar, warm water, and active dry yeast. Give it a quick stir to combine, then cover and let the yeast dissolve and activate for 10 minutes until foamy.
- Add the eggs, melted coconut oil, and salt to the yeast mixture. Mix these wet ingredients together thoroughly. Gradually add the unbleached bread flour, one cup at a time. After adding six cups, assess the dough’s consistency. Only add the remaining cup of flour if the dough is still excessively sticky. You’ve achieved the correct amount of flour when the dough no longer sticks to the sides of the bowl and feels tacky but not sticky to your fingers. Be careful not to over-flour, as this can result in dry rolls.
- Knead the dough for 10-15 minutes until it becomes smooth and elastic. If using a stand mixer, cover the bowl with a clean kitchen towel while kneading to help retain heat and promote proper gluten development.
- Once kneaded, cover the dough again and let it rise in a warm place until it has doubled in size. This typically takes about 30-60 minutes, depending on the warmth of your kitchen.
- On a clean countertop lightly dusted with flour, roll out the risen dough into a large rectangle. Aim for dimensions that are approximately two parts wide by three parts long, with a thickness of about 1/2 inch.
- Evenly spread the softened butter across the rolled-out dough, leaving a small border along one long edge. Then, sprinkle the brown sugar and cinnamon mixture generously over the butter.
- Starting from the long edge opposite the border, carefully roll the dough up tightly into a log, resembling a “king snake.” Use a sharp knife or unflavored dental floss to cut the log into 12 even portions. For uniform rolls, you may wish to trim the slightly uneven ends first. Place each cut cinnamon roll dough round onto a 13×17 inch baking sheet lined with parchment paper or greased generously.
- Cover the rolls with a clean dish towel and let them rise again in a warm location until they have doubled in size, which should take approximately 30-45 minutes. During the last 15 minutes of this second rise, preheat your oven to 350°F (175°C).
- Bake the cinnamon rolls in the preheated oven for 15-20 minutes, or until they are golden brown on top and cooked through.
- While the cinnamon rolls are baking or cooling slightly, prepare the irresistible brown butter glaze. In a medium bowl, combine the warm brown butter, heavy cream, and powdered sugar. Whisk thoroughly until the mixture is completely smooth and free of any lumps.
- As soon as the cinnamon rolls come out of the oven, generously spread the warm brown butter glaze evenly over each warm roll. Serve immediately and enjoy every gooey, glorious bite!
Notes
To use natural yeast instead of commercial yeast, replace the dry yeast with 1.5 cups of active, bubbly sourdough starter. You will need to increase the flour slightly by 1/2 to 1 cup, or as needed, to achieve a dough that is tacky but not overly sticky. Be prepared to increase the rise times considerably until the dough has doubled in size each time—this will likely take approximately 4 hours per rise, depending on your kitchen’s climate and starter activity.
How to Brown Butter:
- Add your butter to a light-colored saucepan.
- Turn the heat to medium-high and allow the butter to melt completely. After the butter melts, it will begin to foam.
- Continuously stir the butter as it continues to cook. The foam will slightly subside, and you’ll notice the liquid under the bubbles starting to turn golden brown, eventually developing dark brown flecks at the bottom of the pan. It will also emit a distinct toasted and nutty aroma.
- Once the liquid achieves an overall amber-brown color, immediately remove it from the heat. Pour the browned butter into a separate heatproof bowl to stop the cooking process and let it cool for at least 30 minutes before using it in the glaze.
