Easy No-Bake Cheesecake Cups: Your Go-To Dessert for Creamy Indulgence
Sometimes, life calls for an effortless yet utterly decadent dessert. Imagine a rich, creamy texture atop a buttery, crunchy crust, all without ever turning on your oven. That’s the magic of these No-Bake Cheesecake Cups! They are the epitome of simple elegance, perfect for satisfying your sweet tooth or impressing guests with minimal fuss.
Whether you’re hosting a dinner party, planning a picnic, or simply craving a personal indulgence, these individual cheesecake cups hit all the right notes. They’re quick to prepare, require no baking, and chill beautifully, making them an ideal make-ahead option. Get ready to dive into the delightful world of no-bake desserts!

Why These No-Bake Cheesecake Cups Will Become Your Favorite Dessert
There’s a reason why no-bake cheesecakes are beloved, and this recipe for individual cups takes convenience and charm to a whole new level. Here’s why you’ll want to add this to your regular dessert rotation:
- Effortless Preparation: No need to worry about water baths, cracked tops, or oven temperatures. This recipe skips the baking entirely, making it ideal for novice bakers or busy cooks.
- Quick Assembly: With just a few simple steps, you can have these creamy delights ready for chilling in under 30 minutes. The hardest part is waiting for them to set!
- Individual Portions: Serving is a breeze! Each guest gets their own perfectly portioned dessert, eliminating the need for slicing and serving a full cheesecake. This also makes them excellent for parties, picnics, or school lunch treats.
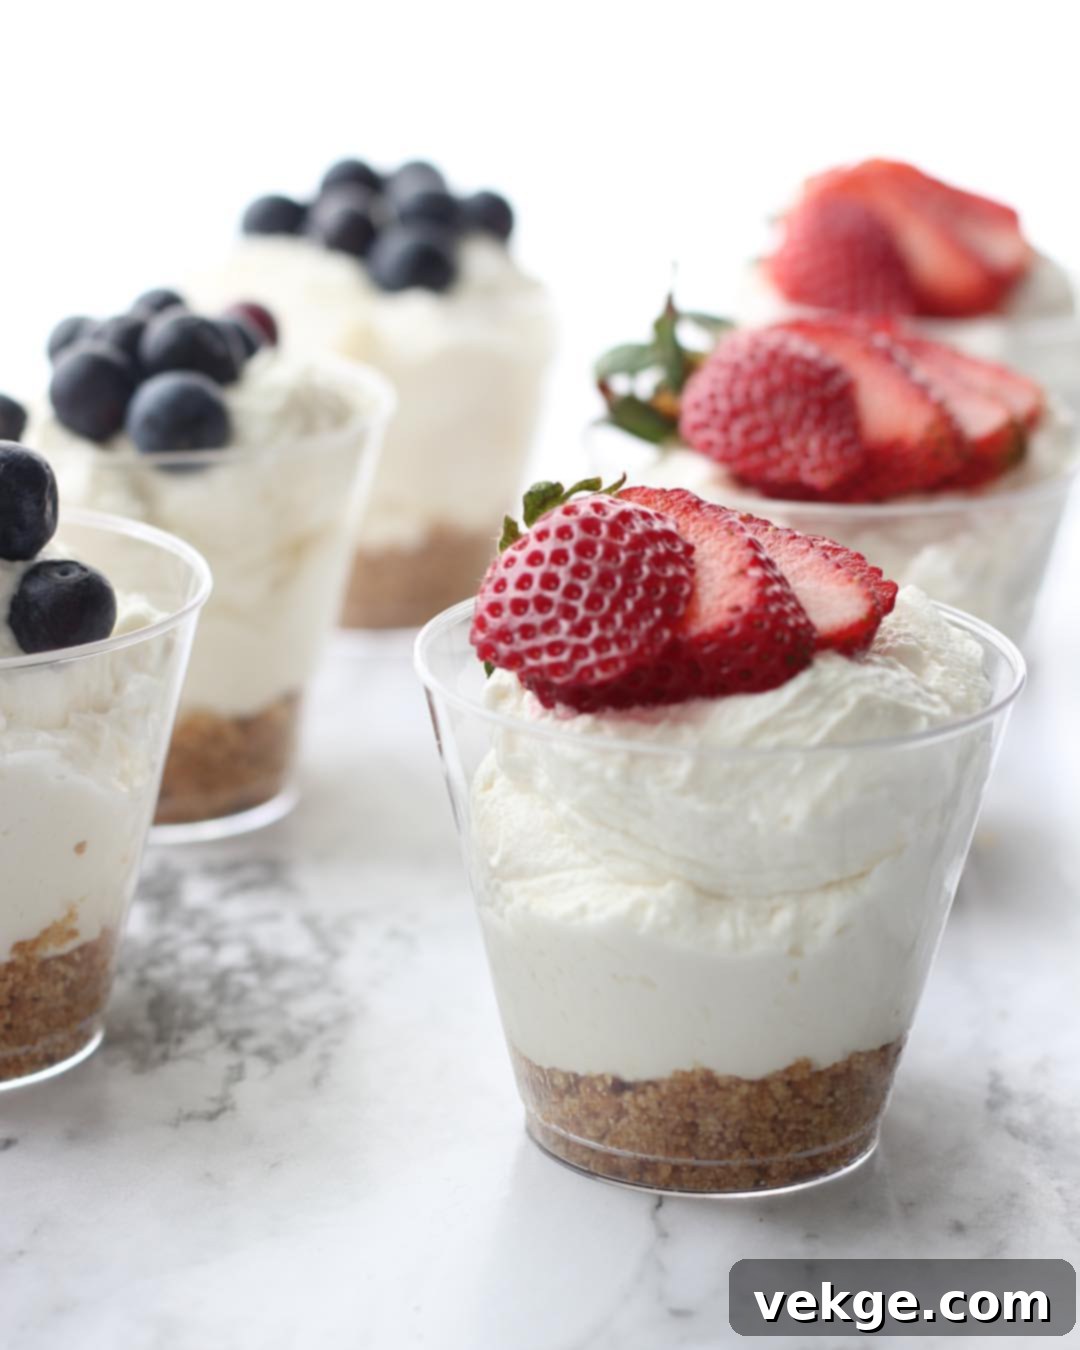
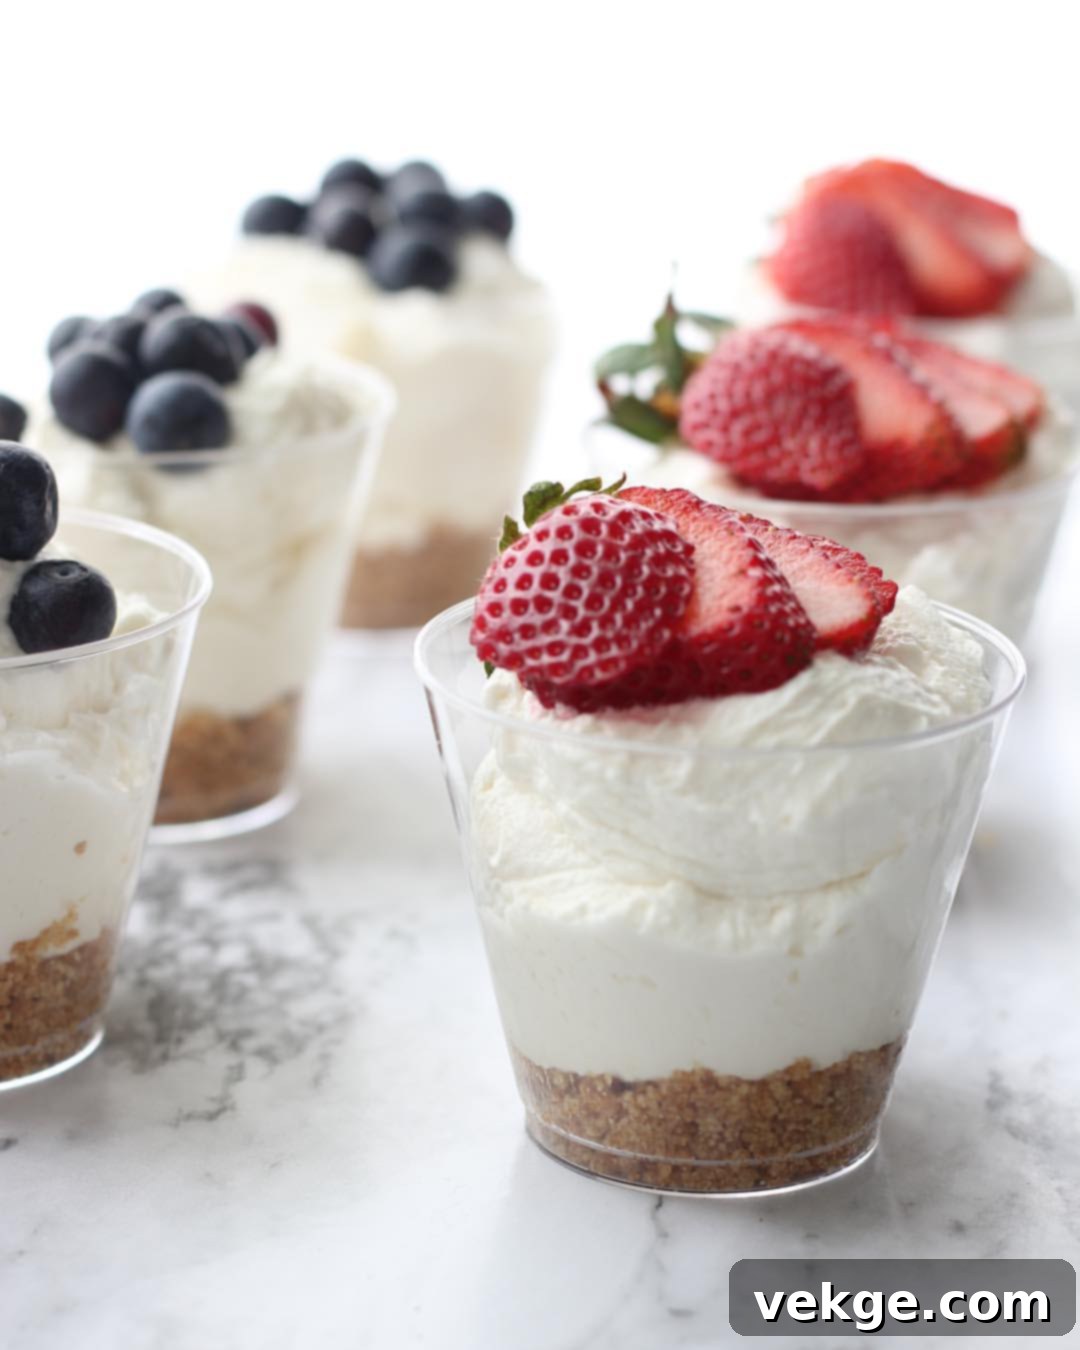
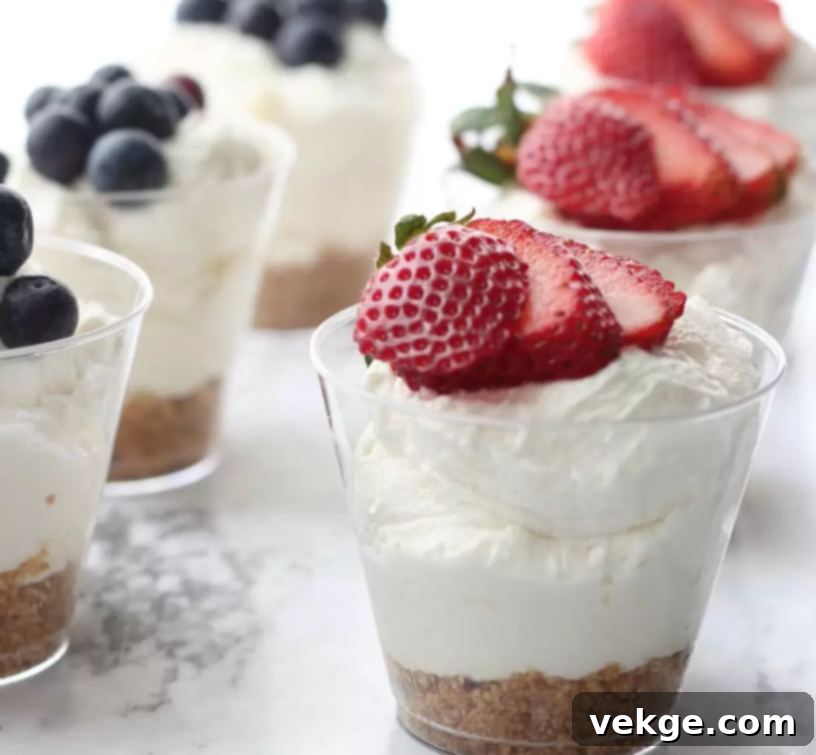
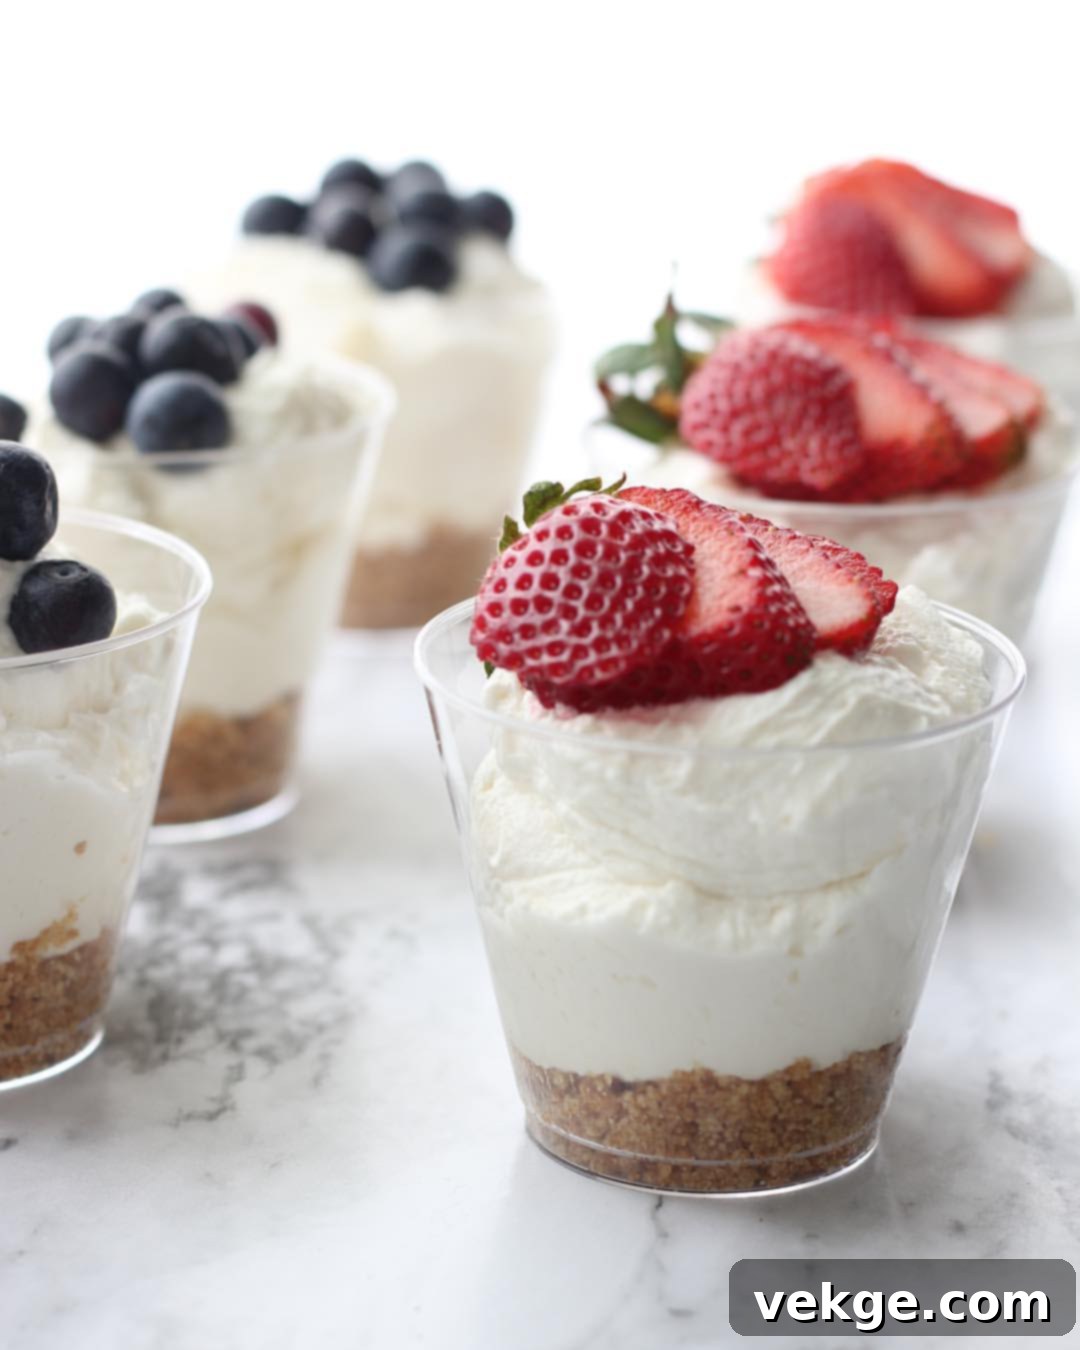
- Elegant Presentation: Served in clear cups or small jars, these cheesecakes look incredibly sophisticated and inviting, especially when garnished with fresh fruit or a swirl of whipped cream.
- Versatile & Customizable: From the crust to the toppings, these cups are a blank canvas for your creativity. Experiment with different cookie crusts, flavorings, and a plethora of garnishes to suit any taste or occasion.
- Perfect for Summer: Keep your kitchen cool! Without the oven, these no-bake treats are fantastic for hot weather entertaining or when you simply don’t want to heat up your home.
These elegant and tasty delights are truly perfect for special occasions or just a sweet escape on a regular day. Their simplicity doesn’t compromise on flavor or texture, delivering a rich and satisfying experience every time.


No-Bake Cheesecake Cups
Ingredients
Crust Ingredients
- 1/2 cup graham cracker crumbs, crushed
- 3 T melted butter
- 1 T sugar
Filling Ingredients
- 1 cup heavy cream
- 8 oz cream cheese, softened
- 4 T sugar
- 1 tsp vanilla extract
- whipped cream or berries for garnish, if desired
Instructions
- Combine graham cracker crumbs, butter, and 1 Tablespoon sugar in a small bowl. Divide crumbs into the bottom of 4-6 cups or small jars. Use the curved side of the spoon to gently push crumbs down. Set aside.
- In a large mixing bowl beat and whipping cream with an electric mixer until light and fluffy, and stiff peaks form. Set a bowl of whipping cream aside.
- In another large mixing bowl beat softened cream cheese together with the 4 Tablespoons sugar and vanilla. Whisk or beat until the mixture is smooth and has no lumps.
- With a large spoon gently fold whipping cream into cream cheese mixture, being careful not to deflate the whipped cream.
- Transfer cream cheese mixture to a large gallon size Ziplock bag, gently squeeze the air out of the bag, and seal. Snip the corner of the bag making a hole about as wide as your thumb, and “pipe” the filling on top of the graham cracker crust, into the cups.
- Once cups are filled, chill in the refrigerator preferably for a minimum of two hours.
- If desired, garnish with whipped cream, cookie crumbs, berries, raspberry jelly, etc. enjoy!
Diving Deeper into Your No-Bake Cheesecake: Tips for Success
While the recipe is straightforward, a few key tips will ensure your No-Bake Cheesecake Cups turn out perfectly creamy and delicious every time.
Mastering the Graham Cracker Crust
The crust is the foundation of your cheesecake cup, providing a delightful textural contrast to the smooth filling. For the best results:
- Finely Crushed Crumbs: Ensure your graham cracker crumbs are finely crushed. This allows them to bind well with the butter and form a cohesive crust. You can use a food processor for quick results or place crackers in a Ziplock bag and crush them with a rolling pin.
- Even Distribution: When dividing the crumbs among your cups, try to make them as even as possible. This ensures consistent crust thickness in each serving.
- Firmly Pressed: Use the back of a spoon or a small tart tamper to firmly press the crumbs into the bottom of each cup. A well-compacted crust won’t crumble apart when you dig in.
- Crust Variations: Don’t limit yourself to graham crackers! You can substitute with crushed Oreo cookies (for a chocolate crust), digestive biscuits, shortbread cookies, or even gingersnaps for a spiced twist. Adjust the amount of melted butter slightly if using different cookie types, as some absorb more fat than others.
Achieving the Fluffy Cheesecake Filling
The secret to a light, airy, yet rich filling lies in careful mixing and ingredient temperatures.
- Softened Cream Cheese is Key: This is non-negotiable! Cold cream cheese will result in a lumpy filling, no matter how much you beat it. Allow your cream cheese to sit at room temperature for at least 30-60 minutes, or gently soften it in the microwave in short bursts (10-15 seconds) until pliable.
- Whipping Cream to Stiff Peaks: Use cold heavy cream for optimal whipping. Beat it with an electric mixer until “stiff peaks” form. This means when you lift the beaters, the peaks stand tall and hold their shape. Be careful not to over-whip, which can turn it grainy.
- Gentle Folding: Once you’ve combined the cream cheese mixture and the whipped cream, it’s crucial to fold them together gently. Use a large spoon or spatula and a “cut and fold” motion. This preserves the air incorporated into the whipped cream, ensuring your cheesecake filling remains light and fluffy.
- Vanilla Extract: Use good quality vanilla extract. It enhances the overall flavor of the cheesecake significantly.
The Art of Piping (or Spooning) the Filling
Using a Ziplock bag is a fantastic hack for neatly filling your cups, giving them a professional, bakery-style look.
- Ziplock Bag Method: Ensure your Ziplock bag is a gallon size for easier handling. Fill it only halfway to avoid bursting. Snip a corner with kitchen shears, creating a hole about the size of your thumb. This allows for a smooth, controlled flow of filling.
- Alternative: Spooning: If you don’t have a Ziplock bag or prefer not to use one, simply spoon the filling into the cups. You might need to gently tap the cups on the counter a few times to settle the filling and remove any air pockets, then smooth the top with the back of a spoon.
The Crucial Chill Time
Patience is a virtue, especially when it comes to no-bake cheesecakes!
- Minimum Two Hours: The two-hour chilling time is essential. It allows the cream cheese mixture to firm up and the flavors to meld beautifully. For the best possible texture and stability, chilling for at least 4 hours, or even overnight, is highly recommended.
- Preventing Runniness: Insufficient chilling is the most common reason for a runny no-bake cheesecake. The cold helps the fats in the cream cheese and heavy cream solidify, giving the dessert its characteristic firm yet creamy texture.
Endless Flavor Variations and Topping Ideas
These No-Bake Cheesecake Cups are wonderfully versatile. Here are some ideas to customize them and keep things exciting:
Classic Berry Toppings
Fresh berries are a natural complement to the creamy cheesecake. Think sliced strawberries, whole blueberries, raspberries, or a mix of all three. A simple berry compote or raspberry jelly also works wonderfully, adding a burst of sweet-tart flavor and vibrant color.
Decadent Chocolate Delights
For the chocolate lovers, consider adding mini chocolate chips to the filling, a drizzle of chocolate ganache over the top, or a sprinkle of chocolate shavings. You could even use an Oreo crust for a complete chocolate experience.
Zesty Citrus Twists
Incorporate fresh lemon or lime zest into the cream cheese filling for a bright, refreshing flavor. A small amount of juice can also be added, but be careful not to make the mixture too thin.
Caramel and Nut Infusions
A drizzle of warm caramel sauce, a sprinkle of toasted pecans or walnuts, or even a few chopped Heath bar pieces can add a luxurious touch and delightful crunch.
Seasonal Inspirations
- Fall: A pinch of pumpkin pie spice in the filling or a topping of caramelized apples.
- Winter: A dash of peppermint extract and crushed candy canes for a festive treat.
- Spring: Freshly sliced kiwi or passion fruit puree.
The possibilities are truly endless, allowing you to tailor these cups to any taste preference or holiday theme.
Frequently Asked Questions (FAQs)
Can I make these ahead of time?
Absolutely! These no-bake cheesecake cups are an excellent make-ahead dessert. You can prepare them up to 2-3 days in advance. Just cover them tightly with plastic wrap before chilling and store them in the refrigerator. Add garnishes right before serving for the freshest look.
How long do they last in the fridge?
When stored properly in an airtight container or covered tightly with plastic wrap, these cheesecake cups will stay fresh in the refrigerator for up to 3-4 days.
Can I freeze No-Bake Cheesecake Cups?
Yes, you can! For best results, freeze the un-garnished cups. Place them on a baking sheet until firm (about 1-2 hours), then transfer them to an airtight freezer-safe container. They can be frozen for up to 1 month. Thaw them in the refrigerator for several hours or overnight before serving. Add your desired toppings after thawing.
My filling is too runny, what went wrong?
Several factors could contribute to a runny filling:
- Insufficient Chilling: The most common culprit. Ensure you chill for at least 2 hours, but preferably 4-6 hours or overnight for optimal setting.
- Over-whipped Cream: While stiff peaks are desired, over-whipping heavy cream can cause it to separate and become watery.
- Warm Cream Cheese: If your cream cheese wasn’t properly softened (too cold), it might not emulsify correctly, leading to a less stable filling. Conversely, if it was too warm or melted, it could also affect stability.
- Folding Technique: If the whipped cream was deflated during folding, the filling might lose its structure. Be gentle!
What if I don’t have graham crackers?
No problem! As mentioned, you can use a variety of other cookies for your crust. Crushed digestive biscuits, Oreo cookies, Biscoff cookies, shortbread, or vanilla wafers are all excellent alternatives. Just ensure they are finely crushed and mixed with melted butter and sugar as per the recipe.
How to ensure stiff peaks for whipped cream?
For perfect stiff peaks every time, make sure both your heavy cream and your mixing bowl (and beaters) are very cold. You can even chill your bowl and beaters in the freezer for 10-15 minutes before whipping. Use high-fat heavy cream (at least 36% milk fat) for the best results. Start beating on medium speed and increase to high as the cream thickens.
Serving and Presentation Tips
The beauty of individual desserts is their presentation! Serve these No-Bake Cheesecake Cups in small glass jars, mini mason jars, or elegant dessert cups. This allows guests to appreciate the distinct layers of crust and creamy filling.
For garnishing, get creative! A dollop of fresh whipped cream, a scattering of colorful berries, a sprinkle of chocolate shavings, a dusting of cocoa powder, or a mint sprig can elevate their look. A drizzle of fruit sauce or caramel right before serving adds a final touch of sophistication.
Conclusion
These Easy No-Bake Cheesecake Cups truly embody the joy of dessert-making without the stress. They deliver a luxurious, creamy experience in a convenient, individual package, making them an instant crowd-pleaser for any gathering or a simple, indulgent treat for yourself. With our comprehensive tips and variation ideas, you’re now equipped to create a foolproof dessert that’s as delightful to look at as it is to eat. So go ahead, whip up a batch, and let these charming cheesecake cups bring a smile to everyone’s face!
