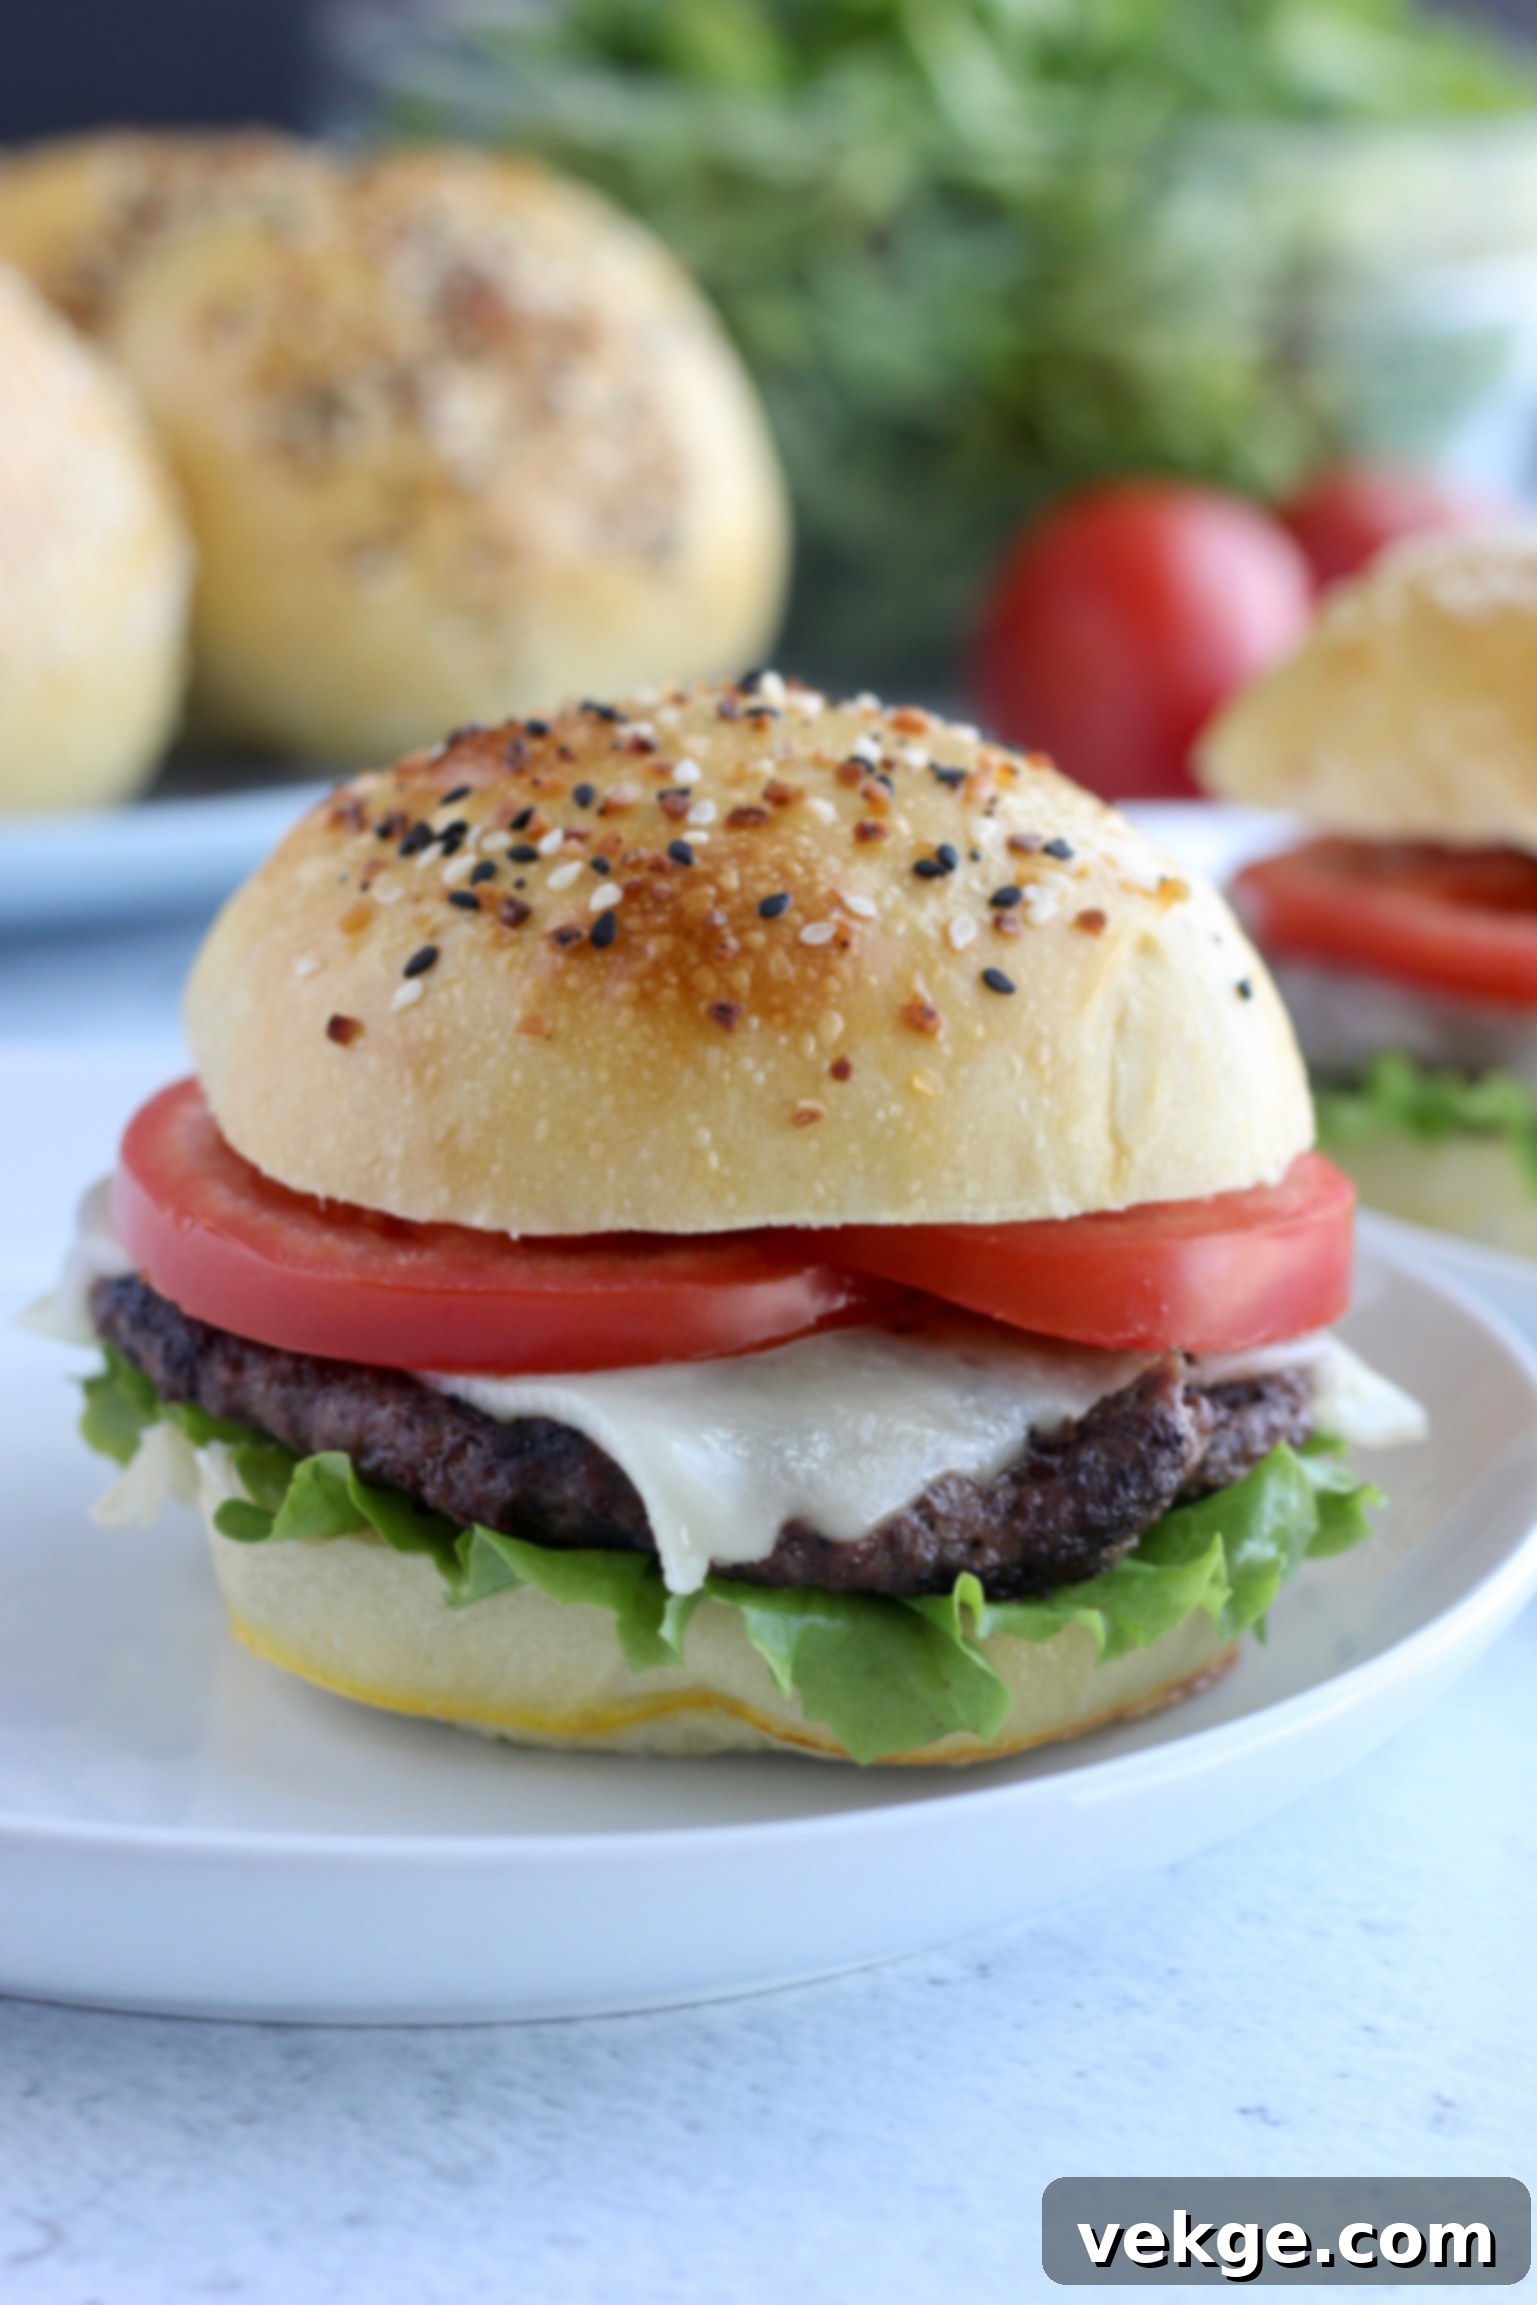
Bake the Best Burgers: Your Guide to Soft & Sturdy Homemade Hamburger Buns
This post contains affiliate links, and I may receive a commission on your purchase at no extra cost to you. Thank you for supporting my work by shopping through my links.
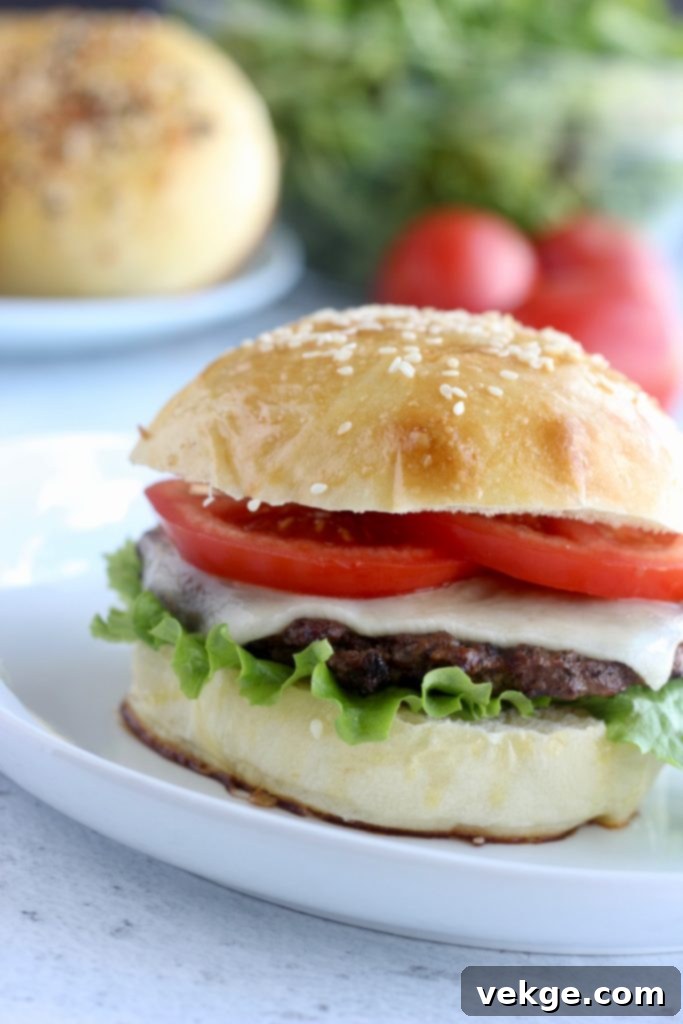
There’s nothing quite like a perfectly grilled burger, but the bun it rests on can make or break the experience. Forget flimsy, flavorless store-bought options! This ultimate guide will walk you through creating truly exceptional homemade hamburger buns that are both incredibly soft and wonderfully sturdy. These aren’t just any buns; they’re the kind that will elevate your burgers from good to absolutely unforgettable, leaving you wondering why you ever settled for less.
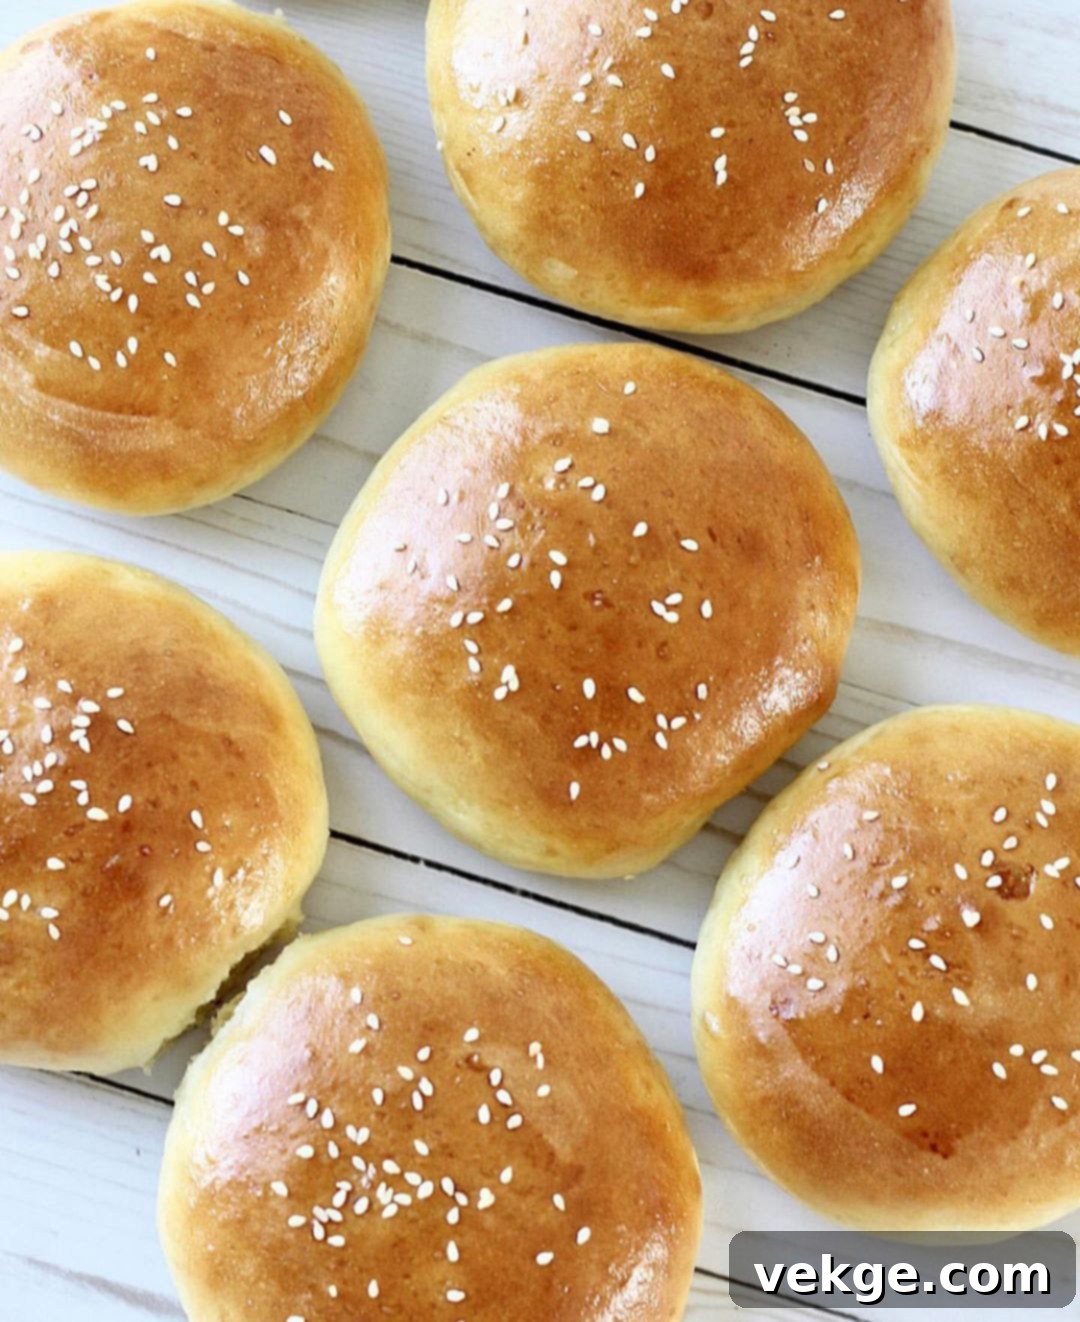
Sourdough Adaptation for Natural Yeast Lovers
For those who adore the tangy complexity and wholesome goodness of sourdough, you’ll be delighted to know that this recipe is easily adaptable to a natural yeast style. Incorporating a vibrant sourdough starter transforms these buns, adding depth of flavor and a unique texture that’s truly artisanal. To explore this exciting variation, be sure to visit my comprehensive SOURDOUGH HAMBURGER BUNS POST, where I detail the process for an equally delicious, naturally leavened version.
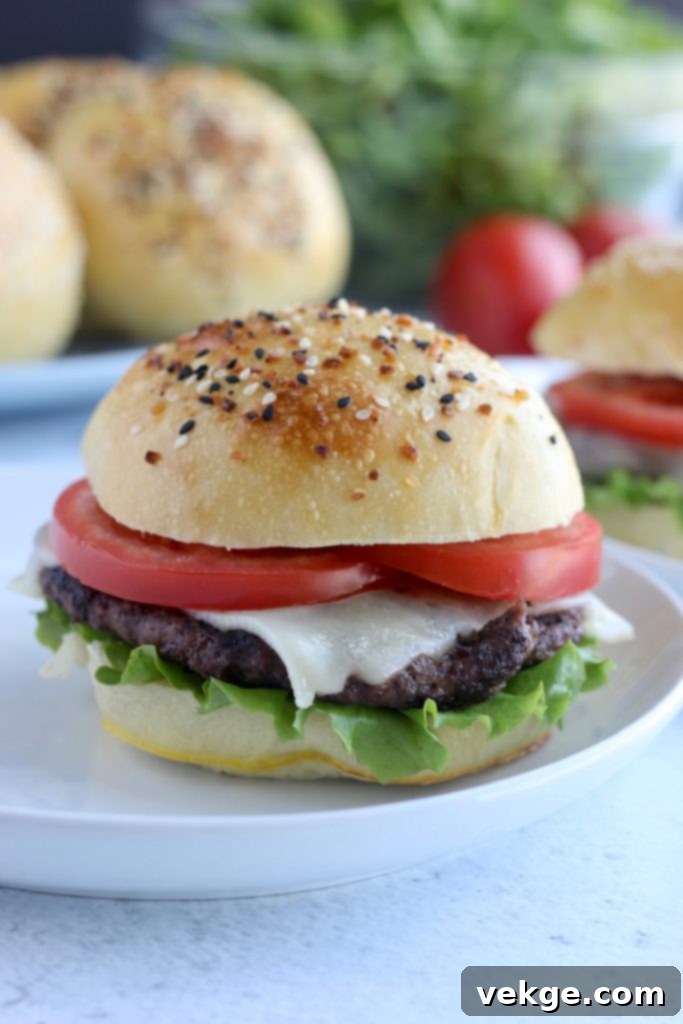
Why Bother Making Your Own Hamburger Buns?
Many home cooks might wonder if the effort of baking hamburger buns from scratch is truly worth it. The answer, unequivocally, is yes! Once you experience the superior taste and texture of these homemade buns, particularly this specific recipe, going back to store-bought alternatives will feel like a culinary downgrade. These buns offer a monumental upgrade to any burger, providing a pillow-soft interior that yields beautifully with each bite, yet possesses enough structural integrity to hold even the juiciest burger without collapsing. The difference in flavor is astounding – a rich, yeasty goodness that mass-produced buns simply cannot replicate. After savoring the fresh, wholesome taste of these, you might find that commercial buns taste bland, like cardboard, and entirely lack the satisfying chewiness you now crave.
Homemade buns allow you to control the ingredients, ensuring you use high-quality, fresh components free from preservatives or artificial flavors. This not only results in a healthier product but also one bursting with authentic bread flavor. The aroma that fills your kitchen as these bake is an added bonus, creating an inviting atmosphere that store-bought buns can never achieve. Plus, there’s an immense sense of satisfaction that comes from serving a meal, knowing every component, right down to the bun, was crafted with care and skill in your own home.
Let’s Dive into the Key Ingredients…
Flour: The Foundation of Your Buns
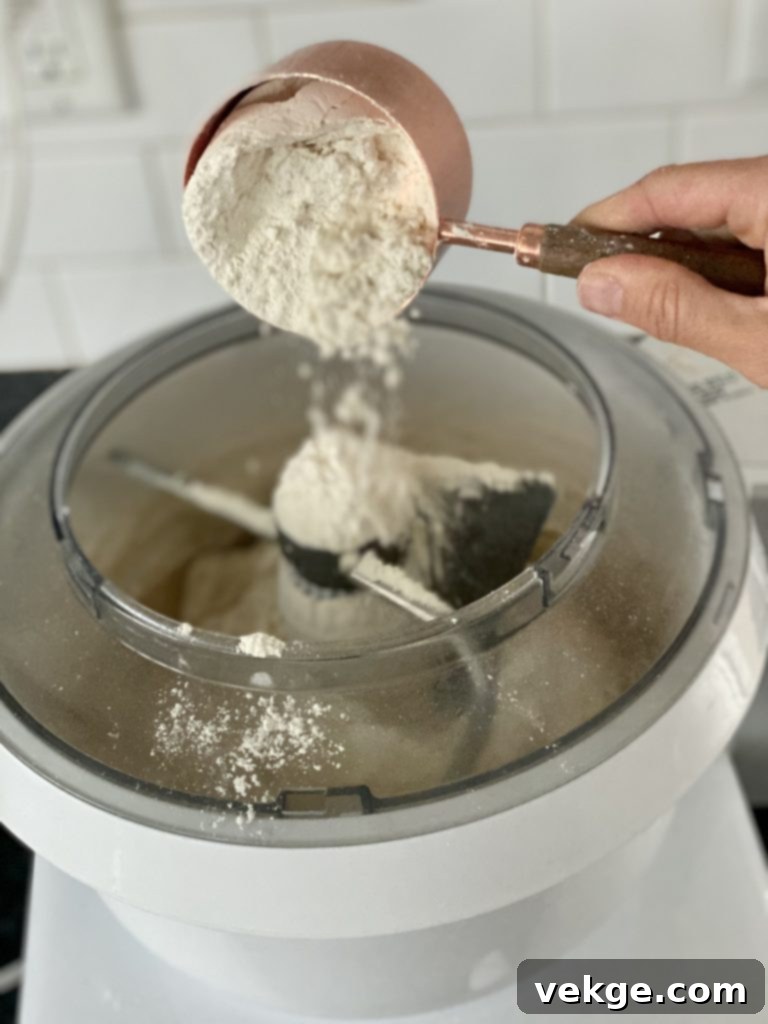
The type of flour you choose significantly impacts the final texture and rise of your hamburger buns. This versatile recipe can accommodate several excellent flour options, each offering a slightly different characteristic to your finished product. Understanding these differences will help you select the perfect flour for your desired bun.
- BREAD FLOUR: This is often my top recommendation for achieving truly professional-quality buns. Bread flour boasts a higher protein content compared to all-purpose flour, meaning it contains more gluten. This increased gluten allows the dough to develop a strong, elastic structure, leading to a tall, buoyant rise and a finished bun that is incredibly soft, light, and possesses a beautiful, satisfying stretch. Most well-stocked grocery stores carry bread flour. Personally, I frequently use organic bread flour sourced from a local mill, LEHI MILLS.* I highly recommend their products, not just for their quality but also because they responsibly source their wheat from farmers who commit to not using glyphosate on their crops, ensuring a cleaner product for your family. (Remember to use my affiliate coupon code AMBERSKITCHEN for 10% off your purchase!)
- ALL-PURPOSE FLOUR: If bread flour isn’t readily available, all-purpose flour is a perfectly acceptable and straightforward substitute. While it has a slightly lower protein content than bread flour, it will still yield delicious and tender buns. You can use it as a direct, straight-across substitute in this recipe without needing to adjust the quantities significantly. The texture might be a touch less chewy than with bread flour, but the buns will still be wonderfully soft and enjoyable.
- WHOLE WHEAT FLOUR: For those seeking a more nutritious option with a distinct, earthy flavor, whole wheat flour can certainly be used. However, it’s important to note that whole wheat flour is significantly more absorbent and denser than white flours. Due to its weight and thirstiness, you will generally need to reduce the total amount of flour in the recipe. For example, if the recipe calls for 8.5 cups of white flour, you might only need 7.5 or 7.75 cups of whole wheat flour. Always observe the dough’s texture as you add flour; it should be tacky but not sticky, indicating the correct hydration level. Whole wheat flour will result in a denser, heartier bun with a more pronounced flavor, which some find preferable for certain types of burgers.
- KAMUT (KHORASAN) FLOUR: Kamut, also known as Khorasan wheat, is an ancient grain that has largely escaped the genetic alterations common in modern wheat varieties. It offers a wonderfully rich, slightly nutty flavor profile that can add a unique dimension to your buns. While it can substitute all-purpose flour, it’s not a direct 1:1 replacement. Kamut flour is even more absorbent than all-purpose flour, so you’ll need to reduce the total flour amount by approximately 10-15%. In my experience, Kamut buns tend to rise a bit less dramatically and can have a slightly more crumbly texture compared to those made with modern wheat flours. I source my regeneratively grown Khorasan flour locally from KHORASANMILLS.COM (not sponsored), and I believe they offer shipping across the United States. This ancient grain provides a delightful alternative for those looking to experiment with different flavors and textures in their homemade bread.
*This is an affiliate link, and I may receive a commission on your purchase at no extra cost to you. Thank you for supporting my work through this link.
Salt: More Than Just Flavor
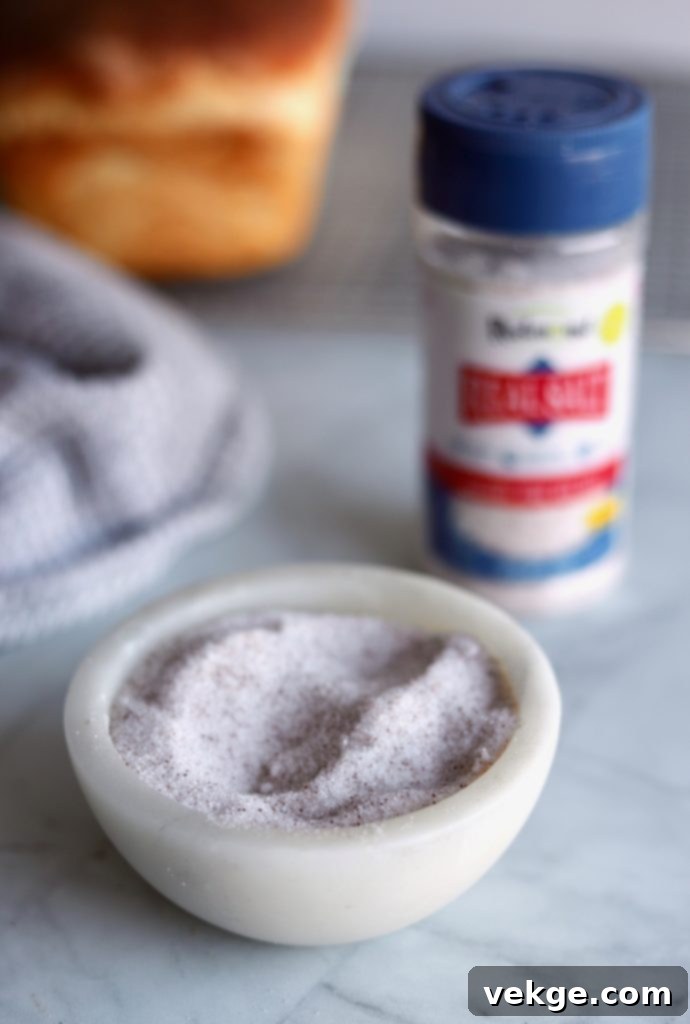
My choice of salt for baking is very particular, and for good reason. I exclusively use fine sea salt from Redmond Real Salt. This isn’t just about taste; it’s about the nutritional integrity and purity of the ingredient. Redmond Real Salt is harvested from an ancient sea bed in central Utah, making it a true, unrefined sea salt. It’s packed with naturally-occurring trace minerals, which not only enhance the flavor of your bread but also provide essential micronutrients. What sets it apart from most commercial table salts is its pure, unprocessed nature – it contains no fillers, no anti-caking agents, no unhealthy pollutants, and no additives. Sadly, many common table salts are heavily processed, stripped of their beneficial minerals, and often contain questionable chemicals. By choosing Redmond Real Salt, you’re not just seasoning your buns; you’re adding a foundational element of health and unparalleled flavor. To make it more economical, I buy my salt in bulk, typically ordering a 25 POUND BAG OF SALT* every few years, which I then store in mason jars. You can find their products and learn more HERE*. Don’t forget my affiliate coupon code AMBERSKITCHEN to save 15% on any Redmond products!
*This is an affiliate link, and I may receive a commission on your purchase with no extra cost to you. Thank you for shopping through this link.
Water: The Spark of Life for Yeast
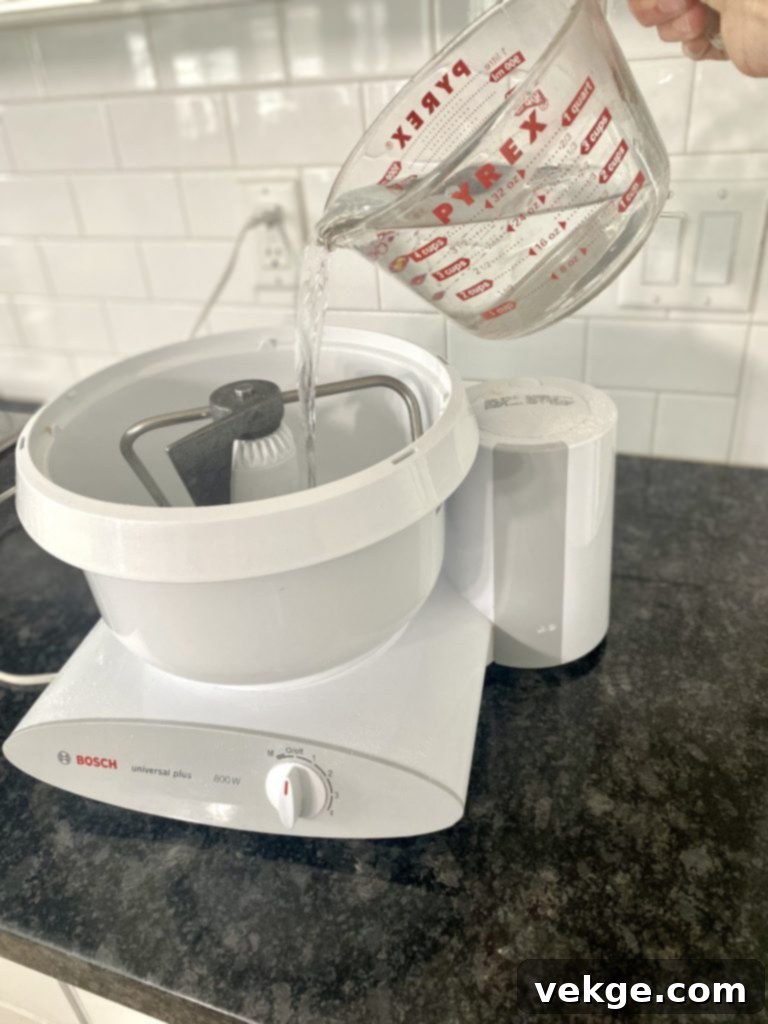
The temperature of your water might seem like a minor detail, but it’s absolutely critical for successful yeast activation and dough fermentation. Aim for water that is room temperature to slightly warm, often described as “baby bottle warm,” which is typically between 95°F and 105°F (35°C-40°C). If the water is too cold, the yeast will be sluggish, leading to a significantly longer rise time and potentially a less airy bun. Conversely, water that is too hot can shock, weaken, or even kill the delicate yeast organisms, preventing the dough from rising altogether. The ideal slight warmth creates an optimal environment for the yeast to become active, feeding on the sugar and producing the carbon dioxide necessary for a light, fluffy texture. Using a thermometer is highly recommended to ensure you hit that sweet spot.
Butter or Coconut Oil: For Flavor and Texture
The fat you incorporate into your dough plays a dual role, significantly influencing both the flavor and the final texture of your hamburger buns. For many years, I exclusively used butter in this recipe, appreciating its rich, savory flavor that beautifully complements a juicy burger. Butter contributes to a classic, tender crumb and a golden crust. However, when I experimented with coconut oil, I discovered an unparalleled level of softness in the finished buns. Coconut oil tends to produce an exceptionally tender, almost melt-in-your-mouth texture. So, the choice truly comes down to your personal preference: do you lean towards a more buttery, savory flavor with a slightly firmer bun, or do you prioritize an extraordinarily soft bun achieved with coconut oil?
If your butter or coconut oil is solid and cold, a quick melt in the microwave for 10-20 seconds will bring it to the perfect liquid state for easy incorporation into the dough. If, for dietary reasons or availability, you need an alternative to both butter and coconut oil, my next recommendations would be high-quality extra virgin olive oil or avocado oil. Both offer good fat content to enrich the dough, though they will impart their own subtle flavor profiles.
Egg: The Ultimate Tenderizer and Binder
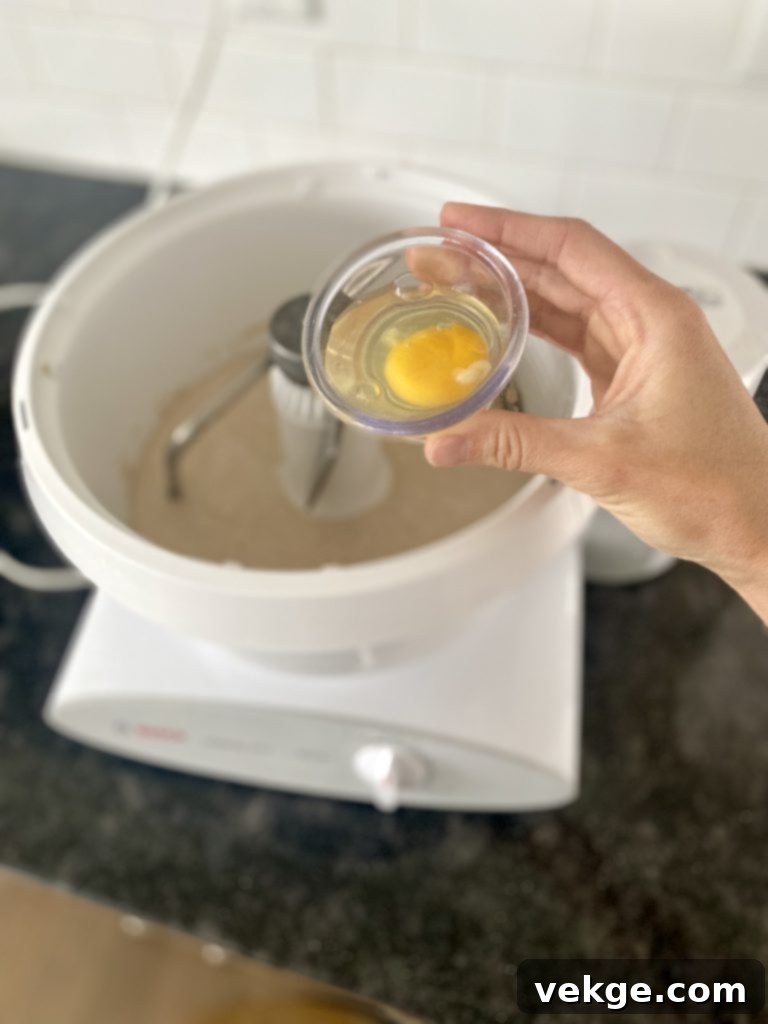
The inclusion of an egg in this recipe serves several crucial functions, primarily contributing to the bread’s soft, rich texture and acting as a binder to prevent crumbly results. Eggs add richness, moisture, and help create a more stable dough structure, resulting in a bun that holds together well and has a finer crumb.
However, if eggs are not an option for you, don’t despair! This recipe is incredibly forgiving, and you have a few excellent alternatives:
- #1 Skip the Egg Entirely: Believe it or not, the buns will still turn out wonderfully without the egg. While the egg adds a certain richness and subtle color, omitting it will still yield a delicious and functional bun.
- #2 Use Aquafaba: This surprising ingredient, the liquid from cooked chickpeas, is a fantastic vegan egg substitute widely used in plant-based baking. Aquafaba remarkably mimics the binding and emulsifying properties of eggs. Simply drain 1/4 cup of the liquid from a can of chickpeas and use it in place of one large egg.
- #3 Use a Flax Egg: Another excellent vegan option, a flax egg is easy to prepare. Combine 1 tablespoon of ground flaxseed meal (ensure it’s freshly ground raw flaxseed for best results) with 2 1/2 tablespoons of water. Stir them together thoroughly and let the mixture sit for about 5 minutes until it thickens into a gelatinous consistency. This flax egg can then be used as a direct substitute for one large egg.
A common question arises when halving the recipe: should you use half an egg or a whole egg? My advice is that the egg in this recipe is very adaptable. Even if you are halving the recipe, you could use an entire egg, or you could choose to omit it completely, and in either scenario, your buns are still destined to turn out great. This flexibility makes the recipe even more user-friendly.
Sugar: Fuel for Flavor and Rise
Granulated sugar performs beautifully in this bun recipe, serving several vital purposes. Beyond adding a touch of sweetness that enhances the overall flavor of the bread, sugar acts as essential food for the yeast, helping it activate and produce the gases necessary for a good rise. It also contributes to the beautiful golden-brown color of the crust during baking. If you prefer, you can easily substitute granulated sugar with honey or coconut sugar, using them as a straight-across replacement by volume. Each will impart a slightly different subtle flavor nuance – honey offers a distinct floral sweetness, while coconut sugar has a caramel-like note. For those who wish to reduce sugar intake, you can certainly choose to omit the sugar entirely; the yeast will still activate sufficiently, though the rise might be slightly slower, and the buns may be less sweet and slightly paler in color.
Momma’s Sloppy Joes: The Perfect Companion
While these magnificent buns are tailor-made for burgers, don’t limit their potential! They also make an absolutely incredible foundation for other fillings. If you’re looking for another fantastic use, my Momma’s Sloppy Joes recipe provides an AMAZING, flavorful filling that pairs perfectly with the soft, tender texture of these homemade buns. It’s a comforting classic that will impress everyone at your table.
What Others Are Saying About These Buns
Don’t just take my word for it! Here’s a glimpse into the joy and success others have found with this recipe. The feedback consistently praises the delicious flavor, incredible softness, and sturdy structure of these homemade buns, affirming that they truly transform any burger experience.


Frequently Asked Questions About Baking Hamburger Buns
To help you achieve perfect results and manage your baking schedule, here are answers to some of the most common questions about this hamburger bun recipe:
Q: Can I refrigerate the dough before baking?
A: Absolutely! This is a fantastic technique for managing your time and even developing deeper flavors in your dough through a slow, cold fermentation. After the initial bulk rise, simply place the dough into an airtight bowl or bag and refrigerate it for 12 to 48 hours. When you’re ready to bake, remove the chilled dough from the fridge and proceed with shaping it into individual buns. Cover the shaped buns with plastic wrap or a clean dish towel and allow them to come to room temperature and complete their second rise until doubled in size. This can take longer than a room-temperature second rise, so be patient. Apply the egg wash right before baking. Enjoy the convenience and enhanced flavor!
Q: Can I freeze the dough?
A: Unfortunately, I’ve had quite inconsistent results when attempting to freeze this dough before baking. The yeast’s activity can be unpredictable after thawing, and the dough doesn’t always rise as expected. While you are welcome to experiment if you’re determined, I can’t confidently recommend it as a reliable method for this particular recipe.
Q: Can I freeze the buns after they are baked and cooled?
A: Yes! This is an excellent way to prepare ahead and have fresh-tasting buns whenever you need them. Once your buns have completely cooled, place them in an airtight freezer bag, ensuring they aren’t squished or compromised in shape. They freeze beautifully. To use them, simply pull them out of the freezer and let them defrost at room temperature. For an extra touch that truly makes them shine, I highly recommend slicing them open, buttering the insides, and toasting them face-down on a griddle or frying pan just before serving. This revives their texture and adds a delightful golden crispness.
Q: What is the best way to store leftover buns?
A: Since these homemade buns contain no preservatives, they are definitely at their absolute best on the first day they are baked. However, they remain quite delicious and perfectly enjoyable on the second and even third day. To refresh any leftover buns, especially after the first day, I always recommend the toasting method. Slice them open, spread butter on the insides, and toast them face-down on a pancake griddle or frying pan for about a minute, or until they achieve a lovely golden, slightly crispy interior. This simple step revitalizes their texture and brings back that freshly baked feel.
Q: Can I use this recipe for hot dog buns?
A: Absolutely, you can! This versatile dough is perfect for creating homemade hot dog buns too. However, forming consistently sized and shaped hot dog buns freehand can be a bit tricky. For the best results and uniform shapes, I highly recommend using a HOT DOG BUN MOLD*. If using molds, you’ll likely need to reduce the baking time by a minute or two, so keep a close eye on them towards the end of the baking cycle to prevent over-browning.
Q: I’m a visual learner, do you have a video of you making these?
A: Yes! For those who prefer to see the process in action, you can find a (confession: it’s a very old, but still helpful!) video demonstration on my HAMBURGER BUN HIGHLIGHT BUBBLE on Instagram. It provides a visual guide to the steps involved.
Looking for Delicious Summer Side Dishes? Try These!
No burger feast is complete without some incredible sides. Here are a few of my favorite recipes that pair perfectly with homemade hamburger buns and a delicious burger, making your summer meal truly spectacular:
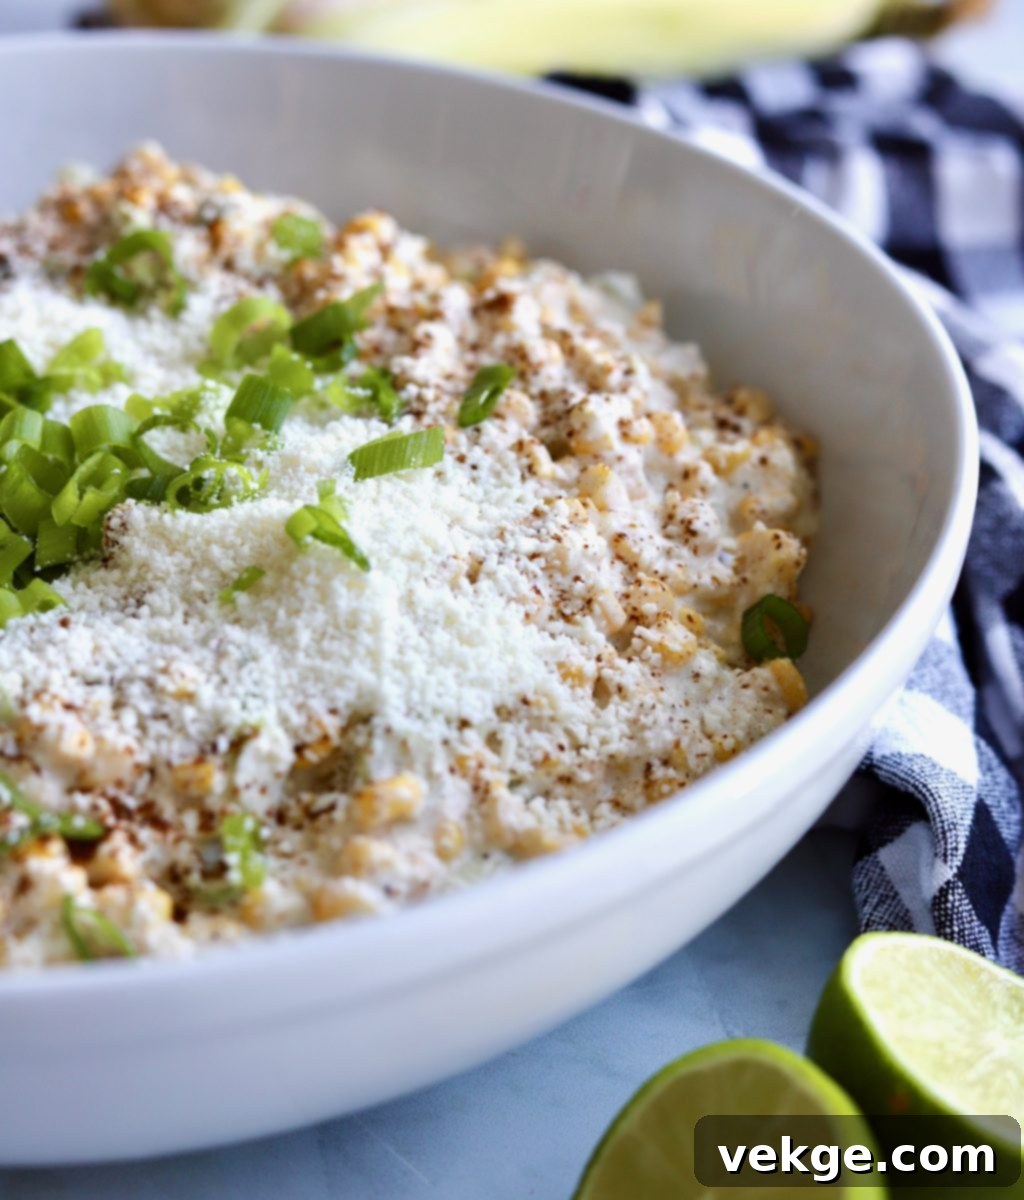
Mexican Street Corn Dip
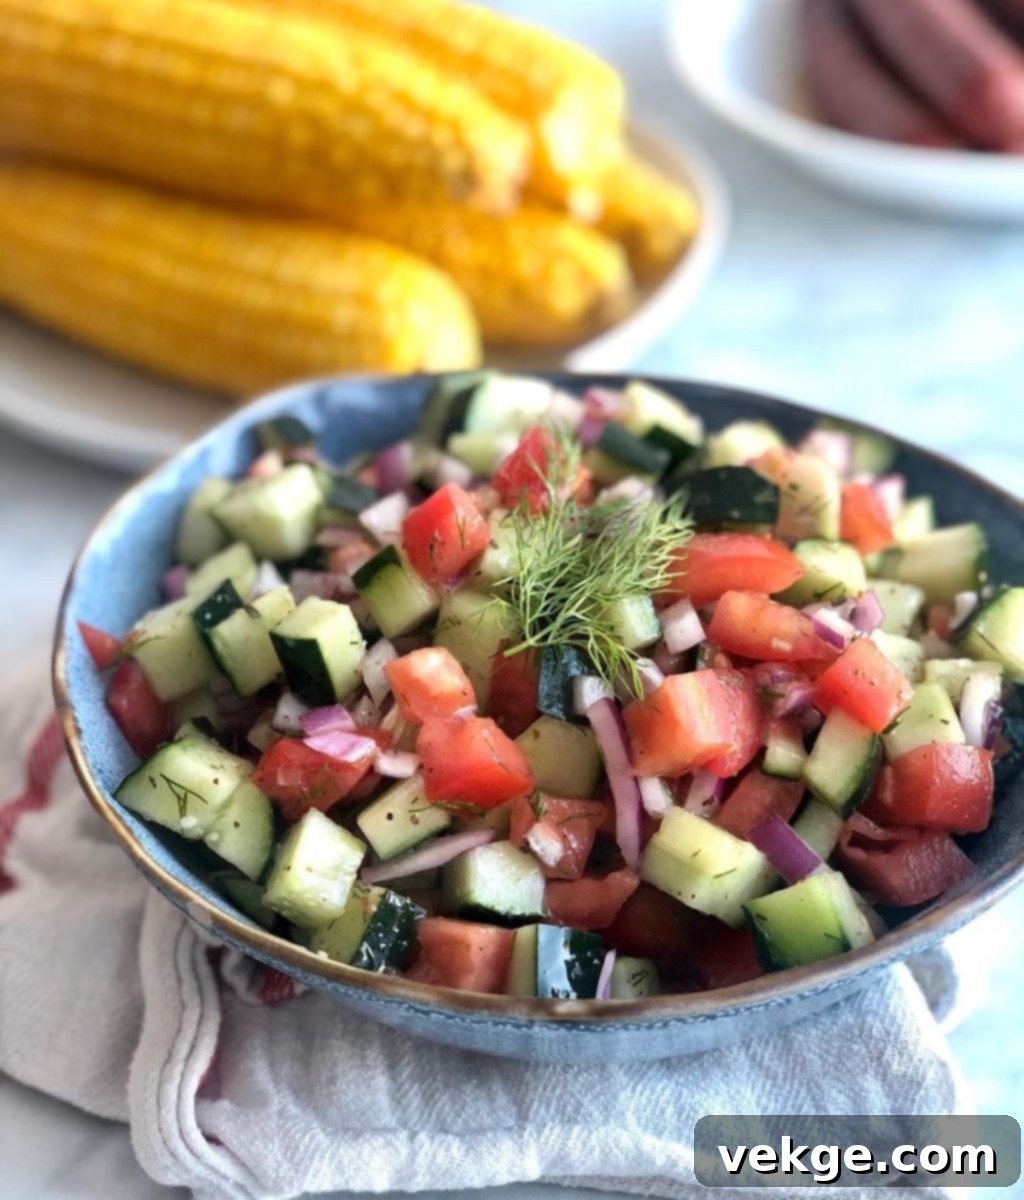
Refreshing Cucumber Salad
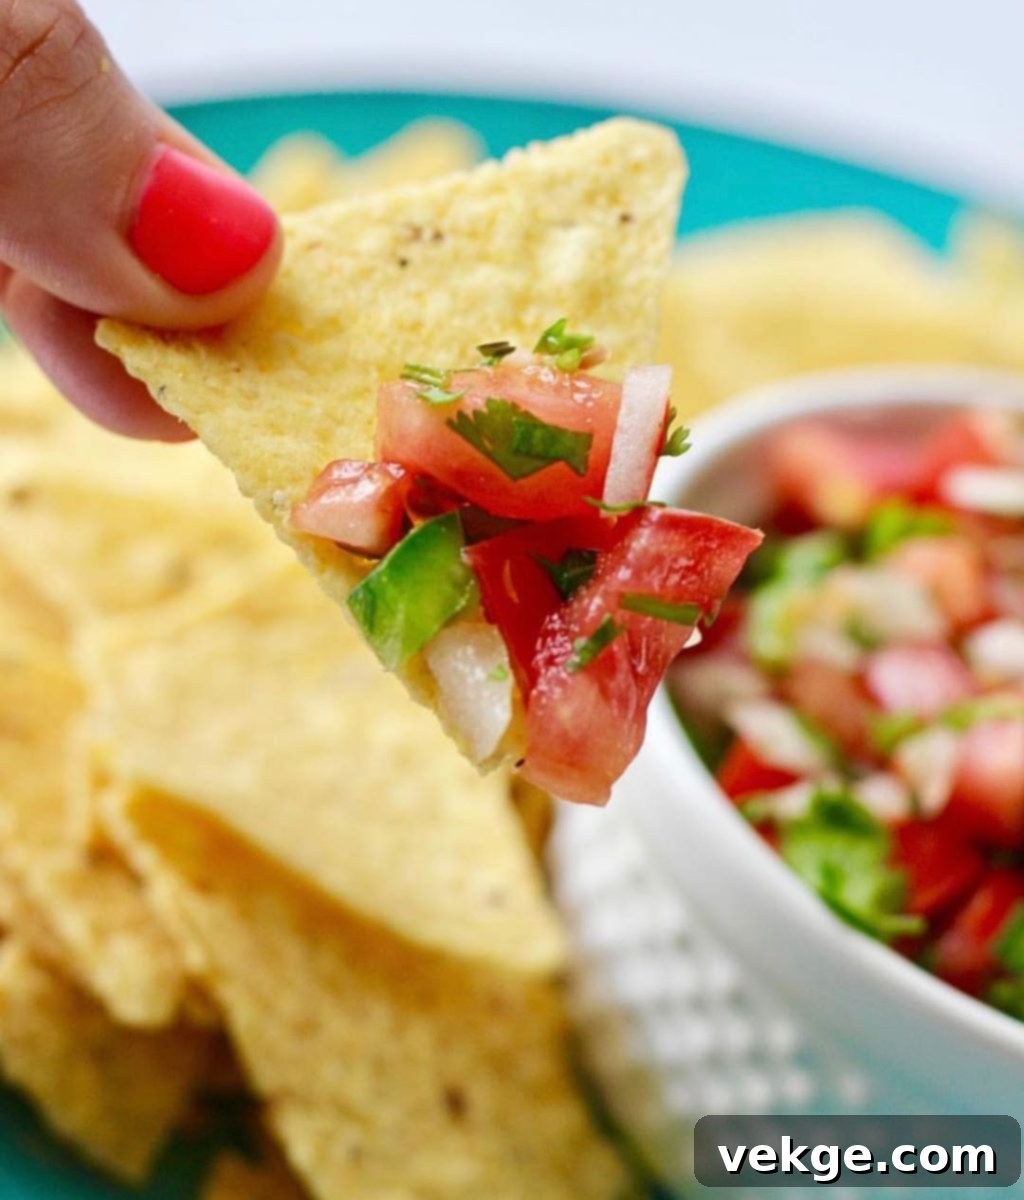
Authentic Homemade Pico de Gallo
Soft and Sturdy Homemade Hamburger Buns
Print
Pin
Rate
Ingredients
- 3-3 1/2 cups all-purpose or bread flour
- 2 1/4 tsp active dry yeast
- 1 cup warm water (between 95°F and 105°F / 35°C-40°C)
- 3 T melted butter or coconut oil
- 3 T granulated sugar (or honey/coconut sugar)
- 1 large egg beaten (or egg substitute like 1/4 cup aquafaba or 1 flax egg)
- 1 1/4 tsp fine sea salt (like Redmond Real Salt)
- plus one more egg for brushing onto the rolls before baking (optional, for shine)
Instructions
- In a large mixing bowl, combine the warm water, sugar, and active dry yeast. Give it a gentle stir, just enough to moisten the yeast without vigorous mixing. Cover the bowl and let this mixture sit for about ten minutes to allow the yeast to dissolve and proof. You’ll see a light foam form on the surface, indicating the yeast is active.
- Once the yeast is foamy, add the salt, melted butter (or coconut oil), and the beaten egg to the yeast mixture. Stir all these ingredients together until they are well combined.
- Gradually and slowly begin incorporating the flour, adding approximately 1 cup at a time. Mix or knead the dough thoroughly after each addition. The key here is not to add too much flour too quickly. Continue adding just enough flour until the dough is no longer sticky to your fingers but still feels slightly tacky. You’ll know you’ve added the correct amount when the dough pulls away cleanly from the sides of the bowl.
- Once the dough comes together, knead it diligently for 4-5 minutes by hand to develop the gluten. If you’re using a stand mixer with a dough hook, 2-3 minutes of kneading will usually suffice. This step is crucial for achieving the desired soft and chewy texture.
- Lightly oil a clean bowl (or leave the dough in your mixer bowl), then transfer the kneaded dough into it. Cover the bowl tightly with plastic wrap or a clean kitchen towel. Allow the dough to rise in a warm, draft-free place for two hours, or until it has visibly doubled in size. This first rise is important for flavor development and texture.
- Once risen, gently turn the dough out onto a lightly floured surface. Divide the dough into 10 or 12 equal portions, depending on your desired bun size (10 for larger buns, 12 for medium). Take each portion and roll it into a smooth, tight ball, carefully tucking any seams underneath. Then, using your fingertips, gently flatten each ball into a disk about 1/2 inch tall – this prevents them from puffing up too much and ensures a good burger-holding shape.
- Arrange the shaped dough disks on a baking sheet lined with parchment paper, leaving enough space between them for expansion. Cover them loosely with plastic wrap or a clean towel and let them rise for their second proof, which should take approximately one hour, or until they look visibly puffy and light.
- While the buns are on their second rise, preheat your oven to 350°F (175°C).
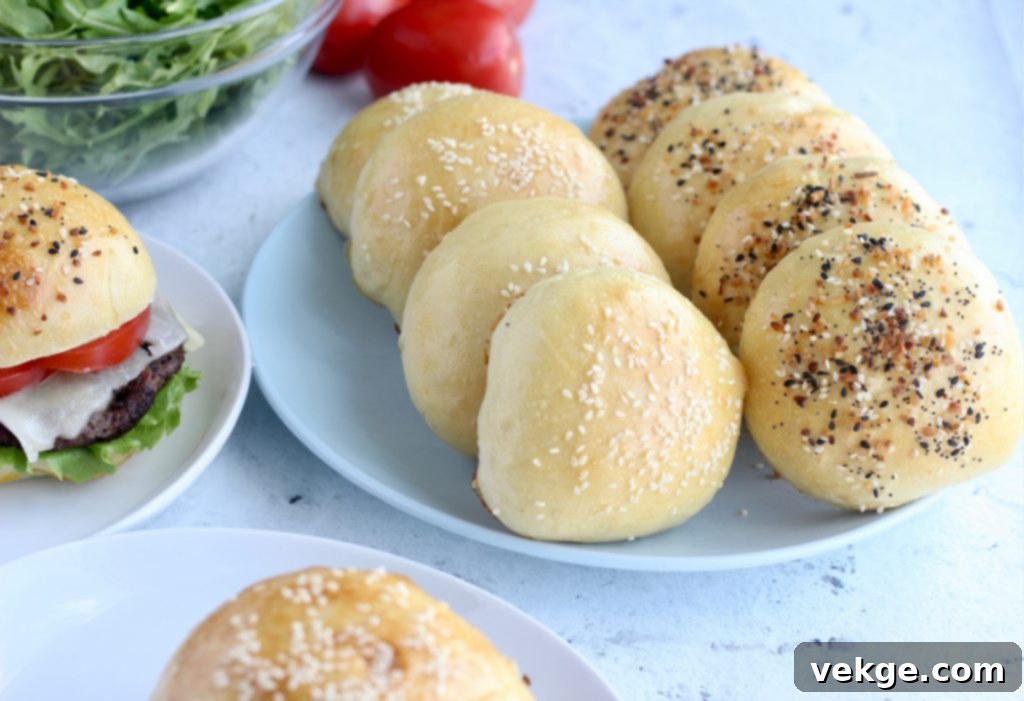
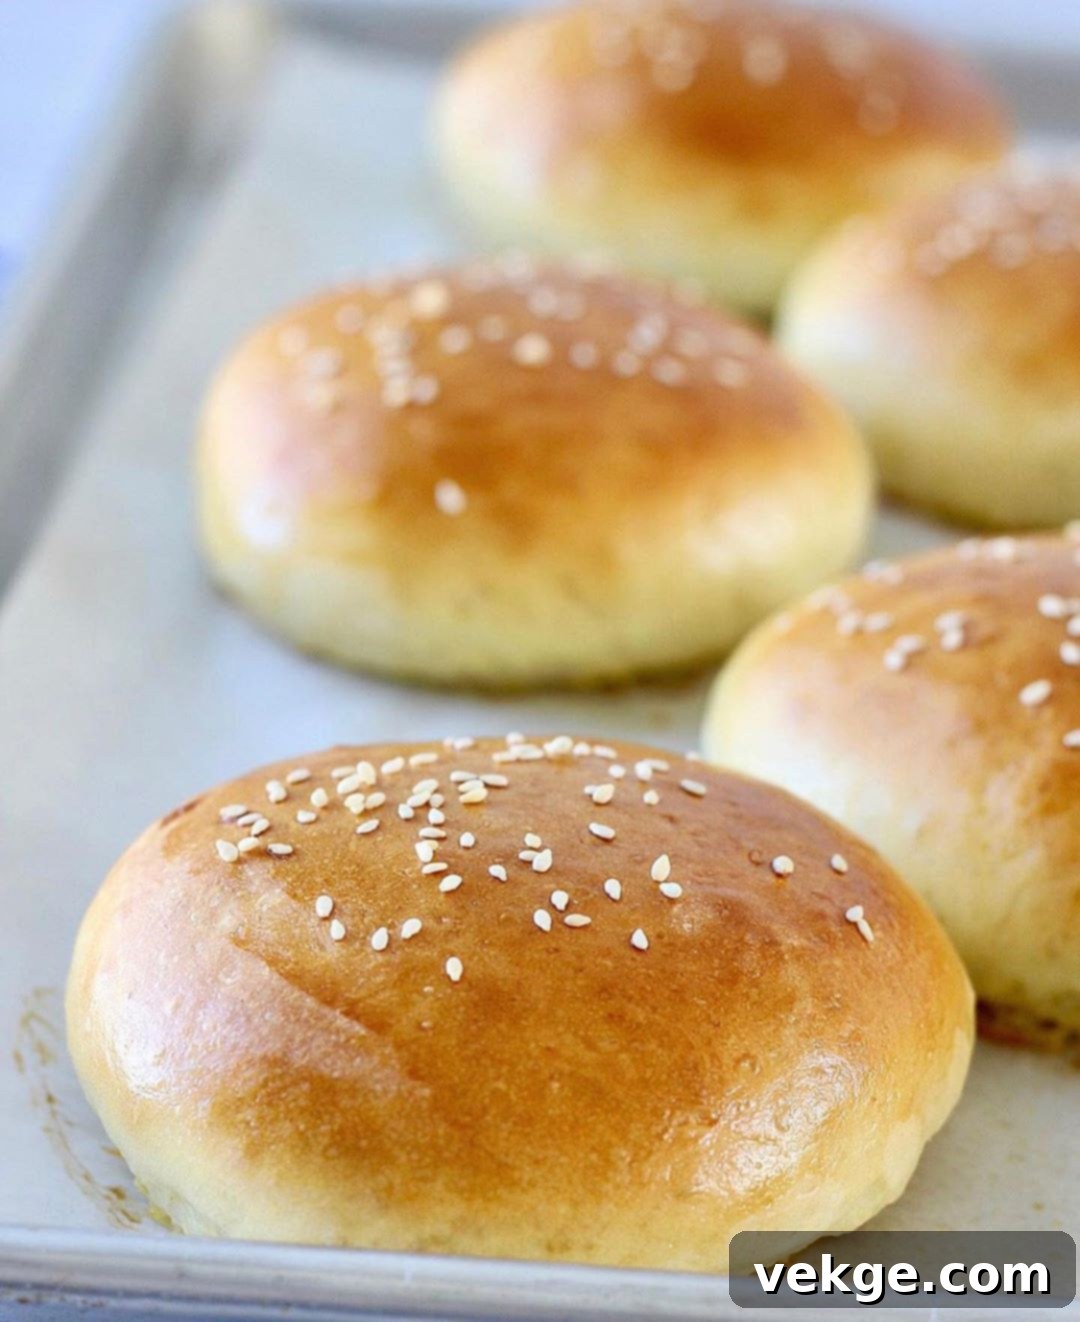
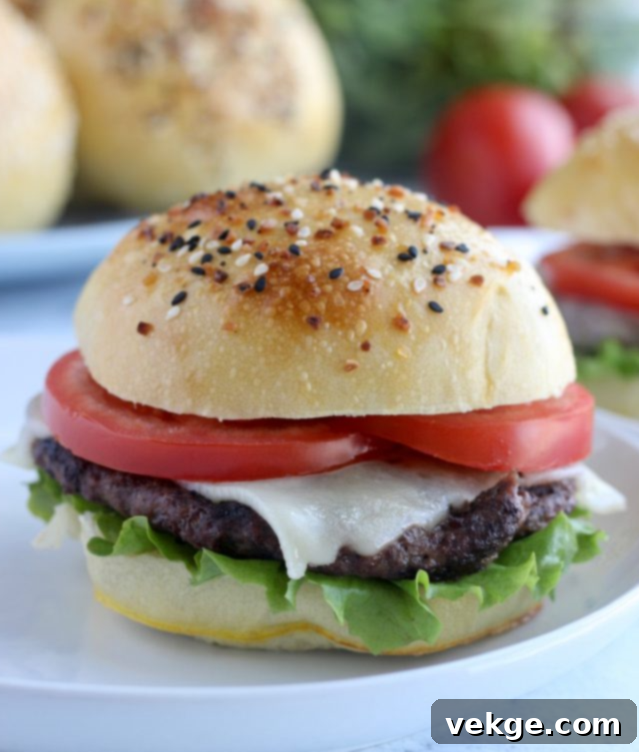
- Just before baking, gently brush the tops of each risen bun with a raw beaten egg (this is your optional egg wash). This will give them a beautiful golden sheen. If you desire, sprinkle with sesame seeds or “Everything but The Bagel” seasoning for added flavor and texture.
- Bake the buns for 15-17 minutes, or until they turn a rich golden brown color and sound hollow when tapped on the bottom. Baking times can vary, so keep an eye on them. Once baked, transfer them to a wire rack and let them cool completely before slicing.
- Right before serving, carefully slice the buns in half horizontally. *Optional but highly recommended:* For an extra layer of flavor and texture, lightly butter the cut insides of the bun and toast them face-down on a pancake griddle or a frying pan for about a minute, until they become slightly golden and toasty. Finally, assemble your magnificent homemade buns with your favorite burger patty and all your desired toppings, then savor every delicious bite!
