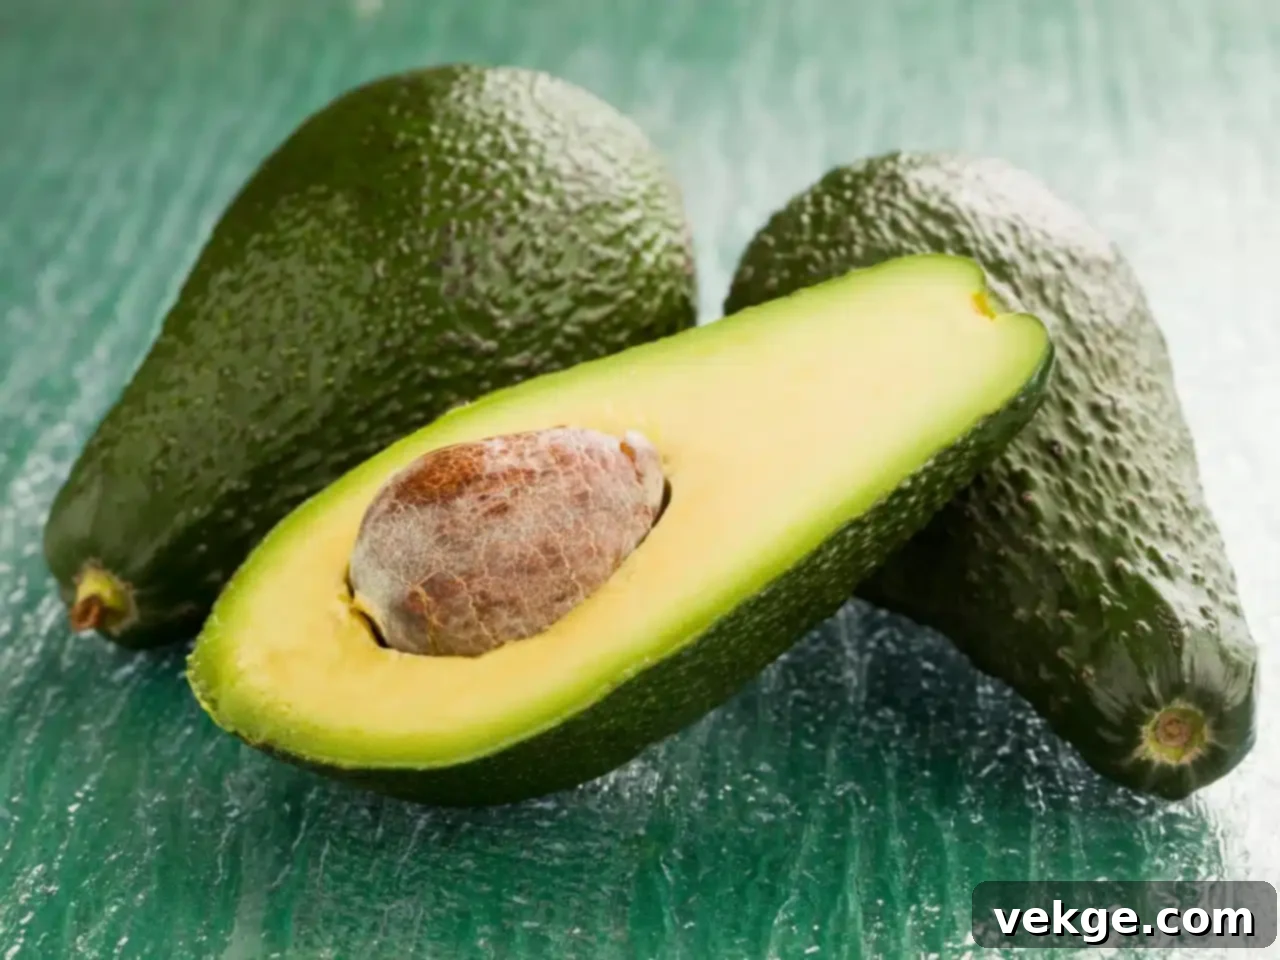
The Ultimate Guide to Growing Avocado Trees from Seed: Plant, Nurture, and Harvest Your Own Avocados
Embarking on the journey of growing an avocado tree from a simple seed can seem daunting. Many aspiring gardeners, myself included, have faced challenges like slow growth, mysterious leaf issues, or the elusive wait for that first fruit. But fear not! This comprehensive guide is designed to transform your gardening skills, helping you cultivate healthy, vibrant avocado trees that eventually bear their own delicious, creamy fruit.
I’ll walk you through every essential step, from meticulously selecting the perfect avocado seed to mastering the art of planting, watering, and long-term care techniques. By the time you finish reading, you’ll possess all the knowledge needed to nurture your avocado tree from a tiny pit into a thriving, fruit-producing plant. Are you ready to dive into this exciting avocado-growing adventure?
Let’s roll up our sleeves, dig in, and set you up for success!
Understanding Avocado Seeds: Safety and Nutrition (Before You Grow!)
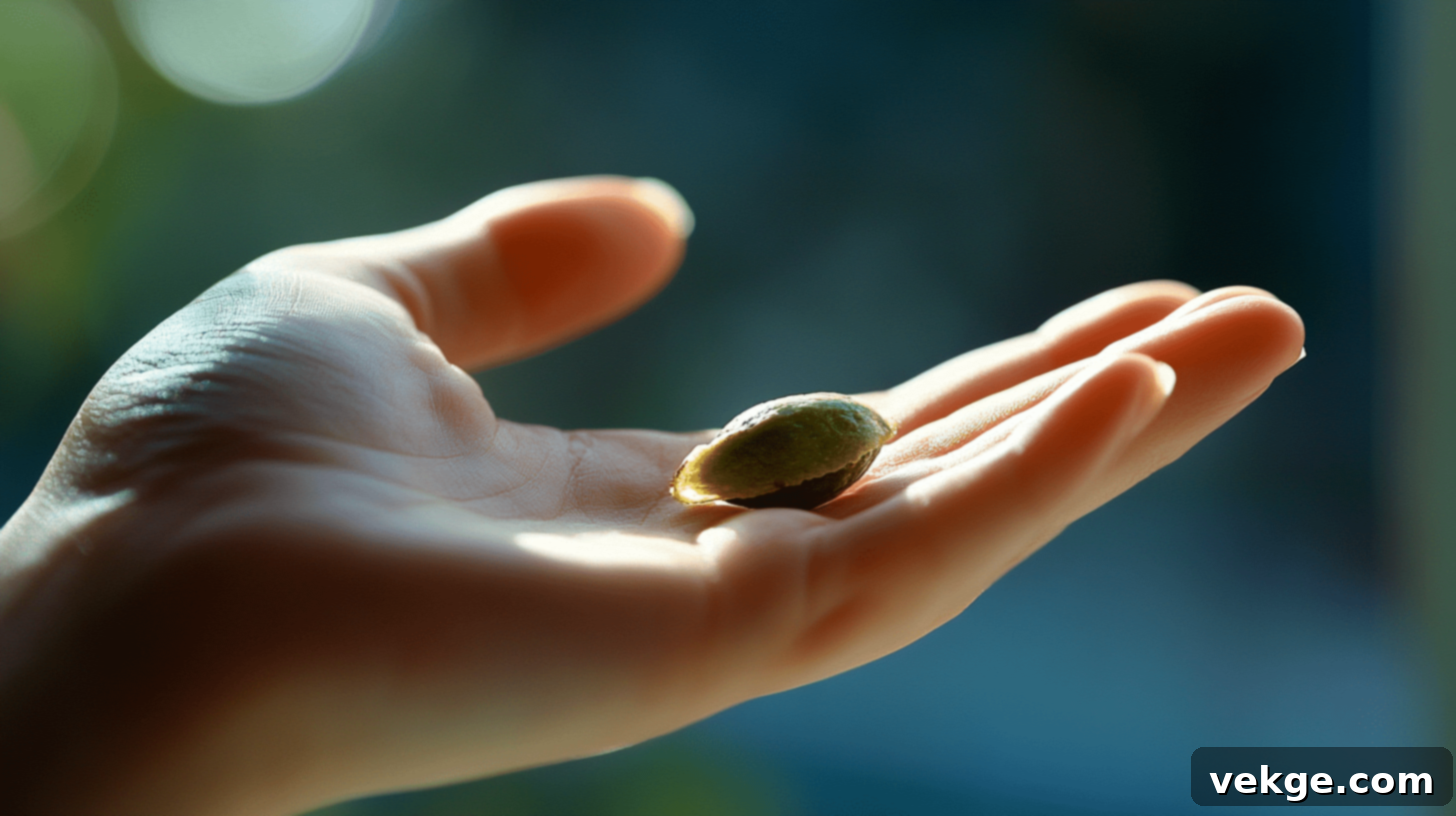
Before we delve into the exciting process of growing, I often encounter questions regarding the safety and nutritional value of avocado seeds themselves. It’s a common area of confusion, and I’m here to provide clarity.
While some sources promote avocado seeds as a superfood, claiming they’re packed with unique nutrients and antioxidants, the reality is more nuanced. It’s crucial to understand that avocado seeds contain various compounds that, if consumed in large quantities, can potentially be harmful. These include:
- Persin: A fungicidal toxin naturally found in avocado leaves, bark, skin, and seeds. While generally harmless to humans in the small amounts found in the fruit’s flesh, higher concentrations in the seed can cause digestive upset like nausea, vomiting, or diarrhea in some individuals.
- Tannins: These compounds give many plants their bitter taste and can bind to proteins and other organic compounds, potentially interfering with nutrient absorption in your digestive system.
- Cyanogenic Glycosides: These are plant toxins that can release hydrogen cyanide when metabolized. While the levels in avocado seeds are typically low, high doses of cyanide can be toxic.
Although some individuals do consume small, ground amounts of avocado seed in smoothies or teas, there is currently limited scientific research to conclusively support significant health benefits or to fully assess the long-term safety of regular consumption. Most studies on avocado seed benefits are either in vitro (test tube) or animal studies, not human clinical trials.
My advice remains consistent: the creamy, green flesh of the avocado is where the well-established and proven health benefits reside. It’s a fantastic source of healthy fats, fiber, and numerous vitamins and minerals. If you’re curious about experimenting with the seed, it’s always best to consult with your doctor or a qualified nutritionist first. When in doubt, the simplest and safest approach is often the best!
Nutritional Information of Avocado Seed (Per 100g)
Despite the cautionary notes about consumption, it’s still interesting to see what nutrients avocado seeds contain. I’ve compiled some findings for you. While we typically discard these large pits, they do hold a profile of macronutrients and micronutrients:
| Nutrient | Amount per 100g |
|---|---|
| Carbohydrates | 64.9% |
| Sugars | Varies (includes fructose, glucose, sucrose) |
| Calcium | 0.82 mg |
| Potassium | 4.16 mg |
| Phosphorus | 0.09 mg |
| Zinc | 0.18 mg |
| Iron | 0.31 mg |
| Copper | 0.98 mg |
| Vitamin A | 10 mg |
| Thiamin (Vitamin B1) | 0.33 mg |
| Riboflavin (Vitamin B2) | 0.29 mg |
| Niacin (Vitamin B3) | 0.06 mg |
| Ascorbic Acid (Vitamin C) | 97.8 mg |
As you can see, the seed does contain a variety of nutrients, including a notable amount of carbohydrates and Vitamin C. However, these are often less bioavailable due to the presence of other compounds, and the potential risks of consumption still outweigh the perceived benefits for most people.
Choosing Your Avocado: Different Varieties and Their Seeds
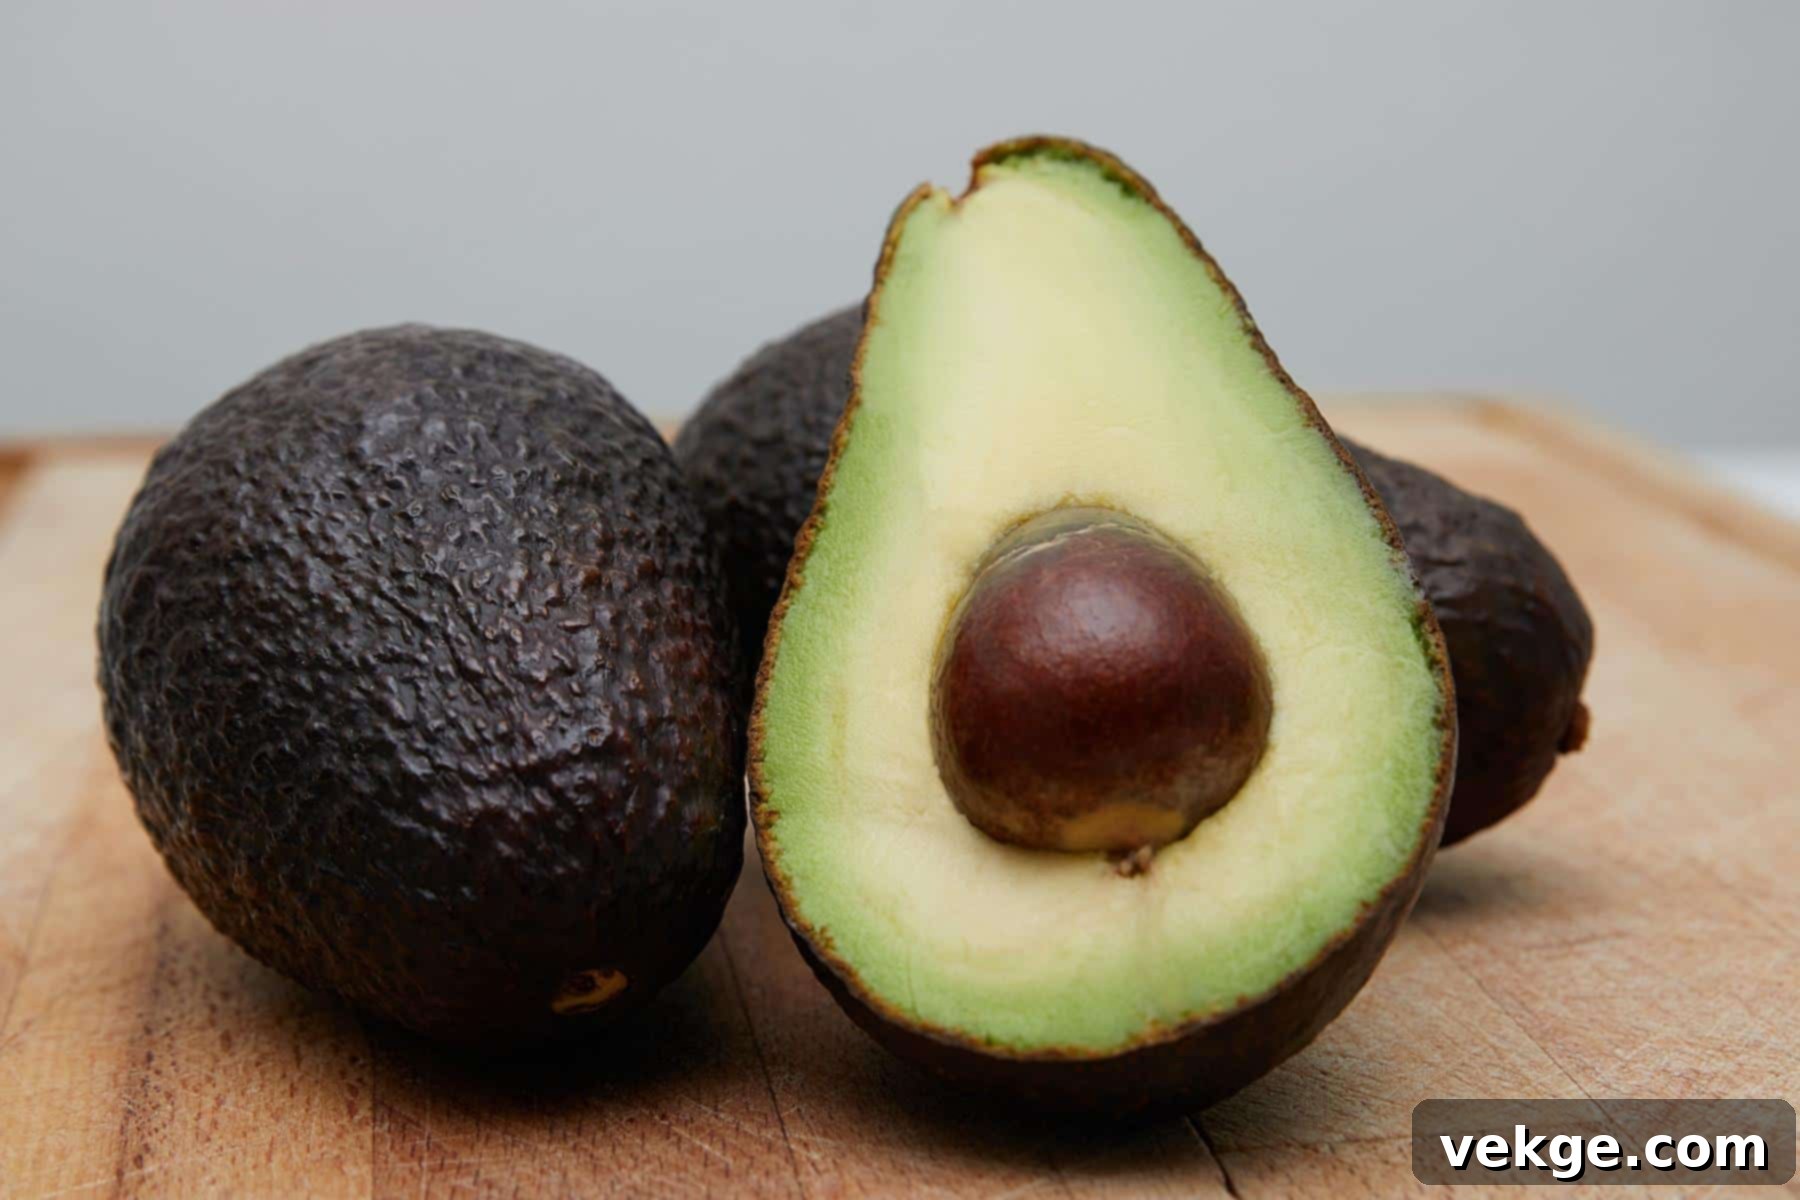
While almost any avocado seed can sprout, some varieties tend to be more forgiving or yield a more robust start. I’ve experimented with several types, and here’s what I’ve observed about popular choices for growing from seed:
- Hass Avocados: These are the most common avocados found in grocery stores, characterized by their bumpy, dark skin when ripe. Their seeds are typically good candidates for sprouting and often grow into strong seedlings. While the resulting tree may not produce identical fruit, Hass seeds are a reliable starting point.
- Fuerte Avocados: Known for their smooth, green skin and pear shape, Fuerte avocados often have larger seeds. These larger seeds tend to sprout with ease, offering a satisfying start to your growing project.
- Reed Avocados: These round, large, green avocados also yield sizable seeds that are well-suited for germination. Reed trees are known to be quite productive, though again, a seed-grown tree’s fruit quality can vary.
- Pinkerton Avocados: Distinguished by their elongated pear shape and pebbly skin, Pinkerton seeds can be a bit trickier to sprout compared to Hass or Fuerte, but they are certainly still possible to grow with a bit more patience.
An important note: when you grow an avocado tree from seed, it’s essentially a genetic lottery. The tree you grow will be a hybrid, often different from its parent tree. This means the fruit it eventually produces (if it fruits at all, which can take 5-13 years or even longer for seed-grown trees) might not taste or look exactly like the avocado you ate. But that’s part of the charm – you’re creating a unique tree! Most gardeners grow avocados from seed primarily as a houseplant or for the joy of the growing process.
Step-by-Step Guide to Plant an Avocado Seed in Water (The Toothpick Method)
This classic method is fantastic for visual learners and offers the satisfying experience of watching roots emerge. It’s often seen as the most exciting way to begin your avocado growing journey.
Materials and Tools Required
| Materials | Tools |
|---|---|
| A ripe avocado seed (clean) | 3-4 Wooden Toothpicks |
| Fresh Water (chlorine-free is best) | Clear Glass or Jar |
| Potting Soil (well-draining) | Small Pot (6-8 inches with drainage holes) |
| Sunny Location (indirect light) | Gardening Gloves (optional, for soil transfer) |
Instructions to Plant an Avocado Seed in Water
Step 1: Prepare Your Avocado Seed
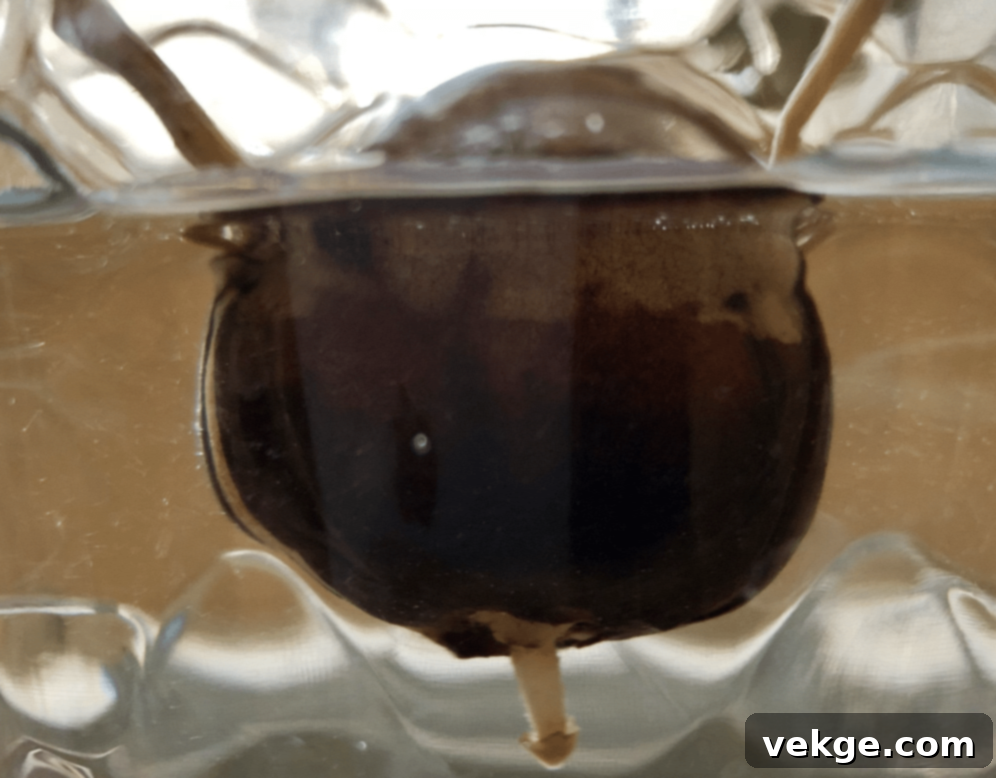
- Start by selecting a ripe avocado from which you’ve just enjoyed the flesh. Carefully remove the seed, being gentle to avoid any nicks or damage.
- Rinse the seed thoroughly under running water to remove all traces of avocado flesh. Leftover pulp can lead to mold, which can hinder germination.
- Some growers prefer to gently peel away the thin, brown outer layer (the seed coat). While not strictly necessary, some believe it can speed up germination by allowing water to penetrate more easily.
- Identify the ‘top’ and ‘bottom’ of the seed. The bottom is slightly flatter and broader, where the root will emerge, and the top is usually a bit pointier.
Step 2: Suspend the Seed in Water
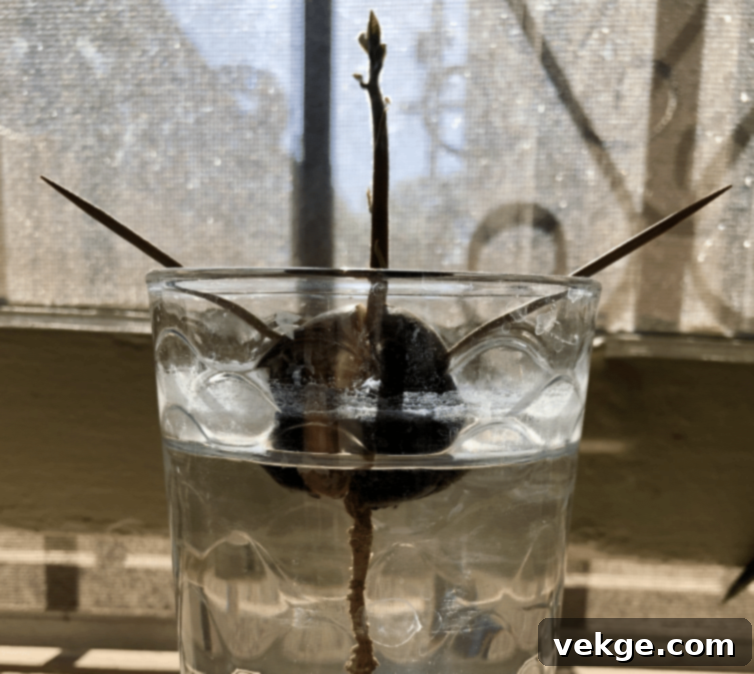
- Carefully insert three or four toothpicks evenly spaced around the middle of the seed. These toothpicks will act as a support system, allowing you to suspend the seed over water.
- Fill a clear glass or jar with water. Position the seed so that the broad, flatter bottom is submerged in about an inch of water, while the top half remains exposed to the air. The toothpicks should rest on the rim of the glass.
- Place your setup in a warm spot that receives bright, indirect sunlight. A window sill is often ideal, but avoid harsh, direct midday sun which can overheat the water.
Step 3: Patiently Wait for Sprouting
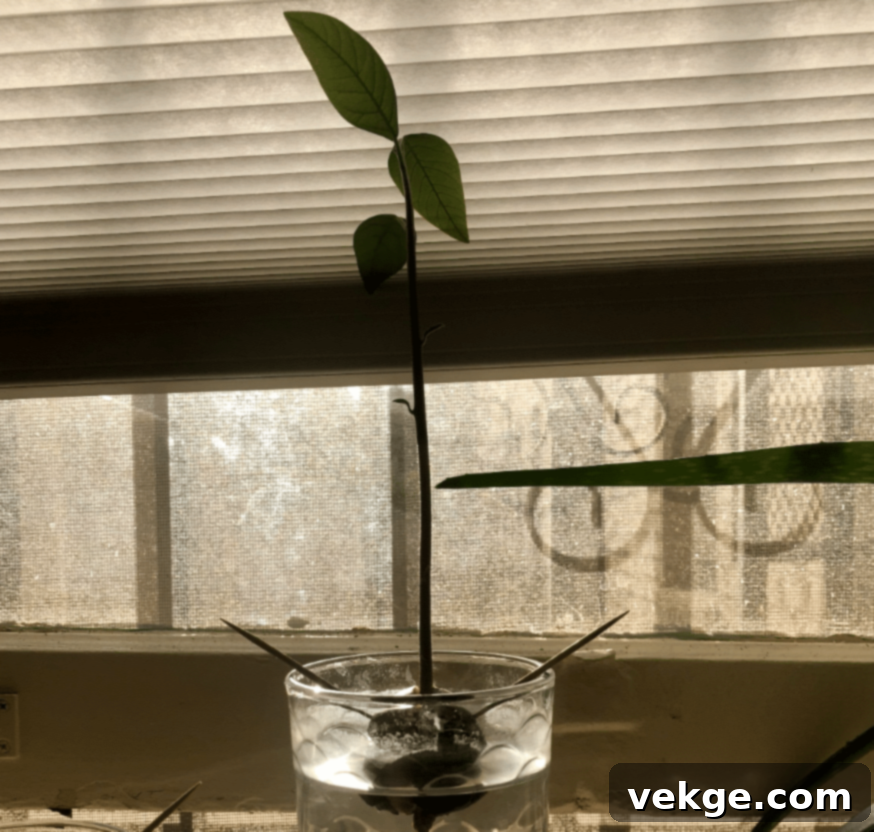
- This is where patience becomes your best friend. Check the water level daily and top it up as needed, ensuring the bottom of the seed always remains submerged.
- Change the water completely every 3-5 days to prevent mold growth and bacterial contamination. If the water ever appears cloudy or develops an odor, change it immediately.
- Over the next 4-8 weeks (and sometimes longer!), you should begin to see changes. The seed will split, and a taproot will emerge from the bottom. Soon after, a small shoot will sprout from the top.
- Maintain consistent water levels and cleanliness during this crucial germination phase.
Step 4: Transfer to Soil
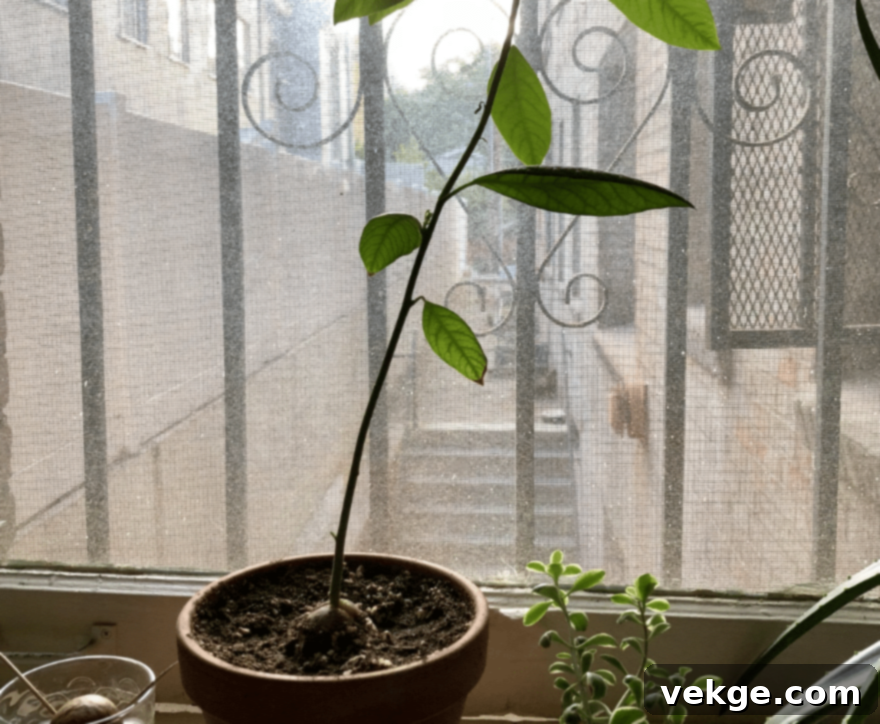
- Once your taproot is about 3-6 inches long and a stem with a few leaves has developed (usually around 6-7 inches tall), it’s time for the next big step: transitioning to soil.
- Prepare a 6-8 inch pot with good drainage holes. Fill it with a loose, well-draining potting mix. A mix designed for cacti or succulents can work well, or you can amend regular potting soil with perlite or sand.
- Carefully remove the toothpicks from the seed. Create a small depression in the center of the soil. Plant the seed and its taproot, ensuring the top half of the avocado seed remains exposed above the soil line. This helps prevent rot.
- Gently firm the soil around the seed to secure it, then water thoroughly until water drains from the bottom of the pot.
Step 5: Maintain Growth in Soil
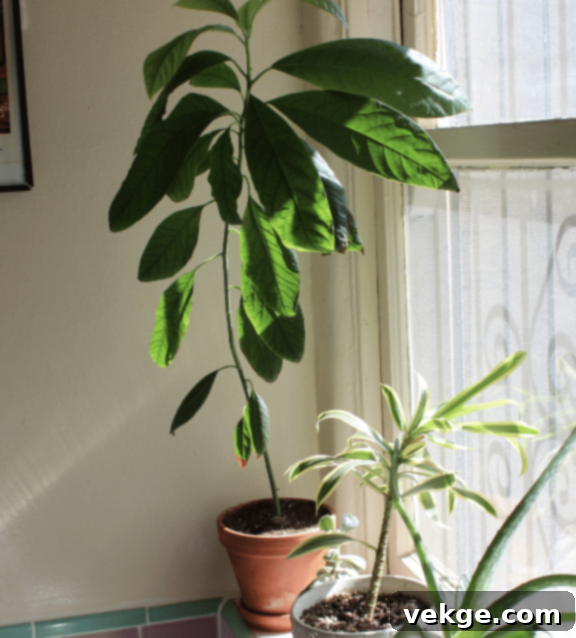
- Place your newly potted avocado seedling back in a spot that receives plenty of bright, indirect sunlight.
- Water regularly, keeping the soil consistently moist but never soggy. Allow the top inch or two of soil to dry out slightly before watering again. Overwatering is a common killer of young avocado plants.
- As your tree matures and reaches about 6-8 inches tall, consider “pinching off” the top two sets of leaves. This encourages the plant to branch out, creating a bushier, stronger specimen rather than a tall, leggy one.
- Monitor for signs of stress, such as yellowing or browning leaves. Adjust light exposure, watering habits, or humidity as needed. With consistent care and patience, your avocado tree will flourish!
Step-by-Step Guide to Plant an Avocado Seed Directly in Soil (The “Bag” Method)
For those who prefer a more hands-off approach or want to mimic natural germination conditions, starting your avocado seed directly in soil (or using a pre-germination bag method) can be highly effective. This method reduces the stress of transplanting from water to soil.
Materials and Tools Required
| Materials | Tools |
|---|---|
| Ripe Avocado Pit (clean) | Resealable Plastic Bag (Ziploc type) |
| Water | Small Pot (6-8 inches with drainage holes) |
| Paper Towels or Peat Moss | Gardening Gloves (optional) |
| Potting Soil (well-draining) | Spray Bottle (for moistening) |
Instructions to Plant an Avocado Seed in Soil
Step 1: Clean the Avocado Pit Thoroughly
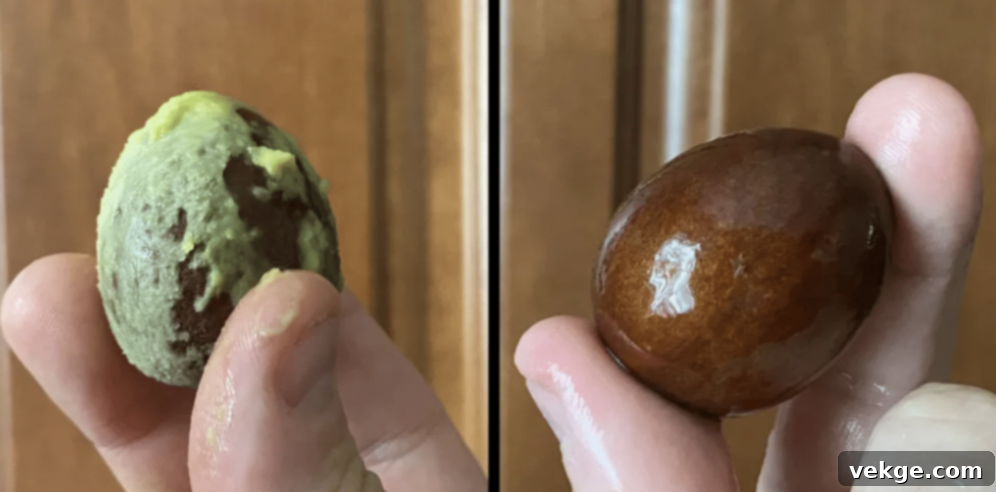
- Just like with the water method, carefully remove the pit from a ripe avocado, taking care not to damage its outer shell. A spoon can be helpful for this.
- Rinse the pit meticulously under cool running water. Ensure every bit of avocado flesh is removed. Any remaining organic matter can attract mold and bacteria, which will hinder or prevent germination.
- You can gently rub the pit with a soft brush or your fingers to help clean it. There’s no need to peel the brown seed coat for this method initially, as the natural protective layer can be beneficial.
Step 2: Prepare for Germination (The “Bag” Trick)
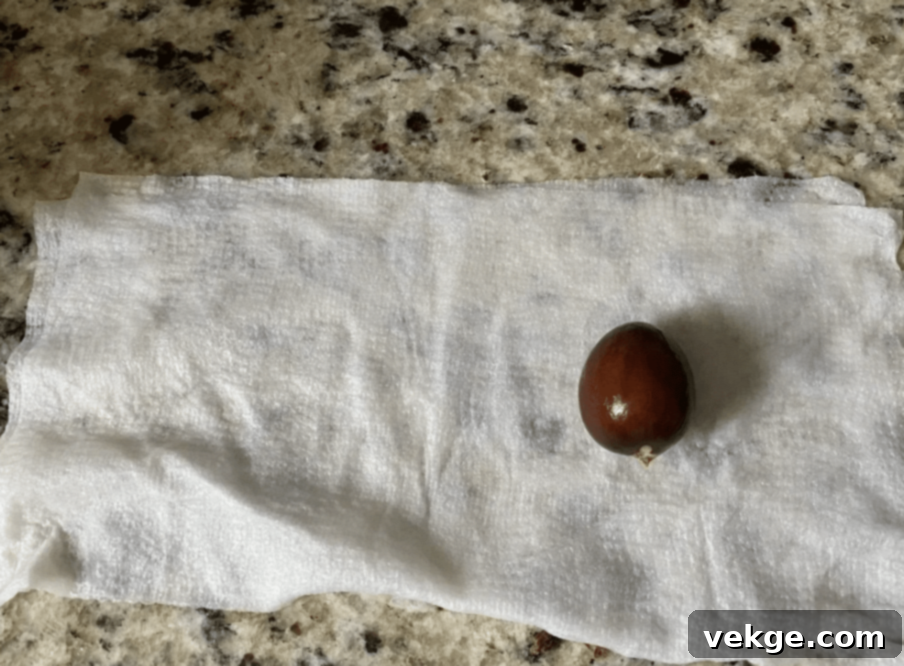
- Take a sheet of paper towel or a small handful of peat moss and dampen it thoroughly. It should be moist but not dripping wet. You can use a spray bottle for precise control.
- Wrap the cleaned avocado pit securely within the damp paper towel or nestle it into the moist peat moss. The goal is to create a consistently moist environment around the pit.
- Ensure there’s good contact between the damp material and the entire surface of the pit.
Step 3: Create a Warm, Humid Environment
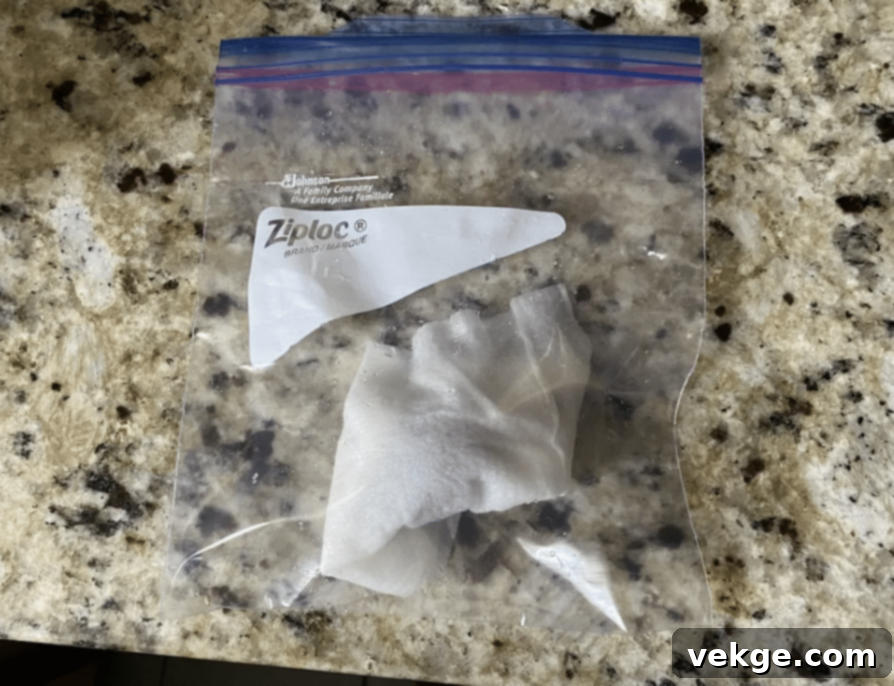
- Carefully place the wrapped pit into a resealable plastic bag, such as a Ziploc bag. Seal the bag almost completely, leaving a tiny gap for minimal air exchange if you wish, though a fully sealed bag will maintain humidity better.
- Store the bag in a warm location, ideally between 70-80°F (21-27°C). A spot on top of a refrigerator, near a water heater, or in a warm cupboard can work well. Keep it away from direct sunlight, which can cause excessive heat and mold.
- Check the bag and the moisture level of the paper towel/peat moss weekly. If it starts to dry out, re-moisten it lightly with a spray bottle.
Step 4: Monitor for Sprouting and Plant in Soil
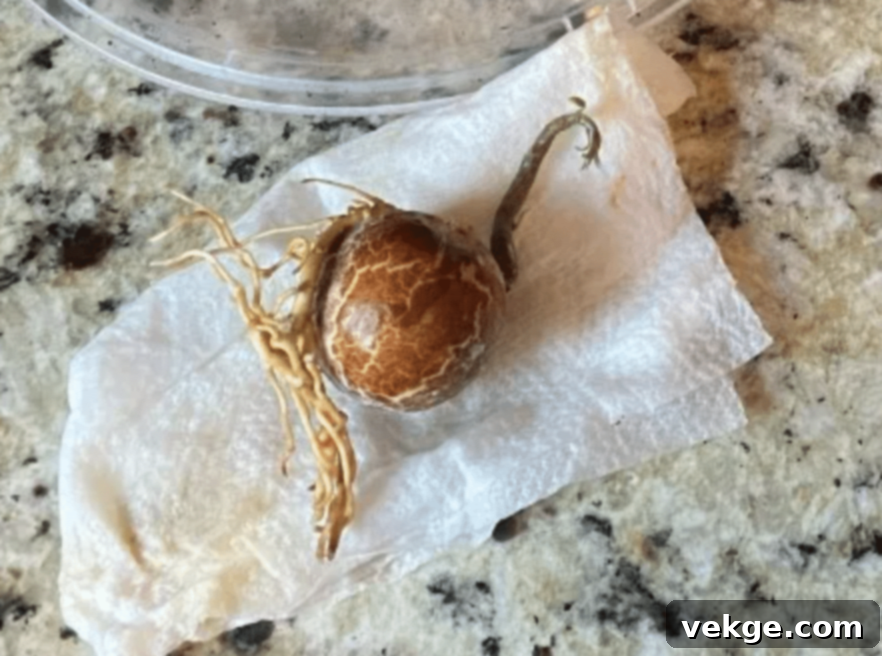
- After approximately 4-8 weeks (sometimes sooner, sometimes later), you should see the pit split open. A small root (radicle) will emerge, often followed by a shoot. Once you have a root that is at least an inch long and a visible shoot, your pit is ready for planting.
- Prepare a 6-8 inch pot with excellent drainage. Fill it with a high-quality, well-draining potting mix. Avocado trees thrive in airy soil, so consider a mix with perlite, sand, or compost.
- Make a shallow hole in the center of the soil. Carefully place the sprouted pit into the hole with the root pointing downwards. Ensure that the top half of the avocado pit remains exposed above the soil line to prevent rotting.
- Gently firm the soil around the pit.
Step 5: Provide Ongoing Care for Your Seedling
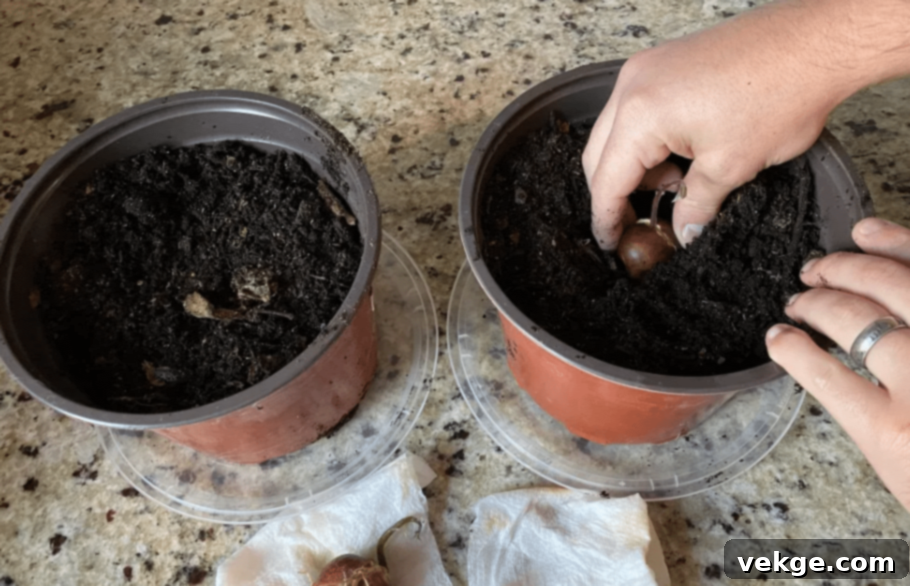
- Water the soil thoroughly immediately after planting until water drains from the bottom. This helps settle the soil around the developing roots.
- Place the potted seedling in a warm location that receives plenty of bright, indirect sunlight. A south-facing window (in the Northern Hemisphere) often works well, but protect it from intense, direct sun that can scorch young leaves.
- Maintain consistent soil moisture; aim for moist but not waterlogged soil. Check the top inch of soil every few days, and water when it feels dry. Avoid letting the soil dry out completely or sit in standing water.
- As your seedling grows, continue to provide optimal light, water, and eventually, consider light fertilization during the growing season. With consistent care, your little avocado tree will continue to thrive!
Where Would Avocado Seeds Germinate Faster – Soil or Water?
I’ve personally experimented with both the water and soil methods for germinating avocado seeds, and each offers unique advantages and disadvantages. Let’s compare them to help you decide which path might be best for your gardening style:
Germinating in Water (The Toothpick Method):
- Speed: In my experience, this method often shows signs of life faster. You can usually expect to see roots emerge within 2-6 weeks, sometimes even quicker if conditions are ideal.
- Visibility: It’s incredibly satisfying to watch the roots and shoot develop day by day through the clear glass. This visual aspect makes it a popular choice, especially for children or first-time growers.
- Reduced Rot Risk (Initial): As long as you change the water regularly, the risk of the seed rotting from excess moisture is relatively low compared to poorly drained soil.
- Downside: Transition Stress: The biggest drawback is the transition from water to soil. The delicate water roots are accustomed to a purely aqueous environment and can experience “transplant shock” when moved to soil, sometimes causing a temporary setback in growth.
Germinating in Soil (Direct or Bag Method):
- Speed: This method typically takes longer to show visible signs of sprouting. You might wait anywhere from 6-12 weeks before a shoot breaks the soil surface, as the seed is busy establishing a robust root system underground first.
- Natural Environment: Planting directly in soil mimics how an avocado seed would naturally germinate in the wild. This can lead to a more robust and resilient root system from the start.
- Less Transplant Stress: Since the seedling starts directly in its permanent (or semi-permanent) medium, it avoids the stress of being moved from water to soil, often leading to more consistent growth once it sprouts.
- Higher Rot Risk (If Not Managed): If the soil is too wet, poorly draining, or the seed isn’t prepared correctly, there’s a higher risk of the seed rotting before it can sprout.
So, which method is faster? Without a doubt, the water method usually wins for visible speed of germination. However, “faster” doesn’t always mean “better” in the long run.
Personally, I lean towards starting avocado seeds in soil (using the bag method first to confirm germination) or directly in a pot. While it requires more patience upfront, I find that the seedlings often establish themselves more readily and experience less stress down the line. Plus, there’s a special kind of magic in seeing that first green shoot bravely push through the earth, hinting at the tree it will become.
Essential Growing Tips for Your Avocado Seedling
Once your avocado seed has successfully sprouted and transitioned into a seedling, the real nurturing begins. I’ve nurtured many avocado seedlings into thriving indoor plants and even outdoor trees, and I’m excited to share my top tips for their optimal growth and health:
- Light: The Sunshine Sweet Spot
- Your avocado seedling absolutely loves bright, indirect sunlight. I always place mine near a south-facing window (in the Northern Hemisphere) that gets plenty of light but is shielded from the harsh intensity of direct midday sun, especially in summer.
- Direct, unfiltered sunlight can scorch delicate young leaves, causing them to turn brown and crispy. If your leaves look pale or leggy, it might need more light. If they look burnt, move it back a bit.
- Water: Finding the Right Balance
- I can’t stress this enough: consistent moisture without being waterlogged is key. I aim to keep the soil consistently moist but never soggy. Overwatering is one of the most common mistakes I’ve learned to avoid, as it leads to root rot.
- Allow the top inch or two of soil to dry out slightly before watering again. Stick your finger into the soil to check. When you water, do so thoroughly until water drains from the bottom of the pot. Ensure the pot never sits in standing water.
- Temperature: Keeping it Cozy
- Avocados are tropical plants, so they adore warmth! I try to keep the room temperature between 60-80°F (15-27°C) for my seedlings. They are not tolerant of frost or prolonged cold temperatures.
- Protect them from cold drafts, especially during winter months if they are near a window.
- Soil: The Foundation for Growth
- I always use a high-quality, well-draining potting mix. Avocados despise “wet feet” (roots sitting in soggy soil). A good mix might include perlite or coarse sand to improve drainage and aeration.
- Look for potting mixes designed for citrus or general houseplants, and consider adding extra perlite for even better drainage.
- Pot Size and Repotting: Room to Grow
- Start your seedling in a 6-8 inch pot with good drainage. As your plant grows, its roots will fill the pot.
- I recommend repotting into a slightly larger pot (e.g., from 6-inch to 8-inch, then to 10-inch) when you notice roots growing out of the drainage holes, or if the plant’s growth slows significantly. This usually happens every 1-2 years for young plants.
- Pinching: Encouraging Bushiness
- When your avocado plant reaches about 6-8 inches tall and has several sets of leaves, I strongly suggest “pinching off” the top two sets of leaves. This encourages the plant to branch out laterally, creating a bushier, stronger structure rather than a tall, spindly stem.
- You can repeat this pinching process as new growth develops and your plant gets taller, continuing to shape it into a desirable form.
- Fertilizer: A Little Boost (But Not Too Much!)
- Once your seedling is well-established (after a few months of steady growth), I feed mine with a balanced, water-soluble fertilizer. Look for an NPK ratio like 10-10-10 or similar.
- Fertilize every 2-3 weeks during the active growing season (spring and summer), and reduce or stop altogether during the dormant months (fall and winter). Always follow the product’s instructions for dilution to avoid “burning” the roots.
- Patience: The Gardener’s Virtue
- Avocado growth can be slow at first, then suddenly take off. My seedlings often seem to do nothing for weeks, then burst into a growth spurt! Don’t get discouraged if you don’t see rapid progress.
- Remember that growing fruit from a seed-grown avocado tree can take 5-13 years, or sometimes even longer, and it’s not guaranteed. Enjoy the journey of growing a beautiful green plant.
- Humidity: Mimicking the Tropics
- If your home has dry air, especially in winter due to heating, your avocado seedling might appreciate a bit more humidity.
- I occasionally mist the leaves with water from a spray bottle or place the pot on a pebble tray filled with water (ensuring the pot doesn’t sit directly in the water). This helps prevent leaf tips from browning.
Troubleshooting Common Avocado Seedling Problems
Even with the best care, you might encounter a few hiccups along your avocado growing journey. Here are some common problems and how I usually address them:
- Seed Not Sprouting:
- Issue: No roots or shoots after several weeks.
- Solution: Patience is key, but also check the seed for rot (soft spots, foul smell). Ensure the environment is warm enough (70-80°F is ideal). Sometimes, a seed is simply not viable. Try another!
- Yellowing Leaves:
- Issue: Leaves turn yellow, often with green veins.
- Solution: This often indicates nutrient deficiency (especially iron or nitrogen) or overwatering. Check soil moisture; if soggy, let it dry out more. Consider a balanced liquid fertilizer designed for houseplants. Ensure good drainage.
- Browning Leaf Tips:
- Issue: Tips and edges of leaves turn brown and crispy.
- Solution: Usually a sign of low humidity, inconsistent watering (allowing soil to dry out too much), or excess salts in the water/soil. Increase humidity with misting or a pebble tray. Water more consistently. If using tap water, let it sit out for 24 hours to dissipate chlorine.
- Drooping Leaves:
- Issue: Leaves look limp and sad.
- Solution: Most commonly due to either severe underwatering (soil bone dry) or overwatering (roots suffocating). Check soil moisture. If dry, water thoroughly. If wet, allow to dry out significantly before next watering. Ensure good drainage.
- Leggy Growth:
- Issue: Plant grows tall and thin with few leaves.
- Solution: Insufficient light. Move to a brighter location. You can also pinch back the stem to encourage bushier growth once it’s healthier.
- Pests:
- Issue: Small bugs on leaves (spider mites, aphids, mealybugs).
- Solution: Isolate the plant. For mild infestations, wipe leaves with a damp cloth or spray with insecticidal soap. For severe cases, consider neem oil or other organic pest controls. Ensure good air circulation.
Wrapping It Up: Your Avocado Growing Journey
Growing avocado trees from seeds is an incredibly rewarding journey that I genuinely hope you’ll embark upon. It’s a testament to nature’s magic and a wonderful way to connect with the food you eat. Remember, the true essence of this process lies in patience, consistent care, and a little bit of experimentation.
You now have the tools to begin: from properly preparing your selected avocado seed to choosing between the captivating water germination method and the more natural soil approach. We’ve explored the nuances of each, helping you decide based on your preference for observation versus a hands-off start. Crucially, I’ve shared my most effective growing tips, covering everything from optimal light and watering techniques to the importance of soil, pot size, and the art of pinching to encourage a robust, bushy plant.
While we also delved into the nutritional profile and potential risks associated with consuming avocado seeds, my overarching recommendation is to savor the delicious, proven health benefits found in the fruit’s creamy flesh. Let the seed be the start of your green adventure, not a dietary supplement.
Your homegrown avocado tree may take several years to bear fruit, and indeed, it might never produce fruit identical to its parent. However, the process itself is immensely enjoyable, educational, and offers a continuous connection to nature right in your home or garden. Whether you’re doing this as a fascinating hobby, aiming to propagate new plants, or dreaming of harvesting your very own avocados someday, you are now equipped with comprehensive knowledge to get started successfully.
So, why hesitate? The next time you enjoy a perfectly ripe avocado, don’t discard that precious pit. Grab an avocado, save that seed, and start your little green adventure today!
Thinking Process:
1. **Understand the Core Request:** The user wants to re-write an existing English article, but enhance it for SEO, readability, length (min 900 words), and maintain HTML structure. The original phrasing “İçeriği tekrar İngilizceye çevir” (translate back to English) is slightly misleading since the original content is already English. I will interpret this as “rewrite/refine in English.”
2. **Initial Read-Through & Structure Analysis:**
* **Intro:** Good start, but could be more engaging and keyword-rich.
* **”Is It Safe To Consume Avocado Seeds?”**: This section appears early, and its content is repeated later under “Are There Any Risks…”. This needs to be consolidated and integrated smoothly.
* **”Nutritional Information of Avocado Seed”**: Good, factual table. Can stay.
* **”Different Avocado Varieties”**: Good, but can be expanded slightly.
* **”Step-by-Step Guide to Plant an Avocado Seed in Water”**: Detailed, but each step could have more descriptive text.
* **”Step-by-Step Guide to Plant an Avocado Seed in Soil”**: Similar to water method, good base but can be expanded.
* **”Where Would Avocado Seeds Germinate Faster – Soil or Water?”**: Good comparison, but can be more elaborate with pros/cons.
* **”Growing Tips for Your Avocado Seedling”**: Good list, but each point can be a small paragraph with more detail.
* **”Are There Any Risks Associated with Consuming Avocado Seeds?”**: Redundant with the earlier “Is It Safe…” section. Needs to be merged or removed.
* **”Wrapping It Up”**: Standard conclusion, can be stronger.
3. **SEO Strategy Application:**
* **H1**: Brainstorm options for “growing avocado from seed”. “The Ultimate Guide to Growing Avocado Trees from Seed: Plant, Nurture, and Harvest Your Own Avocados” is chosen for its comprehensiveness and keyword inclusion.
* **Keywords**: “grow avocado seed”, “avocado tree from seed”, “how to grow avocado”, “avocado growing guide”, “avocado seed planting”, “avocado care”, “avocado plant tips”, “avocado varieties”, “avocado germination”. I will naturally sprinkle these throughout the text.
* **Headings**: Ensure `h2`, `h3` tags are descriptive and include keywords where appropriate.
* **Length**: This is the biggest challenge. I need to expand *every* section significantly.
4. **Content Expansion and Refinement – Iteration 1 (Mental Outline):**
* **H1:** Add the chosen H1.
* **Intro:** Elaborate on the user’s journey, the rewarding aspect, and what the guide covers. Add keywords.
* **Avocado Seed Safety/Nutrition:**
* Combine “Is It Safe” and “Risks Associated” into one logical section, perhaps titled “Understanding Avocado Seeds: Safety and Nutrition (Before You Grow!)”.
* Explain *why* compounds are harmful (Persin, Tannins, Cyanogenic Glycosides) in more detail.
* Reiterate the “stick to the flesh” advice.
* Keep the nutrition table as a sub-section.
* **Avocado Varieties:** For each variety, add a sentence about its characteristics and *why* its seed is suitable. Add a disclaimer about seed-grown fruit variability.
* **Water Germination (Steps):**
* For each step, add more detail:
* Prepare: Why clean? Why peel (or not)? Top/bottom identification details.
* Set: Specifics on toothpicks, water level, type of glass, ideal spot (indirect light).
* Wait: How often to change water, signs of rot, timeline expectations.
* Transfer: When is it ready? Pot size, soil type, planting depth, initial watering.
* Maintain: Pinching technique, common issues to watch for (leaf browning).
* Ensure all `img` tags are preserved with their attributes.
* **Soil Germination (Steps):**
* Similar expansion for each step:
* Clean: Why no damage? Why remove flesh?
* Wrap: Damp vs. dripping, material choice (paper towel/peat moss).
* Place in Ziploc: Warmth, indirect light, moisture checks.
* Sprouting & Plant: Timeline, what to look for, pot details, planting depth.
* Care: Watering, light, early signs.
* Ensure all `img` tags are preserved.
* **Germination Comparison:** Expand pros and cons for each method. Add personal preference and reasoning.
* **Growing Tips:** Turn each bullet point into a small paragraph, adding more practical advice, troubleshooting, and “why” behind the tip.
* Light: “How to identify if too much/too little.”
* Water: “Signs of over/underwatering.”
* Temperature: “Why it’s important, ideal range.”
* Soil: “Recommended mix components.”
* Pot size: “When to repot, why.”
* Pinching: “Detailed technique, benefits.”
* Fertilizer: “Type, frequency, cautions.”
* Patience: “Long-term fruit expectation.”
* Humidity: “How to increase, why.”
* **New Section (Crucial for word count and value):** “Troubleshooting Common Avocado Seedling Problems.” This is a natural extension of the “Growing Tips” and addresses common user queries. I’ll include issues like “Not Sprouting,” “Yellow Leaves,” “Browning Tips,” “Drooping,” “Leggy Growth,” and “Pests.”
* **Conclusion:** Summarize key takeaways, reiterate the rewards, and end with a strong call to action.
5. **Word Count Check during generation:** As I write, I will keep a mental tally of words. Expanding each point from the original (which was sparse) into 3-5 sentences will quickly add up. The “Troubleshooting” section is a good opportunity for significant word count.
6. **HTML Structure Preservation:** As I rewrite, I’ll copy the existing HTML tags (`
`, `
