Unlocking Autumn’s Charm: The Ultimate Guide to Crafting with Natural Pumpkin Stems for DIY Decor
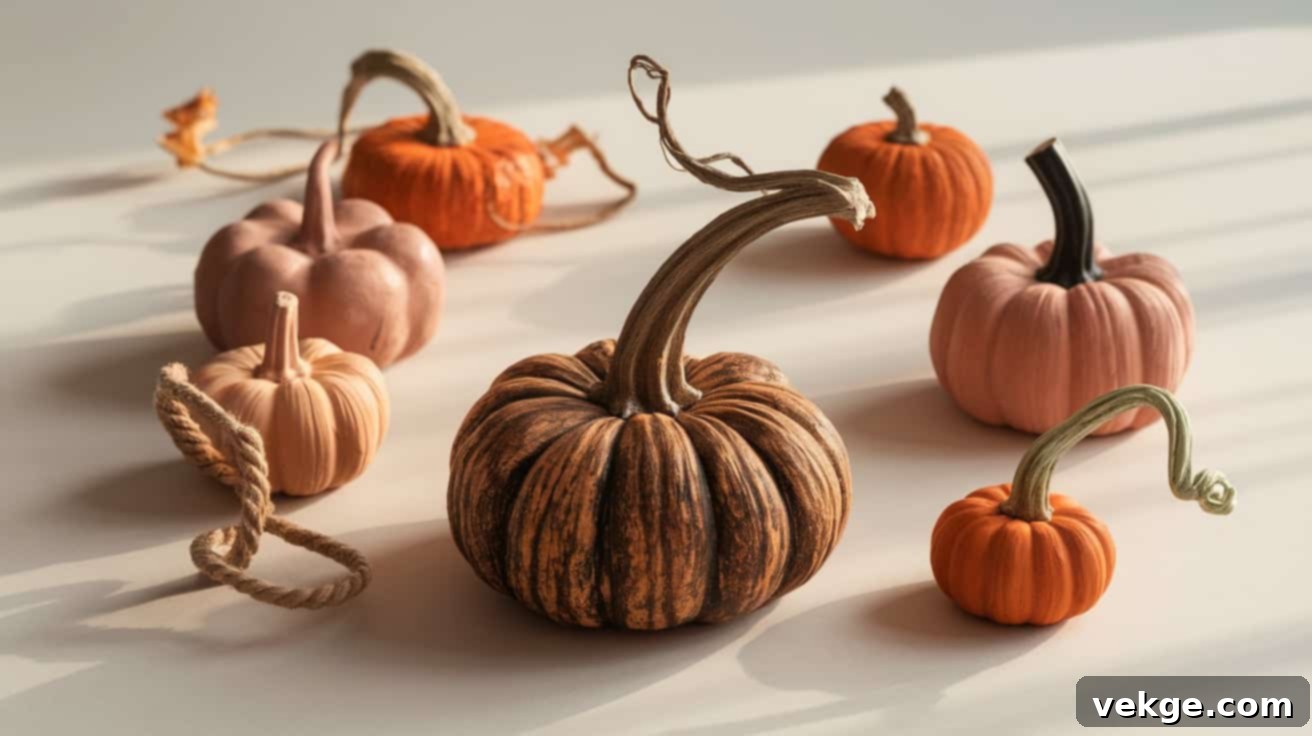
As the leaves begin to turn and a crispness fills the air, our thoughts drift towards cozy fall decorations. Among the many elements that bring autumn charm to our homes, pumpkin stems hold a special, often overlooked, power. These seemingly small components are instrumental in transforming ordinary craft pumpkins into truly authentic and visually appealing seasonal masterpieces. While artificial stems come standard on many store-bought pumpkins, replacing them with natural options instantly elevates the look and feel of your fall display, infusing it with unparalleled realism and character.
Many experienced crafters and home decorators understand that the subtle switch from basic plastic stems to genuine, natural alternatives can dramatically enhance the aesthetic of their projects. Real stems bring a wealth of unique details to each piece—from the delicate network of tiny cracks and grooves that tell a story of growth, to the rich, earthy colors that catch the light with a natural glow. Their organic shapes vary wonderfully, allowing you the freedom to select the perfect match for the specific character of your craft pumpkin, whether it’s a grand centerpiece or a charming mini accent.
This comprehensive guide is designed to cover every aspect of working with pumpkin stems. We’ll explore where to discover these rustic treasures, provide step-by-step instructions on how to attach them securely to various types of craft pumpkins, and share valuable advice on preserving them to ensure they last through many beautiful autumn seasons. Whether you’re a seasoned crafter or just starting your DIY journey, the insights within this guide will empower you to create stunning, authentic fall decorations.
We’ve meticulously gathered practical tips from skilled artisans and tested various methods to ensure their effectiveness. By the time you reach the end of this article, you’ll possess a thorough understanding of how to select, prepare, and utilize natural pumpkin stems to make your fall decorations look their absolute best, capturing the true essence of the harvest season.
What is a Pumpkin Stem? Unveiling its Natural Beauty and Function
Fundamentally, a pumpkin stem serves as the vital lifeline for the developing fruit. Botanically known as the peduncle, this sturdy structure acts as a natural feeding tube, diligently transporting water, essential nutrients, and sugars from the vine to the growing pumpkin. This continuous flow of sustenance is crucial for the pumpkin to develop its iconic size, vibrant color, and healthy structure. Without a robust stem, the pumpkin cannot thrive, making it an indispensable part of its growth cycle.
A natural pumpkin stem typically consists of three distinct sections: a tough, woody outer shell that provides protection and structure; softer, fibrous inner tissues responsible for nutrient transport; and a broader, often flared, connection point at the base where it once attached to the pumpkin itself. What truly sets natural stems apart from their artificial counterparts are the unique, authentic marks etched upon their surfaces. These include variations in color, from deep browns to lighter tans, often exhibiting a beautiful patina developed from exposure to sun and rain. Each stem boasts its own distinct texture, featuring subtle ridges, knots, and even small imperfections that contribute to its charm, making every piece one-of-a-kind.
The Transformative Uses of Pumpkin Stems in Crafts and Decor
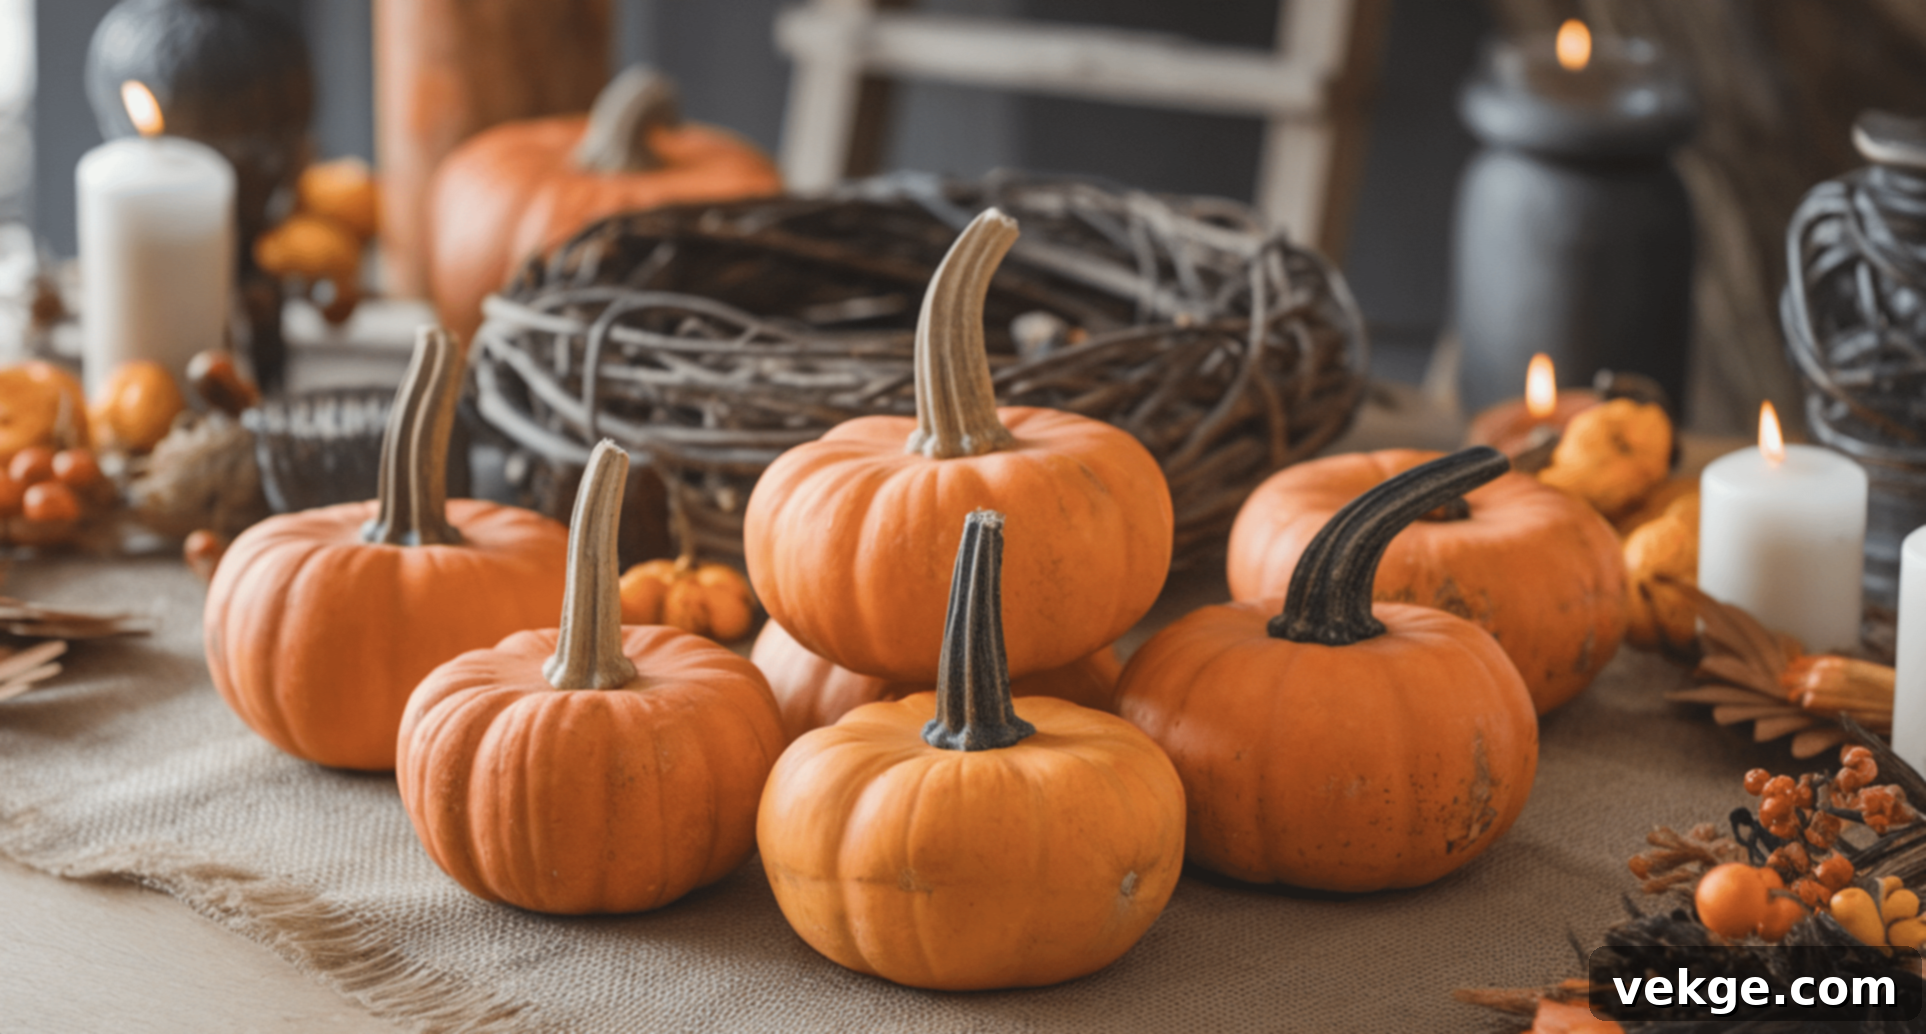
The true magic of real pumpkin stems lies in their ability to elevate basic, often mass-produced, craft store pumpkins into bespoke, special pieces of home decor. Imagine a plain foam pumpkin suddenly imbued with rustic elegance by the addition of a gnarled, perfectly preserved natural stem. Small pumpkins adorned with these authentic stems are absolutely perfect for a myriad of fall decorating purposes, from enchanting table settings that invite conversation to welcoming door wreaths that greet guests with seasonal cheer.
Beyond their aesthetic appeal, these natural stems also offer a cost-effective way to create more sophisticated seasonal decorations. Instead of investing in expensive, pre-made decorative items, you can achieve a higher-end look at a fraction of the cost by simply upgrading the stems on affordable craft pumpkins. They can be seamlessly incorporated into elaborate centerpieces, adding an organic focal point, or used to enhance charming wall hangings that celebrate the bounty of autumn. Even outdoor garden displays can benefit from the authenticity that real pumpkin stems provide, blending seamlessly with the natural environment and creating a cohesive fall landscape.
Are Pumpkin Stems Edible or Safe to Use in Crafts?
It is crucial to understand that pumpkin stems should never be considered for consumption. They are extremely hard, fibrous, and woody, making them entirely inedible and potentially dangerous if ingested. Their primary purpose is structural and biological, not culinary. Furthermore, raw pumpkin stems can pose minor health risks if not handled properly for crafting.
To prevent the growth of mold or mildew, which can compromise both the stem’s integrity and your health, it is imperative to thoroughly clean and dry all stems before incorporating them into your craft projects. A simple cleaning process involves gently brushing off any dirt or debris, wiping them down with a damp cloth, and then allowing them to air dry completely for several days in a well-ventilated area. Wearing gloves when handling raw or dried stems is also a wise precaution. The rough, woody texture can often lead to small splinters, and some individuals may experience skin irritation or an itchy reaction from contact with the natural sap or fibers. By taking these simple safety and preparation steps, you ensure that your crafting experience is both safe and enjoyable.
Sourcing Your Perfect Pumpkin Stems: A Guide to Finding the Best
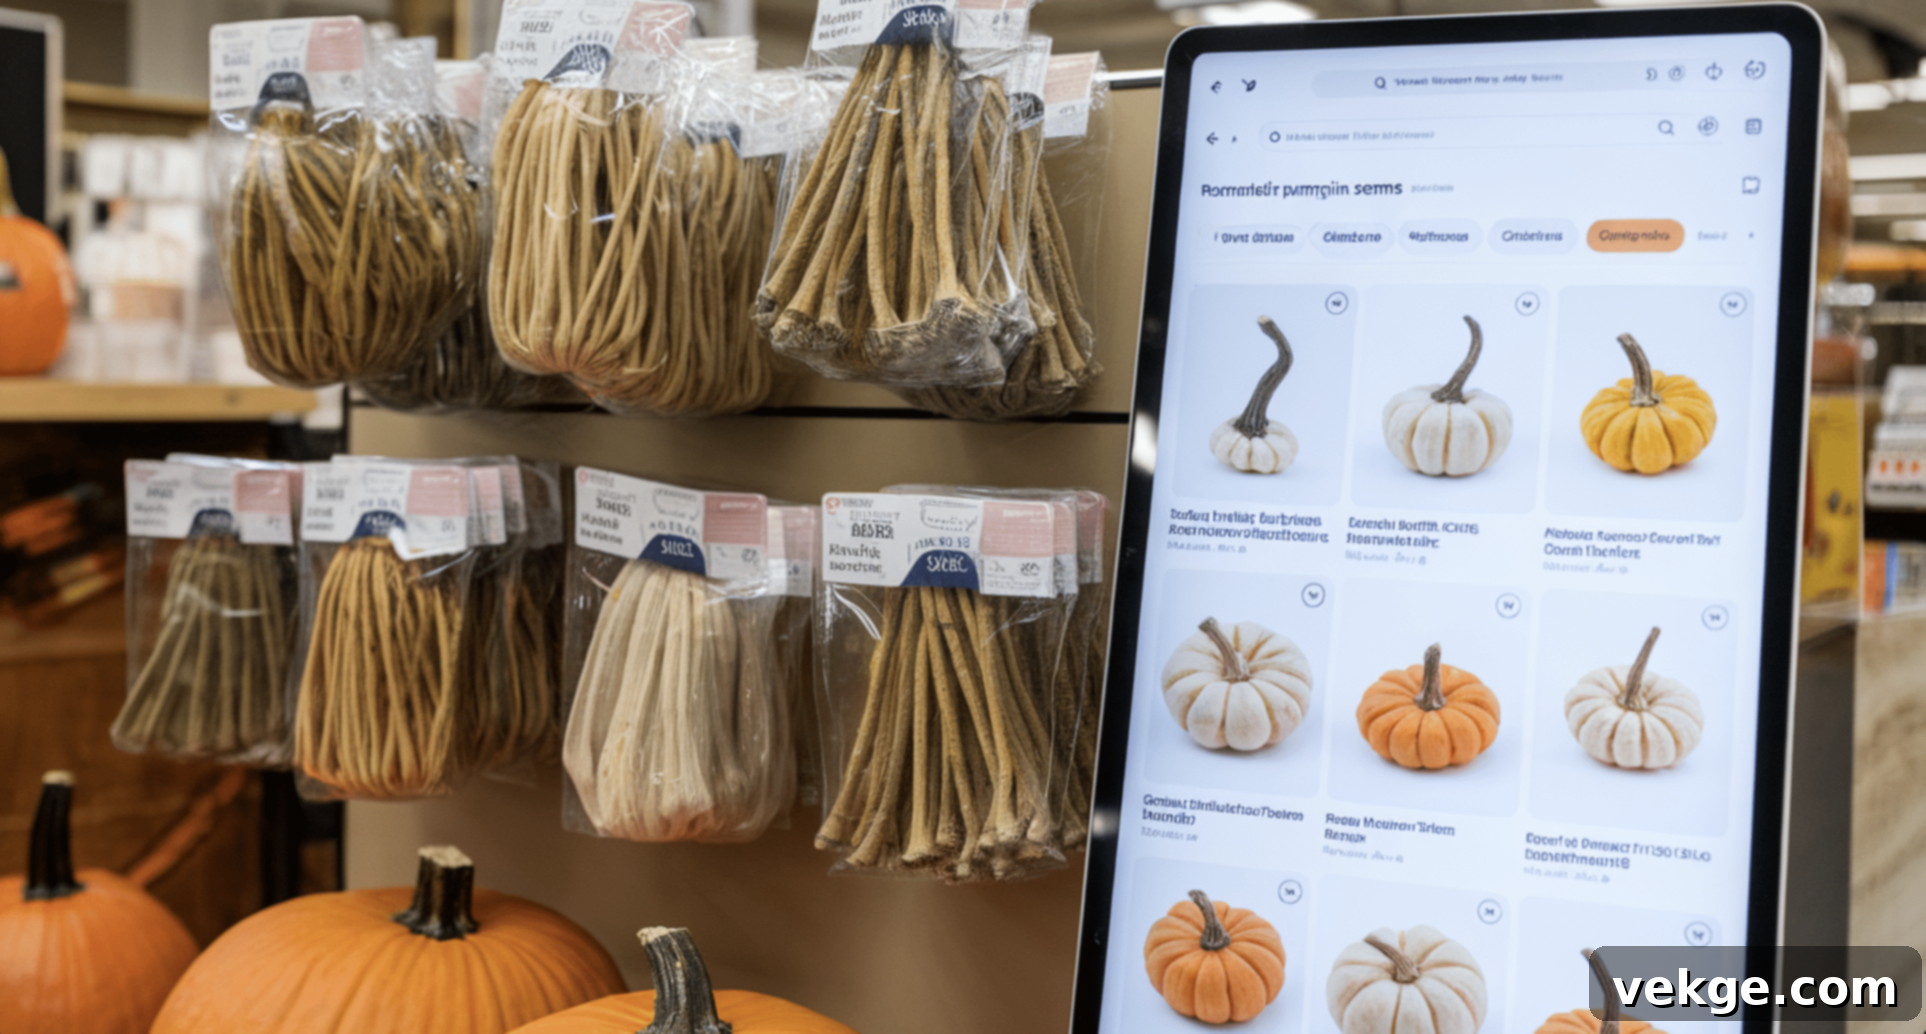
Finding the right pumpkin stems is the first exciting step in your crafting journey. Depending on your preference for convenience, cost, or a hands-on experience, there are several excellent avenues to explore.
1. Where to Buy Pumpkin Stems?
For crafters seeking convenience, purchasing stems is an excellent option. Major craft stores such as Michaels and Hobby Lobby typically stock a variety of pumpkin stems, both natural and artificial, especially in their dedicated fall and holiday sections. These stores often offer stems in different sizes, shapes, and finishes, making it easy to find a suitable option for your project.
Online marketplaces like Etsy, Amazon, and even dedicated craft supply websites provide an even broader selection. You can find independent sellers offering bundles of genuine, dried pumpkin stems, often with unique characteristics, or handcrafted options made from wood, resin, or clay. These online platforms are fantastic for finding specific styles or quantities at various price points. Keep an eye out for seasonal sales to get the best deals.
Beyond large retailers, local garden centers sometimes sell dried or pre-treated stems during the peak fall season. These might be a bit pricier but often boast superior quality and natural appeal. Don’t hesitate to inquire at farm shops or family-owned pumpkin patches; many farmers are happy to set aside a collection of stems for crafters after the harvest season concludes, especially if you ask politely.
2. Collecting Real Pumpkin Stems Yourself
For those who love a hands-on approach and direct connection to nature, collecting your own stems is incredibly rewarding. The best time to gather stems yourself is usually after the main pumpkin harvest season has ended, often late October through November. Visit local pumpkin patches or farms once they’ve cleared out the pumpkins for sale. Most farmers are generally accommodating and will allow you to collect stems from leftover, rotting pumpkins, but always ask for permission first. This shows respect for their property and ensures a positive relationship.
When collecting, look for stems that are thick, sturdy, and well-preserved. Avoid any that show obvious signs of rot, mold, or significant damage, as these will not last. The ideal stems often come from pumpkins that grew in sunny spots with good airflow, which helps them dry naturally and develop a strong, woody texture. Use a sharp pair of pruning shears or a knife to cut the stems cleanly from the pumpkin, leaving a good length for handling and attachment. Once collected, clean them as described earlier (brush off dirt, wipe, and thoroughly air dry) before storage or use.
3. Sustainable and Eco-Friendly Options for Pumpkin Stems
Embracing sustainability in your crafting not only benefits the planet but can also add unique character to your projects. One excellent earth-friendly choice is to create your own stems from natural rope or twine. Materials like jute, hemp, or sisal twine are biodegradable, widely available, and typically more cost-effective than purchasing pre-made options. These handmade stems offer a rustic charm that perfectly complements fall decor.
Another sustainable practice is to reuse stems year after year. Proper storage in a cool, dry place away from direct sunlight and humidity will help preserve natural stems for multiple seasons. This reduces waste and allows you to enjoy your favorite pieces repeatedly. Furthermore, consider joining local crafting groups or online communities; many crafters enjoy sharing or swapping excess stems and other supplies, fostering a sense of community while conserving resources.
If you have access to a garden or even a small backyard, planting pumpkins can provide an ongoing, truly home-grown source of stems. Harvesting stems from pumpkins you’ve nurtured from seed creates a personal connection to your decorations, embedding a unique garden story into your fall display. This full-circle approach to crafting is perhaps the most sustainable and rewarding of all.
A Step-By-Step DIY Pumpkin Stem Crafting Guide: Creating Your Own Rustic Stems
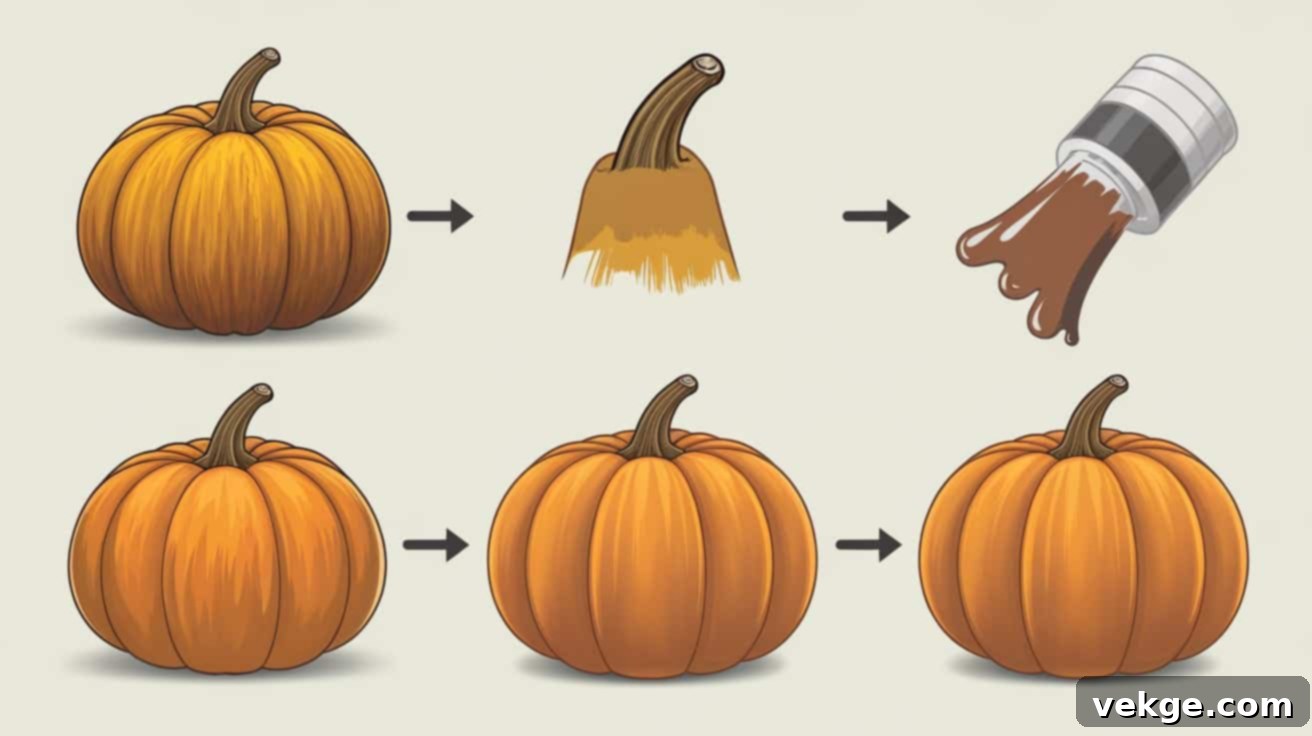
Even if you don’t have access to real pumpkin stems, you can easily create stunning, realistic-looking alternatives using common crafting materials. This DIY guide will walk you through crafting a beautiful, rustic rope stem that will fool even the keenest eye. Gather your materials and let’s get started!
STEP 1: Prepare the Original Pumpkin Stem
Begin by working with the existing stem on your craft pumpkin, usually a basic plastic one. Carefully remove the base of this plastic stem from the pumpkin (it often just pulls out or untwists). If there are any extra plastic bits or rough edges, trim them away using a craft knife or strong scissors. The goal is to create a clean, smooth, and relatively sturdy base that will serve as the core for your new, improved DIY stem. Taking a few moments to properly prepare this base will ensure a much more professional and long-lasting finished product. Preparing multiple stems in advance can be a huge time-saver if you plan to craft several pumpkins.
STEP 2: Cut and Attach Rope
Select a thick jute rope or similar natural fiber rope for this project; its rustic texture is perfect for mimicking a real stem. Cut the rope into strips of varying lengths, roughly 6-12 inches depending on the desired height of your stem and the diameter of your rope. Using a hot glue gun, apply a small line of glue along the plastic stem base and firmly press the end of a rope strip onto it. Begin wrapping the rope around the plastic core, working your way up. Apply glue as you go, ensuring each loop of rope is tight and securely adhered. For a natural, cohesive look, try to wrap the rope in the same direction, twisting it slightly as you go to cover the plastic entirely. Don’t worry if there are tiny gaps at this stage; we’ll address those next.
STEP 3: Fill Gaps with Smaller Rope Pieces
Once the initial layer of rope is applied, you might notice small gaps or areas where the plastic stem still peeks through, especially if your base stem has an irregular shape. To achieve a seamless and rustic appearance, cut smaller, shorter pieces of jute rope. Carefully apply hot glue to these smaller pieces and press them into any visible gaps. This step requires a bit of patience and precision, ensuring that the entire original stem is covered evenly. The goal is to build up the texture and volume, creating the organic, imperfect look of a real pumpkin stem. Take your time to fill all voids for a truly authentic finish.
STEP 4: Untwist and Fluff the Rope Ends
To give your newly crafted stem a more natural, weathered appearance, focus on the top of the stem. Gently untwist the strands of rope at the very top. Most natural fiber ropes are made up of several smaller strands twisted together; carefully separate these strands. This action creates a fuller, more organic, and slightly “frayed” look, mimicking the natural fibrous texture often seen at the tip of a real pumpkin stem. After untwisting, you can gently fluff the ends to add volume and character. Finally, use a pair of sharp scissors to trim any excessively long or uneven rope ends, ensuring a clean yet natural finish at the top of your stem.
STEP 5: Add Finishing Details
Now it’s time to add those special touches that make your DIY stem truly unique. For an extra rustic flair, consider attaching a small loop of rope at the base or even halfway up the stem, securing it firmly with hot glue. This mimics the small tendrils or remnants of the vine often found on natural stems. For a festive touch, you can paint your stem using acrylic paints in harvest tones like deep browns, burnt oranges, or muted greens. Alternatively, metallic shades like antique gold or copper can add an elegant sparkle, perfect for more sophisticated decor. Allow the paint to dry completely. Step back and admire your beautiful, custom-made pumpkin stem, ready to adorn your fall creations!
Video Tutorial
For a visual guide and more detailed instructions, watch this helpful video tutorial:
For more information, check out this video tutorial by DIY Diva.
Attaching Pumpkin Stems to Various Surfaces: A Secure Fastening Guide
Successfully attaching a new stem is pivotal to the overall look and durability of your craft pumpkin. The method you choose will largely depend on the material of the pumpkin itself. Here’s how to ensure a strong and lasting bond for different surfaces:
Attaching to Foam Pumpkins
Foam pumpkins are popular for their lightweight nature and versatility, but attaching stems securely requires a specific approach. The key lies in choosing the right combination of adhesives. Start with a layer of E6000 adhesive (or a similar strong craft adhesive), which is renowned for forming a robust, flexible, and long-lasting bond with both foam and woody materials. Apply it generously but carefully to the base of your natural stem.
To provide immediate hold while the E6000 cures, add a small amount of hot glue around the edges of the stem’s base. Hot glue dries quickly, acting as a temporary clamp that holds the stem in place while the stronger adhesive sets. For optimal attachment, use a craft knife to cut a shallow, small circle or indentation into the foam top of the pumpkin. This creates a flat or slightly recessed surface, allowing for better contact and a more stable bond between the stem and the foam. Ensure the stem is centered and straight before the glues fully dry.
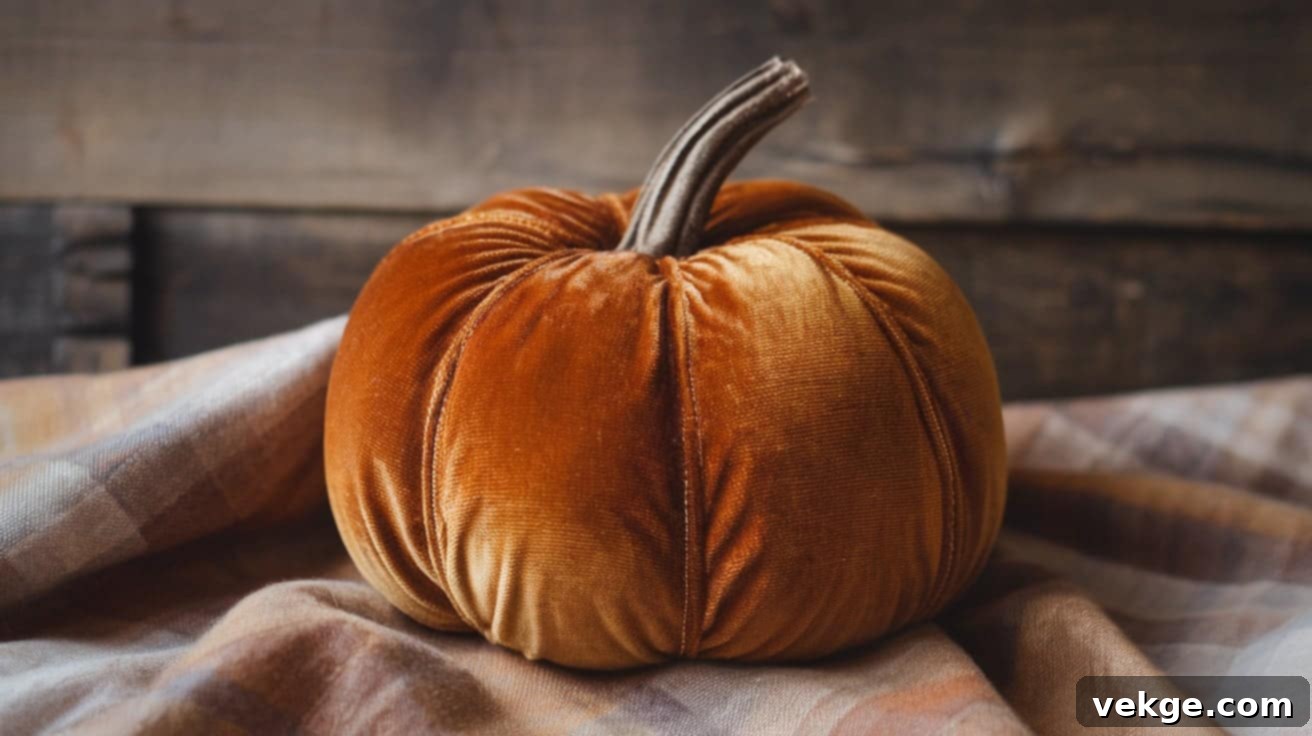
Attaching to Fabric and Velvet Pumpkins
Working with fabric or luxurious velvet pumpkins demands a gentle yet firm approach to protect the delicate material. Begin by carefully creating a small opening at the top of the fabric pumpkin, large enough to accommodate the stem’s base. To provide structural support and prevent the fabric from sagging around the stem, insert a small cardboard circle (cut to fit inside the opening) just beneath the fabric surface. This creates a stable platform.
For the most secure and durable method, especially on velvet or high-quality fabrics, hand-stitching is highly recommended. Use a strong, color-matching thread and a sturdy needle to stitch the base of the stem to the fabric in a circular pattern, reinforcing the connection. If gluing is absolutely necessary, opt for a fabric-specific adhesive (like Aleene’s Fabric Fusion) applied sparingly to the stem’s base and then gently pressed onto the fabric. Fabric glue is designed not to damage or discolor textiles, preventing unsightly marks. Always allow ample drying time, keeping the pumpkin still to ensure a perfect bond.
Attaching to Real Pumpkins
Attaching a replacement stem to a real pumpkin (perhaps one where the original stem broke off) requires quick action and careful consideration, as the surface of a real pumpkin changes as it ages. First, inspect the area where the stem will be attached. Remove any soft spots, mold, or decaying material around the natural stem area using a spoon or knife. This creates a clean, solid surface for attachment.
For added strength and preservation, apply a generous amount of wood glue or construction adhesive around the base of the loose stem. This type of glue penetrates the wood fibers of the stem and the pumpkin’s outer skin, forming a powerful bond. Once the stem is in place, consider applying a thin, clear sealant layer (like Mod Podge Outdoor or a clear spray sealant) around the junction where the stem meets the pumpkin. This layer helps to preserve both the stem and the surrounding pumpkin surface, protecting it from moisture and extending its lifespan.
For best results across all material types, always work in a well-ventilated area to dissipate adhesive fumes. It is absolutely crucial to let each layer of adhesive dry fully according to the manufacturer’s instructions. Rushing this process is a common mistake that leads to weak bonds. While waiting for the glue to set and fully cure, keep your pumpkin in a cool, dry spot, away from direct sunlight or extreme temperatures. Complete curing typically takes about 24 to 72 hours, depending on the adhesive. Patience will be rewarded with robust, long-lasting fall decorations.
Tips and Tricks from the Experts: Elevating Your Pumpkin Stem Creations
Crafting beautiful pumpkin stems goes beyond just gluing them on. Learning from experienced crafters can save you time, prevent mistakes, and result in truly professional-looking decorations. Here are some invaluable insights to refine your technique:
1. Professional Insights for Flawless Stems
Professional crafters consistently emphasize the importance of thorough preparation and testing. Before applying any adhesive to your final project, always test it on a small, inconspicuous area or a scrap piece of the same material. This helps ensure compatibility and proper adhesion without risking your main piece.
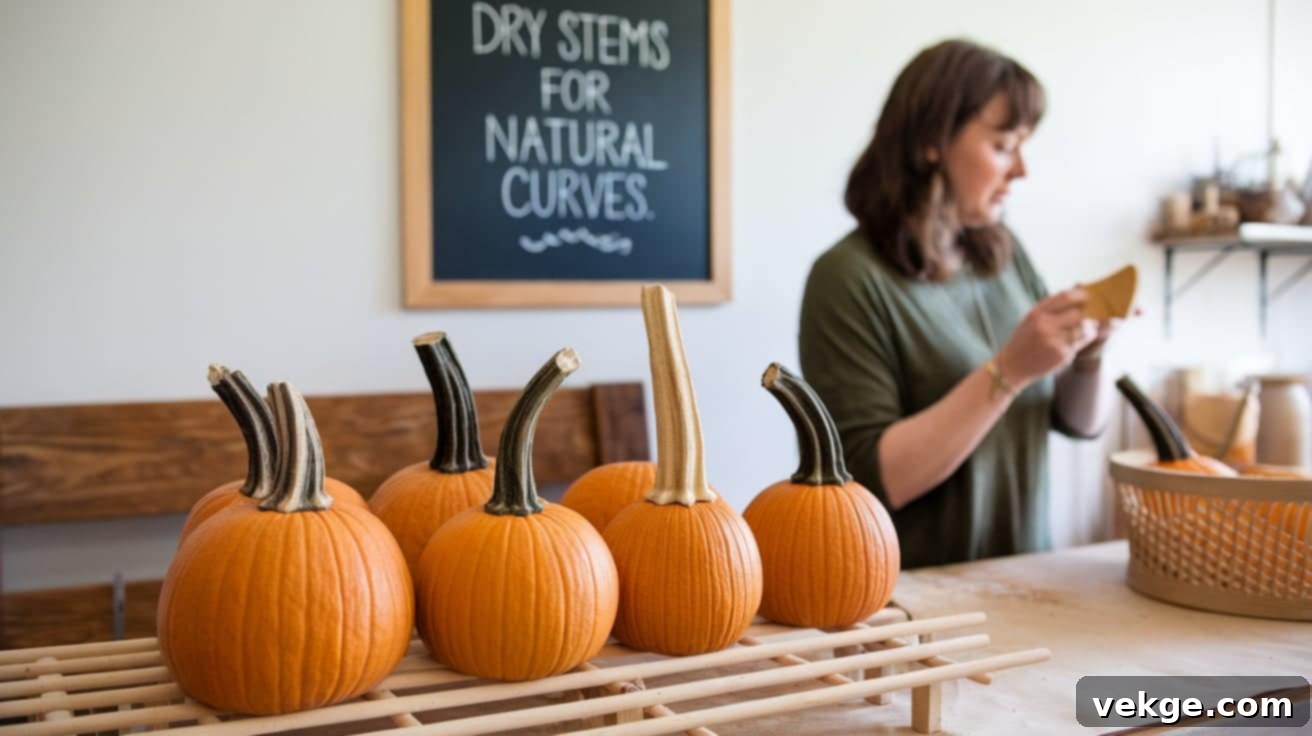
Mary Smith, a renowned artisan who creates stunning pumpkin decorations for upscale local boutiques, suggests a simple yet effective technique: “Always dry your collected stems upright in a vase or a sand-filled container. This helps them maintain their natural curve and prevents warping as they dry, giving them a more lifelike appearance when attached.”
Sarah Lee, owner of the popular online store Autumn Crafts Co., shares another brilliant method for enhanced adhesion. “I often use fine-grit sandpaper to lightly scuff the bottom of my natural stems,” she explains. “This gentle sanding creates tiny, almost invisible grooves on the surface, significantly increasing the surface area for glue to grip, resulting in a much stronger and more reliable bond.” This small step can make a huge difference in the longevity of your creations.
2. Common Mistakes to Avoid for Lasting Results
Even seasoned crafters can fall prey to common pitfalls. One of the most frequent mistakes is rushing the drying process of adhesives. Impatience often leads to stems detaching prematurely or becoming wobbly over time. Allowing each layer of adhesive to dry completely, ideally for the full recommended cure time, is paramount. This creates a solid chemical bond that will make your work last significantly longer, potentially for years.
Another prevalent error is using an excessive amount of glue, particularly hot glue, around the stem’s base. While tempting to ensure a strong hold, large globs of glue often create messy, unsightly edges that detract from the natural look. Instead, apply a small, controlled amount of adhesive, spreading it thinly and evenly. A little precision goes a long way, ensuring that the glue remains hidden and the focus stays on the beautiful stem itself.
3. Enhancing Realism Through Finishing Touches
To truly make your natural or DIY stems look indistinguishable from freshly picked ones, paying attention to subtle finishing details is key. Paint application can make a profound difference. Start with a solid base coat of dark brown or even a deep forest green. Once dry, add lighter shades of brown, tan, or even a touch of muted orange by dry brushing. This technique, where you apply paint with a nearly dry brush, allows you to build up layers of color and create incredible depth and texture, mimicking the natural patina of real wood.
Small, intricate details matter when striving for ultimate realism. Try adding very fine lines or tiny speckles with an even drier brush or a fine-tipped artist’s brush. This can simulate the natural wood grain patterns, tiny cracks, or even remnants of dried dirt found on genuine stems. Vary the pressure and direction of your strokes to avoid a uniform, artificial look.
The final touch involves adding a tactile texture to the surface. Mix a small amount of very fine sand (craft sand or even playground sand) with a dab of matte acrylic paint. Gently dab or brush this mixture onto portions of the stem, particularly around the base. This creates a slightly gritty, earthy feel that perfectly mimics the natural surface of a real pumpkin stem, completing the illusion. Work with stems takes practice and a keen eye for natural detail, but by incorporating these expert methods, you’ll create lasting, truly realistic results. Remember that each stem, whether natural or handmade, will turn out slightly different, just like the beautiful imperfections found in nature.
Conclusion: Crafting Enduring Autumn Beauty with Natural Pumpkin Stems
The journey of transforming ordinary craft pumpkins into extraordinary pieces of fall decor is profoundly rewarding. By integrating or crafting your own high-quality pumpkin stems, you infuse your seasonal displays with a level of authenticity and charm that simple plastic alternatives can never quite achieve. The methods and insights we’ve explored in this guide—from careful sourcing and diligent preparation to precise attachment and expert finishing—are designed to empower you to create decorations that not only look true to nature but also stand the test of time.
With the right tools, techniques, and a touch of patience, you can craft beautiful, custom pumpkin stems that will last through many autumn seasons, becoming cherished components of your annual fall traditions. These handmade or carefully selected natural elements are more than just decorative pieces; they are a celebration of the harvest, an expression of your creativity, and a testament to the enduring beauty of natural materials.
We absolutely love seeing how our readers apply these ideas and techniques in their own projects. Your unique creations inspire and delight! Please share photos of your beautiful pumpkin stem creations on social media using a relevant hashtag like #PumpkinStemCrafts or #DIYFallDecor. Your personal touch and innovative designs might just spark a wave of new ideas for others within our vibrant crafting community.
Do you have further questions about sourcing, crafting, or attaching pumpkin stems? Perhaps you’ve discovered a brilliant tip or trick you’d like to share? We invite you to leave a comment below. Engaging with fellow crafters enriches us all. Each project offers a new learning opportunity, and by sharing our experiences and knowledge, we collectively grow our skills and create even better, more inspiring seasonal decorations. Let’s keep building our crafting expertise together, one beautiful pumpkin stem at a time!
