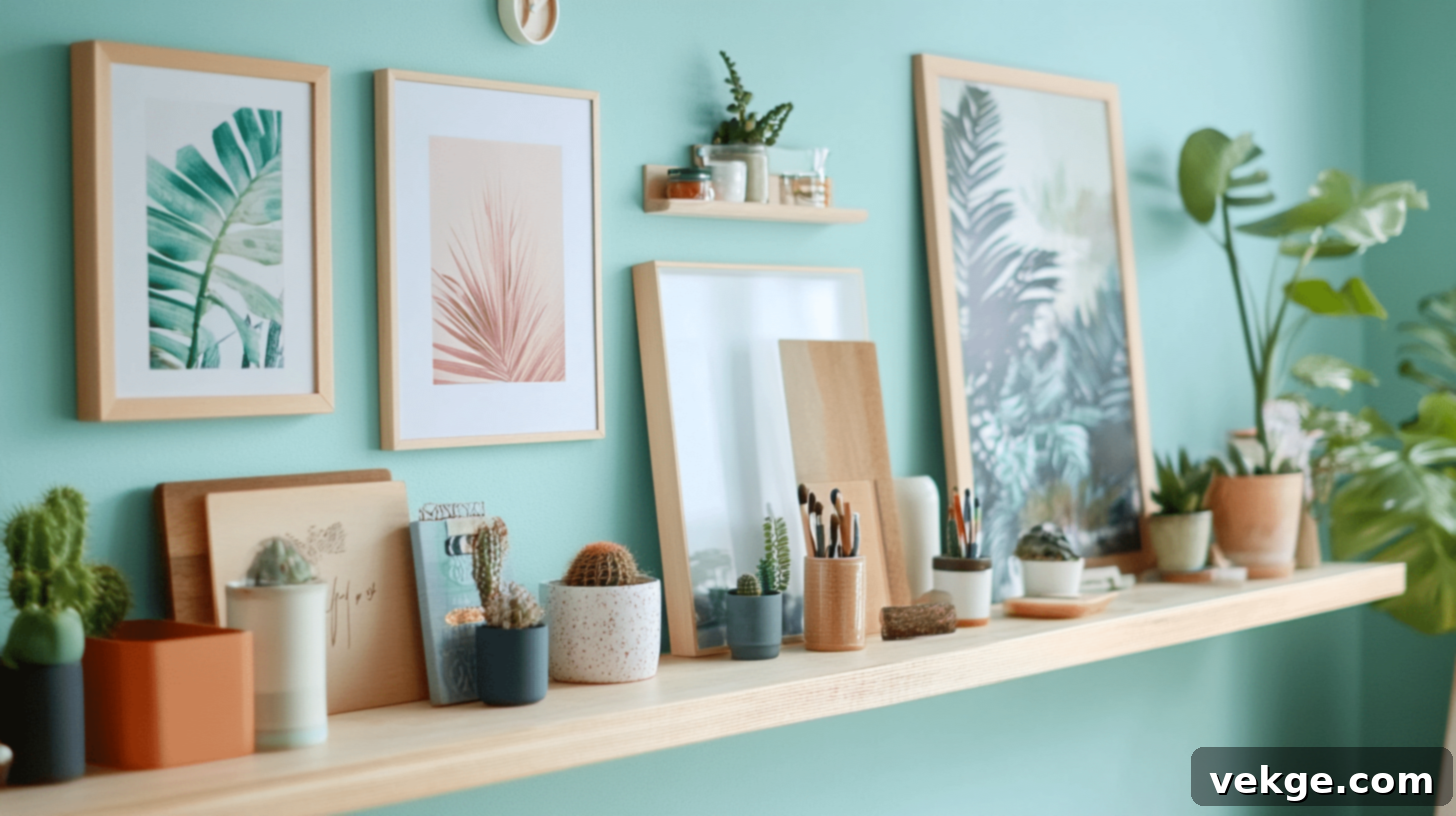
Build Your Own Custom DIY Picture Ledge: An Easy Weekend Project Guide
Are you looking for a simple yet impactful way to showcase your cherished photos, beloved artwork, or favorite small decorative items? A custom photo ledge offers an elegant and highly flexible solution. Last weekend, I embarked on building my own, and to my delight, it was completed in **less than two hours** – a testament to its beginner-friendly nature. As a passionate home DIY enthusiast, I can confidently say this project is ideal for anyone looking to add a personal touch to their living space without needing extensive woodworking experience.
This comprehensive guide will walk you through every step of creating your very own DIY picture ledge from scratch. We’ll cover essential aspects from selecting the right tools and wood to the precise assembly and finishing touches. Plus, I’ll share valuable insights and practical tips gathered from my experience building several of these versatile shelves for various rooms in my home.
The best part? You can comfortably complete this entire project in a single afternoon. By the time you’re finished, you’ll have a stylish and functional display solution that perfectly complements your home décor, allowing you to easily update your visual narratives whenever inspiration strikes.
Understanding the Versatility of Picture Ledges
A picture ledge is essentially a narrow, shallow shelf featuring a small raised lip along its front edge. What makes these shelves incredibly appealing is their unique ability to allow you to lean and layer frames, prints, and small objects, as opposed to the more permanent commitment of traditional hanging methods. The subtle front lip acts as a secure barrier, preventing your displayed items from sliding off.
These shelves are remarkably adaptable, fitting seamlessly into numerous spaces within your home. Imagine a long, elegant ledge above your sofa, transforming a blank wall into a dynamic art gallery. They work wonderfully in bustling hallways, adding character and a focal point, or even in your home office, offering both decoration and a touch of organized personality. Their ease of use far surpasses that of conventional picture hanging, which often requires precise measurements and multiple nail holes.
One of the greatest advantages of a picture ledge is the freedom it offers for rearrangement. Whenever I feel the urge to refresh my home’s aesthetic, or if I acquire new pieces, I simply lift the items off, rearrange them, and instantly create a new look. This flexibility makes them an invaluable asset for evolving interior design.
At their core, picture ledges exemplify simplicity in design and construction. They typically consist of just three pieces of wood expertly joined together to form a stable, elegant display surface. This straightforward construction makes them an accessible and rewarding project for anyone venturing into the world of DIY. Furthermore, the cost of building a custom picture ledge is often significantly lower than purchasing pre-made alternatives from home furnishing stores, offering both creative satisfaction and a smart financial saving.
How to Plan Your Custom DIY Picture Ledge Project for Success
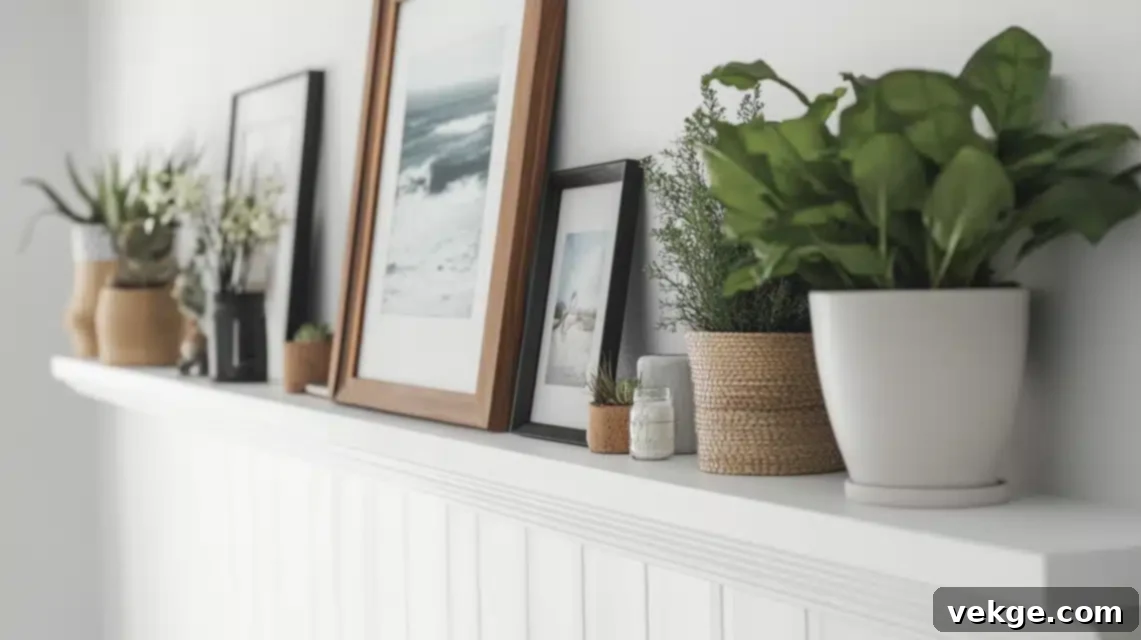
Before gathering any tools, a solid plan is your most valuable asset. Careful planning saves time, prevents costly mistakes, and ensures your DIY picture ledge perfectly meets your needs and aesthetic vision.
- Determine the Ideal Location and Length: Start by visualizing where your picture ledge will live. Assess the available wall space. Is it above a sofa, spanning a long hallway, or a smaller section in a bedroom? Measure the exact width you desire for your shelf. This crucial measurement will directly dictate the length of your wood planks and help you calculate the precise amount of materials needed, avoiding waste.
- Decide on Displayed Item Sizes and Ledge Depth: Next, consider what you intend to display. Will it primarily be standard photo frames, larger art prints, or a mix of decorative objects? For me, a versatile blend of 5×7 and 8×10 frames works exceptionally well. This decision directly influences the necessary depth of your ledge. Generally, a depth of 3 to 4 inches provides ample space for layering while maintaining a sleek profile. A common standard is a ¾-inch lip at the front to secure items.
- Select Materials and Finish to Match Your Style: The type of wood and its finish play a significant role in the overall look and feel of your picture ledge and how it integrates with your room’s existing décor. For a casual, rustic, or budget-friendly aesthetic, pine is an excellent choice—it’s easy to work with and readily available. If you’re aiming for a more formal, durable, or refined appearance, consider hardwoods like oak or maple. These offer superior strength and a beautiful grain. Finally, think about the finish: a crisp white paint can offer a clean, modern, or coastal look, while a rich wood stain can bring out the natural beauty of the wood and complement other timber elements in your room. You might also consider clear varnish for a natural look or a distressed finish for shabby chic appeal.
This meticulous planning phase is fundamental. It not only saves you time and money but also ensures that the final product is a perfect fit for your home, both aesthetically and functionally. Remember, a standard picture ledge generally performs best at 3 to 4 inches deep, with a ¾-inch lip at the front, and its length should be customized to your specific wall space.
Step-by-Step Process of Building Your DIY Picture Ledge from Scratch
Tools & Materials Required
Having the right tools and materials on hand is key to a smooth and enjoyable building process. Here’s what you’ll need:
- Dressed Pine Wood Planks: (Dressed pine is pre-planed, smooth, and ready to use, minimizing sanding.)
- One 3-meter (approx. 10 ft) long, 64mm (approx. 2.5 inches) wide plank (for the back panel and the base shelf). Pine is often chosen for its affordability and ease of cutting/sanding.
- One 1.8-meter (approx. 6 ft) long, 42mm (approx. 1.65 inches) wide plank (for the front lip). The thinner width ensures the lip is prominent enough to secure items but not overly bulky.
- Construction Adhesive: A strong, general-purpose adhesive like Liquid Nails or Gorilla Glue will provide a durable bond, enhancing the strength of your joinery.
- Clamps: Bar clamps or quick-grip clamps are essential for holding wood pieces tightly together while the adhesive dries, ensuring a strong, seamless joint.
- Nail Gun (or alternative fasteners): A brad nailer makes quick work of securing joints. Alternatively, a hammer and small finishing nails, or a drill with timber screws, can be used.
- Spirit Level: Crucial for ensuring your cuts are straight and, more importantly, that your finished ledge is mounted perfectly level on the wall.
- Stud Finder: Necessary for locating wall studs, into which you’ll anchor your picture ledge for maximum stability and weight support.
- Screwdriver: To drive mounting screws into the wall studs.
- Wood Putty: For filling any nail holes or minor imperfections, creating a smooth, professional finish.
- Sandpaper:
- 80-grit: For initial shaping and smoothing rough edges.
- 220-grit: For fine finishing and preparing the surface for varnish or paint.
- Clear Water-Based Varnish: Provides a protective, durable finish while letting the natural wood grain show through. Water-based options are easier to clean up and have low VOCs.
- Paintbrush: For applying varnish or paint.
- Screws for Mounting: Choose screws long enough to penetrate the picture ledge and at least 1.5 inches into a wall stud.
- Measuring Tape: For accurate measurements throughout the project.
- Painter’s Tape: Useful for marking cut lines, holding small pieces during assembly, or protecting areas during finishing.
Stepwise Guide for Making This Custom DIY Picture Ledge
1. Cut the Wood with Precision
- Begin by carefully measuring and marking your wood planks.
- From the wider 3-meter plank, cut two equal pieces. These will form the back panel (which mounts to the wall) and the base (the horizontal surface where items sit). For a 1.45-meter (approximately 57-inch) ledge, you’ll need two pieces of this length.
- From the thinner 1.8-meter plank, cut one piece to the same 1.45-meter length for the front lip.
- Tip: Always double-check your measurements before cutting. Use a miter saw for the cleanest, most accurate cuts, or a handsaw with a speed square guide for straightness. Safety glasses are a must!
2. Create the Base Assembly
- Lay one of the wider, cut planks flat on your workbench; this will be the base.
- Apply a generous, continuous bead of construction adhesive along one long edge of the second wider plank. This will be the back panel.
- Carefully join the adhesive-coated edge of the back panel to the side edge of the base plank, forming a perfect L-shape. Ensure the edges are flush and form a true 90-degree angle.
- Securely clamp the two pieces together. Use multiple clamps spaced evenly along the length to ensure consistent pressure.
- Allow the adhesive to dry for at least 20 minutes (or according to product instructions) before proceeding, ensuring a strong initial bond.
3. Add Structural Support with Fasteners
- Once the adhesive has set, reinforce the L-shape joint using a nail gun (or hammer and finishing nails/screws).
- Drive nails or screws through the back panel into the base piece, about 1 inch from the top and bottom edges, and spaced every 6-8 inches along the length. This adds significant structural integrity.
- Tip: If using screws, pre-drill pilot holes to prevent the wood from splitting, especially near the ends.
4. Attach the Front Lip
- Apply construction adhesive along the front edge of your assembled L-shape base.
- Carefully attach the thinner, cut plank (the front lip) to this edge, creating a U-shape profile. Ensure the top edges of the lip and the base are flush.
- Clamp the front lip firmly in place, again using multiple clamps, and allow the adhesive to dry for the recommended time.
- Once the adhesive has partially cured, secure the front lip with nails or screws, similar to how you reinforced the base. This ensures a durable and strong protective barrier for your display items.
5. Finish the Edges and Prepare for Finishing
- Inspect your assembled ledge for any excess glue that may have squeezed out during clamping. Carefully scrape or sand this off.
- If your ends are not perfectly even, now is the time to trim them square using a saw, creating clean, professional-looking edges.
- Fill all visible nail holes with wood putty. Apply a small amount, ensuring it’s slightly proud of the surface, as it will shrink slightly upon drying.
- Once the putty is dry, sand all surfaces of the picture ledge thoroughly. Start with 80-grit sandpaper to smooth any rough spots and putty, then move to 220-grit sandpaper for a fine, silky-smooth finish. Sand with the grain of the wood for best results.
6. Apply the Final Touches (Varnish)
- Ensure the ledge is completely free of dust from sanding. Use a tack cloth or a damp rag.
- Apply the first thin, even coat of clear water-based varnish using a quality paintbrush. Allow it to dry completely according to the manufacturer’s instructions (usually 1-2 hours).
- After the first coat is dry, lightly sand the entire surface again with 220-grit sandpaper. This scuff sanding helps remove any raised wood grain and creates a smoother surface for the next coat. Wipe off all dust.
- Apply a second, even coat of varnish. For added durability and a deeper finish, a third coat can be applied after light sanding. Allow the final coat to cure fully before mounting.
7. Wall Mounting for Stability
- Decide on the desired height for your picture ledge (eye-level is common). Use a measuring tape to mark this height on the wall.
- Place your spirit level on the wall at your marked height and draw a straight, level pencil line across the entire length where the ledge will sit. This ensures a perfectly straight installation.
- Using a stud finder, locate the wall studs along your marked line. Mark the center of each stud with a pencil dot. Mounting into studs is crucial for supporting weight.
- Hold your finished picture ledge against the wall, aligning its top edge with your pencil line. Transfer the stud marks onto the back of your picture ledge.
- Pre-drill holes through the back panel of your picture ledge at these marked points. The drill bit should be slightly smaller than your mounting screws.
- Finally, align the pre-drilled holes with the stud marks on the wall. Drive screws through the ledge and into the wall studs, securing the ledge firmly in place. Check with the spirit level one last time during installation.
Approximate Cost Required for Building Your DIY Picture Ledge
Building your own custom picture ledge is not only satisfying but also a cost-effective alternative to buying retail. Here’s a breakdown of the approximate costs involved:
| Item | Description | Cost Range ($) |
|---|---|---|
| Main Materials | (Essentials for one ~1.45m ledge) | |
| Dressed pine plank | 3m x 64mm (back & base) | 15-20 |
| Dressed pine plank | 1.8m x 42mm (front lip) | 10-12 |
| Construction adhesive | Standard tube/cartridge | 8-10 |
| Wood putty | Small container | 5-7 |
| Clear water-based varnish | Small can (enough for multiple coats) | 15-20 |
| Screws for mounting | Pack of 6-12 screws | 4-6 |
| Basic Tools | (If you need to purchase them) | |
| Sandpaper pack | Assorted grits (80, 220) | 5-7 |
| Paintbrush | Quality brush for varnish | 5-8 |
| Painter’s tape | Standard roll | 3-5 |
| Total Cost Estimate | ||
| With basic tools | (If starting from scratch) | 70-95 |
| Without tools | (If you already own them) | 52-75 |
Please note that these costs are estimates and can vary based on your location, chosen wood quality, and specific brands. You can often save money by opting for lumber scraps from local hardware stores or by borrowing tools from friends or neighbors.
Comprehensive Guide: How to Install Your Picture Ledge Securely
Proper installation is paramount to ensuring your picture ledge is not only level but also sturdy enough to safely display your items. Here’s my detailed approach to securely mounting your custom shelf:
Step 1: Finding the Right Spot and Height
I always begin by carefully assessing my wall space to pinpoint the ideal location and height for the ledge. For most display purposes, including my own, placing picture ledges at eye level creates the most comfortable viewing experience. This typically translates to marking a spot approximately 57-60 inches (about 145-152 cm) from the floor. Consider the scale of your room and any furniture below the ledge when making your final decision.
Step 2: Marking the Wall for a Perfect Level
Once I’ve determined the height, I grab my trusty spirit level and a pencil. I carefully draw a perfectly straight, horizontal line on the wall where the top edge of my ledge will sit. This line should extend the full length of your picture ledge. Taking your time on this step is crucial; a perfectly level line prevents a crooked shelf, which can be frustrating to fix later.
Step 3: Locating Wall Studs for Maximum Support
Next, I use a reliable stud finder to locate the structural wooden studs behind the drywall. I slowly run the stud finder along the marked line on the wall. Each time it indicates a stud, I mark the center of the stud with a small pencil dot. Mounting your picture ledge directly into these studs provides the strongest and most secure hold, essential for supporting the weight of your frames and objects.
Step 4: Pre-drilling the Ledge for a Clean Installation
With the stud locations marked on the wall, I transfer these marks to the back panel of my picture ledge. I then use a drill to create pilot holes through the back piece of the ledge at these exact points. The drill bit I use is always slightly smaller than the diameter of my mounting screws. This critical step prevents the wood from splitting when the screws are driven in and ensures a cleaner, more professional finish.
Step 5: The Mounting Process – Secure and Steady
Here’s my step-by-step method for the actual mounting:
- I carefully lift the picture ledge and align its top edge precisely with the pencil line I drew on the wall.
- Before driving any screws, I place my spirit level on top of the ledge one last time to confirm it’s still perfectly level. Slight adjustments can be made at this point.
- I then insert the first mounting screw through a pre-drilled pilot hole in the ledge and into a marked wall stud, securing one end.
- I proceed to add the rest of the screws, one by one, ensuring each screw goes into a stud.
- It’s important to make sure each screw sits tightly, pulling the ledge flush against the wall, but avoid overtightening, which can strip the screw or damage the wood.
Step 6: Final Level Check and Adjustments
After all screws are in place and the ledge is mounted, I perform a final check. I place the spirit level back on top of the ledge to confirm it’s absolutely straight. If there are any minor deviations, I can slightly loosen or tighten individual screws to fine-tune the level until it’s perfect.
Step 7: Testing the Hold and Weight Capacity
As a final safety measure, I gently press down on the ledge with a moderate amount of force to test its stability and strength. A well-mounted ledge should feel completely solid, with no noticeable wobble or give. This ensures it’s ready to safely hold your decorative items.
Important Note: If you are working with drywall and cannot locate any wall studs where you need to mount your ledge, it is imperative to use heavy-duty wall anchors. Choose anchors specifically rated for the anticipated weight of your ledge and its contents. Follow the anchor manufacturer’s instructions carefully for proper installation.
How to Style & Arrange Your Picture Ledge for Visual Impact
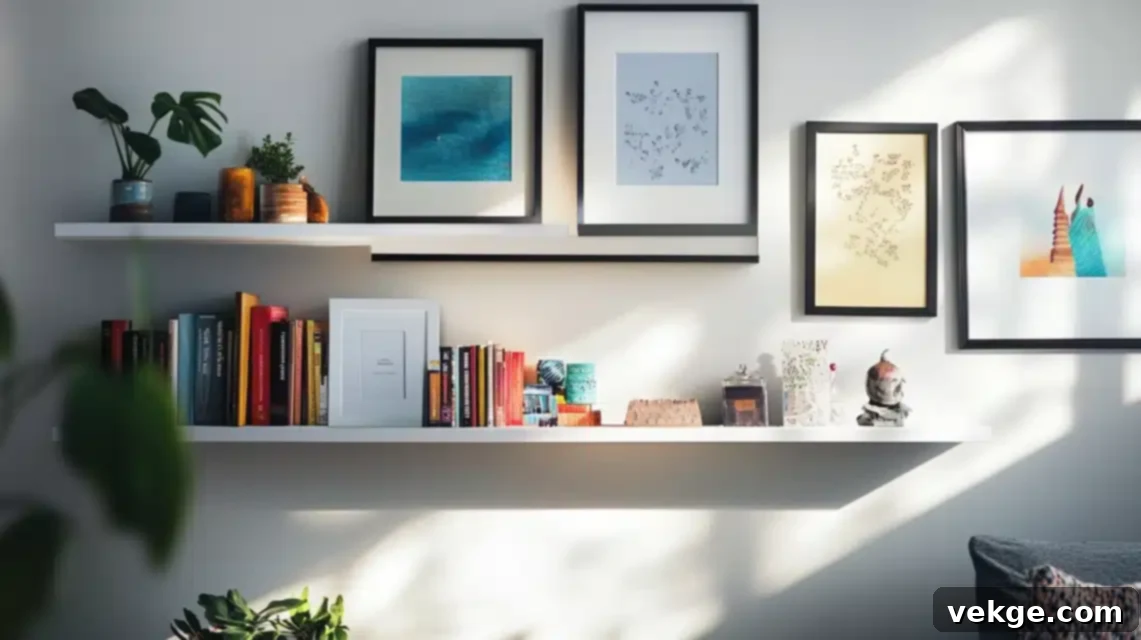
Styling your picture ledge is where your creativity truly shines! It’s an opportunity to curate a personal display that reflects your taste and enhances your room. Here are my tried-and-true methods for creating a captivating arrangement:
Start with a Clean Base
Before placing any items, I always ensure my ledge is completely clean and empty. This provides a fresh canvas and allows me to clearly visualize the space I have to work with. I wipe down the surface thoroughly to remove any lingering dust from the installation process.
Creating Dynamic Layers
To add depth and visual interest, I arrange items in three distinct rows:
- Back Row: This is where I position my tallest frames, large pieces of artwork, or any items that serve as a strong visual anchor for the display.
- Middle Row: Slightly in front of the back row, I place medium-sized pieces. These could be slightly shorter frames or decorative objects that complement the larger items.
- Front Row: For the very front, I add smaller items, shorter frames, or delicate decorative pieces. This layering technique creates a sense of depth and prevents the display from looking flat.
Embrace Size Variation
Mixing up the sizes of your frames and objects is key to maintaining visual appeal and avoiding monotony:
- I generally place larger frames (e.g., 8×10 inches or bigger) towards the back of the ledge, creating a strong foundation.
- Medium-sized frames (like 5×7 inches) work wonderfully in the middle layers, bridging the gap between large and small.
- Small frames (e.g., 4×6 inches) or miniature decorative elements fit perfectly in the front, adding delicate detail.
- The interplay of different sizes creates a dynamic and engaging visual rhythm.
Integrate Diverse Items for Personality
To make the display truly unique and personal, I blend various types of pieces beyond just photos:
- Experiment with photo frames in different materials and finishes (e.g., wood, metal, minimalist black, distressed white).
- Introduce small potted plants, succulents, or tiny vases with fresh flowers to add life and organic texture.
- Display art prints, postcards, or even small, inspirational quotes that resonate with you.
- Stand small, beautifully bound books upright, or lean them against larger frames.
- Incorporate small decorative objects like sculptures, candles, or unique souvenirs between frames to break up the linearity.
Achieve Color and Texture Balance
Thoughtful consideration of colors and textures helps create a cohesive and harmonious display:
- Spread similar colors or textures apart to ensure balance throughout the ledge, preventing large blocks of a single hue.
- Mix light and dark frames or objects to create contrast and visual interest.
- Utilize the “rule of odds”: arranging items in odd numbers (e.g., groups of 3, 5, or 7) often creates a more visually appealing and natural composition.
Mindful Spacing Between Items
The space between your items is just as important as the items themselves. It allows each piece to breathe and prevents the ledge from looking cluttered:
- Avoid overcrowding; each item needs a bit of negative space around it to stand out.
- Don’t make the gaps too sparse either. Aim for consistent, small gaps, typically around 2-3 inches, to maintain a cohesive flow.
- Allow some items to slightly overlap with those in front or behind them to enhance the sense of depth and layering.
Seasonal Updates for Freshness
One of the joys of a picture ledge is how easily you can refresh its look. I enjoy changing a few items every few months to reflect the seasons or my mood:
- In spring, I might introduce fresh plants or light-colored artwork.
- Summer might call for beach-themed photos or vibrant, colorful accents.
- Autumn is perfect for warm, earthy tones and natural elements.
- During winter, holiday cards, festive decorations, or cozy imagery can transform the display.
Throughout the styling process, I frequently step back from the ledge to examine the entire display from a distance. This critical perspective helps me identify areas that might need adjustment, whether it’s shifting an item, adding another, or simply creating more balance. Don’t be afraid to experiment until it feels just right!
Creative Customization Ideas I Have Tried for My Picture Ledges
Beyond the basic build, picture ledges offer incredible opportunities for personalization. Here are some creative customizations I’ve implemented in my own home, each adding unique flair and functionality:
1. Multiple Ledges Setup ($90-120 total)
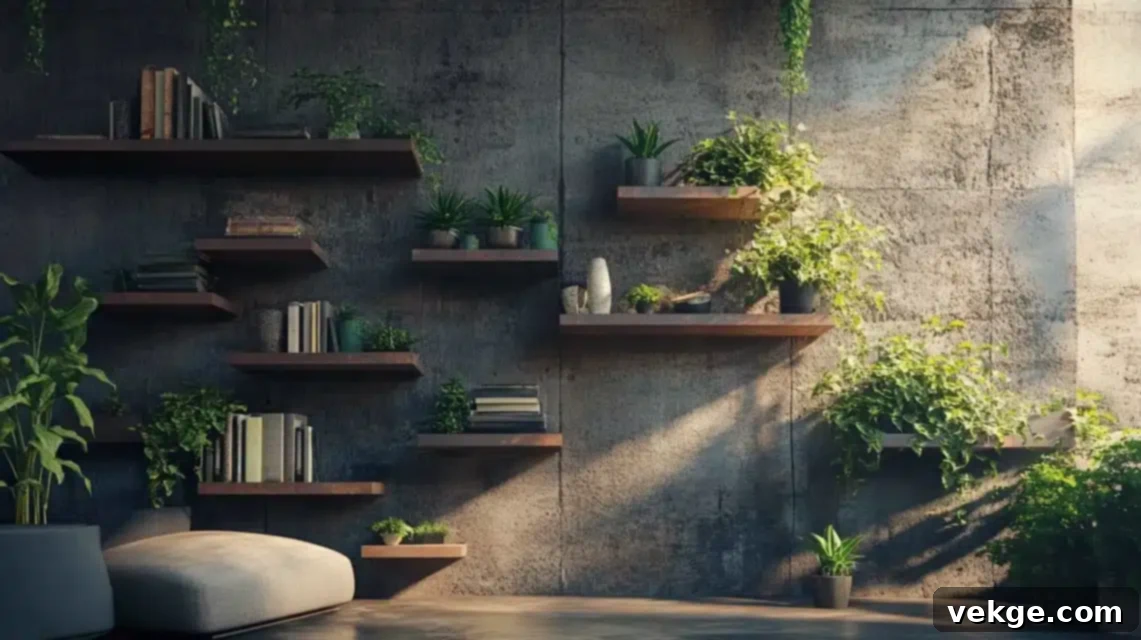
Instead of just one, I installed three separate ledges at varying heights on a large wall in my living room. Each ledge is spaced approximately 12 inches apart, creating a striking vertical gallery effect. This setup dramatically increases the display area and generates a beautiful visual flow, drawing the eye across the wall and allowing for a much larger and more diverse collection of items.
2. Distinctive Paint Effects ($15-25 per ledge)
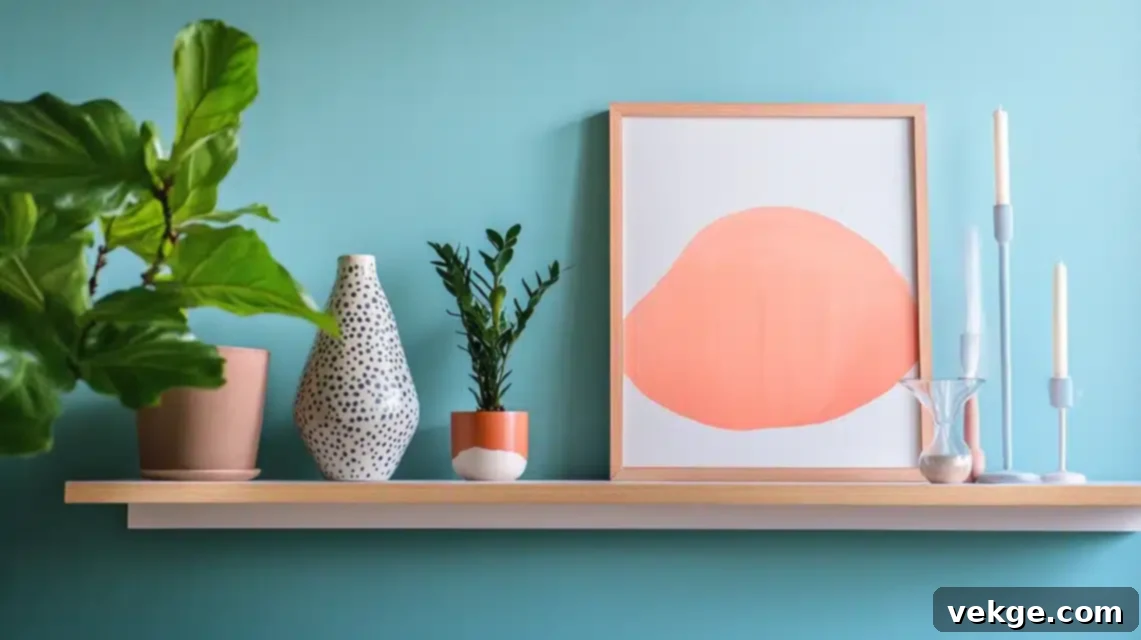
Paint offers endless possibilities for customizing your ledge to match any decor style:
- Two-tone Look: I created visual interest by painting the main base of one ledge in a muted grey and the front lip in a contrasting crisp white.
- Chalk Paint Finish: For a soft, velvety, and matte texture, I used chalk paint on another ledge. This finish provides a vintage or shabby chic feel without much prep work.
- Rustic Whitewash: To achieve a rustic yet clean aesthetic, I applied a thinned white paint (whitewash) over natural wood, allowing some of the beautiful wood grain to subtly show through.
3. Integrated Lighting ($20-40)
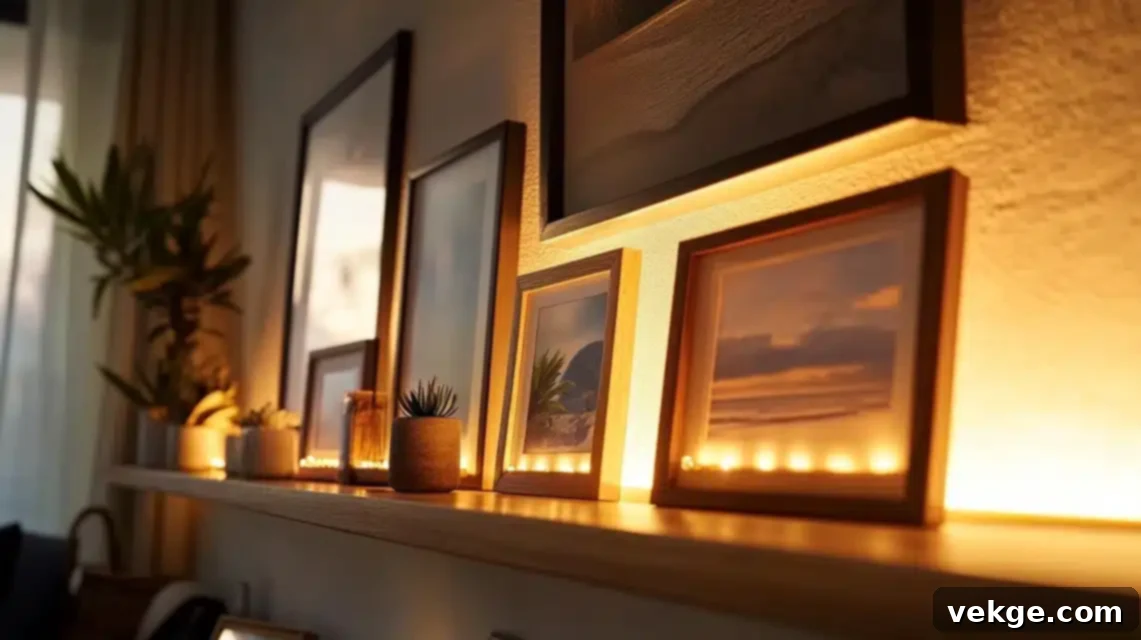
Strategic lighting can dramatically elevate your display, highlighting your favorite pieces and adding ambiance:
- Battery-Operated Spotlights: I’ve placed small, discreet battery-operated spotlights behind key frames or objects to cast a focused glow, drawing attention to specific details ($10-15 per light).
- Under-Ledge LED Strips: For a subtle, ambient glow that illuminates the wall behind the ledge and creates a modern floating effect, I’ve used stick-on LED light strips adhered to the underside of the ledge ($8-12 per strip).
- Small Clip Lights: For versatility, small clip-on lights can be attached to the ledge itself or to the back of a frame, offering adjustable illumination for specific pieces ($12-15 per light).
4. Corner Design ($40-60)
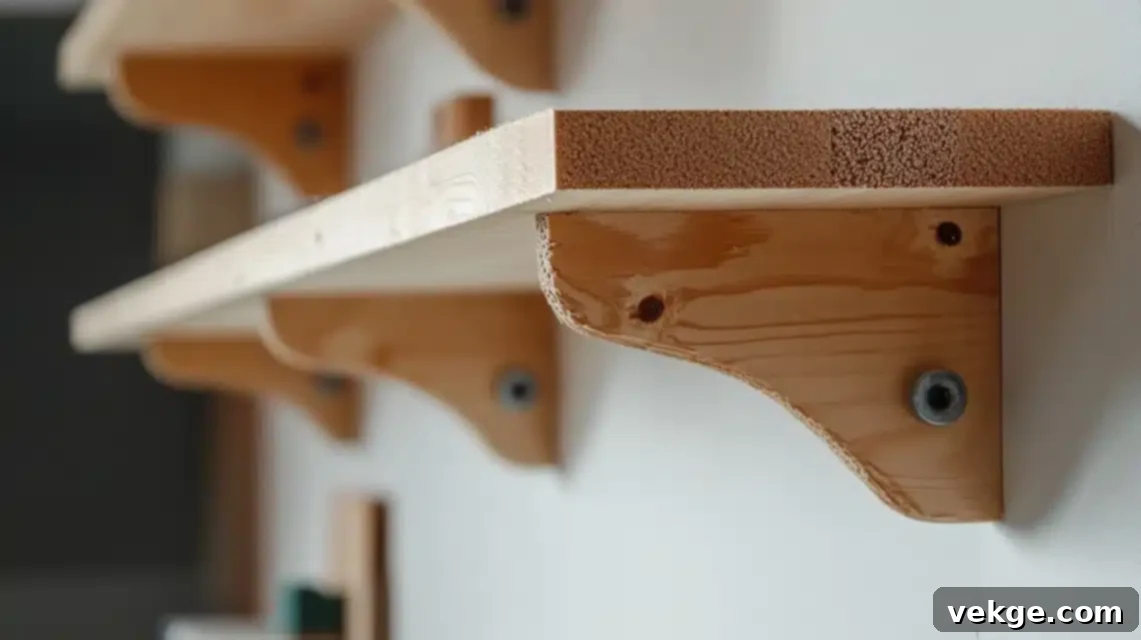
Transform often-overlooked corners into functional display areas:
- I cut the ends of two separate picture ledges at a precise 45-degree angle.
- These two ledges are then joined together to seamlessly wrap around an interior corner, maximizing space and creating a continuous flow of display.
- For added stability and a polished look, I used small L-shaped corner braces discreetly placed underneath the joined section.
5. Extra Storage Features ($10-20 additional)
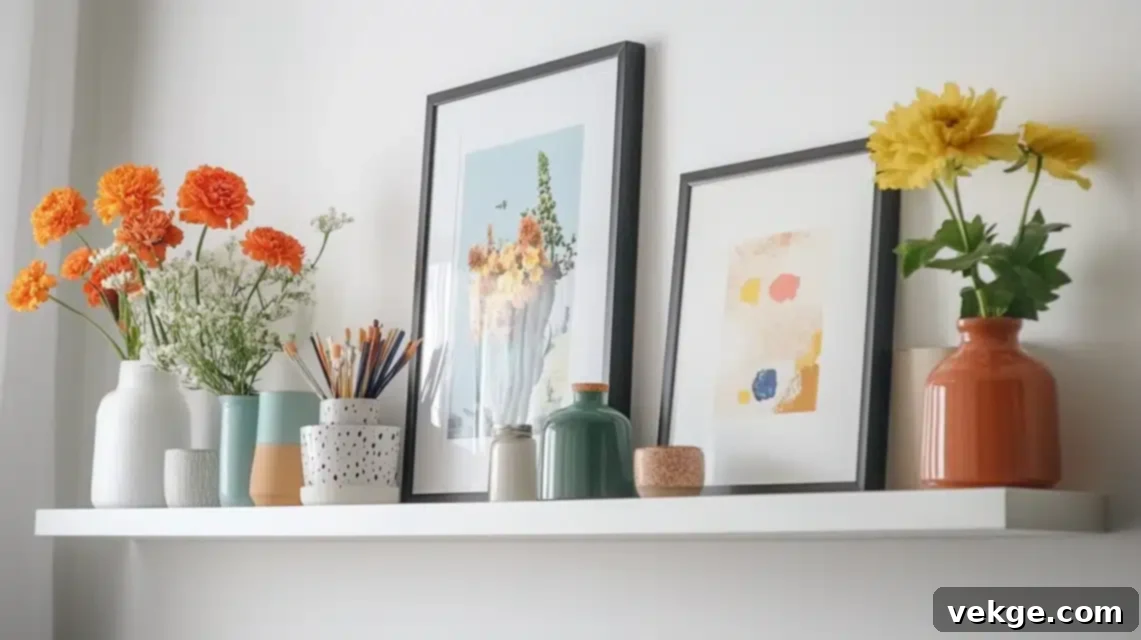
Enhance the functionality of your ledge by adding practical storage elements:
- I’ve made the front lip slightly taller (e.g., 1.5 inches instead of ¾ inch) on some ledges. This creates a deeper channel, ideal for holding small books, magazines, or even remote controls.
- Small, decorative hooks can be screwed into the underside of the ledge, providing a perfect spot for hanging lightweight items like keys, jewelry, or small garlands ($5-8 for a pack of hooks).
- For a truly unique touch, I once built a hidden, shallow compartment into the back panel of a wider ledge, accessible from the bottom, perfect for stashing small, less-used items.
6. Mixing Different Materials ($30-50)
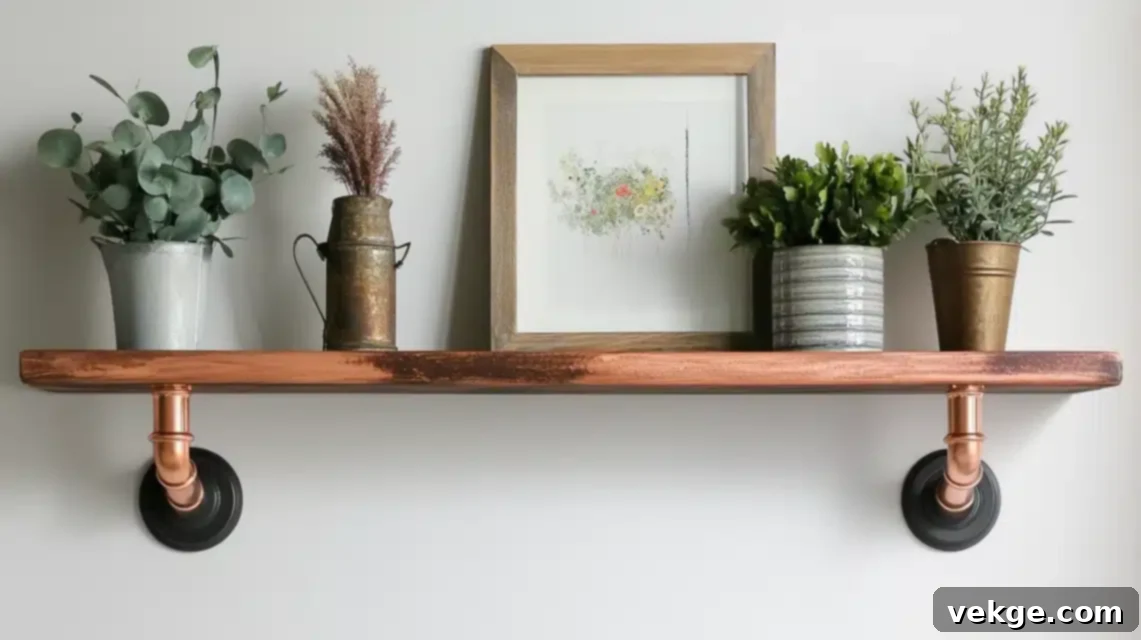
Combining wood with other materials can create striking contrasts and unique styles:
- I’ve incorporated decorative metal brackets underneath wooden ledges for an industrial or farmhouse aesthetic ($15-20 for a pair of brackets).
- Instead of a wooden front lip, I replaced it with a polished copper pipe, adding a touch of modern metallic elegance ($10-15 for copper pipe and fittings).
- For a nautical or bohemian vibe, I’ve added subtle rope details or wrapped twine around the edges of the ledge, secured with hot glue ($5-8 for decorative rope).
7. Varying Widths and Depths ($35-45 per ledge)
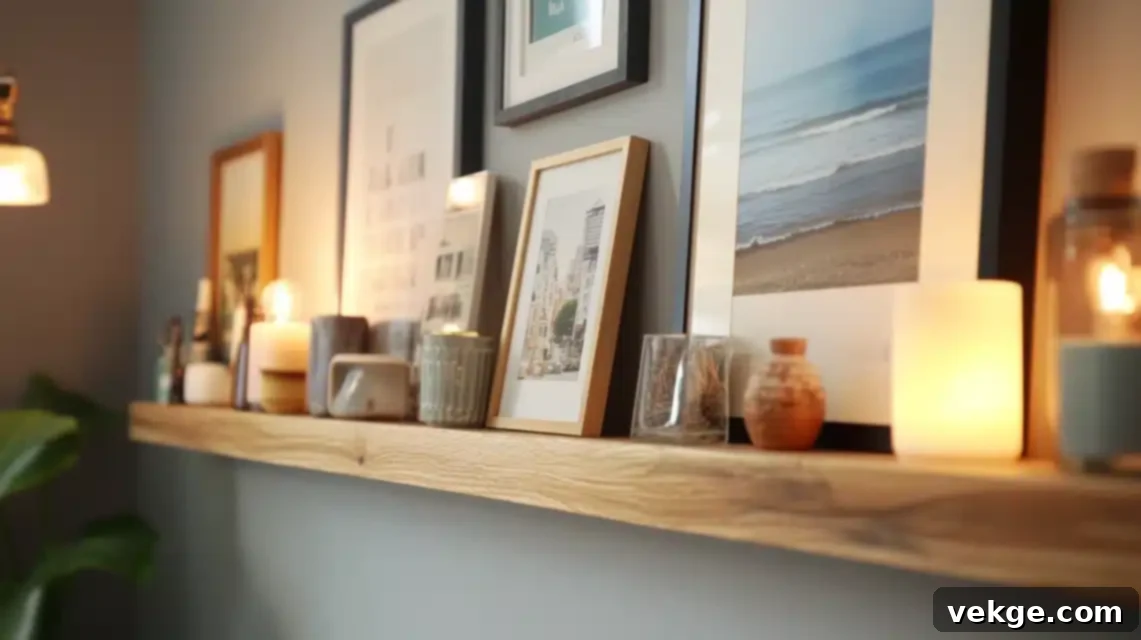
Playing with the depth and width of your ledges can serve different functions and create unique visual compositions:
- Wider Ledges for Function: I constructed a wider ledge (e.g., 6-8 inches deep) specifically for displaying larger coffee table books, heavier art pieces, or a collection of small potted plants.
- Shallow Ledges for Delicacy: Conversely, very shallow ledges (e.g., 2 inches deep) are perfect for displaying thin postcards, small art prints, or delicate, lightweight items without overwhelming them.
- Graduated Widths: For a dynamic effect, I’ve created a series of ledges on one wall where each successive ledge is slightly wider or narrower than the last, creating an interesting, graduated visual flow.
Common Challenges and Solutions I Faced While Building Picture Ledges
Even with careful planning, DIY projects can present unexpected hurdles. Here are some common challenges I’ve encountered while building picture ledges, along with practical solutions and their potential costs:
| Challenge | Solution | Cost to Fix ($) |
|---|---|---|
| Cutting Wood Evenly & Accurately | Instead of aiming for perfect cuts initially, cut pieces slightly longer than needed. After assembly, use a trim saw or a sanding block with coarse sandpaper to square and even out the ends. For greater accuracy, invest in or borrow a miter saw. | 0 (if you have existing tools) or 5-10 for a basic handsaw and miter box/speed square. |
| Keeping Corners Square During Assembly | A carpenter’s square is indispensable. Use it to check the 90-degree angle of your L-shape as you clamp. Employ plenty of clamps—not just two—to apply even pressure and hold pieces firmly in place while the glue dries completely. Consider making a simple squaring jig for repetitive accuracy. | 8-12 for a quality carpenter’s square. |
| Wall Mounting Issues (e.g., no studs) | If wall studs aren’t where you need them, invest in heavy-duty toggle bolts or self-drilling drywall anchors. Ensure they are rated for the combined weight of your ledge and its anticipated contents. Always verify the weight capacity of your chosen anchors. | 5-8 for a pack of heavy-duty wall anchors. |
| Hiding Nail Holes Effectively | For a seamless finish, fill nail holes with wood putty. If your wood has a natural stain, mix two different putty colors (e.g., light and dark brown, or natural and white) to custom-match the wood’s specific tone and grain. Apply, let dry, and sand flush. | 10-15 for two different wood putty colors. |
| Ledge Not Perfectly Level After Mounting | If the ledge is slightly off-level, don’t despair. Small, thin shims (made of wood, plastic, or even folded cardboard) can be discreetly inserted behind the back of the ledge at the mounting points to adjust its angle until it’s perfectly level. | 3-5 for a pack of small wooden shims. |
| Wood Movement or Warping | Wood can sometimes twist or bow as it dries or acclimates. To prevent this, store your wood planks flat indoors for a few days before starting the project. During assembly, use more clamps than you think necessary and allow ample drying time for the adhesive. Ensure strong fasteners are used at regular intervals. | 15-20 for a couple of extra bar clamps or quick-grip clamps. |
| Uneven or Rough Finish After Varnishing/Painting | This often happens if you don’t sand properly between coats or apply too much product. The solution is light sanding with a fine-grit (220-grit or higher) sandpaper between *every* coat of varnish or paint. Always wipe away all dust before applying the next coat. Apply thin, even coats rather than thick ones. | 4-6 for a pack of fine-grit sandpaper. |
Conclusion: Your Journey to a Custom Photo Display
Building your own custom DIY picture ledge is an incredibly rewarding weekend project that delivers significant aesthetic and practical value. As I’ve shared, I spent **under $100** on materials and now enjoy a bespoke display shelf that perfectly fits my unique space and evolving style. From the initial planning and selection of the right wood to the careful assembly, finishing touches, and creative styling, each step of this process offers a chance to learn and refine your DIY skills.
If you’re contemplating embarking on this project, my strongest advice is to approach it step by step. Don’t be discouraged if your first attempt isn’t flawless – mine certainly wasn’t! The beauty of woodworking and DIY is that most mistakes can be corrected along the way, and each “fix” adds to your invaluable experience.
Ready to transform your walls and create a stunning showcase for your cherished photos and artwork? Gather your supplies, confidently follow the detailed steps I’ve outlined, and prepare to bring your vision to life. Soon, you’ll have a beautiful, personalized display that not only enhances your home décor but also fills you with pride for what you’ve created with your own hands.
I genuinely encourage you to share your results and any creative variations you try in the comments below – I’d absolutely love to see what unique and inspiring picture ledges you build!
Frequently Asked Questions About Building DIY Picture Ledges
What are the Best Wood Types for a Picture Ledge, Especially for Beginners?
Pine is an excellent choice for beginners due to its affordability, widespread availability, and ease of cutting, sanding, and fastening. It’s a soft wood, making it forgiving for those new to woodworking. For those seeking better strength, durability, and a finer grain, oak or maple are superb options, though they are harder to work with and generally more expensive. Cedar is another good contender, known for its natural resistance to warping and splitting, and it offers a lovely aromatic quality.
How Do I Prevent Pictures from Falling Off the Ledge?
To ensure your displayed items remain secure, several measures can be taken. First and foremost, make sure your front lip is at least ¾ inch tall; a 1-inch lip provides even greater security. I often add small, clear rubber bumpers (available at hardware stores) to the bottom back corners of my frames. These create a slight grip and also push the top of the frame slightly backward, leaning it more securely against the wall. Additionally, when mounting, you can angle the ledge so it slopes very slightly backward (imperceptible to the eye), further relying on gravity to keep items in place.
How Much Weight Can a Picture Ledge Hold Safely?
The weight capacity of a picture ledge largely depends on its construction and, critically, how it’s mounted. A well-built 4-foot picture ledge, when properly mounted into wall studs with appropriate screws, can comfortably hold between 20-25 pounds. For optimal strength, I space my mounting screws every 16 inches, aligning them with the standard stud spacing. Always consult your specific wall type and the ratings of your mounting hardware. For plaster walls, brick, or if mounting into drywall without studs, always use heavy-duty wall anchors rated for the expected load, ensuring they can bear the combined weight of the ledge and all items.
How Do I Clean and Maintain My Wooden Picture Ledge?
Maintaining your wooden picture ledge is simple. For regular dusting, a soft, dry microfiber cloth or a feather duster works perfectly. If spills or marks occur, dampen a soft cloth with a mild wood cleaner or a mixture of water and a tiny amount of dish soap. Wipe gently, then immediately dry with a clean, soft cloth to prevent water spots or damage. Avoid abrasive cleaners or excessive moisture, especially if your ledge has a natural or stained finish. For varnished or painted ledges, follow the care instructions specific to that finish. Occasionally, you might want to reapply a thin coat of varnish or touch up paint to keep it looking fresh.
