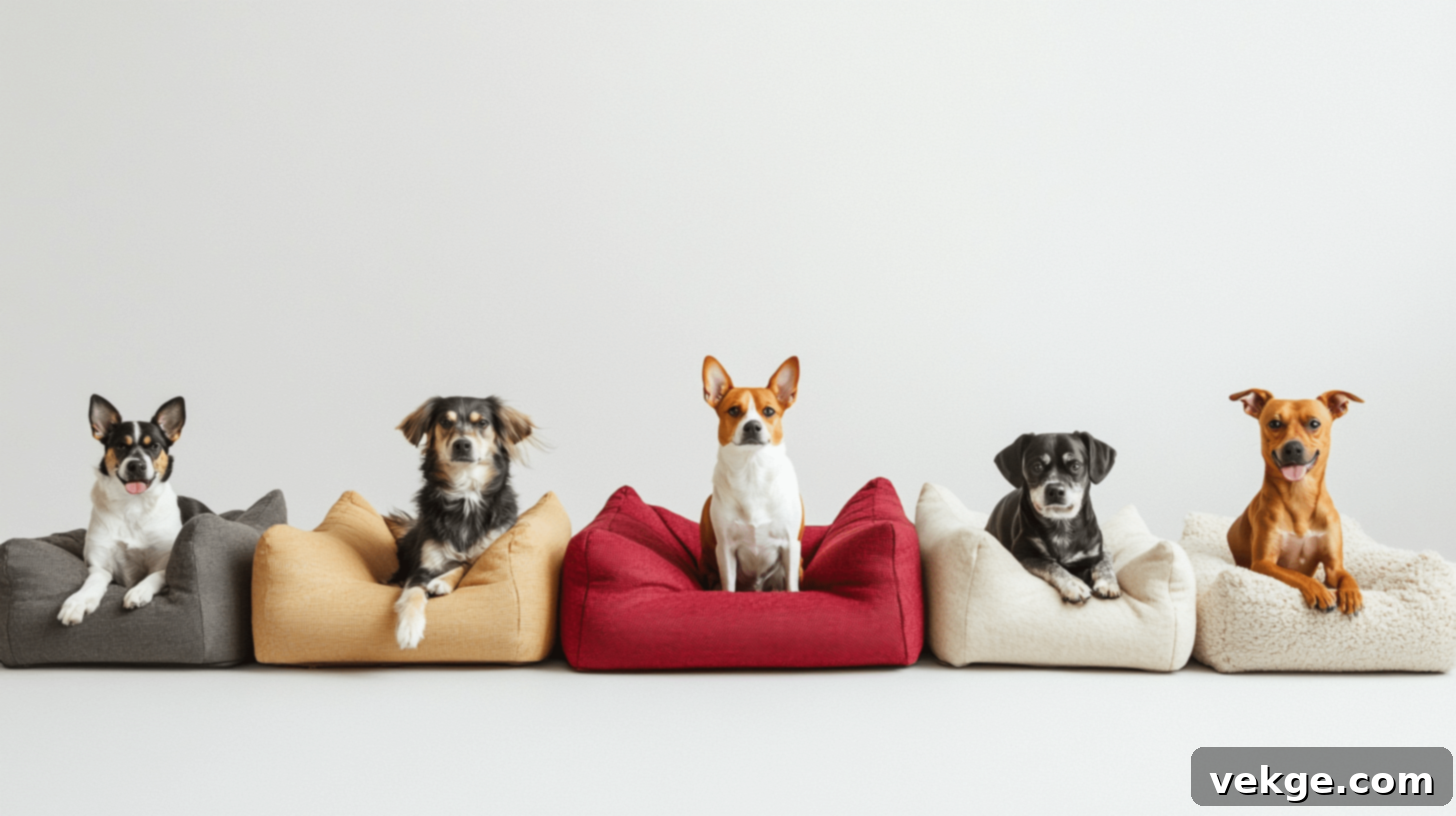
DIY Dog Bed: Create the Perfect & Cozy Haven for Your Furry Friend
Every dog deserves a comfortable, secure, and personal space to rest. As devoted pet owners, we constantly seek ways to enhance our furry friends’ well-being, and a high-quality dog bed is often at the top of that list. However, finding the perfect dog bed can be a challenge. Store-bought options are frequently expensive, might not complement your home’s aesthetic, or simply don’t offer the specific comfort your dog needs. Like many pet parents, I encountered this very dilemma last year while searching for a bed that truly fit my pup and my home.
But here’s the exciting news: crafting a custom dog bed right at home is not only achievable but also incredibly rewarding! Over time, I’ve experimented with various methods and discovered straightforward ways to construct a comfortable and stylish dog bed that your beloved pet will adore. This isn’t just about saving money; it’s about pouring love into a project that directly benefits your best friend and adds a unique, personal touch to your living space.
In this comprehensive guide, I’ll walk you through several step-by-step methods to build a custom dog bed using readily available materials. You’ll learn how to create a bed that perfectly matches your interior decor, provides optimal comfort for your dog, and helps you save significantly compared to retail prices. Get ready to unleash your creativity and build a truly special sanctuary for your canine companion!
The Essentials: Commonly Used Materials for DIY Dog Beds
Before diving into the construction, understanding the fundamental materials you’ll need is crucial. The right choice of fabric, filling, and tools will ensure your DIY dog bed is both durable and comfortable.
- Outer Fabric (e.g., Cotton, Fleece, Canvas): For the outer layer, I highly recommend selecting a soft yet sturdy fabric. Your dog will spend countless hours lounging on this bed, so comfort is paramount.
- Cotton fabric is an excellent choice due to its breathability, softness, and ease of washing, keeping the bed fresh. Consider options like durable cotton twill or denim for more active dogs, or a plush fleece for ultimate softness.
- Fleece fabric is ideal for no-sew projects because it doesn’t fray and is incredibly soft and warm.
- Canvas or upholstery fabric provides superior durability and resistance to wear and tear, making it a great option for chewers or high-traffic areas.
- Inner Filling: The filling is key to providing support and coziness. I often use a versatile mix for optimal comfort.
- Memory foam scraps or shredded memory foam offers excellent orthopedic support for your dog’s joints, which is especially beneficial for older dogs or those with arthritis. You can often find affordable foam remnants from upholstery stores or online.
- Polyester fiberfill adds extra softness and loft, creating that delightful “sink-in” feeling that many pups love. It’s lightweight, washable, and widely available.
- Eco-friendly alternatives like recycled denim, cedar chips (for natural pest repellent and scent), or even old blankets and clothing can also be used as filling, offering a sustainable approach.
- Thread and Needles: For sewn projects, robust thread is non-negotiable. I always opt for heavy-duty thread, such as upholstery thread or strong polyester thread, to ensure seams won’t unravel with daily use and washing. You’ll also need appropriately sized needles; larger, sturdier needles work best with thick fabrics and multiple layers.
- Measuring Tape: Precision is key for a well-fitting bed. A basic measuring tape helps you accurately size the bed to your dog and your chosen space. I always measure my dog when they are in their most common sleeping positions (stretched out, curled up) to ensure the bed is just the right fit.
- Fabric Scissors: Sharp fabric scissors are essential for making clean, straight cuts, which prevents fraying and ensures a professional finish. It’s best to dedicate one pair of scissors solely to fabric to keep them sharp and pristine.
- Fabric Marker or Chalk: For marking cutting lines, seam allowances, or decorative details on your fabric.
- Pins: Essential for holding fabric pieces together before sewing, ensuring everything aligns perfectly.
- Optional: Zipper or Velcro: If you plan to make a removable cover for easy washing, a sturdy zipper or strong Velcro strip will be invaluable.
- Optional: Waterproof Liner Fabric: For puppies or older dogs prone to accidents, an inner waterproof liner can save your bed from moisture damage.
- Optional: Non-Slip Material: Adding a non-slip backing to the bottom of the bed can prevent it from sliding around on hard floors.
How to Create Your DIY Dog Bed Project: Four Unique Methods
Here are four distinct methods to construct a custom dog bed, ranging from a super simple no-sew option to more involved woodworking projects. Choose the one that best suits your skill level, available tools, and desired aesthetic.
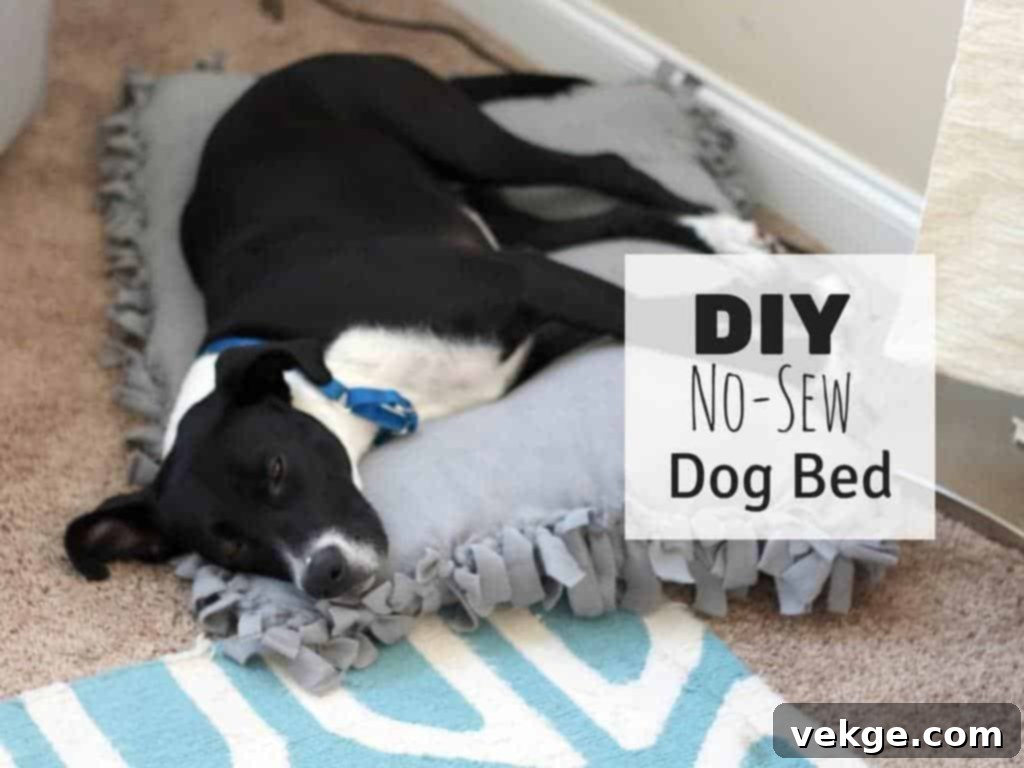
1. No-Sew Dog Bed: The Quick & Easy Solution (Approximate Cost Range – $33-44)
This is by far the easiest and fastest way to create a cozy spot for your dog, perfect for beginners or anyone looking for a quick project. No sewing machine, no needles required!
Tools & Materials Required
- 2 yards of soft fleece fabric (two contrasting colors or patterns can add visual interest)
- 1 large bag of polyester fiberfill (or recycled blankets/clothing for a firmer feel)
- Fabric scissors
- Measuring tape
- Ruler
- Fabric marker or chalk
- Safety pins (optional, for holding layers)
Step-by-Step Process
- Measure Your Space and Dog: Start by determining the desired size of your dog bed. Lay out your fleece fabric. For a medium-sized dog (approx. 25-50 lbs), two pieces of 30×40 inches each usually work well, but adjust based on your dog’s size and sleeping habits. Remember to account for the fringe you’ll be cutting.
- Cut Your Fabric: Place your two pieces of fleece fabric perfectly on top of each other. Using your measuring tape and ruler, cut both pieces into identical squares or rectangles. Ensure the edges are as straight as possible.
- Create Fringe: Along all four sides of the stacked fabric, cut 4-inch strips, keeping them approximately 1 inch apart. This will create the fringe you’ll use for tying the two pieces together. Make sure to cut out a 4×4 inch square from each corner, so you end up with a clean corner before you start cutting the fringe strips.
- Tie Three Sides: Starting from one side, take the top and bottom fringe pieces and tie them together using a secure double knot. Work your way along three of the four sides, pulling the knots tight but not so tight that they distort the fabric. This will start to form the bed’s pouch.
- Add Filling: Through the remaining open side, generously stuff the polyester fiberfill. Distribute the filling evenly throughout the bed, ensuring there are no lumps or thin spots. Fluff it up to your dog’s preferred firmness – some dogs like a very plush bed, others prefer it a bit firmer.
- Close Final Side: Once the filling is evenly distributed to your satisfaction, finish by tying the last side’s fringe pieces together with secure double knots. Your no-sew dog bed is now complete!
Benefits: Extremely quick and easy, budget-friendly, no special skills required.
Drawbacks: Less durable than sewn options, knots can come undone over time, not typically machine washable as a whole unit without careful preparation.
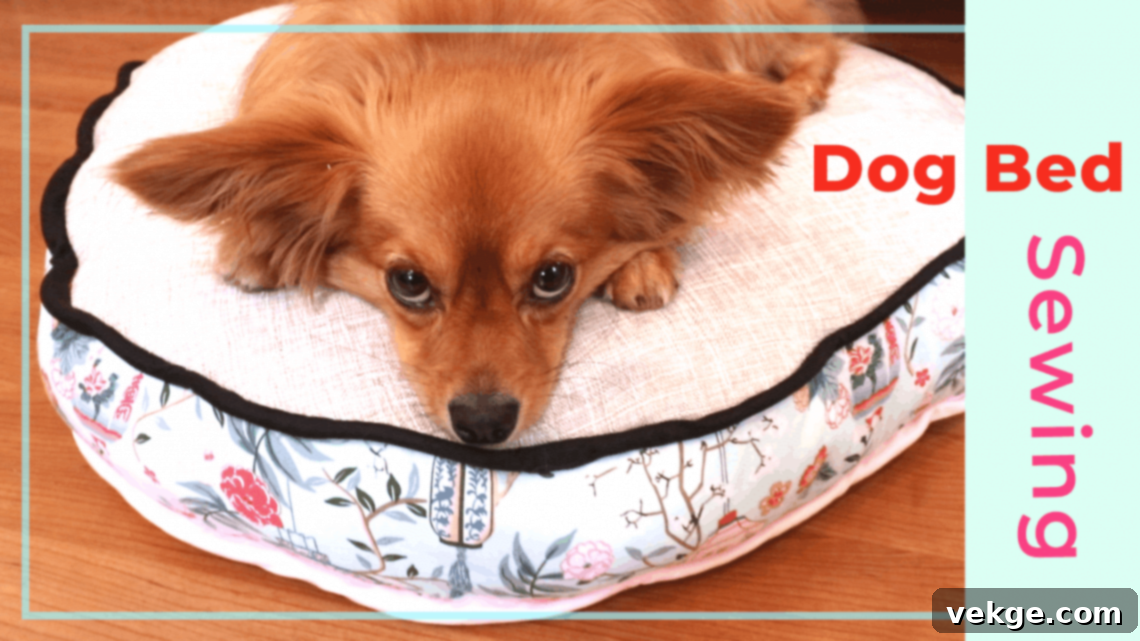
2. Sewn Dog Bed with Sides: The Structured & Durable Choice (Approximate Cost Range – $56-73)
For those with basic sewing skills, a sewn dog bed with raised sides offers a more structured, durable, and professional-looking option. These beds are excellent for dogs who love to lean their heads or curl up against a bolster.
Tools & Materials Required
- 3 yards of sturdy cotton fabric (e.g., canvas, denim, heavy-duty upholstery fabric)
- 2 pieces of foam padding: one larger piece for the base, and two smaller, longer pieces for the side bolsters. (You can also use shredded foam or polyester fiberfill for the bolsters.)
- Sewing machine
- Heavy-duty thread (polyester or nylon)
- Fabric scissors
- Measuring tape
- Pins
- Pencil or fabric marker
- Iron for creases
- Optional: Zipper or Velcro for a removable cover
Step-by-Step Process
- Cut Base Pieces: Measure your base foam padding. Cut two pieces of your chosen fabric for the top and bottom of the base, adding 1 inch to all sides for seam allowances. (e.g., if foam is 24×36 inches, cut fabric 26×38 inches).
- Make Side Panels: For the side bolsters, you’ll need four fabric strips. Measure the perimeter of your base foam. Each strip should be the length of one side of your base plus 2 inches for seam allowances, and the height of your bolster foam plus 1 inch for seam allowance at the bottom and 2-3 inches for the top hem. (For a rectangular bed, you’ll have two longer and two shorter side panels).
- Sew Side Panels: Take two matching side panels (e.g., two long ones) and sew them right sides together along one short edge. Repeat for the other two panels. Then, join these two longer pieces to form a continuous loop. Next, with right sides together, pin this side panel loop to one of your base fabric pieces, matching corners carefully. Sew all the way around, leaving one side open for inserting the foam.
- Add Padding: Turn the sewn fabric right side out. Carefully insert your base foam into the bottom pocket. For the bolsters, you can create separate channels for the foam pieces, or simply stuff with fiberfill through the open side. Ensure the bolster filling is firm and even.
- Finish Top Edge & Close: Once all padding is in place, fold the raw edges of the open side inwards, pin them, and topstitch to close the opening. For a removable cover, sew in a heavy-duty zipper or Velcro strip along one side panel before attaching it to the base. This allows you to easily remove the cover for washing.
Benefits: Highly durable, professional appearance, provides structure and support, covers can be removable and machine washable.
Drawbacks: Requires a sewing machine and basic sewing skills, more time-consuming than the no-sew option.
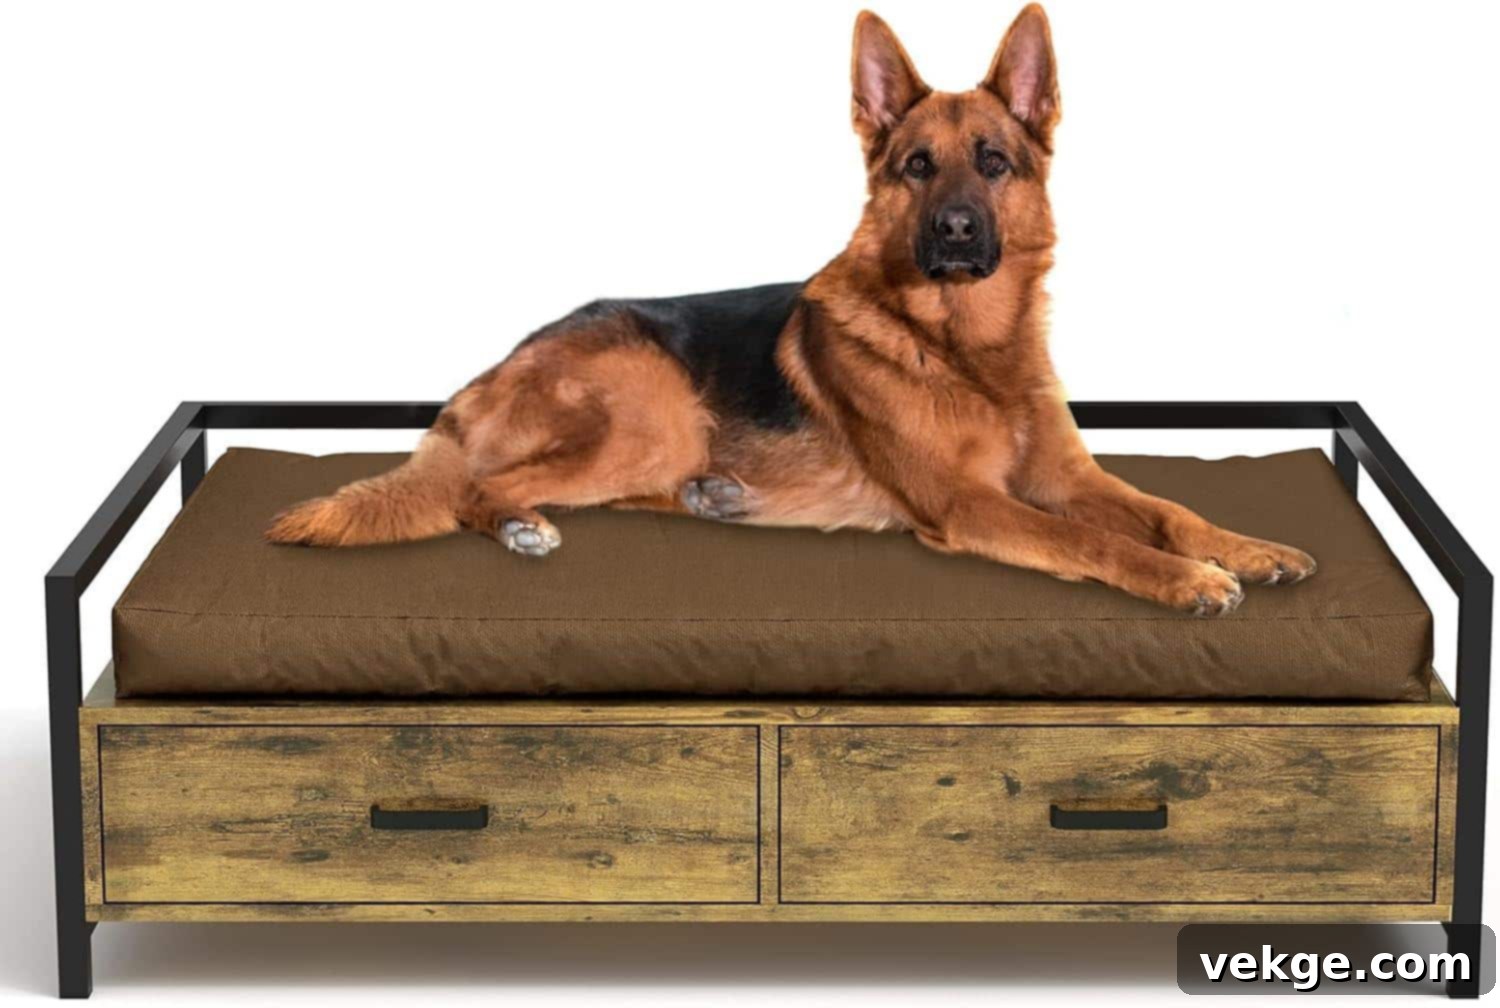
3. Wooden Frame Dog Bed: Elevated Style & Durability (Approximate Cost Range – $93-120)
A wooden frame dog bed offers an elevated, stylish, and incredibly durable option. This project is perfect for those with some woodworking experience and can be a beautiful piece of furniture that integrates seamlessly into your home decor.
Tools & Materials Required
- 4 wooden boards (e.g., pine, cedar, or reclaimed wood), sized according to your desired bed dimensions. Consider 1×4 or 1×6 inch boards.
- Wood screws (appropriate length for your wood thickness)
- Power drill with drill bits (for pilot holes) and screwdriver bit
- Sandpaper (medium and fine grit) or an orbital sander
- Wood stain or non-toxic paint (optional)
- Cushion material: large piece of foam or several layers of batting
- Sturdy cotton fabric for the cushion cover
- Measuring tape
- Pencil
- Safety goggles and work gloves
- Wood glue (optional, for added strength)
- Support slats (thin pieces of wood or plywood) for the base of the cushion.
Step-by-Step Process
- Measure & Cut Wood: Determine the ideal dimensions for your dog bed frame. Measure and cut your four wooden boards to create a rectangle frame. Remember that two pieces will be the full length, and two pieces will be the width *minus* the thickness of the two longer side pieces if you’re doing a butt joint.
- Sand Edges: Thoroughly sand all edges and surfaces of the cut wood to prevent splinters and create a smooth finish. Start with a medium-grit sandpaper and finish with a fine-grit for a professional feel.
- Join Corners: Apply wood glue to the ends of the boards if desired. Drill pilot holes into the corners to prevent splitting, then connect the boards with wood screws to form a sturdy rectangular frame. Ensure the frame is square before tightening screws fully.
- Add Support Slats: Cut several thin pieces of wood or a piece of plywood to fit across the inside of the frame. These will serve as the base support for your cushion. Space them evenly and secure them to the inside of the frame with screws or small nails. This provides ventilation and prevents the cushion from sagging.
- Finish the Frame (Optional): If desired, apply a non-toxic wood stain or paint to the frame to match your home decor. Allow it to dry completely.
- Make Cushion: Create a custom-fitted cushion that sits snugly inside the wooden frame. You can use a thick piece of foam or layer several pieces of batting. Cover the cushion with durable cotton fabric, creating a removable cover with a zipper for easy cleaning (follow steps similar to the “Sewn Dog Bed” for the cushion cover). Place the finished cushion into the frame.
Benefits: Extremely durable, elevated design (good for air circulation and older dogs who struggle to get up from the floor), stylish, prevents drafts, can deter pests.
Drawbacks: Requires woodworking tools and skills, heavier, higher initial material cost.
4. Upcycled Furniture Dog Bed: Sustainable & Unique (Approximate Cost Range – $45-80)
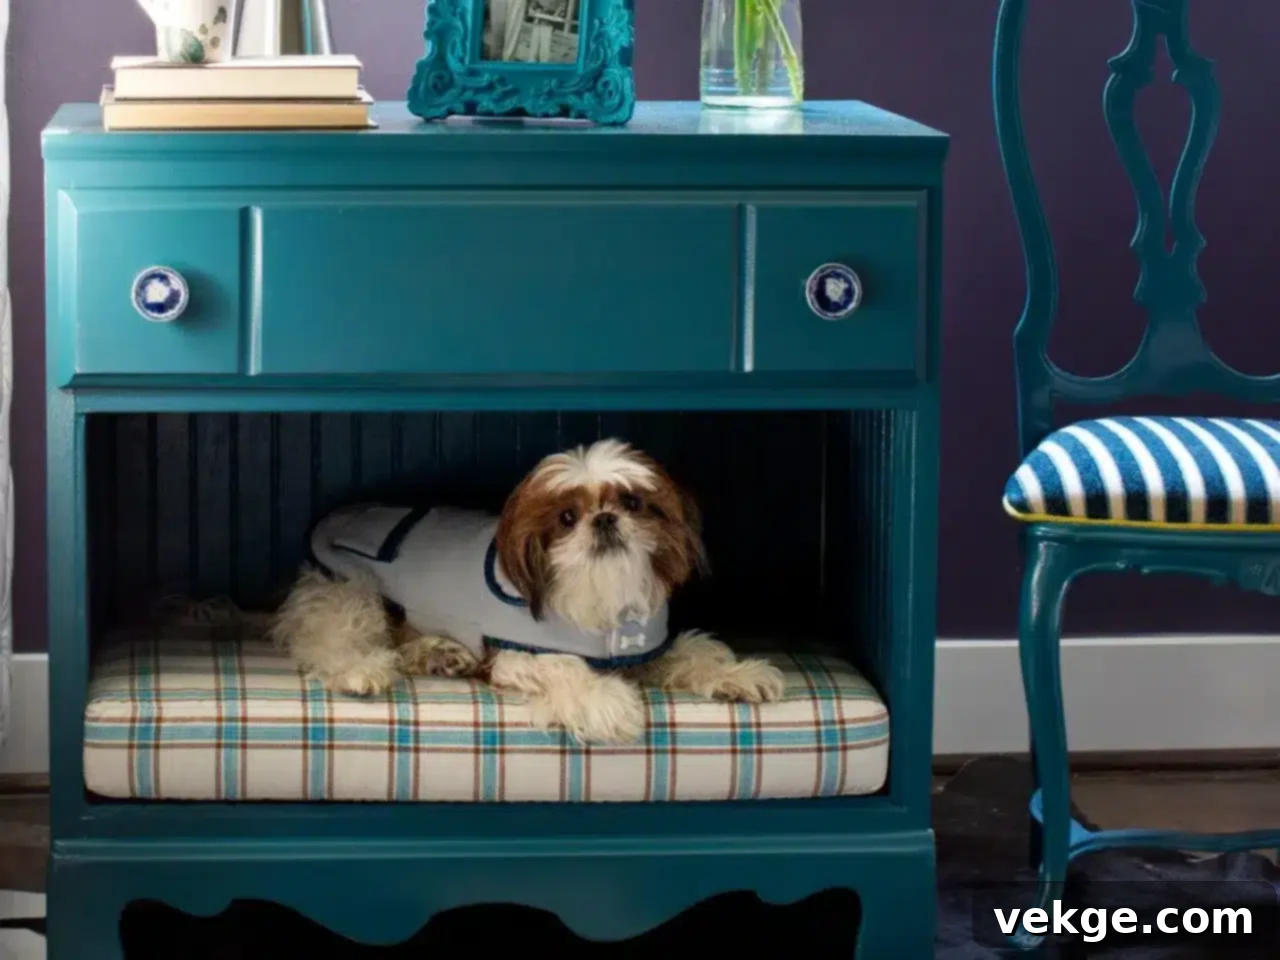
Transforming old furniture into a chic dog bed is an eco-friendly way to create a unique and personalized space for your pet. This method allows for endless creativity and often results in a statement piece.
Tools & Materials Required
- An old drawer, sturdy crate, vintage suitcase, end table, or even a repurposed TV console.
- Sandpaper (various grits)
- Non-toxic paint, primer, or wood stain
- Cushion filling (foam, fiberfill, old blankets)
- Fabric cover for the cushion
- Cleaning supplies (soap, water, brushes)
- Paintbrush or rollers
- Staple gun (for attaching fabric if needed)
- Optional: Small wooden legs or furniture feet
- Optional: Decorative hardware (knobs, pulls)
Step-by-Step Process
- Clean Base Thoroughly: Begin by thoroughly cleaning the old furniture piece. Remove any dust, grime, or old finishes. Use a gentle soap and water solution, then allow it to dry completely. Ensure there are no sharp edges or splinters.
- Sand Surface: Smooth any rough spots, sharp edges, or old paint/varnish with sandpaper. This creates a clean surface for paint or stain adhesion and removes any potential hazards for your dog.
- Paint/Stain & Protect: Apply a primer if necessary, then paint or stain the furniture piece with non-toxic, pet-safe paint or stain that matches your home decor. Consider a protective top coat for durability, ensuring it is also pet-safe and fully cured before your dog uses it.
- Add Feet (Optional): If the furniture piece is a drawer or low to the ground, consider attaching small legs or furniture feet. This provides better airflow underneath the bed, preventing moisture buildup and keeping your dog cooler in summer.
- Make Bedding: Create a custom cushion that fits snugly inside the upcycled furniture piece. Measure the interior dimensions precisely. Use foam, fiberfill, or layered blankets for the filling, and cover it with a durable, washable fabric. Ensure the cushion is comfortable and supportive.
- Final Touches: Add any decorative elements like new hardware, stenciled paw prints, or a personalized name plaque.
Benefits: Highly sustainable and eco-friendly, creates a unique and personalized bed, can be very stylish and integrated into home decor, often inexpensive.
Drawbacks: Requires a suitable piece of furniture, can be heavy, limited by the size and shape of the original item.
Approximate Cost Required for Building a Basic No-Sew Dog Bed
One of the biggest advantages of making a DIY dog bed is the significant cost savings compared to purchasing a high-end bed from a pet store. Here’s a breakdown for a basic no-sew, medium-sized dog bed:
| Item | Quantity | Cost per Unit (approx.) | Total Cost (approx.) | Tips for Savings |
|---|---|---|---|---|
| Fleece Fabric | 2 yards | $8-10 | $16-20 | Always look for fabric store sales, use coupons, or check discount fabric bins. Buying in bulk (if making multiple beds) can also save money. |
| Polyester Filling | 1 large bag | $8-12 | $8-12 | Craft stores frequently offer sales or coupons on fiberfill. You can also use old pillows, blankets, or even shredded clothing as a free alternative. |
| Fabric Scissors | 1 | $5-7 | $5-7 | If you already own a pair, this is a free item! If not, a basic pair will suffice. |
| Measuring Tape | 1 | $2-3 | $2-3 | A household staple, you likely already have one. |
| Fabric Marker/Chalk | 1 | $2 | $2 | A regular pencil can also work on lighter fabrics. |
| Total Cost Range | $33-44 |
Money-Saving Tips for All DIY Dog Bed Projects
- Coupon Hunting: Always keep an eye out for fabric and craft store coupons. Many stores offer 20-50% off a single item regularly.
- Seasonal Sales: Purchase materials during seasonal sales events like Black Friday, holiday sales, or end-of-season clearances.
- Repurpose & Upcycle: Utilize old blankets, pillows, towels, or even clean shredded clothing for filling instead of buying new. Old sheets or curtains can sometimes be used as fabric for inner layers or less visible parts.
- Discount Stores: Check discount craft stores, dollar stores, or online marketplaces for cheaper materials. Sometimes, local fabric outlets have great deals on remnants.
- Buy in Bulk (and Share): If you have friends or family also interested in DIY projects, consider buying larger quantities of materials (like fiberfill) in bulk and splitting the cost.
- Reclaimed Wood: For wooden frame beds, look for reclaimed wood from construction sites (with permission), pallets, or salvage yards.
This estimated price provides a comfortable, medium-sized no-sew bed. Smaller beds will naturally require less material and therefore cost less. More complex designs or those requiring specialized foam (like orthopedic memory foam) will increase the cost, but still typically offer significant savings over retail.
Major Safety & Durability Tips for Your Homemade Dog Bed
Creating a DIY dog bed is a labor of love, and ensuring its safety and durability for your beloved pet is paramount. Here are critical tips to keep in mind:
1. Safety First: Preventing Hazards
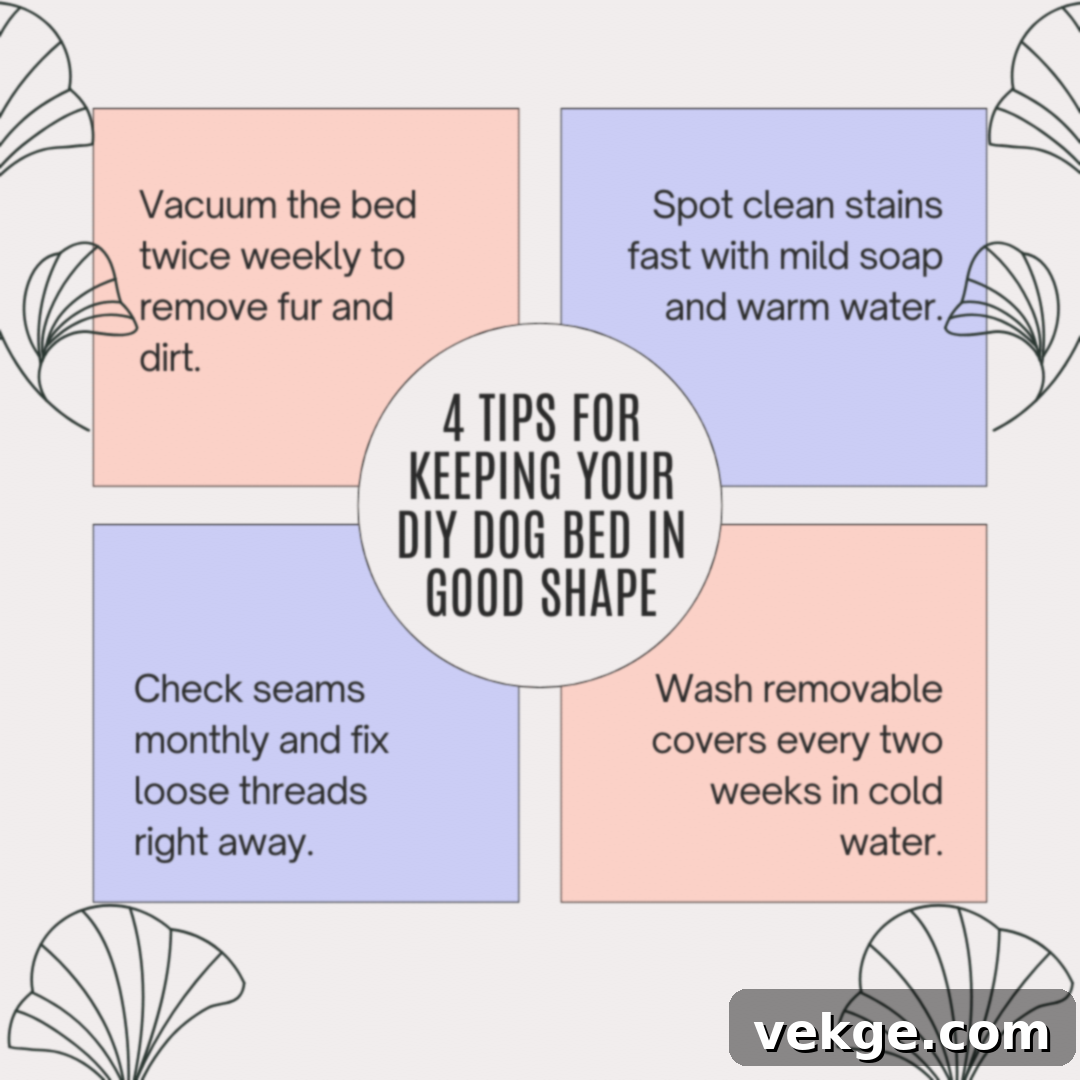
- Regular Inspections: Routinely check the bed for loose threads, tears, or exposed stuffing, especially if your dog is a chewer. Trim loose threads immediately.
- Remove Small Parts: Avoid using any small parts like buttons, beads, or decorative embellishments that could be chewed off and swallowed, posing a choking hazard.
- Secure Zippers: If your bed has a zipper, ensure it is fully closed and ideally hidden or covered so your dog cannot chew on it. Heavy-duty, pet-safe zippers are best.
- Non-Toxic Materials: Always choose non-toxic fabrics, dyes, paints, and wood stains. Look for “pet-safe” or “non-toxic” labels, especially for any finishes on wooden or upcycled beds.
- No Sharp Edges: For wooden or upcycled beds, ensure all edges are thoroughly sanded and smoothed to prevent splinters or cuts.
2. Cleaning Tips: Maintaining Hygiene and Freshness
- Removable Covers: Design your bed with removable, washable covers. This is the single most important feature for easy cleaning and hygiene.
- Waterproof Liners: Use a waterproof liner between the filling and the outer cover. This protects the internal padding from accidents, spills, and moisture, prolonging the bed’s life and preventing odors.
- Wash Regularly: Wash the removable cover weekly or bi-weekly, depending on your dog’s activity level and any skin conditions. Follow fabric care instructions.
- Sun-Dry (When Possible): If practical, sun-dry covers or even the entire bed (if small enough and machine washable) to naturally kill germs and neutralize odors.
- Spot Clean Promptly: Address stains and spills immediately with a pet-safe enzymatic cleaner to prevent them from setting in and becoming harder to remove.
3. Material Care & Durability: Building to Last
- Sturdy Fabric Choices: Opt for sturdy, tightly woven fabrics like canvas, denim, upholstery fabric, or heavy-duty cotton that resist tears and punctures. Avoid thin, easily snagged materials.
- Double-Stitch All Seams: For sewn beds, always double-stitch all seams, especially those under stress. This significantly increases durability and prevents unraveling.
- Strong Thread: Use high-quality, heavy-duty polyester or nylon thread for all sewing projects. Standard cotton thread may not be strong enough for pet beds.
- Reinforce Stress Points: Add extra stitching or fabric reinforcement at corners, edges, or any areas where your dog might dig, scratch, or lean heavily.
- Maintain Foam Firmness: If using foam, choose a dense, high-quality foam that will retain its shape and support over time. Rotate cushions regularly to ensure even wear.
4. Location Tips: Optimal Placement for Comfort & Longevity
- Away from Heat Sources: Place the bed away from radiators, direct sunlight, or heating vents to prevent overheating and ensure a comfortable temperature for your dog.
- Off Damp Floors: Keep the bed off cold, damp concrete floors. Use an elevated frame or a waterproof base to protect against moisture and insulation.
- Strategic Placement: Put the bed in a quiet, draft-free spot where your dog naturally likes to rest. Many dogs prefer a spot where they can see their family but also feel secure.
- Non-Slip Base: Add grip dots, non-slip fabric, or rubber matting to the bottom of the bed to prevent it from sliding on hard floors, reducing the risk of injury.
- Level Surface: Ensure the bed base, especially for wooden frames, stays level on the floor to provide even support and comfort.
How to Customize & Personalize These Beds for Your Unique Pet
One of the greatest joys of making a DIY dog bed is the ability to customize it completely. Make it a reflection of your dog’s personality and your home’s style!
| Feature Category | Customization Options |
|---|---|
| Color Choices | • Match fabrics with existing room colors and decor themes • Use two coordinating patterns or colors for the top and bottom/sides • Mix solid colors with playful prints for a balanced look • Experiment with stripes, polka dots, geometric patterns, or animal prints • Select washable patterns that hide dirt and fur effectively |
| Size Changes | • Adjust dimensions precisely to fit your dog’s specific sleeping style (e.g., extra long for stretchers) • Add extra width for dogs who love to sprawl out • Build higher, firmer sides or bolsters for snugglers and leaners • Make the base thicker with orthopedic foam for larger or older dogs • Create mini sizes for puppies or smaller breeds, or multiple beds for multi-pet households |
| Personal Touches | • Embroider or appliqué your dog’s name or initials onto the cover • Add cute paw print designs, bones, or other pet-themed motifs • Create seasonal or holiday-themed covers for year-round fun • Include small, hidden treat pockets for special surprises • Integrate built-in toy storage (e.g., a side pocket or a small storage drawer on a wooden bed) |
| Extra Features | • Put in a completely removable and washable waterproof liner for accident protection • Make the entire bottom non-slip with rubberized fabric or dots • Add sturdy handles for easy moving, especially for larger beds • Include a small loop or pocket to hold a favorite blanket or toy • Create an additional storage pocket on the side for leashes or brushes |
| Shape Options | • Classic round for dogs who love to curl up in a ball • Traditional rectangle for dogs who stretch out or need more space • Square for saving space in smaller rooms or fitting into corners • Oval for a slightly softer look than a rectangle, good for corner spots • Heart-shaped or bone-shaped for a fun, whimsical touch |
| Comfort Add-ons | • Add extra padding or a memory foam layer in specific favorite sleeping spots • Design a pocket for a cooling mat in summer or a heating pad in winter • Use warm, plush fleece for winter covers and breathable cotton for summer • Offer an optional memory foam insert for superior orthopedic support • Create a removable, soft pillow top for an extra layer of luxury and easy washing |
How to Choose the Right Design for Your Dog’s Ultimate Comfort
Selecting the ideal DIY dog bed design involves more than just aesthetics; it’s about understanding your dog’s unique needs, habits, and integrating the bed seamlessly into your life.
1. Understand Your Dog’s Sleep Style
Observe your dog carefully over several days to understand their preferred sleeping positions. This insight is crucial for choosing the right bed shape and support level:
- The Stretcher: If your dog loves to stretch out completely, a large, rectangular, open-style bed with ample surface area is best.
- The Curler: For dogs who curl up tightly in a ball, a round or oval bed with bolstered sides provides a sense of security and warmth.
- The Leaner/Head-Resting: Dogs who enjoy resting their head on an elevated surface will benefit from beds with raised, firm sides or bolsters.
- The Burrower: Some dogs love to tunnel under blankets. Consider a bed with an attached “hood” or provide extra blankets for them to burrow into.
- The Digger/Scratcher: If your dog tends to dig or scratch before settling, choose a bed made with highly durable, tear-resistant fabric like canvas or denim.
2. Match Your Dog’s Size Perfectly
A bed that’s too small is uncomfortable, and one that’s too big might not feel secure. Measure your dog from nose to tail while they are in their most common sleeping position, then add 8-12 inches to the length and width for ample space.
- Small Dogs (under 25 pounds): Typically need a bed around 24×18 inches. Ideal for Chihuahuas, Pugs, or Jack Russell Terriers.
- Medium Dogs (25-50 pounds): A bed measuring about 36×28 inches is usually suitable for breeds like Beagles, Cocker Spaniels, or French Bulldogs.
- Large Dogs (50-75 pounds): Consider a bed approximately 44×34 inches for breeds such as Labs, Golden Retrievers, or German Shepherds.
- Extra Large Dogs (over 75 pounds): Require beds around 50×40 inches or larger, suitable for Great Danes, Mastiffs, or Saint Bernards.
- For Stretchers: If your dog primarily stretches out, add an extra 8-12 inches to the total length to ensure their paws aren’t hanging off.
3. Consider Age and Health Needs
Your dog’s life stage and health can significantly influence the best bed design:
- Older Dogs/Senior Dogs: Require thicker, orthopedic padding (like memory foam) to support aching joints and alleviate pressure points. Elevated beds can also make it easier for them to get in and out.
- Young Puppies: Need highly durable, chew-resistant, and easily washable materials. A waterproof base is essential for accident protection.
- Dogs with Joint Pain or Arthritis: Benefit most from firm, supportive foam beds that cradle their body and reduce discomfort.
- Dogs Who Get Hot Easily: Opt for breathable materials like cotton and ensure good air circulation, perhaps an elevated bed or one with cooling mat compatibility.
- Dogs Who Get Cold Easily: Prefer deeper, more enclosed beds with soft, warm fabrics like fleece and ample insulation in the filling.
4. Think About the Bed’s Location in Your Home
Where the bed will be placed can inform its shape and features:
- Corner Spaces: Triangular or corner-fitting designs can maximize space efficiency.
- Open Living Areas: Round or oval shapes often look more aesthetically pleasing in the middle of a room, while rectangular beds can define a specific zone.
- Under Windows: A low-profile bed prevents blocking views and keeps the bed out of direct, intense sunlight.
- Near Doors/High-Traffic Areas: Opt for sturdy, durable beds with a non-slip base that can withstand frequent movement and potential drafts.
- Small Rooms: Space-saving shapes (square, corner) or multi-functional beds (e.g., an end table dog bed) are ideal.
5. Factor in Your Home Style and Aesthetics
Your dog’s bed can be a seamless part of your home decor, not an eyesore:
- Modern Homes: Suit clean lines, minimalist designs, and neutral colors. Wooden frame beds or sleek upcycled furniture beds work well.
- Cozy/Rustic Homes: Match softer edges, natural textures, and warm color palettes. Think plush fabrics or distressed wood finishes.
- Small Spaces: Look for beds with built-in storage or those that blend into existing furniture to maximize functionality.
- Open-Concept Plans: Beds that are well-defined and aesthetically pleasing become part of the overall design flow.
- Multi-Pet Homes: Prioritize durable, easy-to-clean designs that can withstand the wear and tear of multiple furry residents.
Conclusion
I embarked on creating this guide because I deeply understand the profound bond we share with our canine companions. Making a DIY dog bed is so much more than a simple craft project; it’s an act of love, a way to deepen your connection with your pet, and a satisfying endeavor that results in a truly unique and comfortable space for them.
Having personally experimented with these projects, I can confidently tell you that even beginners can successfully construct a cozy, personalized bed that their pup will absolutely adore. While the no-sew option can be completed in as little as an hour, more intricate designs like the sewn or wooden frame beds might require a dedicated weekend. However, the sheer joy of seeing your dog happily curl up, stretch out, or snuggle into their very own handmade sanctuary makes every moment of effort worthwhile. The satisfaction of providing such a tailored comfort, knowing exactly what materials went into it, is truly unparalleled.
Are you ready to embark on your DIY dog bed adventure? Take a moment to consider your skill level, your dog’s specific needs, and your home’s aesthetic, then pick the design that resonates most with you. Remember to regularly inspect the bed for wear and tear, and keep it meticulously clean to ensure it remains a safe and hygienic haven. Your furry friend will undoubtedly express their gratitude with countless happy naps, wagging tails, and an even deeper bond of companionship!
Have you created a DIY dog bed before? We’d love to hear about your experiences, tips, and triumphs! Share your thoughts and photos in the comments below!
Frequently Asked Questions About DIY Dog Beds
What is the Easiest DIY Dog Bed to Make for a Beginner?
The no-sew fleece bed is hands down the simplest and quickest option for beginners. It requires no sewing skills or special equipment beyond scissors and measuring tape. You just need two pieces of fleece fabric, cut fringe around the edges, tie the corresponding fringes together to create a pouch, and then stuff it with your chosen filling. It’s a fantastic starter project that yields immediate results.
How Do I Make a Dog Bed Chew-Proof?
Making a truly chew-proof dog bed is challenging, but you can significantly increase its resistance. Use tough, durable fabrics like heavy-duty canvas, denim, or ballistic nylon. Double-stitch all seams with strong thread. Avoid exposed edges or loose parts that a dog can easily grab and start chewing. Consider a wooden or metal frame for the structure, and for the cushion, you can try an inner cover of chew-resistant material or even a bitter apple spray on the outer cover as a deterrent. Regular supervision is key for persistent chewers.
Are There Eco-Friendly and Sustainable Materials for Dog Beds?
Absolutely! You can make a very eco-friendly dog bed. Opt for organic cotton, hemp, or bamboo fabrics for the cover. For filling, consider natural latex foam (which is biodegradable), recycled polyester fiberfill, repurposed shredded denim, or even old blankets and clothing that would otherwise go to waste. Look for fabrics dyed with earth-friendly, non-toxic dyes, and always choose durable, washable materials to ensure the bed has a long life, reducing its environmental footprint.
How Often Should I Wash My Dog’s Bed?
The frequency of washing depends on your dog’s lifestyle and any allergies or skin conditions. As a general rule, aim to wash the removable cover of your dog’s bed at least once every 1-2 weeks. If your dog spends a lot of time outdoors, has skin issues, or sheds heavily, you might need to wash it weekly. The internal padding or foam should be cleaned less frequently, perhaps every 1-3 months, using spot cleaning or a gentle wipe-down, ensuring it’s completely dry before reassembling.
What are the Signs My Dog Needs a New Bed or a DIY Upgrade?
Look for several indicators: if your dog avoids the bed or consistently chooses to sleep on the floor; if the bed is visibly flattened, lumpy, or no longer provides adequate support (especially for older dogs); if it has persistent odors you can’t remove; if the fabric is torn or frayed to the point of being unsafe; or if your dog is showing signs of joint pain after resting. These are all good reasons to consider upgrading to a more supportive, comfortable, or personalized DIY dog bed.
