How to Choose and Hang Wall Art Above a Queen Bed: The Ultimate Guide to Perfect Placement and Style
Have you ever looked at the blank wall above your queen bed and felt like something was missing? That empty space can make a bedroom feel incomplete, but knowing what size art to choose or how to hang it correctly can seem like a puzzle. Many people struggle with finding the right balance, fearing that their chosen piece will look too small, too large, or simply out of place.
This comprehensive guide is designed to remove all the guesswork. Drawing from practical experience and expert advice, we’ll walk you through simple sizing rules, smart hanging techniques, and creative layout ideas. You’ll learn how to select artwork that complements your room’s unique vibe, whether you’re aiming for a cozy retreat, a minimalist sanctuary, or a modern statement. We’ll also provide essential measuring tricks, practical steps, and even visual planning tools to ensure your final display looks professionally curated and perfectly balanced.
Whether you’re torn between a bold single statement piece or a dynamic gallery wall, this guide will help you visualize what fits best, transforming that overlooked wall into a stunning focal point without any stress or unnecessary holes in your wall.
Mastering the Art of Sizing and Positioning Artwork Above a Queen Bed
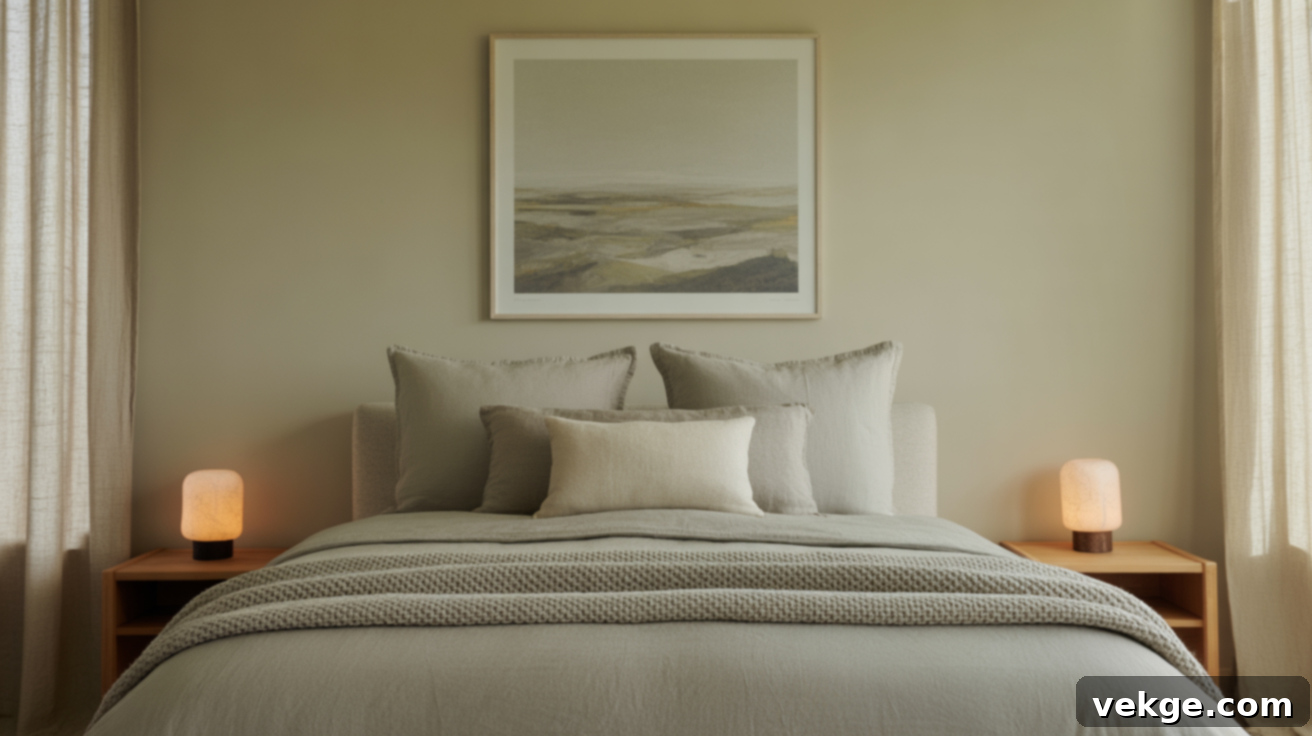
The secret to a beautifully balanced bedroom lies in selecting and positioning your wall art so that it feels intentionally connected to your bed. Art that’s hung too high or appears disproportionately small can disrupt the visual harmony of the room, making the space feel disjointed rather than cohesive. Conversely, a well-sized and strategically placed piece elevates the entire aesthetic, creating a focal point that enhances the room’s overall design.
By following a few straightforward measuring steps and applying clear visual guidelines, you can effortlessly find the perfect fit for your space. Let’s delve into the specifics to ensure your artwork makes a significant, positive impact.
Ideal Width for Above-Bed Art: Achieving Visual Harmony
One of the most common mistakes in bedroom decor is choosing artwork that is either too small, causing it to get lost against the expansive wall, or too large, making the space feel cramped and overwhelming. For art positioned above a queen bed, the goal is to create a harmonious relationship between the bed and the artwork, drawing the eye without dominating the space.
A widely recommended guideline is to aim for artwork that spans approximately 50% to 75% of your queen bed’s width. Given that most queen beds measure around 60 inches wide, this means your art should ideally be roughly 30 to 45 inches across. This range ensures the piece remains in proper proportion to the bed, acting as a visual anchor rather than a floating element. Adhering to this width guideline helps the artwork become a balanced focal point, enhancing the room’s aesthetic without crowding the space or competing with other design elements.
Remember, this rule applies whether you’re hanging a single large piece or a collection of smaller items that form a unified display. For a gallery wall, the 30-45 inch guideline refers to the total visual width of the entire arrangement.
Recommended Hanging Height: Connecting Art to Your Sanctuary
The vertical placement of your artwork is just as crucial as its width. The distance between the top of your headboard and the bottom of your artwork significantly influences how “connected” the pieces look. If the art is hung too high, it appears disconnected from the bed, floating aimlessly on the wall. If it’s too low, it can feel cramped and lose its visual impact.
For most queen beds with a headboard, a good rule of thumb is to hang the artwork so its bottom edge is 6 to 12 inches above the top of the headboard. This range ensures the art feels integrated with the bed’s setup, forming a cohesive visual unit that guides the eye smoothly across the bed and up to the artwork. It creates a sense of grounded elegance, making the art an extension of your sleep sanctuary.
If your queen bed does not have a headboard, or if you prefer a more minimalist look, you can measure from the top of the mattress instead. In such cases, aim to hang the art approximately 24 to 30 inches above the mattress. This height maintains a centered and grounded look, preventing the artwork from appearing too high on the wall and ensuring it still feels intimately connected to the sleeping area. This allows the art to define the space above the bed without a headboard’s visual presence.
Effortless Hanging Steps to Achieve Perfection
Hanging wall art might seem daunting, but with a systematic approach, achieving the perfect placement is far simpler than you think. These quick and easy steps will help you precisely line up your artwork, ensuring it looks fantastic and eliminating any second-guessing or unnecessary mistakes.
- Measure the Full Width of Your Bed: Use a tape measure to determine the total width of your queen bed. This measurement is foundational for applying the 50-75% width rule for your artwork.
- Mark the Center Point Above the Bed: Find the exact center of your bed and mark a light pencil line on the wall directly above it. This will serve as your primary reference point for centering your artwork.
- Outline Your Artwork with Painter’s Tape: Cut pieces of painter’s tape to match the dimensions of your artwork (or the total dimensions of your gallery wall arrangement). Affix these tape outlines to the wall, centered on your pencil mark. This visual mock-up is invaluable.
- Step Back and Adjust: Once the tape is on the wall, step back and view it from different angles in your room. This allows you to assess the size, height, and overall balance. Adjust the tape as needed until the layout feels perfectly proportioned and visually pleasing. Don’t be afraid to move it a few times!
- Mark Hook Placement: With the tape outlines in their final position, mark where your hooks or nails will go. For a single piece, measure the distance from the top of the frame to its hanging wire or hook. For multiple pieces, mark each individual hanging point carefully. Use a level tool to ensure your marks are perfectly straight.
- Hang Your Art and Enjoy: Carefully insert your nails or screws at the marked spots. Then, hang your artwork. Step back one final time to admire your perfectly curated space. The updated look will instantly enhance your bedroom’s ambiance.
Inspiring Layout Styles That Elevate a Queen Bed
The way you arrange your wall art can dramatically transform the entire mood and aesthetic of your bedroom. From the impactful simplicity of a single large piece to the curated narrative of a gallery wall, each layout style creates a distinct atmosphere. Choosing the right one depends on your available wall space, your personal taste, and the desired visual impact – whether you aim for a bold statement or a subtle, soft enhancement.
One Large Statement Piece: Bold Simplicity
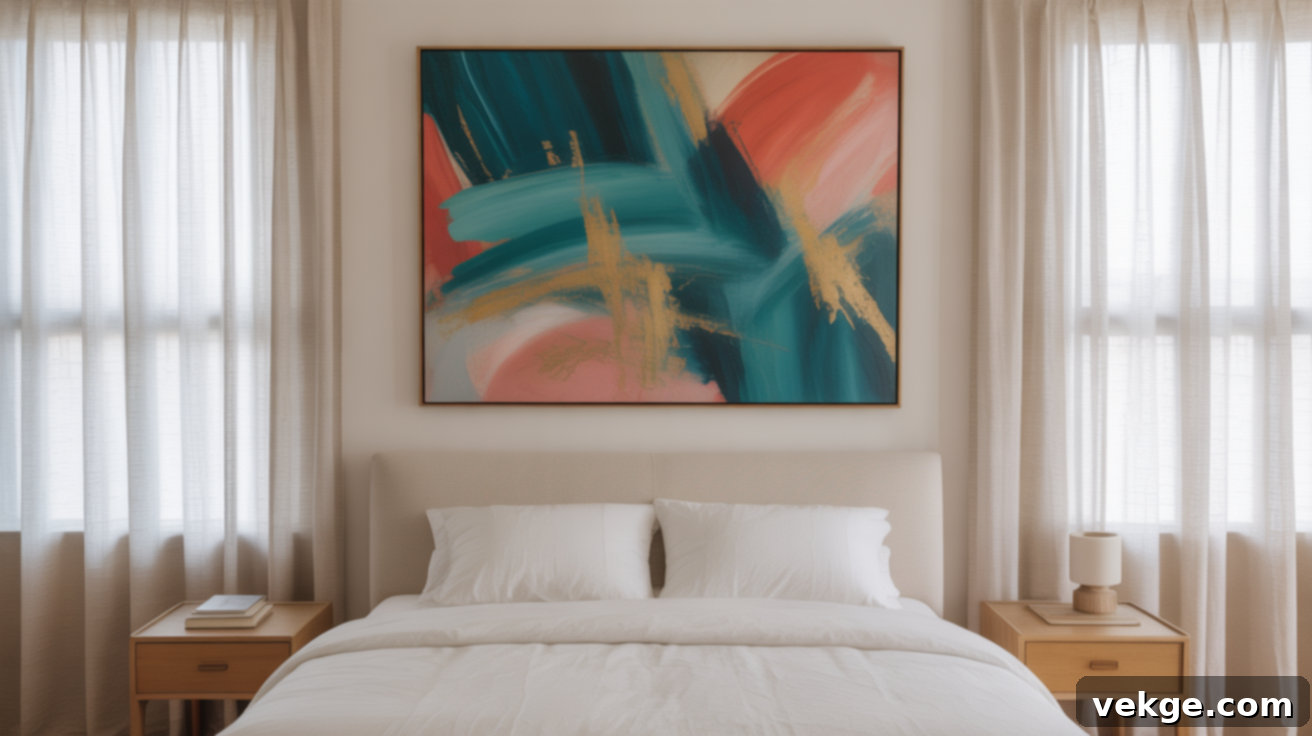
Opting for a single, commanding piece of art above your queen bed creates an instantly clean, sophisticated, and impactful look. This style effortlessly draws the eye to the center, establishing a clear focal point and preventing the room from feeling visually cluttered or busy. It’s a fantastic choice for those who appreciate understated elegance and wish for their artwork to make a strong, singular statement.
This layout shines brightest when the art is appropriately sized, adhering to the guideline of covering roughly half to three-quarters the width of your bed (30-45 inches for a queen). It’s particularly effective in rooms with neutral color palettes, minimalist decor, or a desire for a powerful artistic anchor. The simplicity of this approach allows the artwork itself – its colors, textures, and subject matter – to truly speak volumes. Just ensure it’s hung at the recommended height (6-12 inches above the headboard or 24-30 inches above the mattress) so it feels deeply connected to the bed rather than appearing to float aimlessly on the wall.
Two or Three-Panel Artwork (Diptych or Triptych): Dynamic Flow
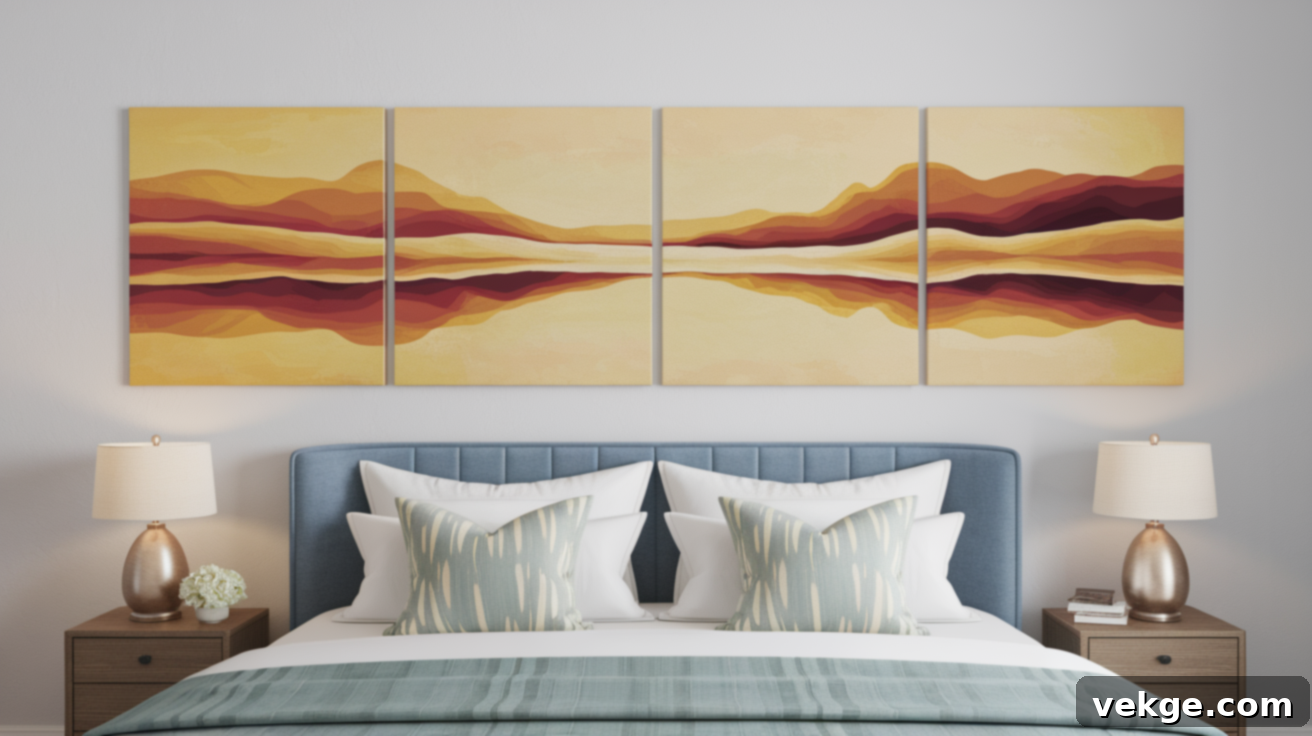
Art split into two (diptych) or three (triptych) panels introduces a compelling sense of movement, flow, and narrative across the wall. This layout masterfully creates a balanced aesthetic while effectively filling more horizontal space than a single frame, without the overwhelming presence of one enormous canvas. It offers a unique visual rhythm that can enhance the perceived spaciousness of a room.
This style is exceptionally well-suited for placement above a queen bed because it expands the artwork’s visual presence and width without requiring a single, monolithic frame. To maintain a sense of unity and connection between the panels, it’s crucial to keep the spacing between them relatively small—ideally about 1 to 2 inches. This tight spacing ensures the individual panels are perceived as components of a larger, cohesive piece, rather than separate, disconnected elements. This multi-panel approach works beautifully in both modern and classic bedroom settings, and its modular nature makes it surprisingly adaptable if your room’s dimensions present unique challenges.
Clustered or Gallery Wall Layout: Personalized Storytelling
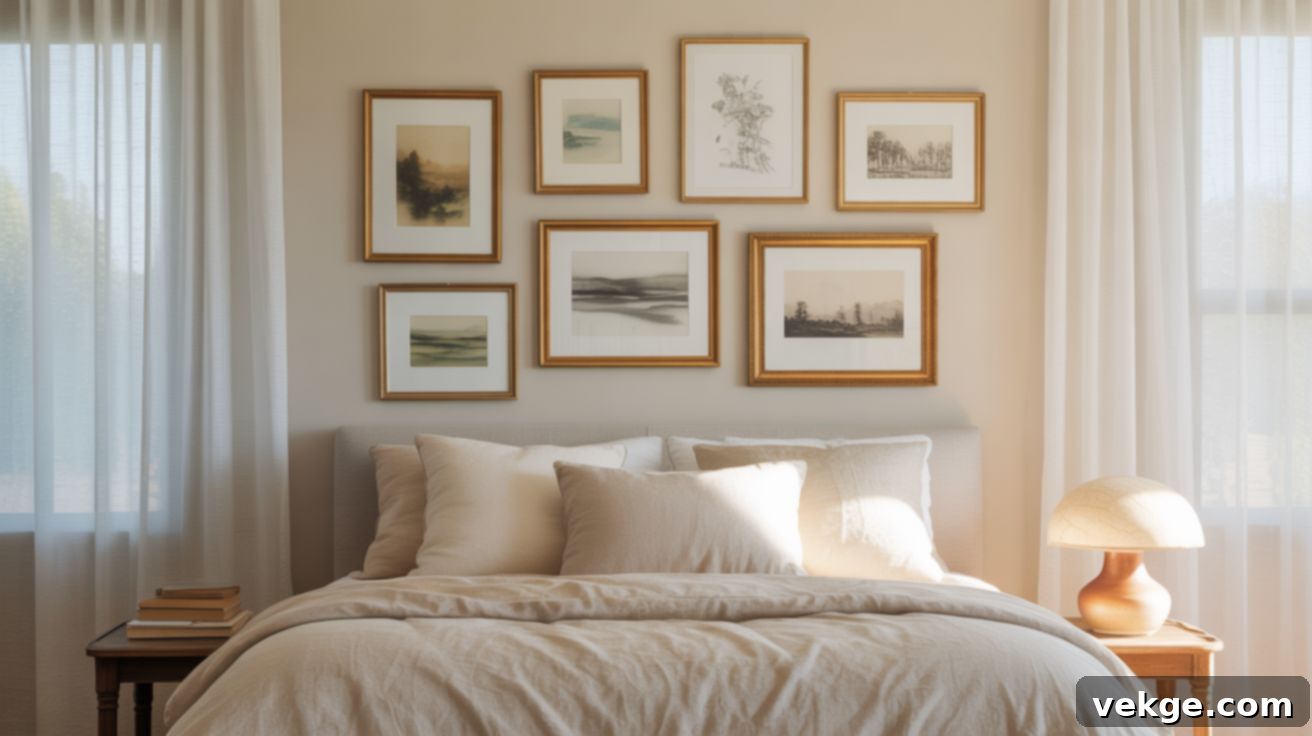
A gallery wall is an incredibly versatile and personal way to decorate, allowing you to combine an assortment of smaller pieces—photos, prints, mirrors, or even decorative objects—into one grand, impactful visual display. This style is perfect for those who want to infuse their bedroom with personality, tell a visual story, or showcase a curated collection that reflects their passions and memories.
You have immense creative freedom with a gallery wall. You can arrange frames in a precise, grid-like fashion for a neat, balanced, and contemporary look, or stagger them more organically for a relaxed, eclectic, and inviting feel. To ensure the collection feels cohesive rather than chaotic, consider using similar frame colors, materials, or maintaining a consistent theme or color palette across the artworks. Even though each component might be small, together they create a powerful visual statement that can dramatically anchor the wall above your queen bed. Planning your layout with paper templates before hanging is crucial to avoid a cluttered appearance and ensure a harmonious, intentional design.
Smart Layout Ideas for Maximizing Small Bedrooms
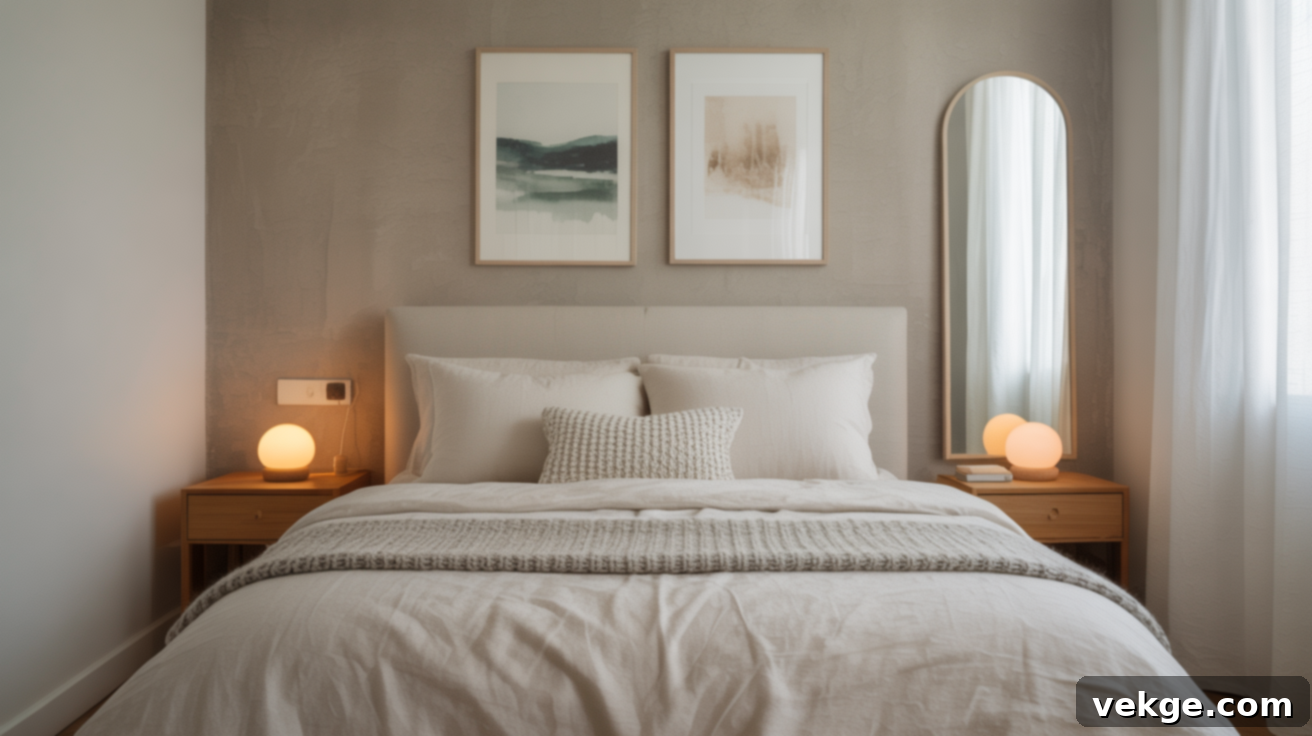
In smaller bedrooms, where every inch of wall space counts, smart art choices are essential to prevent the room from feeling cramped or overwhelmed. The right art can create an illusion of greater space and openness. One effective strategy is to utilize vertical art, which naturally draws the eye upwards, making the ceiling appear higher and the room feel taller than it actually is. Instead of a single wide frame, consider stacking two medium-sized pieces vertically above the bed for a similar elongating effect.
When selecting pieces, gravitate towards lighter frames, strategically placed mirrors, or prints with soft, airy designs. Mirrors, in particular, are excellent for small spaces as they reflect light and views, instantly making a room feel larger and brighter. Avoid wide, sprawling layouts that extend too far beyond the bed’s width, as these can visually crowd the bedside tables and make the entire area feel constricted. Light and muted prints add visual interest without adding perceived weight to the wall.
When executed thoughtfully, even the most compact bedrooms can feel balanced, open, and stylish with the right art arrangement, proving that limited space doesn’t mean sacrificing decor. Focus on pieces that enhance light, introduce height, and maintain an airy aesthetic.
Matching Art to Your Bedroom’s Distinct Style
The aesthetic of your bedroom should be the ultimate compass guiding your choice of art for the space above your bed. When your artwork seamlessly aligns with the room’s overarching style, everything feels connected, intentional, and harmonious. Whether your space exudes a relaxed boho vibe, a bold modern edge, a cozy rustic charm, or a sleek minimalist appeal, the perfect piece of art can pull all the design elements together, creating a polished look without adding any unnecessary visual clutter.
Boho Bedrooms: Earthy and Eclectic Comfort
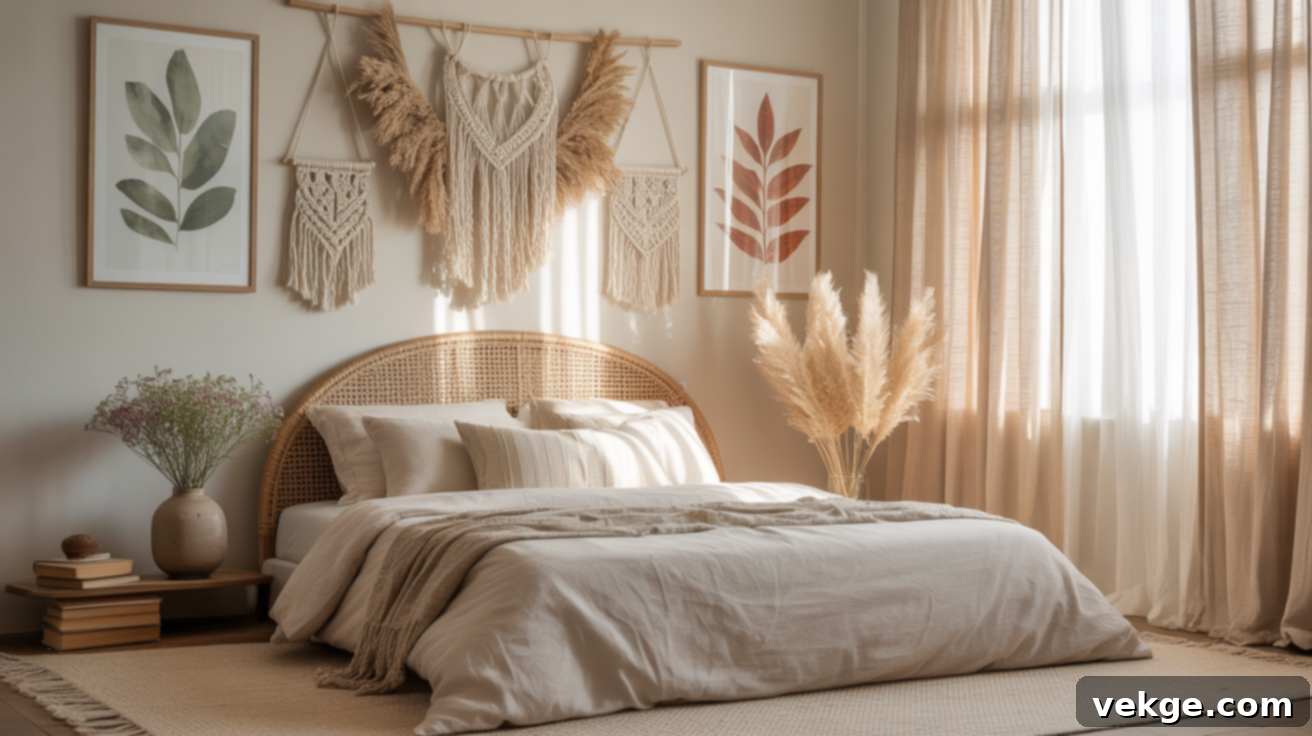
Boho bedrooms thrive on art that feels organic, relaxed, and deeply connected to nature and global influences. Think beyond traditional framed prints and embrace textural elements like intricate macrame wall hangings, woven tapestries, or rich textile art. Prints featuring botanical illustrations, earthy landscapes, abstract natural patterns, or mandalas perfectly capture the free-spirited essence of this style. These elements introduce softness, warmth, and a handcrafted feel without appearing overly polished or formal.
To maintain a serene and inviting atmosphere, choose muted, natural tones such as warm rusts, deep sages, creamy beiges, and soft terracottas. The beauty of boho decor lies in its ability to mix and match diverse pieces—like pairing a woven basket with a line-drawing print—as long as they share an overarching relaxed, earthy sensibility. This style encourages creativity and a layered approach, making it ideal for expressing your unique personality in a casual, welcoming, and deeply comfortable way.
Minimalist Bedrooms: Clean Lines and Serene Spaces

Minimalist bedrooms are sanctuaries of calm, demanding art that is clean, understated, and utterly free from visual noise. For this aesthetic, simplicity is paramount. Stick to a refined color palette of neutrals like stark black, crisp white, various shades of gray, or soft, muted beige. The artwork itself should reflect this restraint: think abstract compositions with clean geometric shapes, subtle linear patterns, quiet monochromatic studies, or large blocks of single, calming colors.
The primary objective in a minimalist space is to preserve a sense of openness, tranquility, and clarity. Avoid anything overly detailed, intricate, or bursting with too many colors, as these elements can quickly make the room feel cluttered and detract from its serene purpose. A single, impactful large piece or a carefully balanced pair of smaller, complementary artworks will suffice. The art should be quiet yet strong, making a statement through its form and thoughtful placement rather than overt flamboyance. It’s about quiet contemplation and allowing ample negative space to breathe.
Rustic Bedrooms: Warmth of Nature and Heritage
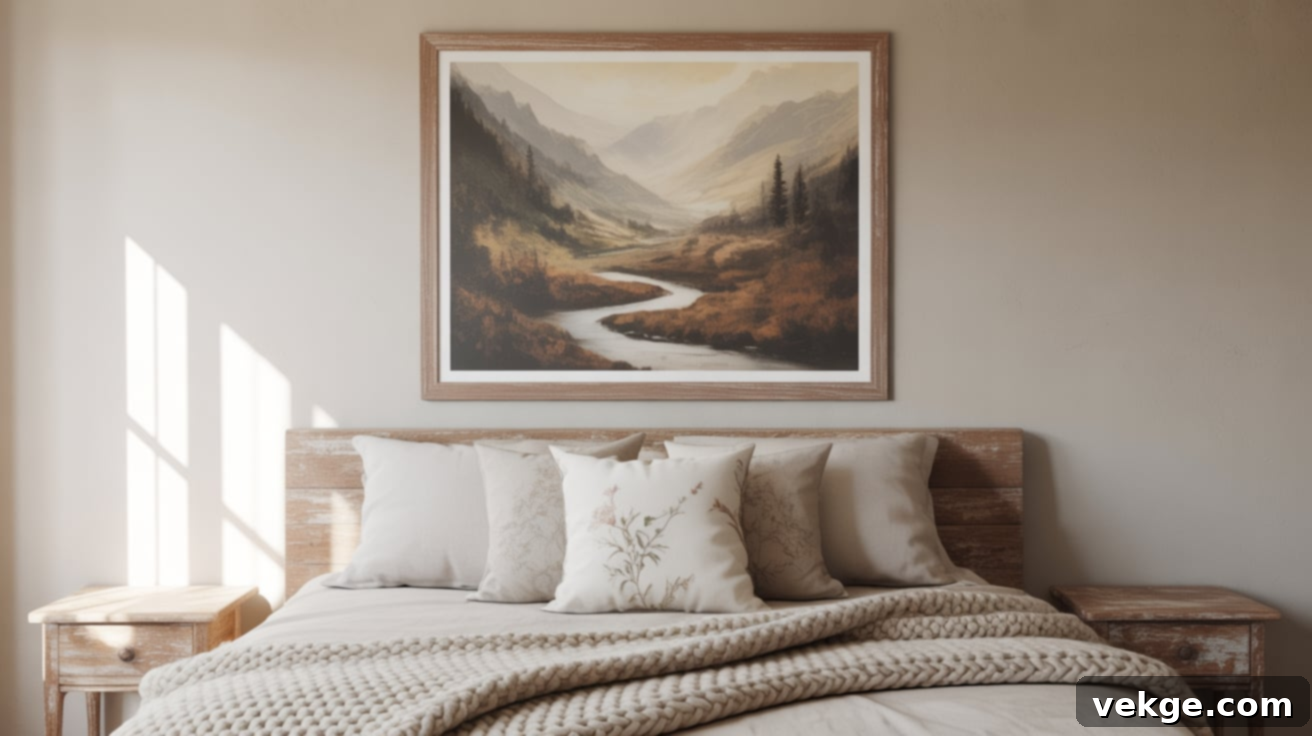
Rustic bedrooms exude warmth, comfort, and a grounded connection to nature and heritage. The ideal art for these spaces should reflect this ethos, evoking a sense of the outdoors and cozy, lived-in charm. Think nature scenes, majestic mountain vistas, serene forest landscapes, or charming sketches of wildlife and farm animals. Artwork featuring elements like old barns, weathered wooden textures, or hand-drawn florals also fits perfectly within this aesthetic.
The color palette should lean towards soft browns, deep greens, warm earth tones, and muted autumnal hues. When it comes to framing, opt for natural materials that enhance the rustic feel; frames made from rough, reclaimed wood, distressed finishes, or even simple metal accents complement the often robust and natural furniture found in these rooms. The art should feel authentic and familiar, contributing to an atmosphere of inviting coziness. It’s all about celebrating natural textures, the beauty of the outdoors, and a sense of timeless, down-to-earth appeal.
Modern Bedrooms: Bold Lines and Contemporary Edge
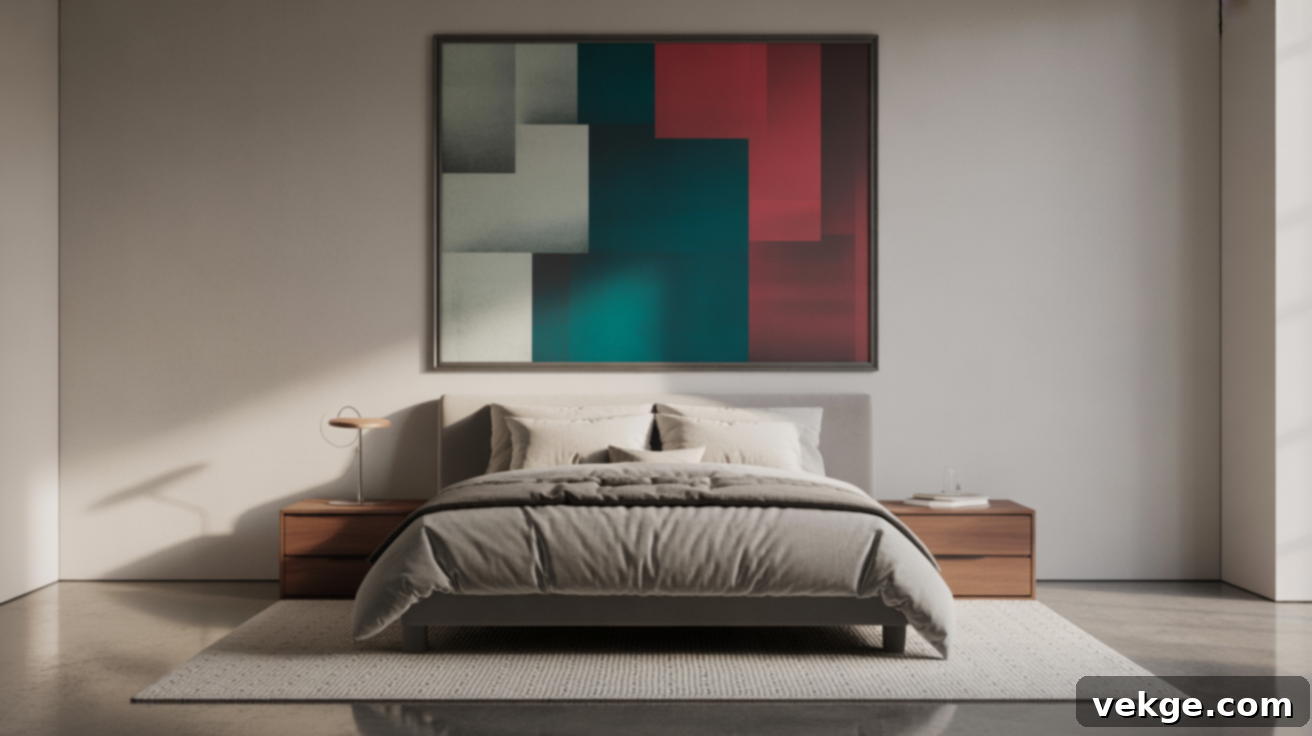
Modern bedrooms are characterized by their sleekness, clean lines, and often a bold, sophisticated edge. The artwork chosen for such a space should reflect these qualities, contributing to a contemporary and refined ambiance. Look for pieces featuring strong, defined lines, striking color contrasts, or impactful high-contrast black-and-white compositions. Abstract art, graphic prints, or pieces with clear geometric shapes are often the most effective choices in these settings, as they complement the architectural precision of modern design.
To keep the focus squarely on the artwork’s striking visuals, opt for simple, unobtrusive frames. Materials like thin metal, sleek acrylic, or very minimal wood frames work best, as they don’t detract from the art itself. A single, powerful piece can make a significant statement without the need for additional decorative elements. Modern design frequently relies on balance, sharp details, and an uncluttered aesthetic, so select artwork that reinforces this structural integrity. Think strong forms, exceptional clarity, and a crisp, polished look that elevates the room’s contemporary feel.
Essential Visual Tools to Perfect Your Art Layout
Before committing to drilling any holes in your wall, it is incredibly beneficial to visualize exactly how your chosen artwork layout will appear in your space. Utilizing simple yet effective visual tools, such as printable guides and paper templates, can make the entire planning process significantly easier, more accurate, and ultimately, far more rewarding. These clever tools not only save you valuable time but also prevent unnecessary holes and instill confidence in your final placement decisions, ensuring a flawless result every time.
Hanging Height and Spacing Guide: Your Blueprint for Balance
A printable guide specifically designed for hanging height and spacing is an indispensable resource. These diagrams typically illustrate the ideal positioning for artwork relative to key furniture pieces like your bed and headboard. They clearly indicate where the bottom edge of your art should ideally fall—most often, within that sweet spot of 6 to 12 inches above the headboard. Beyond just vertical height, these guides also assist in accurately centering a single piece or an entire grouping above your bed.
To use this tool effectively, simply print it out to scale (if possible), tape it lightly to your wall in the proposed location, and use it as a precise reference. This visual aid allows you to conceptualize the spacing and alignment before you even pick up a hammer or measuring tape for the final hanging, ensuring perfect vertical and horizontal balance for your bedroom art.
Layout Templates You Can Test: The Try-Before-You-Hang Method
One of the most effective strategies for planning a gallery wall or a multi-piece display is to create and use paper templates that precisely match the size and shape of your actual artwork. Cut out paper or newspaper shapes corresponding to each frame or art piece you plan to hang. Then, using painter’s tape (which is gentle on walls), stick these paper templates to the wall in various arrangements.
This “try-before-you-hang” method is transformative. It allows you to experiment with different positions, spacing, and configurations until you achieve a layout that feels absolutely perfect for your space. You can easily adjust, re-tape, and refine the arrangement without making any permanent marks or holes. These mock-ups are instrumental in planning a beautifully centered and evenly spaced layout, helping you avoid frustrating last-minute adjustments and ensuring your real frames go up exactly where they belong, creating a professional and harmonious display.
Conclusion: Your Bedroom, Beautifully Transformed
You now possess all the essential knowledge and practical tools to confidently size, position, and style wall art above your queen bed in a way that feels both balanced and deeply personal. By meticulously applying the recommended spacing rules, exploring various layout tips, and leveraging visual planning tools, you can approach the task of hanging your artwork with newfound confidence and creative clarity.
This seemingly small detail—the art above your bed—has the power to profoundly transform your bedroom, making it feel more complete, cohesive, and thoughtfully designed without the need for additional clutter. Whether your personal aesthetic leans towards modern minimalism, rustic charm, bohemian eclecticism, or classic elegance, selecting the right art and placing it strategically will seamlessly tie all the elements of your decor together, creating a truly harmonious and inviting sleep sanctuary.
Ready to discover more room-by-room decor inspiration and practical design advice that you can genuinely apply to your home? We invite you to explore our other comprehensive guides for simple, actionable tips that will help you craft beautiful and functional spaces throughout your entire home.
