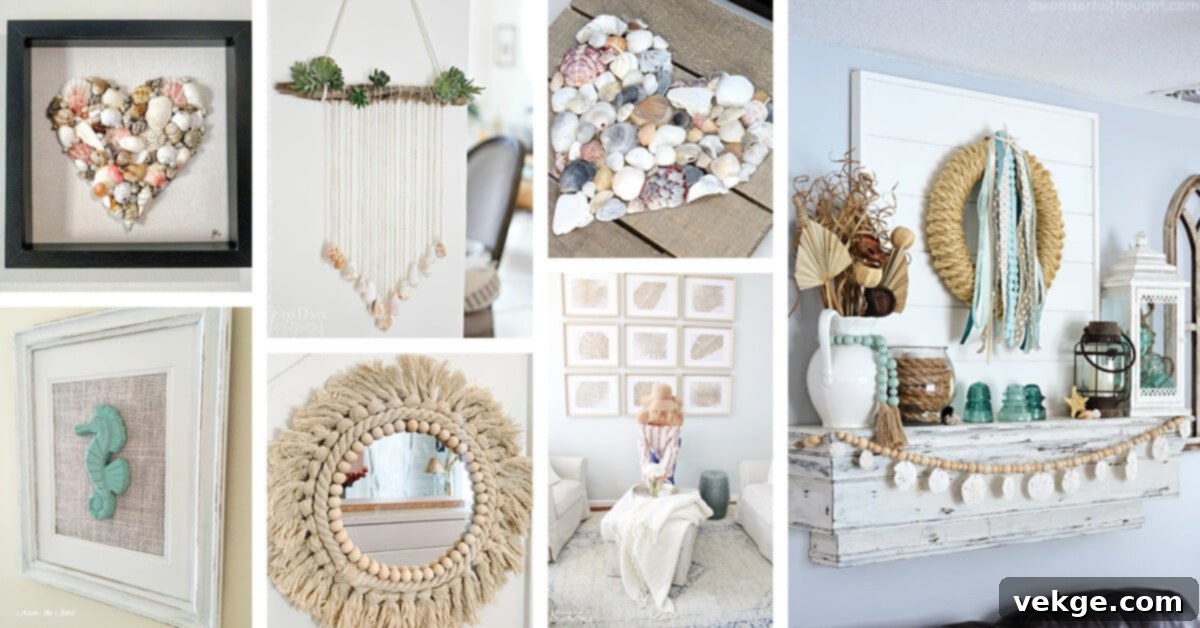
Transform Your Home: Easy & Creative DIY Summer Wall Art Ideas to Brighten Your Space
Summer brings with it an undeniable sense of vibrancy, an explosion of color, and an infectious joyful energy. What better way to capture this magnificent season than by infusing that very spirit into your living space? There’s truly nothing more rewarding than embarking on DIY summer room decoration ideas to make your home feel more enchanting and personal. This year, embrace your inner artist and dedicate some time to crafting DIY summer-themed wall art. It’s an accessible project that not only adds a beautiful, summery vibe to your rooms but also offers a therapeutic and creative outlet.
Whether your vision involves transforming your living room into a serene beach haven, conjuring up a lively tropical paradise in your bedroom, or simply adding the refreshing charm of a picnic scene to your kitchen, crafting your own wall art is an incredibly rewarding and imaginative endeavor. It allows you to tailor your decor precisely to your taste and makes your space uniquely yours. Forget generic store-bought pieces; handmade art tells a story and carries a personal touch that mass-produced items simply can’t replicate.
This comprehensive guide will walk you through each step of creating your own captivating summer-themed wall art. From conceptualizing your design to adding those final, personal flourishes, we’ll cover everything you need to know to bring your summer dreams to life on canvas. So, roll up your sleeves, gather your supplies, and prepare to unleash your creativity to craft something truly interesting and beautiful for your home.
Materials You’ll Need for Your DIY Summer Wall Art Project
Before diving into the creative process, it’s essential to have all your tools and materials ready. While specific items might vary depending on your chosen design, here’s a general list of supplies that will help you get started on your DIY summer wall art:
- Canvas or Wood Panel: Choose a size that fits your desired display area. Acrylic paint works well on both.
- Acrylic Paints: Select a palette that evokes summer for you. Think vibrant blues, sunny yellows, lush greens, sandy beiges, and pops of coral or fuchsia.
- Paintbrushes: A variety of sizes, including flat brushes for large areas, round brushes for details, and perhaps a fan brush for textures.
- Palette or Plate: For mixing your colors.
- Water Container: For rinsing brushes.
- Paper Towels or Rags: For blotting brushes and cleaning up spills.
- Painter’s Tape: Essential for creating crisp lines and masking areas.
- Stencils: Pre-made stencils (e.g., palm trees, seashells, geometric patterns) or materials to create your own (cardstock).
- Pencil and Eraser: For sketching your design.
- Drop Cloth or Newspaper: To protect your workspace from paint spills.
- Optional: Sponges, textured tools, glitter, small embellishments (like tiny seashells or beads), clear sealant spray.
Steps to Create Your Own Stunning Summer Wall Art
1. Choose Your Design and Theme
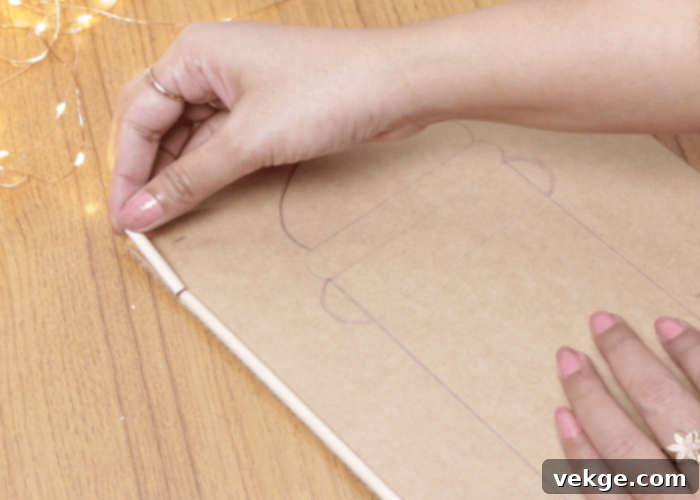
Choosing the perfect design for your summer-themed wall art is akin to picking your favorite ice cream flavor on a sweltering day – it’s all about what truly brings a smile to your face! Begin by reflecting on your most cherished summer memories and imagery. Do you picture yourself relaxing on a sandy beach, enjoying a vibrant picnic, or watching a breathtaking sunset? Perhaps you’re drawn to lush tropical foliage, cheerful citrus fruits, or playful marine life. Lightly sketch out these initial ideas with a pencil on your canvas or a separate piece of paper to visualize which concept resonates most with you.
If you find yourself in need of inspiration, look no further than postcards, travel photographs, online galleries, or even nature itself. Observe the colors and textures around you during the summer months. Consider different styles as well: will your art be abstract, realistic, whimsical, or minimalist? The design phase is the critical starting point of your creative adventure, setting the tone for your entire piece. Don’t rush this step; go with what genuinely makes your heart happy and inspires your artistic flow.
2. Prepare Your Workspace for Creativity
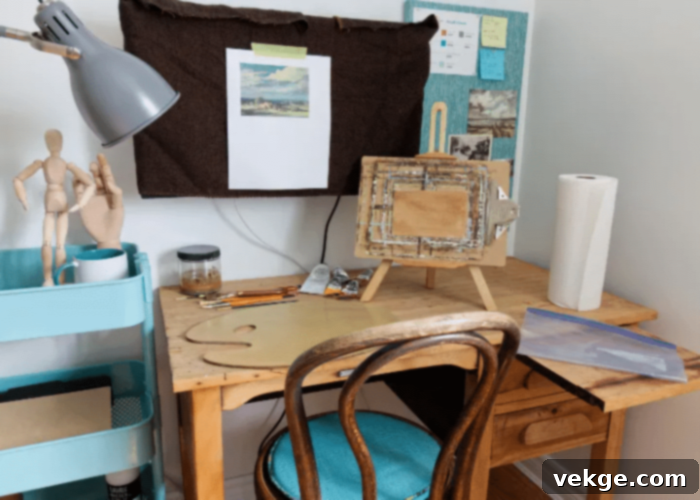
Before you dive into the exciting process of creating your awesome summer-themed wall art, it’s crucial to prepare your space. Think of it like getting ready for a fun day out – a little preparation makes everything smoother and more enjoyable. Start by laying down some old newspaper, a plastic sheet, or a large cloth to protect your work surface from any potential paint spills or drips. This simple step can save you a lot of clean-up time later.
Next, arrange all your painting supplies – paints, brushes, water, palette – within easy reach. Having everything organized and accessible will allow you to stay focused on your artwork without interruption. Good lighting is also important, so position yourself near a window or under a well-lit lamp. Proper ventilation is also a good idea, especially if you’re using sprays or certain types of paints. A well-prepared workspace not only helps keep things tidy but also puts you in the right mindset to let your creativity shine and produce a truly cool piece of wall art. So, prep your space like a pro, and you’ll be all set to bring your vision to life.
3. Apply Your Base Colors
Now, it’s time to introduce some vibrant color magic to your summer-themed wall art! This step is all about laying down the foundational hues that will set the mood for your entire piece. Think about the glorious sky and tranquil sea during those perfect sunny days – the serene blues, crisp whites, and perhaps soft yellows that instantly make you feel warm and relaxed. Begin by applying these base colors gently and evenly across your canvas using a wide brush.
For a seamless transition between elements, such as the sky meeting the sea, try blending the colors while they are still wet. This technique can create beautiful gradients, much like how flavors meld in a delicious smoothie. Don’t be afraid to experiment with different shades; a lighter blue at the top of the sky fading into a deeper blue can add depth. This stage is like giving your wall art its sunny foundation, establishing the overall atmosphere and background. Allow each layer to dry thoroughly before moving on to prevent muddiness. Get those vibrant colors onto your canvas and watch your artwork begin to truly come to life!
4. Create Layers and Add Rich Textures
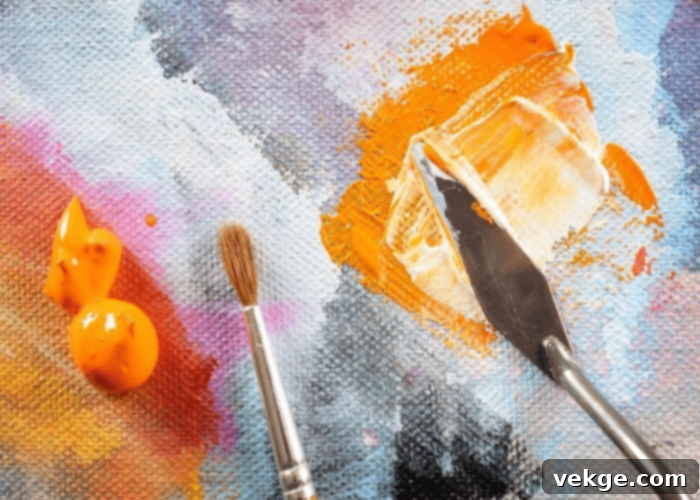
Imagine you’re meticulously building a magnificent sandcastle. You start with a solid base, then gradually add more layers and intricate details to make it truly spectacular. That’s precisely the approach you’ll take with your wall art. Once your base colors are dry, begin adding layers that introduce depth, dimension, and visual interest. Use various colors and brushstrokes to create realistic or impressionistic textures for elements like frothy ocean waves, grainy sand dunes, lush green leaves, or vibrant floral petals.
Experiment with different brush techniques: dry brushing can create a wispy effect for clouds or grass, stippling with a sponge can mimic the texture of sand or foliage, and thicker impasto strokes can give waves a sculptural quality. By carefully building up these layers, your art will transform from a flat image into a captivating scene. Think of each layer as adding another delicious topping to your favorite ice cream – each addition makes it richer and more enjoyable. Letting your creativity flow in this stage is key to making your artwork uniquely yours and truly fantastic.
5. Master Clean Lines with Painter’s Tape
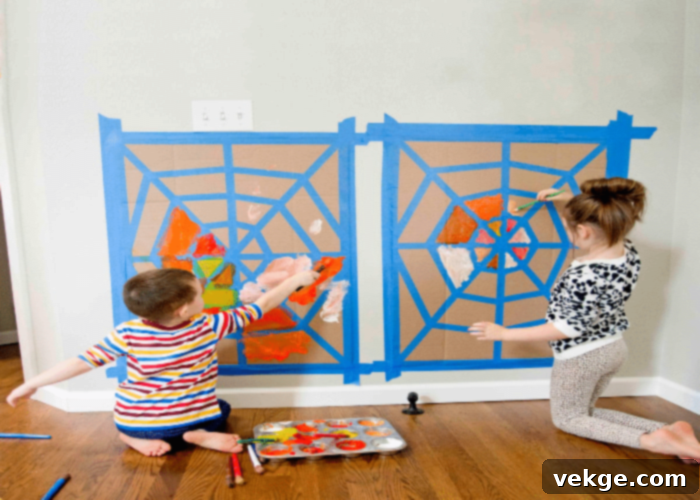
Just like when you were a child carefully coloring inside the lines, painter’s tape is your secret weapon for achieving impeccably sharp and clean edges in your wall art. This simple tool allows you to create crisp boundaries and geometric patterns with ease. Strategically apply the painter’s tape to any areas you wish to keep paint-free, or to define precise shapes like stripes, sun rays, or window frames within your composition. Press the tape down firmly to ensure a good seal and prevent paint from seeping underneath.
Once your paint has dried completely, carefully and slowly peel off the tape. The reveal is always an exciting moment, like uncovering a cool surprise! The clean, distinct lines that emerge will add a professional and polished touch to your artwork, making your shapes look super neat and well-defined. Using painter’s tape is an effective way to introduce graphic elements and enhance the overall structure of your summer piece, ensuring your art takes shape in the neatest way possible.
6. Get Creative with Stencils

Stencils are like magic templates that empower you to create wonderfully uniform and intricate shapes without the worry of wobbly lines. They are fantastic for adding repeating patterns or specific motifs that enhance your summer theme. Imagine using a special stamp to effortlessly make fun pictures of palm leaves, delicate seashells, vibrant flowers, or even a perfect sunny circle.
To use a stencil, carefully place it on your canvas in the desired position. You can secure it lightly with painter’s tape or a temporary adhesive spray to prevent shifting. Then, with a brush or sponge, carefully dab or paint over the open areas of the stencil. Avoid overloading your brush with paint to prevent bleeding under the edges. Stencils are a clever and efficient way to add intricate details and consistency, making your art look super fancy and polished with minimal effort. Don’t be afraid to layer stencils or use different colors within the same stencil to create more complex and dynamic designs.
7. Personalize Your Masterpiece
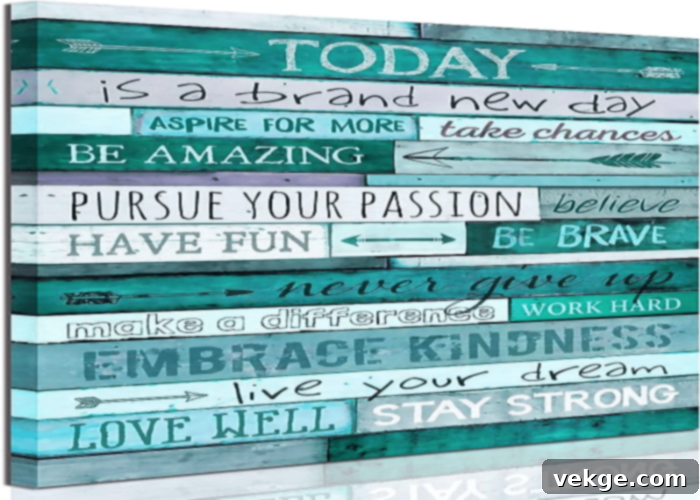
This final step is where your artwork truly becomes a reflection of you and your summer memories. Personalizing your piece adds an invaluable touch that elevates it from a simple painting to a cherished keepsake. Consider incorporating elements that hold special meaning to you: perhaps a favorite summer quote or lyric written in elegant script, your initials subtly blended into a corner, or even a tiny painted heart symbolizing a beloved moment.
You could also add the date you created it, the name of a special place, or small handprints if you’re crafting with children. Don’t limit yourself to paint; small, lightweight embellishments like pressed flowers, dried leaves, or miniature seashells can be carefully glued onto the canvas for a textural, three-dimensional effect. This step is like signing your masterpiece with a creative twist, making your art feel genuinely yours and adding a warm, unique vibe to your space. Let your imagination be your guide, and have fun making your summer wall art one-of-a-kind!
Conclusion: Embrace the Joy of DIY Summer Decor
Creating your own summer-themed wall art is much more than just a craft project; it’s a delightful and often calming process that allows you to express your creativity and infuse your home with personal charm. The act of painting and crafting can be incredibly therapeutic, offering a peaceful escape from daily routines and a wonderful opportunity for self-expression. We wholeheartedly encourage you to try this enjoyable activity, either by yourself or with your kids, friends, or family – it truly is a fun and bonding experience.
As with any creative endeavor, remember to maintain a safe and comfortable workspace. Beyond that, with the right selection of materials, a generous dash of imagination, and a sprinkle of artistic enthusiasm, you possess all you need to craft a truly stunning piece that beautifully captures the vibrant essence of summer. This personalized artwork will not only enhance your room’s decor but also serve as a constant reminder of sunny days and joyful moments. Hang it with pride and let your DIY summer wall art radiate warmth and happiness throughout your home!
