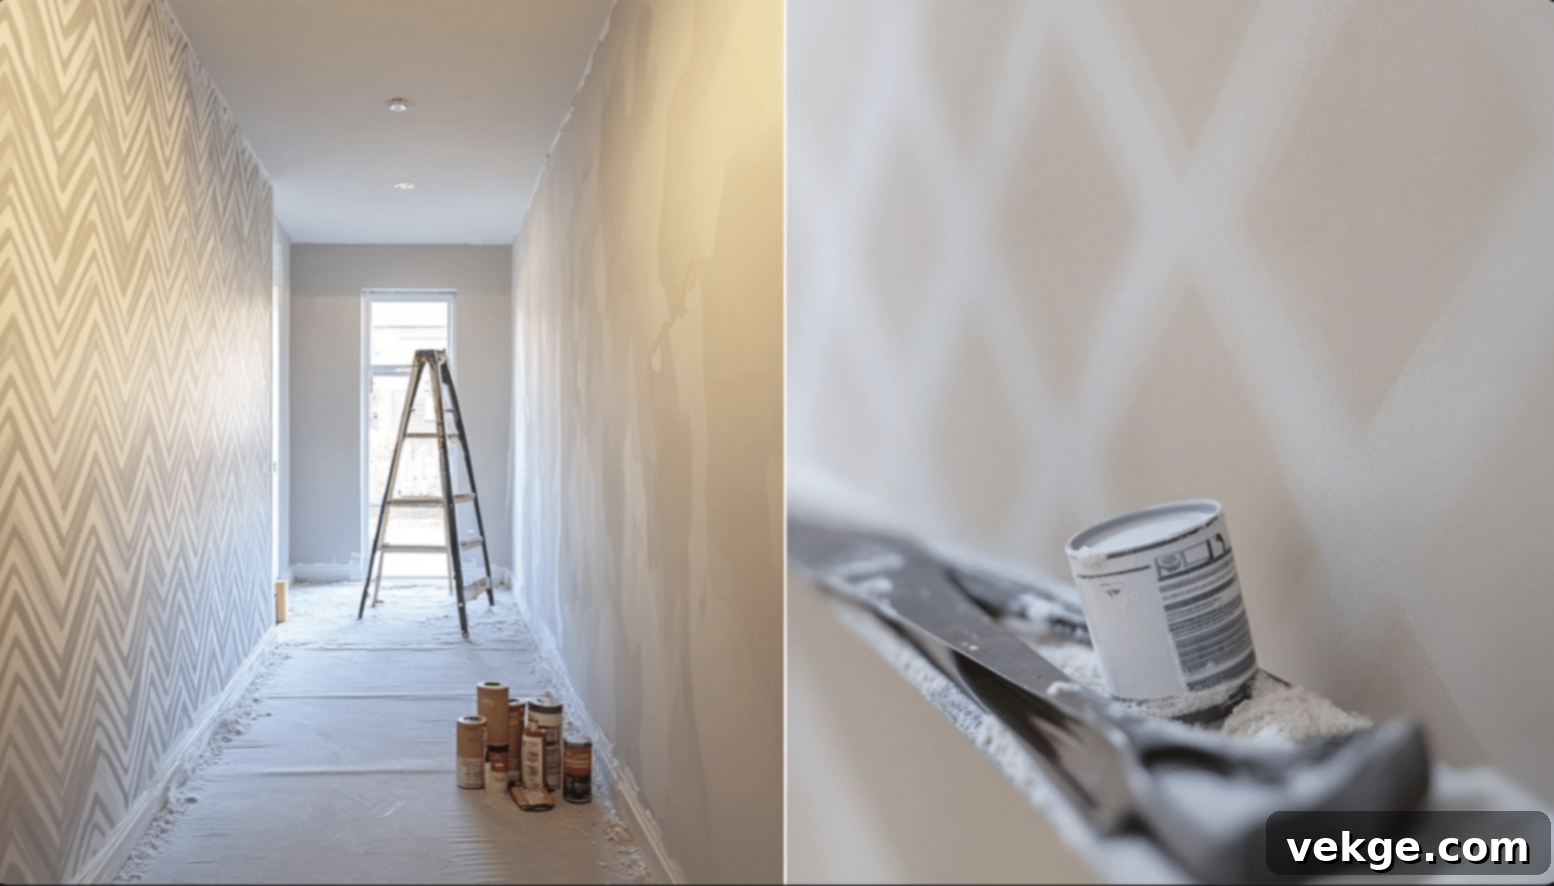
The Ultimate Guide to Paste the Wall Wallpaper: Easy DIY Home Transformation
Looking to infuse your living space with a fresh, contemporary vibe without the usual hassle and mess of traditional decorating? Paste the wall wallpaper is revolutionizing home renovation, offering a streamlined and efficient alternative to conventional wallpapering methods. This innovative approach simplifies the entire process, making it an ideal choice for both seasoned DIY enthusiasts and first-time decorators.
Unlike the older techniques that require applying adhesive directly to the wallpaper sheets and then ‘booking’ them (folding to allow the paste to soak), paste the wall wallpaper involves a much more direct and clean application. Here, you apply the adhesive straight onto the wall surface, section by section, before smoothly pressing the dry wallpaper into place. This fundamental difference translates into a host of benefits that significantly enhance the decorating experience, promising faster results, less mess, and a more enjoyable project.
What Makes Paste the Wall Wallpaper a Game Changer?
The key differentiator for paste the wall wallpaper lies in its design and the application method. Typically manufactured from high-quality, non-woven materials, this type of wallpaper boasts a robust, fabric-like texture. This non-woven composition is what allows the paper to remain stable and resist stretching or shrinking, even when wet. When you apply paste directly to the wall, you eliminate the need for large pasting tables and the often-messy process of pre-soaking wallpaper sheets.
The benefits of this modern approach are extensive, making it a highly attractive option for any home renovation project:
- Time-Saving: With no soaking or booking required, installation time is significantly reduced. You can often complete a room in a fraction of the time it would take with traditional wallpaper.
- Minimal Mess: Applying paste directly to the wall means less adhesive dripping onto floors or furniture. Your workspace remains cleaner and tidier throughout the project.
- Easier Adjustment: The non-woven material allows for easier repositioning once on the wall, giving you ample opportunity to perfectly align patterns and smooth out any imperfections before the adhesive sets. This forgiving nature is a huge advantage for achieving flawless results.
- Durability and Stability: The paper maintains its integrity and dimensions during installation, preventing common issues like bubbling, stretching, or warping. This ensures a smoother, more professional finish.
- Beginner-Friendly: Its simplified process and forgiving characteristics make it an excellent starting point for those new to wallpapering, ensuring successful outcomes even for complex designs.
- Efficient Removal: When it’s time for a change, paste the wall wallpaper is typically much easier to remove. It often peels off in full, dry strips, leaving minimal residue and protecting your walls for future redecoration.
Essential Planning for a Flawless Wallpaper Installation
Before you even think about unrolling your first strip, meticulous planning is the cornerstone of a successful wallpaper project. Taking the time to prepare thoroughly will save you headaches, time, and money in the long run.
Measuring Your Walls Accurately
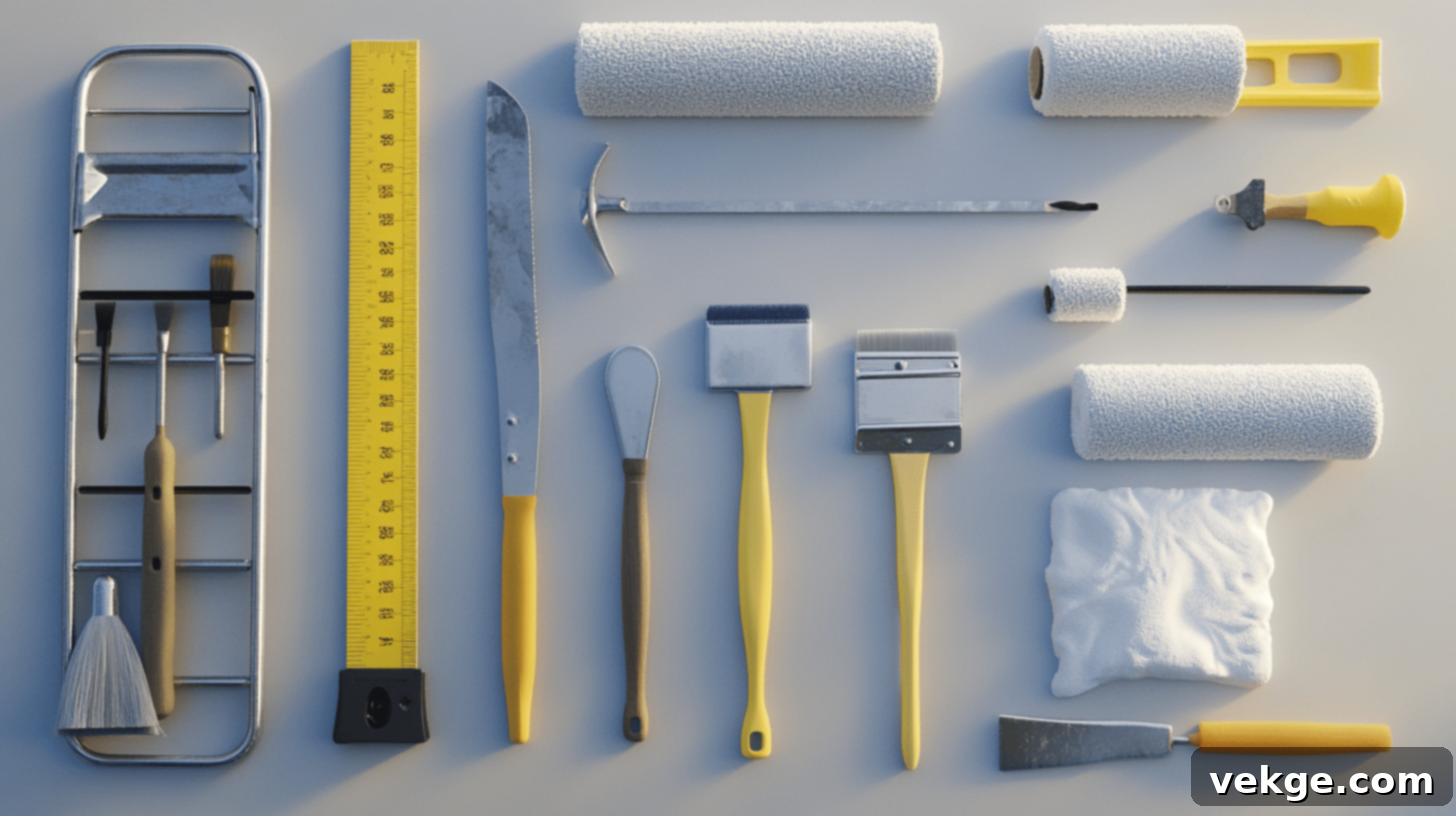
Accurate measurements are paramount. Use a steel measuring tape to measure the height and width of each wall section you plan to wallpaper. Multiply these two figures to calculate the square footage for each section, then sum them up for the total area. It’s always wise to measure multiple times to ensure precision. To account for pattern matching, trimming, and any potential mistakes, always add an extra 10-15% to your total square footage when purchasing wallpaper rolls. Check the specific pattern repeat on your chosen wallpaper as this can influence how much extra you need. Some complex patterns might require up to 20% extra.
Budgeting for Your Wallpaper Project
A well-structured budget helps you manage costs effectively. Your overall project budget should typically allocate resources as follows:
- Wallpaper Rolls (65% of total cost): This is the largest expense. Prices vary widely based on material, design, brand, and origin. Invest in good quality wallpaper that suits your aesthetic and durability needs.
- Quality Tools (20%): While some tools might seem optional, having the right equipment significantly eases the process and improves the finish. Don’t skimp on essentials like a sharp knife or a reliable smoothing tool.
- Adhesive and Primer (15%): The foundation for long-lasting wallpaper. A good primer ensures optimal adhesion and prevents issues like peeling. Choose an adhesive specifically designed for paste the wall wallpapers.
Gathering Your Toolkit: Must-Have Wallpapering Supplies
Having the right tools at hand is crucial for a smooth and efficient installation. These items will help you achieve a professional finish and minimize frustration:
- Steel Measuring Tape: For accurate wall and wallpaper measurements.
- Level Tool (or Laser Level): Essential for drawing precise vertical guide lines, ensuring your first strip is perfectly straight.
- Sharp Utility Knife with Snap-Off Blades: A sharp blade is critical for clean cuts along edges and around obstacles. Regularly snap off dull sections for optimal performance.
- Clean Sponges and Cloths: For wiping away excess paste and cleaning spills immediately.
- Plastic Smoother (or Wallpaper Smoothing Brush): To press wallpaper firmly onto the wall and remove air bubbles, working from the center outwards.
- Seam Roller: A small roller used to gently press seams flat, ensuring they are invisible and securely adhered.
- Paint Tray and Roller (medium nap): For applying adhesive evenly to the wall. A paint roller makes this task quick and efficient.
- Small Paintbrush: Ideal for applying paste precisely in corners and around edges where the roller might not reach.
- Step Ladder: For safe access to higher wall sections and ceilings.
- Bucket: For water, adhesive, and cleaning.
- Quality Adhesive: Choose an adhesive specifically formulated for non-woven, paste the wall wallpapers. You can opt for ready-mixed paste for convenience (great for smaller projects) or powder adhesive (cost-effective for larger areas, requiring mixing).
Preparing Your Walls for Optimal Adhesion
The success and longevity of your wallpaper project largely depend on the condition of your walls. Proper wall preparation creates the ideal surface for the adhesive to bond, preventing future issues like bubbling, peeling, or visible imperfections.
A Step-by-Step Guide to Wall Preparation
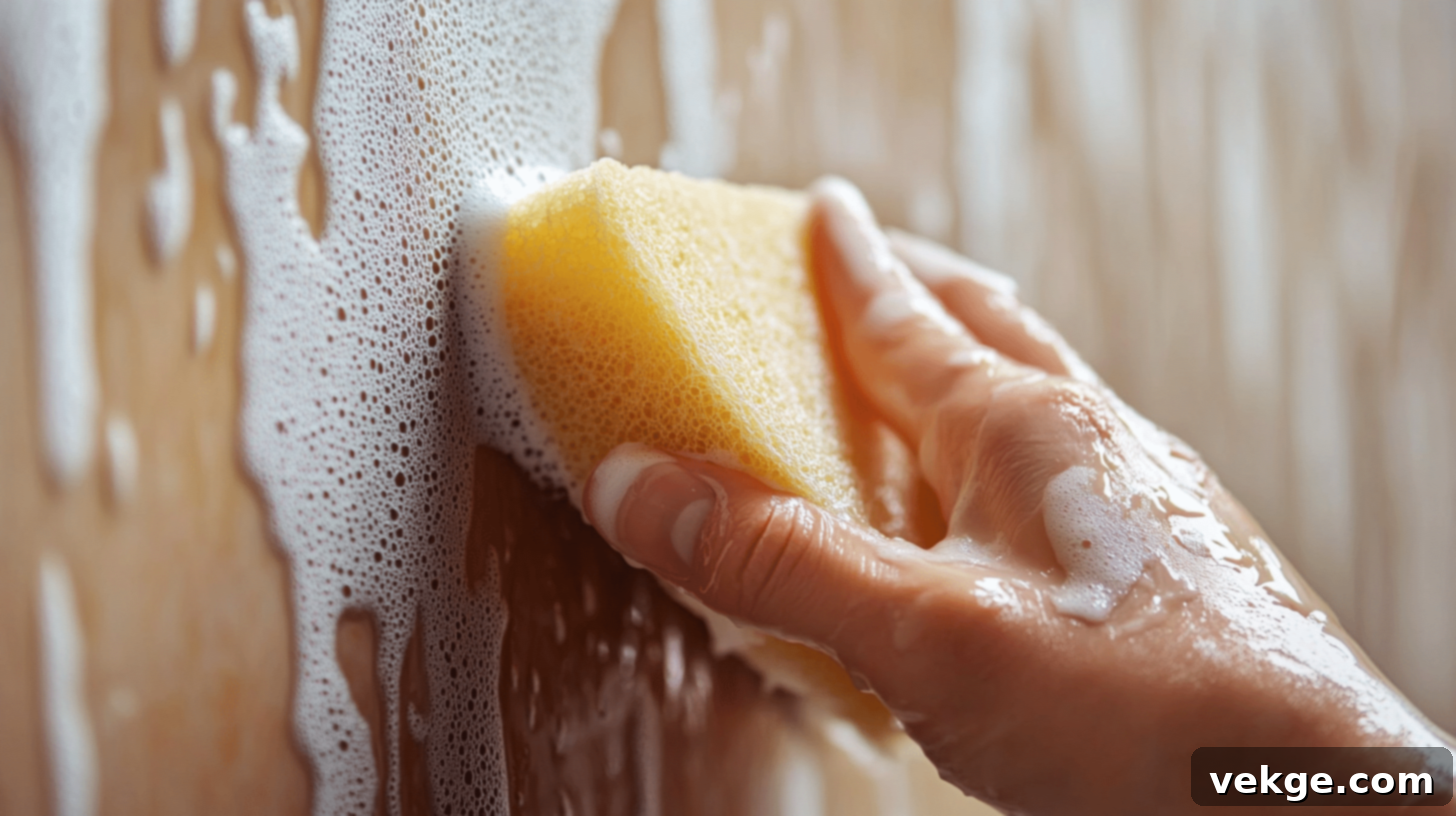
- Clean Surfaces Thoroughly: Use a damp sponge and a mild detergent solution to wash down your walls, removing all dirt, grime, and grease. Rinse with clean water and allow to dry completely. A clean surface is essential for proper adhesion.
- Fix Holes or Cracks: Inspect your walls for any imperfections. Fill all nail holes, cracks, or larger damage with a spackling compound. Allow the compound to dry fully according to manufacturer instructions.
- Sand Repairs Until Smooth: Once the filler is dry, sand the repaired areas until they are perfectly smooth and flush with the rest of the wall surface. This prevents any bumps or ridges from showing through the wallpaper. Wipe away all sanding dust with a damp cloth.
- Remove Old Coverings Completely: If there’s old wallpaper, it must be completely removed. Do not wallpaper over existing wallpaper, as it can lead to peeling, bubbling, and a less durable finish.
- Apply Primer Made for Wallpaper: This is a crucial step often overlooked. Apply a high-quality wallpaper primer (also known as a “sizing” or “wall-sizing”) to all walls you plan to cover. Primer seals porous surfaces, prevents paste from being absorbed too quickly, and creates a uniform surface for better adhesion. It also aids in easier removal in the future.
- Let the Primer Dry Fully: Allow the primer to dry for at least 24 hours, or as recommended by the manufacturer, before proceeding with wallpaper installation. Rushing this step can compromise adhesion.
The Paste the Wall Installation Process: A Detailed Guide
Now that your walls are perfectly prepared and your tools are ready, it’s time for the exciting part – hanging your paste the wall wallpaper. Patience and precision are key for a professional-looking finish.
Applying the Paste: The Foundation of Success
Begin by marking a precise vertical line on your wall using your level tool or a plumb bob. This will be your guide for the first strip, ensuring it hangs perfectly straight. It’s often recommended to start near a corner or a door frame, working from left to right for most installations. With paste the wall wallpaper, you apply the adhesive directly to the wall in manageable sections:
- Cover an Area Slightly Wider: Apply paste to an area slightly wider than your wallpaper strip (e.g., 2-3 inches extra on each side) and from ceiling to floor. This ensures you have enough paste at the edges.
- Use Enough Paste for Good Adhesion: Apply an even, consistent layer of adhesive. Too little paste can lead to peeling, while too much can cause slippage or oozing. Follow the adhesive manufacturer’s guidelines.
- Work in Manageable Sections: Focus on one wallpaper strip’s width at a time. This prevents the paste from drying out before you can hang the paper. For large walls, consider working in three-foot sections if the paste allows for a longer open time.
- Pay Special Attention to Corners: Use a small paintbrush to ensure paste is applied generously and evenly into corners and along trim lines.
Hanging Your First Strip: Precision is Key
Unroll your first pre-cut strip of wallpaper. Align the edge of the paper perfectly with your marked vertical line, leaving a small overlap (about 2 inches) at the ceiling and floor for trimming. Gently press the top of the strip onto the pasted wall. Using your plastic smoother or smoothing brush, work from the center of the strip outwards, moving from top to bottom. This action expels any trapped air bubbles and ensures firm contact with the adhesive. Don’t be afraid to gently peel back and reposition the paper if needed; this is one of the major advantages of paste the wall wallpaper.
Working with Subsequent Strips: Pattern Matching and Seam Rolling
For subsequent strips, the process is similar, but with an added focus on pattern matching and seam management:
- Match Patterns Carefully: Before pressing the second strip fully, align its pattern precisely with the previous strip. Slide the paper slightly to achieve a perfect match.
- Butt Joints, Not Overlaps: Aim for a ‘butt joint’ where the edges of the two strips meet perfectly without overlapping. Overlapping can create visible seams.
- Roll Seams with a Seam Roller: Once the pattern is matched and the strip is smoothed, gently run a seam roller along the vertical seams. This presses the edges firmly into the adhesive for an invisible finish. Be careful not to press too hard, especially on textured wallpaper, as it can flatten the texture.
- Clean Excess Paste Immediately: As you work, inevitably some paste may squeeze out from the seams. Immediately wipe away any excess paste with a clean, damp sponge to prevent it from drying on the wallpaper, which can leave shiny marks or discoloration.
- Check Alignment Frequently: Periodically step back and check your overall alignment to ensure everything is straight and matched.
Mastering Tricky Areas: Outlets, Windows, and Doors
Working around architectural features requires a bit more care:
For Outlets and Switches:
- Turn Off Power: ALWAYS turn off the electricity at the breaker box to the room you are working in. Safety first!
- Remove Cover Plates: Unscrew and remove all outlet and switch cover plates.
- Cut Small Diagonal Slits: Hang the wallpaper over the outlet. Carefully feel for the edges of the box beneath. Make small diagonal cuts from the center of the opening towards each corner of the box.
- Trim Excess Carefully: Fold the wallpaper flaps into the outlet box and trim any excess paper with your utility knife, ensuring the edges are neat and will be covered by the plate.
- Replace Covers: Once the paste is dry, replace the cover plates.
When Working Around Windows and Doors:
- Leave Extra Paper at Openings: Hang the wallpaper strip right over the window or door opening, allowing for a generous overlap.
- Make Precise Corner Cuts: Carefully cut the paper from the outside edge towards the corners of the window/door frame, creating flaps.
- Work Paper Into Corners: Gently press the paper into the frame’s edges.
- Trim After Drying: Use your smoother to define the edge of the frame, then trim the excess paper with a sharp utility knife against a straightedge or wide putty knife for a clean cut. For the neatest finish, wait until the paste has partially dried before making the final trims around openings.
Maintaining Your Beautiful Wallpaper: Tips for Longevity
Once your stunning paste the wall wallpaper is installed, a little routine care will ensure it remains a focal point in your home for years to come. Proper maintenance helps preserve its aesthetic appeal and extends its lifespan.
Daily Care and Spot Cleaning
- Dust with a Soft Cloth Weekly: Regular dusting prevents dirt and dust from building up and becoming embedded. Use a soft, dry microfiber cloth or a feather duster.
- Clean Spots Using a Damp Sponge: For small marks or smudges, gently wipe with a barely damp, clean sponge. Always test in an inconspicuous area first, especially with patterned or textured papers.
- Avoid Harsh Cleaning Products: Never use abrasive cleaners, strong chemicals, or scrubbing brushes, as these can damage the wallpaper’s surface, fade colors, or compromise the material.
- Ensure Good Ventilation: Especially in areas prone to humidity (like bathrooms), good airflow helps prevent moisture buildup that can weaken adhesive and encourage mold.
- Protect from Direct Sunlight: Over time, direct and prolonged exposure to sunlight can fade wallpaper patterns. Use blinds, curtains, or UV-filtering window films to protect your walls.
- Fix Loose Edges Promptly: If you notice any edges lifting, apply a small amount of wallpaper repair adhesive with a fine brush or syringe and press it down firmly. Addressing these quickly prevents further peeling.
- Store Extra Paper for Repairs: Keep any leftover wallpaper rolls in a cool, dry place. These can be invaluable for future patch-ups if your wallpaper gets damaged.
Addressing Common Wallpaper Issues and Solutions
Even with the easiest wallpaper, minor issues can arise. Here’s how to tackle them:
- Air Bubbles: Small bubbles often disappear as the wallpaper dries. For persistent bubbles, carefully pierce a tiny hole with a fine needle or utility knife, then gently smooth the air out with your finger or a smoothing tool.
- Lifting Edges/Seams: If edges or seams lift after drying, use a seam repair adhesive. Apply a small amount underneath the lifted area and press firmly. Wipe away any excess.
- Pattern Misalignment: If you notice slight misalignment, try to begin the next strip in a less visible area of the room or adjust the pattern repeat slightly. For major misalignments, it might be necessary to carefully remove and reapply the strip.
- Paste Marks: If you missed wiping away excess paste and it has dried, gently try to remove it with a clean, damp sponge. Be cautious not to rub too aggressively, especially on non-washable papers.
- Corner Gaps: If corners aren’t adhering properly, reapply a small amount of paste with a fine brush and press firmly. Ensure your wall preparation in corners was thorough.
Unlock Your Interior Designer: Wallpaper Design Tips
Choosing the right wallpaper can dramatically alter the perception and ambiance of a room. Consider these design tips to make the most of your paste the wall wallpaper project:
- Small Rooms Benefit from Light Colors and Subtle Patterns: Light-colored wallpapers with small, delicate patterns or textures can make a small room feel larger, more open, and airier. Avoid dark, busy patterns that can make the space feel cramped.
- Large Spaces Can Handle Bold Designs: In expansive rooms, you have the freedom to experiment with dramatic, large-scale patterns, dark hues, or vibrant colors. These can add personality, create focal points, and make a large room feel more intimate.
- Narrow Rooms Work Well with Horizontal Patterns: Horizontal stripes or patterns can visually widen a narrow room, making it appear less tunnel-like and more spacious.
- Low Ceilings Pair with Vertical Patterns: Vertical stripes or patterns that draw the eye upwards can create the illusion of higher ceilings, making a room feel taller and grander.
- High-Traffic Areas Need Durable Options: For hallways, children’s rooms, or kitchens, opt for highly washable, durable wallpaper. Vinyl-coated or scrubbable paste the wall options are best for resisting stains and wear.
- Consider Texture: Beyond color and pattern, texture adds another layer of depth. Embossed or textured wallpapers can create a sophisticated feel and hide minor wall imperfections.
- Feature Walls: If you’re hesitant to wallpaper an entire room, a single feature wall can make a powerful statement. Choose a bold pattern or color for one wall and complement it with paint on the others.
Professional Results: Tips and Tricks for Paste the Wall Success
To ensure your paste the wall wallpaper project yields truly professional and lasting results, keep these expert tips and tricks in mind throughout the process:
- Read Instructions Completely Before Starting: Every wallpaper and adhesive product may have specific recommendations. Always read the manufacturer’s instructions for both your chosen wallpaper and adhesive thoroughly before beginning.
- Maintain Consistent Room Temperature: Ideal wallpapering conditions are generally between 65-75°F (18-24°C) with moderate humidity. Avoid extreme temperatures or drafts, which can cause paste to dry too quickly or unevenly.
- Work with Good Lighting: Ensure your workspace is well-lit. Good lighting helps you see imperfections, match patterns precisely, and clean up excess paste effectively.
- Take Time with Pattern-Matching: This is where many DIYers rush. Spend extra time aligning patterns, especially with intricate designs. A perfect pattern match is a hallmark of a professional job.
- Keep Your Workspace Clean: Regularly wipe down tools, tables, and the floor. This prevents paste from drying on surfaces and keeps your wallpaper clean. Have a bucket of clean water and sponges handy.
- Allow Proper Drying Time: Resist the urge to inspect your work too closely immediately after hanging. Wallpaper needs time to dry and fully adhere, typically 24-48 hours. During this period, avoid touching or manipulating the paper.
- Work with a Helper: While paste the wall wallpaper is designed for individual installation, having an extra set of hands can be incredibly helpful for handling long strips, especially near the ceiling.
- Use a Fresh Blade Frequently: A dull utility knife blade will tear the wallpaper instead of cutting it cleanly. Snap off old blade sections or replace blades often for crisp, clean edges.
Seamless Transitions: Wallpaper Maintenance and Removal
The ease of paste the wall wallpaper extends beyond installation to its long-term care and eventual removal, making it a truly versatile and user-friendly home decor solution.
Caring for Your Investment
Proper care is essential for maintaining the beauty and extending the life of your wallpaper. Beyond the weekly dusting and immediate spot cleaning mentioned earlier, consider these long-term care tips:
- Monitor Humidity Levels: Extreme fluctuations in humidity can cause wallpaper to expand and contract, potentially leading to lifting seams. Use humidifiers or dehumidifiers to maintain stable indoor conditions, especially in seasonal climates.
- Protect from Physical Damage: Arrange furniture to avoid constant rubbing or scuffing against the wallpaper. Be mindful when moving items or performing other DIY tasks in the room.
- Address Water Leaks Immediately: Water damage is one of the biggest threats to wallpaper. Fix any plumbing leaks or roof issues promptly to prevent staining, peeling, or mold growth.
- Inspect Periodically: Take a few minutes every few months to visually inspect your wallpaper. Look for any subtle signs of lifting, damage, or fading. Early detection makes repairs much simpler.
Effortless Removal for Your Next Decor Update
One of the most appealing features of paste the wall wallpaper, particularly those made with non-woven materials, is its relatively straightforward removal process. When you’re ready for a new look, you’ll appreciate how much easier this method is compared to traditional wallpaper removal.
Here’s how to proceed:
- Gather Your Supplies: You’ll need plastic sheeting to protect floors and furniture, a spray bottle filled with warm water, a wide putty knife or scraper, a bucket for waste, and clean sponges.
- Prepare the Room: Remove all furniture or cover it. Lay down plastic sheeting to catch any water or wallpaper pieces. Turn off electricity to outlets or switches you might be near.
- Test a Small Area: Start in an inconspicuous corner. Lightly spray a section of the wallpaper with warm water. Wait a few minutes to allow the water to penetrate and loosen the adhesive.
- Peel in Strips: Begin by gently lifting a corner or edge of the wallpaper with your putty knife. Because of its non-woven composition, paste the wall wallpaper should typically peel away from the wall in full, dry sheets. Pull slowly and steadily, aiming downwards.
- Re-spray if Needed: If you encounter resistance or the paper tears, re-spray the area with warm water and wait a little longer. Do not force the paper off, as this could damage the underlying wall surface.
- Clean the Walls: After all wallpaper is removed, use warm water and a clean sponge to wipe down the entire wall surface, removing any remaining adhesive residue. This step is crucial for preparing the wall for its next finish.
- Inspect and Repair: Allow the walls to dry completely. Inspect for any small holes or minor damage and fill them with spackling compound, sanding smooth once dry. Your walls are now pristine and ready for painting or new wallpaper.
The prevention of issues through good maintenance and the straightforward removal process ensures your walls remain in excellent condition for years of decorating possibilities.
Watch and Learn: Video Tutorial
Sometimes, seeing is believing. To give you an even clearer understanding of the paste the wall application process, here’s a helpful video tutorial demonstrating the techniques discussed in this guide. Visual instructions can often clarify complex steps and build confidence for your DIY project.
For More Details, Check out This Video Tutorial by Rob Gardner.
Conclusion: Transform Your Space with Confidence
Paste the wall wallpaper stands out as an exceptionally practical and rewarding option for updating your home. Its simplified approach significantly reduces the time, effort, and mess traditionally associated with wallpapering, making stylish wall transformations accessible to everyone. By following the comprehensive steps and tips outlined in this guide – from meticulous planning and precise installation to diligent maintenance – you are well-equipped to achieve stunning, professional-quality results.
Remember these core principles for success: thoroughly prepare your walls, work patiently in manageable sections, consistently match patterns, and keep your workspace clean. The forgiving nature of the material, coupled with the straightforward application, means you can approach your decorating project with newfound confidence, even if you’re new to DIY.
Beyond the ease of installation, the long-term benefits are equally compelling. With basic care, your beautiful walls will maintain their fresh look for years. And when you’re ready for another change, the effortless removal process ensures a smooth transition to your next design vision, protecting your walls for future projects. Embrace the efficiency and aesthetic versatility of paste the wall wallpaper to effortlessly enhance your living environment and create a home that truly reflects your personal style.
Frequently Asked Questions (FAQs)
Is Paste the Wall Wallpaper a Good Choice for DIYers?
Absolutely! Paste the wall wallpaper is considered one of the most DIY-friendly wallpaper options available. Its application method, where paste is applied to the wall instead of the paper, eliminates the need for messy pasting tables and makes the paper much easier to handle. The non-woven material is more stable, less prone to tearing, and allows for easier repositioning, significantly reducing common frustrations for beginners and leading to more satisfying results.
How Long Does Paste the Wall Wallpaper Take to Dry Completely?
Typically, paste the wall wallpaper will take between 24 to 48 hours to dry completely. The exact drying time can vary depending on several factors, including room temperature, humidity levels, and the type of adhesive used. Adequate ventilation is crucial to ensure even drying and prevent moisture from becoming trapped, which could lead to issues like bubbling or mold growth. It’s always best to allow the full recommended drying time before doing any final touching up or re-hanging items on the wall.
Can Paste the Wall Wallpaper Be Used in High-Humidity Areas Like Bathrooms?
Yes, paste the wall wallpaper can be used in bathrooms and other high-humidity areas, but with an important caveat: you must choose a product specifically labeled as moisture-resistant, washable, or suitable for humid environments. Many modern non-woven wallpapers are designed to withstand moisture better than traditional papers. However, proper ventilation in the bathroom is absolutely essential to prevent excessive moisture buildup, which can still compromise even the most durable wallpapers over time. Ensure you have a good extractor fan and use it regularly to maintain the wallpaper’s longevity and appearance.
