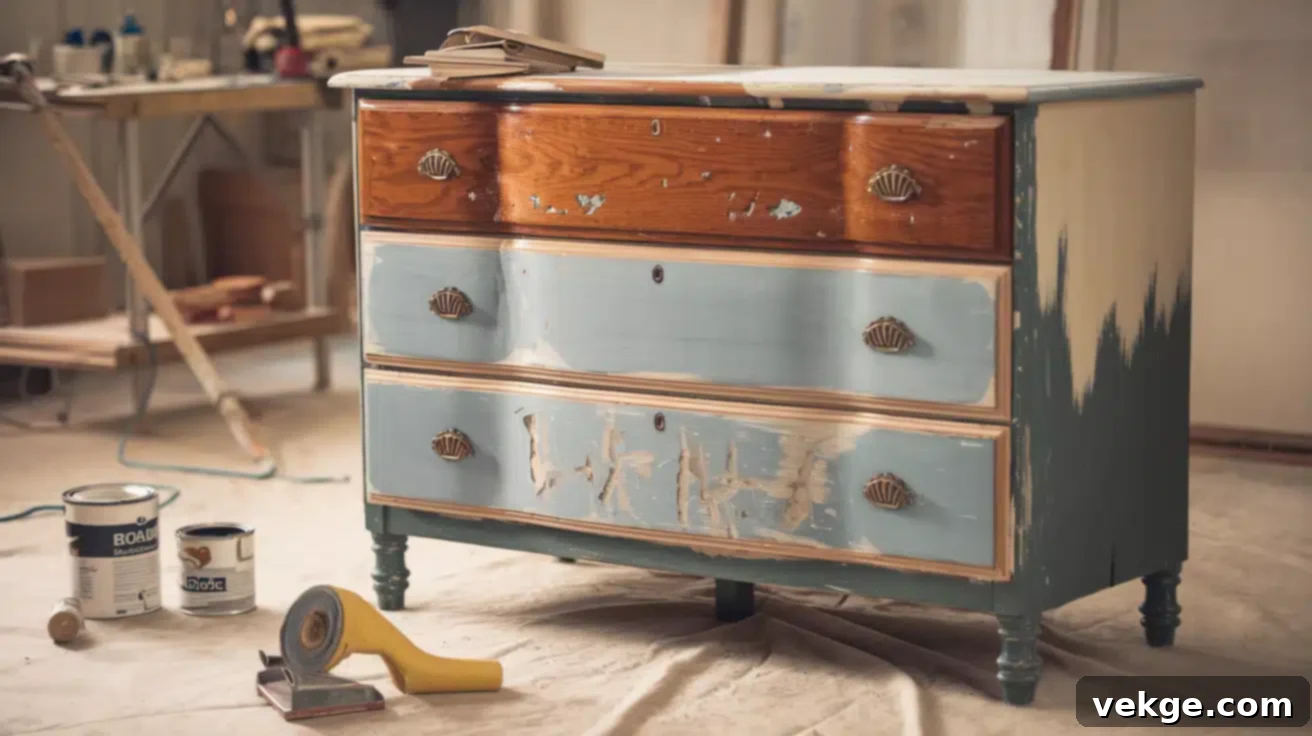
DIY Dresser Makeover: The Ultimate Guide to Restoring, Refinishing, and Odor Removal
Old dressers often hold hidden potential beneath their scratched surfaces and musty odors. Rather than discarding these forgotten pieces, with a bit of effort and the right techniques, you can breathe new life into them, transforming them into functional and beautiful focal points for your home.
Refinishing a dresser is not only an economical choice but also an incredibly rewarding project. Simple yet effective techniques can turn a free find from Facebook Marketplace or a neglected thrift store gem into a stunning showpiece that perfectly complements your personal style and decor.
This comprehensive guide combines expert refinishing methods with proven odor-elimination strategies, ensuring your restored dresser looks fantastic and smells fresh. Whether you’re dealing with chipped corners, cracked sides, stubborn water rings, or that distinctive old furniture smell, our step-by-step approach is designed to guide you through every challenge.
We’ll walk you through each critical stage of the restoration process, from carefully selecting the right supplies to applying the final protective coat of polyurethane. By following along, you’ll gain the confidence and skills to create a beautiful, durable, and fresh-smelling dresser that will enhance any room in your home.
Step-by-Step Guide: How to Refinish a Dresser and Eliminate Odors
Gather Your Essential Supplies
Before you embark on your dresser refinishing journey, gathering all necessary supplies will ensure a smooth and efficient process. Having everything at hand prevents interruptions and allows you to focus on the task.
- Sandpaper – You’ll need a variety of grits, from coarse (e.g., 80-100 grit) for removing old finishes and smoothing major repairs, to medium (120-150 grit) for general smoothing, and fine (180-220 grit) for achieving a silky smooth surface before priming or staining.
- Primer – A high-quality wood primer is crucial for ensuring paint adhesion, blocking stains, and providing an even base. Choose a primer specifically designed for wood surfaces, preferably one that is stain-blocking.
- Paint/Stain – Your choice depends on your desired final look. Select a durable paint, such as a furniture or cabinet enamel, for painted finishes. For a natural wood look, choose a wood stain in your preferred color.
- Wood Filler/Bondo – Essential for repairing imperfections. Wood filler is suitable for small scratches, dents, and minor chips, while Bondo (automotive body filler) is excellent for larger, structural damage or building up chipped corners due to its strength and quick drying time.
- TSP Cleaner (Trisodium Phosphate) – An industrial-strength cleaner perfect for degreasing and deep cleaning wood surfaces. It effectively removes years of grime, dirt, and oily residues, preparing the surface for sanding and finishing.
- Mineral Spirits – Used to clean up oil-based stains and paints, as well as to remove any lingering residue from stripping products, ensuring a clean surface for your new finish.
- Baking Soda – An inexpensive and highly effective natural deodorizer. It works by absorbing musty odors from within the wood, especially useful for drawer interiors.
- White Vinegar – A natural disinfectant and deodorizer. A diluted vinegar solution is excellent for wiping down drawer interiors to kill mold spores and neutralize odors.
- Gloves and Respirator – Safety first! Protective gloves (nitrile or chemical-resistant) shield your skin from chemicals and paint, while a respirator (N95 or higher) protects your lungs from sanding dust and chemical fumes.
- Drop Cloths – Imperative for protecting your work area from drips, dust, and debris. Lay them down generously to cover floors and surrounding furniture.
- Tack Cloths – Special cloths designed to pick up fine dust particles after sanding, ensuring a perfectly clean surface for painting or staining.
- Brushes, Rollers, or Sprayer – Depending on your chosen finish and application method. High-quality synthetic brushes for paint, foam brushes for polyurethane, and fine-finish rollers for smooth paint application.
Step 1: Remove Hardware, Deep Clean, and Prepare for Odor Removal
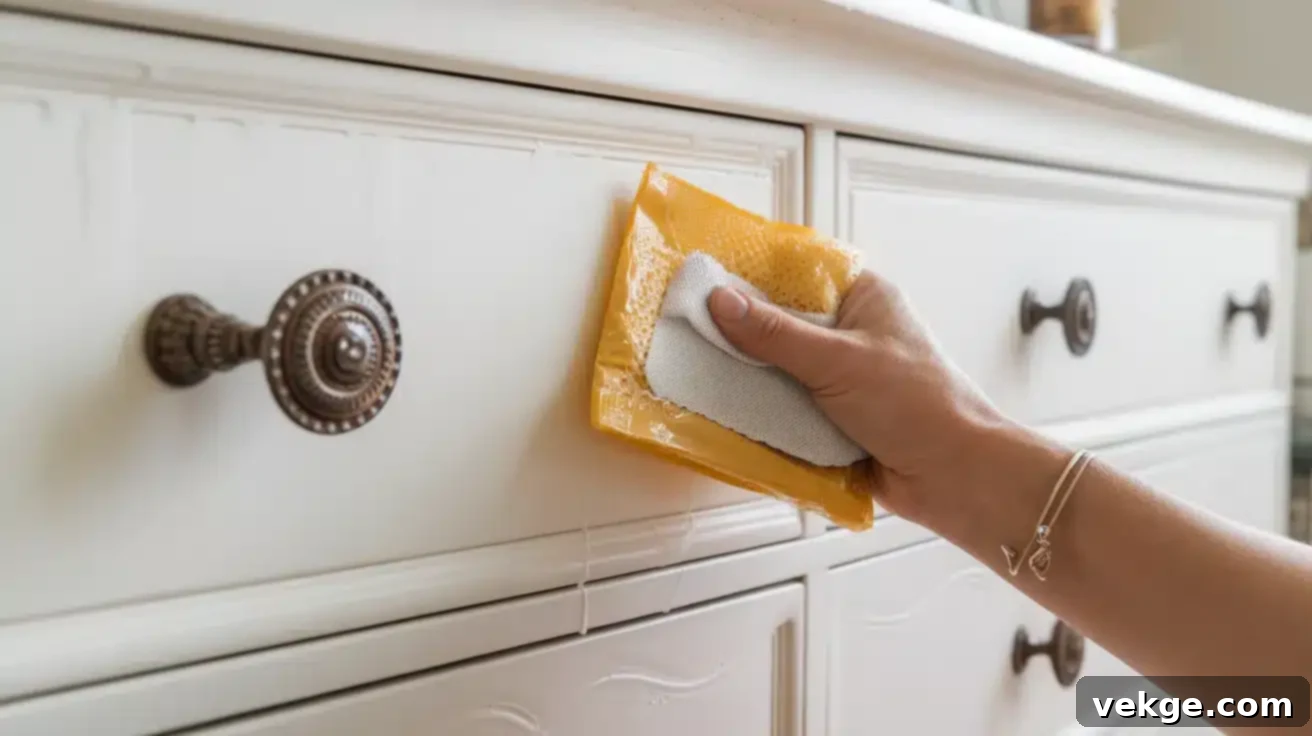
Begin by meticulously removing all existing hardware from your dresser – knobs, pulls, and any other decorative elements. Place these items in a labeled plastic bag to keep them organized and prevent loss, especially if you plan to reuse them. This also allows for thorough cleaning and refinishing without obstruction.
Next, clean the entire piece thoroughly. Mix TSP (Trisodium Phosphate) with warm water according to the manufacturer’s instructions. Using a sponge or cloth, vigorously scrub all exterior and interior surfaces, including drawer sides and bottoms. TSP is excellent for cutting through years of grease, dirt, and buildup. Afterward, rinse the dresser well with plain clean water to remove any TSP residue. Allow the dresser to dry completely for at least 24-48 hours. Proper drying is crucial to prevent moisture from getting trapped under your new finish and to allow any initial odors to dissipate. For persistent musty odors in drawers, sprinkle a generous amount of baking soda inside and let it sit for several days to a week, replacing it if needed.
Step 2: Repair Damage and Prepare Surfaces
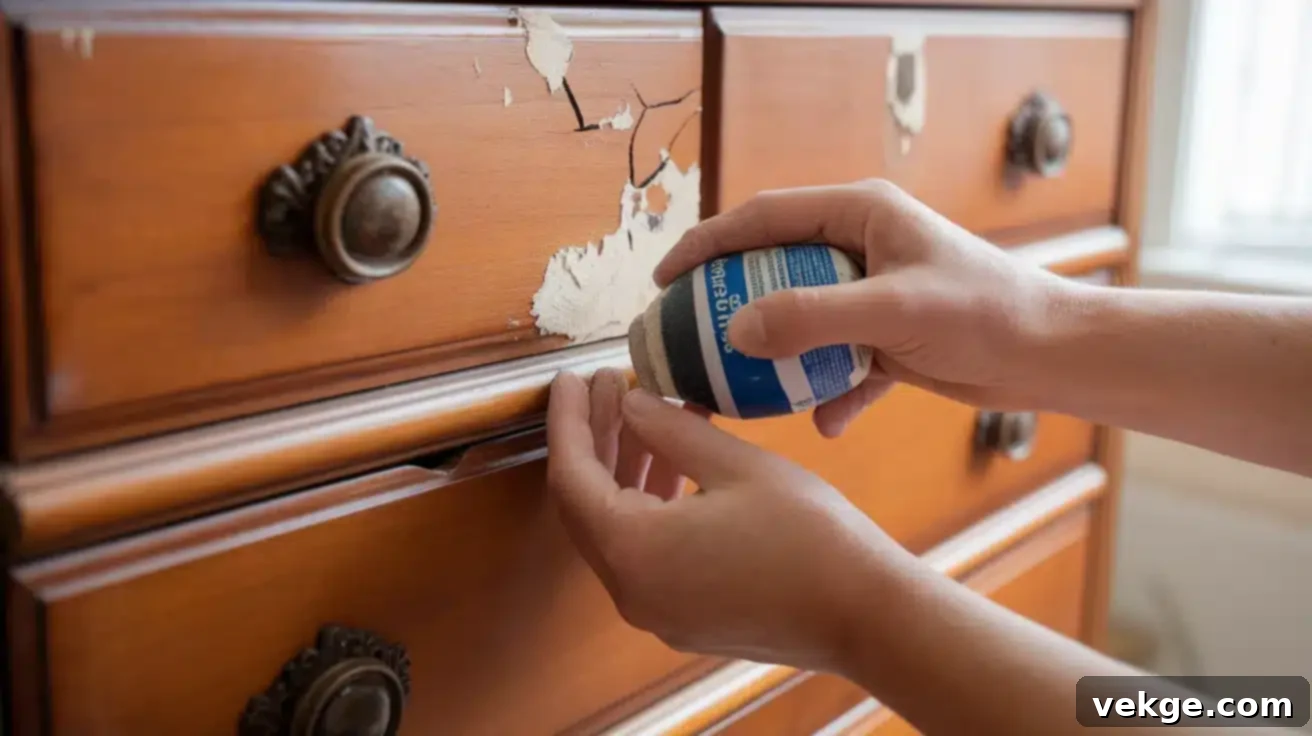
Once clean and dry, carefully examine the dresser for any damage that requires repair. Look for cracks, chips, dents, loose joints, or missing pieces of veneer. For small cracks, dents, and minor chips along the sides or top, use a good quality wood filler. Apply the filler with a putty knife, pressing it firmly into the imperfection, and slightly overfilling. Shape the filler material as best as possible to match the original contours of the wood.
For more significant damage, such as deeply chipped corners or large missing sections, Bondo (automotive body filler) is a superior choice due to its strength and ability to be built up in layers. Apply Bondo in thin layers, allowing each layer to harden before applying the next. Shape it meticulously to restore the original profile. For veneer complications like bubbling or peeling, you might need to carefully re-glue the veneer or remove and replace heavily damaged sections. Allow all repairs to dry thoroughly according to product instructions before moving on, often 24 hours for wood filler and less for Bondo.
Step 3: Sand Surfaces for a Flawless Finish
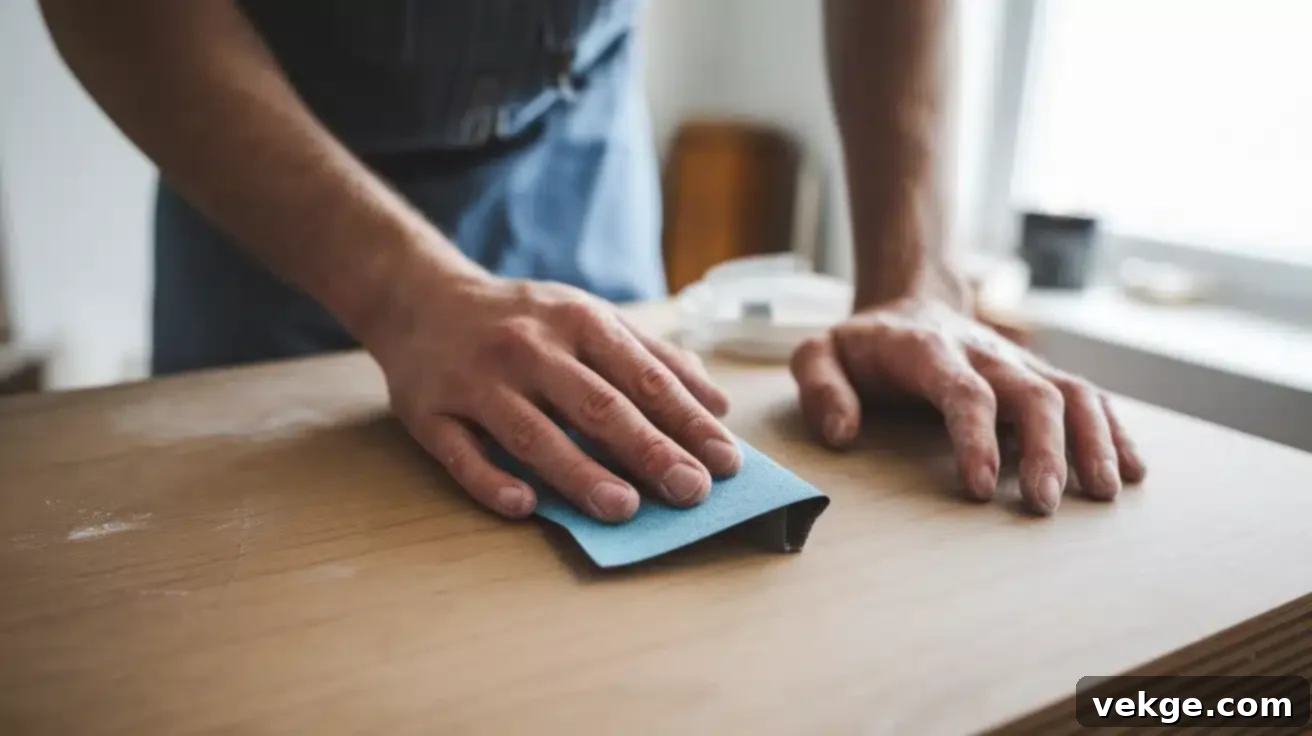
Sanding is arguably the most critical step for a professional-looking finish. Start by sanding all surfaces with 120-grit sandpaper. This coarse grit effectively removes the old finish, smooths out any applied repairs, and opens the wood grain to accept primer or stain. Always sand in the direction of the wood grain to avoid unsightly cross-grain scratches. For hard-to-reach areas, use sanding sponges or small sanding blocks.
After the initial sanding, move to a finer grit, such as 150 or 180, to further smooth the surface and remove any swirl marks from the coarser sandpaper. If you plan to stain the dresser, finish with 220-grit sandpaper for an exceptionally smooth, even base. Between each sanding stage, it is crucial to thoroughly wipe away all dust with a tack cloth or a damp cloth followed by a dry one. Residual dust can create bumps and an uneven finish when paint or stain is applied.
Step 4: Prime and Paint or Strip and Stain
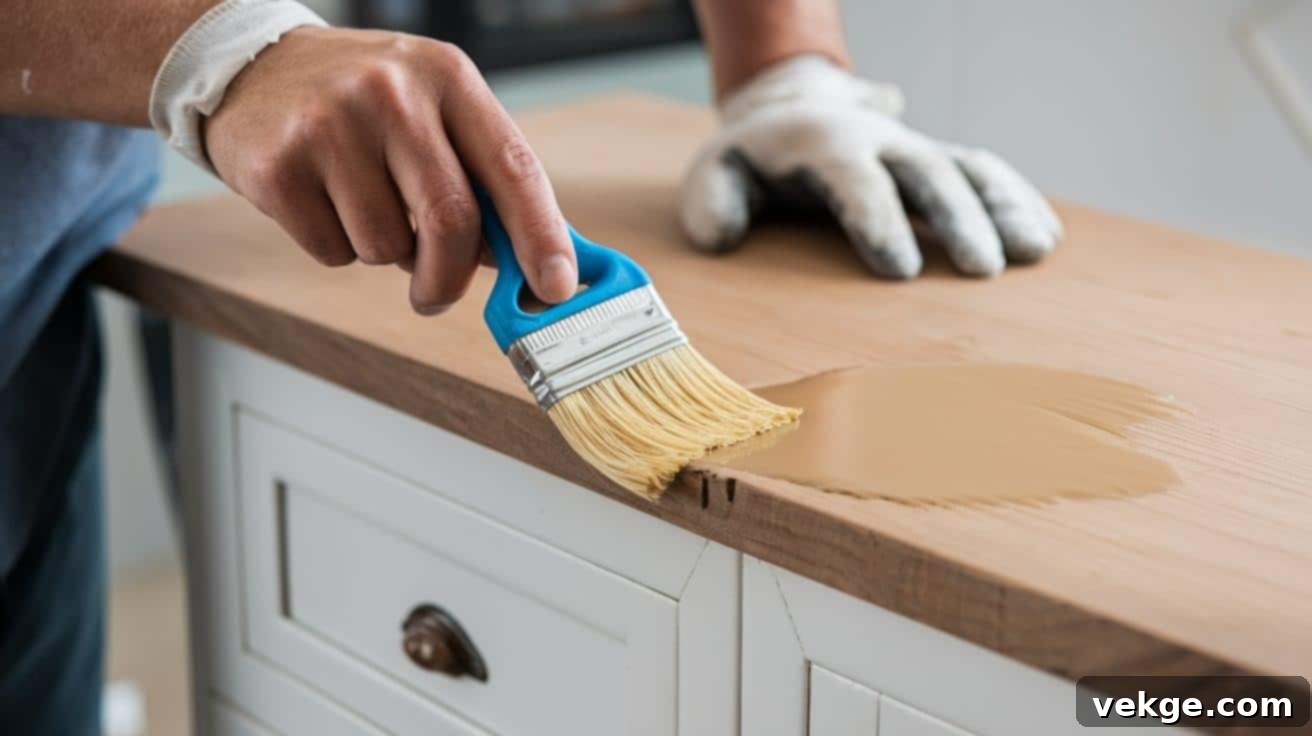
Based on the wood’s condition, the desired aesthetic, and whether you want to preserve the wood grain, you’ll decide between painting and staining. If you choose to paint, begin by applying a high-quality primer. Primer ensures excellent adhesion for your paint, provides a uniform base, and can block any lingering stains or odors. Apply primer evenly with a good quality brush, roller, or sprayer, allowing it to dry completely as per the manufacturer’s instructions (typically 1-4 hours). Then, apply two to three thin coats of your chosen paint, such as a durable cabinet enamel, sanding lightly with fine-grit sandpaper (e.g., 220-320 grit) between coats for maximum smoothness and adhesion.
If you prefer a stained finish to highlight the natural wood grain, you must first strip the old finish entirely. Products like Citristrip are effective for removing old varnish or paint. Follow the product instructions carefully, applying the stripper, allowing it to work, and then scraping off the old finish. Clean the stripped wood with mineral spirits to remove any residue. Once clean and dry, apply your chosen wood stain with a foam pad or brush, working in small sections. Allow the stain to penetrate for about five minutes (or as directed by the product), then wipe off any excess with a clean cloth. Apply additional coats for a deeper color saturation, allowing adequate drying time between each.
Step 5: Apply Protective Finish for Durability

To protect your beautifully refinished dresser and ensure its longevity, applying a durable protective finish is essential. Polyurethane is a popular choice for its excellent durability and water resistance. Apply at least two to three thin, even coats using a high-quality foam brush or a fine-finish brush. Avoid overworking the finish, as this can introduce bubbles.
Allow each coat to dry completely according to the manufacturer’s recommendations (often 4-6 hours or longer). Between coats, lightly sand the surface with very fine sandpaper (e.g., 320-400 grit) to create a smooth surface for the next coat and improve adhesion. Wipe away all sanding dust with a tack cloth before applying the subsequent layer. For painted pieces, a water-based polyurethane is usually preferred to prevent yellowing. For stained pieces, oil-based polyurethane offers a warm, rich glow but can slightly yellow over time.
Step 6: Reinstall Hardware and Final Touches
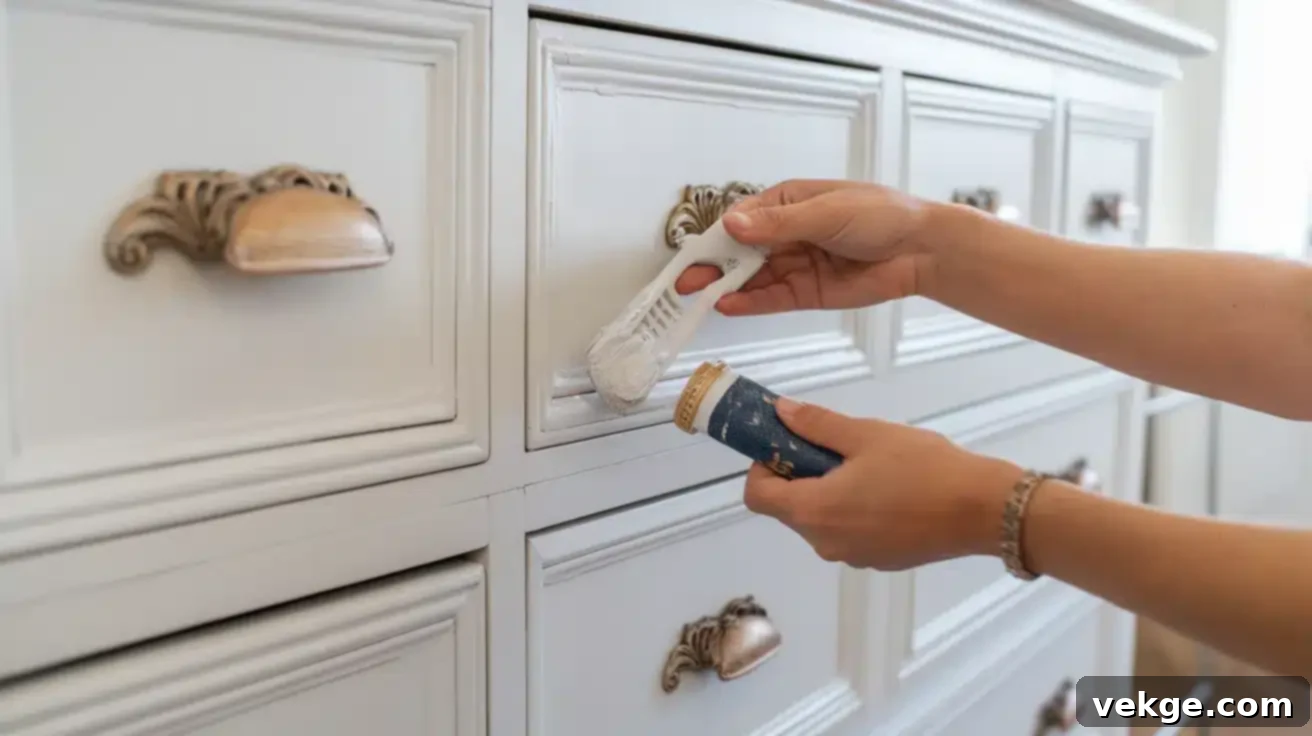
After the final protective coat has fully cured (this can take several days to a week, depending on the product and humidity), it’s time for the exciting final step: reinstalling the hardware. You can either put the original hardware back on for a classic look, or opt for new pulls, knobs, or handles for a fresh, updated appearance that truly transforms the dresser’s aesthetic. Ensure all screws are tightened securely but don’t overtighten, which can damage the wood.
Before placing the drawers back into the dresser, check that they slide smoothly. If they stick, you can apply a thin coat of wax (like paraffin wax or beeswax) to the runners on the dresser and the sides of the drawers. While the dresser is still drying or curing, it’s a good idea to pull the drawers out slightly to prevent them from sticking to the freshly finished interior surfaces. Your beautifully refinished dresser is now ready to be enjoyed, boasting a fresh new appearance and a new lease on life.
Understanding Common Dresser Damage Issues and Their Solutions
Before you begin any restoration project, it’s crucial to understand the types of damage you might encounter in an old dresser. Identifying these issues early will help you plan your repairs effectively and achieve the best results.
Structural Weaknesses
Older dressers are prone to developing loose joints due to years of use and environmental changes. Dovetail connections, common in well-made vintage drawers, can separate, causing drawers to wobble or fall apart. Leg attachments might become unstable, leading to a wobbly or unsafe piece of furniture. Addressing these structural issues with wood glue and clamps is paramount for both the safety and long-term functionality of the dresser.
Surface Damage
The exterior surfaces of old dressers often tell a story of neglect. Sun exposure can cause significant fading, leaving uneven color. Water rings from spilled drinks or condensation leave unsightly marks that penetrate deep into the finish. Heat damage, from hot dishes or appliances, can create white spots or bubbles in the existing finish. Furthermore, everyday use inevitably leads to numerous scratches, dings, and scuffs that mar the surface.
Veneer Complications
Many older dressers feature decorative wood veneer, a thin layer of higher-quality wood glued over a less expensive base. Over time, this veneer can chip, peel, or bubble due to moisture, heat, or impact. Edges are particularly vulnerable to damage, often showing signs of missing veneer which requires careful repair or replacement to maintain the dresser’s aesthetic integrity.
Hardware Deterioration
Original hardware on vintage dressers often shows its age. Metal components may tarnish, corrode, or become deeply scratched. Handles could be loose or even broken, and wooden drawer slides might wear down, making drawers difficult to open and close smoothly. In very old pieces, keyhole mechanisms might fail or be missing, impacting functionality and security.
Prevention Tips to Keep Your Refinished Dresser Fresh and Durable

After all your hard work, maintaining your refinished dresser is key to preserving its beauty and longevity. Here’s an expanded guide on how to keep your furniture looking its best:
Control Humidity Levels
- **Use a dehumidifier** in damp environments like basements or humid climates to prevent wood from absorbing excess moisture, which can lead to swelling, warping, and mold growth.
- **Aim for 40-60% relative humidity** in your home. This is the ideal range for wood furniture, preventing both excessive drying (which can cause cracking) and excessive moisture absorption.
- **Avoid placing furniture near heating vents, radiators, or fireplaces** as direct heat sources can cause rapid drying, leading to cracks, checking, and finish damage.
- **Consider using humidity monitors** (hygrometers) in your rooms to keep track of moisture levels and adjust as needed.
Use Proper Ventilation
- **Ensure good air circulation** around your furniture. This helps to prevent moisture buildup and stagnant air, which can contribute to musty odors and mold.
- **Avoid placing dresser directly against walls** in tightly sealed rooms, especially exterior walls, as this can trap moisture. Leave a small gap (an inch or two) for air flow.
- **Keep some space between furniture items** to allow air to circulate freely. Overcrowding can hinder ventilation and promote moisture retention.
- **Consider periodic airing** of rooms in dry weather by opening windows and doors, especially if the dresser is in a less-used area.
Apply Protective Finishes Correctly
- **Always follow the manufacturer’s instructions** for applying polyurethane, wax, or other protective finishes. This ensures optimal performance and durability.
- **Apply thin, even coats** rather than thick layers. Thick coats can take longer to cure, are more prone to drips, and can peel or chip more easily.
- **Allow proper drying and curing time** between applications and before heavy use. Rushing this process can compromise the finish’s hardness and protective qualities.
- **Consider reapplying protective finishes annually or bi-annually**, especially for high-traffic pieces or areas, to refresh the protection and appearance.
Maintain a Regular Cleaning Schedule
- **Dust weekly** with a soft, clean, lint-free cloth or a microfiber cloth. This prevents dust buildup which can scratch the finish over time.
- **Use appropriate wood cleaners** (pH-neutral, specifically designed for finished wood) and **avoid harsh chemicals, abrasive cleaners, or silicone-based polishes** which can damage the finish or leave a residue.
- **Clean spills immediately** with a soft, dry cloth to prevent liquid from penetrating the finish and causing stains or water rings.
- **Polish quarterly** with recommended products suitable for your specific finish type. This helps to restore shine and add a layer of protection. Always test new products in an inconspicuous area first.
Tips for Refinishing Different Types of Wood
Understanding the characteristics of different wood types is crucial for successful refinishing. Each wood reacts differently to sanding, staining, and finishing. Here’s a guide to tailoring your approach:
| Wood Type | Sanding Tips | Staining Tips |
|---|---|---|
| Solid Wood | Solid wood is durable and can withstand deeper sanding to remove significant imperfections or old finishes. Start with coarse-grit sandpaper (e.g., 80-100 grit) if there’s heavy damage or old paint, then progressively move to finer grits (120, 150, 220) to smooth out the surface and prepare it for a new finish. | Solid wood generally absorbs stains well and provides a rich, deep color. Apply thin layers of stain to control the depth of color and prevent blotchiness, wiping off excess thoroughly within 5-10 minutes. Test the stain on an inconspicuous area first to ensure it matches your desired look. |
| Veneer | Extreme caution is vital when sanding veneer to avoid sanding through the thin layer and exposing the base wood. Always use very fine-grit sandpaper (180-220 grit) and apply light pressure. Hand-sanding is often preferred over power tools for veneer to maintain control and prevent irreparable damage. The goal is to scuff the surface, not remove significant material. | Veneer requires a more delicate touch. Apply stain lightly and evenly, avoiding over-application which can cause the veneer to swell or delaminate. Consider using a pre-stain wood conditioner before staining to help ensure a more uniform absorption and prevent blotchy results, especially with thinner veneers. |
| Pine or Softwoods | Softwoods like pine are softer and more prone to denting and scratching during sanding. Use fine-grit sandpaper (150-220 grit) and apply gentle, even pressure to avoid creating new imperfections. Avoid aggressive sanding, which can leave deep scratches that are difficult to remove. | Pine and other softwoods absorb stains unevenly, often resulting in a blotchy appearance due to varying wood densities. It is highly recommended to use a pre-stain wood conditioner before applying stain. This helps to seal the wood pores partially, allowing for more even stain absorption and a consistent finish. Test on a hidden area first. |
| Hardwood (Oak, Maple, Cherry) | Hardwoods like oak, maple, and cherry are dense and require more effort for sanding. Start with medium-grit paper (100-120 grit) to remove the old finish or smooth imperfections, then progress to finer grits (150-220 grit) for a silky-smooth finish. Hardwoods take a polished look well, so thorough sanding is rewarded. | Hardwoods generally absorb stain evenly and beautifully, often enhancing their natural grain patterns. Multiple thin layers of stain will enhance the depth and richness of color without blotching. Consider using a glossy or semi-gloss finish for a polished, elegant look that highlights the wood’s inherent beauty. |
Common Mistakes to Avoid When Refinishing a Dresser
Refinishing a dresser can be a rewarding project, but certain common mistakes can hinder your success. Being aware of these pitfalls can save you time, effort, and frustration.
-
Avoiding or Skipping Proper Sanding: One of the most common errors is insufficient sanding. Not sanding properly, or skipping it altogether, leaves a rough surface that won’t allow your new finish to adhere well. This leads to peeling, an uneven texture, and a generally unprofessional look. Always ensure thorough sanding with progressive grits to achieve a smooth, clean surface ready to accept the finish.
-
Choosing the Wrong Primer: An unsuitable primer can severely compromise the longevity and appearance of your painted finish. Using an all-purpose primer on wood that bleeds tannins, or skipping primer on a slick surface, can lead to peeling, poor adhesion, and discoloration. Always select a high-quality primer specifically formulated for wood or furniture, preferably one that is stain-blocking.
-
Overloading the Brush or Roller: Applying too much paint or finish at once is a recipe for drips, runs, and an uneven, streaky finish. This not only looks bad but also slows down drying time. Always apply thin, even layers, allowing each coat to dry fully before applying the next. Several thin coats are always better than one thick coat.
-
Not Allowing Enough Drying Time: Rushing through the steps without adequate drying time between coats of primer, paint, stain, or polyurethane is a common mistake. This can cause smudging, bubbling, tackiness, or poor adhesion, leading to a compromised and easily damaged finish. Always refer to product instructions for recommended drying and curing times, and extend them in humid conditions.
-
Improperly Repairing Damages: Skipping repairs on cracks, chips, or loose joints, or performing them inadequately, will leave these imperfections glaringly visible after refinishing. The new finish will only highlight existing flaws. Always take the time to properly fill, sand, and secure all surface and structural imperfections before proceeding to prime or stain.
-
Neglecting to Protect the Piece After Refinishing: Finishing the painting or staining without applying a protective topcoat like polyurethane or wax is a critical oversight. Without this final layer, your dresser will be vulnerable to scratches, water damage, and wear, significantly reducing its lifespan and requiring premature re-refinishing. Always seal your hard work with a durable protective coat.
-
Refinishing in High Humidity or Extreme Temperatures: Environmental conditions play a significant role in the success of your project. High humidity interferes with drying and curing times, causing finishes to bubble, warp, or remain tacky. Extreme temperatures can also affect paint flow and drying. Always work in a dry, well-ventilated area with moderate temperatures (typically 60-80°F or 15-27°C).
-
Skipping Thorough Cleaning: Failing to thoroughly clean the dresser before starting the refinishing process means you’re essentially painting or staining over dirt, grease, and grime. This will prevent proper adhesion, cause texture issues, and ruin the final look. Always clean thoroughly with a degreasing cleaner like TSP or another suitable wood cleaner before any sanding or finishing begins.
When to Seek Professional Help for Dresser Refinishing

While DIY refinishing is empowering, some situations genuinely call for the expertise of a professional. Knowing when to call in an expert can save you from costly mistakes and ensure the preservation of valuable pieces.
Extensive structural damage often requires expert help. If a dresser’s frame is severely warped, if multiple drawers no longer close properly, or if critical joints have separated beyond simple gluing and clamping, a professional restorer has the specialized tools and experience to properly disassemble, repair, and reassemble the piece without further damage. They can address complex issues like wood rot, significant cracking, or major breaks that impact the dresser’s integrity and safety.
For valuable antiques or heirloom pieces, professional restorers are indispensable. These experts possess a deep understanding of historical furniture, period-appropriate materials, and preservation techniques. They can assess your furniture’s true value, distinguish between natural patina and actual damage, and perform repairs that maintain or even enhance its historical significance. Attempting a DIY project on such a piece risks devaluing it or causing irreversible damage.
Persistent and deeply embedded odors, especially those indicating hidden mold, mildew, or pest infestations, signal deeper problems that DIY solutions sometimes cannot resolve. Professionals have access to commercial-grade treatments, ozone generators, or specialized fumigation services that are not available to consumers. They can effectively locate and neutralize the source of the odor, ensuring a truly fresh and healthy piece of furniture.
Finally, complex refinishing techniques demand a high level of expertise and specialized skills. Techniques like French polishing, intricate marquetry (inlay work) repair, or precise veneer replacement go far beyond basic sanding and painting. These are highly technical skills that take years to master and require specific tools and materials. If your dresser features such intricate details or requires a highly specialized finish, a professional will deliver superior results that maintain the piece’s craftsmanship.
Conclusion
Refinishing a dresser is a rewarding journey that requires careful preparation, thorough sanding, meticulous stain or paint application, and a durable protective finish. Each step builds upon the previous one, and attention to detail at every stage is crucial for achieving lasting, beautiful results. The effort you invest not only revitalizes an old piece of furniture but also extends its lifespan, contributing to a more sustainable lifestyle.
A properly refinished dresser does more than just enhance your home’s aesthetic appeal; it becomes a unique statement piece, imbued with your personal touch. The renewed surface resists daily wear and tear, maintaining its beauty and functionality for many years to come, offering a fresh start for a beloved item.
Don’t be intimidated by the prospect of tackling a furniture refinishing project. With patience, the right tools, and this detailed guide, even beginners can achieve professional-looking results. Start with a simple piece to build your confidence and refine your skills before venturing into more complex projects. Embrace the process, learn from each step, and enjoy the transformation.
Remember that every refinishing project preserves memories, celebrates craftsmanship, and gives you the immense satisfaction of transforming something old, tired, or forgotten into something beautiful, functional, and deeply cherished once again. It’s more than just a makeover; it’s a revival.
