The Ultimate Guide to Kitchen Planning & Design: Create Your Dream Culinary Space
Creating your dream kitchen is more than just selecting cabinets and countertops; it’s a journey that begins with careful planning and a clear vision. The kitchen, often regarded as the heart of the home, significantly impacts not only the functionality and flow of your daily life but also the overall aesthetic appeal and value of your property. A well-designed kitchen caters to your specific needs, enhances efficiency, and provides a welcoming space for cooking, dining, and socializing.
Embarking on a kitchen remodel or design project can seem daunting, but by following a systematic and thoughtful approach, you can transform this vital space into a central hub that perfectly suits your lifestyle. This comprehensive guide will walk you through the essential steps, from initial concept to final execution, ensuring your kitchen becomes a true masterpiece.
In this article, we’ll share top planning tips to help you design a kitchen that is both beautiful and highly functional, turning your vision into a tangible reality.Planning Your Kitchen Layout for Optimal Flow and Efficiency

The foundation of a successful kitchen design lies in a meticulously planned layout. This critical step requires a deep understanding of your daily habits, an awareness of various layout possibilities, and precise measurements of your available space. A strategic layout enhances ease of movement, improves workflow, and ensures every element serves a purpose, ultimately creating a kitchen that is both functional and stylish.
Determining Your Unique Kitchen Needs and Lifestyle
Before diving into design specifics, take time to genuinely evaluate how you currently use your kitchen and how you aspire to use it. Consider questions such as:
- Cooking Habits: Do you cook daily, or are you an occasional chef? Do you bake frequently, requiring a dedicated pastry zone?
- Entertaining: Is your kitchen a gathering spot for guests? Do you need ample counter space for serving or a large island for mingling?
- Family Dynamics: Do multiple people cook simultaneously? Do you have young children who might need a safe play area, or do you require accessibility features for older family members?
- Storage Requirements: What types of items do you need to store? Small appliances, pantry staples, extensive dishware collections, or specialty cookware?
Identify your must-haves (e.g., a large double sink, specific appliance dimensions) versus your nice-to-haves (e.g., a wine fridge, a second oven). Think about your workflow – how you move between tasks like prepping, cooking, and cleaning. The classic “working triangle” (the efficient path between the stove, sink, and refrigerator) remains a helpful concept for optimizing this flow, though modern kitchens often expand this to include multiple work zones.
This initial assessment provides invaluable clarity and direction, ensuring your design choices are aligned with your practical needs and personal preferences.
Understanding Common Kitchen Layout Types and Their Advantages
Kitchen layouts are largely dictated by the size and shape of your floor space, but each offers distinct advantages. Familiarizing yourself with these types will help you determine the best fit for your home:
- Single Wall Kitchen Layout: Best suited for compact spaces like studios or small apartments. All major appliances and cabinetry are aligned along one wall. This layout is space-saving but offers limited counter space.
- Galley Layout: Consists of two parallel walls, creating a highly efficient workspace. It’s ideal for single cooks or narrow spaces, as it minimizes walking distance between work zones. However, it can feel enclosed and offers limited social space.
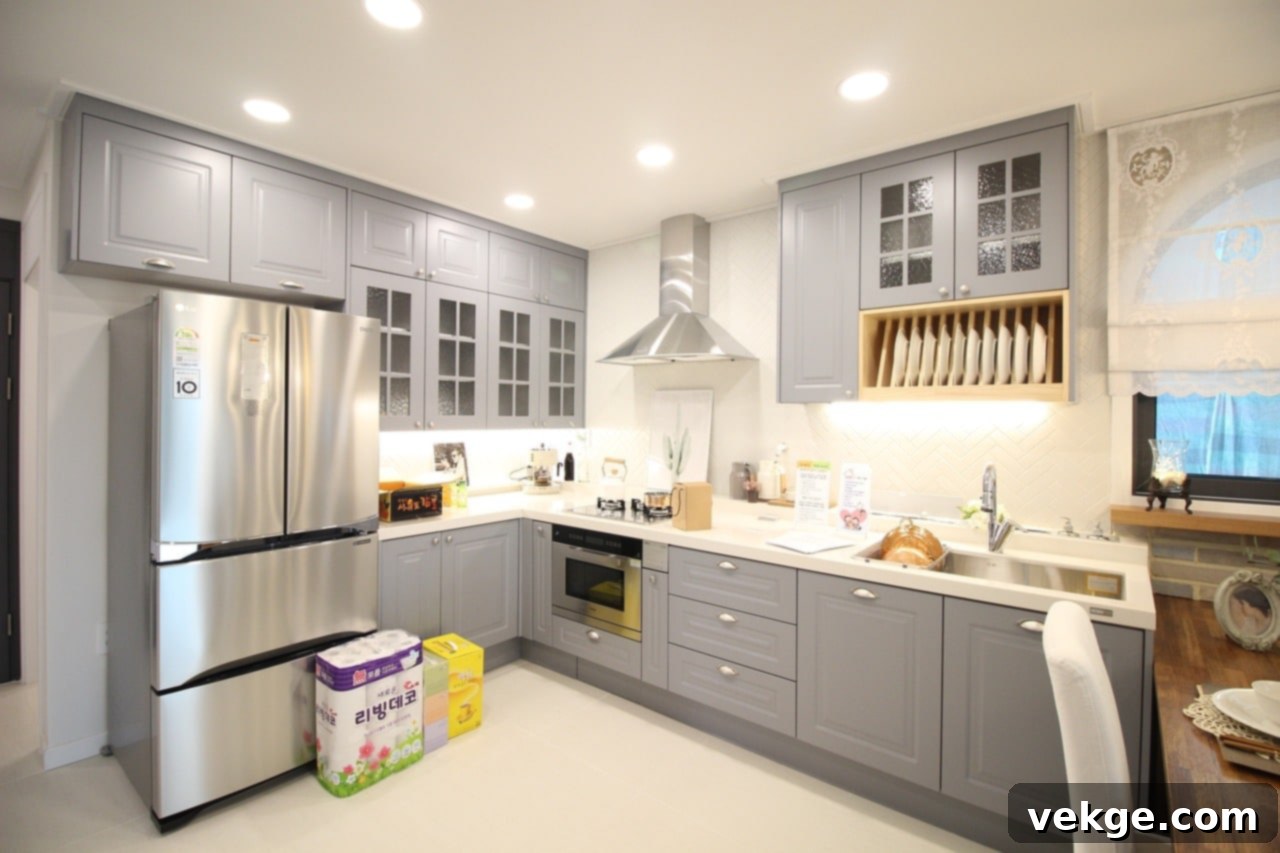
- L-Shaped Layout: Utilizes two adjacent walls, forming an “L” shape. This is a versatile and popular layout, offering good flexibility for work zones and providing ample counter space. It also allows for open-plan integration with dining or living areas.
- U-Shaped Layout: Encloses three walls, maximizing storage and countertop space. This layout is excellent for multiple cooks and offers a highly efficient work triangle. It’s best for larger kitchens and can sometimes feel less open.
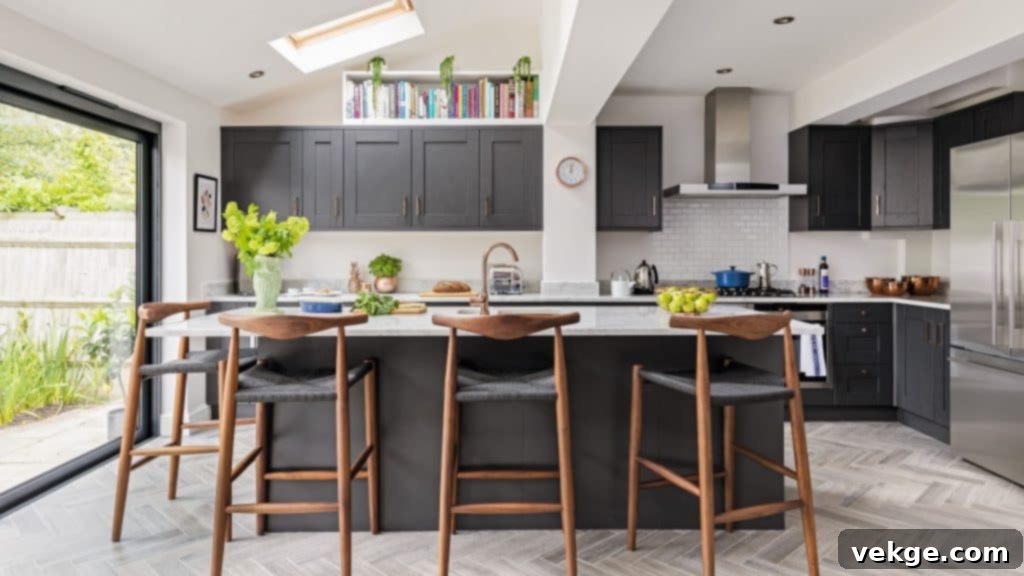
- Island Layout: Often integrated with L-shaped, U-shaped, or even single-wall designs, an island adds a central workspace, storage, and a potential seating area. Islands are fantastic for adding functionality and creating a focal point in larger kitchens.
- Peninsula Layout: Similar to an island but connected to a wall on one end, forming a “P” shape. Peninsulas are great for smaller kitchens that can’t accommodate a full island, offering extra work surface and often serving as a breakfast bar or room divider.
Carefully consider your kitchen’s dimensions, the amount of traffic it receives, and your desired level of social interaction when selecting the ideal layout.
Accurately Measuring Your Kitchen Space: A Crucial Step
Precise measurements are the bedrock of any successful kitchen design. Without them, you risk costly errors and ill-fitting components. Here’s how to approach it:
- Basic Dimensions: Begin by accurately measuring the length and width of your entire kitchen area.
- Structural Elements: Mark the locations and dimensions of all permanent features, including windows, doors, existing plumbing (sink, dishwasher hookups), and electrical outlets. Note how doors swing open.
- Ceiling Height: Measure the height from the floor to the ceiling. This is crucial for planning tall cabinets, lighting, and ventilation.
- Appliance Dimensions: If you plan to keep existing appliances or have specific new ones in mind, measure their width, height, and depth, including clearances for doors and ventilation.
- Architectural Details: Note any architectural nuances like soffits, structural columns, or uneven walls.
Create a detailed kitchen floor plan, either by hand on graph paper or by utilizing online design software. Digital tools can significantly simplify this process, allowing you to visualize your space in 2D and 3D without relying solely on hand-drawn diagrams. Always double-check your measurements, as even a small error can lead to significant problems during installation. Reliable measurements make it easier to visualize and implement your ideal kitchen layout, ensuring functionality and style are perfectly aligned.
You can also use software to simplify this process, allowing for virtual walkthroughs and material simulations.
Selecting Your Kitchen Style and Materials: Form Meets Function
The style and materials you choose are fundamental to defining your kitchen’s character. These decisions profoundly impact the aesthetics, functionality, durability, and overall feel of the space, dictating everything from its maintenance requirements to its long-term appeal.
Choosing the Right Materials for Lasting Beauty and Performance
The materials you select for your kitchen elements play a huge role in its look and longevity:
Countertops:

- Quartz: An engineered stone, quartz is highly durable, non-porous (making it stain and scratch resistant), and available in a vast array of colors and patterns. It’s a popular choice for modern and contemporary kitchen designs due to its consistency and low maintenance.
- Granite: A natural stone, granite boasts unique patterns and veining, offering a luxurious and timeless look. It’s known for its heat resistance and durability but requires periodic sealing to prevent stains.
- Marble: Renowned for its classic elegance and sophisticated appearance, marble adds a touch of luxury. However, it is a softer, porous stone that is prone to etching and staining, requiring more diligent maintenance and care.
- Butcher Block: Offers warmth and a natural feel. It’s excellent for food prep but requires regular oiling and is susceptible to scratches and water damage.
- Laminate: A budget-friendly option with a wide range of colors and patterns, including convincing stone or wood imitations. It’s durable for its price point but can be prone to scratches and heat damage.
Cabinetry:
- Solid Wood: A traditional and durable choice, offering timeless beauty and the ability to be refinished multiple times. Options include oak, maple, cherry, and birch, each with distinct grain patterns and characteristics.
- Plywood: A strong and stable engineered wood, offering better moisture resistance and screw retention than particle board, making it a good mid-range option.
- Particle Board (or MDF): Economical options often used for cabinet boxes, especially in budget-conscious remodels. MDF (Medium-Density Fiberboard) is denser and offers a smoother finish for painting, while particle board is lighter but less durable.
- Laminate/Thermofoil: Versatile and easy to clean, these are popular for modern, sleek designs. Thermofoil is a vinyl film heat-applied to MDF, creating a seamless finish, while laminate is a durable plastic coating.
Flooring:
- Vinyl: Cost-effective, water-resistant, and comfortable underfoot. Available in sheets, tiles, or planks (LVT/LVP) with a wide variety of designs mimicking wood or stone.
- Ceramic Tile/Porcelain Tile: Extremely durable, water-resistant, and available in countless sizes, shapes, and patterns. Porcelain is denser and even more water-resistant than ceramic, making it ideal for high-traffic kitchens.
- Engineered Wood: Provides the warmth and beauty of real wood but with enhanced moisture resistance due to its layered construction. It’s more stable than solid hardwood in fluctuating humidity.
- Hardwood: Offers classic elegance and warmth but is less water-resistant and more prone to scratches. Requires more maintenance in a kitchen environment.
- Natural Stone: Materials like travertine or slate offer a luxurious, rustic look but can be costly, require sealing, and are hard underfoot.
Consider the interplay of durability, maintenance, cost, and aesthetic appeal when making your material selections to ensure they align with both your practical needs and design vision.
Deciding on a Cohesive Color Scheme for Your Kitchen
A well-chosen color scheme is paramount to tying your kitchen’s look together, setting the mood, and influencing how the space feels. It should reflect your personal style while creating a harmonious environment.

- Primary Colors: Start by selecting a primary color for larger surfaces like walls and cabinets. Neutral tones such as white, cream, beige, or gray are incredibly versatile, timeless, and offer a clean, bright foundation. They also provide a great backdrop for introducing accent colors.
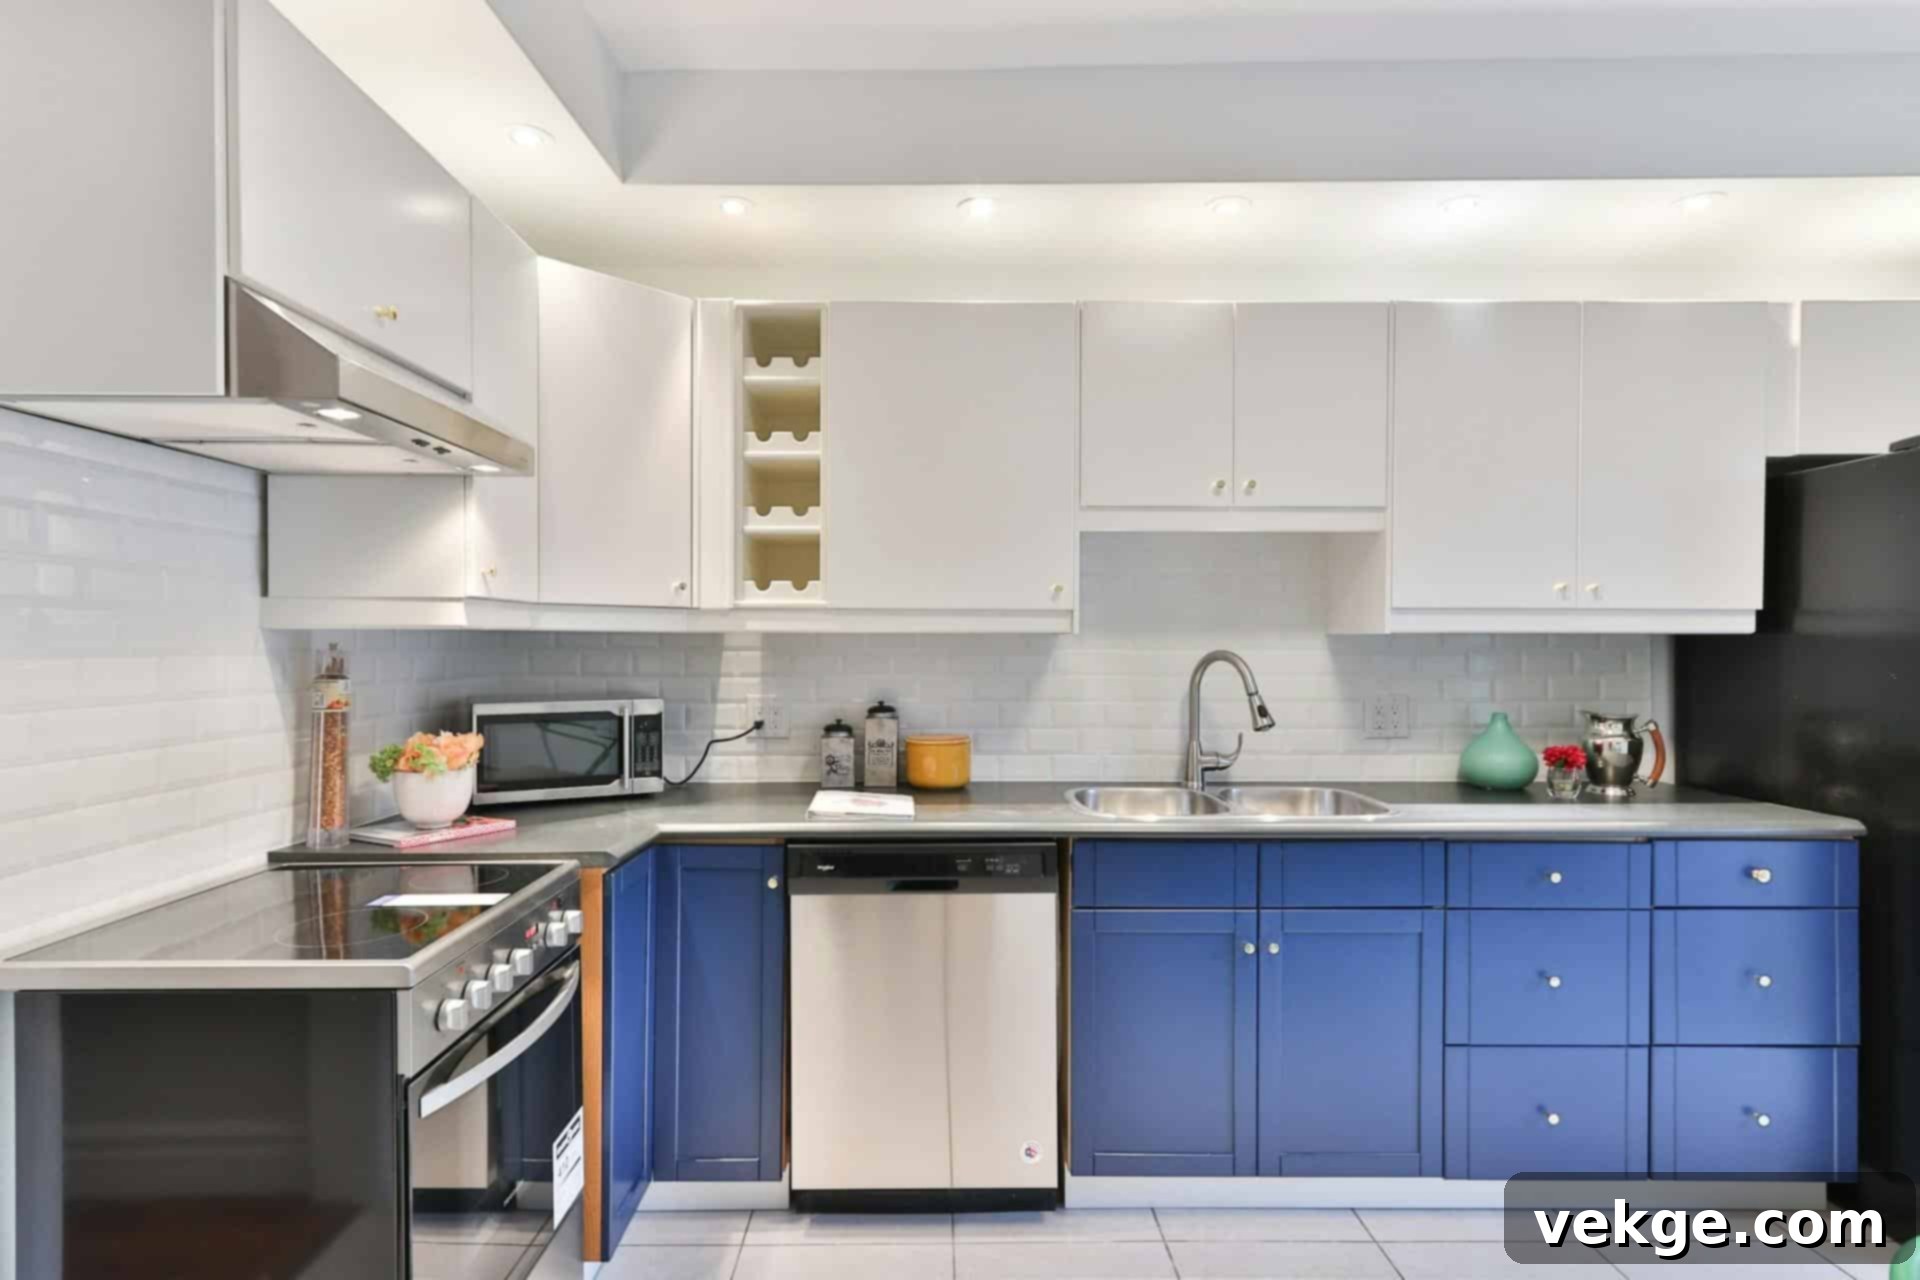
- Accent Colors: Introduce accent colors through elements like backsplashes, kitchen islands, appliances, or decorative items. Bold choices such as navy blue, forest green, deep charcoal, or even a vibrant yellow can add depth, personality, and a focal point to the space. Consider using a color wheel to find complementary or analogous colors that create a balanced look.
- Considering Light: Always factor in the natural light your kitchen receives. Lighter shades can make a smaller kitchen feel more expansive and airy, reflecting light beautifully. Darker shades, while elegant, can make a large room feel cozier but might overwhelm a small, poorly lit space.
- Finishes and Hardware: Pay close attention to the finishes of your hardware, fixtures (faucets, lighting), and appliances. Matching metals like stainless steel, brushed nickel, matte black, or polished brass with your chosen color scheme elevates the overall design and creates a cohesive, polished look. These small details can significantly influence the overall style, whether it’s farmhouse, modern, or traditional.
The goal is to create a harmonious and visually appealing kitchen environment that feels welcoming and truly reflects your personal aesthetic. Don’t be afraid to experiment with samples to see how colors interact in your specific lighting conditions.
Optimizing Functionality and Efficiency: A Kitchen That Works For You
A truly exceptional kitchen goes beyond aesthetics; it’s a space where every element is designed to enhance efficiency and streamline daily tasks. Focusing on strategic arrangement of work zones and integrating smart storage solutions are key to creating a high-performing kitchen that minimizes effort and maximizes enjoyment.
Strategizing Work Zones for Seamless Workflow
Organizing your kitchen into dedicated work zones is crucial for a smooth and efficient cooking experience. Beyond the traditional work triangle, modern kitchen design often incorporates several distinct zones:
- Preparation Zone: This area should feature ample counter space, often near the sink and easily accessible to the refrigerator. It’s where you chop, mix, and assemble ingredients. Consider a dedicated prep sink here for ultimate efficiency.
- Cooking Zone: Centered around the stove or cooktop and oven, this zone requires heat-resistant counter space on either side for pots and pans, and easy access to cooking utensils and spices.
- Cleaning Zone: Typically includes the main sink, dishwasher, and waste/recycling bins. It should be positioned for easy access after meal prep and dining, minimizing drips and spills.
- Storage Zone (Pantry & Fridge): This encompasses your refrigerator and pantry, providing easy access to ingredients. Grouping these elements can make meal planning and grocery unloading much more efficient.
- Baking Zone (Optional): For avid bakers, a dedicated area with a lower countertop, mixing equipment, and easy access to baking ingredients can be a game-changer.
- Beverage/Coffee Bar (Optional): A small, dedicated corner for coffee makers, tea kettles, and mugs can reduce clutter in other work zones and create a convenient self-serve station.
The principle is to minimize unnecessary movements and traffic flow congestion. Think about how you transition from one task to another and ensure that necessary tools and ingredients are within arm’s reach in each respective zone. This thoughtful design not only enhances functionality but also helps maintain an organized and clutter-free workspace, especially in busy households.
Incorporating Smart Storage Solutions for a Clutter-Free Space
Effective storage is paramount to maximizing kitchen efficiency and keeping your countertops clear. Every item should have a designated, easily accessible home. Consider incorporating a variety of smart storage solutions:
- Pantry Power: Beyond a traditional pantry, consider pull-out pantry cabinets for easy access to staples, or a walk-in pantry with adjustable shelving for bulk items.
- Cabinet Organizers: Maximize every inch of your kitchen cabinets with pull-out shelves for pots and pans, lazy Susans for corner cabinets, built-in spice racks or drawer inserts, and vertical dividers for baking sheets and cutting boards.
- Drawer Dividers: Keep utensils, cutlery, and kitchen gadgets neatly organized and easily found.
- Appliance Garages: Hide frequently used countertop appliances (like toasters or blenders) behind a cabinet door, keeping them accessible but out of sight.
- Under-Sink Solutions: Utilize pull-out bins for cleaning supplies or integrate waste and recycling centers under the counter for discreet and convenient disposal.
- Wall Storage: Open shelving can display beautiful dishware or cookbooks, while magnetic knife strips or pegboards can keep essential tools within easy reach.
- Island Storage: If you have an island, incorporate drawers, cabinets, or open shelving on one or both sides to significantly boost storage capacity.
Well-planned storage not only maximizes space but also enhances the overall functionality of your kitchen, making daily tasks quicker, easier, and more enjoyable. By implementing these strategies, you can ensure an efficient kitchen workflow and a perpetually clutter-free environment.
Lighting and Ventilation Considerations for Comfort and Ambiance
Often underestimated, proper lighting and ventilation are critical to a kitchen’s functionality, comfort, and overall ambiance. Inadequate systems can make a kitchen feel dim, stuffy, and unpleasant, impacting both cooking enjoyment and air quality. Focus on selecting appropriate solutions to create an efficient and inviting culinary space.
Enhancing Your Kitchen with Layered Lighting
Effective kitchen lighting is achieved through a combination of three key layers:
- Task Lighting: Essential for safety and efficiency, task lighting focuses directly on work areas. This includes under-cabinet strip lighting to illuminate countertops for food preparation, pendant lights above an island or peninsula, and recessed lights strategically placed over the sink or stove. LED options are highly recommended for their energy efficiency, longevity, and low heat emission.
- Ambient Lighting: Provides overall illumination for the entire room, ensuring general visibility and setting the mood. This often comes from ceiling fixtures like recessed lighting, flush mounts, or track lighting. For an 8-foot ceiling, placing recessed lights approximately 4 feet apart typically provides optimal coverage. Dimmers are a fantastic addition, allowing you to adjust the brightness and create different moods.
- Accent Lighting: Used to highlight design features or create a specific atmosphere. This could include in-cabinet lighting to showcase glassware, toe-kick lighting for a modern touch, or picture lights for artwork. Accent lighting adds depth and visual interest to your kitchen.
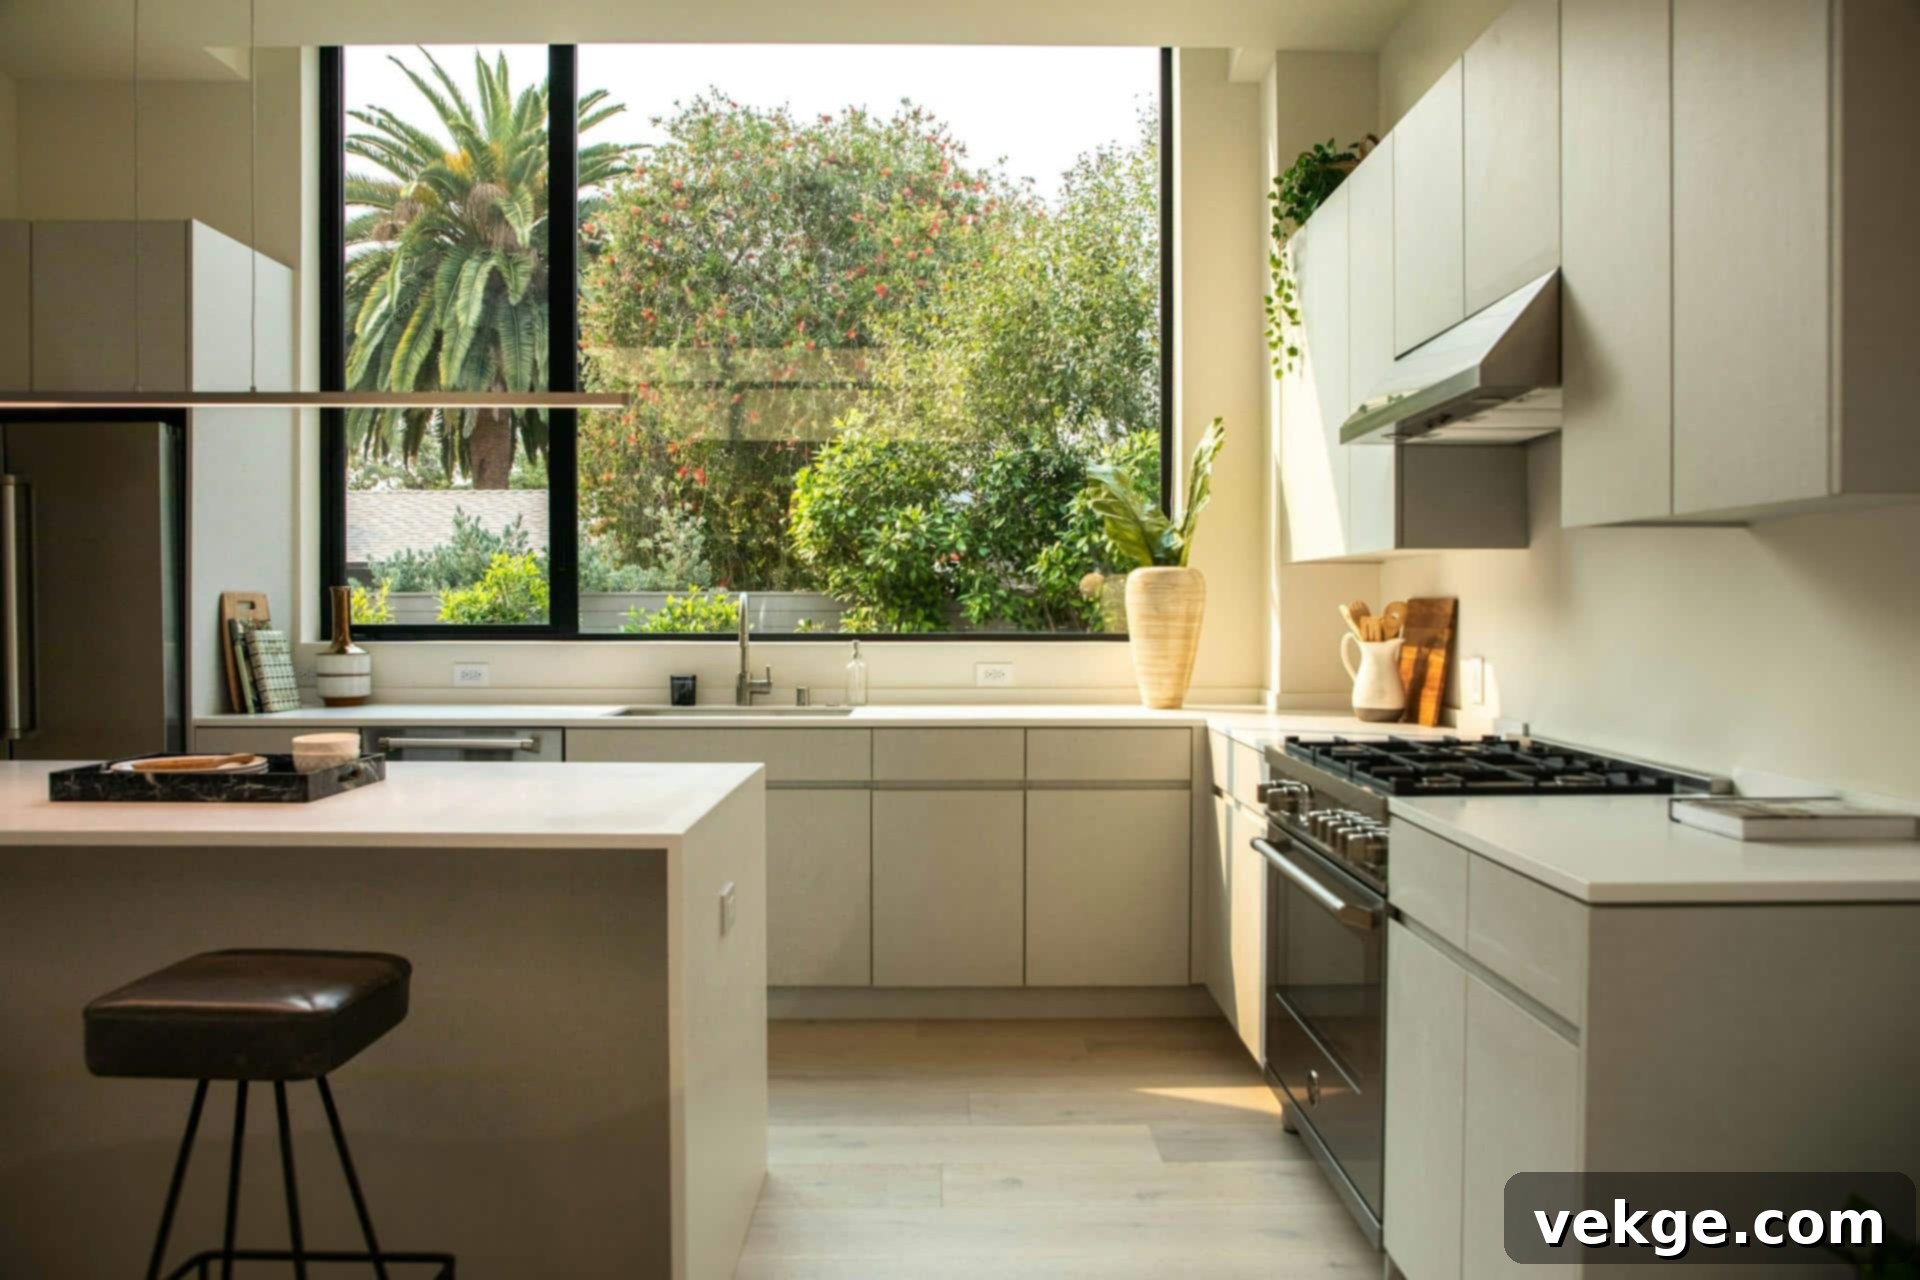
Beyond artificial light, maximize natural light wherever possible. Large windows, skylights, or glass doors can dramatically brighten your kitchen during the day, reducing the need for artificial lighting and connecting the indoor space with the outdoors. Aim for a balanced light distribution that combines functionality with aesthetic appeal, making your kitchen a pleasant space at any time of day.
Maintaining Proper Ventilation for Health and Comfort
Ventilation is crucial for maintaining good air quality, regulating temperature, and preventing the buildup of odors, smoke, grease, and moisture in your kitchen. This is especially important for open-plan living spaces.
- Range Hoods: The primary component of kitchen ventilation is a high-quality range hood installed above your stove or cooktop. These come in various styles (under-cabinet, wall-mount, island-mount) and types:
- Ducted Systems: These are the most effective, as they physically expel air, smoke, grease, and odors outside your home through a duct system. Ensure the hood’s CFM (Cubic Feet per Minute) rating matches the power and size of your stove for maximum efficiency.
- Ductless (Recirculating) Systems: These filters the air through charcoal filters and recirculate it back into the kitchen. While less effective than ducted systems, they are a viable option when external venting is not possible.
Consider the “Sone” rating of a range hood, which measures its noise level. A lower Sone rating indicates quieter operation.
- Supplemental Ventilation: For larger kitchens or those with significant cooking activity, consider supplementing your range hood with exhaust fans, particularly near primary cooking and food preparation areas.
- Natural Ventilation: When designing your kitchen, consider window placements to allow for cross-ventilation, which can help clear the air quickly after cooking.
Proper ventilation not only improves the air you breathe but also prevents issues like lingering cooking smells, grease accumulation on surfaces, and excessive humidity that can lead to mold growth. It’s an investment in the health and comfort of your home.
Executing Your Kitchen Remodel: From Concept to Completion
The final phase of bringing your dream kitchen to life involves the practical steps of execution. Successfully navigating your kitchen remodel requires careful planning, effective collaboration with professionals, and diligent budget management to ensure the project proceeds smoothly and within financial constraints.
Working Effectively with Kitchen Contractors and Professionals
Hiring reliable and experienced professionals is paramount for a seamless kitchen renovation. This team might include a general contractor, kitchen designer, plumber, and electrician. Here’s how to ensure a successful collaboration:
- Research and Vetting: Start by seeking recommendations from trusted friends, family, or online reviews. Thoroughly check references, review portfolios, and verify licenses and insurance credentials to protect yourself from potential liabilities.
- Detailed Proposals: Obtain multiple detailed quotes that clearly outline the scope of work, materials included, timelines, and payment schedules. Ensure all specifics, from demolition and structural changes to appliance installation, gas lines, electrical work, and kitchen flooring, are itemized.
- Clear Communication: Establish open and consistent communication channels with your contractor. Regular meetings or check-ins prevent misunderstandings and ensure both parties are aligned on progress and expectations. Don’t hesitate to ask questions or express concerns.
- Contracts and Change Orders: Always have a written contract that details every aspect of the project. If any changes to the original plan become necessary, ensure they are documented in a formal “change order” with updated costs and timelines, signed by both parties.
- Permits and Regulations: Confirm that your contractor handles all necessary building permits and adheres to local building codes and safety regulations. This protects you legally and ensures your renovation meets required standards.
- Site Visits and Progress Monitoring: Regularly monitor progress, ideally with scheduled walkthroughs. This allows you to identify potential issues early, saving time and avoiding additional costs down the line.
A strong working relationship with your contractor, built on trust and clear communication, is the cornerstone of a successful and stress-free kitchen renovation.
Managing Your Budget for a Cost-Effective Kitchen Renovation
Establishing and diligently managing a realistic budget is fundamental to avoiding financial strain and ensuring your kitchen remodel delivers excellent value. A well-planned budget allows you to prioritize spending and make informed decisions.
- Detailed Breakdown: Begin by creating a comprehensive list of all essential expenses. This includes costs for permits, design fees, demolition, raw materials (cabinets, countertops, flooring, appliances, fixtures), labor for various trades, and potential unexpected costs.
- Contingency Fund: Always allocate a contingency fund, typically 10-20% of your total budget, for unforeseen expenses or desired upgrades that may arise during the project. This buffer is crucial for absorbing surprises without derailing your finances.
- Prioritize Spending: Distinguish between “wants” and “needs.” Prioritize spending on elements that enhance the functionality, durability, and long-term value of your kitchen, such as ergonomic designs, quality appliances, and robust structural components. You can often save by opting for less expensive finishes or DIYing certain decorative tasks.
- Multiple Quotes: Obtain at least three quotes for every major service and material. This allows you to compare prices and negotiate, ensuring you get the best value for your investment.
- Track Expenses: Diligently track every expense, from the smallest hardware purchase to major contractor payments. Use spreadsheets or budgeting apps to monitor spending in real-time and make necessary adjustments to stay on track.
- Return on Investment (ROI): Consider the potential return on investment. While some upgrades are purely for personal enjoyment, others, like durable countertops or energy-efficient appliances, can increase your home’s resale value.
Managing your budget wisely guarantees not only a beautiful and functional culinary space but also a financially sound investment in your home. By staying organized and making informed choices, your kitchen remodel can be a rewarding experience from start to finish.
