The Ultimate Guide to Chandelier Height for 9-Foot Ceilings: Perfecting Your Dining Room Lighting
Imagine sitting down for a meal, only to find the elegant chandelier hanging too low, obstructing your view of the person across the table, or casting strange, distracting shadows. It’s a common dilemma, and one that can significantly detract from the dining experience. The solution is often simpler than you think: adjusting the hanging height of your chandelier.
When you have 9-foot ceilings, the standard recommendations for chandelier placement need a slight, yet crucial, adjustment. Getting this right transforms your dining area. The entire room feels more expansive, every seat becomes more comfortable, and the lighting is optimized to enhance both the food and the conversation. It’s about achieving a harmonious balance between style, function, and an unobstructed view.
In this comprehensive guide, we’ll delve into the specifics of finding the ideal chandelier height for 9-foot ceilings. We’ll explore practical rules, consider various chandelier styles and table dimensions, and provide actionable tips to ensure your dining room lighting is not just beautiful, but perfectly functional and inviting. Say goodbye to awkward shadows and hello to a perfectly lit, elegant dining space.
Optimal Chandelier Height for 9-Foot Ceilings: The Golden Rule
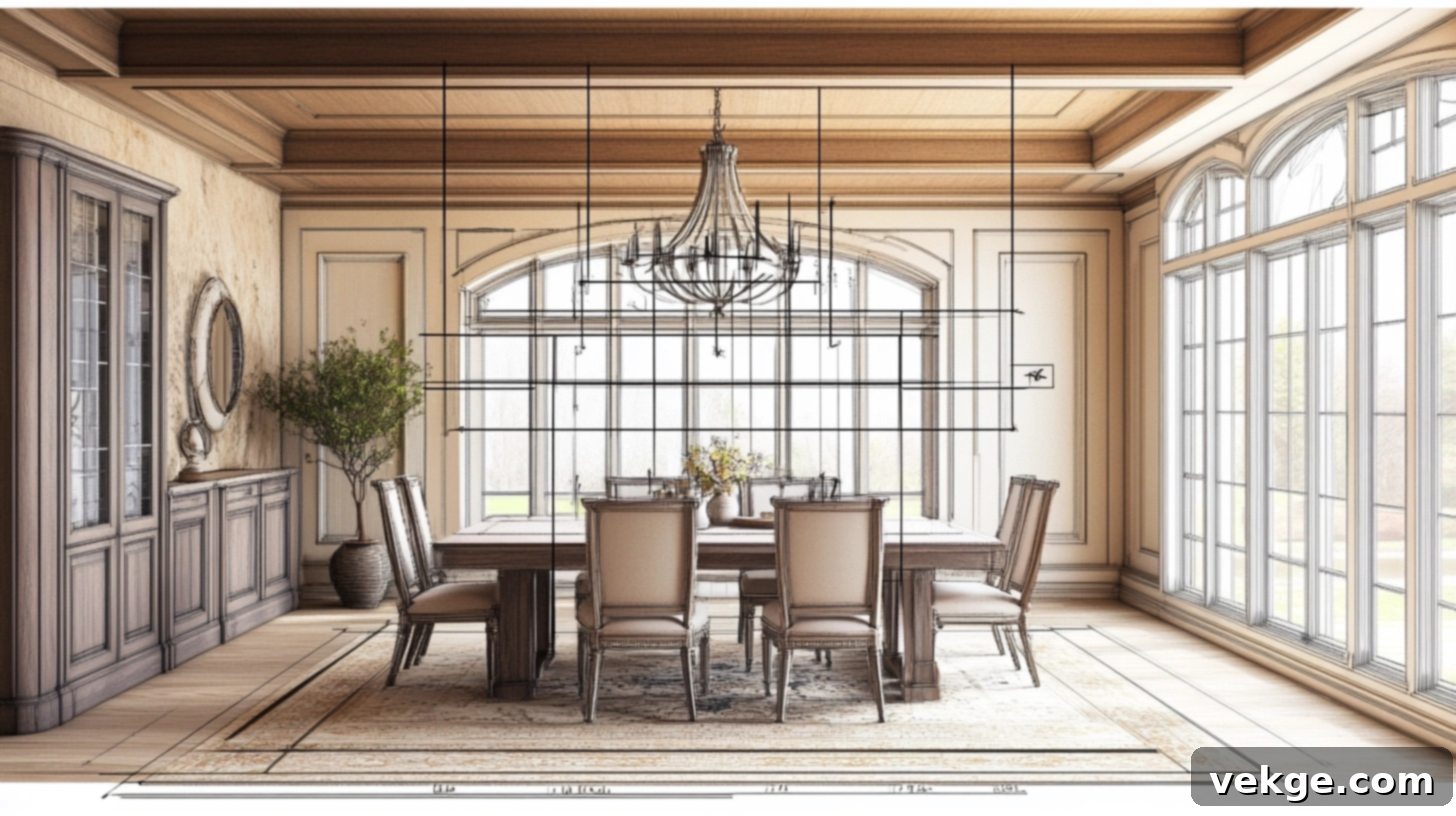
For dining rooms featuring 9-foot ceilings, the ideal hanging height for your chandelier deviates slightly from the conventional 30-36 inches above the table. To account for the additional vertical space, you’ll want to raise your fixture a bit higher. The sweet spot for a 9-foot ceiling is typically between 33 to 39 inches above the dining table surface.
This adjusted range ensures that the chandelier remains a prominent feature without impeding sightlines or creating a sense of clutter in a taller room. It allows the light to spread effectively while maintaining a comfortable distance from those seated below.
Applying the “Add 3 Inches” Rule for Taller Ceilings
A widely accepted rule of thumb for adjusting chandelier height for ceilings taller than the standard 8 feet is to “add 3 inches of height for every extra foot above 8 feet.” Let’s break this down for a 9-foot ceiling:
- Standard ceiling height: 8 feet
- Standard hanging range: 30-36 inches above the table
- Your ceiling height: 9 feet (1 foot above standard)
- Adjustment: Add 3 inches to the standard range.
This calculation leads us directly to the recommended 33-39 inches. This seemingly small adjustment is critical. It visually balances the fixture within the grander scale of a taller room and guarantees optimal light distribution without it feeling either too low and intrusive or too high and ineffective.
Fine-Tuning Height Based on Chandelier Style and Design
While the 33-39 inch range is your starting point, the specific style, shape, and visual weight of your chandelier will influence where it sits within this range. Understanding these nuances helps you achieve a truly customized look:
- Round or Compact Chandeliers: Fixtures like globe pendants, clustered designs, or more traditional bowl-shaped chandeliers often appear best at the lower end of the spectrum, around 33-36 inches. Their concentrated form benefits from being slightly closer to the table to maximize their visual impact and light distribution.
- Linear or Rectangular Fixtures: These elongated designs, popular over rectangular tables, typically perform better when hung a bit higher, closer to 37-39 inches. This higher placement enhances sightlines along the length of the table and better aligns with their extended form, preventing them from feeling too dominant or “in the way.”
- Larger, Heavily Decorated Chandeliers: If your chandelier is particularly large, ornate, or visually heavy, granting it a bit more clearance (towards the 39-inch mark) can prevent it from overwhelming the dining space. This extra height allows its details to be appreciated without dominating the eye.
- Lighter, Minimalist Designs: Conversely, very light, airy, or minimalist designs might sit slightly lower (33-35 inches) to ensure they still make a statement and don’t get “lost” in the vertical space.
The Critical Role of Table Size in Chandelier Placement
The dimensions of your dining table—its width and length—are paramount in determining not only the appropriate size of your chandelier but also its ideal hanging height. Maintaining correct proportions ensures that your dining area feels visually balanced and aesthetically pleasing.
The 2/3 Width Rule: Sizing Your Chandelier Appropriately
A fundamental principle in chandelier selection is the “2/3 width rule.” This guideline suggests that your chandelier should be approximately two-thirds the width of your dining table. This proportion creates visual harmony, ensuring the fixture isn’t too small to make an impact or too large to overwhelm the table.
- Example: For a 48-inch wide dining table, you would ideally select a chandelier around 32 inches wide.
- Example: For a 60-inch wide table, aim for a chandelier about 40 inches wide.
When working with 9-foot ceilings, if you opt for a chandelier that is on the smaller side (closer to 1/2 the table’s width rather than 2/3), it might benefit from hanging a bit lower (closer to the 33-inch mark). This helps it maintain its visual presence and ensures it doesn’t appear dwarfed by the higher ceiling.
Special Considerations for Long, Rectangular Tables
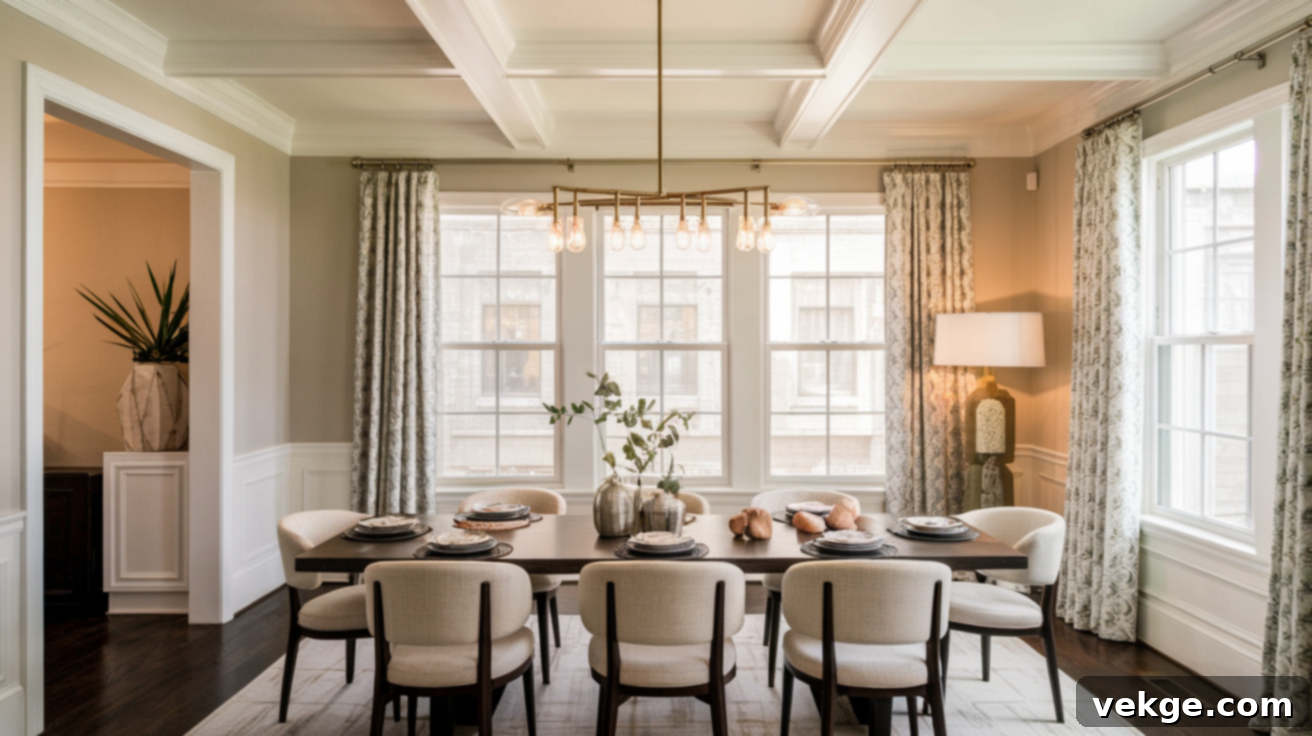
Long, rectangular dining tables offer versatility in lighting. You can choose a single, elongated linear chandelier or opt for a series of smaller, evenly spaced fixtures. Regardless of your choice, the hanging height remains within the 33 to 39 inches above the table.
- Single Linear Chandeliers: Ensure the linear fixture is perfectly centered both along the length and width of the table. For sizing, aim for the chandelier to be between 1/2 to 2/3 the length of your table, never exceeding its length. This prevents it from looking disproportionate when the table isn’t extended.
- Multiple Pendants/Fixtures: If using several smaller fixtures, ensure they are spaced evenly along the table’s length, maintaining the same 33-39 inch height. They should be visually balanced to provide uniform lighting without creating dark spots.
Important Note on Table Length: Always base your chandelier placement and size on the table’s everyday length, not its fully extended size. This ensures that for the majority of its use, the lighting arrangement looks intentional and balanced.
Calculating Chandelier Drop Length for 9-Foot Ceilings

To precisely achieve the recommended hanging height of 33-39 inches from the table surface, you’ll need to calculate the correct “drop length.” This is the total length from the ceiling mount to the very bottom of your chandelier. This calculation is crucial for ensuring your chandelier is neither too high nor too low.
The Quick and Easy Drop Length Formula
Here’s a straightforward formula to determine the necessary drop length:
Ceiling Height (in inches) – Table Height (in inches) – Desired Hanging Height Above Table (in inches) = Required Chandelier Drop Length (in inches)
Let’s illustrate with an example for a 9-foot ceiling:
- Ceiling Height: 9 feet = 108 inches
- Standard Dining Table Height: Approximately 30 inches
- Desired Hanging Height Above Table: Let’s choose the middle of our range, 36 inches.
- Calculation: 108″ (ceiling) – 30″ (table) – 36″ (hang height) = 42″ Total Drop Length
This 42-inch drop length is the measurement from your ceiling to the absolute bottom of your chandelier. Now, consider the height of your actual chandelier fixture:
- If your chandelier fixture itself is 12 inches tall, you would need a chain or rod length of 30 inches (42″ total drop – 12″ fixture height = 30″ chain/rod).
- If your chandelier is taller, say 20 inches, you would need a chain or rod of 22 inches (42″ total drop – 20″ fixture height = 22″ chain/rod).
Always factor in the height of the fixture itself when determining the length of the chain or rod needed for installation.
Selecting the Best Chandelier Fixture Size for 9-Foot Ceilings
Beyond width, the vertical dimension (height) of your chandelier is also important for 9-foot ceilings. To avoid overcrowding the vertical space or, conversely, having a chandelier that appears insignificant, aim for fixtures that are generally 12 to 24 inches tall. This size range typically offers enough visual presence without becoming overbearing, ensuring your space feels well-lit and balanced.
- A fixture on the shorter end (12-18 inches) might be suitable if it’s wider or if you prefer a more understated look.
- A taller fixture (18-24 inches) can make a more dramatic statement and fill the vertical volume more effectively, especially if it has an open or airy design.
Why You Must Avoid Hanging Too Low
While the goal is to make a statement, hanging your chandelier below the recommended 33-inch minimum can lead to several significant drawbacks:
- Head Bumps: The most obvious and uncomfortable consequence. Guests standing up or even sitting down might accidentally hit their heads, leading to awkward moments and potential injury.
- Blocked Sight Lines: A low-hanging fixture severely obstructs the view across the table, making conversation difficult and diminishing the social aspect of dining. It creates a barrier rather than an inviting atmosphere.
- Cramped Feeling: Psychologically, a chandelier hung too low makes the entire dining area feel smaller, more enclosed, and less luxurious, even with a generous 9-foot ceiling height. It negates the open feel that taller ceilings provide.
- Improper Lighting Distribution: The light will be concentrated too intensely on the table, creating harsh shadows and leaving the rest of the room feeling underlit or poorly illuminated.
For heavier or particularly oversized fixtures, hanging them slightly higher within the 33-39 inch range can also improve visual balance and prevent them from dominating the space excessively. Remember, always confirm that your ceiling junction box is adequately rated to support the weight of your chosen chandelier, and for ultimate flexibility in ambiance, never skip installing a dimmer switch for your dining room lighting.
Choosing the Right Chandelier Style for Your Dining Space
The perfect chandelier isn’t just about height; it’s also about matching its style and shape to your dining table and the overall aesthetic of your room. Here’s how to select a fixture that harmonizes both form and function:
1. Linear Chandeliers: The Modern and Functional Choice

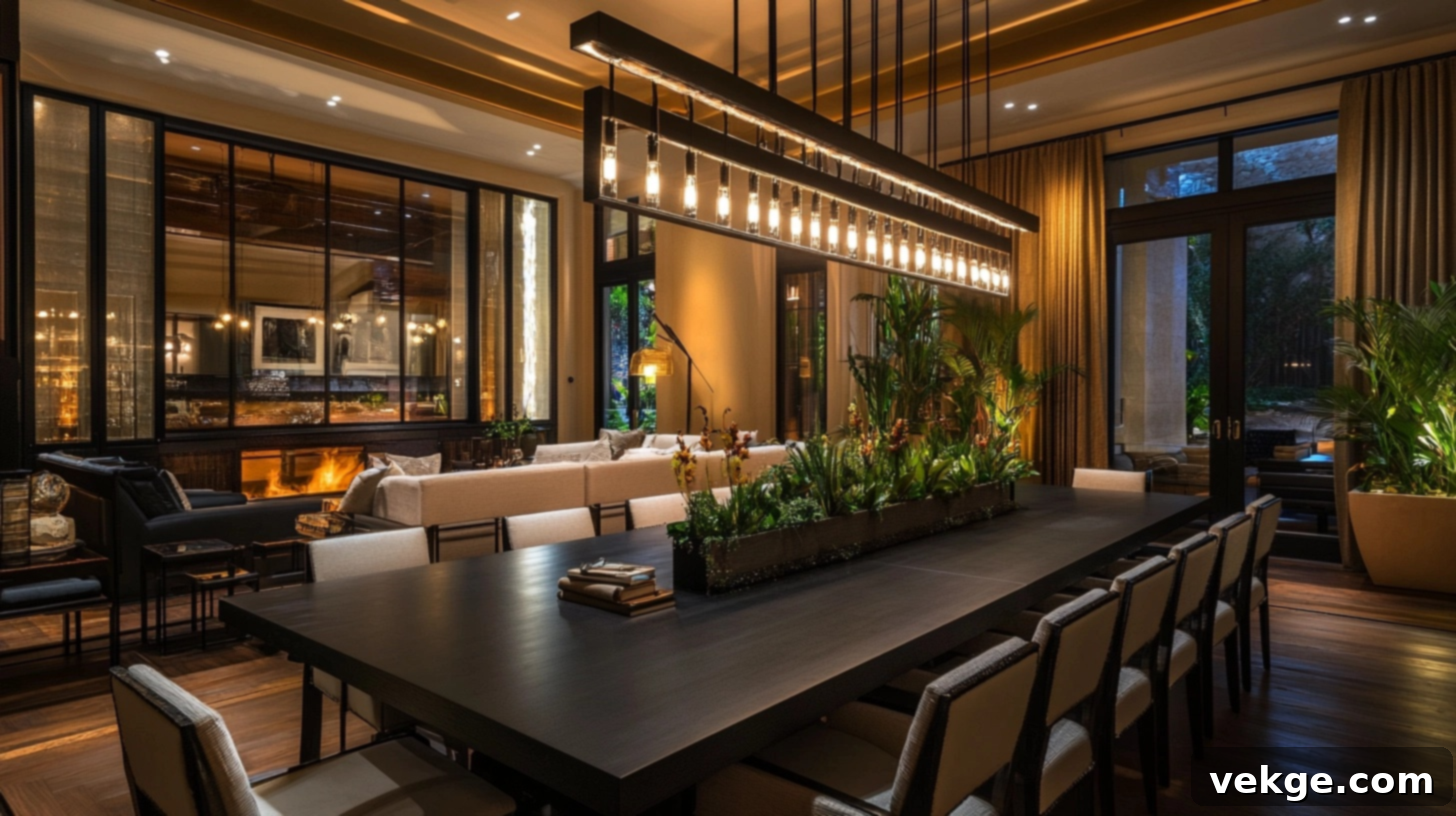
Linear chandeliers, characterized by their elongated, horizontal form, are exceptionally well-suited for rectangular or long farmhouse-style tables. Their design allows them to distribute light evenly across the entire length of a longer surface, eliminating dark spots and ensuring everyone at the table is well-illuminated.
- Ideal For: Casual and family-style dining areas, as well as contemporary or industrial-themed spaces. They are fantastic for adding a touch of modern sophistication.
- Versatility: They come in a vast array of styles, from sleek modern bar lights with integrated LEDs to rustic farmhouse frames crafted from wood and metal, or even industrial pipe fixtures that make a bold statement.
- Enhancement: Pairing a linear chandelier with a dimmer switch is highly recommended. This allows for flexible lighting, easily transitioning from bright task lighting for homework or crafts to a soft, ambient glow for intimate dinners.
2. Round or Globe Chandeliers: The Classic Focal Point

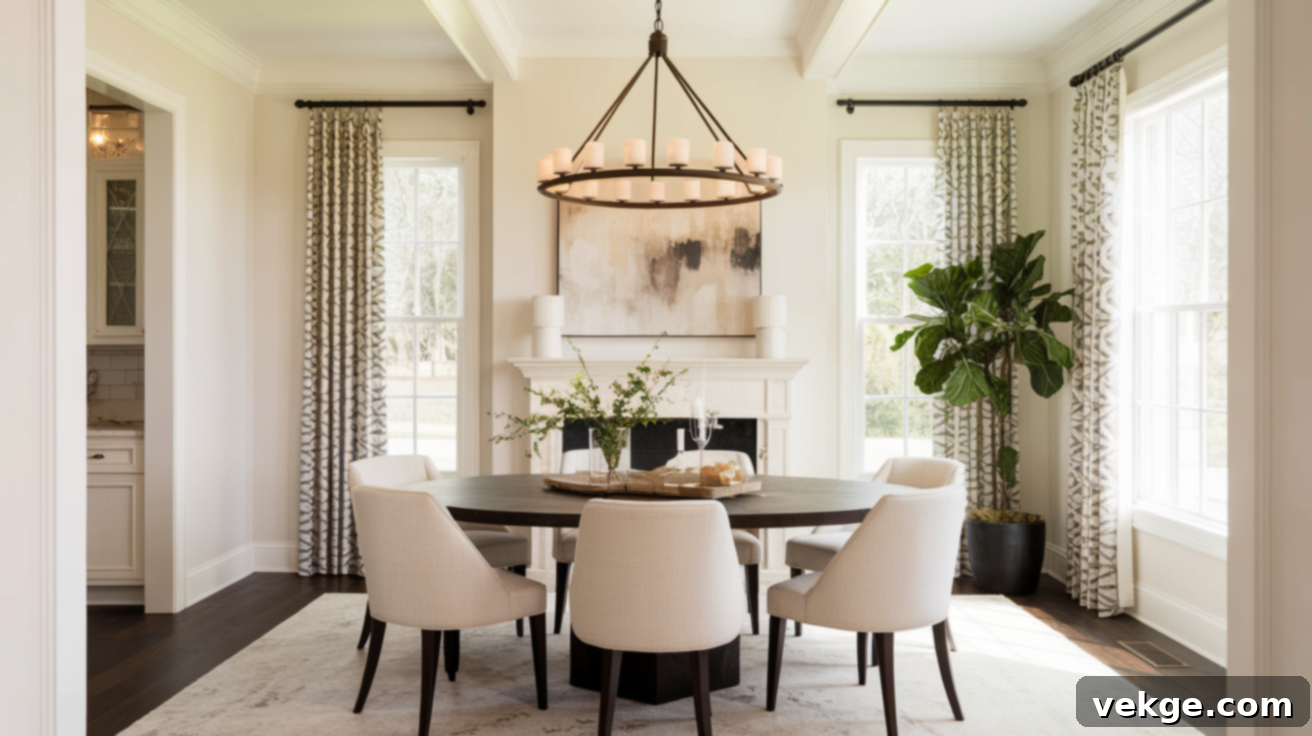
Round or globe chandeliers are the quintessential choice for square or round dining tables. Their symmetrical design naturally creates a strong, central focal point above these table shapes, radiating light uniformly in all directions. They evoke a sense of tradition and elegance.
- Ideal For: Formal dining rooms, classic and traditional interiors, or spaces where a grand, central statement is desired. Their timeless appeal makes them a versatile choice for various decor styles.
- Placement Nuance: For taller or more decorative round designs, a slightly higher placement within the 33-39 inch range (e.g., 36-39 inches) can often highlight their intricate details without them feeling too close or heavy.
- Sizing for Impact: To ensure the best visual fit and balanced proportions, choose a round chandelier that is roughly 1/2 to 2/3 the width (diameter) of your table. For a 48-inch round table, a 24-32 inch diameter chandelier would be ideal.
Essential Installation Tips That Make a Difference
Installing a chandelier, especially when aiming for precise height with 9-foot ceilings, benefits greatly from a few thoughtful preparation and execution steps. These tips can simplify the process and ensure a successful outcome.
1. Prioritize Adjustable Hardware
When selecting your chandelier, always opt for a model that includes adjustable hanging hardware, such as a chain or a system with multiple connecting rods. This adjustability is invaluable because it allows you to fine-tune the drop height after initial installation without the arduous task of uninstalling and rehanging the entire fixture. Life happens, and preferences change; having flexibility built-in is a huge advantage.
- For Chain-Hung Fixtures: These are the easiest to adjust, as you simply open or close links to achieve the desired height.
- For Rod-Hung Fixtures: Some come with a selection of rods (e.g., 6-inch, 12-inch, 24-inch sections) that can be combined. If you anticipate needing more specific lengths, inquire about ordering extra rod sections from the manufacturer.
2. Always Test the Height Before Committing
This step is perhaps the most critical for ensuring comfort and aesthetics. Before you drill, wire, or make any permanent adjustments, perform a “dry run” of the chandelier’s height:
- The Cardboard Cutout Method: If your chandelier is heavy or complex, cut a piece of cardboard to the approximate size and shape of your fixture.
- The Painter’s Tape Method: Use painter’s tape to temporarily suspend the actual fixture (if lightweight enough) or your cardboard cutout at various heights over the table.
- The Visual Check: Sit down at different spots around the dining table. Have family members do the same. Check sight lines—can everyone see across the table comfortably? Does it feel too close to your head when standing? Is the light casting correctly?
- Marking Your Spot: Once the height feels absolutely perfect for everyone, mark that exact spot on the chain or rod, or measure the distance from the ceiling to guide the final installation.
3. Ensure It Hangs Perfectly Evenly
A crooked chandelier, even by a slight degree, can be incredibly distracting and diminish the elegance of your dining space. Precision in leveling is key, especially for multi-arm designs, linear fixtures, or heavier chandeliers.
- Use a Bubble Level: Once the chandelier is hung, use a reliable bubble level (a small torpedo level works well) against a horizontal element of the fixture to confirm it’s perfectly straight.
- Adjusting Chain Links: If using a chain, you might need to slightly adjust individual links on one side to correct any tilt.
- Checking Rod Connections: For rod-hung fixtures, ensure all rod sections are screwed in tightly and correctly aligned, as loose connections can cause a subtle lean.
Common Mistakes to Avoid for Perfect Chandelier Placement
Even with the best intentions, small missteps can compromise the look, feel, and functionality of your dining area. Being aware of these common pitfalls can help you sidestep them entirely:
- Hanging Too High: Any height significantly over 40 inches above the table, especially with 9-foot ceilings, will make the chandelier feel disconnected from the dining area. It will appear to float aimlessly, leaving the space beneath feeling underlit and uninviting. The light won’t effectively illuminate the table, scattering instead.
- Hanging Too Low: As discussed, hanging below 33 inches above the table creates a cluttered, cramped feel. It significantly increases the risk of head bumps, severely blocks sight lines, and can even make the light source feel harsh and glaring directly into people’s eyes.
- Choosing an Undersized Fixture: A chandelier that is too small for the table will look lost and insignificant, failing to provide adequate light or make the desired design statement. Always aim for a chandelier that is at least half the table’s width (or diameter), ideally two-thirds, to ensure it holds its own within the space.
- Off-Center Placement: This is a surprisingly common mistake. Always ensure your fixture is perfectly centered over the actual dimensions of your table. This is particularly crucial for linear designs where a slight off-center can be glaringly obvious. Use a tape measure and mark the exact center of your table to guide the placement of the ceiling box if necessary.
- Skipping the Dimmer Switch: A dimmer is not a luxury; it’s a necessity for dining room lighting. Without one, you’re limited to a single level of illumination, which is rarely ideal for all occasions. A dimmer allows you to adjust the ambiance from bright task lighting to a soft, romantic glow, vastly increasing the versatility and comfort of your dining space.
- Ignoring Ceiling Slope or Irregularities: If your ceiling has a slight slope or unevenness, always measure the chandelier height from the lowest ceiling point directly above the table. This ensures that the fixture maintains proper clearance and a level appearance relative to the table, regardless of the ceiling’s overall contour.
Conclusion: The Art of Perfectly Hung Dining Room Lighting
Through careful planning and attention to detail, achieving the ideal chandelier height over a dining table with 9-foot ceilings is entirely within reach. My experience has shown that the sweet spot lies in hanging the fixture approximately 33 to 39 inches above the table surface. This range guarantees comfortable lighting, preserves clear sightlines for effortless conversation, and enhances the overall spaciousness of your room.
Remember that the style and shape of your chandelier should also complement your table. Linear chandeliers are typically best suited for long, rectangular tables, providing even light distribution, while round or globe fixtures create a beautiful central focal point over square or round tables, adding a touch of classic elegance.
Before making any permanent installations, always take the time to test the height. A simple technique using painter’s tape or a cardboard cutout can save you significant effort and ensure that the final placement feels just right. Confirm that your chandelier is perfectly level and precisely centered over your table for a truly polished look.
Mastering chandelier height is more than just a technical detail; it’s about crafting an inviting, functional, and visually stunning dining environment. For more expert insights on lighting design, dining room decor, or other home improvement projects, be sure to explore the additional helpful guides and articles available on our website.
