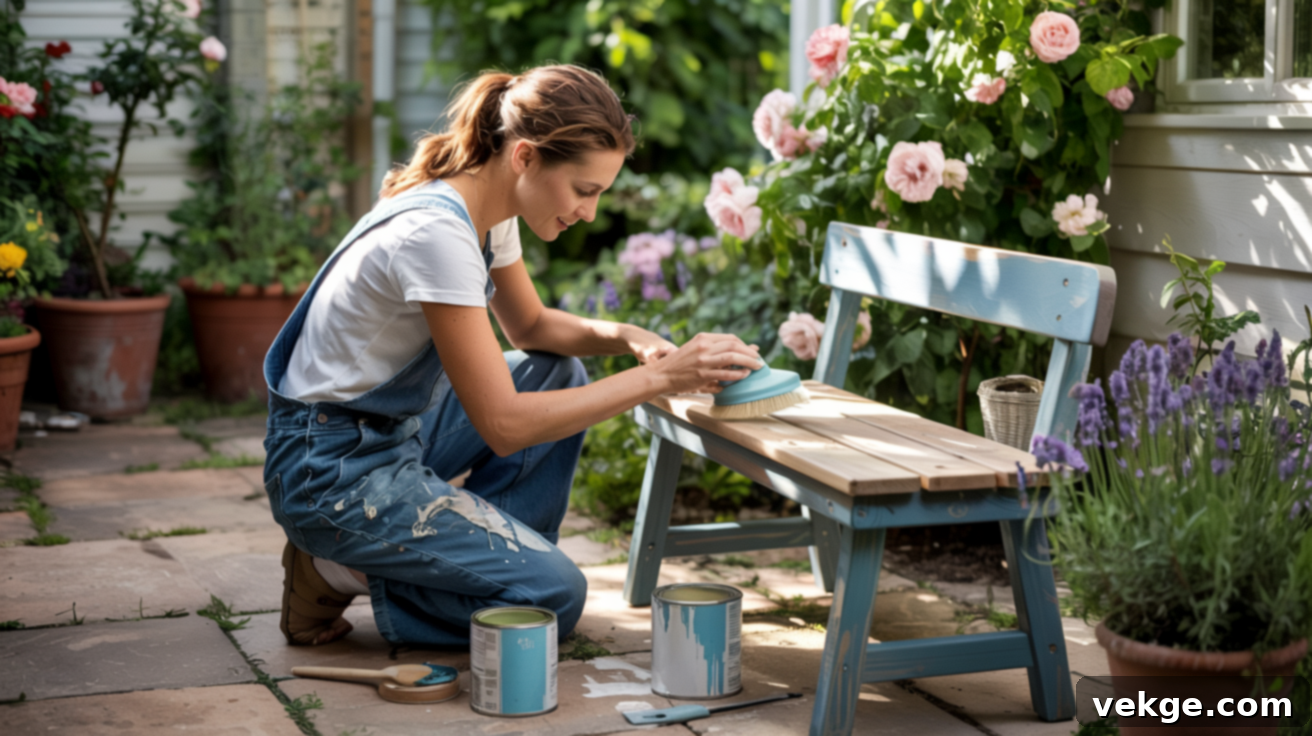
Revitalize Your Outdoor Space: The Ultimate DIY Guide to Refinishing Patio Furniture
Are your beloved patio chairs showing signs of wear, or is that once-charming garden table now a victim of rust and fading? The elements can be harsh on outdoor furniture, leaving it looking tired and neglected.
The good news is, you don’t need to embark on an expensive shopping spree for brand-new pieces. With a little effort and the right approach, you can bring your existing outdoor furniture back to life. This comprehensive guide will walk you through the process of how to refinish outdoor furniture step-by-step, transforming your old items without requiring fancy tools or a hefty budget.
You’ll discover practical techniques for cleaning, sanding, repainting, and protecting various materials, including wood, metal, plastic, and wicker. All the necessary supplies can be easily found at your local hardware store, making this a truly accessible DIY project for any homeowner.
Imagine your backyard oasis looking fresh and inviting again, all thanks to your own handiwork. With just a few hours of dedicated effort, your worn-out pieces can look almost new, adding charm and function to your outdoor living area for seasons to come. Ready to give your patio the easy, cost-effective makeover it deserves? Let’s get started on your outdoor furniture restoration journey.
Refinishing Outdoor Furniture: A Comprehensive DIY Guide for Every Home
Giving your outdoor furniture a new lease on life is a rewarding project that saves money and adds personal style to your space. This guide is designed to empower you with the knowledge and steps needed to achieve professional-looking results right at home. We’ll cover the essential stages for various furniture types, ensuring your wood, metal, and plastic pieces (and more!) stand up to the elements with renewed vigor.
Crafted for real homes and real budgets, this guide emphasizes using readily available supplies from any hardware store. You won’t need specialized skills or high-end equipment to achieve impressive transformations. By simply following each clear, actionable step, you can significantly enhance your outdoor living area’s appeal without the expense of buying new furniture. Get ready to enjoy your refreshed and vibrant outdoor space!
Essential Materials Required to Refinish Outdoor Furniture
Before you begin your refinishing project, gather these essential supplies. Most items are inexpensive and can be easily purchased from any local hardware or home improvement store. Having everything on hand will ensure a smooth and efficient process.
- A bucket of warm water and mild soap: For general cleaning and removing surface grime.
- Scrub brush or sponge: To effectively clean all surfaces, especially in crevices.
- White vinegar or oxygen bleach: Crucial for tackling stubborn mold and mildew growth.
- Sandpaper (80 to 220 grit): Essential for smoothing surfaces, removing old finishes, and ensuring new coats adhere properly. Coarser grits (80-100) are for heavy material removal, while finer grits (150-220) create a smooth finish.
- Wire brush: Specifically for removing loose rust and peeling paint from metal furniture.
- Paint stripper or heat gun: If you need to remove multiple layers of old, flaking paint or stubborn finishes (use with caution and proper ventilation).
- Outdoor paint, stain, or wood oil: Your chosen finish product, selected based on material and desired aesthetic (e.g., exterior latex paint, oil-based stain, teak oil).
- Primer: Especially important for metal furniture (choose a rust-resistant variety) and for ensuring good adhesion on plastic or heavily stained wood.
- Paintbrush, roller, or sprayer: For applying your chosen finish smoothly and evenly.
- Wood filler: To repair minor cracks, holes, or gouges in wooden furniture.
- Clear sealant or water-repellent topcoat: An optional but highly recommended layer to provide extra protection against UV rays, moisture, and general wear.
- Gloves and safety glasses: Non-negotiable personal protective equipment for safety during cleaning, sanding, and applying finishes.
- Drop cloths or old newspapers: To protect your work area from spills and drips.
- Clean rags or tack cloth: For wiping away dust and preparing surfaces.
- Waterproof covers: For ongoing protection of your newly refinished furniture.
Step 1: Clean Thoroughly – The Foundation of a Flawless Finish
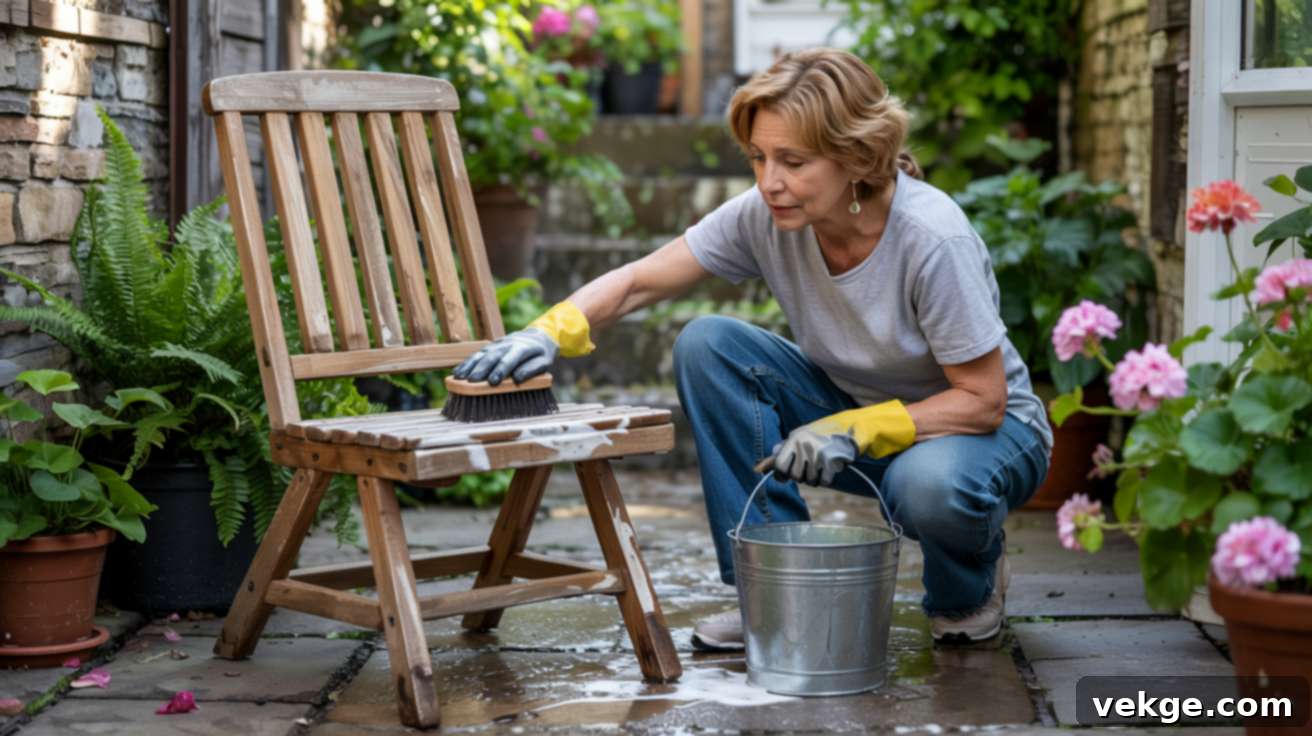
A deep and thorough clean is arguably the most critical first step in any refinishing project. Dirt, grime, pollen, bird droppings, mold, and old, loose paint can all hide underlying damage or prevent new finishes from adhering properly. Skipping this stage means your beautiful new paint or stain will likely peel or chip prematurely. Regardless of the material, cleaning ensures you start with a truly fresh, receptive surface, and it also helps you accurately assess the extent of any repair work needed before proceeding.
Begin by mixing a bucket of warm water with a generous amount of mild dish soap or an all-purpose outdoor cleaner. Use a stiff-bristled scrub brush or a sturdy sponge to vigorously wipe down all surfaces of your furniture. Pay extra attention to corners, crevices, and any decorative elements where grime tends to accumulate. For tougher dirt, a pressure washer can be used with caution on durable materials like treated wood or metal, but keep the nozzle at a safe distance to avoid damaging the surface.
If you discover mold or mildew, which often appears as black or green spots, prepare a solution of one part white vinegar to one part water, or follow the instructions for an oxygen bleach product. Apply this solution, let it sit for 10-15 minutes, and then scrub the affected areas. White vinegar is a natural fungicide and a safer alternative to chlorine bleach, which can be harsh on some materials and finishes. After scrubbing, rinse everything exceptionally well with clean water, ensuring all soap or cleaning solution residue is completely removed. Finally, allow the furniture to dry completely for at least 24-48 hours, or longer in humid conditions, before moving on. Moisture trapped in the material can lead to problems down the line, so patience here is key. Don’t forget to clean the undersides and legs—mold and dirt love to hide there, too!
Step 2: Sand or Strip the Surface – Preparing for Perfection
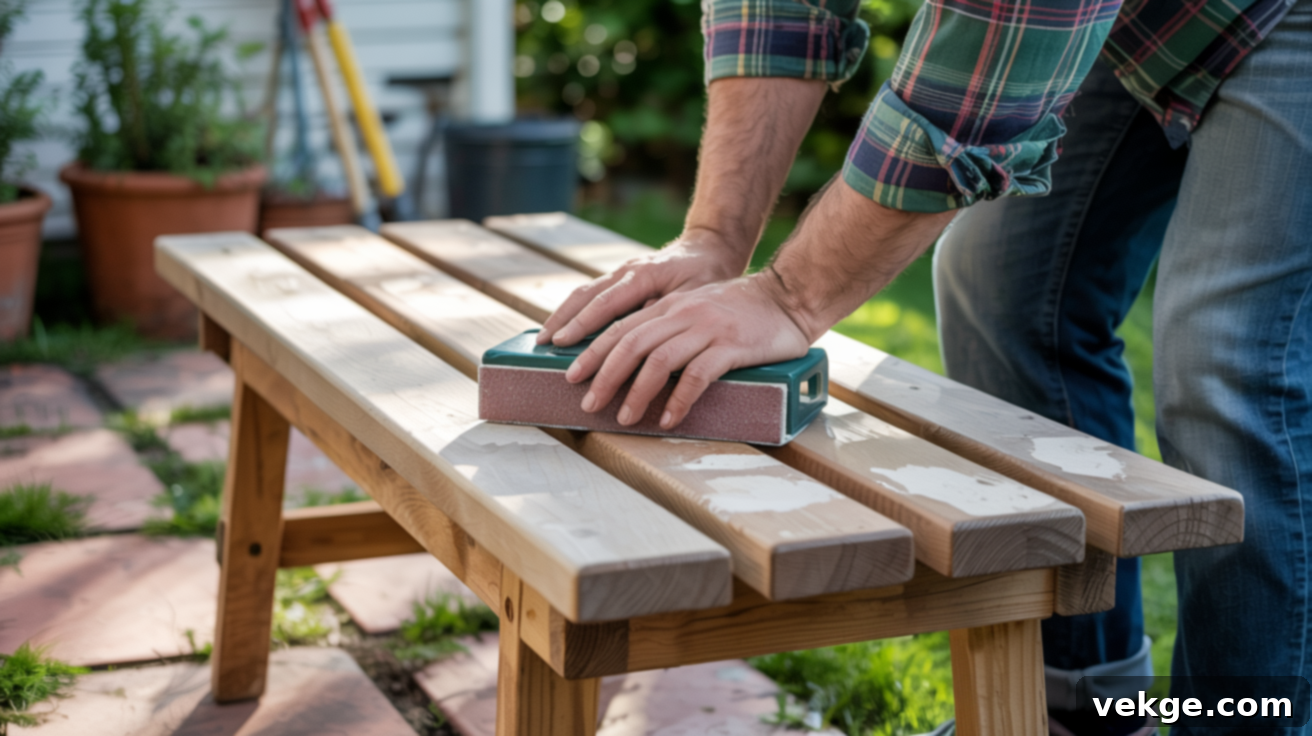
Once your furniture is spotlessly clean and thoroughly dry, the next crucial step is to prepare the surface for its new finish. This involves either sanding lightly to create a smooth base or stripping off old, failing layers entirely. This process is vital for ensuring that new paint or stain adheres properly, preventing future peeling, and eliminating splinters or rust. The method you choose will depend largely on the condition of your furniture and its material.
- For Wood Furniture: If the old finish is peeling, chipped, or uneven, you’ll likely need to sand. Start with an 80-100 grit sandpaper to remove significant imperfections and old finish. Move to 120-150 grit for general smoothing, and finish with 180-220 grit for a silky-smooth surface ready for staining or painting. Always sand with the grain of the wood to prevent scratches. For large, flat surfaces, an orbital sander can save a lot of time and effort. If the wood has deep gouges or cracks, use exterior-grade wood filler, applying it with a putty knife, letting it dry, and then sanding it smooth. If multiple layers of old paint are stubbornly clinging, a chemical paint stripper or a heat gun (used carefully with a scraper) might be necessary. Always follow product instructions and wear protective gear.
- For Metal Furniture: The goal here is to remove rust and loose paint. Use a wire brush for heavy rust, then follow up with medium-grit sandpaper (around 100-120 grit) to smooth the surface and remove any remaining flakes. For minor surface rust, a rust-converter primer can be applied directly after light sanding. If there’s no rust and the existing paint is sound, a light sanding with fine-grit sandpaper (180-220 grit) will create “tooth” for the new primer and paint to stick to.
- For Plastic Furniture: Plastic often just needs a light scuff sanding with fine-grit sandpaper (220-300 grit) after cleaning. This creates a slightly textured surface that helps specialized plastic paints adhere better. Avoid aggressive sanding, which can leave visible scratches.
- For Wicker Furniture: Wicker can be delicate. Focus primarily on thorough cleaning. If you must sand, use very fine-grit sandpaper (220 grit or higher) gently on any rough spots. Often, a good clean is sufficient, followed by a primer designed for plastics or outdoor use if you plan to paint.
After sanding or stripping, it’s critical to thoroughly remove all dust and debris. Use a vacuum cleaner with a brush attachment, then wipe down the entire surface with a tack cloth or a slightly damp rag to pick up any remaining fine dust particles. A clean, dust-free surface is essential for proper adhesion of the new finish.
Step 3: Choose Your Finish – Durability Meets Design
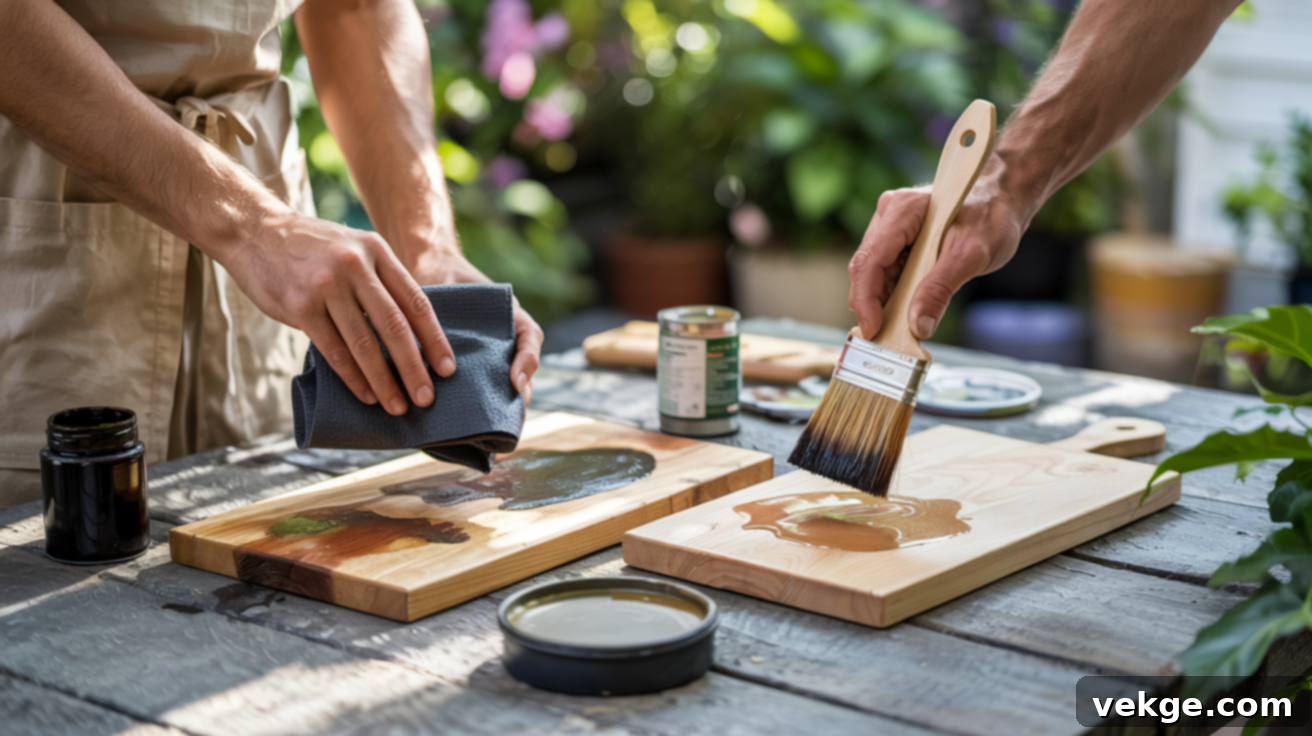
With your furniture meticulously cleaned and smoothly prepped, it’s time for the exciting part: choosing the perfect finish. This decision is crucial not only for the aesthetic appeal of your rejuvenated pieces but also for their long-term protection against the elements. Your choice will depend on the furniture’s material, the look you want to achieve, and the level of durability required.
- Paint: A versatile choice for nearly all materials (wood, metal, plastic, wicker). Exterior-grade paints offer strong, opaque coverage, allowing you to completely change the color and hide imperfections. Look for paints specifically formulated for outdoor use, offering UV and moisture resistance. Acrylic latex paints are popular for their ease of cleanup and durability, while oil-based enamels provide a harder, more traditional finish. For metal, always use a rust-inhibiting primer first, or choose a “direct-to-metal” (DTM) paint. For plastic, select paints designed to adhere to flexible surfaces.
- Stain: Ideal for enhancing the natural beauty of wood. Stains penetrate the wood fibers, adding color while allowing the grain to show through. They range from transparent (tinting the wood slightly) to semi-transparent (more color, less grain visible) to solid (more like a thin paint). Stains offer excellent protection against moisture and UV damage, especially when followed by a clear topcoat or sealant. Choose oil-based stains for deeper penetration and durability, or water-based stains for quicker drying times and easier cleanup.
- Wood Oil: Perfect for dense hardwoods like teak, acacia, or eucalyptus. Oils (such as teak oil, tung oil, or linseed oil) soak into the wood, nourishing and protecting it from within without forming a surface film. This maintains a natural, matte look and feel. Oiling needs regular reapplication (often annually), but it’s simple to do and keeps the wood supple, preventing drying and cracking.
- Primer: Don’t underestimate the power of a good primer. For metal, a rust-inhibiting primer is non-negotiable to prevent corrosion. For plastic, a primer designed for adhesion to challenging surfaces will ensure your paint sticks. On wood, primer can block stains, provide a uniform base for paint, and improve overall adhesion and durability.
- Clear Sealant or Topcoat: This final protective layer is highly recommended for most refinishing projects, especially over paint or stain. Products like exterior polyurethane, spar varnish, or marine varnish offer superior protection against UV rays, scratches, and moisture. They come in various sheens (matte, satin, gloss) and significantly extend the life of your finish, making maintenance easier.
Consider the exposure your furniture receives: direct sun, heavy rain, or covered patio. This will influence the type of protection needed. Always read manufacturer recommendations for the best product for your specific furniture material and climate.
Step 4: Apply the Finish Like a Pro – Techniques for Lasting Beauty
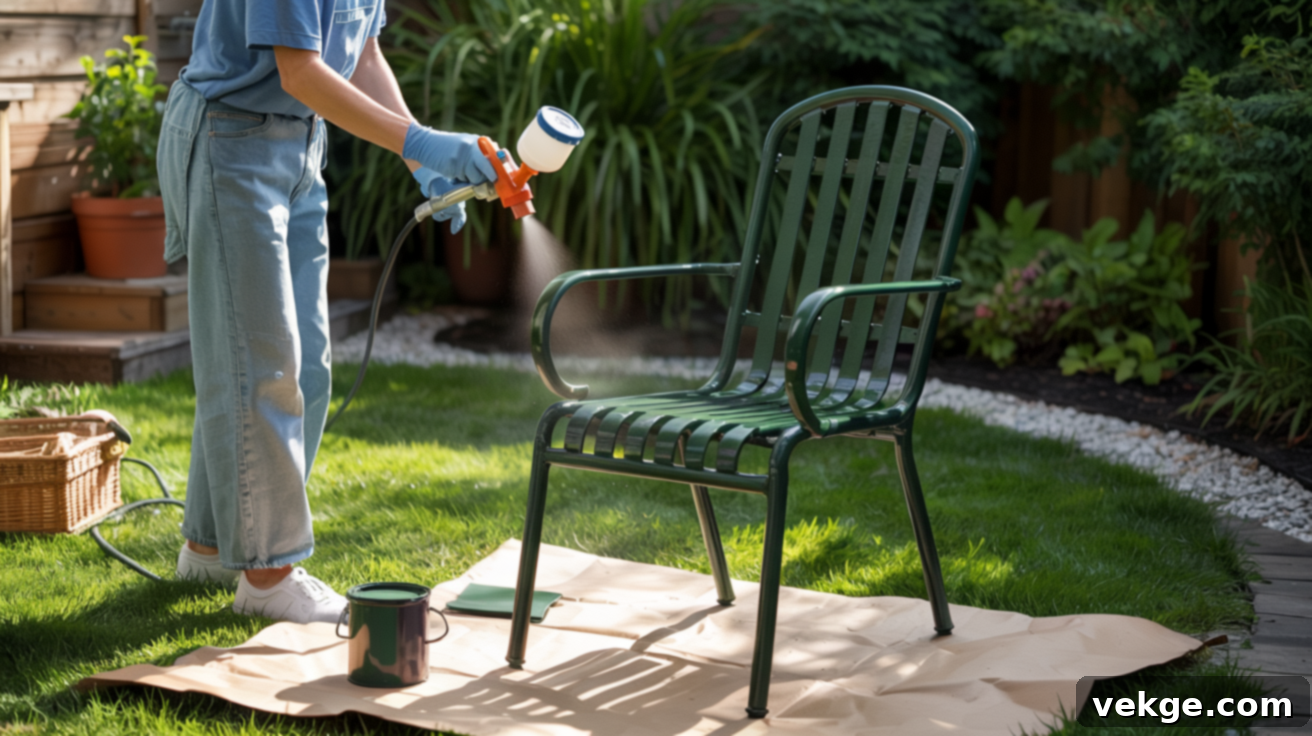
Once you’ve carefully selected your primer, paint, stain, or oil, the next step is to apply it correctly to achieve a durable and aesthetically pleasing finish. A clean, even application is crucial for both the protective qualities and the visual appeal of your furniture, ensuring it stands up to all kinds of weather. Proper technique, adequate drying, and sufficient coats are key to a lasting result.
Preparation is Key: Before opening your chosen finish, ensure your workspace is well-ventilated and protected with drop cloths or old newspapers. Stir your paint or stain thoroughly to ensure pigments are evenly distributed. If using spray paint, shake the can vigorously for at least one minute.
- Applying Primer: If using a primer, apply one thin, even coat. For metal, ensure full coverage, especially on areas prone to rust. Allow the primer to dry completely according to the manufacturer’s instructions. Skipping this critical drying time can compromise adhesion.
- Applying Paint: Whether using a brush, roller, or sprayer, the goal is smooth, even coverage without drips or heavy spots.
- Brushing: Use high-quality exterior brushes. Apply paint in long, smooth, even strokes, working with the grain on wood. Avoid overloading your brush. Apply two to three thin coats rather than one thick one, allowing ample drying time between each coat. This prevents drips and ensures a harder, more durable finish.
- Rolling: For flat surfaces, a small foam or short-nap roller can provide a very smooth finish. Roll in even passes, slightly overlapping each stroke.
- Spraying: Spraying is ideal for intricate pieces (like wicker or wrought iron) or for achieving a factory-smooth finish on larger surfaces. Hold the sprayer or can at a consistent distance (usually 6-12 inches) and use steady, sweeping motions. Apply several very light coats to prevent drips and ensure even coverage, allowing flash-off time between coats as recommended. Always work in a well-ventilated area and wear appropriate respiratory protection when spraying.
- Applying Stain or Oil:
- Stain: Apply stain generously with a brush or rag, working with the wood grain. Allow it to penetrate for a few minutes (check product instructions for specific times) before wiping off the excess with a clean, lint-free cloth. For a deeper color, apply a second coat after the first has dried, again wiping off excess.
- Oil: Apply wood oil generously with a clean cloth or brush, allowing it to soak into the wood for 15-30 minutes. Wipe off all excess oil completely to avoid a sticky surface, which can attract dirt. You may need to apply a second or third coat after several hours or the next day, depending on the wood’s absorbency.
- Sanding Between Coats (Optional but Recommended): For the smoothest possible painted finish, lightly sand between coats of paint (not stain or oil) with very fine-grit sandpaper (e.g., 220-320 grit). This removes any tiny imperfections or dust nibs, creating a better surface for the next coat. Wipe away all sanding dust with a tack cloth before reapplying.
- Final Cure: While surfaces may be dry to the touch in a few hours, most finishes require several days, or even weeks, to fully cure and reach their maximum hardness and durability. Avoid heavy use or placing objects on the furniture during this curing period.
Step 5: Protect and Maintain – Ensuring Longevity for Your Outdoor Furniture
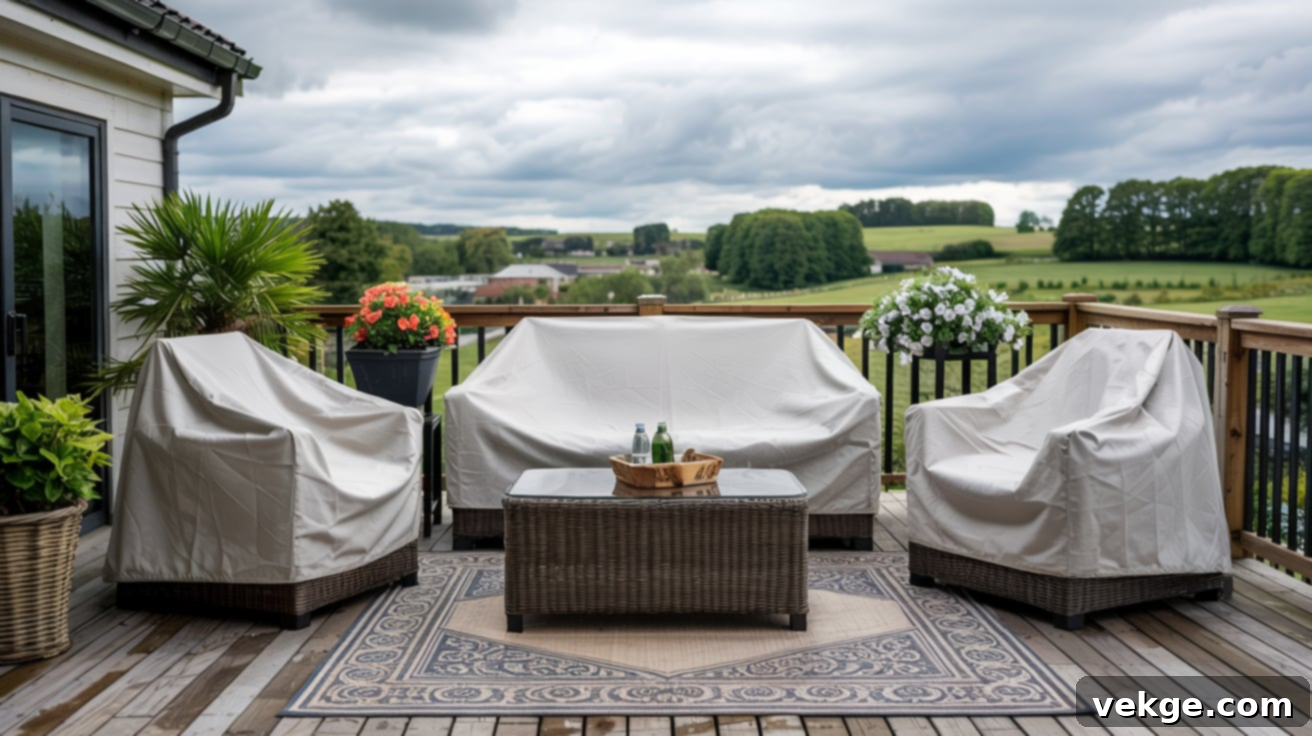
Even the most meticulously applied finish won’t last indefinitely without ongoing care and protection. The relentless exposure to sun, rain, fluctuating temperatures, and general outdoor grime can gradually wear down your hard work. Protecting your newly refinished outdoor furniture year-round is essential for extending its lifespan, maintaining its fresh appearance, and saving you significant time and effort on future repairs. Thoughtful protection and routine maintenance are key to preserving your investment.
- Apply a Clear Sealant or Topcoat: As discussed in Step 3, a clear sealant provides an invaluable barrier. Products like spar varnish (highly flexible and UV resistant) or exterior-grade polyurethane offer an extra layer of defense against moisture, UV fading, and abrasion. Apply according to manufacturer directions, typically one to two coats after your main finish has fully dried.
- Use Furniture Covers: Investing in breathable, waterproof outdoor furniture covers is one of the most effective ways to protect your pieces. When furniture is not in use, especially during inclement weather or off-season months, covers shield them from harsh sunlight, heavy rain, snow, and dirt. Ensure the covers fit well and allow for some airflow to prevent moisture buildup and mildew.
- Store Cushions Indoors: While the furniture frame is outdoors, cushions are best stored in a dry, covered area (a storage box or indoors) when not in use. This prevents fading, mold growth, and keeps them looking fresh and clean.
- Regular Cleaning: Don’t wait for heavy grime to build up. Regularly wipe down surfaces with a damp cloth and mild soap to remove dust, pollen, and light dirt. This prevents buildup that can degrade finishes over time.
- Reapply Protective Coats: Depending on your climate and the finish you chose, plan to reapply clear sealants, wood oils, or even a fresh topcoat of paint every one to three years. This proactive approach will keep the protective layer strong and prevent the underlying finish from deteriorating.
- Winter Storage: If possible, move your outdoor furniture to a sheltered area like a garage, shed, or basement during the harshest winter months. This significantly reduces exposure to extreme cold, ice, and snow, which can cause cracking and peeling.
- Promptly Address Damage: As soon as you notice any chips, scratches, or wear in the finish, touch them up immediately. Small repairs are quick and easy; neglected damage can quickly worsen, leading to more extensive repairs down the line.
Ongoing Maintenance Tips to Keep Outdoor Furniture Looking Good for Years
Consistent, minor care can dramatically extend the life and beauty of your outdoor furniture. By incorporating these simple habits into your routine, you can keep your pieces looking fantastic for many seasons to come, avoiding the need for frequent major refinishing projects.
- Cover furniture when not in use: UV rays and constant moisture are relentless enemies of any finish. Investing in breathable, waterproof covers significantly extends the life of your furniture, protecting it from fading, cracking, and water damage. Make this a habit, especially overnight or when rain is expected.
- Store cushions indoors: To prevent mold, mildew, and sun-induced fading, always bring cushions inside or store them in a waterproof deck box when not in use. This preserves their color and extends their plushness.
- Wipe down surfaces regularly: A quick wipe with a damp cloth and mild soap once a week can remove dirt, pollen, and bird droppings. This prevents grime from becoming embedded and degrading the finish, keeping surfaces clean and bright.
- Reapply sealants or protective coats annually: For wood furniture, reapply wood oils or clear sealants annually or bi-annually, depending on exposure. For painted metal or plastic, inspect for dullness or minor wear and consider a fresh topcoat every few years to maintain its protective barrier.
- Keep furniture off wet grass or soil: Constant contact with damp ground can lead to rot in wood and rust in metal. Use patio risers or simply ensure furniture rests on a dry, paved surface whenever possible to promote air circulation underneath.
- Tighten bolts and check joints every few months: Outdoor furniture often endures stress from movement and weather changes. Periodically inspect and tighten any loose bolts or screws. This prevents wobbling, structural weakness, and potential injury.
- Touch up paint or finish as soon as you notice chips or cracks: Small imperfections can quickly escalate if left unaddressed. Keep a small amount of your original paint or stain for quick touch-ups. This prevents moisture from penetrating and causing larger damage.
- Clean spills immediately: Food and drink spills, especially those containing acids, can stain or etch finishes if left too long. Promptly wipe them clean with a damp cloth.
Why You Should Refinish Instead of Replace: Smart, Sustainable, and Satisfying
The temptation to simply buy new outdoor furniture when your old pieces look past their prime can be strong. However, replacing an entire outdoor dining set or a collection of lounge chairs can quickly become a significant financial outlay, especially for well-built pieces made from durable materials like solid wood or metal. If the structural integrity of your furniture is still sound – if the frame is strong, the joints are secure, and there are no critical breaks – then there’s every reason to choose refinishing over replacement.
Refinishing offers a multitude of compelling advantages:
- Cost-Effectiveness: This is often the primary motivator. The cost of materials for cleaning, sanding, and applying a new finish is typically a fraction of the price of purchasing new furniture. You’re leveraging the existing value of the piece, saving hundreds or even thousands of dollars compared to a full replacement.
- Environmental Responsibility: Opting to refinish is a highly sustainable choice. You’re extending the life of an existing product, reducing waste that would otherwise end up in landfills, and lessening the demand for new manufacturing. This act of upcycling is good for both your wallet and the planet.
- Unmatched Customization: When you refinish, you have complete creative control over the aesthetic. You can choose any color, stain, or finish that perfectly matches your current outdoor decor or allows you to experiment with a completely new look. This level of personalization is often unavailable with mass-produced new furniture.
- Preserving Quality: Many older pieces of outdoor furniture, especially those inherited or purchased years ago, were built with higher quality materials and craftsmanship than some of today’s budget options. Refinishing allows you to preserve these superior foundations, giving them a modern update without sacrificing durability.
- Sentimental Value: Certain pieces of furniture hold sentimental memories. Refinishing allows you to keep these cherished items, transforming them into functional and beautiful parts of your outdoor space once more, rather than discarding them.
- Time Savings: While refinishing requires effort, it often saves you the time spent shopping around, comparing prices, waiting for deliveries, or arranging for the disposal of old furniture. A few dedicated hours of work can yield a stunning, fresh result much faster than the process of buying new.
- Personal Satisfaction: There’s a unique sense of accomplishment and pride that comes from transforming something old and worn into something beautiful and functional with your own hands. It’s a tangible demonstration of your skills and creativity, providing a satisfying connection to your home environment.
In essence, refinishing is a smart, satisfying, and eco-conscious choice that lets you breathe new life into your outdoor space while saving money and maintaining control over the final outcome.
Wrapping Up Your Outdoor Furniture Restoration Journey
Bringing life back to your cherished outdoor chairs, tables, and benches doesn’t require an extensive budget or specialized expertise. It simply takes the right steps, a little time, and a willingness to get hands-on. This comprehensive guide has walked you through every critical stage of how to refinish outdoor furniture, from the foundational steps of thorough cleaning and meticulous surface preparation (sanding or stripping) to the exciting process of applying new finishes (paint, stain, or oil) and securing them with protective sealants.
Now, armed with this knowledge, you possess everything you need to transform your worn-out pieces into stunning, durable fixtures that will enhance your outdoor living area for years to come. Remember the importance of choosing the right products for your specific materials, applying thin, even coats, and allowing adequate drying time. Most importantly, embrace proactive care: follow seasonal maintenance tips, utilize protective covers, and store items properly during harsh weather to avoid having to restart the entire process next year.
By investing a little effort now, you’re not just saving money; you’re also embracing sustainability, unleashing your creativity, and adding a personal touch that truly makes your outdoor space feel like home. Want more simple fixes, smart DIY ideas, and practical advice for every corner of your home? Explore our other how-to blogs and continue making your living environment work better, look better, and feel more like you.
