DIY Mailbox Post: Your Ultimate Guide to Building and Installing a Custom Mailbox Post
Building your own mailbox post is a wonderfully fulfilling and budget-friendly DIY project that not only saves you money but also allows you to infuse your home with a unique, personal touch. Imagine designing a fixture that perfectly complements your home’s aesthetic, rather than settling for a generic, off-the-shelf option.
This project offers immense flexibility in style, whether you envision a timeless traditional look, a sleek modern design, or something more artistically decorative. You have the freedom to select materials that resonate with your personal taste and architectural style. What’s more, it’s an accessible project that doesn’t demand advanced carpentry skills, making it suitable for most DIY enthusiasts.
The profound satisfaction of seeing your own creation standing proudly at the curb is truly unparalleled. Beyond the basic structure, you can explore innovative features like swinging mailbox posts, which add an extra layer of uniqueness and practical benefits, especially in challenging environments. This guide will meticulously walk you through various styles and essential construction steps, helping you choose and build the perfect mailbox post that enhances your home’s curb appeal and serves its purpose beautifully.
Choosing the Perfect Mailbox Post Design to Enhance Your Home’s Curb Appeal
Traditional Wooden Mailbox Posts: A Timeless Classic
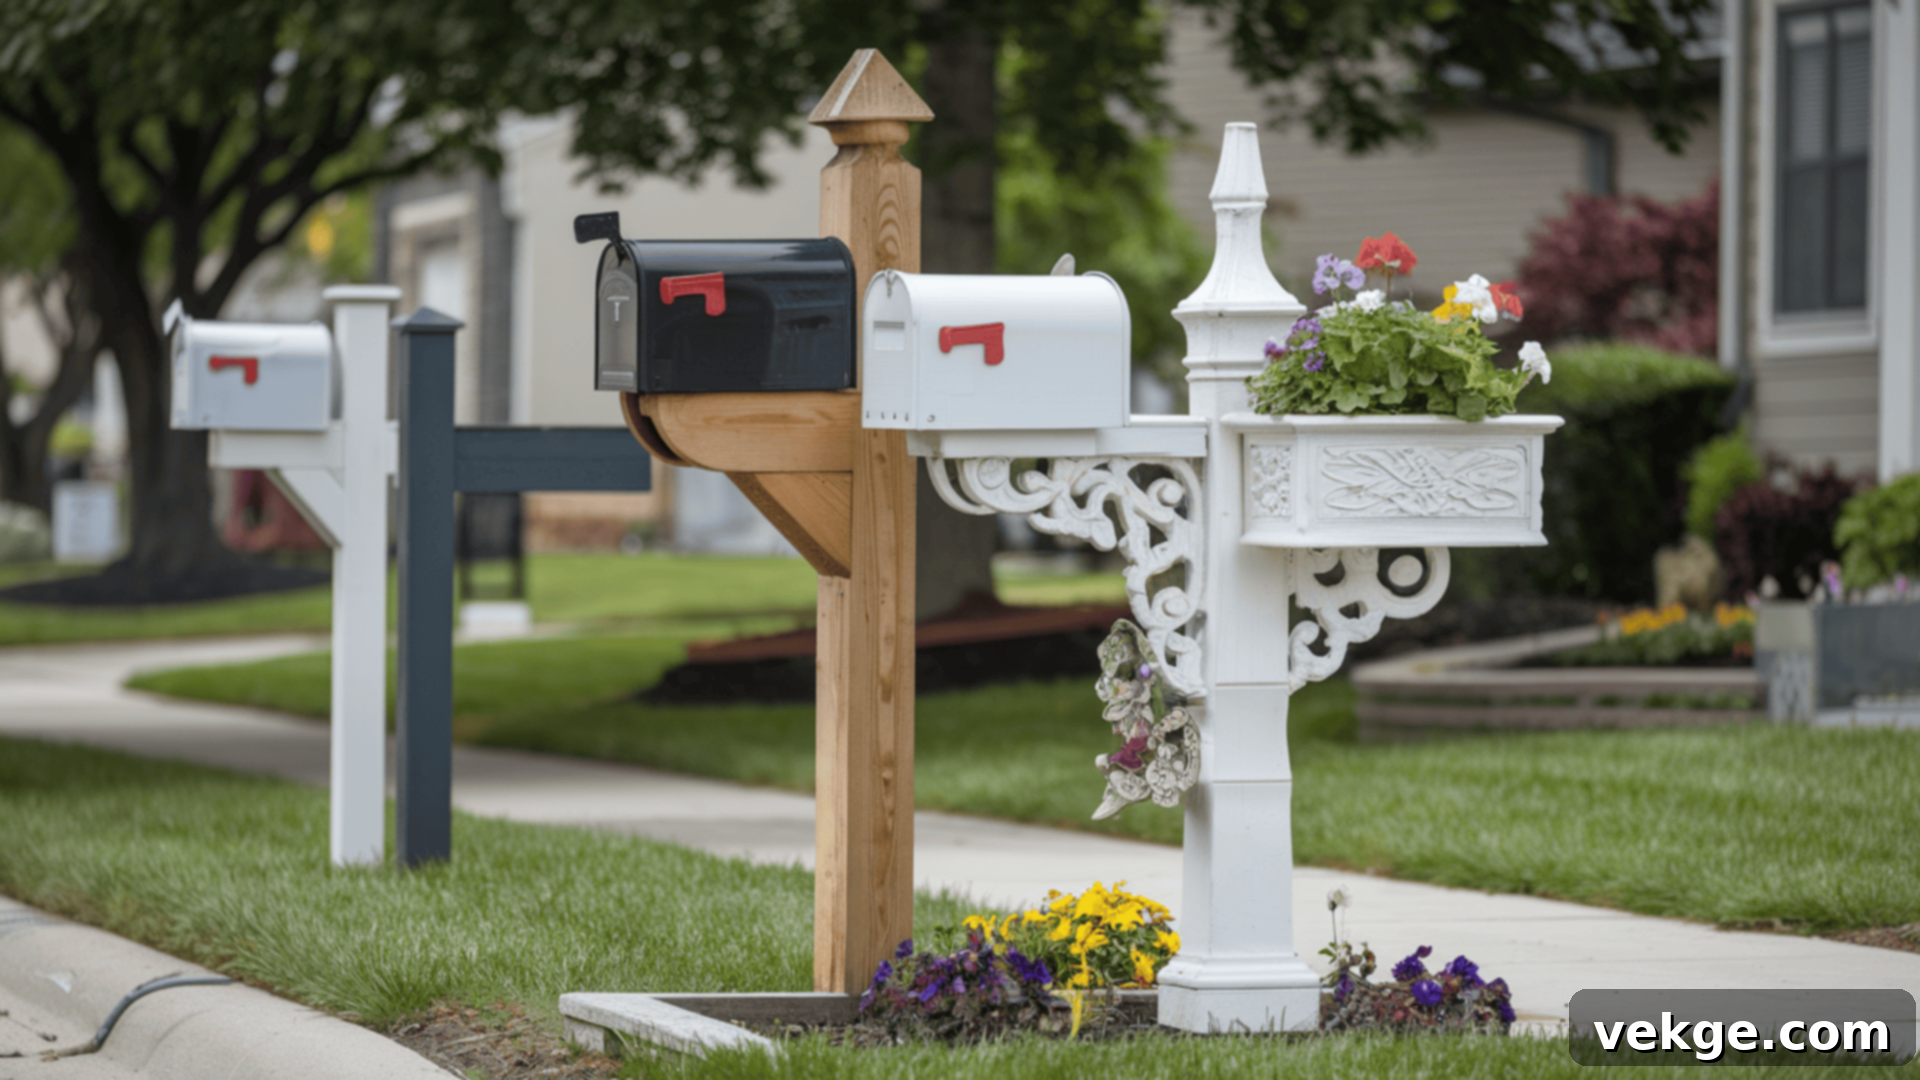
A classic and enduring choice, the traditional wooden mailbox post effortlessly complements homes with a rustic, colonial, or any traditional architectural style. These posts are remarkably versatile, easy to construct, and offer immense customization potential. You can paint them to match your home’s trim, stain them to highlight the natural wood grain, or even carve details for an extra personal flair. Beyond aesthetics, wooden posts are known for their inherent sturdiness and reliability, capable of withstanding various weather conditions when properly treated and installed.
Swinging Mailbox Posts: Durable and Snowplow-Resistant Solutions
For homeowners residing in regions prone to heavy snowfall or areas with frequent roadside traffic, a swinging mailbox post is an ingenious and highly practical solution. Designed to pivot or swing away upon impact, these posts effectively mitigate damage from snowplows, passing vehicles, or even mischievous activities. This innovative design ensures your mailbox remains intact and functional throughout the year, providing superior protection compared to rigid posts, while maintaining full accessibility for mail delivery. It’s an ideal blend of robust protection and consistent functionality.
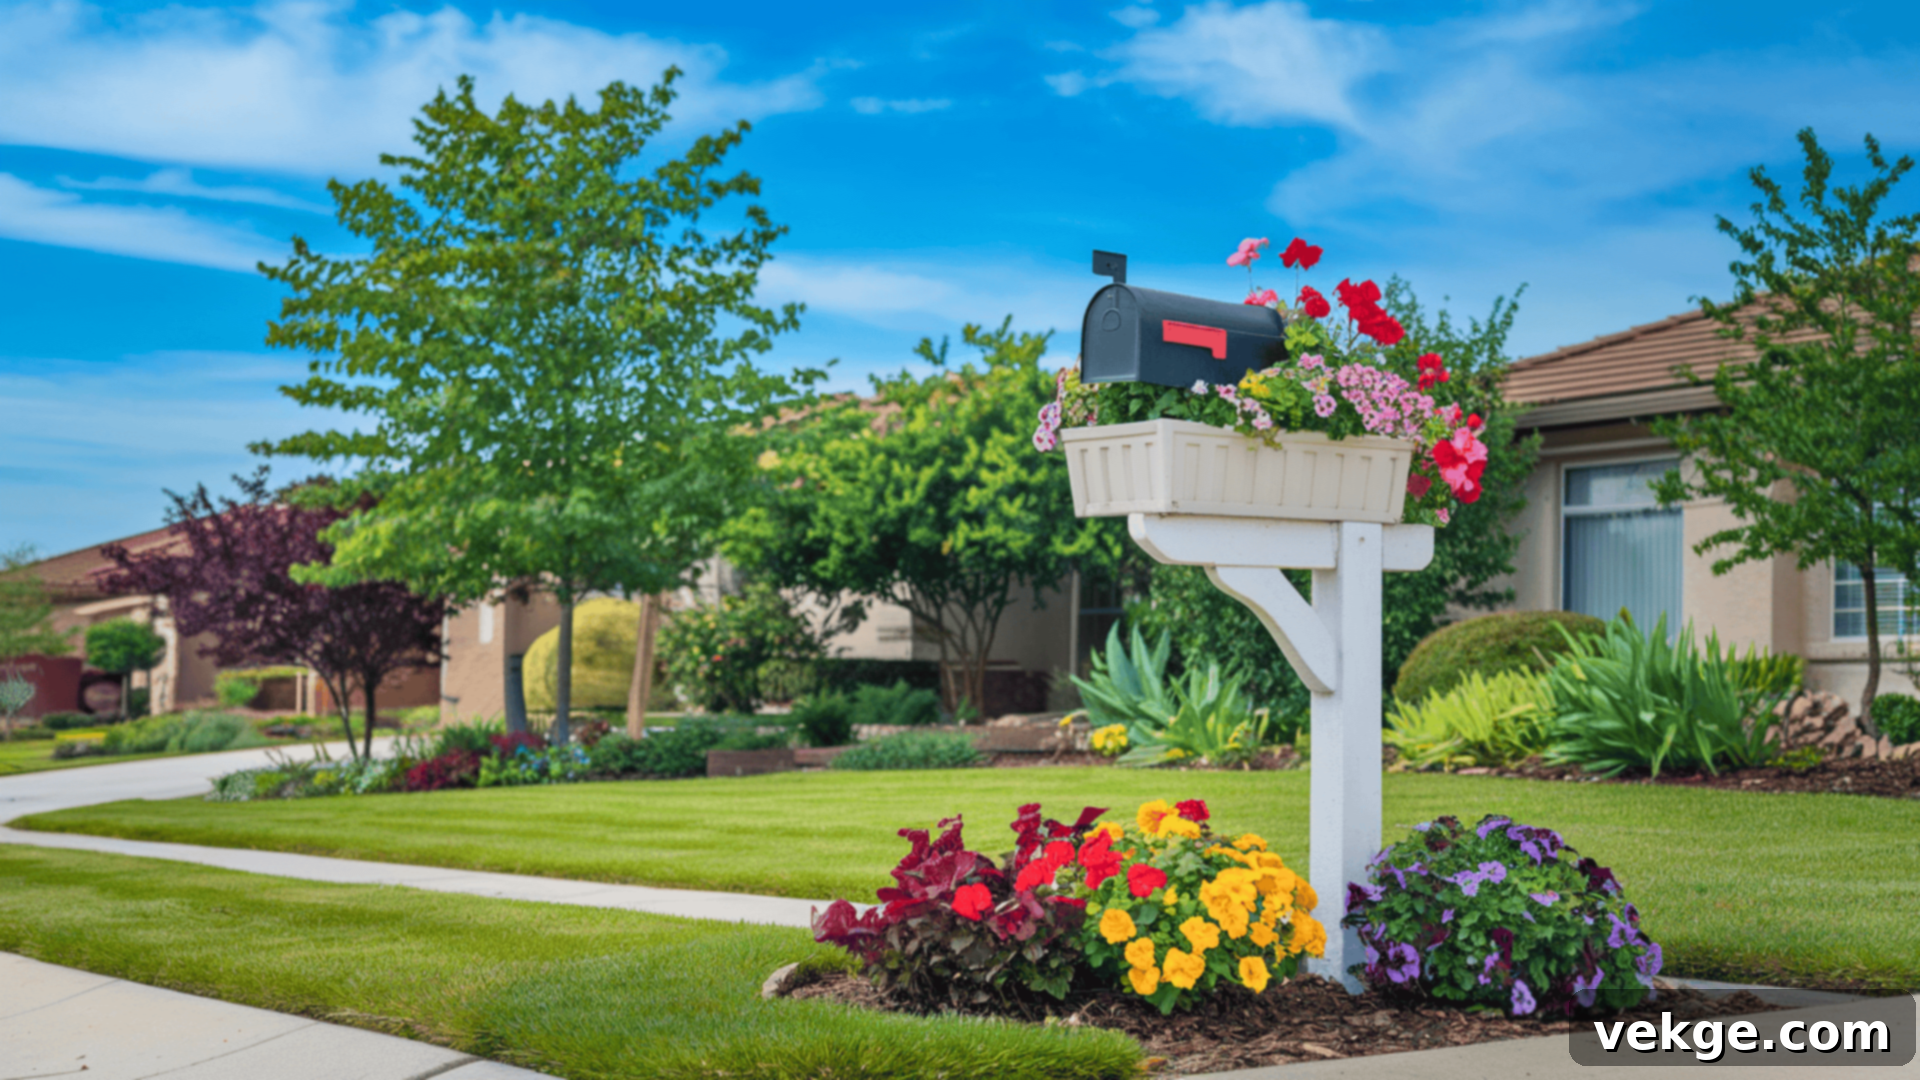
Decorative Planter Mailbox Posts: Combining Beauty with Utility
Why settle for just a mailbox when you can have a charming garden feature? The decorative planter mailbox post brilliantly combines essential functionality with enhanced curb appeal. Integrated directly into the post’s base or alongside it, a planter box provides a dedicated space for cultivating vibrant flowers, lush herbs, or small, ornamental shrubs. This not only adds a burst of color and natural beauty to your front yard but also creates a warm, welcoming impression. It’s an excellent option for those who desire a unique, eye-catching mailbox setup that genuinely stands out.
Modern Farmhouse & Mid-Century Mailbox Posts: Contemporary Elegance
For homes embracing contemporary aesthetics, a modern farmhouse or mid-century inspired mailbox post can be the perfect statement piece. These designs typically feature clean lines, minimalist forms, and often blend natural materials like wood with sleek metal accents. A modern farmhouse post might showcase a rustic timber beam with a galvanized steel mailbox, while a mid-century design could involve a slender, angled post with a retro-styled box. This stylish and sophisticated approach allows for seamless integration with trendy or vintage mailbox designs, creating a cohesive and visually appealing entryway that perfectly matches your home’s architectural narrative.
Ultimately, the selection of your mailbox post design should align with your home’s architectural style, your personal aesthetic preferences, and practical needs. Each of these options offers distinct advantages, so take your time to consider which one best suits your vision for enhancing your property’s exterior. Remember, your mailbox post is often the first detail visitors notice!
Essential Materials & Tools for Your DIY Mailbox Post Project
Choosing the Right Wood: Pressure-Treated vs. Natural Options
Pressure-Treated Wood: Durability for Outdoor Elements
Pressure-treated wood is an outstanding choice for any outdoor construction, including your mailbox post, due to its enhanced resistance to rot, insect infestation (like termites), and fungal decay. This treatment process makes the wood exceptionally durable, especially in challenging environments characterized by heavy rain, high humidity, or ground contact. Opting for pressure-treated lumber significantly extends the lifespan of your mailbox post, reducing the need for frequent maintenance and ensuring it withstands the elements for many years with minimal effort.
Natural Wood: Aesthetic Appeal with Maintenance Needs
Natural wood, such as cedar, redwood, or even a sturdy pine, offers a warm, classic, and often rustic aesthetic that many homeowners find appealing. Its organic beauty can beautifully complement various home styles. However, unlike its pressure-treated counterpart, natural wood requires diligent and regular maintenance to protect it from the harsh outdoor environment. This typically involves applying sealants, stains, or paints periodically to shield it from moisture, UV damage, and pests. Without proper care, natural wood can be more susceptible to warping, cracking, and decay over time, especially in areas with significant weather fluctuations.
Fasteners & Reinforcements: Screws, Bolts, and Brackets
Selecting the Right Screws and Bolts for Secure Attachment
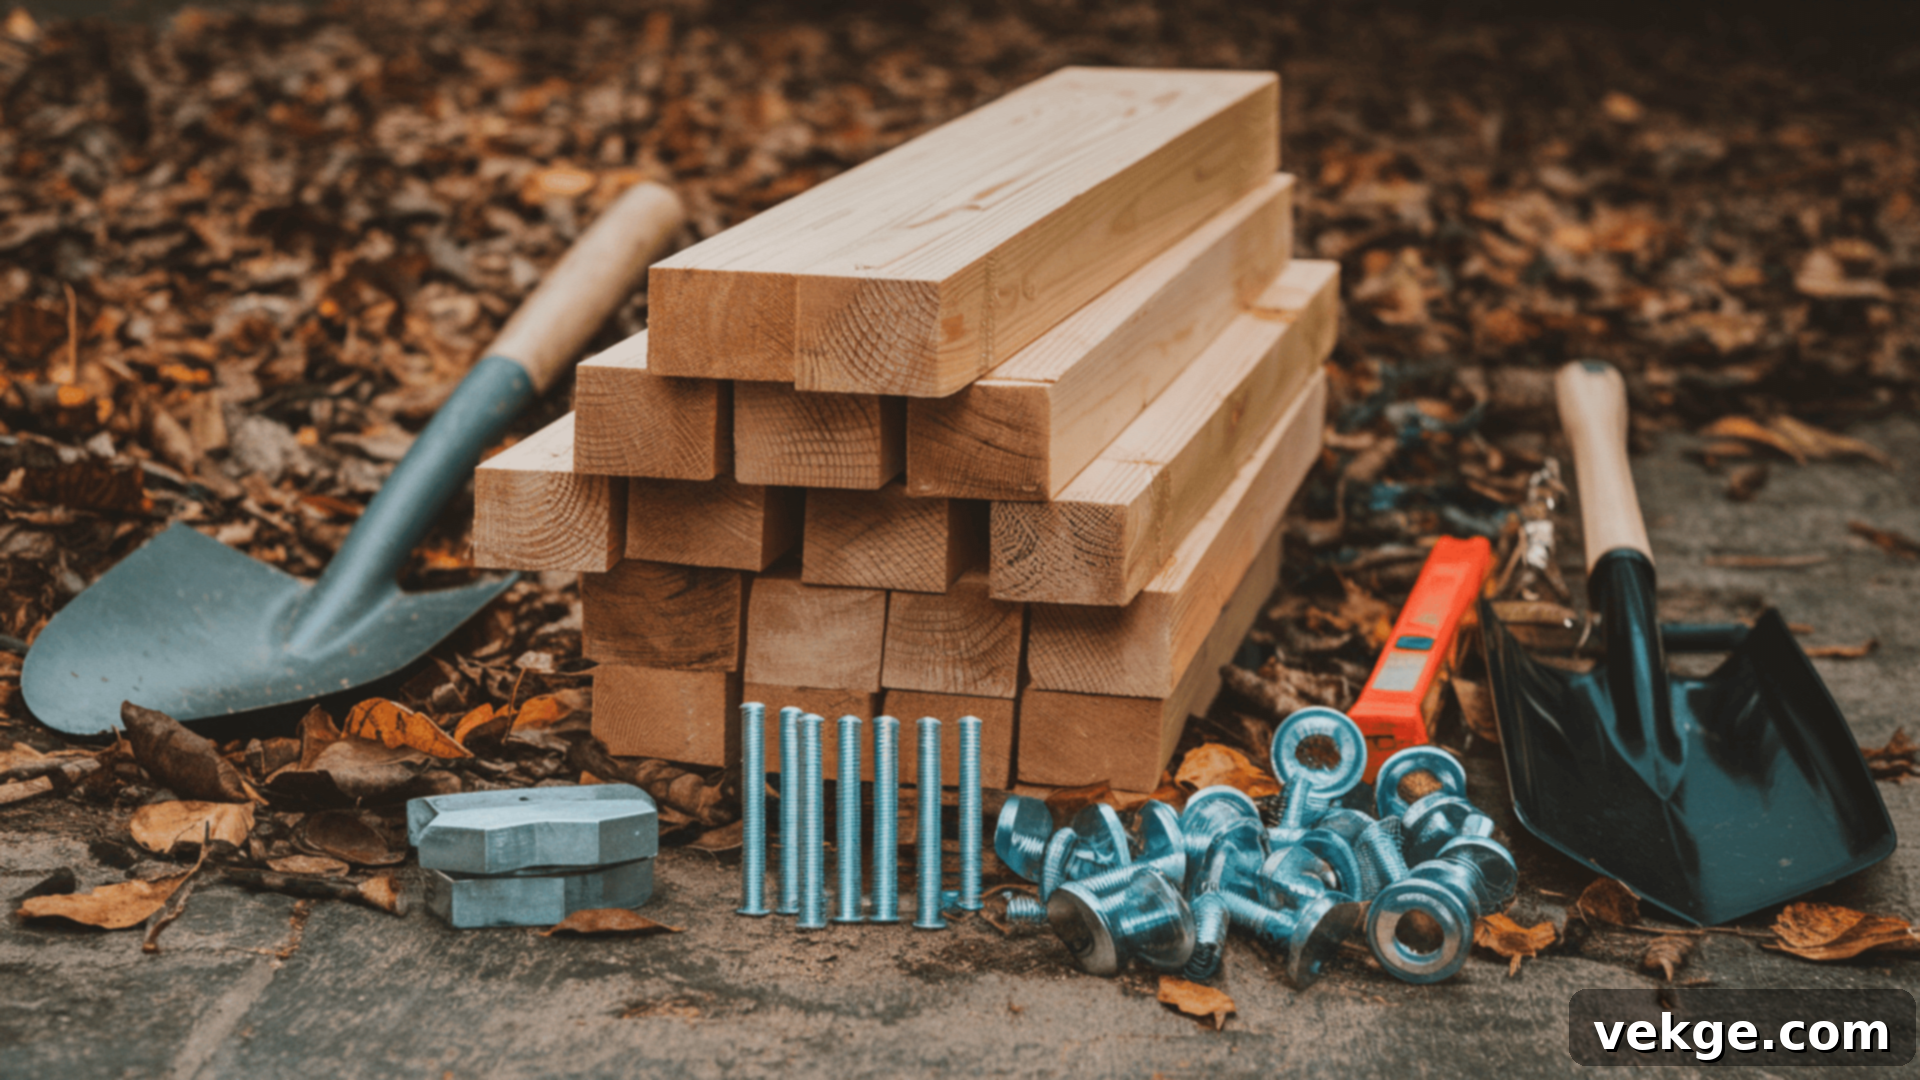
When it comes to fastening your mailbox post components, the choice of screws and bolts is critical for long-term stability and integrity. It is absolutely essential to select rust-resistant, exterior-grade hardware to prevent corrosion, which can weaken the structure over time. Stainless steel or galvanized screws and bolts are ideal for this purpose. For the main connections, especially when attaching the mailbox to the post or securing any structural supports, heavy-duty bolts offer superior strength and stability, ensuring everything remains firmly in place, even with larger or heavier mailboxes.
Brackets and Reinforcement for Enhanced Stability
To further bolster the stability of your mailbox post, particularly against strong winds or accidental impacts, consider incorporating metal brackets and other reinforcement options. L-shaped or T-shaped metal brackets can be used to secure the post to its base or to strengthen crucial joints, effectively preventing any shifting or wobbling. For heavier posts or in areas exposed to extreme weather conditions, corner braces provide excellent additional support, distributing stress more evenly and significantly enhancing the overall resilience of your installation. These reinforcements are key to a truly sturdy and long-lasting mailbox post.
Anchoring Your Post: Concrete vs. Alternative Methods
Concrete: The Gold Standard for Permanent Stability
Utilizing concrete to anchor your mailbox post provides the most robust and stable foundation possible, ensuring your post remains firmly upright for decades. This method is particularly recommended in areas prone to high winds, heavy snow loads, or significant ground movement due to frost heave. Concrete creates a dense, permanent installation that effectively resists shifting, leaning, and impacts, offering unparalleled reliability and peace of mind. While it requires a bit more time for curing, the superior stability it offers makes it a worthwhile investment for a durable mailbox post.
Alternative Anchoring Methods for Quicker Installation
While concrete offers maximum stability, several alternative anchoring solutions are available for those seeking a quicker or less permanent installation. Options like quick-setting concrete mixes can significantly reduce curing time, allowing you to complete your project faster. Gravel, when properly tamped down around the post, can also provide decent drainage and stability for lighter posts, though it won’t match concrete’s unyielding strength. For even simpler or temporary setups, ground anchors or post spikes can be driven directly into the earth, offering an easier-to-install and potentially easier-to-move solution, ideal for those who may need to relocate their mailbox in the future or for less demanding environments.
Step-by-Step Guide: How to Build a Sturdy Wooden Mailbox Post
1. Measure and Precisely Cut Your Wood Components
- Measurement: Begin by accurately determining the desired height for your mailbox post. While the United States Postal Service (USPS) regulations require the bottom of the mailbox to be 41 to 45 inches from the ground, the overall post height will vary based on how deep it’s buried and the mailbox’s dimensions. A common total post length is typically 8 to 10 feet, allowing for 2-3 feet to be submerged. This measurement will also depend on your specific mailbox size and how it attaches to the post. Additionally, plan for any horizontal support arms or decorative elements you intend to include.
- Cutting: Using a saw, carefully cut the main post to your determined length. If your design includes a horizontal arm for the mailbox to rest upon, cut this smaller piece to the appropriate length as well. Ensure all cuts are straight and clean for a professional finish and secure assembly. Consider sanding the edges to remove splinters and prepare the wood for sealing or painting.
2. Excavate and Prepare the Post Hole
- Digging: A stable foundation is paramount for a long-lasting mailbox post. Using a post hole digger or a sturdy shovel, excavate a hole that is deep enough to provide substantial anchoring—ideally 2 to 3 feet deep. In regions with freezing temperatures, consider digging below the frost line to prevent “frost heave,” which can push your post out of the ground over time. The depth also depends on the total height of your post and local regulations.
- Width: The hole should be adequately wide to allow for proper stabilization material. A diameter of 6 to 8 inches is typically sufficient, ensuring there’s ample space around the post for concrete or gravel to be packed securely. This width also provides some flexibility for minor adjustments to the post’s alignment during installation.
3. Carefully Position and Level the Post
- Placement: Gently lower your main post into the prepared hole. Position it centrally within the hole, ensuring it stands as upright as possible. If your design includes a horizontal support arm, attach it to the main post now, typically using galvanized screws or bolts, ensuring it’s level and secure. This might be easier to do before the post is fully anchored.
- Leveling: This step is crucial for preventing a leaning mailbox. Use a spirit level to meticulously check that the post is perfectly vertical from all angles (front-to-back and side-to-side). You may need a helper to hold the post steady while you check the level. Temporarily brace the post with scrap wood or stakes to keep it in the correct position before adding your stabilizing material.
4. Secure the Post with Concrete or Alternative Stabilizers
- Concrete: For maximum stability, mix and pour concrete into the hole around the post. Fill the hole completely, ensuring the concrete surrounds the entire buried portion of the post. While pouring, continue to check the post’s levelness and make any necessary minor adjustments. Slope the top of the concrete slightly away from the post to encourage water runoff, preventing pooling at the base.
- Setting: Concrete requires time to cure and reach its full strength. Allow a minimum of 24 to 48 hours for the concrete to set and harden completely before attaching the mailbox or placing any significant weight on the post. Rushing this step can compromise the long-term stability. If using gravel or quick-setting alternatives, ensure they are thoroughly compacted around the post, providing decent stability for lighter mailboxes, though generally less robust than a full concrete foundation.
5. Securely Attach the Mailbox to the Post
- Securing: Once your post is absolutely secure and the concrete (if used) has fully cured, it’s time to attach the mailbox. Position the mailbox on its support arm or directly on top of the post, ensuring it aligns correctly and meets USPS height regulations (bottom of mailbox 41-45 inches from ground). Use the appropriate hardware provided with your mailbox or select exterior-grade screws or bolts that are long enough to penetrate both the mailbox and the post securely.
- Tightening: Firmly tighten all screws or bolts. Double-check that the mailbox is stable and does not wobble. A securely attached mailbox will withstand wind, weather, and repeated opening and closing without coming loose over time.
6. Protect and Enhance Your Post: Seal or Paint
- Sealing: To protect your wooden mailbox post from the elements, apply at least one, preferably two, coats of a high-quality exterior wood sealant. This creates a barrier against moisture, UV radiation, and helps prevent rot, decay, and cracking. Ensure you cover all exposed wood surfaces for comprehensive protection.
- Painting: As an alternative or in addition to sealing, you can paint the post with exterior-grade paint. Painting not only offers excellent protection but also allows you to customize the post’s appearance to perfectly match your home’s color scheme or personal style. Allow sufficient drying time for all coats according to the product manufacturer’s instructions before your mailbox is exposed to the elements or used for mail delivery.
7. Conduct a Thorough Final Inspection
- Inspection: After all finishes have dried and the mailbox is attached, perform a comprehensive final inspection. Verify that the mailbox is installed at the correct height, as per USPS guidelines (41 to 45 inches from the ground to the bottom of the mailbox). Also, check its distance from the curb (6 to 8 inches) for optimal mail carrier access.
- Stability: Give the post a firm shake to confirm its unwavering stability. Ensure there are no wiggles, leans, or loose connections. Confirm that the mailbox itself is securely attached and operates smoothly. Address any deficiencies immediately to ensure your mailbox post is fully functional, safe, and ready for years of service.
Congratulations! Your custom-built mailbox post is now sturdy, beautifully weatherproofed, and perfectly ready to receive your mail with style and reliability for years to come.
Key Considerations for Installing a Sturdy & Reliable Mailbox Post
Optimal Depth for Mailbox Post Installation: Ensuring Maximum Stability
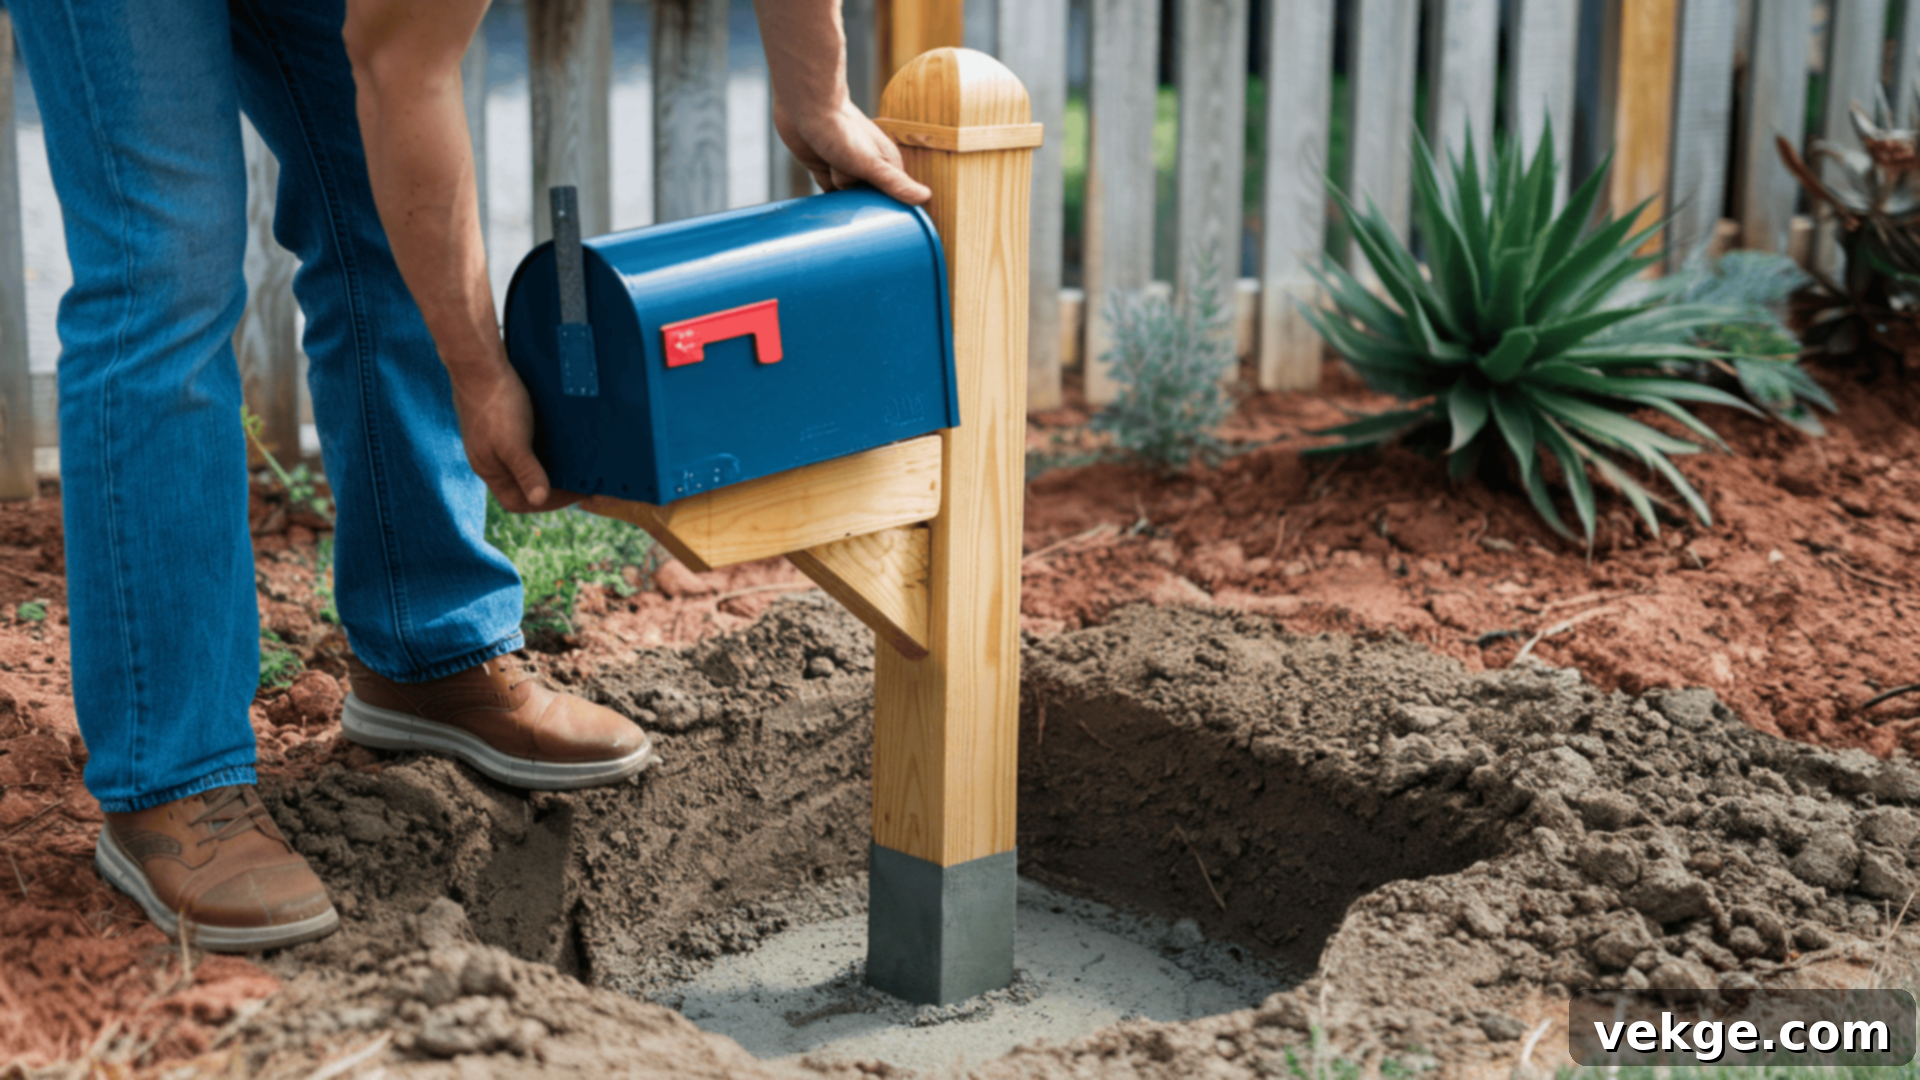
The depth at which you embed your mailbox post is a critical factor directly impacting its stability and longevity. For most standard installations, the recommended depth for setting the post in the ground is a minimum of 2 to 3 feet. This substantial depth provides a robust anchor against external forces such as strong winds, accidental bumps, and the repeated action of opening and closing the mailbox door. In regions that experience significant winter freezing and thawing cycles, it’s highly advisable to dig even deeper, preferably below your local frost line. This preventative measure helps mitigate “frost heaving,” a phenomenon where expanding ice in the soil can gradually push your post upwards and out of alignment, causing it to shift or lean over time.
Anchoring Options: Concrete for Ultimate Security vs. Alternative Methods
For supreme and enduring stability, setting your mailbox post in concrete remains the most recommended method. This process involves pouring a concrete mix into the excavated hole around the positioned post, creating an incredibly solid and immovable base. Once fully cured, which typically takes 24 to 48 hours (depending on the specific concrete mix and environmental conditions), this concrete foundation provides unmatched resistance against severe weather, ground movement, and general wear and tear, ensuring your post stands firm for decades.
However, if you prioritize quicker installation or a less permanent solution, various alternative stabilizing methods are available. Quick-setting concrete mixes offer a faster curing time, allowing you to proceed with attaching your mailbox sooner. Gravel, when meticulously layered and tamped around the post, can offer adequate support and excellent drainage for lighter posts. Ground anchors or specialized post spikes, driven directly into the earth, provide a relatively simple and often temporary installation solution, which can be advantageous if you anticipate needing to relocate the mailbox or if the soil conditions are firm enough to provide good grip. While these alternatives offer convenience, it’s important to acknowledge that they may not deliver the same level of unyielding strength and long-term stability as a full concrete foundation, especially in challenging environments.
Strategies to Prevent Wobbling and Leaning for Lasting Stability
Ensuring your mailbox post remains perfectly upright and stable over its lifetime requires careful attention during installation and proactive maintenance. The most critical step during initial setup is to use a spirit level to verify that the post is absolutely plumb (perfectly vertical) from all perspectives before any anchoring material is added or fully set. Any slight lean at this stage will only worsen over time.
Once the post is level and secured in its anchoring material (especially concrete), you can further enhance its stability. Incorporating additional support elements such as robust metal brackets or corner braces can significantly reduce the likelihood of wobbling. These reinforcements distribute forces more effectively across the base of the post, making it more resistant to lateral movement. It’s also prudent to periodically inspect your mailbox post, particularly after severe weather events like heavy storms or periods of ground freezing and thawing. Look for any signs of shifting, cracking in the concrete, or loosening of fasteners. Addressing minor issues promptly by reinforcing the base, tightening hardware, or reapplying sealants will help maintain the post’s integrity and sturdiness for many years.
Maximizing Durability: Essential Weatherproofing and Maintenance Tips
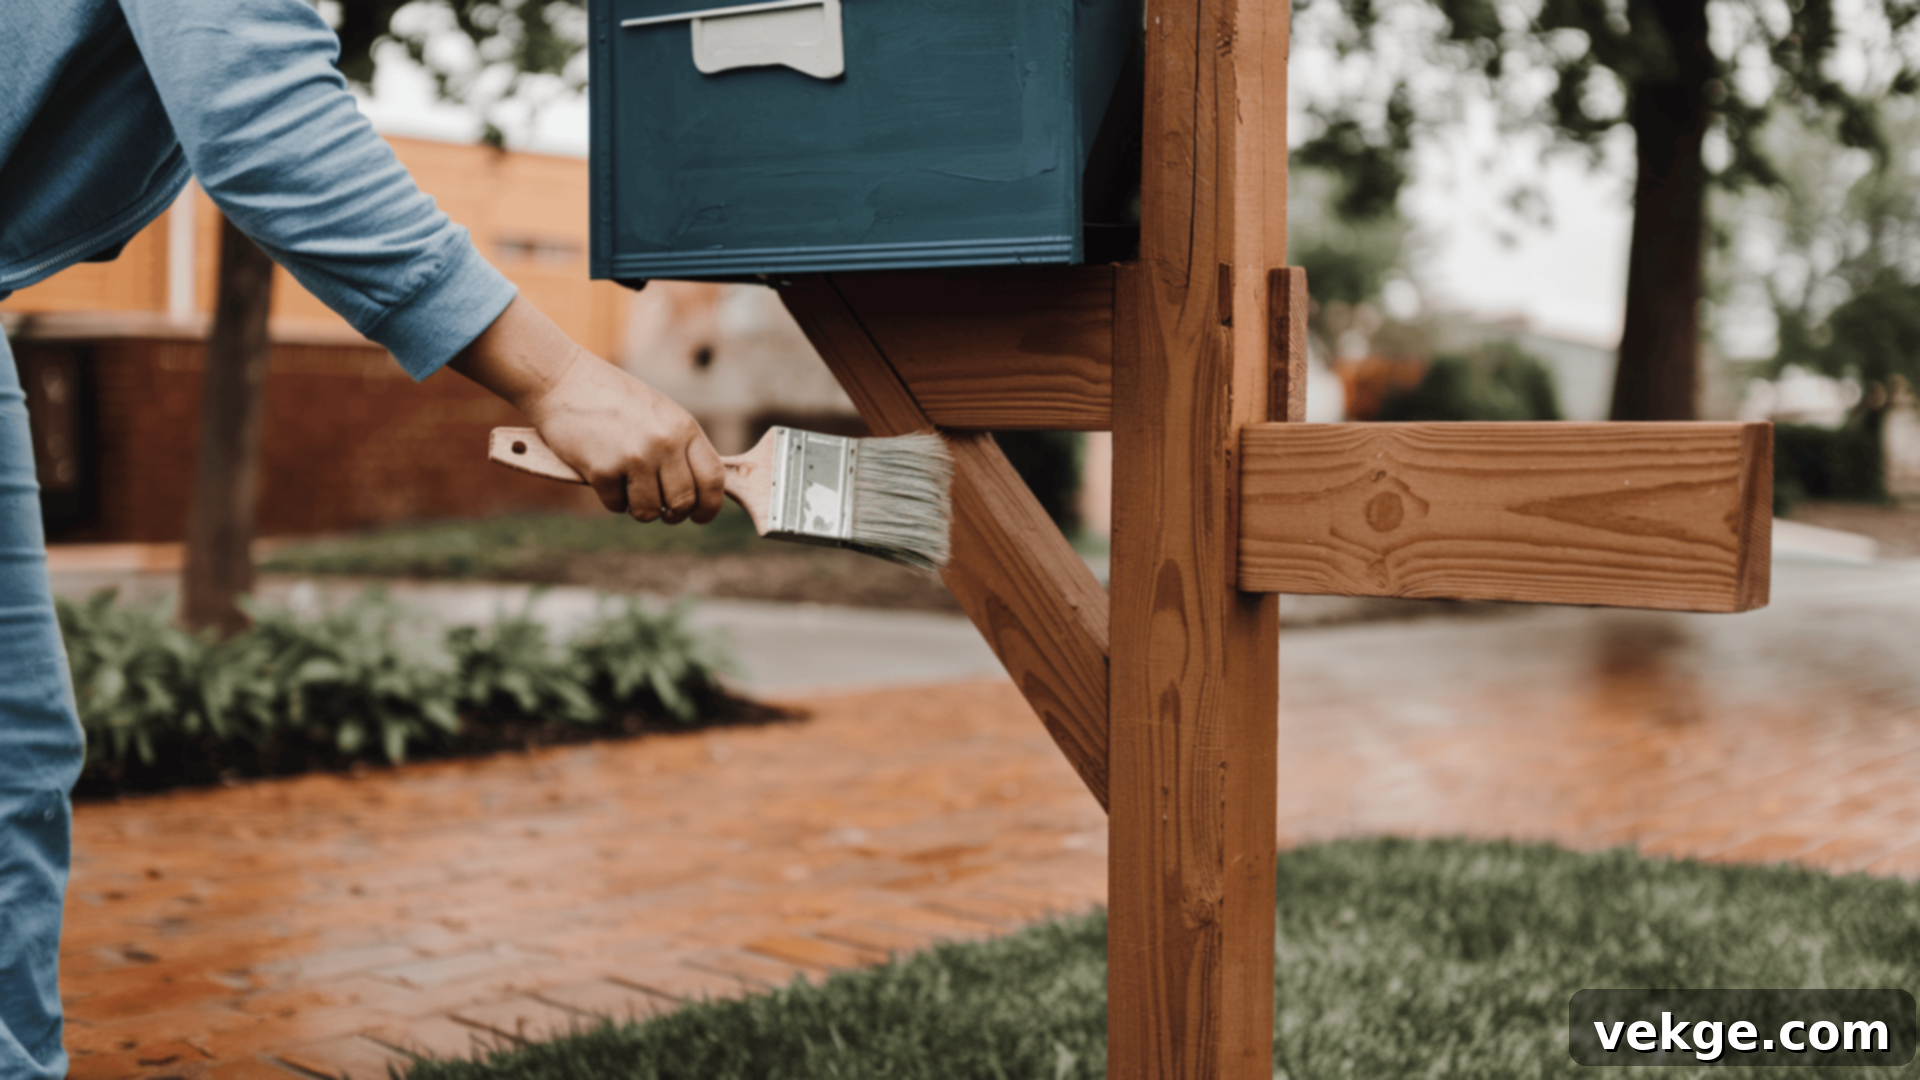
- Superior Sealing & Painting: Apply high-quality, weather-resistant sealant or exterior paint to all exposed wooden surfaces. These protective coatings create a vital barrier against moisture penetration, harmful UV rays, and environmental wear, significantly extending the lifespan of your post. Consider a primer before painting for optimal adhesion and durability.
- Consistent Maintenance Schedule: Don’t treat your mailbox post as a “set it and forget it” project. Reapply wood sealant or paint every two to three years, or as recommended by the product manufacturer, especially in harsh climates. Regular recoating replenishes the protective layer, ensuring continuous resistance against deterioration.
- Strategic Reinforcement: Integrate additional structural supports, such as robust metal brackets, L-plates, or corner braces, at key stress points. These reinforcements provide extra strength and rigidity, preventing wobbling, leaning, and structural fatigue, particularly important for taller or heavier posts and in windy areas.
- Prioritize Rust-Resistant Hardware: All metal components, including screws, bolts, and any added reinforcement brackets, must be made of stainless steel, galvanized steel, or other rust-resistant materials. Rust can quickly compromise the structural integrity and aesthetic appeal of your post.
- Decay Prevention with Treated Wood: When selecting your lumber, opt for pressure-treated wood, which is chemically infused to resist rot, fungal decay, and insect infestation. If using natural wood, liberally apply a high-quality wood preservative to imbue it with similar protective qualities, especially for any part of the post buried underground.
- Proactive Pest Inspection: Conduct routine inspections for signs of pest damage, such as small holes, sawdust trails (frass), or visible insects like termites or carpenter ants. Early detection can prevent extensive and costly structural damage to your wooden post.
- Targeted Pest Prevention: If pests are a concern in your area, consider treating the wood with specific pest-repellent solutions or insecticides as a preventative measure. Ensure any treatments are safe for outdoor use and follow manufacturer guidelines.
- Regular General Upkeep: Beyond sealing and pest control, perform general maintenance such as cleaning dirt and debris, trimming surrounding vegetation that might promote moisture retention, and tightening any loose fasteners. Consistent upkeep is the simplest and most effective way to ensure your mailbox post remains in excellent condition and continues to serve your home beautifully for many years.
USPS Guidelines: Essential Mailbox Placement Regulations
- Mandatory Height from Ground: The United States Postal Service (USPS) strictly mandates that the bottom of your mailbox must be positioned between 41 and 45 inches from the ground level. This precise height ensures that mail carriers can easily reach and deliver mail without undue strain, promoting efficient and safe service. Always use a tape measure to verify this measurement during installation.
- Required Distance from Curb: To facilitate convenient and safe access for mail carriers, your mailbox should be set back 6 to 8 inches from the curb or edge of the road. This distance allows the carrier to reach the mailbox comfortably from their vehicle without having to exit, speeding up delivery times and enhancing safety, particularly on busy routes.
- Paramount Safety Considerations: Beyond height and distance, safety is a critical aspect of mailbox placement. Ensure your mailbox post is exceptionally secure and anchored, eliminating any possibility of shifting, wobbling, or collapsing, which could pose a hazard. Design your post to be free of sharp edges, pointed protrusions, or any components that could cause injury to pedestrians, children, or the mail carrier. Additionally, keep the surrounding area clear of landscaping, obstacles, or dense vegetation that might impede safe and easy access to the mailbox for delivery personnel. A clear path ensures smooth operations year-round.
- Address Visibility: While not always explicitly listed in height/distance, USPS often requires the house number to be clearly visible on the mailbox or post. Ensure your house number is large enough and contrasting enough to be easily read from the street, especially at night.
Avoiding Common Pitfalls: Ensure a Flawless Mailbox Post Installation
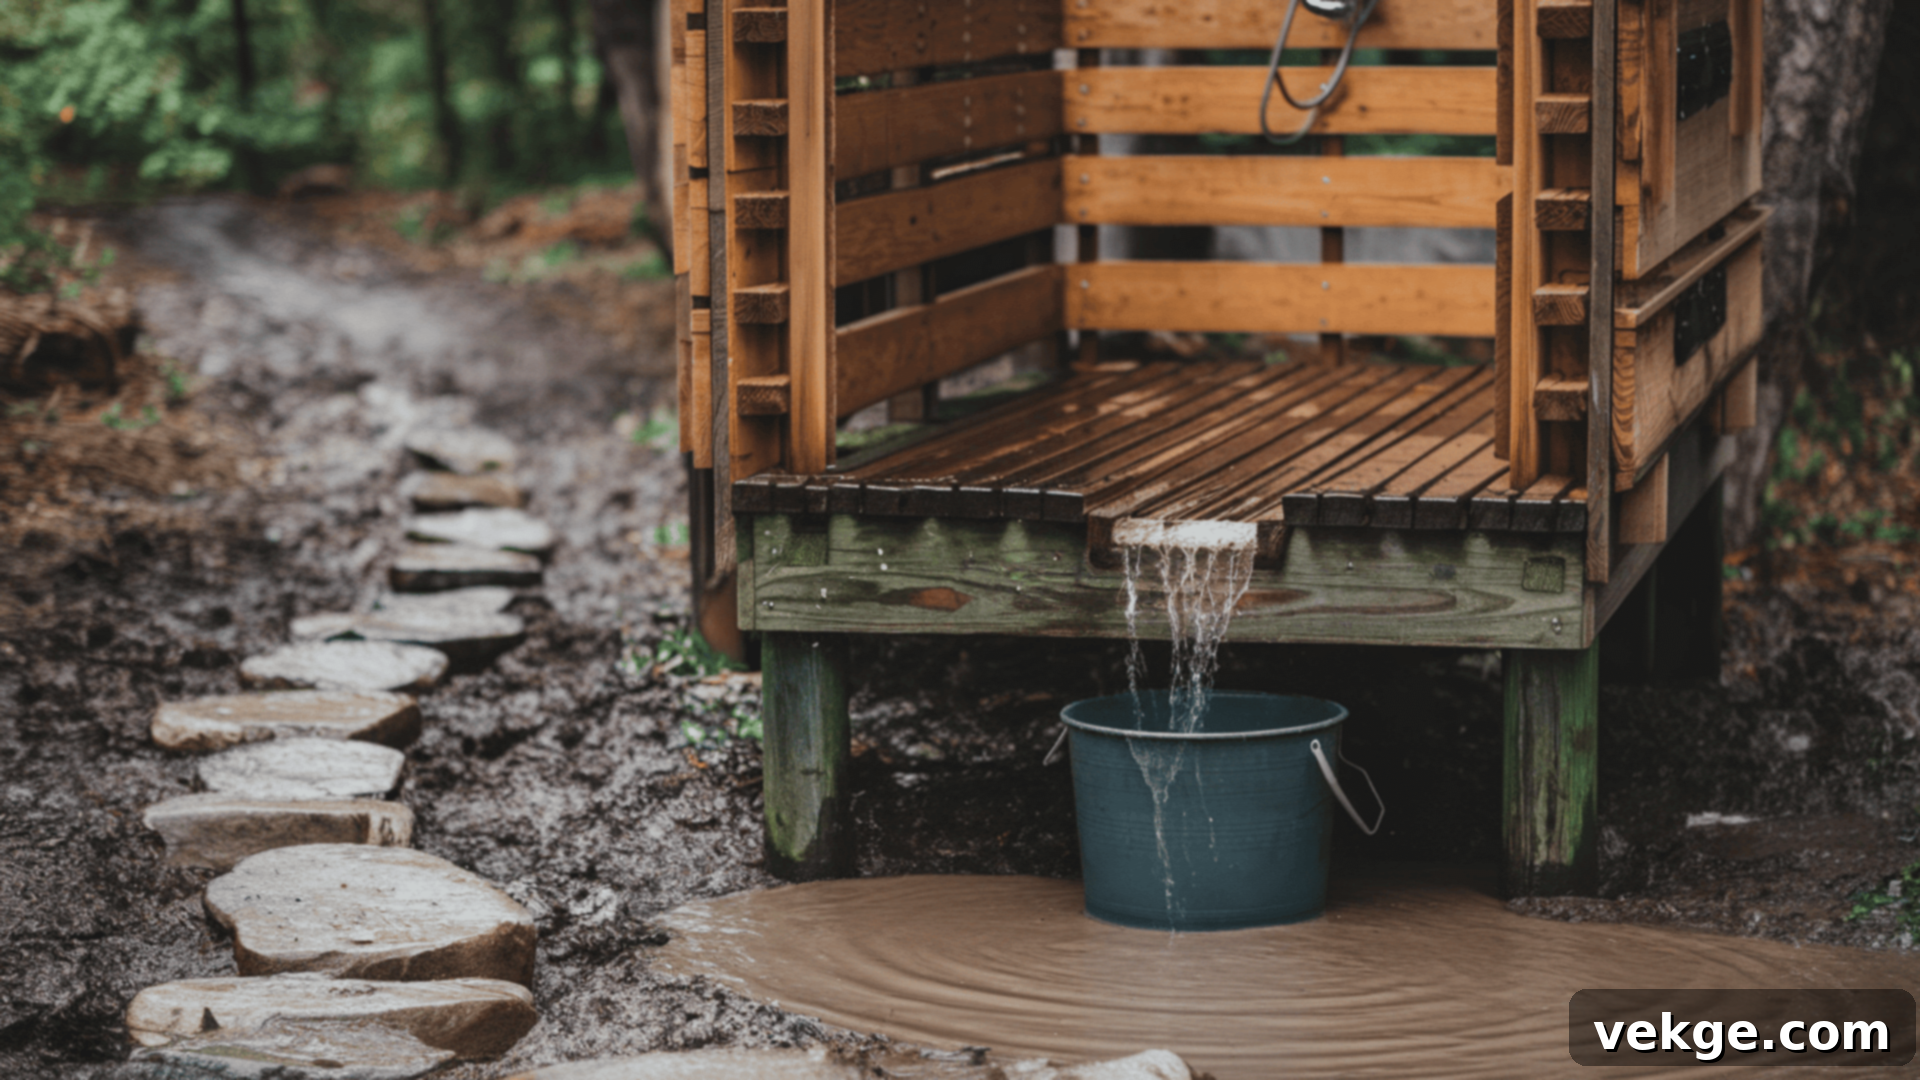
Misjudging Post Height or Inadequate Burial Depth
One of the most frequent mistakes in DIY mailbox post projects is failing to adhere to the correct height and depth specifications. Installing the mailbox at an incorrect height (outside the 41-45 inches from the ground to the bottom of the box) not only violates USPS regulations but also creates an inconvenient experience for the mail carrier, potentially leading to delivery issues. Similarly, burying the post too shallowly (less than 2-3 feet deep) severely compromises its stability. A shallow foundation makes the post vulnerable to leaning, wobbling, and eventual collapse, especially when subjected to strong winds, impacts, or frost heave. Always double-check your measurements and ensure adequate burial depth for long-term stability and compliance.
Neglecting Strong and Stable Anchoring
A mailbox post, regardless of its design, is only as strong as its anchoring. Relying on weak or unstable anchoring methods is a critical error that will lead to premature failure. Simply backfilling the hole with loose soil or insufficiently compacted gravel will not provide the necessary support to withstand the elements or incidental contact. For a truly secure and enduring installation, a solid concrete foundation is highly recommended. It provides an unyielding base that prevents the post from wobbling, leaning, or shifting over time. While quick-setting concrete or properly tamped gravel can be alternatives for specific situations, they often do not offer the same level of robust, permanent stability as traditional concrete.
Failing to Use Treated or Protected Wood for Outdoor Use
Utilizing untreated wood for an outdoor mailbox post is a significant oversight that dramatically shortens its lifespan. Natural, untreated wood is highly susceptible to a range of environmental stressors, including rot from moisture, fungal decay, warping from temperature and humidity fluctuations, and infestations from pests like termites and carpenter ants. Without proper protection, the wood will deteriorate rapidly, requiring frequent repairs or even complete replacement within just a few years. To ensure maximum durability and longevity, it is imperative to either choose pressure-treated lumber specifically designed for outdoor ground contact or meticulously apply high-quality, exterior-grade sealants and wood preservatives to all surfaces of natural wood before and during installation. This protective barrier is essential for your mailbox post to endure the elements gracefully for many years.
Unleash Your Creativity: Unique DIY Mailbox Post Ideas
Planter-Style Mailbox Posts: A Touch of Greenery
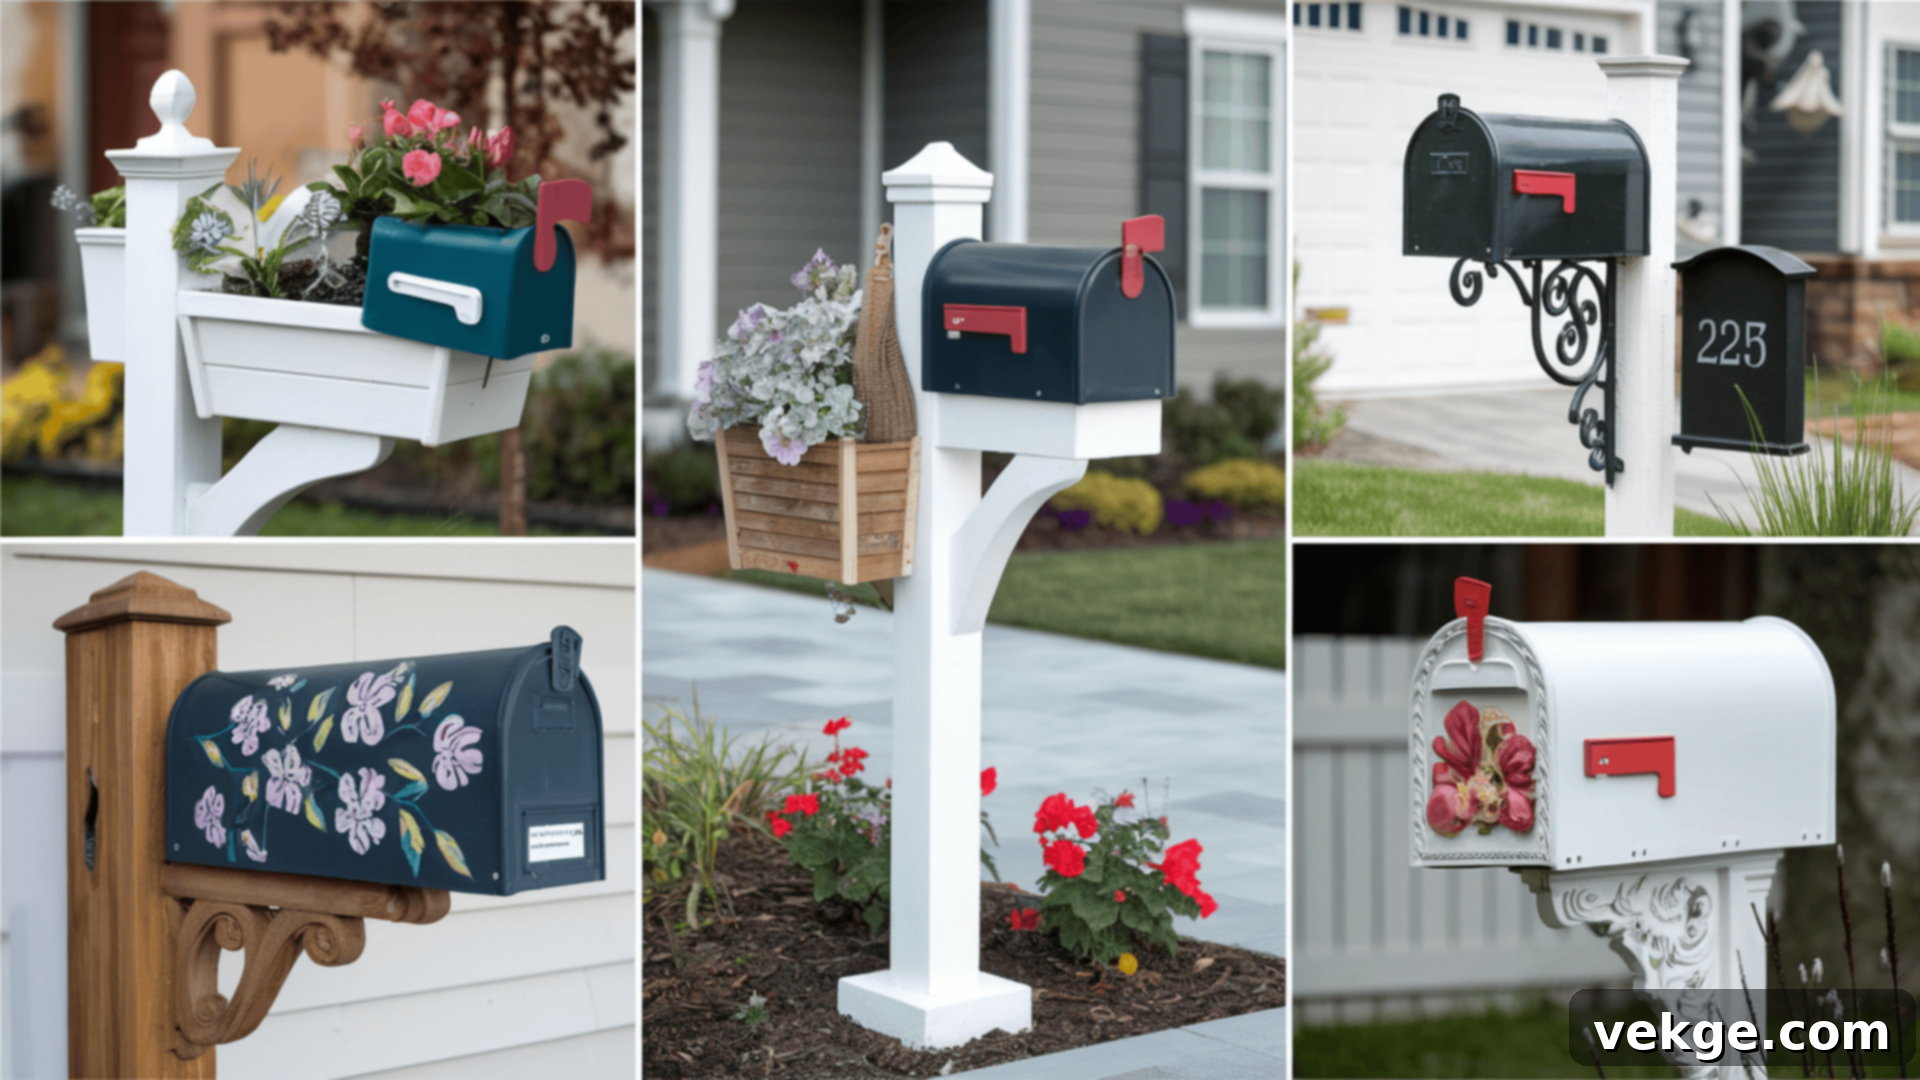
Elevate your curb appeal by integrating nature into your mailbox design with a planter-style mailbox post. This ingenious concept allows you to combine the essential function of mail delivery with the aesthetic beauty of a garden feature. The base of the post, or a specially designed attachment, can host a planter box where you can cultivate seasonal flowers, aromatic herbs, or vibrant small shrubs. This not only adds a burst of color and organic charm to your mailbox area but also creates a welcoming focal point for your home’s exterior. You have the freedom to customize the plantings with your favorite flora, updating them with each season to reflect changing moods and holidays, making your mailbox truly unique and dynamic.
Crafting Modern or Farmhouse-Inspired Mailbox Designs
For homeowners who appreciate contemporary aesthetics or the rustic charm of a farmhouse, designing a mailbox post that aligns with these styles can significantly enhance your property’s character. A modern design often features clean lines, geometric shapes, and a minimalist approach, potentially utilizing sleek metal elements combined with stained wood for a sophisticated touch. Think of a simple, robust timber post with a streamlined, perhaps galvanized, mailbox. In contrast, a farmhouse-inspired post might embrace more rustic elements, such as reclaimed wood, distressed finishes, or charming metal accents like a vintage-style lamp or a decorative bracket. These designs are perfect for creating a cohesive and stylish exterior, ensuring your mailbox is not just functional but also a true reflection of your home’s architectural narrative and your personal taste.
Personalizing Your Post with Custom Paint and Decorative Elements
Unleash your artistic side and transform your mailbox post into a unique piece of outdoor art with custom painting and decorative embellishments. The possibilities for personalization are virtually endless. You can paint the post in bold, eye-catching colors that complement your home’s trim, or opt for subtle, sophisticated hues. Consider adding intricate patterns, stenciled designs, or even a mural that reflects your personality or interests. Integrating your house number in a creative, artistic font can add both functionality and flair. Beyond paint, think about incorporating decorative elements such as small, weather-resistant sculptures, a thematic flag holder, festive holiday-themed decorations, or even solar-powered lights to illuminate your masterpiece at night. This approach allows your mailbox post to become a distinctive landmark that truly reflects your individuality and adds significant character to your property.
Conclusion: Your Personalized Mailbox Post Awaits!
Embarking on the DIY journey to build your own mailbox post is an incredibly simple yet profoundly rewarding project. By following this comprehensive guide, you’re not just constructing a functional item; you’re crafting a durable, personalized feature that significantly enhances your home’s curb appeal. The key to a successful project lies in several crucial steps: thoughtfully selecting a design that harmonizes with your home’s aesthetic, meticulously ensuring the post is installed at the correct height and buried at an optimal depth for unwavering stability, and choosing high-quality, long-lasting materials such as pressure-treated wood. Furthermore, securing your post with robust anchoring solutions like concrete and diligently weatherproofing it are vital for ensuring its resilience and longevity against the elements.
Don’t hesitate to infuse your unique personality and creativity into your mailbox post design. Whether you envision an charming planter-style post brimming with seasonal blooms, a sleek and contemporary modern aesthetic, a rustic farmhouse appeal, or a vibrantly custom-painted masterpiece, the possibilities for customization are truly boundless. Your meticulously constructed and personalized mailbox post will undoubtedly stand as a distinctive, functional, and aesthetically pleasing addition to your home, a true reflection of your efforts and style.
Are you eager for more DIY inspiration and home improvement wisdom? We invite you to explore the wealth of other helpful blogs and detailed guides available on our website. Discover a myriad of innovative ideas and practical tips to tackle your next home enhancement project with confidence and creativity!
