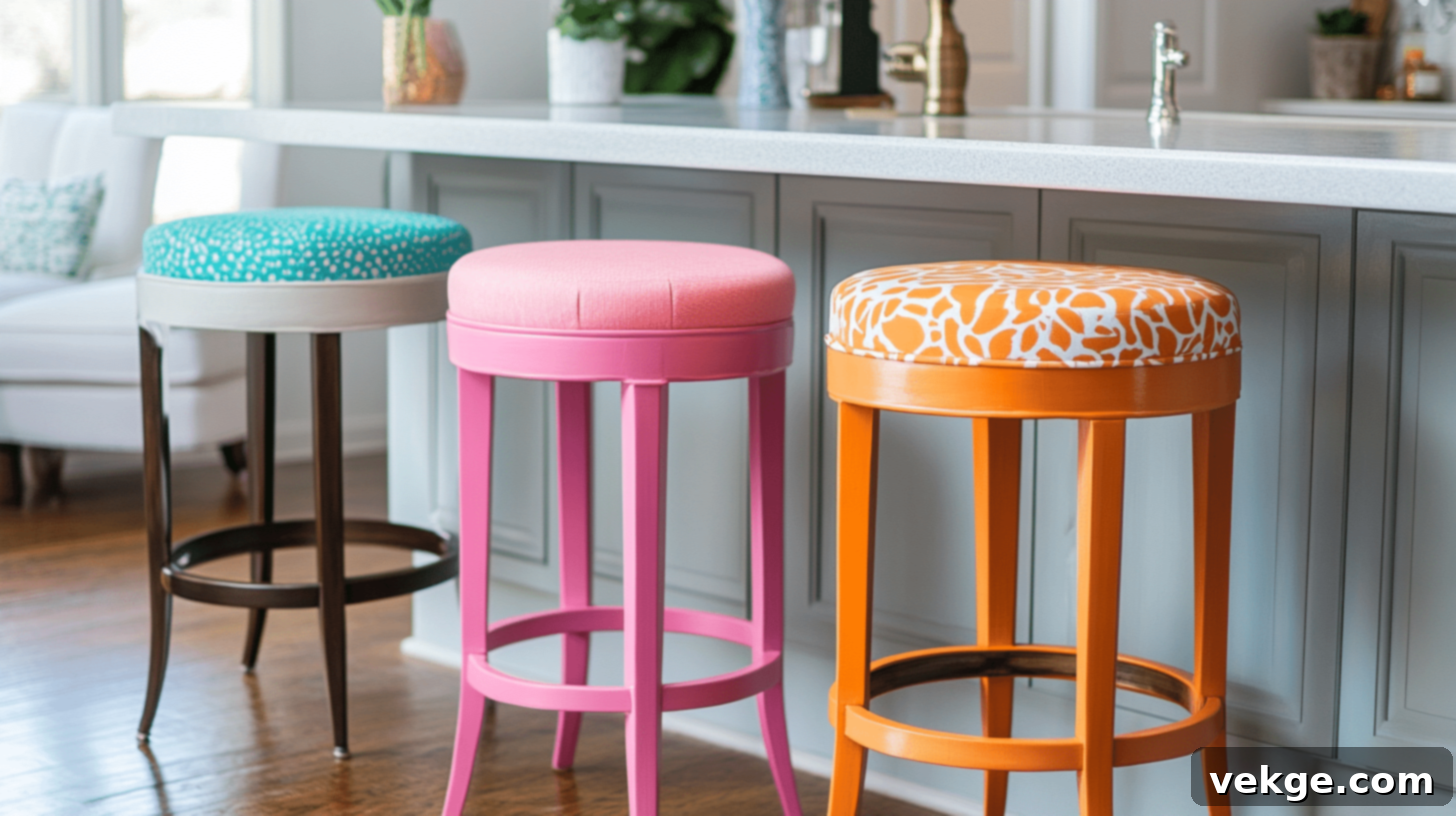
DIY Bar Stool Makeover: Transform Your Kitchen Seating on a Budget
Are you looking to revitalize your kitchen or bar area without a complete overhaul? Old, worn-out bar stools can significantly detract from your space’s aesthetic, making it feel dated and uninviting. While the idea of replacing them with brand-new, stylish options is appealing, the cost can often be prohibitive, especially for a full set.
Embarking on a DIY bar stool makeover offers a multitude of compelling benefits. Firstly, it’s an incredibly cost-effective solution. You can completely transform an entire set of stools for a fraction of the price of purchasing just one new, high-quality stool. This budget-friendly approach allows you to achieve a high-end look without the high-end price tag, freeing up funds for other home improvement projects.
Secondly, a DIY makeover grants you unparalleled creative control. From selecting the perfect color palette that complements your existing decor to choosing unique fabric patterns or finishes, you have the freedom to customize every detail. This ensures your bar stools are not just functional but also a true reflection of your personal style and taste, seamlessly integrating into your home’s design narrative.
Beyond aesthetics and savings, giving old furniture new life through upcycling is a powerful act of environmental stewardship. By preventing perfectly salvageable items from ending up in landfills, you contribute to reducing waste and conserving resources. It’s a sustainable choice that adds character and a unique story to your home.
In this comprehensive guide, we’ll walk you through every step of the bar stool makeover process. From assessing the current condition of your stools and selecting a style that resonates with your home, to mastering the techniques for painting, staining, and reupholstering, we’ll cover all you need to know. We’ll also tackle common challenges and provide practical solutions to ensure a smooth and successful project. Get ready to create comfortable, beautiful, and personalized seating that you’ll be proud to use and admire every single day.
Getting Started: Assessing Your Stools and Gathering Essentials
The foundation of a successful bar stool makeover lies in thorough preparation. Before you even think about paint or fabric, dedicate time to carefully inspect each stool. This initial assessment is crucial for identifying any underlying issues that need addressing and for planning the scope of your project effectively.
Run your hands over the surface of wooden stools to detect rough patches, splinters, or areas where the finish is flaking. Test the wood for solidity; any softness could indicate water damage or rot. For metal stools, meticulously check for signs of rust, especially at joints or weld points, and assess for any structural weaknesses or bends. Examine the stability of the legs, checking for wobbles or loose screws. Look closely at the seat and backrest for damage to the upholstery, padding, or frame. Addressing these small repairs early on will not only save you significant time and effort in the later stages but also ensure the longevity and stability of your revamped stools.
Essential Tools & Supplies for Your Makeover:
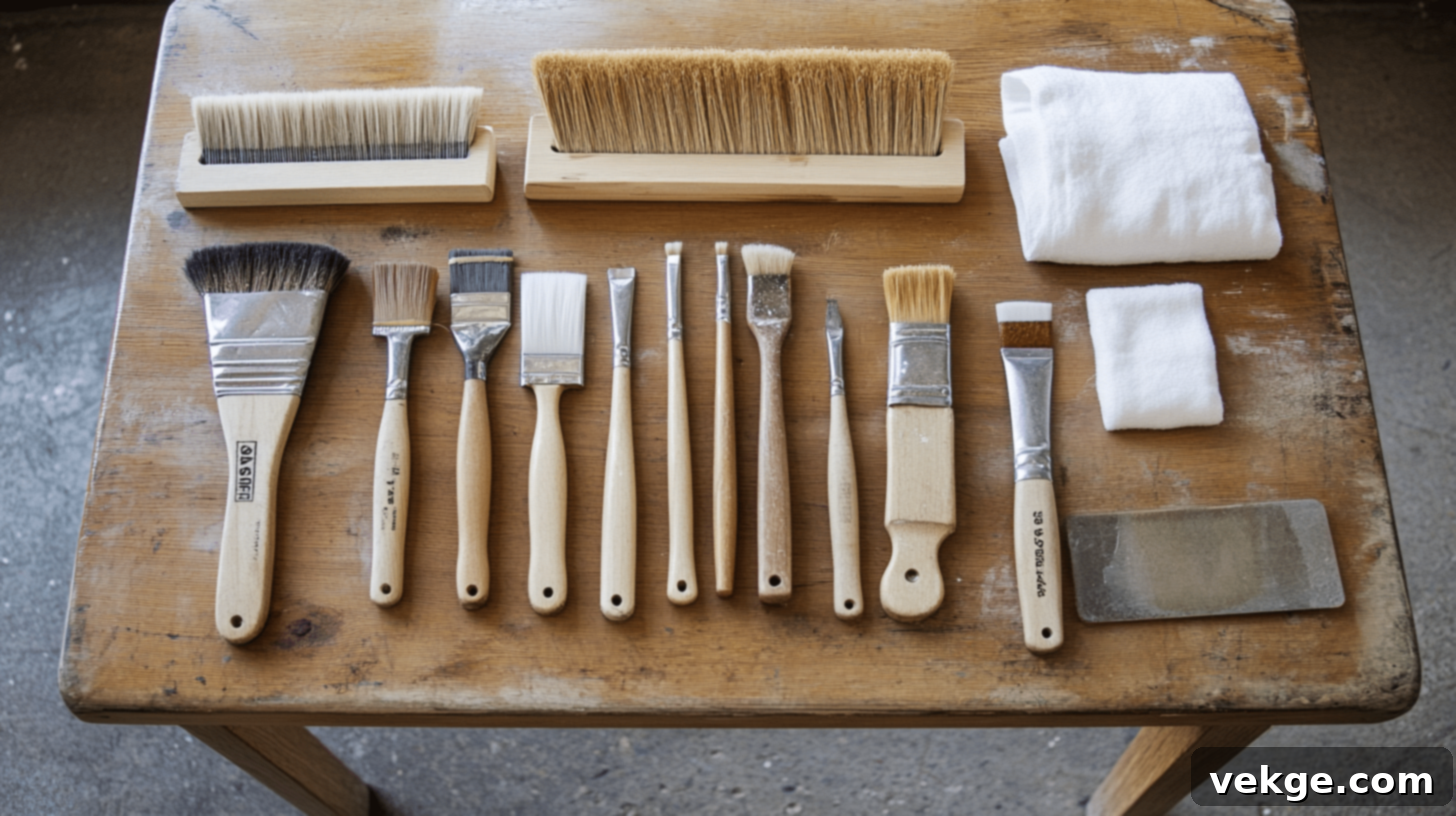
Having the right tools and materials on hand before you begin will make the process much smoother and more enjoyable. Here’s what you’ll typically need:
- Sandpaper: A variety of grits (80, 150, and 220) for rough sanding, smoothing, and fine finishing.
- Paint Brushes or Foam Rollers: Choose high-quality brushes for detailed work and smooth rollers for larger, flat surfaces.
- Primer: Select a primer specifically formulated for your stool’s material (wood, metal, plastic) to ensure proper paint adhesion.
- Paint or Wood Stain: Your chosen color or stain, suitable for furniture and interior use.
- Clear Protective Finish: Polyurethane, varnish, or a clear topcoat to seal and protect your new finish.
- Screwdrivers and Pliers: For tightening loose screws, disassembling parts, or removing old staples.
- Measuring Tape: Essential for accurate fabric cutting and general measurements.
- Clean Rags: For wiping dust, applying stain, and cleaning spills.
- Staple Gun and Staples: If reupholstering, for securing new fabric.
- New Upholstery Fabric (Optional): Your choice of durable fabric for seat covers.
- Foam/Batting (Optional): For replacing or adding padding to seats.
Safety First: Protecting Yourself and Your Workspace:

Your safety should always be a top priority during any DIY project. Ensure you have the following protective gear:
- Dust Mask/Respirator: Crucial for protecting your lungs from sanding dust and paint fumes.
- Work Gloves: To protect your hands from chemicals, splinters, and paint.
- Eye Protection: Safety glasses or goggles are essential to shield your eyes from debris and chemical splashes.
- Drop Cloths/Tarps: To protect your floors and surrounding areas from paint drips and dust.
- Good Ventilation: Work in a well-aired space, preferably outdoors or in a garage with open doors, to minimize fume inhalation.
Choosing Your Style: Harmonizing with Your Home Decor
The beauty of a DIY bar stool makeover lies in its ability to perfectly complement your home’s existing aesthetic. Before you dive into colors and fabrics, take a moment to envision the overall look you want to achieve. Consider the predominant colors in your kitchen or bar area, the amount of daily use the stools will endure, and your overall budget for materials. Also, think about the level of cleaning and maintenance you’re willing to commit to, as some finishes and fabrics require more care than others.
Popular Style Options to Inspire Your Vision:
1. The Rustic Chic Farmhouse Look
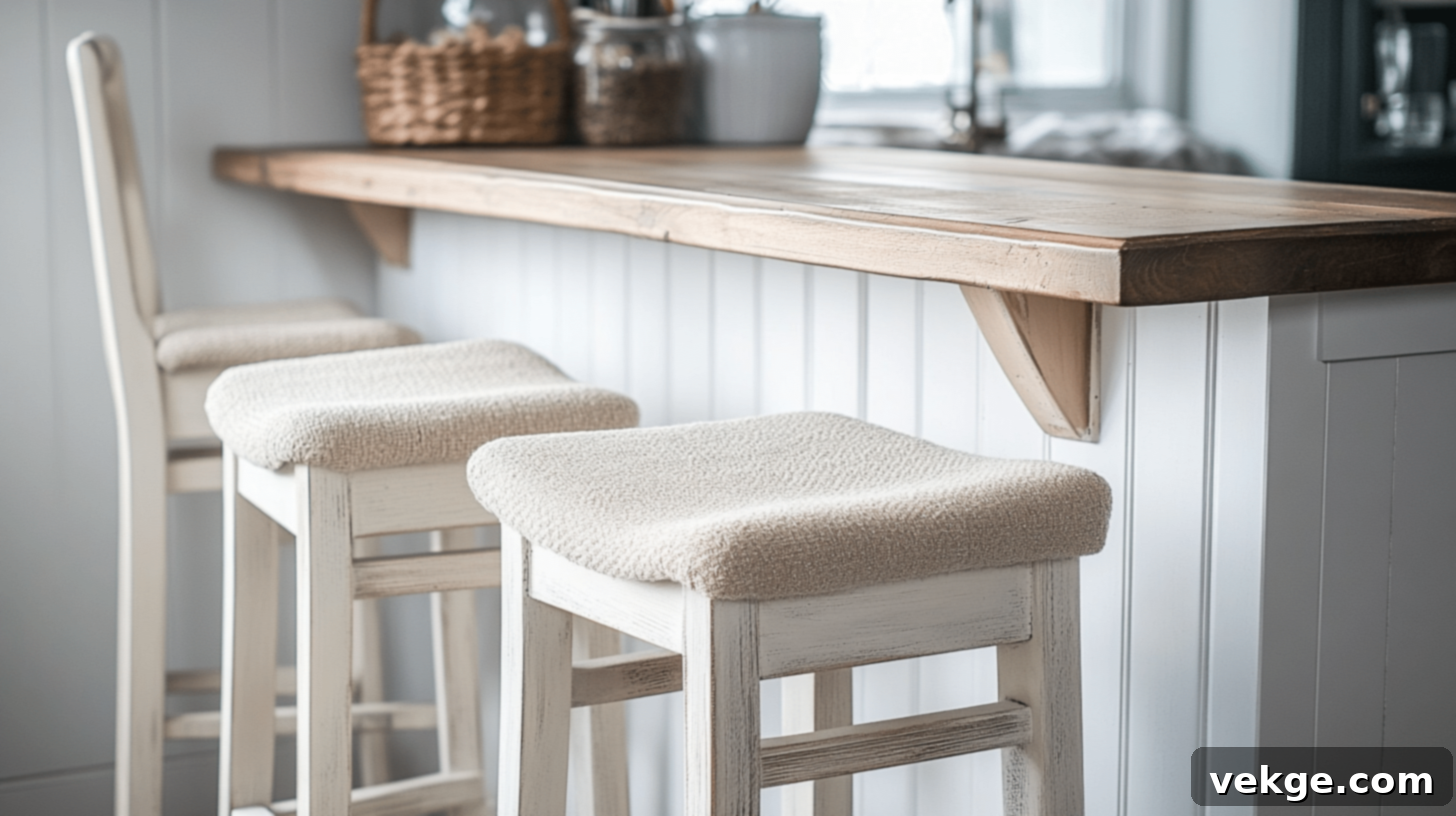
The farmhouse style embodies comfort, warmth, and a touch of vintage charm. It’s perfect for creating a cozy and inviting atmosphere.
- Color Palette: Predominantly white or light-colored paints (e.g., off-white, cream, light grey, soft blues) that evoke a clean and airy feel.
- Natural Wood Touches: Exposed wood grain, either through strategic distressing or by staining certain elements (like legs or a backrest) in a natural, warm tone.
- Simple, Clean Designs: Focus on uncomplicated lines and sturdy construction, avoiding overly ornate details.
- Fabric Choices: Cotton or linen fabrics in classic patterns like stripes, subtle plaids, or solid neutrals. Woven seat coverings (jute, rattan) add texture and authenticity.
- Finish Options: A distressed finish (lightly sanded edges to reveal underlying wood or a contrasting paint layer) can give stools an aged, well-loved appearance.
- Accessories: Consider adding simple seat cushions tied with bows for an extra touch of country charm.
2. Sleek and Sophisticated Modern Style
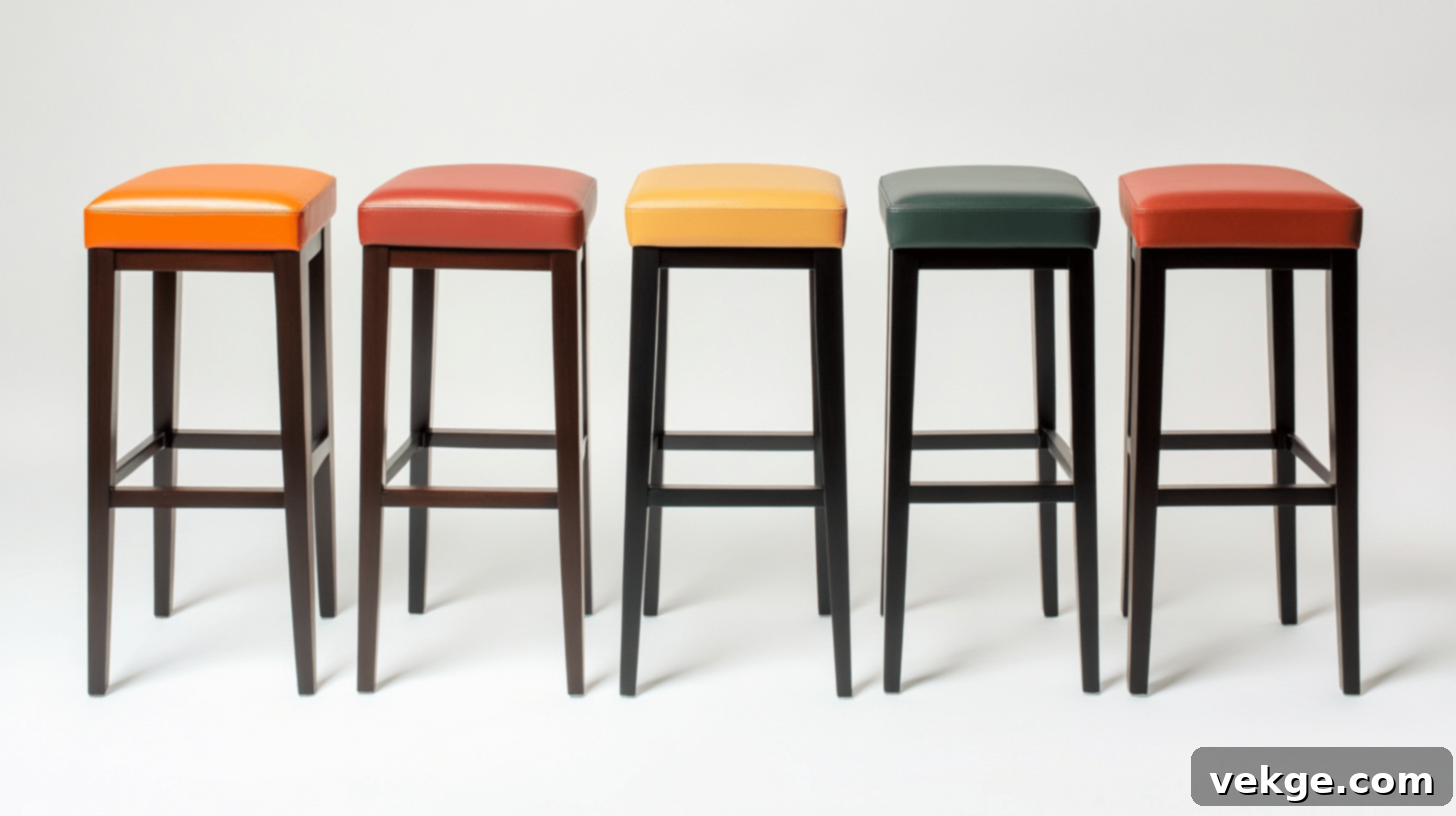
Modern design emphasizes functionality, clean lines, and a minimalist aesthetic. It’s ideal for contemporary spaces that value simplicity and understated elegance.
- Color Palette: Bold, solid colors such as deep grays, blacks, crisp whites, or vibrant accent colors (e.g., emerald green, navy blue, mustard yellow) that create a striking visual impact.
- Geometric Shapes & Straight Lines: Prioritize designs with sharp angles and minimal ornamentation.
- Minimal Details: Avoid fussy embellishments. The form itself should be the focus.
- Finishes: Smooth, clean, and often high-gloss or matte finishes. These reflect light beautifully or absorb it for a sophisticated look.
- Material Accents: Integrate metal accents (chrome, brushed steel, matte black) for legs, footrests, or structural elements.
- Seat Materials: Leather or vinyl seats are popular for their sleek appearance, durability, and ease of cleaning, often in solid colors.
3. Timeless Traditional Design
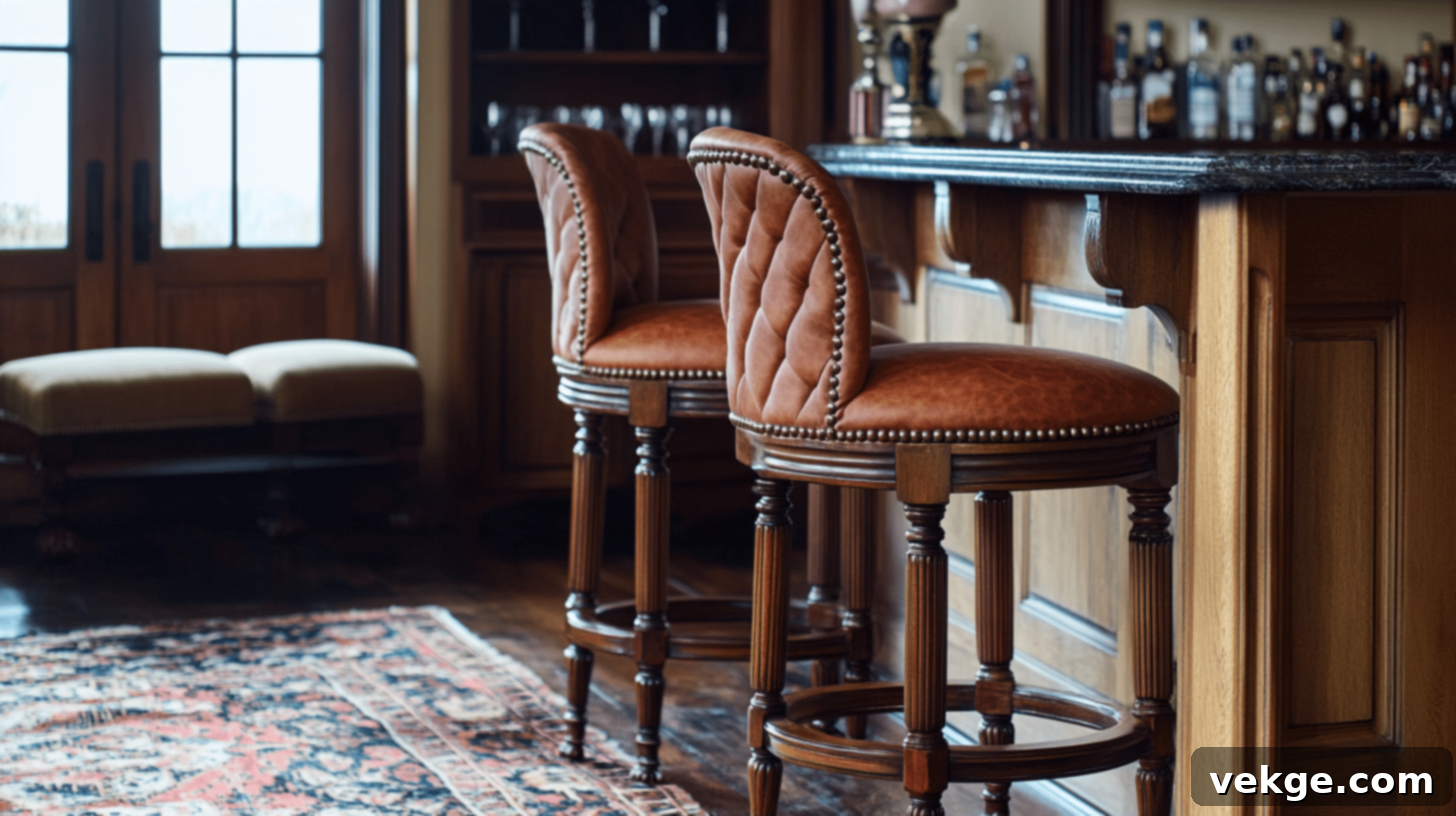
Traditional design celebrates classic aesthetics, rich materials, and intricate detailing, creating a sense of history and refined luxury.
- Wood Tones: Warm, rich wood tones like cherry, mahogany, walnut, or deep oak. Staining can enhance the natural grain.
- Classic Patterns: Upholstery fabrics might feature damask, floral, plaid, or subtle striped patterns, often in muted, sophisticated colors.
- Quality Upholstery: Opt for luxurious fabrics such as velvet, brocade, or high-quality jacquards that add texture and depth.
- Well-Crafted Details: Look for or add elements like carved wood details, scrolled arms, or decorative turnings on legs.
- Embellishments: Nailhead trim around the seat or backrest can add a touch of antique elegance and highlight the contours of the upholstery.
- Leg Styles: Turned legs, cabriole legs, or fluted legs are characteristic of traditional furniture.
Budget-Friendly Bar Stool Shopping and Supply Saving Strategies
Part of the allure of a DIY makeover is the incredible savings potential. Finding the perfect “bones” for your project doesn’t require a hefty investment in new furniture. With a bit of patience and a keen eye, you can discover hidden gems that are just waiting for a new lease on life. Many savvy homeowners have scored quality, sturdy stools for as little as $10-35 each from various sources. The key is to look for solid construction and a good frame, rather than focusing on perfect aesthetics – your makeover will take care of that!
Where to Hunt for Affordable Bar Stools:
- Facebook Marketplace & Local Classifieds: Regularly check these platforms. Use keywords like “bar stools,” “counter stools,” “kitchen chairs,” or “free furniture.” Be quick to respond to good deals.
- Local Thrift Stores & Charity Shops: Frequent visits are key, as inventory changes constantly. Don’t be afraid to browse through different sections; sometimes stools are hidden amongst other items.
- Yard Sales & Garage Sales: Early birds often catch the best worms. Attend sales in affluent neighborhoods for potentially higher quality items at low prices.
- Flea Markets: A treasure trove for unique and vintage pieces. Haggling is often expected, so don’t be shy about negotiating the price.
- Estate Sales: These can yield complete sets of well-made furniture, often for very reasonable prices as everything must go.
- Online Auctions (e.g., eBay, local auction sites): Set up alerts for “bar stools” in your area. Be mindful of shipping costs if not picking up locally.
- Restaurant Supply Stores (Used Sections): Sometimes they sell off older models or slightly used commercial-grade stools at deeply discounted prices. These are often built to last.
When scouting for stools, prioritize structural integrity. Look for stable legs, secure seat attachments, and sturdy frames. A bit of surface rust, chipped paint, or worn fabric are all easily fixable and shouldn’t deter you from a good find.
Smart Ways to Save Money on Makeover Supplies:
Beyond finding inexpensive stools, you can significantly reduce your overall project cost by being smart about your supply purchases:
- Utilize Leftover Paint: Before buying new, check your garage or shed for leftover paints from previous projects. A small amount might be enough for a few stools.
- Shop Fabric Remnant Sections: Fabric stores often have “remnant bins” or “clearance racks” with smaller pieces of high-quality fabric at a fraction of the original price. Perfect for seat cushions!
- Check Discount Hardware Stores & Online Sales: Stores like Harbor Freight, or online retailers during holiday sales, often offer discounts on sandpaper, brushes, and protective finishes.
- Watch for Seasonal Sales: Paint and home improvement stores often have sales around major holidays or during seasonal transitions.
- Share Supplies with Friends: If you know others doing DIY projects, consider pooling resources for bulk purchases of sandpaper, primer, or drop cloths.
- Buy in Bulk for Multiple Projects: If you plan on doing several furniture makeovers, buying larger containers of primer or clear coat can be more cost-effective per ounce.
- Repurpose Old Items: Old blankets can become drop cloths, and sturdy cardboard boxes can be used for spray painting small parts.
Step-by-Step Bar Stool Makeover Process: From Prep to Polish
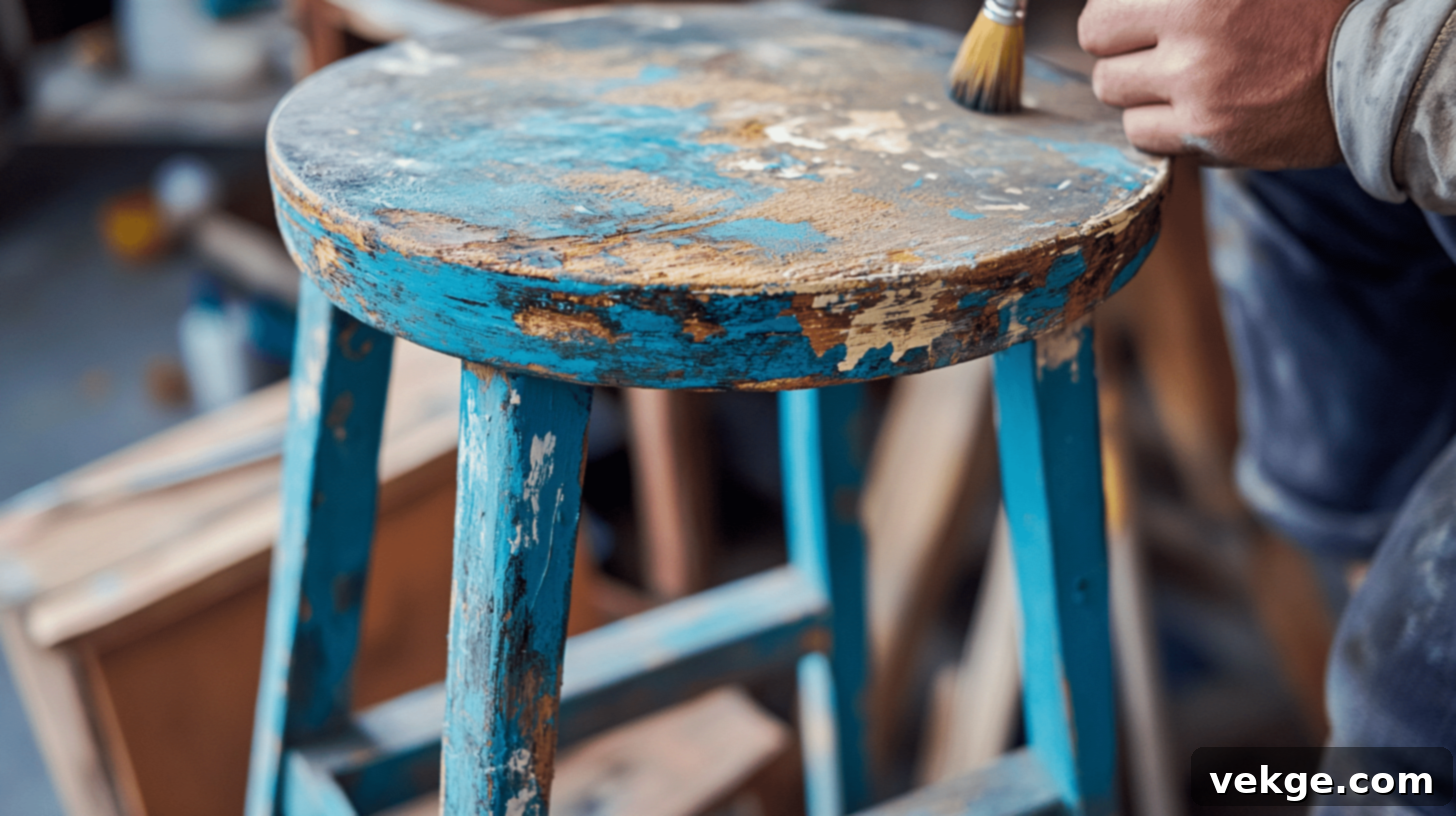
Once you’ve gathered your stools and supplies, it’s time to roll up your sleeves and begin the transformation. Remember, patience and proper preparation are key to achieving a professional-looking finish.
General Preparation Steps for All Stools:
- Disassembly (If Applicable): If possible, disassemble the stools. Removing seats, backs, or footrests can make sanding, painting, and reupholstering much easier and allow for more even application. Keep all screws and hardware organized in labeled bags.
- Deep Cleaning: Thoroughly clean the entire stool with warm water and a mild detergent or an all-purpose cleaner. For stubborn grime or sticky residue, a degreaser might be necessary. Allow the stool to dry completely.
- Repair Structural Issues: Tighten any loose screws, re-glue wobbly joints with wood glue and clamps, or reinforce weak points. Allow glue to cure fully.
Techniques for a Basic Paint Update:
Painting is one of the most dramatic ways to change the look of your bar stools. Follow these steps for a durable and beautiful finish:
- Thorough Sanding (The Foundation of a Good Finish):
- Initial Sanding (80-100 grit): Start with a coarser grit to remove any existing peeling paint, rough spots, or to scuff up a glossy finish. This creates a “tooth” for the primer to adhere to.
- Intermediate Sanding (150 grit): Move to a medium grit to smooth out the scratches from the coarser paper.
- Fine Sanding (220 grit): Finish with a fine grit to achieve a smooth, silky surface. For bare wood, sand in the direction of the grain.
- Dust Removal: After each sanding stage, meticulously remove all dust. Use a vacuum with a brush attachment, followed by a tack cloth or a clean, slightly damp rag. Any lingering dust will compromise the paint’s adhesion and finish.
- Apply Primer (The Adhesion Enhancer): Apply an even, thin coat of primer that is appropriate for your stool’s material (e.g., wood primer, metal primer, or an all-surface bonding primer). Primer helps the paint adhere better, provides a uniform base color, and seals the material. Allow it to dry completely according to manufacturer instructions.
- Light Sanding Between Coats (For Ultimate Smoothness): After the primer is dry, lightly sand with 220-grit sandpaper. This smooths any raised grain or minor imperfections and helps subsequent coats adhere. Wipe away dust.
- Apply Paint (The Color Transformation): Apply 2-3 thin, even coats of your chosen paint. Thin coats are crucial to prevent drips, achieve better adhesion, and provide a more durable finish. Allow each coat to dry completely before applying the next. For a super smooth finish, consider using a high-quality foam roller or a paint sprayer if you’re comfortable.
- Apply Clear Protective Finish (The Durability Layer): Once your final paint coat is thoroughly dry (usually 24-48 hours), apply 2-3 coats of a clear protective finish like polyurethane, polycrylic (water-based and less yellowing), or a furniture wax. This will protect your paint job from daily wear and tear, spills, and scratches. Follow the product’s instructions for drying times and re-coating.
Pro Tip: Always work in a well-ventilated area to ensure proper drying and to minimize fume exposure. Test your paint and primer on an inconspicuous spot or a scrap piece of wood first to ensure good adhesion and the desired color.
Revamping with a Seat Cover Change (Reupholstering):
Updating the seat fabric can instantly modernize or refresh your bar stools, adding comfort and style.
- Remove Old Fabric: Carefully remove the old fabric and any existing foam or padding. Use pliers or a staple remover to pull out staples. Try to keep the old fabric in one piece as it will serve as your pattern.
- Assess Padding: Check the existing foam or padding. If it’s flattened, lumpy, or disintegrated, replace it with new high-density foam (available at craft or upholstery stores). You can also add a layer of batting over the foam for extra softness and a smoother profile.
- Cut New Fabric: Lay your old fabric piece on top of your new upholstery fabric. Use it as a template to cut your new fabric, adding an extra 2-3 inches around all edges for stapling. Ensure any patterns are centered if desired.
- Secure New Fabric: Center the seat base (with new foam/batting) on your new fabric. Starting from the middle of each side, pull the fabric taut and secure it with a staple gun. Work your way towards the corners, continuously pulling the fabric tight to avoid wrinkles, but not so tight that it distorts the pattern.
- Tackle Corners: For corners, carefully fold the fabric as if wrapping a gift, creating neat pleats. Secure with multiple staples.
- Trim Excess: Once all sides are stapled securely, trim any excess fabric close to the staples for a clean finish.
Transforming with Wood Staining Steps:
Staining enhances the natural beauty of wood grain and can completely change its tone.
- Strip Old Finish (If Necessary): For a consistent stain, you’ll need to remove any old paint or varnish completely. This can be done by sanding thoroughly down to bare wood or by using a chemical stripper (follow safety precautions carefully).
- Thorough Sanding: Sand the bare wood starting with 100-120 grit, then 150, and finally 220 grit. Always sand in the direction of the wood grain. Remove all dust.
- Apply Wood Conditioner (Crucial for Even Stain): If your wood is porous or a soft wood like pine, apply a wood conditioner before staining. This helps the wood absorb the stain more evenly, preventing blotchiness. Allow it to penetrate for the recommended time (usually 5-15 minutes) before wiping off any excess.
- Apply Wood Stain: Apply your chosen wood stain with a clean cloth or foam brush, working in small sections and always following the wood grain. Let the stain sit for 5-15 minutes (or as per product instructions) to achieve your desired color depth – longer for a darker hue, shorter for a lighter one.
- Wipe Off Excess: Use a clean, dry rag to wipe off any excess stain. This prevents a sticky, uneven finish. For a deeper color, apply a second thin coat after the first has dried completely, then wipe off excess.
- Allow to Dry Fully: Let the stain dry completely for at least 24-48 hours (or longer in humid conditions) before proceeding.
- Apply Clear Protective Coat: Finish with 2-3 coats of a clear topcoat like polyurethane or varnish to protect the wood and stain. Lightly sand with 220-grit sandpaper between coats for a super smooth finish, wiping away dust each time.
Bar Stool Maintenance and Care: Keeping Your Makeover Fresh
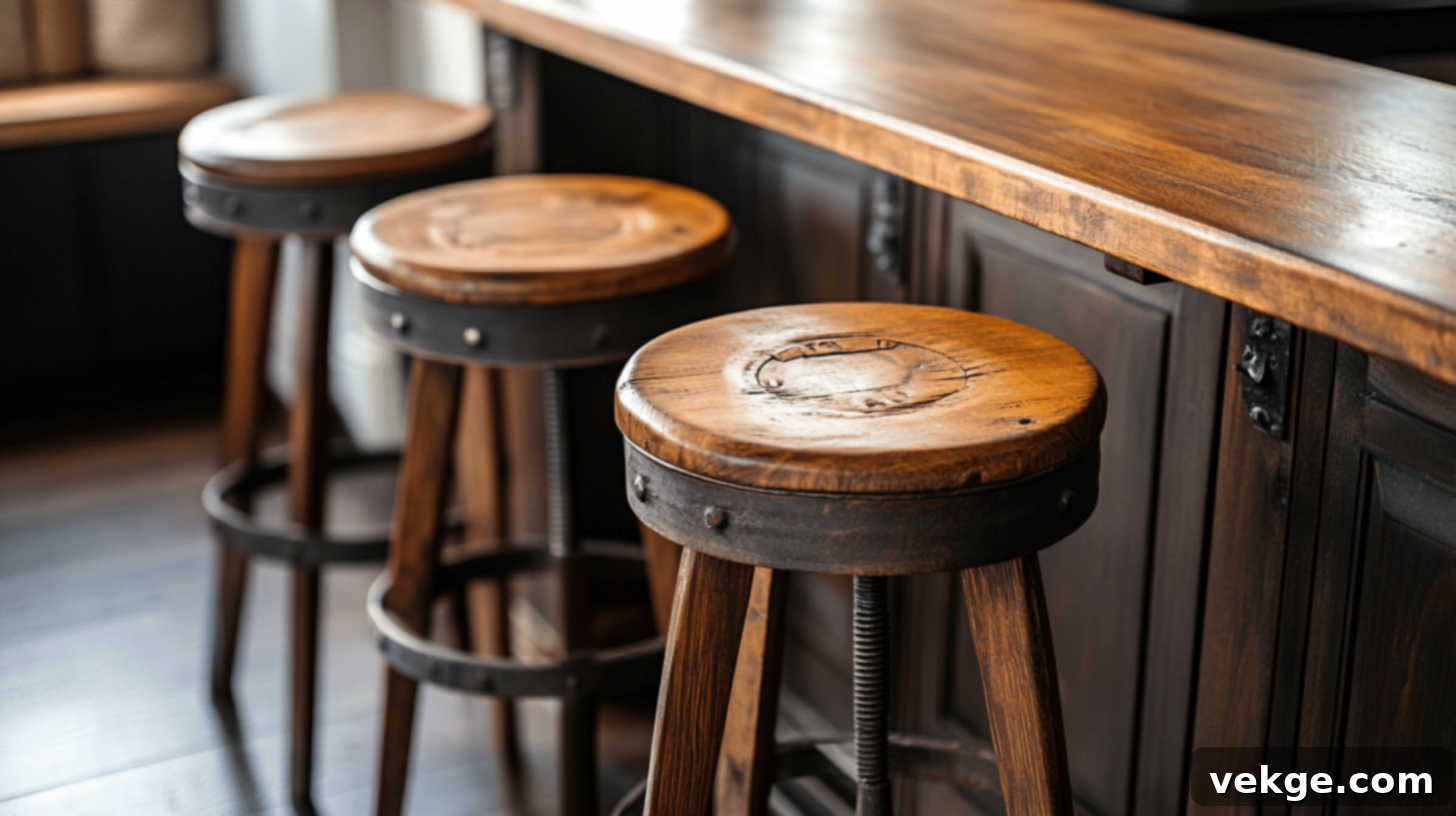
A successful makeover doesn’t end with the final coat of paint or the last staple. Regular maintenance and proper care are essential to ensure your newly refurbished bar stools retain their fresh look and extend their lifespan for years to come.
Keep Your Updated Stools Looking Fresh with Regular Care:
- Clean Up Spills Promptly: Accidents happen, but acting quickly can prevent permanent stains or damage, especially on fabric seats or painted surfaces.
- Use Coasters or Placemats: If the stools have a solid top surface, coasters can protect them from drink rings and heat damage.
- Check and Tighten Screws Monthly: Daily use can loosen joints. Periodically inspect and tighten all screws and bolts to maintain stability and prevent wobbles.
- Fix Small Scratches Right Away: Minor nicks and scratches can be touched up with a small amount of matching paint or stain to prevent them from worsening.
- Rotate Stools to Even Out Wear: If you have multiple stools, rotate their positions regularly to ensure even wear on seats and finishes.
- Keep Them Out of Direct Sunlight: Prolonged exposure to direct sunlight can fade fabric and paint colors, and even cause wood to warp or crack.
- Avoid Harsh Cleaners: Always opt for mild, appropriate cleaning solutions to prevent damage to your chosen finish.
Basic Cleaning Methods for Different Materials:
Tailor your cleaning approach to the specific material of your bar stools:
- Painted Parts: For daily cleaning, simply wipe painted surfaces with a soft, slightly damp cloth. For more stubborn marks, use a mild soap (like dish soap diluted in water) and a soft cloth, then wipe dry immediately. Avoid abrasive cleaners.
- Fabric Seats (Cotton, Linen, Blends): Regularly vacuum fabric seats using an upholstery attachment to remove dust and crumbs. For spot cleaning, use a fabric-specific cleaner. Always test in an inconspicuous area first. Blot, don’t rub, stains.
- Wood Surfaces (Stained or Natural): Dust regularly with a soft, dry cloth. For cleaning, use a wood-specific cleaner or a slightly damp cloth with mild soap, followed by immediate drying. Avoid excessive moisture. Wood polish or wax can be used periodically to maintain luster.
- Metal Parts: Keep metal components dry to prevent rust. Wipe with a damp cloth and dry thoroughly. For stainless steel, use a dedicated stainless steel cleaner. For rust spots, fine steel wool or a rust remover can be used cautiously, followed by a protective sealant.
- Leather Seats: Dust with a soft cloth. Condition leather every few months with a leather conditioner to keep it supple and prevent cracking. For spills, wipe immediately with a clean, dry cloth. Use a specialized leather cleaner for tougher stains.
- Vinyl Seats: Vinyl is quite durable and easy to clean. Use mild soap and water only. Wipe with a damp cloth and dry well. Avoid harsh chemicals, as they can damage the vinyl.
Problem-Solving Tips: Overcoming Common Makeover Challenges
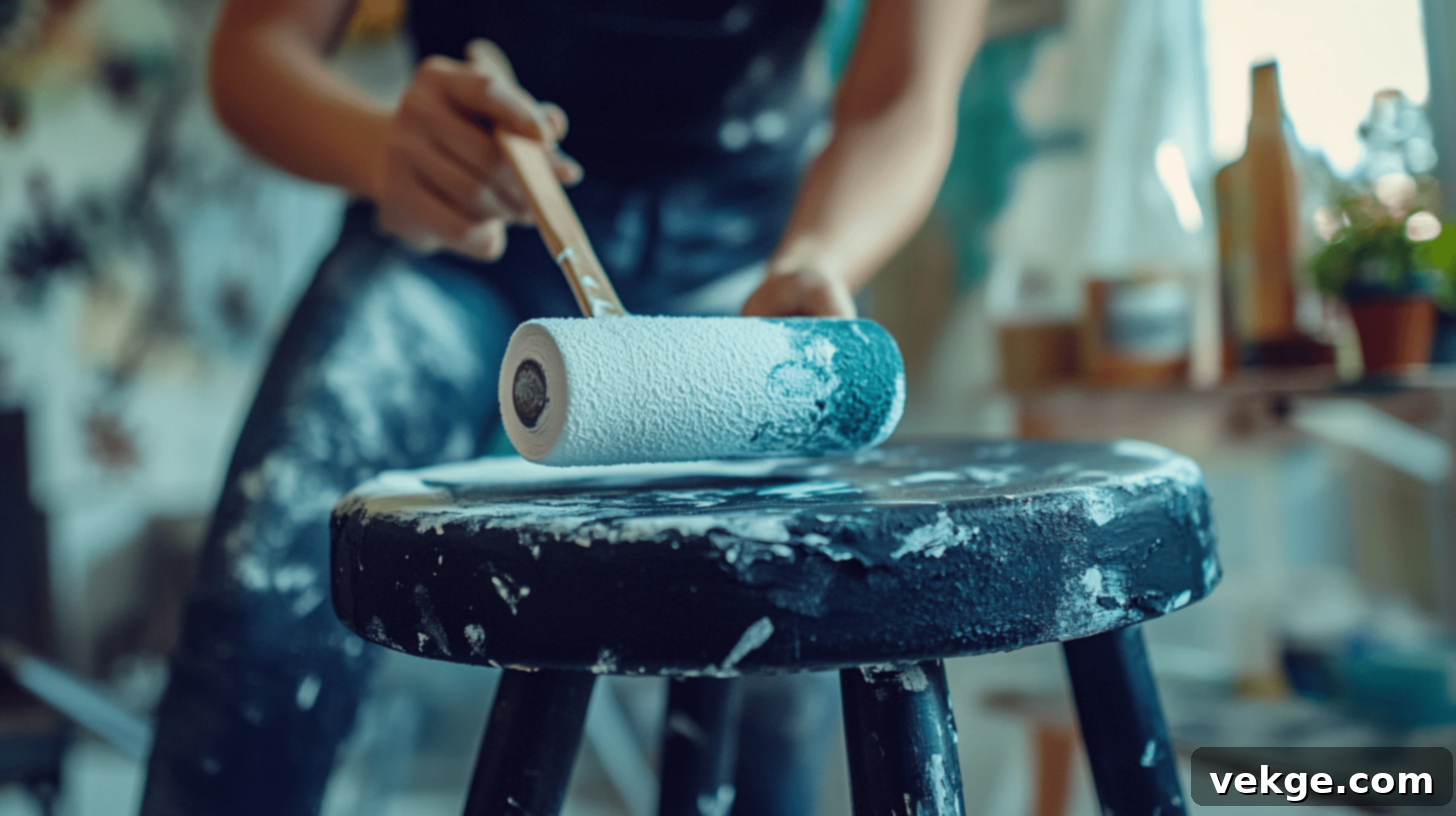
Even with careful planning, DIY projects can sometimes present unexpected challenges. Don’t get discouraged! Most problems have simple solutions. Here’s how to troubleshoot common issues you might encounter during your bar stool makeover:
Paint Problems and Solutions:
- Drips or Runs? These occur when paint is applied too thickly. Wait for the paint to be completely dry, then sand the drip smooth with fine-grit sandpaper (220-320 grit). Reapply a thin coat of paint if needed.
- Seeing Streaks or Uneven Color? This usually indicates insufficient coats or uneven application. Apply additional thin coats of paint, ensuring each layer is fully dry before the next. Try using a foam roller for a more uniform finish.
- Paint Peeling or Chipping? This is often a sign of poor surface preparation. The surface wasn’t cleaned or sanded enough, preventing proper adhesion. For a lasting fix, you might need to sand down the affected area (or even the entire stool) and re-prime/re-paint with better prep work next time.
- Bubbles or Bumps Showing? Bubbles can be caused by applying paint in direct sunlight, over-shaking the paint, or applying too quickly. Lightly sand between coats to remove bubbles, ensuring the surface is smooth before the next layer.
- Brush Marks Visible? Using the wrong type of brush, applying paint too slowly, or using too thick paint can leave brush marks. Try high-quality synthetic brushes for water-based paints, or switch to a foam roller for smoother surfaces. You can also thin your paint slightly if recommended by the manufacturer.
- Paint Not Drying? This could be due to high humidity, applying paint too thickly, or expired paint. Ensure good ventilation, apply thin coats, and check paint expiry dates.
Fabric and Upholstery Issues:
- Loose Corners or Edges? If the fabric isn’t pulled taut enough, it will sag. Use your staple gun to add new staples, pulling the fabric firmly from the underside to secure it properly.
- Worn Spots on Fabric? For small worn areas, consider applying a fabric patch (either iron-on or stitched) from the inside for reinforcement. For larger areas, the best solution is to replace the entire seat cover.
- Stains on New Fabric? Act quickly! Use an appropriate fabric cleaner for the specific type of stain. Always test on a hidden area first and blot, don’t rub.
- Large Tears in Fabric? Unfortunately, large tears usually mean it’s time to replace the entire seat cover. This is a good opportunity to try a new pattern or color.
- Sagging or Lumpy Seats? This indicates that the foam or padding has lost its bounce. Remove the old foam and replace it with new high-density upholstery foam, possibly adding a layer of batting on top for extra comfort and a smooth finish.
- Difficulty with Pattern Matching at Seams/Corners? Upholstering patterned fabric can be tricky. Take your time, cut carefully, and align patterns before stapling. For complex patterns, it’s often easier to choose a solid color or a subtle textured fabric.
Safety First: A Crucial Reminder
As with any DIY project involving tools, paints, and chemicals, prioritizing safety is paramount. Always work in a well-ventilated space, ideally outdoors or in a garage with open doors and windows, to ensure proper airflow and minimize inhalation of fumes from paints, stains, or adhesives.
Wear appropriate safety gear, including a dust mask or respirator, work gloves to protect your hands, and eye protection to shield your eyes from debris, dust, and chemical splashes. Before using any product, carefully read all manufacturer instructions and safety warnings. Take regular breaks as needed to maintain focus and prevent fatigue, which can lead to mistakes. Crucially, keep children and pets away from your work area and away from wet surfaces until they are completely dry and safe.
Remember to keep any leftover paints, stains, or fabric scraps. Label your paint cans with the project and date for future touch-ups. Take “before” and “after” photos of your progress; not only are they great for sharing your accomplishment, but they can also serve as a helpful reference for future projects. With careful planning and adherence to safety guidelines, your bar stool makeover will be a rewarding and safe experience.
Video Tutorial
For more details and visual guidance, check out this helpful video tutorial by ELLANA.
The Bottom Line: Unleash Your Inner DIYer
Your bar stool makeover project doesn’t have to be an intimidating or overly complicated endeavor. In fact, it can be an incredibly rewarding and enjoyable experience. With the right tools, quality materials, and the step-by-step guidance outlined in this comprehensive article, you are well-equipped to create beautiful, comfortable, and personalized seating that perfectly complements your space and reflects your unique style.
If you’re new to the world of DIY projects or furniture restoration, we encourage you to start small. Perhaps begin by painting just one stool to get a feel for the process, or simply focus on changing out a seat cover. As you gain confidence and familiarity with the techniques, you can gradually tackle more complex updates and experiment with different finishes and designs.
Always prioritize safety by working in a well-ventilated environment and wearing appropriate protective gear. Take your time with each step, allowing for proper drying and curing times, as this directly contributes to the durability and quality of your finished product. And remember, it’s perfectly normal if your first attempt isn’t absolutely flawless—DIY is a journey of learning and improvement. The beauty of these projects is that you can almost always refine, adjust, or even start again if needed.
Once your bar stools are transformed, don’t hesitate to share your finished projects with friends, family, and online communities. Your creativity and effort might just inspire them to embark on their own exciting home makeovers. With a touch of patience, attention to detail, and a willingness to learn, you’ll soon be enjoying stunning bar stools that not only look fresh and feel comfortable but also proudly stand as a testament to your DIY prowess and smart, budget-friendly choices.
Frequently Asked Questions (FAQs) About Bar Stool Makeovers
How Can I Make My Bar Stools More Comfortable?
To significantly enhance comfort, consider adding thick cushions or replacing old, flattened foam with new high-density foam in the seat. You can also add a layer of soft batting over the foam for extra plushness. If your stools are backless, adding a small, upholstered backrest (if structurally feasible) can also greatly improve comfort.
How Do I Add a Backrest to a Backless Bar Stool?
Adding a backrest to a backless bar stool requires a sturdy base. You can purchase pre-made backrest kits or custom-cut plywood for the back. Secure the backrest using strong screws and metal brackets, ensuring it’s firmly attached to the stool’s frame or legs for stability. Consider the height and angle for ergonomic comfort, and then upholster or paint it to match your stool’s new look.
Can Bar Stools Be Used in Other Parts of the Home?
Absolutely! Bar stools are incredibly versatile. Beyond the kitchen or bar area, they can serve as stylish plant stands, compact side tables next to a sofa or armchair, or provide extra seating in a living room, entryway, or even a home office. Their height makes them perfect for adding varying levels to your decor or for small spaces where a full chair might be too bulky.
What Kind of Paint Should I Use on Wooden Bar Stools?
For wooden bar stools, durable options like acrylic latex paint (water-based) or oil-based enamel paint are excellent choices. Acrylic latex paints are easier to clean up and dry faster, while oil-based paints offer a very hard, durable finish. Always choose a paint designed for furniture or cabinets, as these are formulated to withstand wear and tear. For outdoor use, select an exterior-grade paint.
How Can I Fix Wobbly Bar Stools?
Wobbly bar stools are often a sign of loose joints or screws. First, turn the stool upside down and systematically tighten all screws and bolts. If that doesn’t solve it, you may need to disassemble the joint, apply wood glue to the tenon and mortise (or dowel holes), reassemble, and clamp tightly until the glue dries completely. For metal stools, check welds and consider professional repair if necessary.
Is It Worth Reupholstering My Bar Stools?
Yes, reupholstering is often well worth the effort, especially if your bar stools have a solid, well-built frame. It’s a cost-effective way to update their look, add comfort, and personalize them to your exact taste, giving them a second life that looks far more expensive than the actual cost.
