Ultimate Guide to Painting Your Brick Exterior: Transform Your Home’s Curb Appeal with a Lasting Finish
Are you envisioning a fresh, updated aesthetic for your home’s brick exterior? It’s a common aspiration, and one I’ve personally navigated. Painting brick may appear to be a straightforward project, but it’s a significant decision with lasting implications. This transformation extends beyond just visual appeal, influencing how your home endures various weather conditions and the passage of time.
That’s precisely why I’ve compiled this comprehensive guide. My goal is to equip you with all the essential information needed to make an informed choice and execute the project flawlessly, long before you even pick up a brush. We’ll delve into the genuine advantages and disadvantages, the meticulous surface preparation required, the optimal tools and materials to use, and a step-by-step methodology for achieving a durable and beautiful finish.
Beyond the application process, you’ll also gain invaluable insights into the ongoing care, effective cleaning techniques, and how to effectively sidestep the common pitfalls many homeowners encounter with painted brick. By the end of this guide, you’ll be prepared to give your brick exterior a stunning, professional-quality makeover that enhances your home’s curb appeal for years to come.
Is Painting Your Brick Exterior the Right Choice for Your Home?
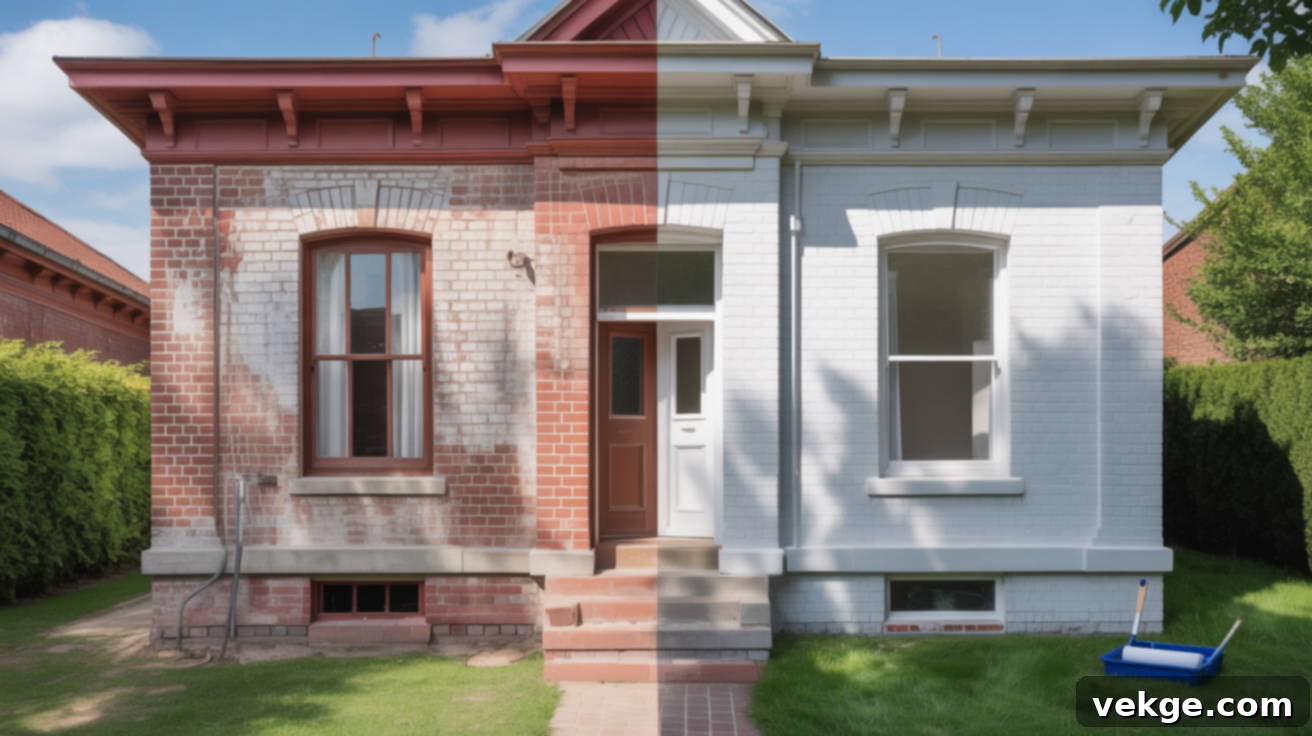
Painting brick can dramatically revitalize your home, offering a clean, cohesive, and modern aesthetic. It effectively conceals minor imperfections, unifies mismatched surfaces, and can instantly elevate your property’s curb appeal. However, it’s crucial to understand that this is a largely permanent alteration. Once brick is painted, restoring it to its original, unpainted state is an incredibly challenging and often costly endeavor, if even possible.
Furthermore, a painted brick exterior demands regular maintenance to preserve its pristine look and structural integrity. Before committing to this transformation, it’s vital to thoroughly weigh the benefits against the drawbacks, and consider whether other finishes like limewash or stain might be a better fit for your specific needs, climate, and desired outcome. This section will help you explore all facets of this decision.
Essential Prep Work Before You Begin Your Brick Painting Project
Proper preparation is the cornerstone of any successful painting project, especially when dealing with brick. Skipping critical prep steps can lead to premature peeling, blistering, and an overall unsatisfactory finish. Investing time and effort upfront will ensure your paint adheres correctly and provides a long-lasting, beautiful result.
Thoroughly Cleaning the Brick Surface
Before any primer or paint touches your brick, a meticulous cleaning is absolutely essential. Begin by removing all loose dirt, cobwebs, mildew, algae, and any old, flaking debris. A power washer is highly effective for this task, but caution is paramount. Use a low-pressure setting (ideally between 1200-1500 PSI) and a fan-tip nozzle to avoid damaging the mortar joints or the brick face itself. Maintain a consistent distance from the surface, typically 12-18 inches.
For stubborn stains like efflorescence (white, powdery mineral deposits) or deep-seated mold, a stiff-bristled brush combined with a mild cleaning solution can be very effective. A mixture of household detergent and water, or a specialized masonry cleaner, can tackle these issues. Always rinse thoroughly to remove all cleaning residues. After cleaning, allow the surface to dry for at least a full day – ideally 48-72 hours – to ensure all moisture has evaporated from the porous brick. Painting over a damp or dirty surface is a recipe for disaster; your finish will undoubtedly peel, crack, or flake prematurely. A perfectly clean and dry surface provides the solid, stable foundation your new paint finish needs to bond correctly and endure for years.
Repairing Cracks and Holes in Your Brickwork
Brick walls are susceptible to developing small cracks, holes, or deteriorated mortar joints over time. Addressing these imperfections before painting is not merely for aesthetics; it’s crucial for the structural integrity and longevity of your painted finish. To patch these areas, utilize a high-quality, exterior-grade acrylic caulk for hairline cracks or a specialized mortar repair compound for larger gaps and crumbling mortar.
Carefully follow the manufacturer’s directions for application and curing times, which typically range from 24 to 48 hours. This vital step prevents future water infiltration, which can lead to unsightly bubbling, peeling paint, and even more significant structural damage from freeze-thaw cycles. Pay close attention to corners, window and door frames, and areas where different materials meet, as these points are often prone to greater stress and breakdown. Smooth the patched areas meticulously to ensure they blend seamlessly with the surrounding brickwork, creating a uniform canvas for your primer and paint.
Optimal Timing and Weather Considerations for Painting Brick
The weather conditions during and immediately after painting are far more critical than many DIYers realize. Never attempt to paint or apply any treatment in direct, intense sunlight, during freezing temperatures, or when humidity levels are exceptionally high. These adverse conditions can severely compromise how the products adhere, cure, and ultimately perform.
The ideal temperature range for painting most exterior surfaces, including brick, is between 50°F (10°C) and 85°F (30°C). Humidity should ideally be below 70%. Painting during early mornings or late afternoons in mild weather is often the best strategy, as it allows the paint to dry gradually without flash drying in direct sun. Aim for a dry forecast extending for at least 3-4 consecutive days after application to allow for proper curing. Strong winds should also be avoided, particularly if you’re using a paint sprayer, as wind can lead to excessive overspray and uneven application. Proper timing is a key factor in ensuring your finish cures correctly, lasts longer, and minimizes the likelihood of future problems like blistering or poor adhesion.
Picking the Right Materials: Primers, Paints, and Tools for Brick
The success and longevity of your painted brick exterior hinge significantly on the quality and suitability of the products you select. Brick, being a porous and often challenging surface, requires specific primers, paints, and application tools. Generic products designed for wood or drywall simply won’t suffice. Opting for high-quality, masonry-specific materials might represent a slightly higher upfront cost, but this investment will undoubtedly save you time, reduce future maintenance, and ensure your walls look impeccable for many years to come.
Best Primer for Brick Surfaces
A high-quality, masonry-specific primer is the absolute foundation for a durable, long-lasting finish on brick. It serves several crucial functions: it seals the porous brick, blocks efflorescence and stains from bleeding through, and most importantly, provides an ideal surface for your topcoat to adhere to. Avoid using standard wood or drywall primers, as they lack the necessary binding properties and alkali resistance for masonry and will likely lead to rapid peeling and failure.
Look for primers specifically formulated for concrete, stucco, and brick, often labeled as “masonry primer,” “alkali-resistant primer,” or “bonding primer.” These products are engineered to penetrate and grip rough, alkaline surfaces while allowing the brick to breathe. For older or chalky brick, a specialized bonding primer offers superior adhesion. Always allow the primer to dry completely according to manufacturer instructions—typically 24 hours—before applying your topcoat. This waiting period ensures maximum adhesion and a robust base for your paint.
- Masonry Waterproofer: INSL-X Waterblock Masonry Waterproofer is a fast-drying, latex-based formula designed to protect concrete, brick, and masonry surfaces from water penetration while providing an excellent base. It’s particularly effective at blocking moisture intrusion from the exterior.
- Zinsser Bulls Eye 1-2-3 Primer: Zinsser Bulls Eye Primer is a versatile, water-based, all-purpose primer that excels at adhering to challenging and slick surfaces without the need for sanding. It’s an excellent choice for its stain-blocking properties and strong bond to various materials, including brick.
Best Exterior Paint Types for Brick
When selecting your topcoat, the most crucial characteristic for brick paint is its “breathability.” This means the paint must allow moisture vapor to escape from within the brick rather than trapping it underneath. Trapped moisture is the primary culprit behind bubbling, peeling, mold growth, and even long-term damage to the brick itself. Therefore, steer clear of thick, rubbery, or completely impermeable coatings that seal the surface too tightly.
Look for exterior paints specifically labeled for masonry that are described as “permeable,” “vapor-permeable,” or “breathable.” These paints are typically elastomeric or high-quality acrylic latex formulations. They offer excellent adhesion, flexibility (to resist cracking), UV resistance (to prevent fading), and mildew resistance, all while allowing the brick to perform its natural moisture wicking function. Consider the sheen as well: a flat or matte finish tends to hide imperfections better and offers a traditional look, while a satin or eggshell finish provides a subtle sheen and is generally easier to clean.
- Benjamin Moore Aura Exterior Paint: Benjamin Moore Aura Exterior Paint is a premium, high-performance formula renowned for its exceptional durability, color retention, and resistance to fading, cracking, and peeling, even in the harshest weather conditions. Its advanced technology ensures superior coverage and a long-lasting finish.
- Sherwin-Williams Loxon XP Masonry Coating: Sherwin-Williams Loxon coatings are robust options specifically engineered for masonry and concrete. They provide outstanding waterproofing, alkali resistance, and crucial breathability, making them ideal for protecting and beautifying brick exteriors while preventing moisture-related issues.
Essential Tools You’ll Need for Painting Brick
Having the right tools at hand will not only make the job easier but also ensure a more professional and efficient application. Don’t skimp on quality, as inferior tools can lead to frustration and a subpar finish.
- Angled Brush (2.5-3 inch): Crucial for “cutting in” precise lines along trim, windows, doors, and in corners. Its angled bristles provide superior control and allow you to work paint into deep mortar joints that rollers can’t reach.
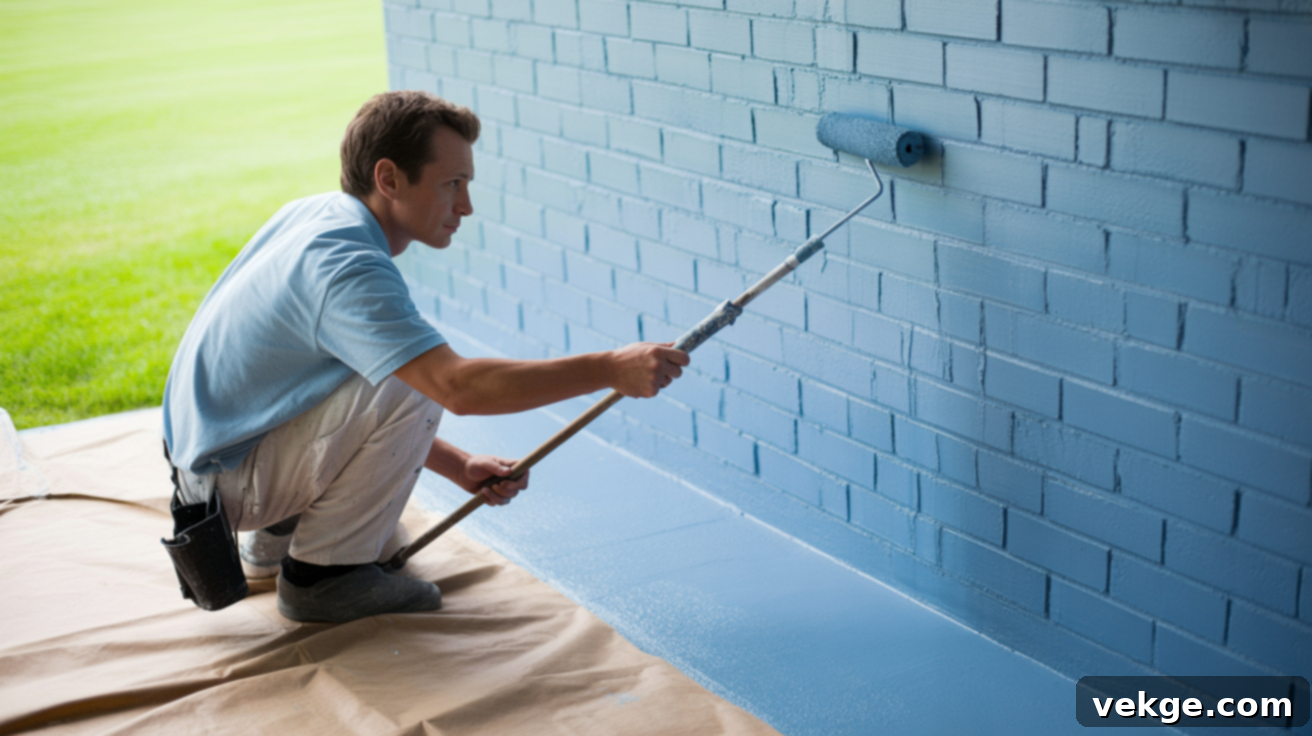
- Thick Nap Roller (¾ inch or more): Essential for rough, textured brick surfaces. The longer nap (pile) allows the roller to effectively carry more paint and push it into the uneven surface and mortar lines, ensuring even coverage and saturation.
- Paint Sprayer (Airless): For large brick surfaces, an airless paint sprayer can dramatically speed up the job and deliver a remarkably smooth, even, and consistent finish. Ensure you have the appropriate tip size for masonry paint (typically larger openings).
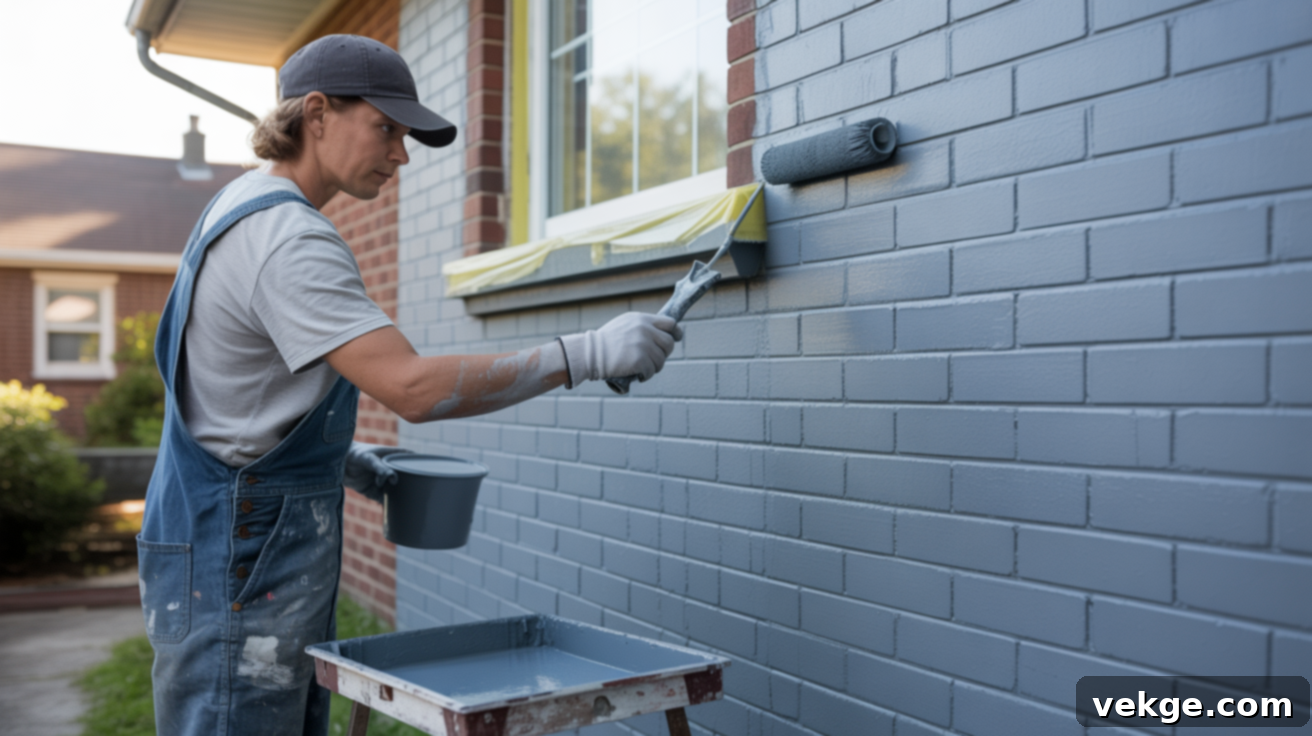
- Painter’s Tape (Blue or Green Masking Tape): Indispensable for protecting adjacent surfaces like windows, doors, trim, light fixtures, and any other areas you don’t want painted. Apply it meticulously for crisp, clean lines.
- Drop Cloths or Plastic Sheeting: Absolute necessities for shielding the ground, landscaping, pathways, and nearby structures from paint splatters, drips, and overspray. Heavy-duty plastic or canvas drop cloths are recommended.
- Paint Tray and Liners: Makes loading your roller easy and facilitates switching between primer and paint without having to clean the tray each time. Liners save significant cleanup time.
- Extension Pole: Attaches to your roller or sprayer to help you reach higher areas of your exterior safely and efficiently, reducing the need for constant ladder repositioning and improving overall ergonomics.
- Protective Gear: Always wear safety glasses to protect your eyes from splashes, gloves to keep your hands clean, and a respirator mask (especially when using a sprayer) to protect your lungs from paint fumes and atomized particles.
- 5-Gallon Buckets and Stir Sticks: For mixing paint thoroughly and pouring into trays or sprayer reservoirs.
- Wire Brush and Scraper: Useful for any remaining loose debris or paint chips missed during initial cleaning.
- Ladder or Scaffolding: Depending on the height of your home, safe access to all areas is paramount.
Step-by-Step Painting Instructions for Your Brick Exterior
Once your brick is thoroughly cleaned, all repairs are completed, and the surface is completely dry, you’re ready to begin the exciting process of painting. Following each step meticulously is crucial for achieving a long-lasting, professional-grade finish. Rushing or cutting corners can lead to streaks, premature peeling, or an uneven, unsatisfactory color. By employing the correct techniques, using the right tools, and respecting drying times, you will successfully transform your brick exterior with a strong, smooth finish that stands the test of time.
Step 1: Prime the Brick Surface

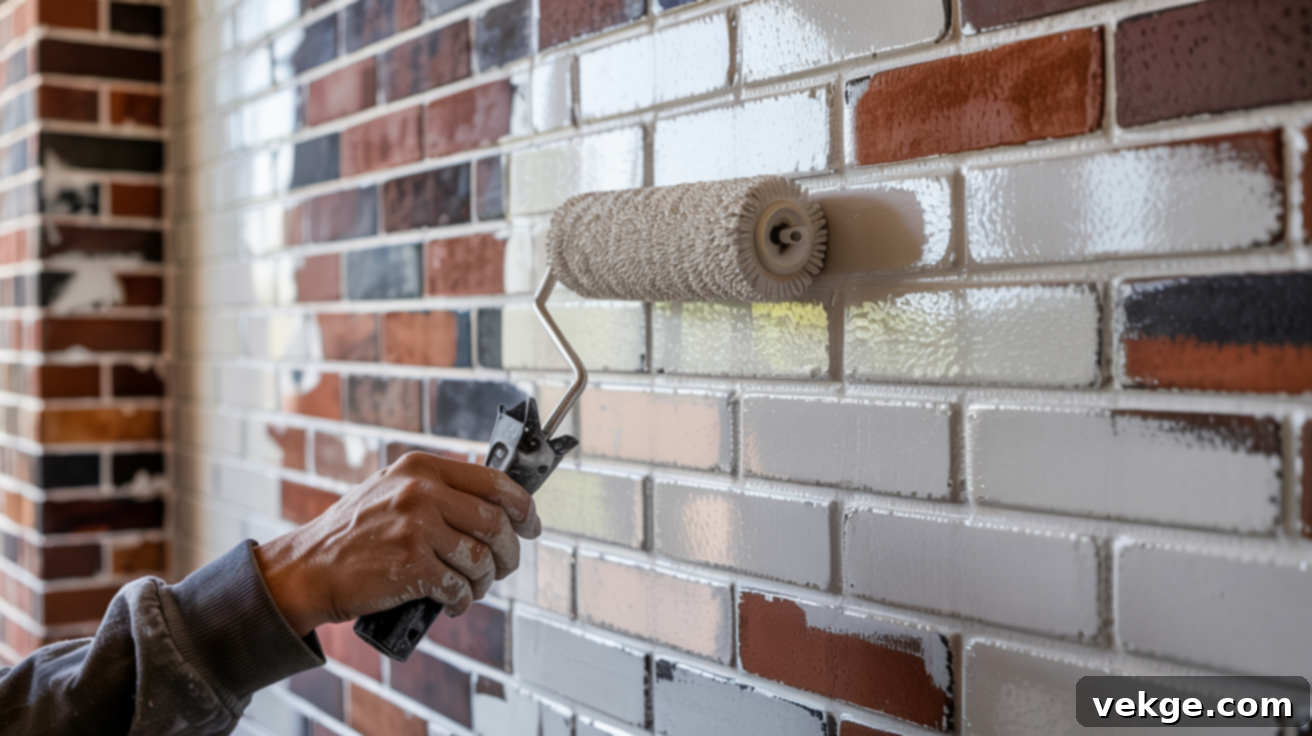
Begin by applying your chosen masonry primer. For the most effective coverage and adhesion, start by “cutting in” with an angled brush around windows, doors, and edges, pushing the primer into the mortar lines. Then, use a thick nap roller or paint sprayer for the larger, flat brick areas. Apply a thin, even coat, ensuring you work the primer well into all the porous brick and any remaining rough spots. If you’re using a sprayer, maintain slow, steady passes with a consistent overlap to prevent drips and ensure uniform coverage. Avoid over-applying, as thick primer coats can hinder breathability.
Allow the primer to dry fully according to the manufacturer’s recommendations, which typically requires a minimum of 24 hours. Do not be tempted to rush this crucial step. A fully cured primer coat is what allows the subsequent paint layers to bond optimally, resulting in a stronger, more durable, and longer-lasting finish. Inspect the primed surface for any missed spots or unevenness; touch them up as needed before proceeding to the next stage.
Step 2: Apply the First Coat of Paint

With your primer completely dry, it’s time for the first coat of your chosen exterior masonry paint. As with the primer, start by using your angled brush to carefully “cut in” along all edges, corners, and challenging areas, ensuring the paint deeply penetrates the mortar joints. Once the edges are defined, switch to your thick nap roller or paint sprayer for the expansive brick surfaces.
Apply the paint in manageable sections, typically working from top to bottom to effectively manage any potential drips or runs. Overlap each pass slightly (about 50%) to ensure seamless coverage and prevent visible lap lines or missed areas. When using a roller, maintain long, steady, and even strokes. For particularly deep mortar joints or tight spaces that the roller can’t adequately reach, revert to your brush for precision. Allow this first coat to dry completely, typically 4 to 6 hours, depending on humidity and temperature. This initial layer is vital for building the base color and establishing a solid, even foundation for the subsequent coats.
Step 3: Apply the Second Coat of Paint

Once the first coat is fully dry to the touch (generally within 4 to 6 hours, but always check product instructions), it’s time for the second, and often final, coat of paint. To minimize visible lap lines and ensure a uniform appearance, consider starting in a new, unpainted section or alternating your application direction slightly. Maintain a “wet edge” as you paint, meaning you work back into the previously applied, still-wet paint section. This technique helps blend strokes seamlessly and prevents harsh lines.
Use the same tools and application techniques as you did for the first coat, maintaining consistency in your motion and coverage. This second coat is crucial for locking in the chosen color, providing full opacity, and adding an extra layer of protection and durability. After applying the second coat, allow it to dry for at least 24 hours before touching, leaning objects against, or washing the surface. Before cleaning up your tools, thoroughly inspect the entire painted exterior for any streaks, thin spots, or areas that might require a small touch-up or even a third coat, especially if you’re making a dramatic color change or if the brick was exceptionally porous. Proper curing takes several days to weeks, so be gentle with the surface during this period.
Why Painting Brick Might Be a Good Idea for Your Home
Painting your brick exterior offers a transformative solution that can refresh your home’s appearance without the need for extensive, costly remodeling. It’s a remarkably effective and relatively swift method to cover existing flaws, modernize your home’s aesthetic, and align it perfectly with your personal style. The benefits extend beyond mere cosmetics, often contributing to enhanced property value and appeal.
- Instant Aesthetic Refresh: Paint quickly and dramatically updates the entire look of your home. It effortlessly covers old marks, unsightly stains, and uneven tones, bestowing your walls with a clean, consistent, and contemporary finish that can look brand new.
- Significant Improvement in Curb Appeal: A freshly painted brick exterior instantly elevates your home’s visual appeal. It can make an older, dated home feel modern, clean, and inviting, significantly boosting its attractiveness to visitors and potential buyers alike.
- Brightens and Lightens Dark Surfaces: If your existing brick is heavy, dark, or has a somber hue, applying a lighter-colored paint can immediately make your home feel more open, brighter, and considerably more inviting. This is particularly effective in shaded areas or for homes with naturally dark facades.
- Versatile Design Integration: Painted brick offers incredible versatility, blending harmoniously with a vast array of architectural and interior design styles. Whether your preference is traditional, farmhouse, modern, or industrial, painted brick serves as an ideal canvas.
- Creates a Uniform and Cohesive Look: For homes with patched brick, mismatched brick tones, or extensively weathered areas, paint provides an unparalleled ability to unify the entire facade, making everything appear consistent and intentionally designed.
- Easy Personalization and Customization: Painting allows you to select a color that truly reflects your taste and personality. You can choose a bold statement color, a subtle neutral, or a classic hue that distinguishes your home within the neighborhood, making it uniquely yours.
Drawbacks and Considerations of Painting Your Brick Exterior
While painting brick offers many advantages, it’s essential to acknowledge the trade-offs involved. This decision comes with long-term maintenance commitments and the understanding that the alteration is, for all practical purposes, permanent. Being aware of these potential drawbacks will help you make a fully informed choice.
- Impedes Natural Moisture Flow (Breathability): Brick is inherently porous and needs to “breathe” to properly manage moisture. If an unsuitable, non-breathable paint is used, it can trap moisture within the brick, leading to serious issues such as bubbling, peeling, efflorescence, mold growth, and in severe cases, spalling (where the brick surface flakes off due to trapped moisture freezing and expanding).
- Requires Ongoing Maintenance: Unlike unpainted brick which is relatively low maintenance, painted brick demands regular cleaning and periodic touch-ups or even full repainting to maintain its fresh appearance. Dirt, mildew, and natural weathering will become more noticeable on a painted surface.
- Loss of Natural Character and Texture: Once painted, the unique, natural texture, subtle color variations, and inherent charm of unpainted brick are permanently obscured. The original, rustic aesthetic is replaced by a uniform, painted finish, which may not appeal to all tastes or architectural styles.
- Not Ideal for Harsh Climates: In regions experiencing extreme weather, such as intense sun exposure, heavy rainfall, or frequent freeze-thaw cycles, paint on brick can degrade faster. This accelerated wear can necessitate more frequent repainting and touch-ups, increasing long-term costs and effort.
- Repainting is Required Periodically: A painted brick exterior will typically need a fresh coat of paint every 5 to 15 years, depending on the paint quality, climate, and initial preparation. This recurring expense and labor commitment should be factored into your long-term home maintenance plan.
- Irreversibility of the Change: Perhaps the most significant drawback is the permanent nature of the change. Once brick is painted, reverting to its original unpainted state is incredibly difficult, often impossible without significant damage to the brick, and prohibitively expensive. This decision should be made with long-term commitment in mind.
Aftercare and Maintenance for Your Painted Brick Exterior
Painting your brick exterior isn’t a “set it and forget it” project. To ensure your newly transformed home maintains its beautiful appearance and durability through every season, a thoughtful approach to aftercare and ongoing maintenance is essential. A little proactive upkeep can significantly extend the life of your paint job and prevent minor issues from escalating into costly repairs.
- Regular Upkeep is Key to Longevity: Painted brick, like any exterior painted surface, requires routine cleaning and diligent inspection. This consistent attention ensures it remains in optimal condition, fends off grime, and helps you catch potential problems early.
- Weather and Sun Impact Durability: Environmental factors play a major role in how well your paint lasts. Constant exposure to moisture, prolonged direct sunlight (which causes UV degradation), and fluctuating temperature changes (freeze-thaw cycles) can all contribute to the wear and tear on your paint.
- Clean Gently and Routinely: To remove accumulated dirt, dust, mold, or mildew, opt for a gentle cleaning approach. Use a mild, non-abrasive soap (like dish soap or an exterior house wash) mixed with water. Apply it with a soft-bristled brush or a low-pressure garden hose. Avoid high-pressure washing, which can damage the paint film or force water into the brick. Rinse thoroughly.
- Watch for Early Signs of Wear: Regularly inspect your painted brick for any initial indicators of wear. Look for subtle signs like fading, chalky residue (paint pigment breaking down), hairline cracks, or small areas of peeling or blistering. Early detection allows for timely touch-ups before these issues become more extensive and difficult to address.
- Inspect Annually for Comprehensive Assessment: Make it a habit to perform a comprehensive inspection of your entire painted brick exterior at least once a year. Pay close attention to areas that receive the most sun, rain, or are prone to moisture accumulation. This annual check-up is your best defense against major paint failures and ensures minor issues are resolved before they compromise the entire finish.
By integrating regular checks and gentle cleaning into your home maintenance routine, you can effectively catch small issues on your painted brick exterior before they develop into significant, expensive repairs. This proactive approach will help your home maintain its refreshed and vibrant look for many years.
Conclusion: Enjoying Your Transformed Brick Exterior
Painting your brick exterior is a powerful way to bestow your home with a clean, modern, and updated look, offering a significant boost to its curb appeal. However, as this guide has detailed, it is a project that demands careful planning, meticulous preparation, and ongoing care to ensure a lasting and beautiful result. You are now equipped with a comprehensive understanding of how to properly prepare your surface, select the ideal products, apply them with precision, and maintain your newly painted brick for years to come.
By diligently following these steps—from thorough cleaning and essential repairs to choosing breathable paints and executing a careful application—you’ll achieve a finish that not only looks stunning but also stands up resiliently to the elements. Remember to always consider the weather conditions, prioritize the use of high-quality, breathable masonry paint, and commit to a routine maintenance schedule. These key factors are paramount to avoiding common problems and ensuring your investment truly pays off.
Ready to tackle more home improvement projects with confidence? Explore our other detailed home guides for additional helpful tips and expert advice, designed to make all your home transformation endeavors smooth, successful, and stress-free.
