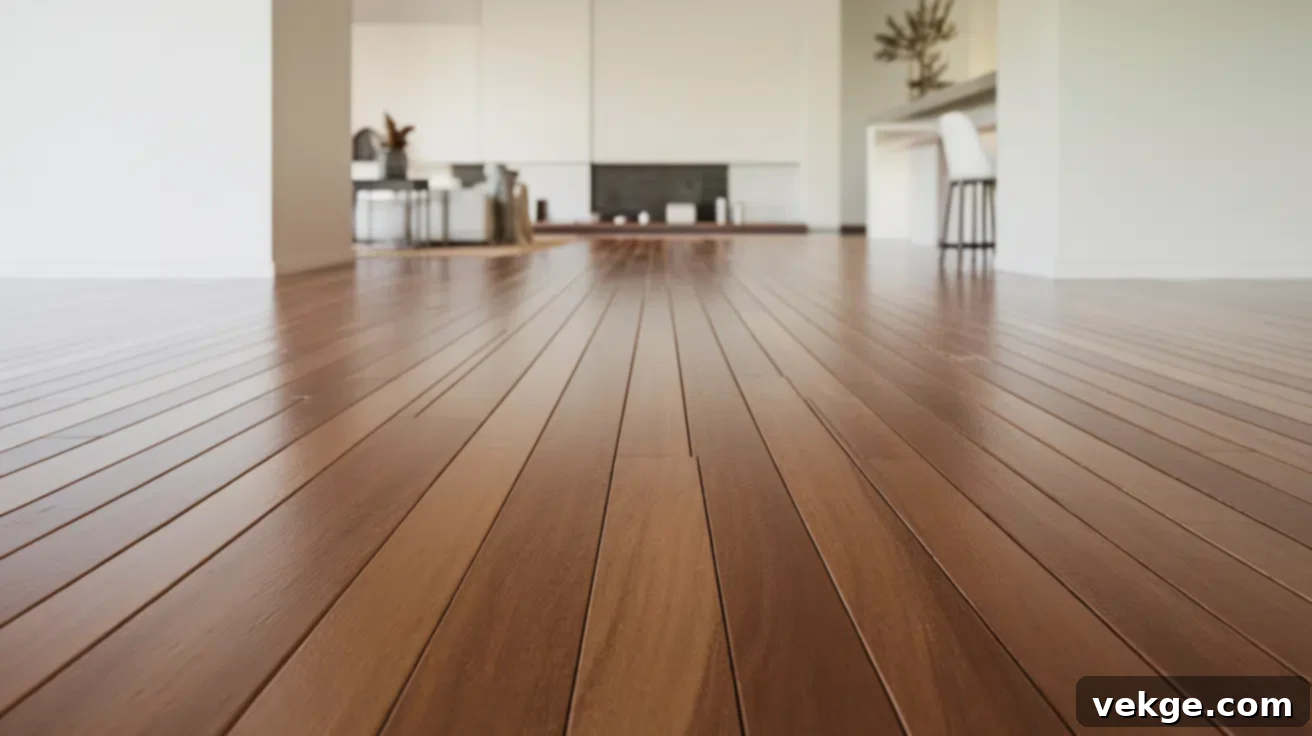
Refinishing Engineered Hardwood Floors: A Comprehensive DIY Guide & Expert Tips
Are your engineered hardwood floors starting to lose their luster? Do they show signs of wear, scratches, or dullness that detract from your home’s beauty? If you’re wondering whether engineered hardwood can be brought back to life, you’ve landed in the perfect spot. This comprehensive guide will walk you through everything you need to know about refinishing engineered hardwood floors, transforming them from tired to truly magnificent.
We’ll delve into how to assess your floors to determine if they’re suitable candidates for refinishing, provide a detailed, step-by-step DIY guide for those eager to tackle the project themselves, and offer crucial advice on when it’s best to call in a professional. Additionally, you’ll gain valuable insights into maintaining your newly refinished floors, ensuring their renewed beauty lasts for many years to come.
By the end of this article, you’ll be equipped with the knowledge and confidence to make informed decisions about your floors, whether you opt for a DIY approach or seek professional assistance. Let’s embark on this journey to revive your engineered hardwood and restore its natural elegance.
Understanding Engineered Hardwood Flooring
Engineered hardwood has surged in popularity as a top-tier flooring choice, and for good reason. Its innovative construction offers a balance of natural beauty and enhanced durability that makes it incredibly versatile. To truly appreciate its benefits, think of engineered hardwood as a meticulously crafted layered cake, where each distinct layer serves a crucial purpose in the floor’s overall integrity and performance.
At the very top, you’ll find the star of the show: a genuine hardwood veneer. This is the layer that provides the authentic, natural appearance we all adore, showcasing unique grain patterns, textures, and rich wood tones. Beneath this beautiful surface, multiple layers of high-quality plywood or high-density fiberboard (HDF) are cross-laminated. This clever, multi-ply construction is the secret to engineered hardwood’s superior stability and resistance to environmental fluctuations. Unlike solid hardwood, which can be prone to expanding and contracting with changes in humidity and temperature, engineered hardwood remains remarkably stable, making it an excellent choice for areas like kitchens, basements, or even bathrooms where moisture levels might fluctuate.
This layered design not only enhances stability but also makes engineered hardwood a more sustainable option, as it uses less precious hardwood compared to solid planks. Its versatility, combined with its aesthetic appeal and robust construction, solidifies its position as a preferred flooring material for modern homes.
Engineered Hardwood vs. Solid Hardwood: Unpacking the Core Differences
When choosing hardwood flooring, understanding the distinction between engineered and solid options is crucial, especially when considering refinishing. Both offer the timeless beauty of wood, but their construction leads to significant differences in performance, installation, and maintenance.
Solid hardwood floors, crafted from a single, thick piece of timber, are renowned for their exceptional longevity. With proper care, these floors can last for a century or more, becoming a legacy feature of any home. Their inherent natural beauty, characterized by unique grain patterns and variations, only deepens with age. However, solid hardwood is more susceptible to moisture and temperature changes, which can lead to expansion, contraction, gapping, or even cupping if not properly controlled. This makes them less suitable for below-grade installations like basements or in high-humidity environments.
Engineered hardwood floors, on the other hand, offer superior dimensional stability due to their cross-layered core. This makes them an ideal choice for a wider range of environments, including basements and humid climates where solid hardwood might struggle. While providing the same beautiful aesthetic as solid hardwood with its real wood veneer, engineered options are often more affordable and generally easier to install, offering greater flexibility in installation methods (e.g., floating, glue-down, staple-down). The key difference, particularly for refinishing, lies in the thickness of their top wood layer.
The table below highlights these vital distinctions:
|
Feature |
Engineered Hardwood |
Solid Hardwood |
|
Construction |
Multiple cross-laminated layers, featuring a genuine hardwood veneer on top and underlying plywood or fiberboard for stability. |
Composed of a single, solid piece of wood from top to bottom. |
|
Durability & Stability |
Highly stable and resistant to moisture and temperature fluctuations, making it suitable for diverse environments. |
Less stable; prone to expanding and contracting significantly with changes in humidity and temperature. |
|
Refinishing Potential |
Can be refinished, but the number of times depends critically on the thickness of its hardwood veneer layer (typically 1-3 times). |
Can be refinished many times throughout its exceptionally long lifespan, offering decades of renewed beauty. |
|
Installation Suitability |
Highly versatile; suitable for above-grade, on-grade, or below-grade installations, even in areas with fluctuating humidity. |
Best suited for above-grade installations in environments with relatively consistent humidity and temperature conditions. |
|
Cost |
Generally more affordable per square foot than solid hardwood, offering a premium look at a more accessible price point. |
Typically more expensive due to the higher volume of raw wood material and complex milling processes. |
The crucial takeaway for refinishing is that while solid hardwood can be sanded down multiple times, engineered hardwood’s refinishing potential is limited by the thickness of its veneer. This makes careful assessment a vital first step in any refinishing project.
Your DIY Guide to Refinishing Engineered Hardwood Floors
Refinishing your engineered hardwood floors can seem like a daunting task, but with the right preparation, tools, and a clear step-by-step approach, it’s a deeply satisfying project that can dramatically revitalize your home. This guide will help you bring those worn-out floors back to their former glory, adding warmth and value to your space.
Gather Your Tools and Supplies for Sanding and Finishing
Before you even think about starting, ensure you have every necessary item on hand. A well-prepared workspace and the right equipment are half the battle won. Here’s a comprehensive list of what you’ll need:
- Floor Sander: For larger areas, consider renting a drum sander or a large orbital floor sander. For less aggressive sanding or recoating, a buffer with a sanding screen is ideal. Ensure it has a good dust collection system.
- Edge Sander: A smaller, handheld sander for getting close to walls and in tight corners that the main floor sander cannot reach.
- Sandpaper: A range of grits will be needed:
- Medium-grit (e.g., 60-80 grit) for initial removal of old finish and imperfections.
- Fine-grit (e.g., 100-120 grit) for smoothing and preparing the surface for finish.
- Very fine-grit (e.g., 180-220 grit) for buffing between coats if you choose to.
- Vacuum Cleaner & Cleaning Supplies: A powerful shop-vac is essential, along with micro-fiber cloths and a wood-floor cleaner (if cleaning before recoating).
- Protective Gear: Safety is paramount. You’ll need gloves, safety goggles, and a high-quality dust mask or respirator (P100 is recommended). Ear protection is also wise when operating noisy sanders.
- Wood Filler: To fill any nail holes, minor cracks, or imperfections in the wood. Choose a color that matches your wood or stain.
- Floor Finish: Polyurethane (oil-based or water-based) is common. Other options include oil finishes, penetrating sealers, or lacquers. Choose based on durability, appearance, and drying time.
- Applicator for Finish: A lamb’s wool applicator, T-bar applicator, or quality synthetic brush/roller designed for floor finishes.
- Paint Stir Sticks: For thoroughly mixing your finish.
- Plastic Sheeting & Painter’s Tape: To contain dust and protect adjacent areas.
- Pry Bar & Small Hammer: For carefully removing shoe molding.
- Tack Cloths: Essential for picking up fine dust particles before applying stain or finish.
Step 1: Determine if Your Floors Need Refinishing or a Refresh
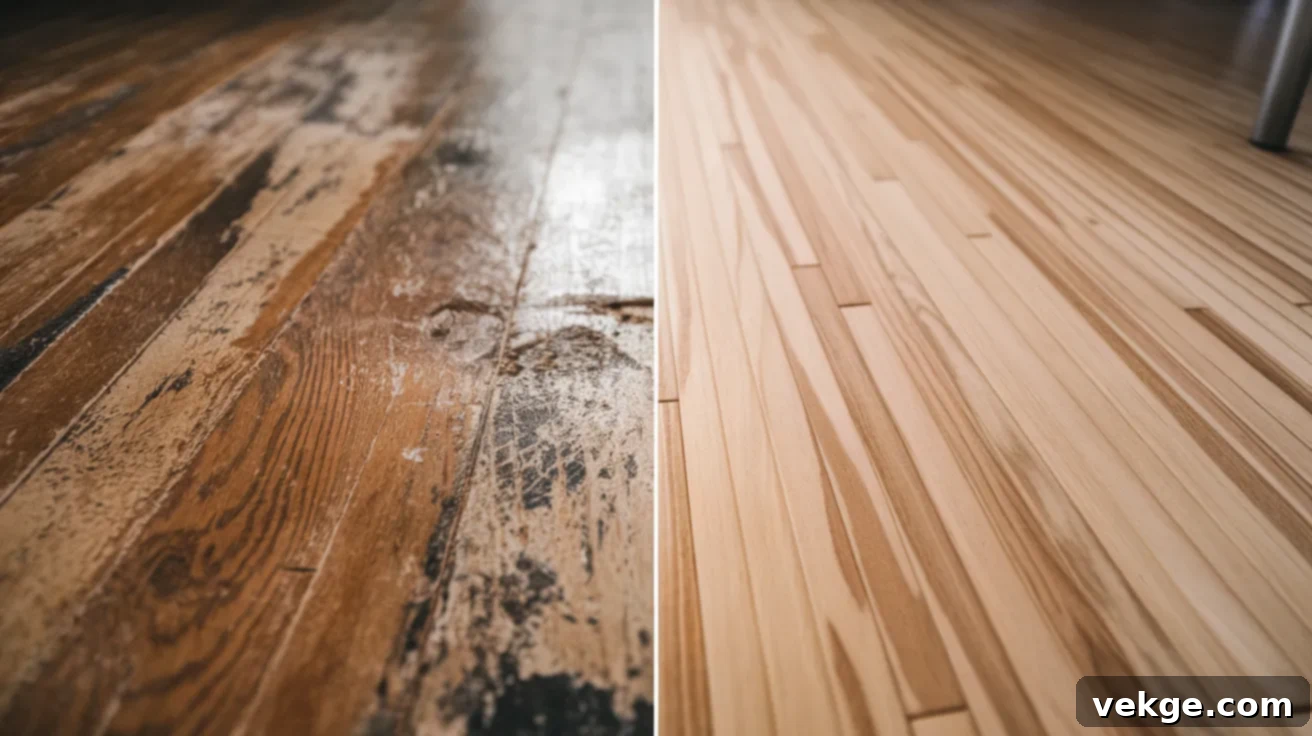
Before you begin sanding, carefully inspect your engineered hardwood floors. This is the most critical assessment. Look for deep scratches, gouges, or areas where the finish is completely worn through, revealing the raw wood or even the underlying core layers. If the veneer is significantly worn down and you can clearly see the layers beneath, a full refinishing (which involves sanding) is likely necessary. However, remember that the thickness of your veneer dictates how many times it can be sanded. You can often check this in an inconspicuous area, like a floor vent or by carefully removing a piece of molding, to see the cross-section of the plank.
Conversely, if your floor exhibits only minor surface wear, light scratches, or a dull finish without significant damage to the wood veneer itself, a simpler “refresh” or recoating might be sufficient. This involves a light buffing and application of a new topcoat, which is less invasive and extends the life of your existing finish.
Step 2: Gently Remove Shoe Molding
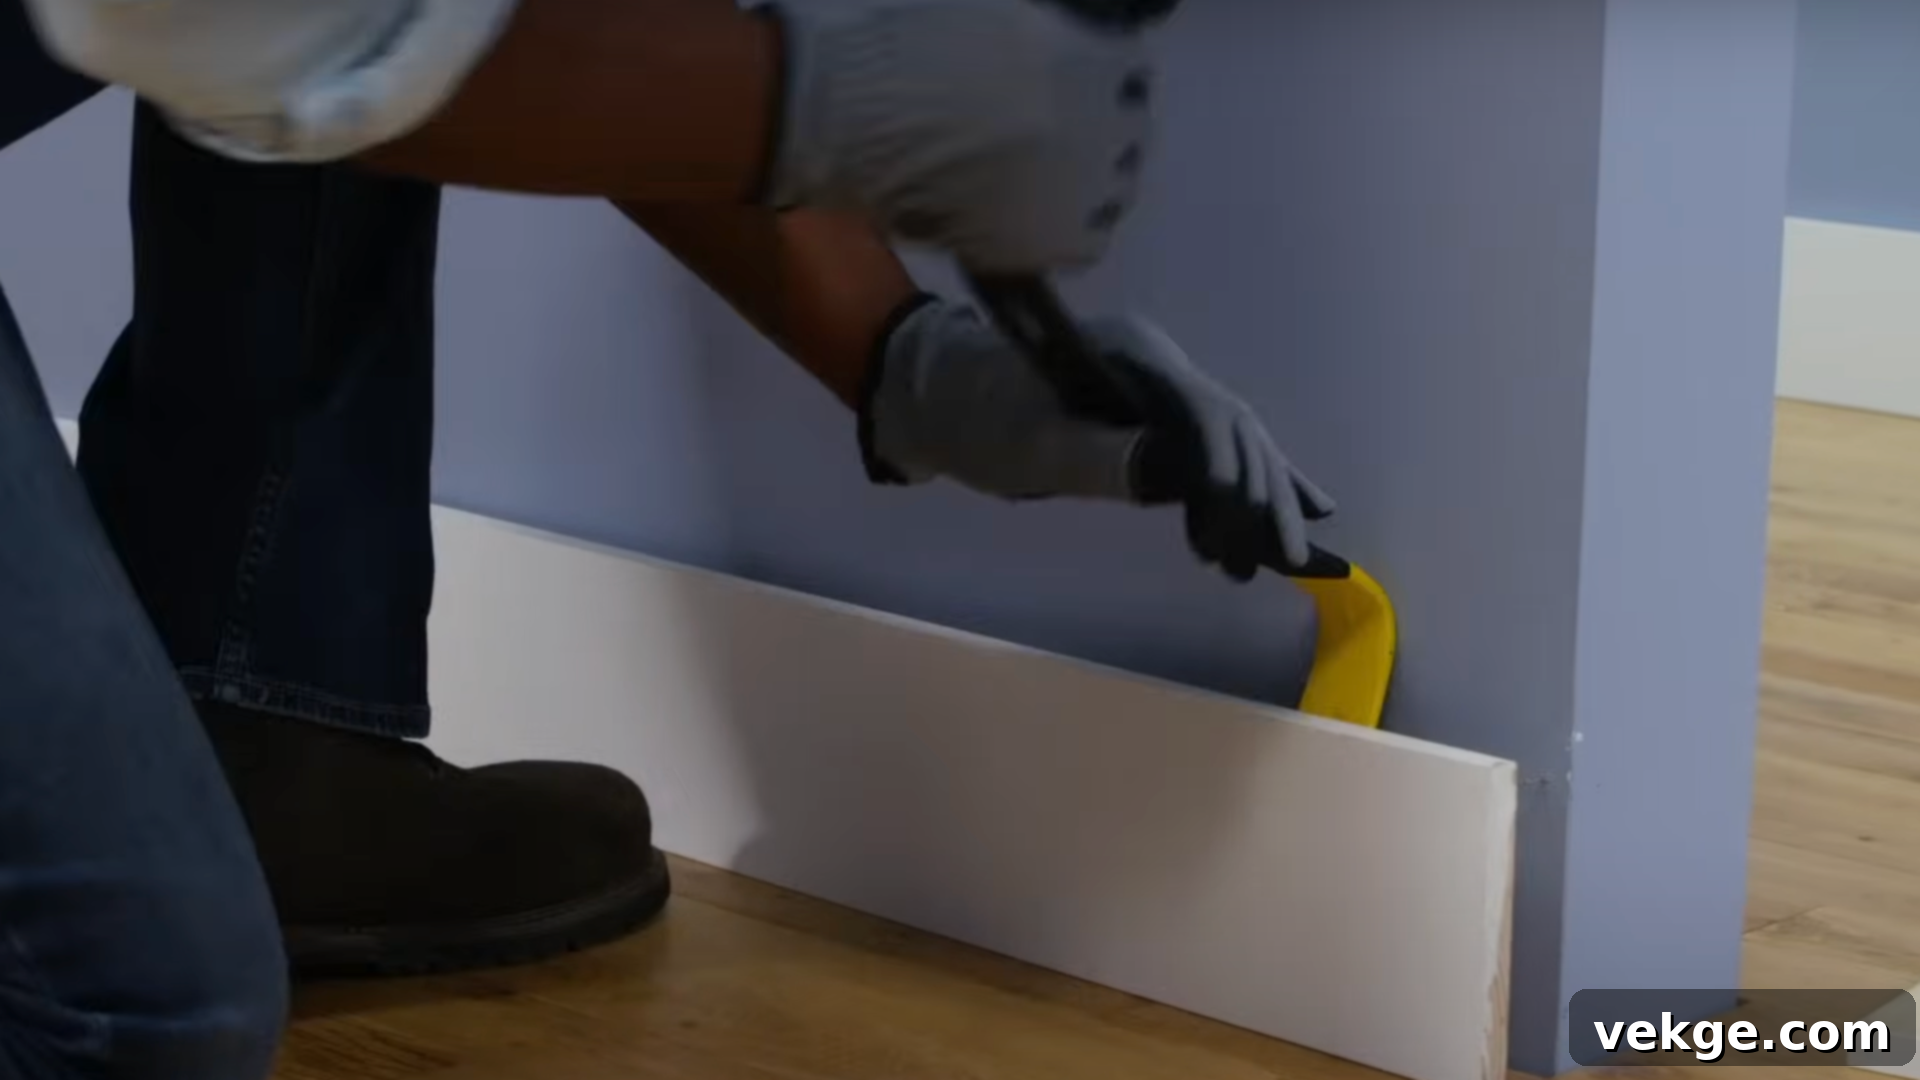
Using a thin pry bar or a small hammer and chisel, carefully remove the shoe molding (or quarter-round) from around the perimeter of the room. Work slowly and gently to avoid damaging the molding or the walls. If you plan to reuse the molding, number the pieces on the back as you remove them so you can reinstall them in their original positions. This step is essential as it allows your sander to reach the very edges of the floor, ensuring an even finish and preventing any accidental damage to your trim during the sanding process.
Step 3: Secure Loose Floorboards and Fill Imperfections

Walk across your floor, listening and feeling for any loose or squeaky boards. Secure these firmly to the subfloor using appropriate wood screws, driving them in at an angle to ensure a strong hold. Be sure to countersink the screw heads slightly below the surface. Next, meticulously fill any nail holes, minor cracks, or gaps with a high-quality wood filler. Choose a filler that is stainable if you plan to change the color of your floors, or one that closely matches your current wood if you’re only refreshing. Allow the wood filler to dry completely according to the manufacturer’s instructions, then lightly sand any excess to create a perfectly smooth, even surface. This meticulous preparation ensures a flawless foundation for the sanding and finishing steps.
Step 4: Contain the Dust and Prepare the Room
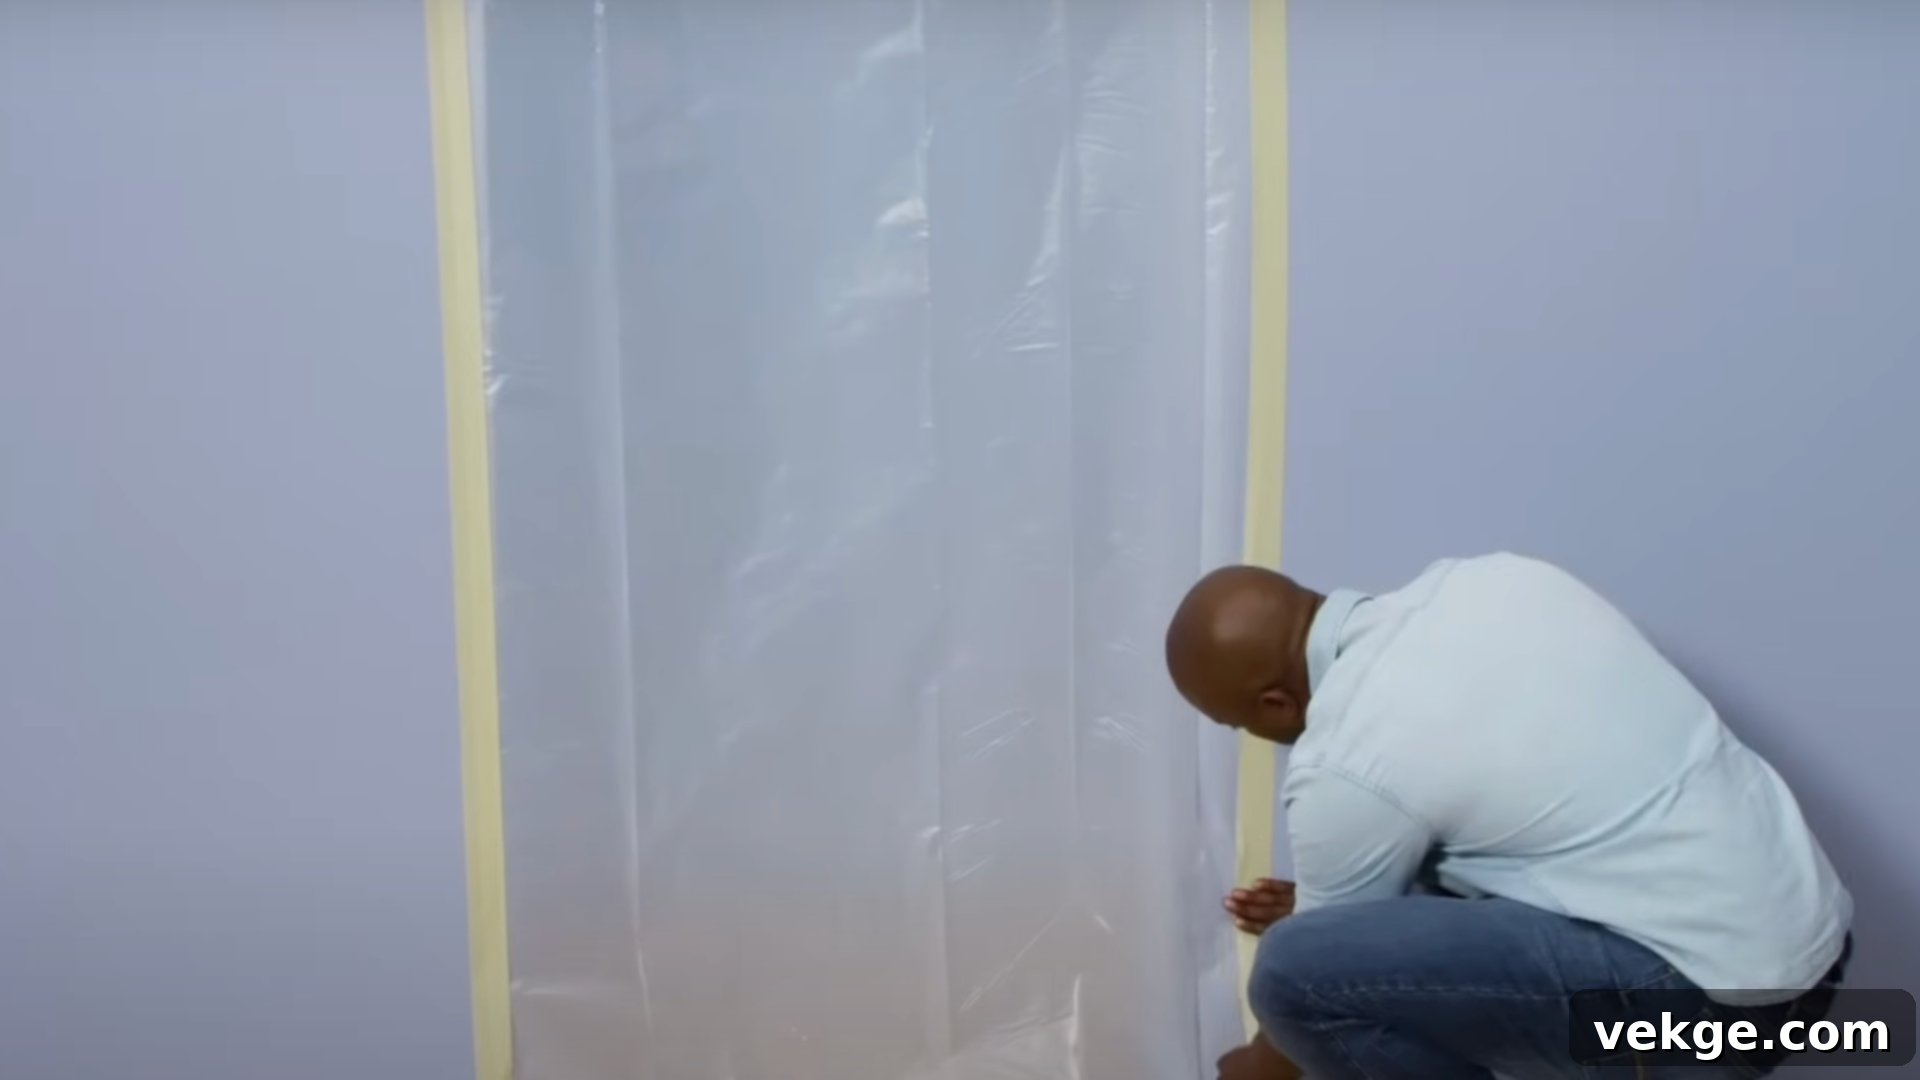
Sanding hardwood floors generates a significant amount of fine dust, which can quickly spread throughout your home. To minimize this mess, take preventative measures. Hang plastic sheeting over doorways and openings to other rooms, taping it securely to create dust barriers. Cover any built-in cabinets, vents, light fixtures, and furniture you couldn’t move out of the room. If your sander has a dust collection system, ensure it’s functioning properly and empty the bag frequently. Opening windows and using fans for ventilation can also help, but a robust dust containment strategy is key for a cleaner project.
Step 5: Begin with Rough Sanding
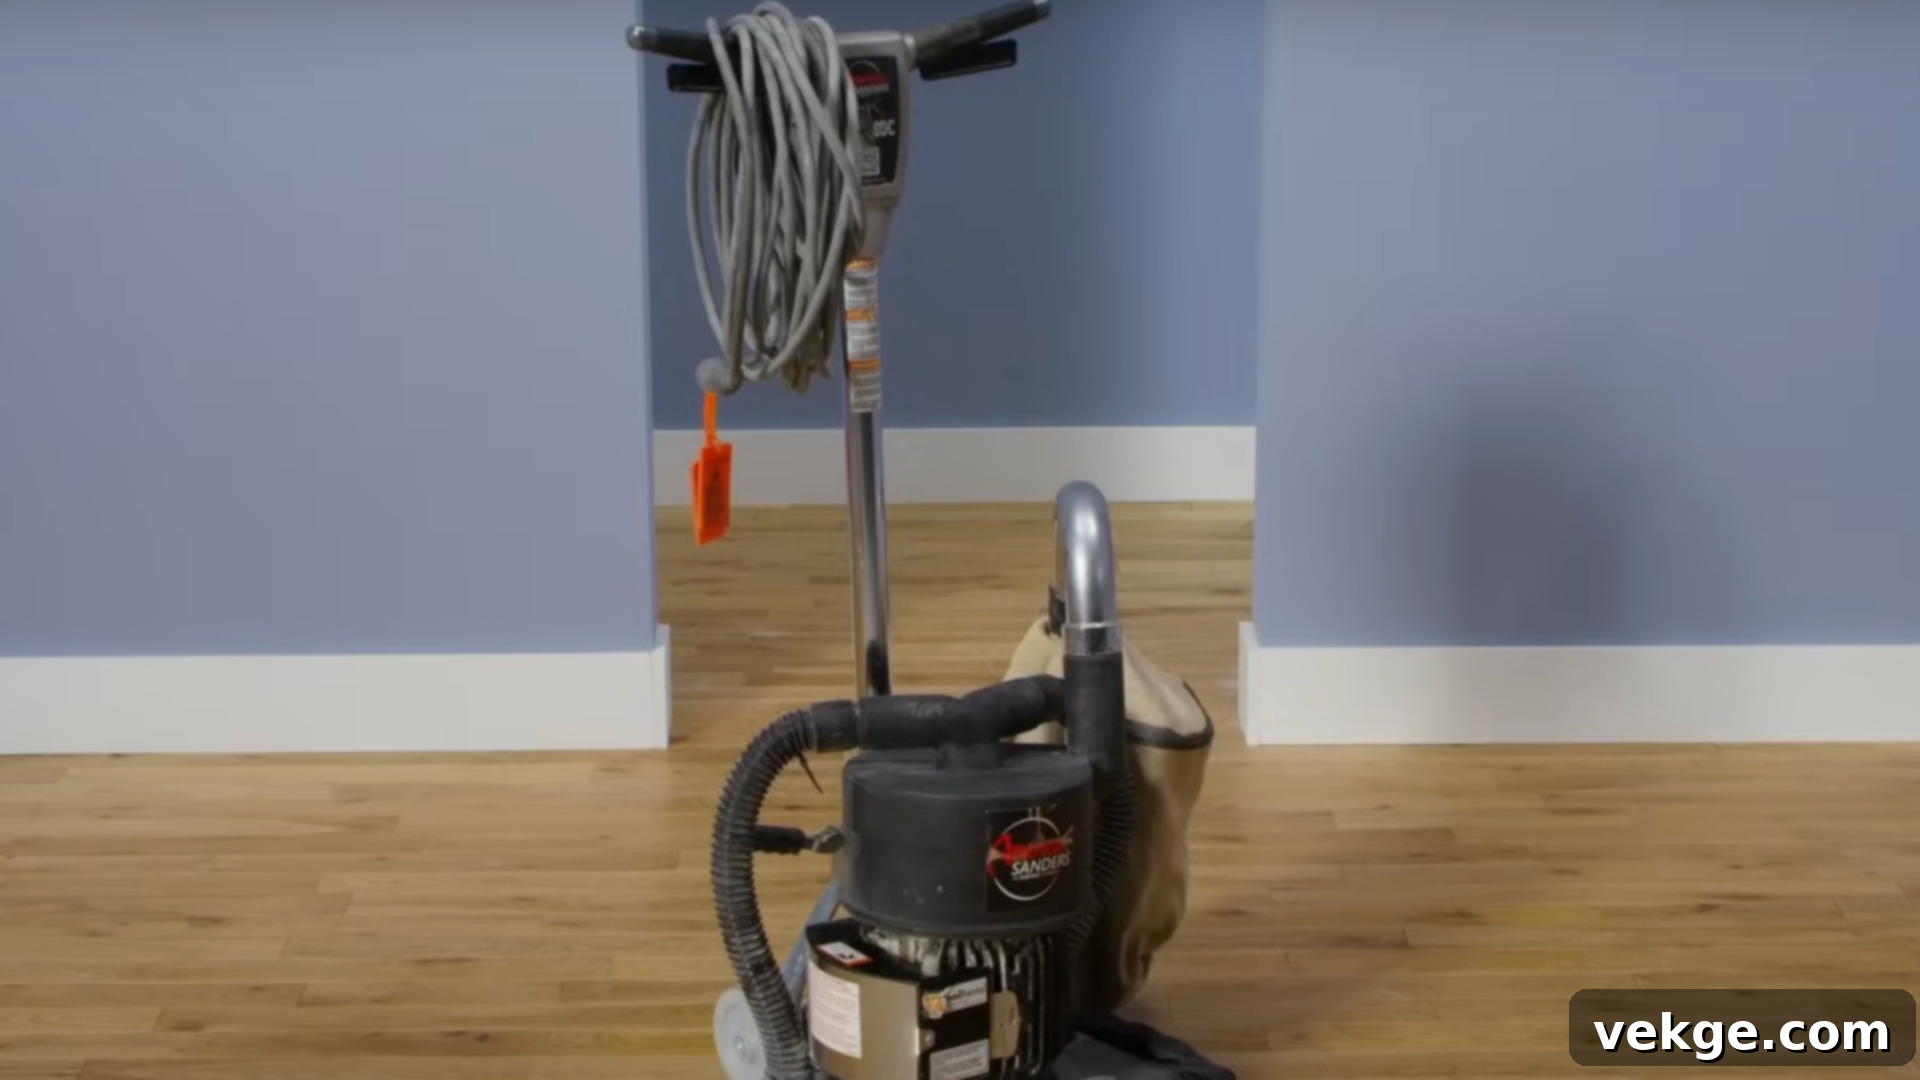
Don your protective gear (goggles, dust mask, ear protection) before starting. Load your floor sander with a medium-grit sandpaper (e.g., 60-80 grit). Begin sanding in one corner of the room, working your way methodically across the entire floor. Always sand in the direction of the wood grain to prevent unsightly cross-grain scratches. Keep the sander moving constantly to avoid creating divots or uneven spots. Your goal in this phase is to remove the old finish, deep scratches, and any surface imperfections, revealing the clean, raw wood veneer beneath. Be mindful of the veneer thickness, especially with engineered hardwood; avoid over-sanding.
Step 6: Thoroughly Sweep and Vacuum
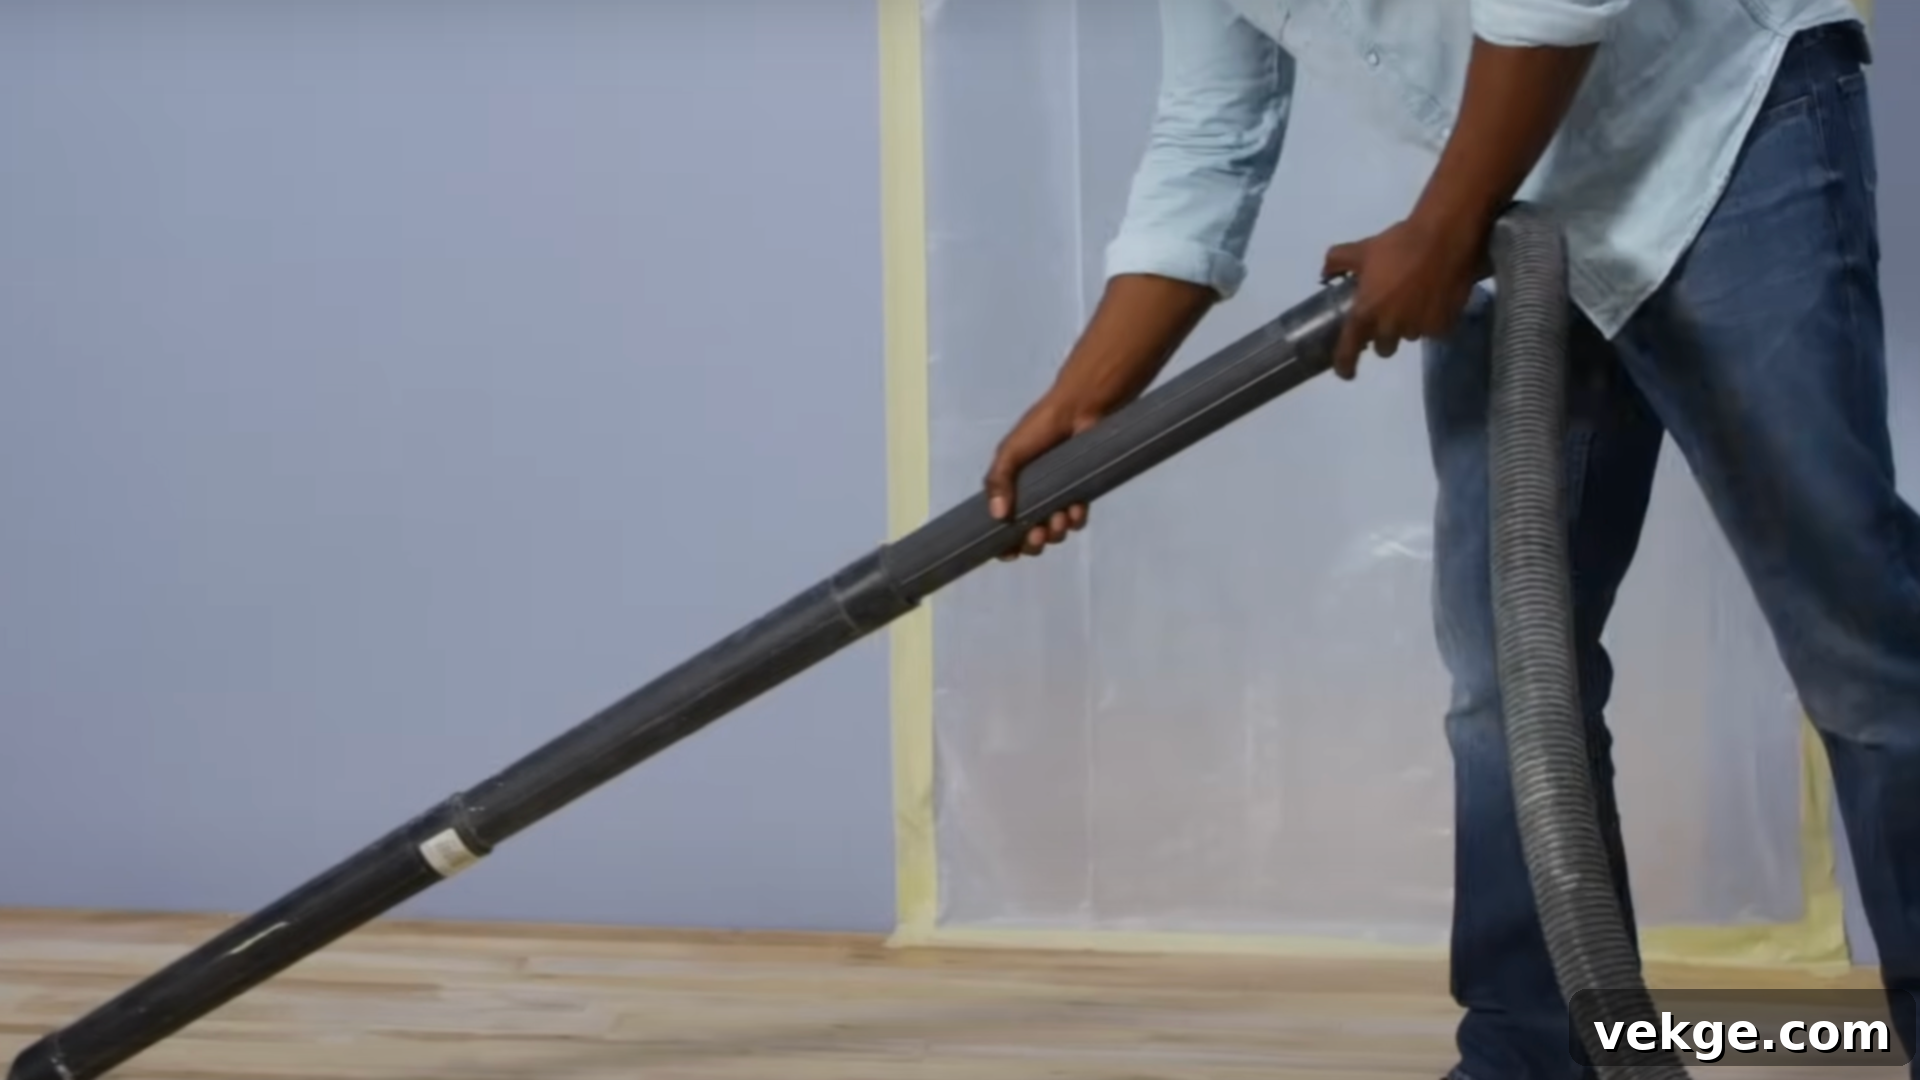
Once you’ve completed the initial rough sanding pass, it’s crucial to clean up all the dust and debris. Use a powerful shop-vac with a brush attachment to thoroughly vacuum the entire floor, paying close attention to corners, edges, and crevices. After vacuuming, sweep the floor with a soft-bristle broom. This step is not just about tidiness; any dust left on the floor will get trapped in the subsequent finish or stain, leading to a bumpy, unsightly result. A clean surface is paramount for a professional-looking finish.
Step 7: Proceed with Fine Sanding
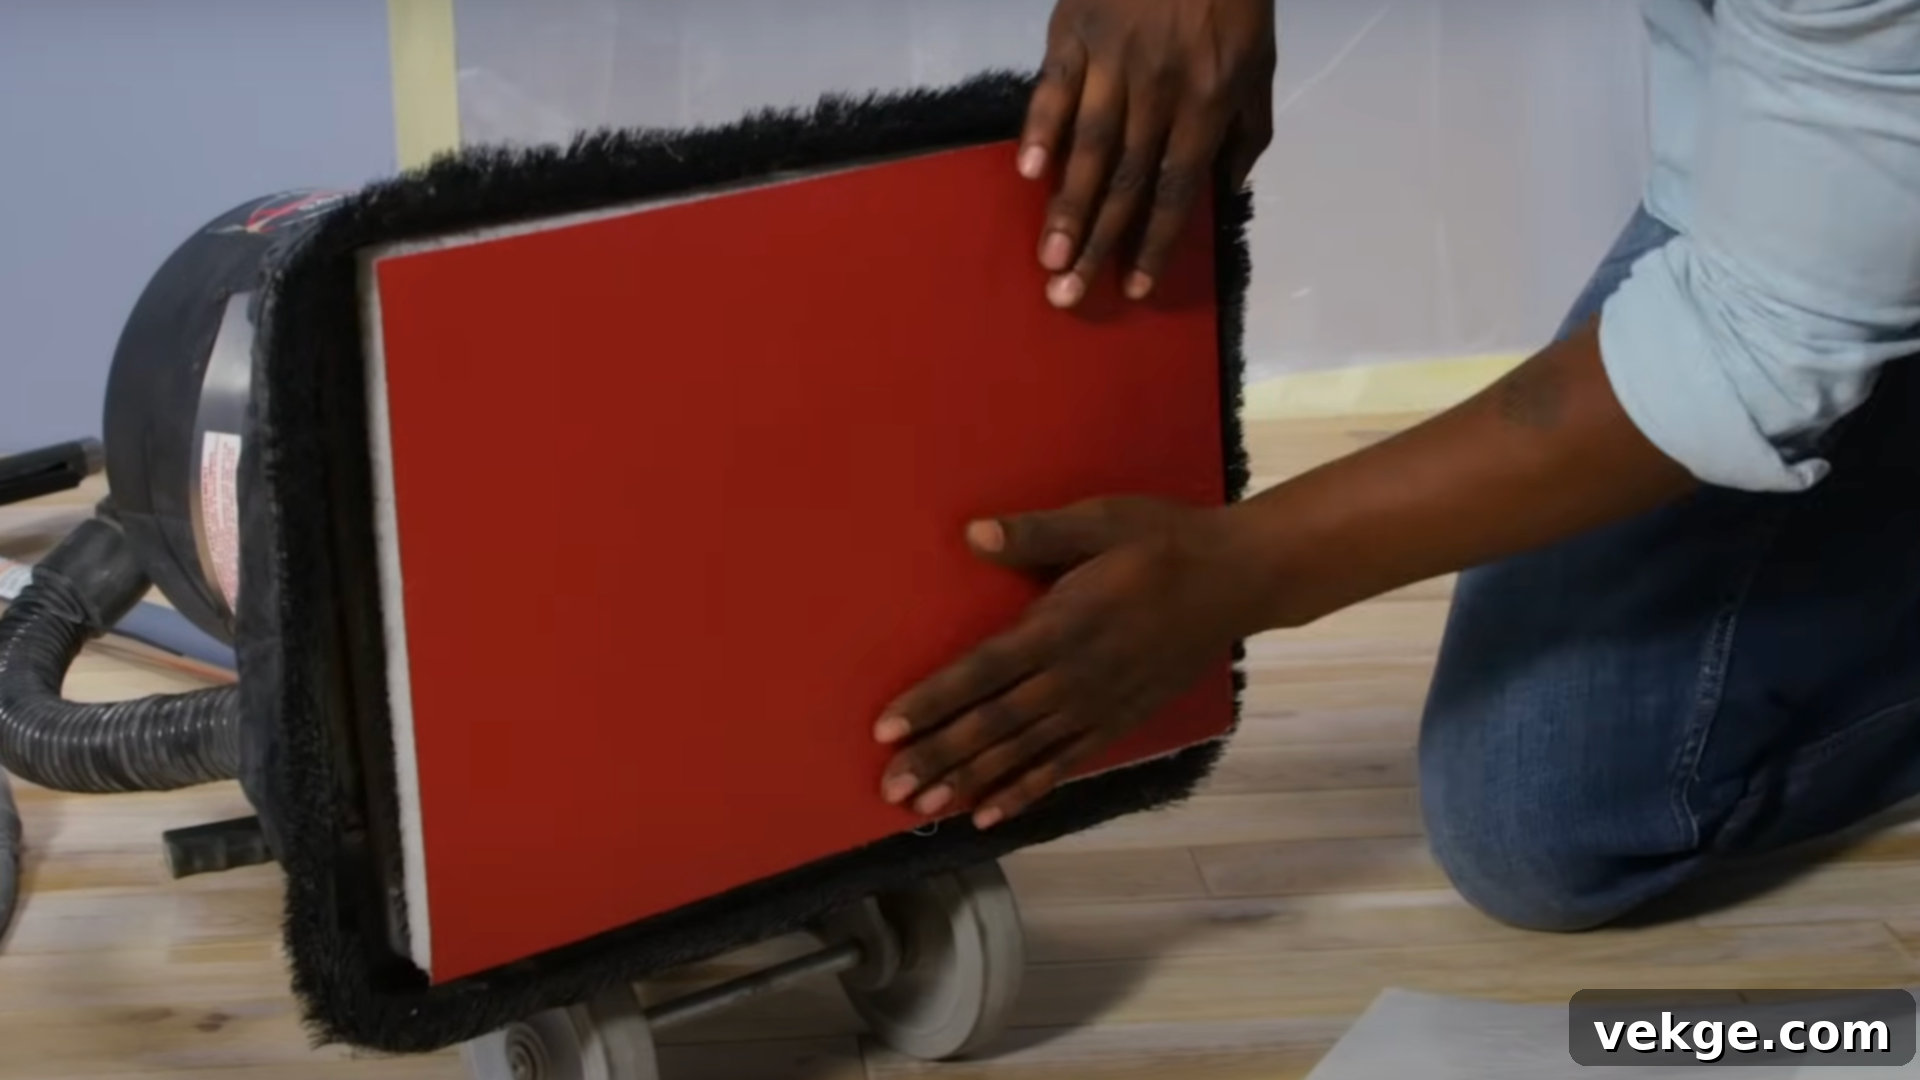
Replace the sandpaper on your floor sander with a finer grit (e.g., 100-120 grit). Repeat the sanding process, moving in the direction of the wood grain as before. This fine sanding pass will smooth out any remaining rough spots, eliminate sanding marks from the previous grit, and prepare the wood for staining or finishing. The goal is to achieve a silky-smooth surface that feels consistent to the touch. Once again, move deliberately and avoid stopping the sander in one spot.
Step 8: Hand Sand Edges and Corners
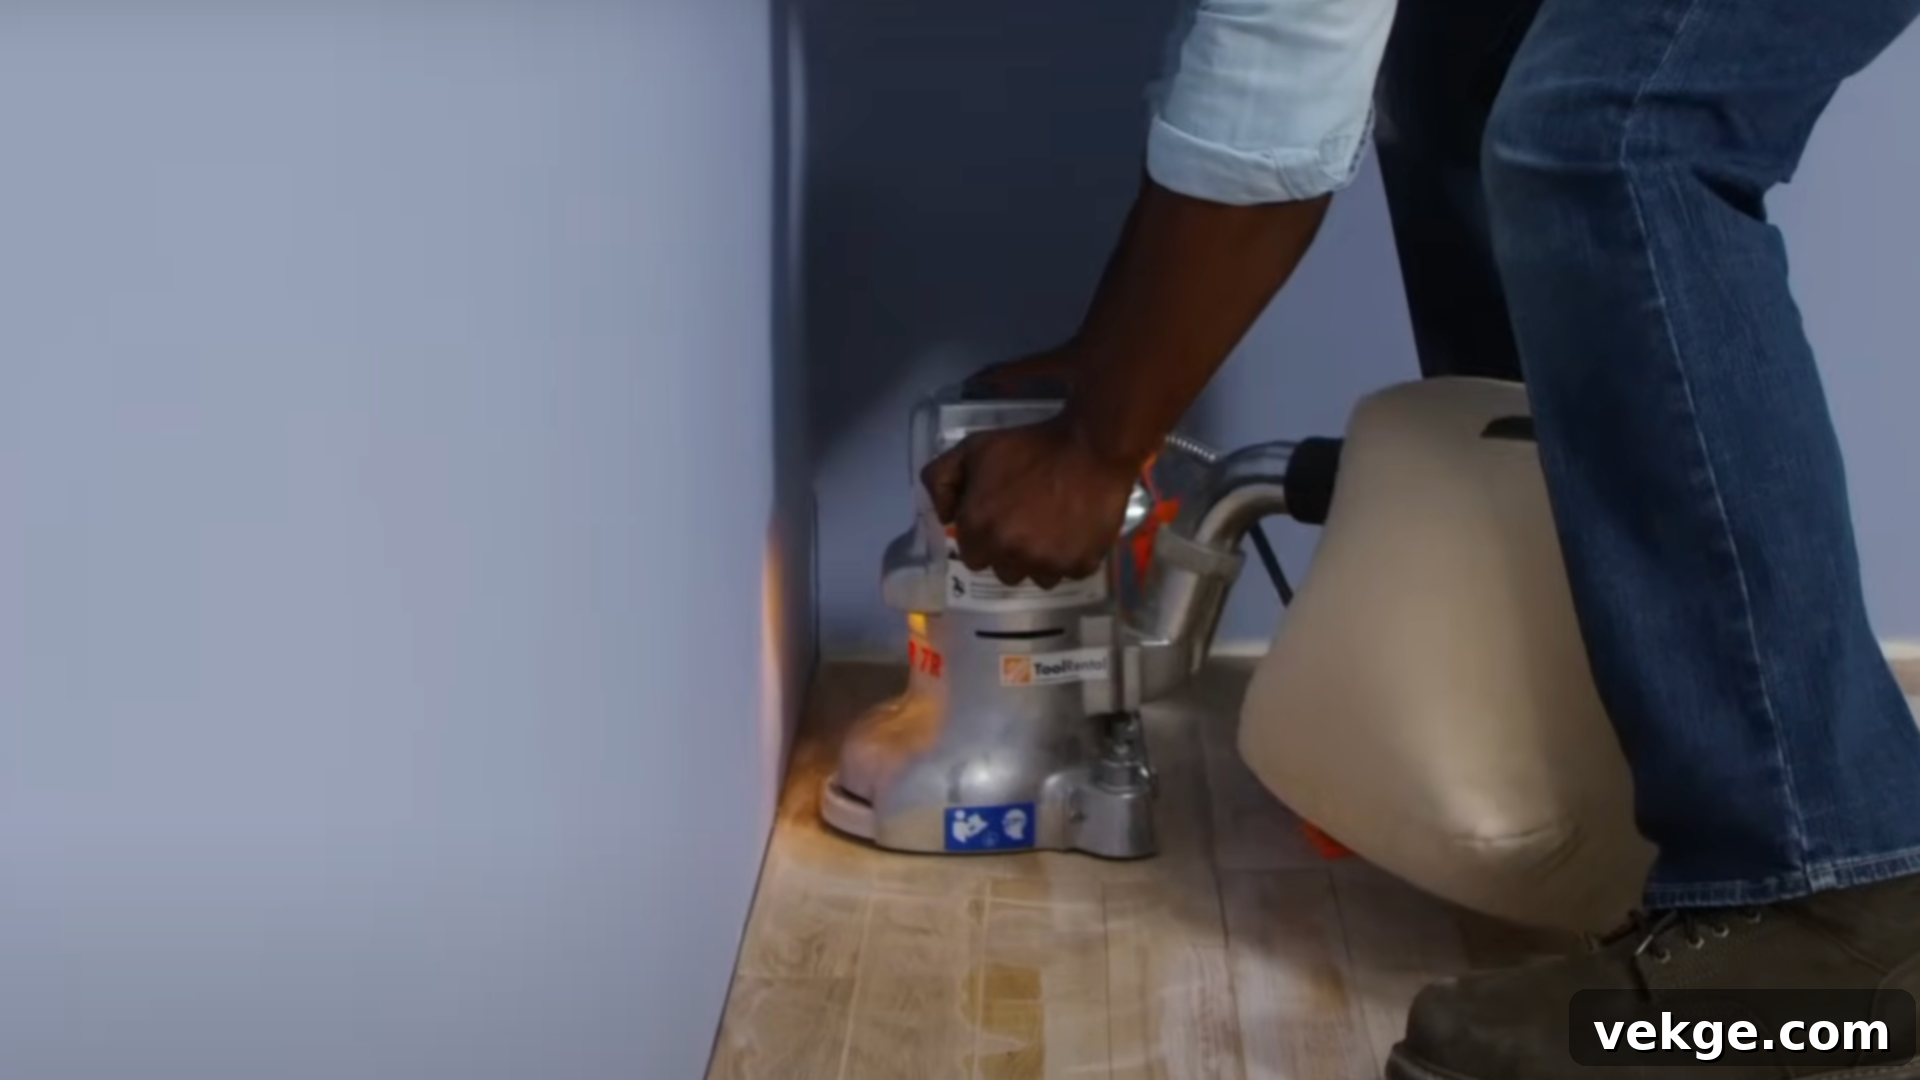
Your main floor sander won’t reach every inch of the room, leaving unsanded areas along the edges and in tight corners. This is where your edge sander and hand-sanding block come in. Using the same progression of grits (medium then fine), carefully sand these perimeter areas. For the absolute tightest spots, you may need to hand-sand with a sanding block. The objective here is to ensure that the entire floor, right up to the walls, is uniformly smooth and prepared for the next steps. Inconsistent sanding will be very noticeable once the finish is applied.
Step 9: Final Clean-Up and Stain Application (Optional)
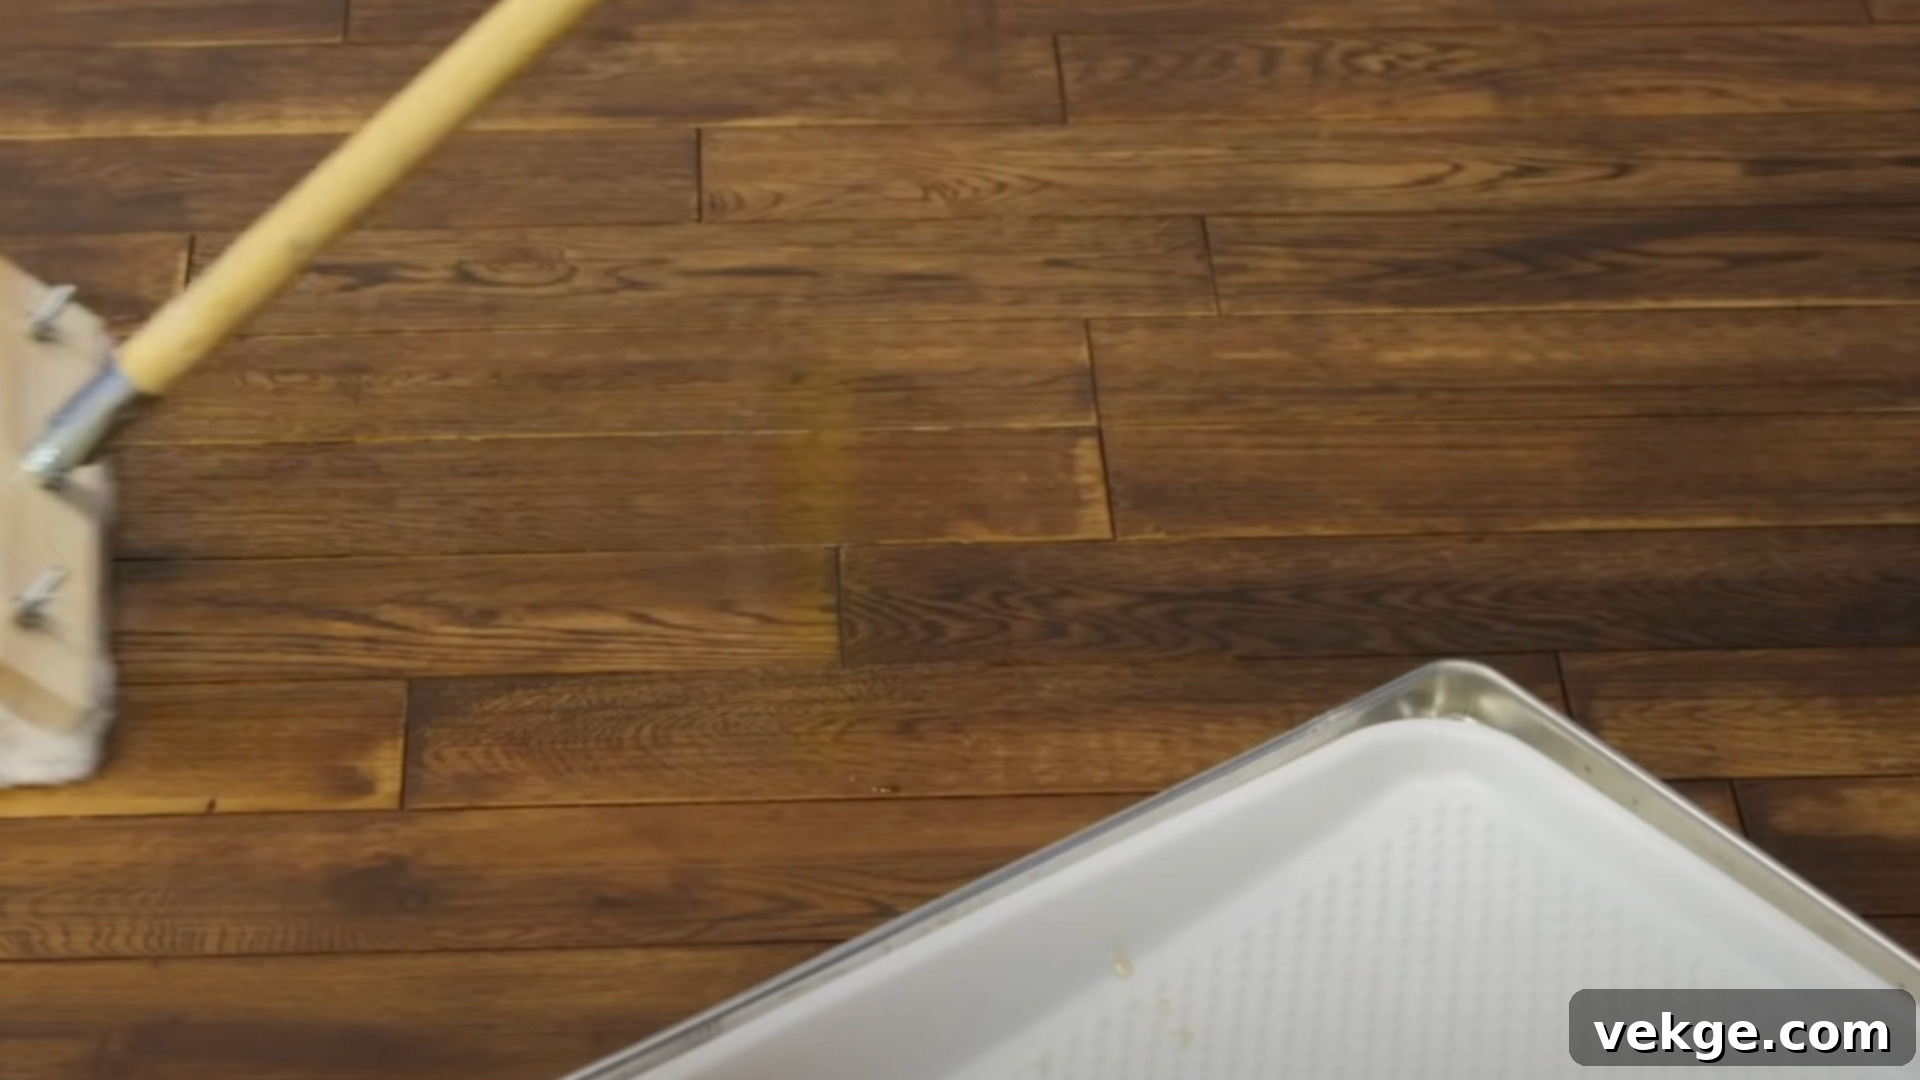
This is a critical cleaning stage. After all sanding is complete, thoroughly vacuum the entire room again, then go over the floor with tack cloths to pick up any microscopic dust particles. The floor must be impeccably clean. If you wish to change or enhance the color of your engineered hardwood, now is the time to apply a wood stain. Test the stain in an inconspicuous area first to ensure you like the color. Apply the stain evenly with a clean cloth or brush, working in small sections and always in the direction of the wood grain. Allow the stain to penetrate for a few minutes (refer to manufacturer instructions), then wipe off any excess. Uneven wiping can lead to blotchiness, so be consistent. Allow the stain to dry completely, which can take anywhere from 12 to 24 hours, depending on the product and humidity.
Step 10: Apply the Protective Finish
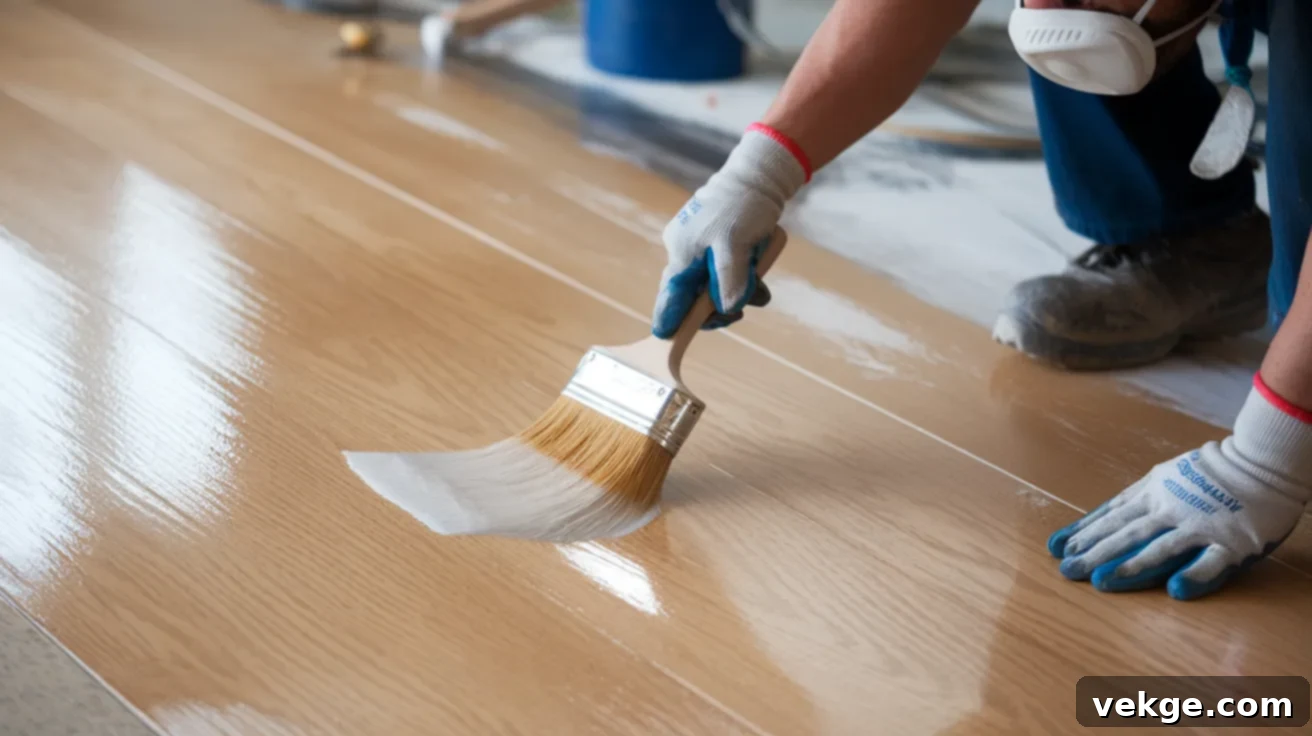
Once the floor is perfectly clean and any stain has fully dried, it’s time to apply the protective finish. This layer will seal and protect your floors for years to come. Using a clean lamb’s wool applicator, T-bar, or high-quality synthetic roller/brush, apply the finish in thin, even coats. Work from one end of the room towards an exit, avoiding walking on the wet finish. Allow each coat to dry completely according to the manufacturer’s instructions before applying the next. This typically takes several hours. Many engineered hardwood floors benefit from two to three coats for maximum durability and a deep, rich look. Lightly buffing with a very fine-grit sandpaper (220 grit) or sanding screen between coats can create a smoother finish, but ensure you clean thoroughly after buffing. Proper ventilation during application and drying is crucial for safety and optimal results.
To watch a detailed visual walkthrough and see how this step-by-step guide translates into action, refer to this comprehensive video tutorial:
Methods for Revitalizing Engineered Hardwood Floors: Sanding vs. Recoating
When your engineered hardwood floors begin to show their age, you essentially have two primary methods for rejuvenation: sanding and recoating. The choice between these two approaches hinges on the extent of wear and the thickness of your floor’s hardwood veneer.
Full Sanding and Refinishing
Full sanding and refinishing is the most comprehensive method, ideal when your floors suffer from deep scratches, significant wear patterns, discoloration, or a severely degraded finish. This process involves using specialized floor sanders to carefully strip away the existing finish and a thin layer of the wood veneer, revealing fresh, untouched wood beneath. Once the old surface is removed, the floor can be stained (if desired) and then sealed with multiple coats of a new, durable finish.
While effective for restoring severely damaged floors, sanding engineered hardwood requires extreme caution. The primary limitation is the thickness of the hardwood veneer; if it’s too thin (typically less than 2-3mm), sanding too aggressively or too many times can expose the underlying plywood or fiberboard core, irreversibly damaging the floor. It’s crucial to determine your veneer thickness before attempting a full sand. While time-consuming and labor-intensive, a successful sanding project delivers a truly transformative result, making your floors look brand new.
Recoating (Screen and Recoat)
Recoating, often referred to as “screen and recoat,” is a less invasive and quicker option, perfect for engineered hardwood floors that exhibit light wear, minor surface scratches, or a dull finish but have an intact topcoat and no deep damage to the wood itself. This method doesn’t involve sanding down to the bare wood. Instead, the existing finish is lightly abraded or “screened” using a buffer with a fine-grit sanding screen or buffing pad. This process scuffs the old finish just enough to create a strong bond for the new topcoat, without removing a significant amount of the wood veneer.
After screening, the floor is meticulously cleaned to remove all dust, and then one or two fresh coats of finish are applied. Recoating revitalizes the appearance of your floors, restores their sheen, and adds a new layer of protection against future wear. It’s a fantastic preventative maintenance strategy that can extend the life of your floors between full refinishing jobs, offering a fresh look with less effort and disruption.
Risks of DIY Refinishing Engineered Hardwood Floors
While the allure of saving money and the satisfaction of a DIY project are strong, refinishing engineered hardwood floors yourself comes with inherent risks. Improper techniques, inadequate tools, or a lack of understanding of engineered wood’s specific properties can lead to costly mistakes and permanent damage to your floors. Beyond financial considerations, it demands significant time, patience, and meticulous attention to detail – qualities that can be particularly challenging for first-timers.
- Damaging the Veneer Layer: This is the most significant risk. Engineered hardwood has a thin hardwood veneer. Sanding too aggressively, using too coarse a grit, or sanding too many times can easily wear through this layer, exposing the unsightly core material. Once the veneer is breached, the damage is often irreversible, necessitating a full floor replacement.
- Uneven Finish or Stain Application: Achieving a perfectly even finish or stain without streaks, lap lines, or blotchiness requires skill and practice. Inexperienced application can result in an inconsistent appearance that is difficult, if not impossible, to correct without re-sanding.
- Applying Too Much or Too Little Finish: An overly thick coat of finish can lead to a tacky surface, prolonged drying times, and a higher risk of peeling. Conversely, too little finish offers insufficient protection, leaving the floor vulnerable to scratches, moisture, and premature wear.
- Dust and Debris Contamination: Even with dust containment measures, fine dust particles can settle on the wet finish, creating an uneven, gritty texture. Thorough cleaning before applying each coat is paramount, but stray dust can still be a persistent challenge for DIYers.
- Insufficient Drying Time: Rushing the drying process between coats or before returning furniture can lead to smudging, peeling, or permanent indentations. Patience is crucial, as drying times vary significantly based on humidity, temperature, and product type.
- Potential Health Hazards: Sanding generates fine wood dust, which can be an irritant and a respiratory hazard. Chemicals in stains and finishes release volatile organic compounds (VOCs) that can cause headaches, dizziness, or more serious health issues without proper ventilation and protective gear (respirator, gloves, goggles).
- Inefficient Use of Equipment: Operating professional-grade floor sanders can be tricky. Improper handling can lead to swirl marks, uneven sanding, or “chatter marks” that are extremely difficult to remove.
Pros and Cons of DIY Refinishing
Deciding whether to tackle refinishing yourself or hire a professional involves weighing several factors. Here’s a balanced look at the advantages and disadvantages of a DIY approach:
| Pros of DIY Refinishing | Cons of DIY Refinishing |
|---|---|
| Cost Savings: Significantly reduces expenses by eliminating professional labor costs, allowing you to pay only for materials and equipment rentals. | Significant Time Commitment: Requires a considerable investment of your personal time, potentially spanning several days or even a week due to sanding, drying times, and multiple coats. |
| Full Control: You have complete oversight of every step, from material selection to application techniques, ensuring the outcome aligns perfectly with your vision. | Physical Demands: Can be physically strenuous, involving heavy machinery, bending, kneeling, and prolonged exposure to dust and fumes. |
| Skill Development: Offers a valuable opportunity to learn new skills in home improvement and wood restoration, enhancing your confidence for future projects. | Risk of Imperfections: Without professional experience, achieving a perfectly uniform, blemish-free finish can be challenging, potentially resulting in visible streaks, unevenness, or missed spots. |
| Flexible Scheduling: You can work at your own pace and schedule the project according to your availability, without being constrained by a professional’s timeline. | Expensive Equipment Rental: Renting professional-grade sanders and other tools can add up, and improper use might lead to rental fees for damages. |
| Sense of Accomplishment: The deep satisfaction and pride of completing a major home improvement project yourself, seeing the transformation firsthand. | Learning Curve: Requires research and careful attention to detail; mistakes can be costly and difficult to rectify without specialized knowledge. |
| Customization: Freedom to experiment with different stain colors and finish types to achieve a unique look tailored to your preferences. | Dust and Fumes: Despite containment efforts, significant dust and strong fumes are inevitable, requiring diligent clean-up and proper ventilation. |
| Immediate Feedback: You can see the progress of your work immediately and make adjustments as you go. | Potential for Damage: High risk of damaging the engineered wood veneer if not careful, which could necessitate professional repair or even full floor replacement. |
Ultimately, the decision to DIY or hire a professional depends on your skill level, available time, budget, and comfort with the inherent risks. If you’re confident in your abilities and prepared for the commitment, DIY refinishing can be incredibly rewarding. If not, professional help offers peace of mind and guaranteed quality.
Long-Term Care After Refinishing: Preserving Your Floors’ Beauty
Congratulations! You’ve invested time and effort into refinishing your engineered hardwood floors, restoring their natural beauty. Now, to ensure they maintain their stunning appearance and durability for years to come, consistent and proper long-term care is absolutely essential. A little preventative maintenance goes a long way in protecting your investment.
- Regular Cleaning is Key: Dirt, dust, and grit are the enemies of a pristine floor finish. Regularly sweep with a soft-bristle broom or vacuum with a hard-floor attachment (never use a beater bar, which can scratch). Mop occasionally with a pH-neutral wood floor cleaner and a damp (not soaking wet) microfiber mop. Avoid harsh chemicals, abrasive cleaners, and excessive water, as these can damage the finish and wood.
- Protect from Scratches and Dents:
- Place felt pads under all furniture legs to prevent scratching when items are moved.
- Use area rugs or mats in high-traffic zones, such as entryways, hallways, and under dining tables, to absorb wear and tear.
- Consider a “no shoes in the house” policy, or at least avoid high heels and shoes with abrasive soles, which can easily dent or scratch the finish.
- Keep pet nails trimmed to prevent claw marks.
- Reapply the Finish Periodically (When Needed): Even the most durable finishes will eventually show wear. Depending on traffic and use, consider a light “screen and recoat” (as described above) every 3-5 years to refresh the top protective layer before the wear reaches the wood veneer. This is a much simpler process than a full refinish and significantly extends the life of your floors.
- Avoid Excessive Moisture: Engineered hardwood is more moisture-resistant than solid wood, but it’s not waterproof. Wipe up spills immediately to prevent water from seeping into seams or causing discoloration and damage. Never wet-mop or use steam cleaners, as excessive moisture can warp or delaminate the layers.
- Be Mindful of Sunlight Exposure: Prolonged exposure to direct sunlight can cause wood floors to fade or change color unevenly. Use curtains, blinds, or UV-filtering window films during peak sunlight hours. Rotate area rugs and furniture occasionally to ensure even sun exposure and prevent noticeable color differences over time.
- Maintain Proper Humidity Levels: Hardwood, even engineered, is still a natural material that reacts to its environment. Maintain consistent indoor humidity levels, ideally between 35% and 55%, throughout the year. Use a humidifier in dry winter months and a dehumidifier or air conditioning in humid summer months to prevent the wood from expanding, contracting, gapping, or cupping.
By integrating these simple yet effective care practices into your routine, your newly refinished engineered hardwood floors will continue to look fantastic and serve as a beautiful foundation for your home for many years to come.
Is Hiring a Professional for Floor Refinishing Worth It?
After considering the complexities and potential risks of DIY refinishing, you might be asking whether calling in the experts is the smarter move. Hiring a professional to refinish your engineered hardwood floors comes with a distinct set of advantages and disadvantages that are important to weigh before making your final decision.
Advantages of Hiring a Professional:
- Expertise and Experience: Professionals possess specialized knowledge of different wood types, veneer thicknesses, and finishes. They can accurately assess your floor’s condition and determine the most appropriate and safest refinishing method, minimizing the risk of damage. Their experience ensures a high-quality, long-lasting finish.
- Superior Results: With commercial-grade equipment and advanced techniques, professionals can achieve a level of smoothness, evenness, and durability that is often difficult for DIYers to replicate. They know how to avoid common pitfalls like swirl marks, uneven staining, and blotchy finishes.
- Time-Saving and Convenience: Refinishing is a labor-intensive and time-consuming process. Hiring a professional frees up your schedule, allowing you to avoid the physical exertion and the lengthy multi-day commitment. They handle all the prep, sanding, staining, and finishing, often completing the job more efficiently.
- Dust Control: Many professional floor refinishers utilize advanced dust containment systems that significantly reduce the amount of airborne dust, leading to a much cleaner home environment during and after the project.
- Warranty and Insurance: Reputable professionals typically offer warranties on their work, providing peace of mind. They are also insured, protecting you from liability in case of accidents or damage during the project.
- Access to Professional-Grade Materials: Professionals often have access to higher-quality stains, sealers, and finishes that are not readily available to the general public, contributing to a more durable and beautiful result.
Disadvantages of Hiring a Professional:
- Higher Cost: The most significant drawback is the expense. Professional services include labor, equipment, and materials, making it a considerably more expensive option than a DIY approach. Costs vary based on location, floor size, and the extent of work needed.
- Less Control Over the Process: While you’ll discuss your preferences, you’ll ultimately cede control over the day-to-day execution to the professionals. This might be a concern for those who prefer to be hands-on with their home projects.
- Scheduling Challenges: Finding a professional with availability that matches your timeline can sometimes be challenging, especially during peak seasons. This might lead to delays in starting your project.
- Inconvenience of Displacement: You will still need to clear the room of furniture and, often, find alternative living arrangements for a few days due to fumes and wet finishes, similar to a DIY project, but without the personal effort.
For complex projects, valuable floors, or for homeowners who prioritize a flawless finish without the hassle and risk, the investment in a professional is often well worth it. However, if your floors only need a light recoat, and you have the time and confidence, a DIY approach might be more appealing.
Conclusion
Refinishing your engineered hardwood floors is an incredibly effective and rewarding way to breathe new life into your living spaces, restoring their inherent beauty and significantly extending their lifespan. Whether your floors are showing light signs of wear or deeper scratches, understanding the difference between a simple recoat and a full sand and refinish is the first crucial step.
Through this guide, you’ve learned how to assess your floors’ condition, gathered the necessary tools for a DIY project, and walked through a detailed, step-by-step process to achieve professional-looking results. We’ve also highlighted the critical differences between engineered and solid hardwood, outlined the risks associated with DIY refinishing, and provided essential long-term care tips to maintain your floors’ renewed splendor. Furthermore, we’ve explored the pros and cons of hiring a professional, empowering you to make an informed decision that best suits your budget, time, and comfort level.
Armed with this comprehensive knowledge, you now have the confidence to make the right choice for your engineered hardwood floors. Remember, with consistent care and timely maintenance, your beautifully refinished floors will continue to be a source of pride and a stunning feature of your home for many years to come. Your refreshed floors are just a few thoughtful steps away!
