DIY Furniture Stripping: A Complete Guide to Restoring Natural Wood
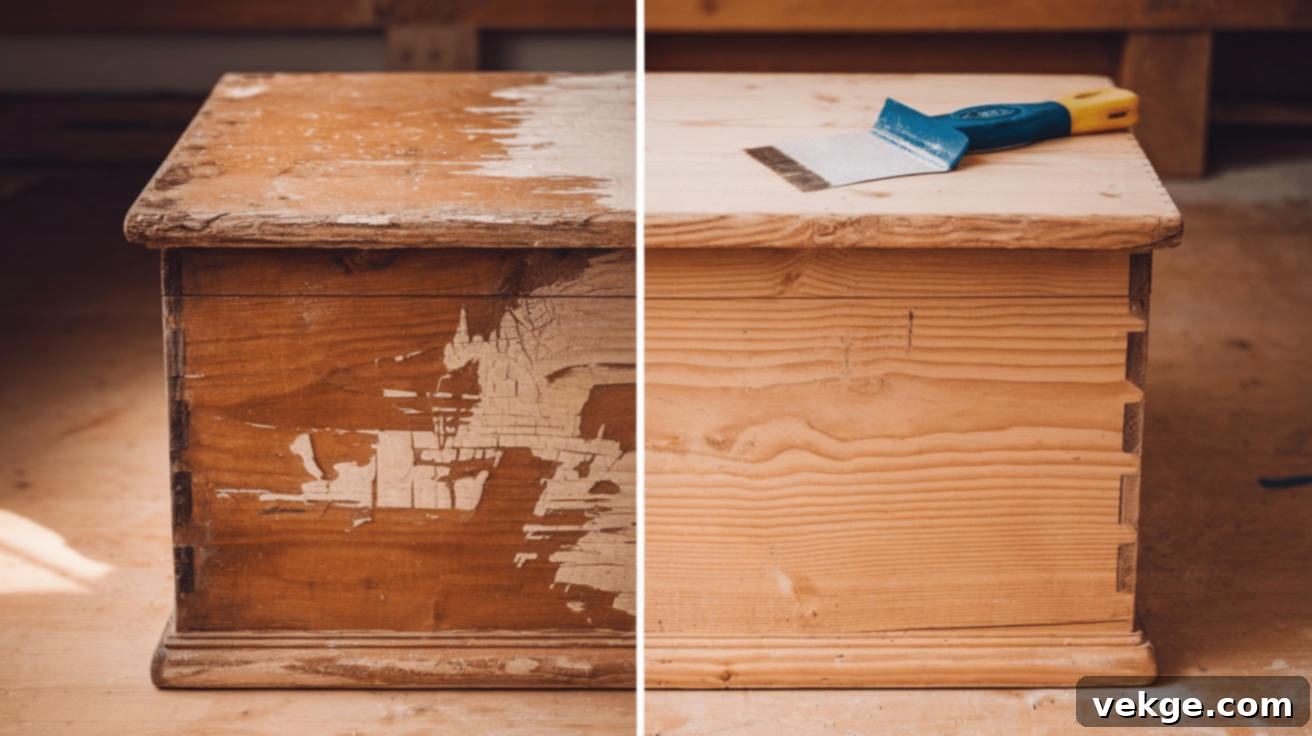
Do you have an old piece of furniture that’s lost its luster, hidden beneath layers of worn paint or outdated finishes? Perhaps a family heirloom yearning to reveal its original charm, or a thrift store find with incredible potential? Stripping furniture to uncover the beauty of its natural wood is one of the most rewarding and effective ways to breathe new life into an old piece. It’s a transformative process that not only refreshes its appearance but also celebrates the unique grain and texture of the wood beneath.
While the idea of stripping furniture might seem daunting at first, it’s a completely achievable DIY project that you can confidently tackle right in your own home. You don’t need to be a professional restorer; with the right guidance, a few essential tools, and a touch of patience, you can master this skill. Imagine transforming a tired dresser, a dated coffee table, or any cherished wooden item into a stunning focal point that perfectly complements your home décor.
In this comprehensive guide, we’ll walk you through every step of the furniture stripping process. From preparing your workspace and selecting the best stripping solution to carefully removing old finishes and preparing the wood for its new look, we’ll cover everything you need to know. Get ready to embark on a creative journey that will help you restore, revitalize, and reveal the timeless elegance of natural wood in your furniture!
Why Strip Furniture? Uncovering Hidden Beauty

Before diving into the practical steps, it’s worth understanding the compelling reasons why stripping furniture is such a popular and beneficial restoration technique. It’s more than just removing old paint; it’s about unlocking the potential and history of your wooden pieces:
- Restore its Original Beauty: Layers of paint, varnish, and stain accumulate over decades, often obscuring the natural grain, color, and texture of the underlying wood. Stripping these finishes away allows you to showcase the wood’s inherent charm, revealing a look that is both authentic and timeless.
- Give New Life to Old Furniture: A piece that appears worn, chipped, or simply out of style can undergo a dramatic transformation. By removing the old finish and exposing the raw wood, you can make an antique feel fresh and contemporary, or give a forgotten item a renewed sense of purpose.
- Remove Damaged or Chipped Finishes: If your furniture’s existing finish is peeling, cracking, or severely damaged, stripping provides a clean slate. This is crucial for a durable and aesthetically pleasing new finish, as you’re starting from a sound foundation rather than building on imperfections.
- Create a Unique or Rustic Look: Sometimes, the goal isn’t just to restore but to reimagine. Stripping can create a beautiful, raw, or even distressed aesthetic that perfectly fits rustic, farmhouse, or minimalist decorating styles. The exposed wood can become a statement piece on its own.
- Prepare for a New Finish: Whether you plan to stain, paint, or simply seal the wood, a clean, stripped surface is essential for proper adhesion and an even application. This ensures your new finish will look its best and last for years to come.
Essential Tools and Materials You’ll Need

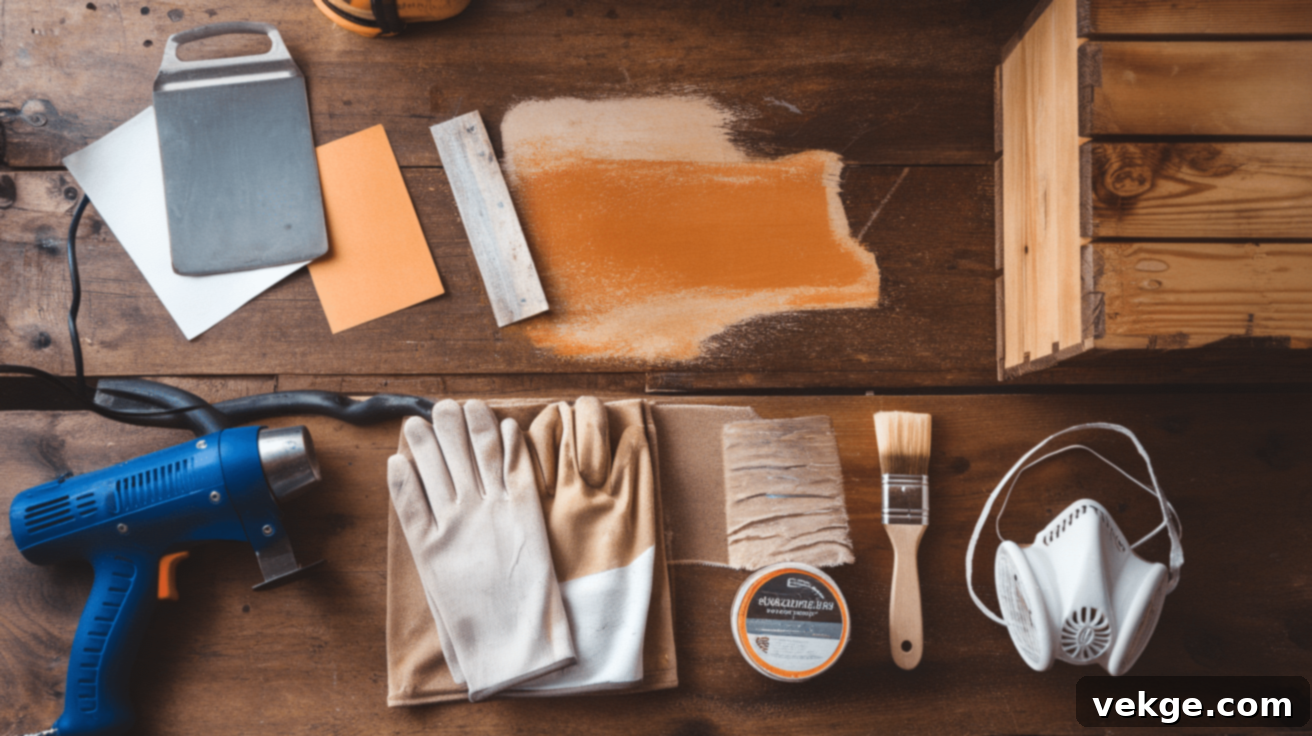
Success in furniture stripping begins with gathering the right tools and materials. Having everything ready before you start will make the process smoother, safer, and more efficient. Here’s a comprehensive list of what you will need:
- Stripping Solution (Paint/Finish Remover): This is the star of the show. Choose a chemical stripper specifically designed for wood, capable of breaking down the type of finish you’re removing (e.g., varnish, lacquer, paint, shellac). Look for products that are low-odor or environmentally friendlier if you’re working indoors, and always check compatibility with your wood type.
- Plastic Scraper or Putty Knife: Essential for gently scraping away the loosened paint or finish. Plastic tools are preferred over metal to prevent scratching or gouging the soft wood surface underneath. Choose a few sizes for different areas.
- Steel Wool (Fine Grade) or Sandpaper (Medium to Fine Grit): Steel wool (grades #0000 or #000) is excellent for intricate details, curved surfaces, and removing stubborn residue. Sandpaper (120-220 grit) will be used for smoothing the wood and preparing it for a new finish.
- Old Paintbrush or Applicator: You’ll need a dedicated, inexpensive paintbrush to generously apply the stripping solution. Avoid using good brushes, as the chemicals can damage them.
- Gloves and Safety Glasses: Non-negotiable safety gear. Chemical strippers can cause skin irritation and eye damage, so always wear chemical-resistant gloves and protective eyewear.
- Drop Cloths or Plastic Sheets: Stripping can be messy! Protect your work area, floor, and any nearby items from drips, splatters, and chemical residue by laying down heavy-duty drop cloths or thick plastic sheets.
- Rags or Paper Towels: Plenty of old rags or sturdy paper towels will be needed for wiping off excess stripper, cleaning residue, and general cleanup.
- Mineral Spirits or Wood Cleaner: After stripping and before sanding, a thorough cleaning with mineral spirits or a specialized wood cleaner helps neutralize any remaining chemical residue and lifts embedded grime.
- Container for Waste Disposal: A metal can or a plastic container lined with a heavy-duty bag will be needed to safely collect the scraped-off finish and used rags. Check local regulations for proper disposal of chemical waste.
- Ventilation Mask (Respirator): Especially important when working with strong chemical strippers, even in a well-ventilated area. A respirator designed for organic vapors provides crucial protection for your lungs.
- Old Toothbrush or Detail Brushes: For getting into tight corners, carvings, or intricate details where a scraper or steel wool can’t reach effectively.
Step-by-Step Guide to Stripping Furniture Like a Pro

With your tools and materials ready, let’s get started! Follow these detailed steps to safely and effectively strip your furniture and reveal its beautiful natural wood. Patience and attention to detail are key to a successful outcome.
1. Prepare Your Workspace for Safety and Cleanliness
The very first and crucial step is setting up a safe, clean, and protected environment. Stripping furniture involves chemicals and can be quite messy, so proper preparation is essential.
- Protect Your Surroundings: Lay down heavy-duty drop cloths or plastic sheets extensively to cover your floor and any nearby objects that could be damaged by spills or splatters. Secure them in place to prevent tripping.
- Ensure Excellent Ventilation: Always work in a very well-ventilated area. Ideally, work outdoors on a sunny, calm day. If working indoors, open all windows and doors, and use fans to circulate air. Consider a workshop or garage with good airflow. Proper ventilation is critical to disperse chemical fumes and ensure your safety.
- Clear the Area: Remove any items from the furniture piece itself, such as hardware, knobs, or drawers, that are not part of the stripping process. Store them safely. Ensure the immediate work area is free from clutter.
- Wear Protective Gear: Before opening any chemical strippers, put on your safety glasses, chemical-resistant gloves, and a respirator mask. Do not skip this step!
2. Apply the Stripping Solution Generously
Now that your workspace is secure and you’re protected, it’s time to apply the chemical stripper to begin loosening the old finish.
- Read Product Instructions Carefully: Every stripping solution is different. Before you do anything, thoroughly read and understand the manufacturer’s instructions, warnings, and recommended application methods for your specific product. Pay attention to dwell times and safety precautions.
- Apply the Stripper Evenly: Using an old paintbrush, apply a thick, even layer of the stripping solution to a small section of the furniture. Work in manageable areas, perhaps 2×2 feet, especially if it’s your first time. Don’t brush it on like paint; dab it to ensure a generous, consistent coat that can fully penetrate the finish.
- Allow Sufficient Dwell Time: After applying, let the stripper sit for the duration recommended on the product label. This could range from 15 minutes to an hour, or even longer for multiple layers of tough finishes. During this “dwell time,” you’ll notice the old paint or varnish bubbling, wrinkling, or softening, indicating the stripper is actively working. Do not let the stripper dry out. If it starts to dry, you might need to reapply a thin layer.
3. Carefully Scrape Off the Loosened Finish
Once the stripper has worked its magic, the old finish will be soft and ready for removal. This step requires a gentle touch to avoid damaging the wood.
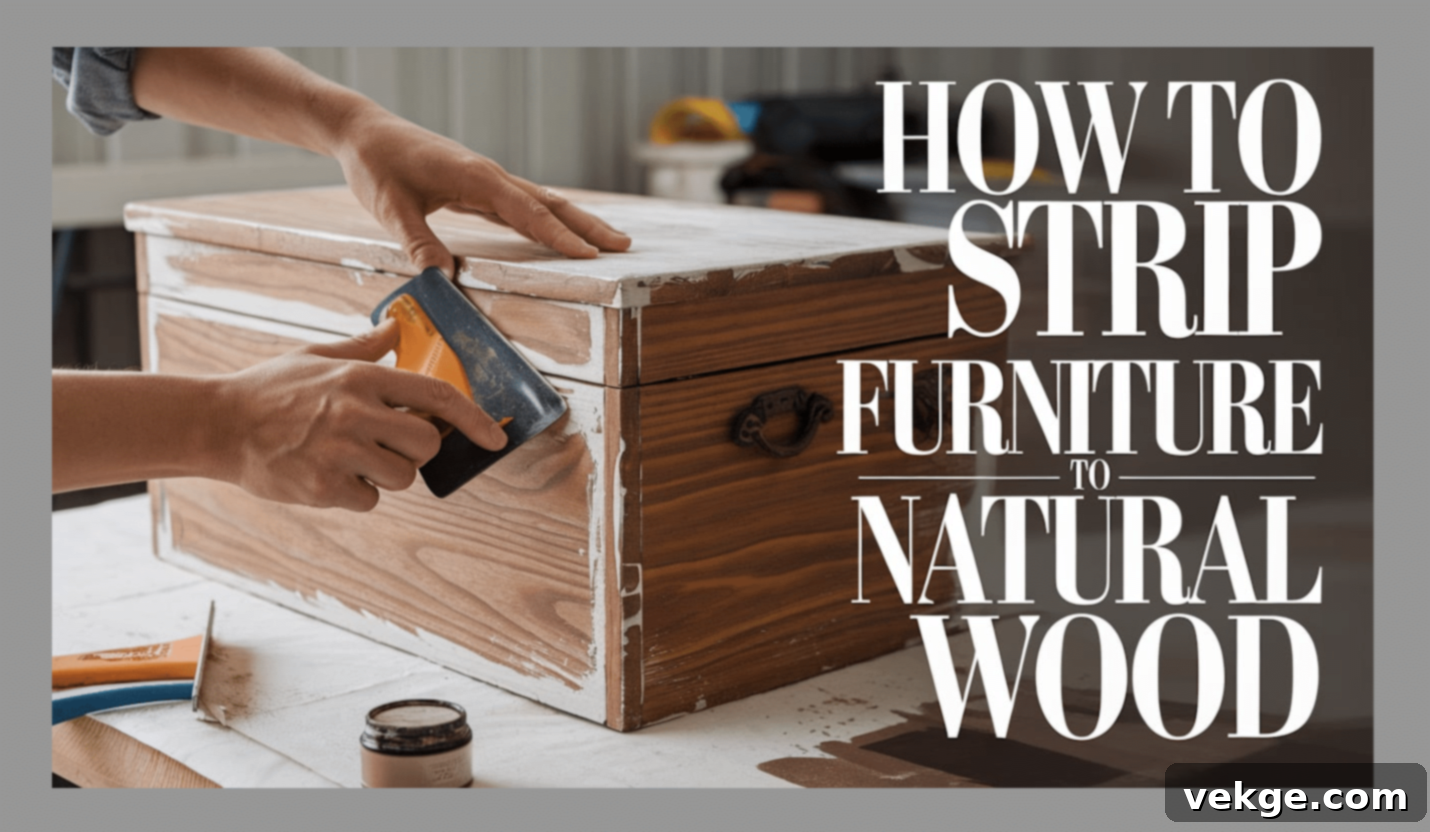
- Scrape Gently with Plastic Tools: Use a plastic scraper or putty knife to carefully push off the softened finish. Always scrape in the direction of the wood grain to prevent accidental scratches. Avoid using metal scrapers, as they can easily gouge the wood surface. For intricate areas, use an old toothbrush, stiff bristle brush, or fine steel wool.
- Work in Small, Controlled Sections: As you scrape, deposit the removed gunk into your designated waste container. If you encounter stubborn spots where the finish isn’t coming off easily, reapply a small amount of stripper to that specific area and allow it a few more minutes to work before scraping again. Patience here prevents frustration and damage.
- Repeat if Necessary: For furniture with many layers of paint or a particularly tough finish, you may need to repeat the application and scraping process multiple times. Be prepared for this, and don’t rush through it.
- Proper Waste Disposal: Never flush chemical waste down the drain or throw it directly into household trash. Collect all scraped-off material and used rags in a sealed, labeled container and follow local regulations for hazardous waste disposal.
4. Address Fine Details with Steel Wool or Initial Sanding
After scraping away the bulk of the old finish, you’ll likely find stubborn residue, especially in carvings, corners, or areas with thick build-up. This is where finer tools come into play.
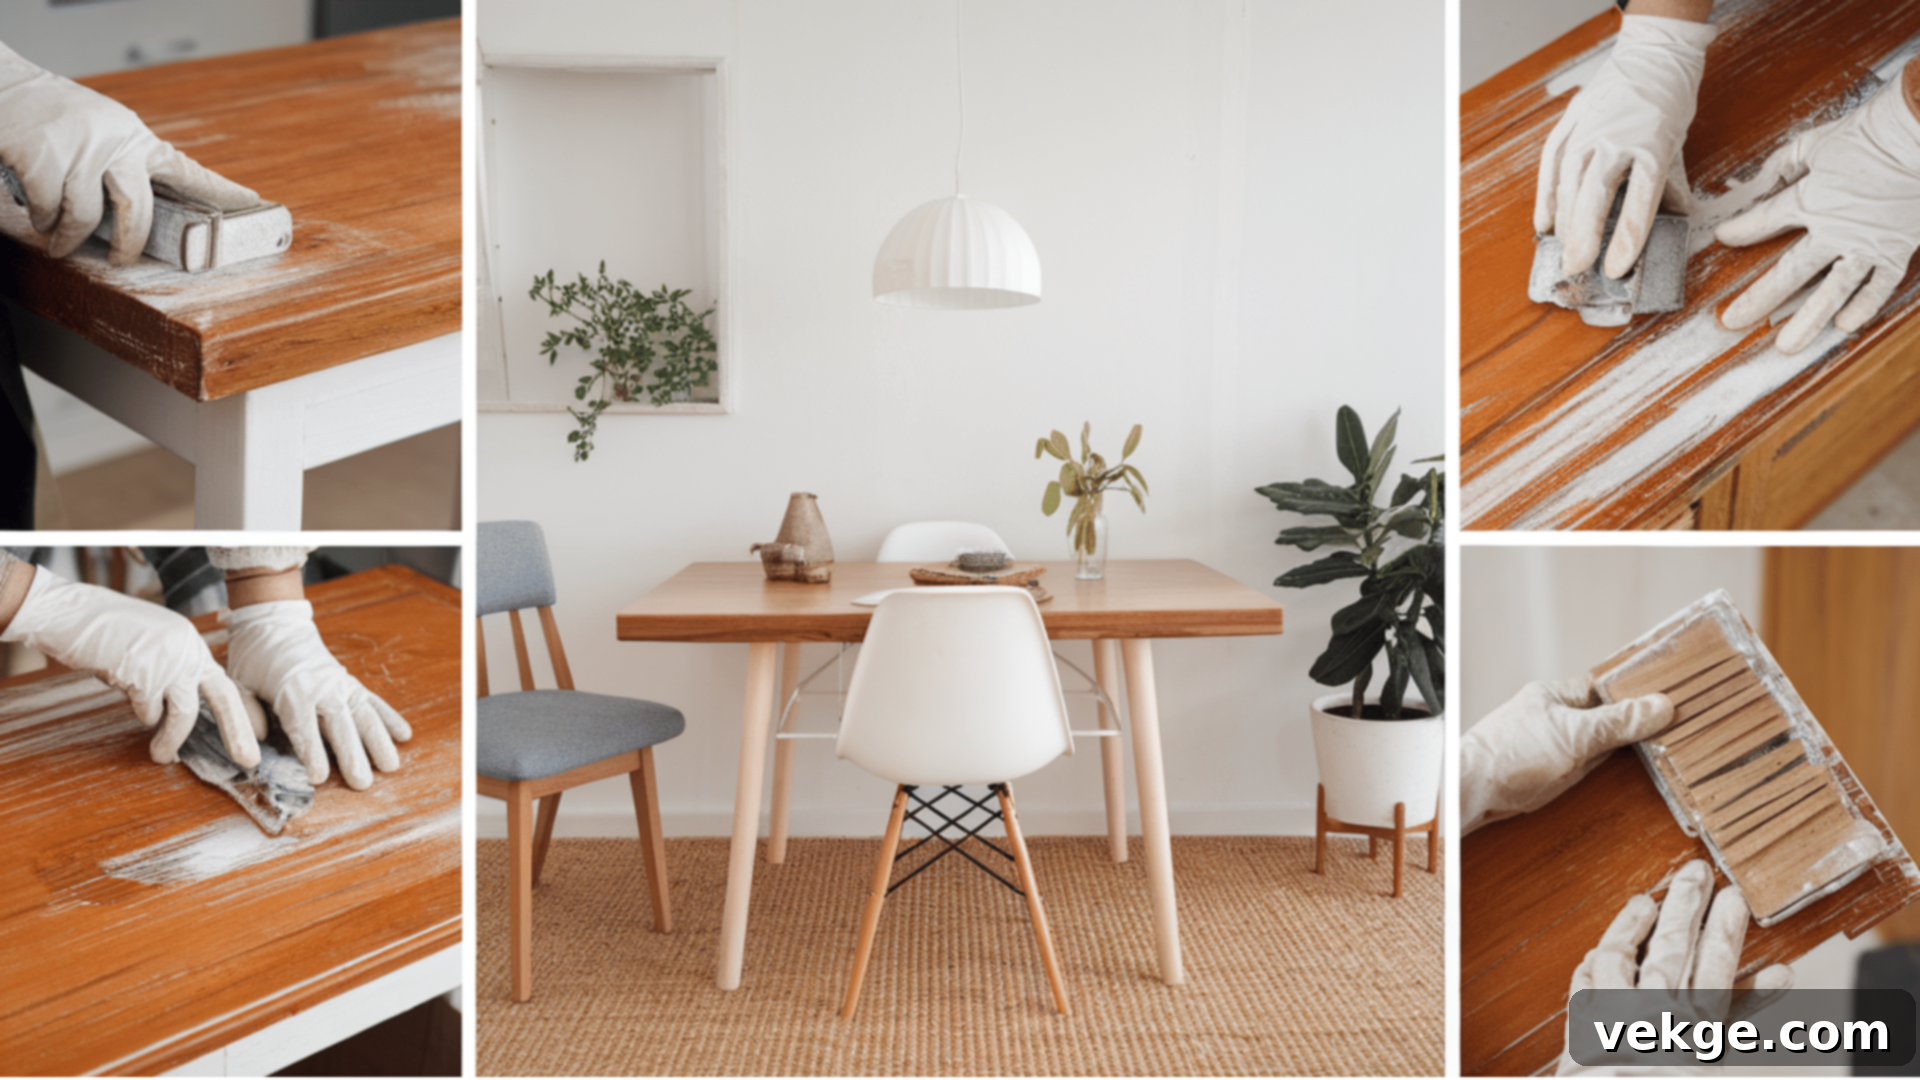
- Utilize Fine Steel Wool: For detailed areas, curved surfaces, or residual film, take a piece of fine-grade steel wool (000 or 0000) dampened slightly with stripper or mineral spirits. Gently rub the surface in the direction of the grain. The abrasive nature of the steel wool, combined with the solvent, will help lift the last traces of finish without causing significant scratching.
- Initial Light Sanding for Smoothing: Once most of the finish is gone and the wood is dry, perform a light sanding with medium-grit sandpaper (around 120-150 grit). This initial sanding helps to further remove any remaining stubborn residue, smooth out any minor imperfections, and begin opening up the wood grain. Always sand with the grain, and avoid pressing too hard.
5. Thoroughly Clean the Stripped Surface
Once all visible traces of the old finish are gone, a crucial cleaning step is needed to remove any remaining chemical residue and prepare the wood for subsequent steps.
- Clean with Mineral Spirits or Wood Cleaner: Dampen a clean, lint-free rag with mineral spirits, denatured alcohol, or a specialized wood cleaner (check product compatibility with your stripper). Wipe down the entire stripped piece thoroughly. This step neutralizes any active stripper, removes lingering residue, and lifts away fine dust or grime. Repeat with fresh rags until no more residue comes off.
- Allow to Dry Completely: After cleaning, allow the furniture to dry completely. This can take several hours, or even overnight, depending on the environment and the amount of cleaning agent used. Ensure the wood is completely dry to the touch before proceeding to the next steps, as moisture can affect sanding and finishing.
6. Final Sanding and Preparation for Finish
Sanding is the final and perhaps most important step in preparing your furniture for its new life. It ensures a smooth, even surface that will beautifully accept any new finish you choose.
- Progressive Sanding with Finer Grits: Start with the sandpaper grit you used in step 4 (e.g., 120-150 grit) if there are still minor imperfections. Then, progressively move to finer grits, such as 180 and finally 220-grit sandpaper. Always sand with the wood grain, applying even pressure. The goal is to remove any scratches from previous grits and achieve a silky-smooth surface.
- Inspect and Dust Thoroughly: After the final sanding, carefully inspect the entire surface under good light to ensure there are no remaining imperfections, swirl marks, or missed spots. Then, use a vacuum with a brush attachment, followed by a tack cloth or a damp (not wet) lint-free cloth, to meticulously remove all sanding dust. Any remaining dust can compromise the adhesion and appearance of your new finish. Let it dry completely if you used a damp cloth.
Finishing Touches: What to Do After Stripping Furniture
Congratulations, you’ve successfully stripped your furniture and revealed the beautiful natural wood! Now comes the exciting part: deciding on the perfect finish to protect and enhance its new look. Here are a few popular options to consider:
1. Wood Stain: Adding Color and Depth
If you wish to add a touch of color, deepen the wood’s tone, or achieve a specific aesthetic while still allowing the natural grain to show through, applying a wood stain is an excellent choice. Stains come in various shades, from light oaks to rich walnuts, and can dramatically alter the perception of the wood while celebrating its inherent patterns. Always test your chosen stain on an inconspicuous area first.
2. Clear Protective Finish: Embracing Natural Beauty
If you absolutely adore the raw, natural look of the stripped wood, a clear protective finish is your best friend. Products like polyurethane, lacquer, shellac, or even natural oils (like tung oil or linseed oil) will seal and protect the wood from moisture, scratches, and daily wear without significantly altering its color. This option truly highlights the authentic beauty and unique character of the wood grain.
3. Repainting: A Fresh New Hue
For those who prefer a solid color but wanted to start with a perfectly smooth, clean surface, repainting is a viable option. After stripping, sanding, and cleaning, apply a high-quality primer specifically designed for wood. This will ensure excellent paint adhesion and a smooth finish. Follow with two or more thin coats of your chosen paint for a durable and beautiful new look.
4. Leaving it Natural (Sealed Only): Minimalist Charm
Sometimes, the simplest approach is the most striking. If the natural wood is particularly beautiful and you prefer a minimalist, organic look, you can simply seal it with a clear protective topcoat (like a matte polyurethane or a wax finish) to protect it from daily use while maintaining its original, raw appearance. This option preserves the tactile feel and visual honesty of the wood.
Tips for Success and Avoiding Common Pitfalls
To ensure your furniture stripping project goes smoothly and yields professional-looking results, keep these valuable tips in mind:
- Work in Manageable Sections: Don’t try to strip an entire large piece of furniture all at once. Work on smaller, manageable sections (e.g., one tabletop, one drawer front) to prevent the stripper from drying out and to maintain better control over the process.
- Always Prioritize Safety Gear: This cannot be stressed enough. Always wear chemical-resistant gloves, safety glasses, and a respirator mask to protect your skin, eyes, and lungs from harsh chemicals and fumes.
- Embrace Patience and Take Your Time: Furniture stripping is not a race. Rushing through the steps can lead to damage, incomplete removal, or a less-than-perfect finish. Allow adequate dwell time for the stripper, scrape gently, and sand thoroughly.
- Test the Stripper on an Inconspicuous Area First: Before applying stripper to the entire piece, always test it on a small, hidden area (like the underside of a drawer or the back of a leg). This allows you to confirm that the stripper effectively removes the finish without damaging the wood or causing discoloration.
- Ensure Excellent Ventilation: Always work in a very well-ventilated area, preferably outdoors. If indoors, open all windows and use fans to circulate air. Fumes from chemical strippers can be harmful if inhaled.
- Consider Heat Guns for Certain Finishes: For extremely thick or stubborn paint layers, a heat gun (used with caution and at a low setting) can sometimes soften the finish before stripping, making removal easier. Always research proper safety procedures if using a heat gun.
- Clean All Tools Immediately: Clean your scrapers, brushes, and other tools immediately after use, according to the stripper manufacturer’s guidelines (usually with mineral spirits or water). This prevents residue from hardening and extends the life of your tools.
Conclusion: Revitalize Your Furniture with Natural Wood
Stripping furniture to reveal its natural wood is a genuinely rewarding and cost-effective way to refresh old pieces, bringing them back to life with renewed elegance and character. It’s a journey that transforms neglected items into cherished focal points, celebrating the inherent beauty of wood that might have been hidden for decades.
While the process requires patience, attention to detail, and proper safety precautions, the effort is undoubtedly worth it. With the right tools and by following the step-by-step guide outlined here, you can confidently remove old paint or finishes and uncover the true, timeless beauty of the wood beneath.
Whether you choose to enhance the wood with a rich stain, protect it with a clear finish, or even give it a fresh coat of paint over a perfectly prepped surface, the results will make your furniture feel brand new and uniquely yours. Remember to work methodically, prioritize safety, and enjoy the creative process of restoration.
By transforming your furniture, you’re not just updating your home décor; you’re engaging in a sustainable practice that gives old items a second chance, reducing waste and creating pieces with a story. Embrace the natural beauty and timeless appeal of wood, and let your restored furniture shine!
Frequently Asked Questions About Stripping Furniture
What is the best way to strip furniture?
The most effective way is typically using a chemical stripper combined with careful scraping (using plastic tools) and subsequent sanding. Always choose a stripper appropriate for your specific finish and wood type, and prioritize safety with proper ventilation and protective gear.
How do I know if my furniture needs stripping?
Your furniture likely needs stripping if its current finish is peeling, cracking, chipping, heavily scratched, stained, or if you simply wish to reveal the natural wood underneath an outdated paint or varnish layer.
Is it necessary to sand after stripping furniture?
Yes, sanding after stripping is crucial. It helps remove any remaining chemical residue, smooths out the wood surface, eliminates minor imperfections or scratches from scraping, and opens the wood grain to ensure excellent adhesion for any new stain or finish.
How long does it typically take to strip furniture?
The time required varies greatly depending on the size and complexity of the piece, the number of finish layers, and the type of finish. A small table might take a few hours, while a large dresser with multiple layers could take several days, including drying and sanding time.
Can I strip furniture indoors?
Yes, but only with extreme caution and excellent ventilation. Choose low-odor or environmentally friendly strippers, open all windows and doors, use fans, and always wear a respirator mask. Ideally, perform stripping outdoors to avoid inhaling harmful fumes.
What kind of wood can be stripped?
Most solid wood furniture (like oak, maple, pine, cherry, mahogany) can be successfully stripped. Be cautious with veneers, as they are thin layers of wood and can be easily damaged by aggressive scraping or excessive chemical exposure. Always test a small, hidden area first.
