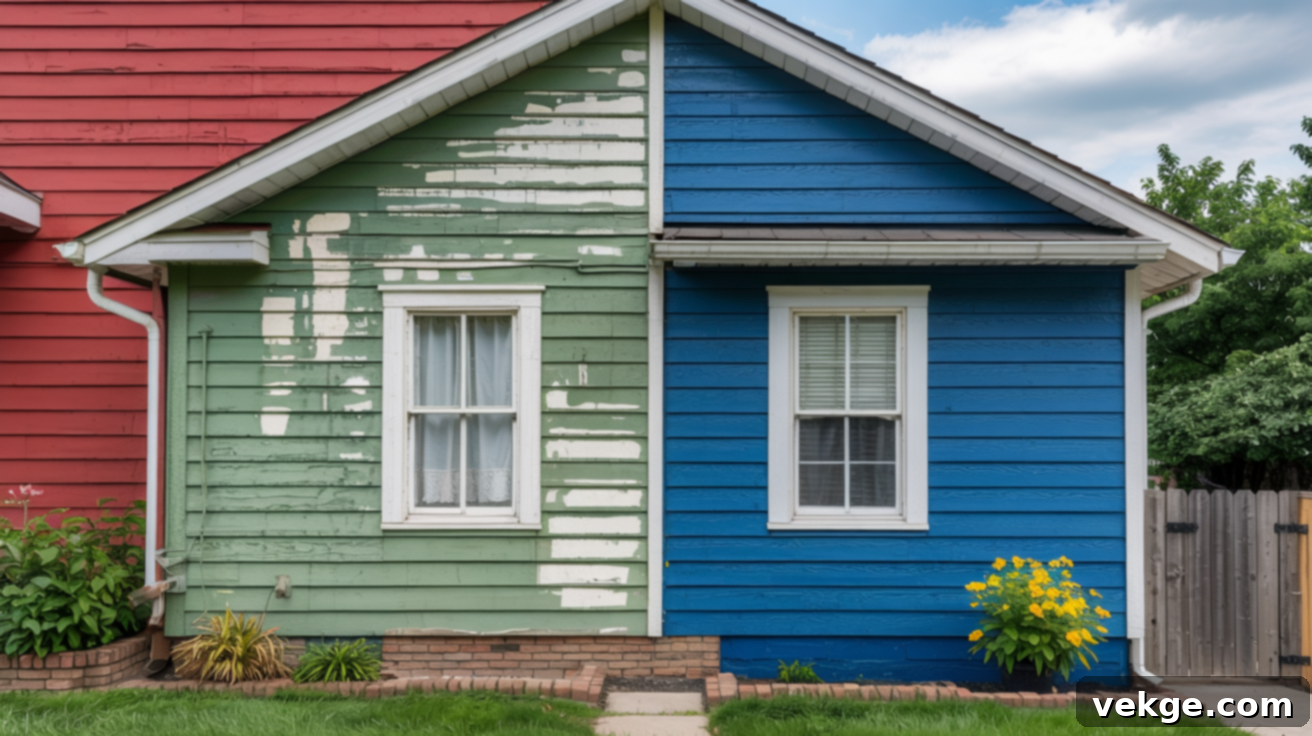
Can You Use Interior Paint Outside? The Risks & How to Fix It Properly
It’s a common dilemma: you’ve got a half-can of leftover interior paint, and that garden bench or small outdoor wall is calling for a fresh coat. The temptation to use what you have on hand for a quick outdoor refresh is strong, often driven by the desire to save time and money. But before you dip that brush into indoor paint for an outdoor project, it’s crucial to understand the implications. Will it actually hold up against the elements, or will it lead to more headaches down the road?
Many homeowners, just like you, have wondered what truly happens when interior paint is exposed to the harsh realities of the outdoors. The short answer is: it rarely ends well. While it might seem like a clever shortcut, interior paint simply isn’t engineered to withstand the relentless assault of sunlight, rain, temperature fluctuations, and humidity.
In this comprehensive guide, we’ll delve deep into the critical differences between interior and exterior paints, explaining precisely why one is suited for your living room and the other for your patio. You’ll learn about the rapid deterioration process that occurs when interior paint faces the outdoors, how quickly common issues like fading, peeling, and cracking can emerge, and most importantly, what steps you can take if you’ve already made this common painting mistake. Whether you’re looking to prevent a future painting blunder or rectify an existing one, this post will equip you with the knowledge to make smarter, more durable painting choices. Let’s explore the science behind paint types and ensure your next outdoor project stands the test of time.
Is It Okay to Use Interior Paint Outside? Absolutely Not Recommended
Let’s get straight to the point: interior paint is not designed to handle outdoor conditions, and using it outdoors is a recipe for quick failure. While it might look good immediately after application, its inherent properties lack the resilience required for exterior environments. If used outside, you can expect noticeable degradation to begin within weeks, not months or years. This rapid deterioration manifests in various unsightly and damaging ways.
Common issues include premature fading, where vibrant colors quickly become dull and washed out under UV exposure. Peeling and blistering are also frequent, as the paint struggles to adhere to the surface amidst temperature changes and moisture. Over time, the paint may crack extensively, revealing the underlying surface and allowing moisture to penetrate, potentially leading to rot, rust, or other structural damage to the substrate. These issues are rampant because interior paint lacks essential protective features found in exterior formulations: robust UV protection, superior moisture resistance, and crucial flexibility to accommodate thermal expansion and contraction.
That being said, there are extremely limited scenarios where interior paint *might* temporarily survive. For instance, using it in very specific, highly covered or sheltered areas, such as a bench tucked deep under a porch roof that never sees direct sunlight or rain, might extend its life slightly. However, even in such ideal, non-typical conditions, you should still anticipate a significantly shorter lifespan compared to exterior-grade paint. This is not a sustainable or recommended practice, and you will invariably need to repaint much sooner, making any initial “savings” negligible in the long run.
Interior vs. Exterior Paint: Key Differences Explained
While interior and exterior paints might share similar appearances in the can, their formulations are fundamentally different, tailored to distinct environmental challenges. Understanding these core differences is vital for successful and long-lasting paint applications. The disparities lie primarily in their chemical composition, their ability to perform under specific conditions, and their overall durability over time.
|
Feature |
Interior Paint |
Exterior Paint |
|
Additives |
Primarily focused on stain resistance, washability; lacks UV blockers, mildewcides. |
Routinely includes UV blockers, mildewcides, fungicides, and other weatherproofing agents for protection. |
|
Binders & Flexibility |
Less flexible, designed for stable indoor temperatures; does not tolerate expansion/contraction well. |
Highly flexible binders (e.g., acrylics) adapt to significant temperature swings, preventing cracking and peeling. |
|
Pigment Stability |
Pigments can fade rapidly and unevenly when exposed to direct sunlight (photodegradation). |
UV-resistant pigments are engineered to maintain color integrity and vibrancy for extended periods. |
|
Moisture Resistance |
Generally not moisture-proof; can absorb water, leading to blistering, bubbling, and mold growth. |
Formulated with hydrophobic properties to resist water penetration, humidity, and moisture absorption. |
|
VOC Levels |
Designed for lower VOC emissions indoors; may off-gas more significantly and unpredictably outdoors when heated. |
Formulated to release fewer harmful fumes or to off-gas safely in well-ventilated outdoor environments. |
|
Longevity Outdoors |
Very short lifespan (weeks to a few months), highly prone to peeling, cracking, chalking, and fading. |
Built for extended outdoor durability, often with warranties spanning 5-10+ years depending on quality and application. |
|
Safe for Outdoor Use |
Significant risk of premature damage, aesthetic failure, and potential unpredictable chemical emissions. |
Safe, reliable, and specifically engineered to perform optimally under all types of weather conditions. |
Why Interior Paint Isn’t Meant for Outdoor Use: A Deeper Dive
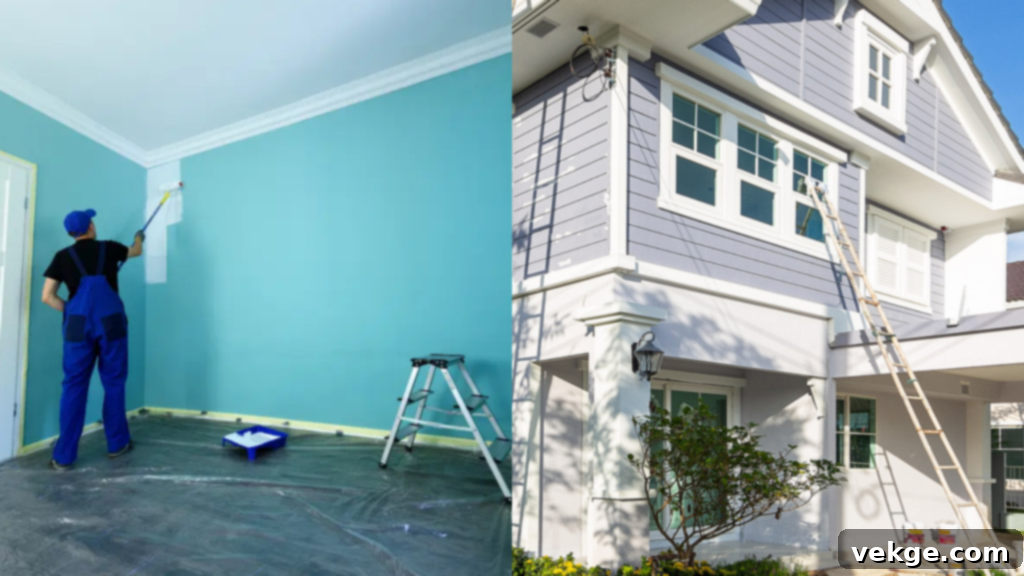
The fundamental reason interior paint fails so quickly outdoors is its lack of specialized additives and durable binder systems, which are essential for surviving constant exposure to environmental stressors. It’s simply formulated for a controlled, stable indoor environment, not the dynamic and often harsh conditions outside.
1. Missing Crucial Additives and UV Protection
Interior paints are specifically formulated for conditions inside your home, where UV radiation, extreme temperature swings, and persistent moisture are largely absent. Consequently, they do not incorporate the vital UV-blocking ingredients or mildew-resistant chemicals found in exterior paints. Without these protective components:
- UV Degradation (Photodegradation): Direct sunlight, especially UV rays, causes the molecular bonds in interior paint to break down rapidly. This leads to dramatic fading, chalking (a powdery residue on the surface), and a general loss of structural integrity, making the paint brittle and prone to cracking. Exterior paints include special UV stabilizers and pigments that resist this breakdown.
- Microbial Growth: In humid or damp outdoor conditions, interior paint becomes an ideal breeding ground for mold, mildew, and algae. Lacking the preventative biocides and fungicides present in exterior formulations, these growths can quickly disfigure the surface, compromise the paint film, and even lead to health hazards.
Exterior paints are engineered with a complex blend of additives to combat these specific forms of weather-related damage and microbial growth. Interior versions, conversely, are optimized for scrubbability, low odor, and stain resistance in a stable indoor setting, making them ill-equipped for the outdoor battle.
2. Weak Adhesion and Lack of Flexibility
One of the most critical differences lies in the flexibility of the paint film. Outdoor surfaces, whether wood, metal, or masonry, undergo constant expansion and contraction due to significant temperature fluctuations. A dark-colored surface can heat up dramatically in direct sun and cool down significantly overnight. Exterior paints are formulated with highly flexible binders (often 100% acrylic) that allow the paint film to stretch and contract along with the substrate without cracking or peeling. This elasticity is paramount for long-term durability.
Interior paints, however, are made with less flexible binders. They are designed to remain rigid on stable indoor surfaces. When applied outdoors, this rigidity is a severe disadvantage. As the underlying material expands and contracts, the inflexible interior paint film cannot move with it. This stress inevitably leads to cracking, blistering, flaking, and severe peeling. Add to this the impact of rain, humidity, and wind, which further compromise the paint’s adhesion, and failure accelerates even faster, particularly on porous materials like wood that also absorb and release moisture.
3. Potential Toxicity Risks and VOC Emissions
While modern interior paints are increasingly formulated with low or zero volatile organic compounds (VOCs) to ensure indoor air quality, the chemical stability of these compounds can be compromised when exposed to outdoor elements. Interior paints can release VOCs and other chemical fumes when subjected to direct sunlight, high heat, or sustained humidity. Indoors, the curing process occurs in a relatively controlled environment, and any initial off-gassing dissipates over time.
Outdoors, however, the continuous cycle of extreme temperatures, UV radiation, and moisture can cause unstable chemical reactions. Some paint formulas may degrade prematurely, potentially releasing more persistent or unpleasant odors. In rare cases, these emissions could even be more concentrated than anticipated due to continuous off-gassing under stress. This can pose a health risk to people and pets nearby and is particularly concerning if the painted surface is near outdoor living spaces, vegetable gardens, or children’s play areas. Exterior paints, conversely, are formulated to release fewer harmful fumes in an open-air environment, or their chemical composition is designed to be more stable under outdoor conditions.
How Quickly Does Interior Paint Break Down Outdoors? A Realistic Timeline
Once interior paint is applied to an outdoor surface, its countdown to failure begins almost immediately. The rate of degradation depends on factors such as direct sun exposure, rainfall, humidity, and temperature extremes, but a typical timeline of what to expect highlights its unsuitable nature:
- Within 1 Week: The first subtle signs appear. The paint may begin to dull, lose its initial sheen, or show uneven color, especially in areas subjected to direct, intense sunlight. Colors may start to shift or look “washed out.”
- By 1 Month: Fading becomes much more noticeable and widespread. Small, hairline cracks might start to emerge, particularly on corners or edges. You might also observe tiny blisters forming as moisture attempts to escape or penetrate the paint film, reacting to temperature swings and humidity.
- After a Few Months (3-6 Months): Significant peeling and flaking are highly probable. This often occurs dramatically after periods of rain, heavy dew, or high humidity, as the paint loses its minimal adhesion and visibly separates from the underlying surface. Chalking may also become prominent, leaving a powdery residue when touched.
- Beyond 6 Months: The damage escalates severely. Extensive peeling, cracking, and loss of adhesion will be widespread. Without proper maintenance or intervention, mold, mildew, and algae will likely develop, especially if the surface remains damp or shaded, further compromising the material underneath. At this stage, the surface is not only aesthetically ruined but also poorly protected, risking damage to the substrate itself.
Left untreated, these signs of failure don’t just stop at the paint layer; they quickly escalate, leading to more costly repairs and potentially irreversible surface damage to the underlying wood, metal, or masonry. It’s a clear demonstration that what’s good for your interior walls is not good for your outdoor structures.
What to Do If You’ve Already Used the Wrong Paint Outdoors
Discovering you’ve used interior paint outdoors can be disheartening, but it’s a common mistake that is fortunately fixable. Taking immediate and appropriate action is key to preventing long-term damage and ensuring the longevity of your painted surface.
Step-by-Step Assessment: Evaluate the Damage
Before you begin any repair work, a thorough assessment of the situation is crucial:
Step 1: Check the Exposure Level: Determine how exposed the painted area is to the elements. Surfaces fully open to direct sunlight, heavy rain, and harsh winds will deteriorate much faster than those in highly sheltered or covered spots (like an enclosed porch or under a deep overhang). This will influence the urgency and method of repair.
Step 2: Ascertain Application Time: Find out exactly when the interior paint was applied. If it’s very fresh (days to a few weeks) and shows no signs of failure, it might be salvageable with fewer extensive preparation steps. Older paint will likely require more significant intervention.
Step 3: Inspect for Visible Signs of Failure: Carefully examine the surface for any signs of damage: fading, chalking, cracking, blistering, or peeling. Even small imperfections indicate the paint’s integrity is compromised. If it’s already failing, a full surface preparation and proper repainting are undoubtedly necessary.
Options Based on Your Situation: Choose the Right Solution
Your course of action will depend heavily on the results of your assessment:
- For Fresh, Undamaged Paint (Less than 1-2 weeks old, no visible issues): If the interior paint is very fresh and shows absolutely no signs of distress (no fading, no cracks, no peeling), you might be able to salvage it. In this scenario, you can treat the existing interior paint layer as a basic, non-protective primer. Thoroughly clean the surface, ensure it’s dry, and then apply a high-quality, exterior-grade bonding primer, followed by two coats of premium exterior topcoat paint. This provides the necessary weather protection.
- For Areas with Minor Fading or Chalking (No Peeling or Cracking): If the paint is only slightly faded or chalky but still firmly adhered, clean the surface thoroughly to remove all chalk residue. Then, apply a high-quality exterior bonding primer designed for adhesion over chalky surfaces, followed by two coats of exterior paint.
- For Areas with Peeling, Cracking, or Blistering (The Most Common Scenario): If the interior paint has already started to peel, crack, or blister, the best and most durable option is to completely strip off the failing paint. This involves scraping, sanding, and potentially using a paint stripper to remove all compromised material down to the bare substrate. Once the surface is clean, sound, and dry, apply a suitable exterior primer and then two coats of high-quality exterior paint. Attempting to paint over peeling interior paint will only result in the new exterior paint peeling as well.
- For Humid but Sheltered Spots (Temporary Measure): In very specific, well-protected, and low-stress areas where immediate repainting is not possible, applying a clear, UV-resistant exterior sealer might slow down damage. However, this is strictly a temporary measure and not a permanent solution, as the underlying interior paint will eventually fail.
If you’re ever unsure about the best approach, applying a high-quality bonding primer first is a safe bet to reinforce the surface and improve adhesion for your subsequent exterior topcoat.
Tools, Time, and Costs to Expect for the Fix
Addressing interior paint used outdoors requires proper tools and a realistic understanding of the commitment:
- Essential Tools: Paint scraper, wire brush, sandpaper (various grits), cleaning supplies (degreaser, mildew cleaner), painter’s tape, drop cloths, good quality brushes or rollers, and safety gear (gloves, eye protection, respirator if sanding old paint).
- Materials: High-quality exterior-grade bonding primer (e.g., Zinsser Bulls Eye 1-2-3 or KILZ Adhesion), premium exterior paint (Sherwin-Williams, Behr, Benjamin Moore), and potentially a clear exterior sealer (if going the temporary sealing route).
- Estimated Time: Depending on the size of the surface and the extent of the damage (whether you need to strip the paint or just prime and repaint), expect to spend anywhere from 2 to 8 hours or more for thorough preparation and application. Larger or heavily damaged areas will take significantly longer.
- Estimated Cost: The cost can range from $30 to $150+ (or ₹1,000–₹3,500) depending on the quality and brand of products chosen, the amount needed, and the size of the area. Investing in quality exterior products upfront will save you money and effort in the long run by preventing repeat failures.
Can Sealing Interior Paint Make It Work for Outdoor Use?
The idea of simply sealing interior paint to make it durable outdoors is appealing, but it’s crucial to manage expectations. While applying a clear exterior sealer can offer a temporary layer of protection, it will not entirely solve the fundamental problems of using interior paint in an outdoor setting. It’s a band-aid, not a cure.
When Sealing Might Offer Limited, Short-Term Success
Sealing interior paint is only marginally viable under very specific, low-stress conditions. It might work as a short-term solution for outdoor furniture or decorative items that are consistently kept under a protective roof, completely away from direct sunlight, heavy rain, or significant temperature swings. Think of a small ceramic planter on a covered porch, or a picture frame that stays dry and shaded. These areas do not face the full force of weather exposure, so the rate of damage to the underlying interior paint happens more slowly.
This approach is best reserved for low-traffic, decorative pieces where aesthetic appearance for a limited period matters more than long-term structural durability or weather protection. Even in these ideal, sheltered conditions, you should realistically expect signs of wear, fading, or minor peeling to emerge within a few months, particularly in environments with high humidity or coastal air. It’s never a substitute for true exterior paint.
Recommended Sealing Products for Temporary Protection
If you absolutely must choose to seal interior paint for temporary protection in a highly sheltered area, select clear, water-resistant products specifically formulated for outdoor use and UV resistance. Do not use interior-grade sealers.
- Polyurethane-based Sealers: Products like Minwax Helmsman Spar Urethane or Rust-Oleum Ultimate Spar Urethane are excellent for wood. These create a tough, clear film that offers good water and UV resistance.
- Clear Acrylic Topcoats: Many brands offer clear acrylic topcoats designed for outdoor use that can provide a protective layer. Look for formulas explicitly labeled “UV-resistant” and “non-yellowing” to minimize further fading and discoloration if the surface receives any indirect sun.
- Application Tips: Apply at least two to three thin, even coats for enhanced durability, allowing ample drying time between each layer as per the manufacturer’s instructions. This is crucial to prevent trapping moisture underneath the seal, which could exacerbate peeling.
Limitations and Why Sealing Isn’t a Permanent Fix
It’s vital to reiterate that sealing interior paint is never a permanent or truly effective solution for outdoor durability. While it might delay the onset of damage, it will not prevent it entirely for several key reasons:
- Binder Incompatibility: The underlying interior paint’s binders remain inflexible. The sealer itself cannot magically impart the necessary flexibility to the interior paint layer below, so cracking and peeling will still occur as the substrate moves.
- Limited Lifespan: Sealers themselves wear off, degrade, and can fail over time, especially when exposed to high rainfall, direct sunlight, abrasion, or frequent temperature changes. Once the sealer fails, the interior paint beneath is fully exposed again.
- Additional Cost and Labor: This method adds extra steps, materials, and cost without guaranteeing long-term success. The time and money spent on sealing could often be better invested in simply repainting with the correct exterior products from the start.
Ultimately, sealing interior paint for outdoor use should only be considered for very temporary applications, highly protected decorative items, or in low-risk areas where aesthetic longevity is not a primary concern. It is not a viable replacement for the robust performance of dedicated exterior paint.
Product Recommendations for Fixing Interior Paint Used Outdoors
When you need to correct the mistake of using interior paint outdoors, choosing the right exterior paints, primers, and sealants is paramount for ensuring a durable and successful outcome. Investing in quality products specifically designed for outdoor conditions will prevent future failures and protect your surfaces for years to come.
Best Exterior Paints for Cover-Up and Durability
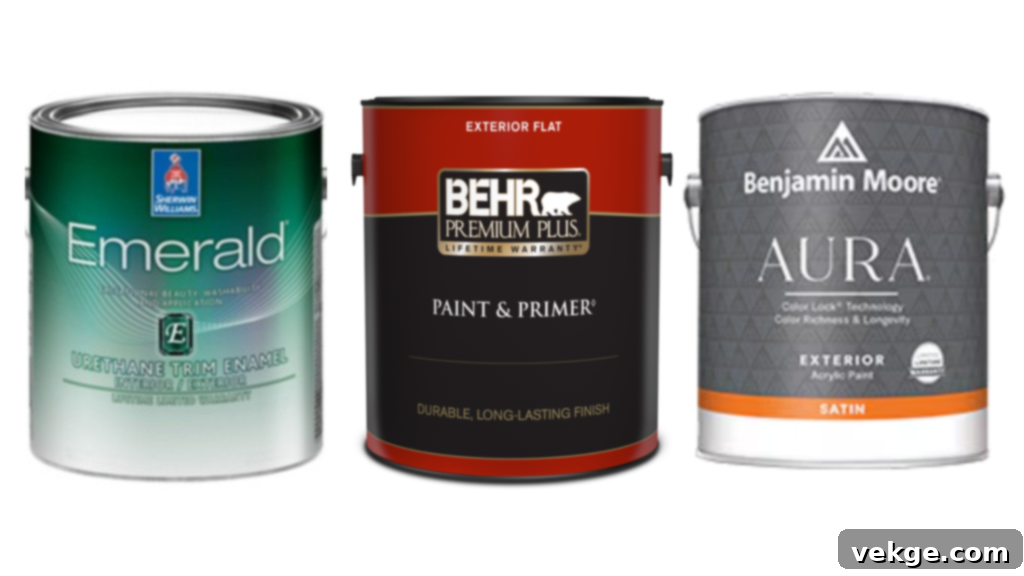
For repainting over properly prepped surfaces that previously had interior paint, opt for premium exterior paints from reputable brands known for their durability and weather resistance. These paints are specifically engineered to withstand sunlight, moisture, temperature changes, and provide long-lasting color retention.
- Sherwin-Williams: Their Duration Exterior Acrylic Latex or SuperPaint Exterior Acrylic Latex lines offer excellent adhesion, flexibility, and resistance to peeling, blistering, and fading.
- Behr: Behr Premium Plus Exterior Paint & Primer or Behr Marquee Exterior Paint & Primer provide robust protection with good coverage and mildew resistance.
- Benjamin Moore: Their Aura Exterior or Regal Select Exterior lines are renowned for their exceptional durability, color retention, and resistance to harsh weather.
When selecting, look for formulas explicitly labeled as “all-weather,” “100% acrylic,” or “UV-resistant.” A satin or semi-gloss finish typically offers superior cleanability and slightly better protection against moisture penetration compared to flat finishes outdoors. Always apply two coats after thorough surface preparation to ensure even coverage, maximum protection, and extended durability.
Primers That Work on Interior-Coated Surfaces Outdoors
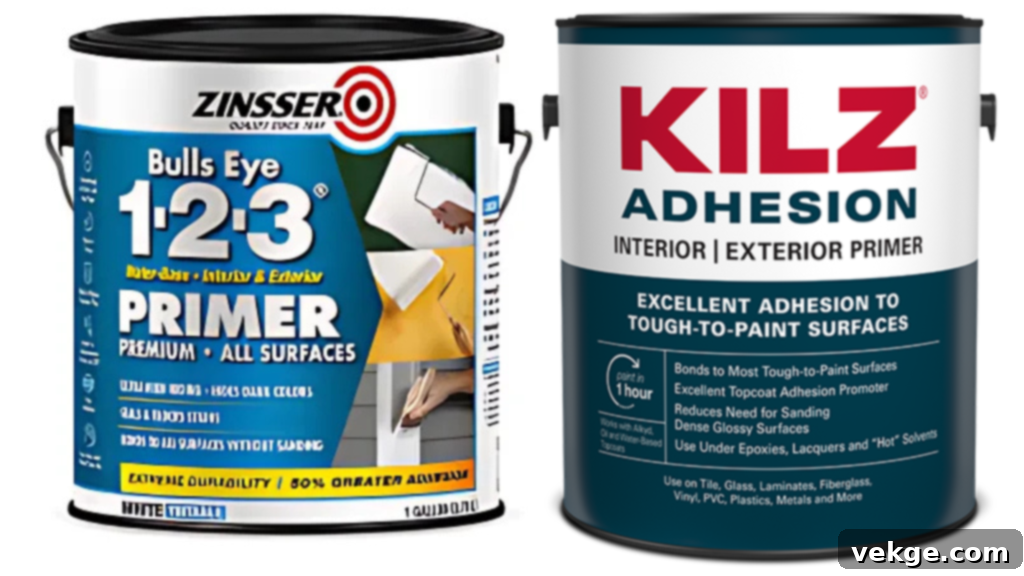
A high-quality bonding primer is an essential step when repainting over existing interior paint that has been used outdoors, even if it’s been properly cleaned and prepped. These specialized primers are designed to create a strong adhesive bridge, ensuring your new exterior paint grips firmly, especially on surfaces that might be smooth, chalky from degradation, or otherwise challenging for direct topcoat application.
- Zinsser Bulls Eye 1-2-3 Primer: This is a versatile, water-based, all-purpose primer that offers excellent adhesion to a wide range of surfaces, including previously painted ones. It’s known for its ability to block stains and provide a uniform surface for topcoats. Check on Amazon.
- KILZ Adhesion Primer: Specifically formulated for maximum adhesion to tough-to-paint surfaces, including glossy finishes, concrete, and previously coated materials. It creates a powerful bond that helps prevent future peeling. Learn more about KILZ Adhesion.
- Other Premium Exterior Primers: Many exterior paint brands also offer their own high-performance exterior primers designed for optimal compatibility with their topcoats. Consult the manufacturer’s recommendations for best results.
Apply one even coat of your chosen bonding primer, ensuring full coverage, and allow it to dry completely according to the manufacturer’s instructions before proceeding with your exterior topcoat. This step is critical for ensuring the longevity and performance of your new exterior paint system.
Sealants for Short-Term Protection in Specific Cases
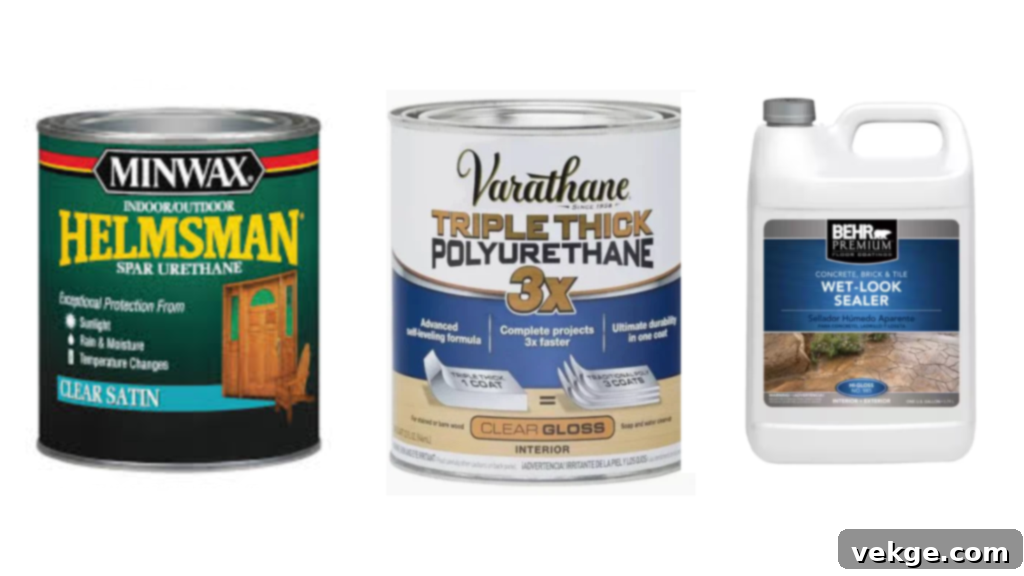
If immediate repainting with exterior paint is genuinely not feasible, applying a clear outdoor sealant can serve as a very temporary measure to slow down further damage from moisture and sunlight, particularly in covered or low-exposure areas. Remember, this is a stop-gap and not a permanent solution or a substitute for proper exterior painting.
- For Wood Surfaces: Look for UV-resistant, non-yellowing spar urethanes or marine-grade varnishes.
- Minwax Helmsman Spar Urethane: Offers excellent protection against sun, water, and temperature changes, specifically formulated for outdoor wood.
- Rust-Oleum Ultimate Spar Urethane: Another robust option designed for superior outdoor wood protection.
- For Masonry and Concrete Surfaces: A clear, penetrating concrete or masonry sealer can provide some water repellency.
- BEHR Premium Wet-Look Sealer: Can add a protective, often glossy, layer to concrete and masonry, helping to repel water.
These products create a sacrificial protective barrier over the interior paint, buying you some time. Apply two to three thin coats, ensuring proper drying between layers to maximize their effectiveness. While this approach will not transform interior paint into exterior-grade, it can help preserve the aesthetic and integrity of surfaces temporarily, especially in highly covered or very low-traffic outdoor areas until a proper exterior paint job can be performed.
Conclusion: Make the Right Paint Choice for Lasting Results
You now have a clear understanding of the crucial differences between interior and exterior paints and, more importantly, what happens if you use interior paint outside. While the temptation to use leftover paint is understandable, the reality is that interior paint simply isn’t engineered to withstand the harsh, dynamic conditions of the outdoors. Its lack of UV protection, flexibility, and moisture resistance means it will quickly fade, crack, peel, and ultimately fail, leading to an unsightly finish and potential damage to the underlying surface.
The good news is that if you’ve already made this common painting mistake, it’s not the end of the world. Whether your paint is just starting to show signs of distress or is already peeling significantly, there’s always a way to fix it effectively. You don’t need to panic or completely abandon your project. With the right assessment, proper surface preparation, and the application of appropriate exterior primers, paints, or even temporary sealants in very specific cases, you can correct the error and ensure your outdoor surfaces are beautiful and protected for years to come.
By investing a little extra time and using the correct materials designed for outdoor performance, you’ll save yourself from repeated work, frustration, and greater costs down the line. We hope this guide has empowered you to make more informed and confident painting choices for all your home improvement projects. For more practical tips and real answers to common home paint questions, be sure to explore our other helpful posts!
