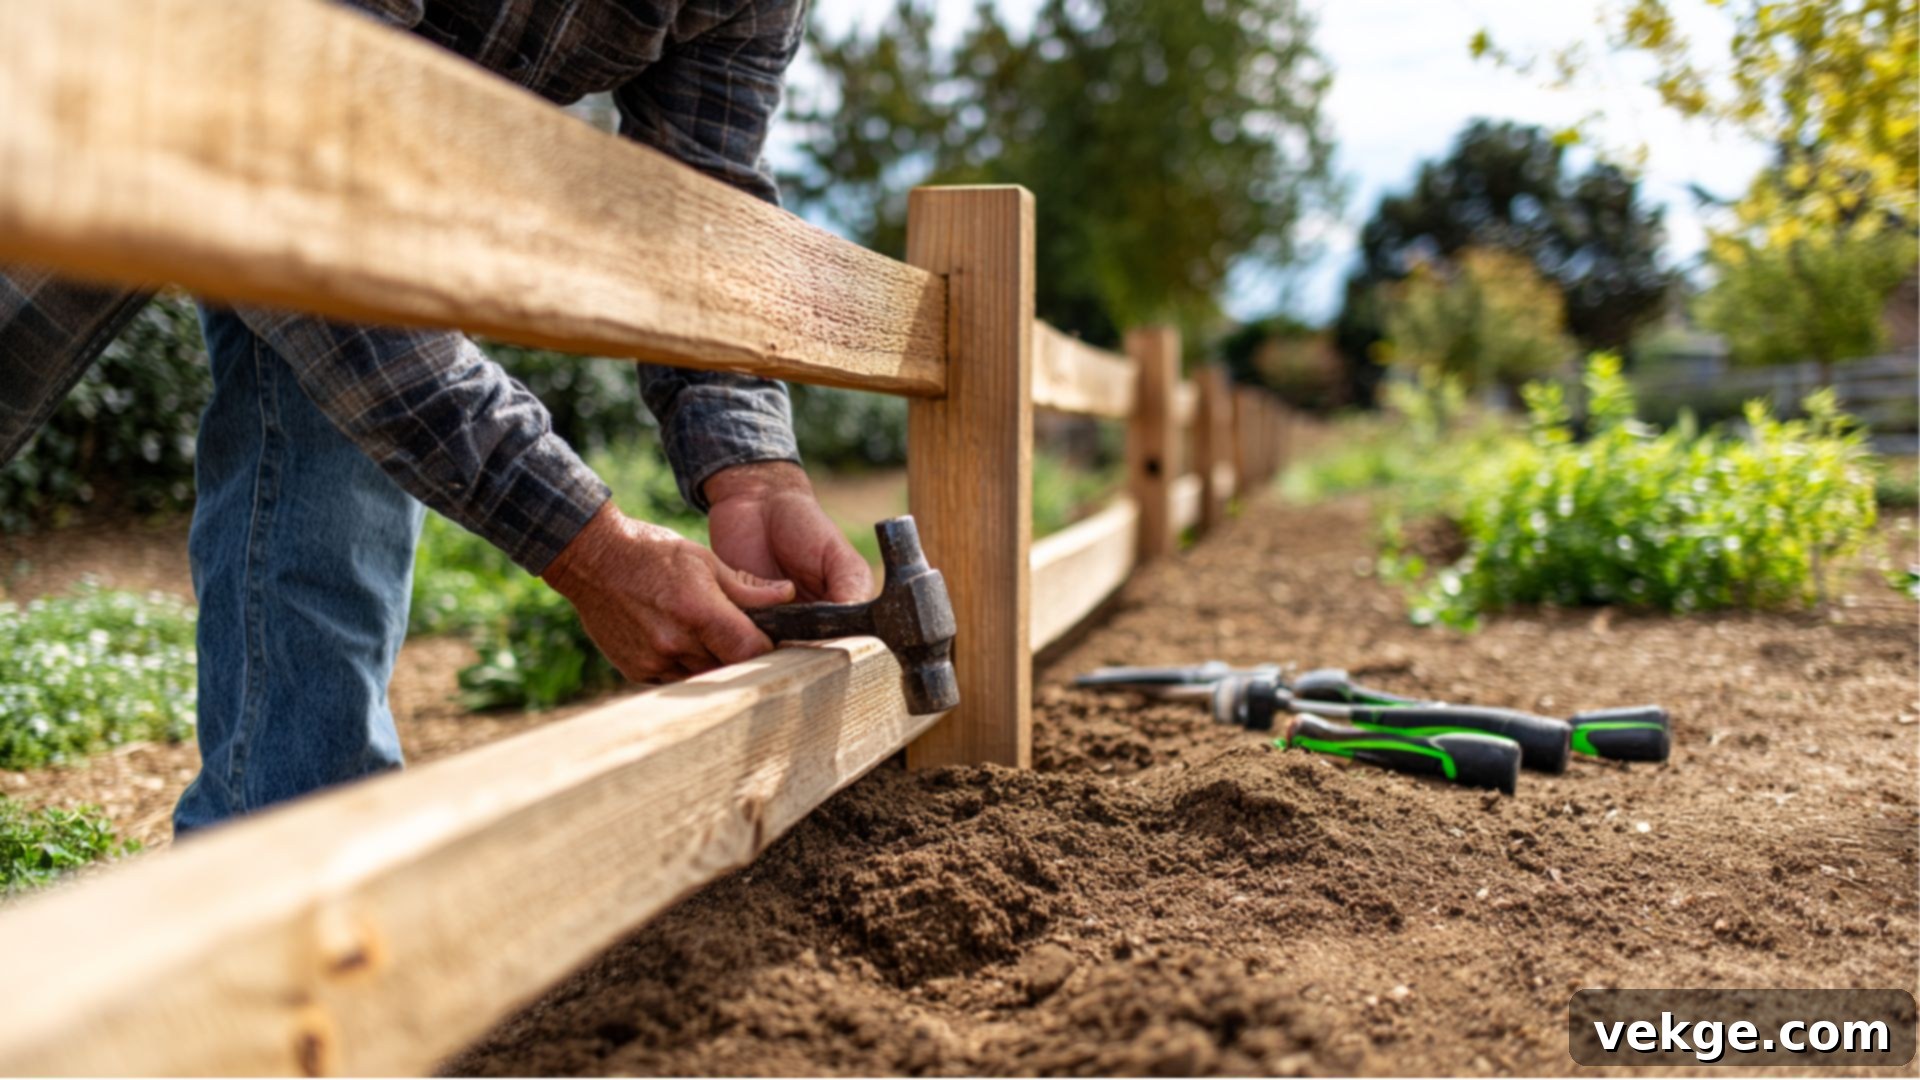
DIY Split Rail Fence Installation: A Comprehensive Guide for Rustic Charm and Property Value
Have you ever admired the simple, rustic elegance of a split rail fence, only to dismiss the idea of building one yourself as a task best left to professionals? I certainly did. For years, I drove past those charming wooden boundaries, convinced that their construction required advanced carpentry skills far beyond my humble weekend warrior capabilities. However, a little research into how to install a split rail fence completely transformed my perspective on DIY projects—and surprisingly quickly.
I found myself increasingly drawn to the timeless appeal of these fences and the gentle way they define outdoor spaces without imposing harsh, visual barriers. They offer a unique blend of functionality and aesthetic beauty, enhancing a property’s natural landscape. Embarking on this project not only allows you to create something that significantly boosts your property value and curb appeal but also helps you develop lasting DIY skills and confidence. It’s an incredibly rewarding experience to see your vision come to life, knowing you built it with your own hands.
Ready to transform your outdoor space and add a touch of classic, pastoral charm? Let’s dive into the world of split rail fence installation and discover how you can achieve professional-looking results right in your own backyard!
Why Split Rail Fences Are a Smart and Stylish Choice for Any Property
Split rail fences are more than just a boundary; they’re a statement of classic, understated style. They offer a perfect blend of practical function and rustic charm that complements an incredibly wide array of settings, from sprawling rural landscapes to cozy suburban yards. Their inherent simplicity makes them a standout choice for DIY enthusiasts looking for a manageable yet impactful home improvement project.
- Ease of Installation: Compared to many other fencing types, split rail fences are remarkably straightforward to install. Their design typically involves fitting rails into pre-cut holes in posts, eliminating the need for complex joinery or extensive hardware. This makes them an ideal candidate for homeowners who prefer to tackle projects themselves, saving on labor costs and gaining valuable experience.
- Aesthetic Versatility: The natural wood look of a split rail fence effortlessly harmonizes with both rugged country settings and manicured suburban landscapes. They provide a sense of openness and connection to nature, unlike solid privacy fences that can feel imposing. They define spaces without obstructing views, making them perfect for showcasing your property’s features or maintaining an open vista.
- Cost-Effectiveness: Generally, split rail fences are among the most economical fencing options available. The materials are often less expensive than those for solid wood or metal fences, and the reduced installation complexity means you save on professional labor if you choose the DIY route. This affordability doesn’t compromise their effectiveness as property markers or containment solutions.
- Functional Boundaries: While they offer an open design, split rail fences are highly effective for various practical purposes. In rural areas, they are excellent for containing livestock such as horses, cattle, or even decorative fowl, providing a visible and secure perimeter. For residential properties, they clearly delineate property lines, define garden areas, or enclose pet-friendly spaces without creating a feeling of being closed off.
- Simple Maintenance: One of the most appealing aspects of split rail fences is their low maintenance requirements. Unlike fences with many intricate components, you typically only need to inspect and replace individual rails or posts as they weather over time. Their open structure also allows air to flow freely, significantly reducing the wind damage that often plagues more solid fence designs. Regular checks and occasional sealing can extend their lifespan for decades.
Selecting the Best Split Rail Fence Style and Materials for Your Property
Choosing the right style and materials for your split rail fence is crucial to ensure it perfectly matches both the function you need and the appearance you desire. Different landscapes and purposes call for specific considerations.
- Purpose and Height:
- Livestock Containment: For rural properties needing to contain animals like horses or cattle, opt for taller fences, typically with three or four rails. Closer rail spacing is also essential to prevent animals from slipping through or getting stuck.
- Decorative & Property Lines: Suburban yards often benefit from shorter, decorative split rail fences, usually with two or three rails. These clearly define property lines, frame gardens, or create charming visual barriers without blocking scenic views or making your yard feel enclosed.
- Adapting to Terrain:
- Hilly or Uneven Land: Hilly terrain works best with a “stepped” fencing approach. Instead of trying to make the fence perfectly level, allow each fence section to step down or up with the natural slope of your land. This creates a graceful, harmonious look that integrates seamlessly with the landscape and is far easier to install than a strictly level fence on an incline.
- Flat Terrain: On flat ground, you have the flexibility to maintain a consistent, level top line for a classic and tidy appearance.
- Wood Type Considerations: The type of wood you choose impacts durability, appearance, and cost.
- Cedar: Highly recommended for areas with high moisture or for those seeking maximum longevity. Cedar naturally resists rot, decay, and insect infestation due to its natural oils. While generally more expensive upfront, its superior durability means less maintenance and replacement over time. It weathers to a beautiful silver-grey patina.
- Pine: A more budget-friendly option, pine is readily available and less expensive than cedar. However, it requires more maintenance, especially in wet climates, as it’s more susceptible to rot and insect damage. Treating pine with a wood preservative or sealant is crucial to extend its lifespan.
- Oak/Locust: These hardwoods are incredibly durable and rot-resistant, making them excellent choices for very long-lasting fences, particularly in agricultural settings. They can be heavier and harder to work with but offer exceptional strength.
- Post Selection:
- Corner Posts, End Posts, Line Posts: Choose corner and end posts that are robust and often slightly larger in diameter than line posts, as they bear more tension and structural load. Their stability is paramount for the entire fence’s integrity.
- Soil Type and Weather: Consider your soil type (e.g., clay, sand, rocky) and local weather conditions (e.g., heavy winds, frost heave) when selecting post length and diameter. Deeper posts are needed in areas with significant frost heave to prevent them from lifting out of the ground.
Careful consideration of these factors during your planning phase will ensure your split rail fence not only looks fantastic but also performs its intended function effectively for many years to come.
How to Install a Split Rail Fence: A Detailed Step-By-Step Guide
Installing a split rail fence is a satisfying DIY project that you can accomplish with basic tools and a logical approach. This step-by-step guide will walk you through the process, from initial planning to the final touches, ensuring you build a sturdy, beautiful, and long-lasting fence for your property.
Material and Equipment You’ll Need
Before you break ground, gather all your materials and tools. Understanding the costs upfront helps you budget effectively. Here’s a comprehensive list with estimated cost ranges:
| Material/Equipment | Estimated Cost Range (USD) | Purpose |
|---|---|---|
| Post hole digger | $15–$80 (manual rental: $15–$20/day; buy: $40–$80) | For digging precise, deep holes for fence posts. Essential for stability. |
| Carpenter’s level | $15–$40 | Ensures posts are plumb (straight vertically) and rails are level horizontally. |
| Shovel | $15–$40 | For general digging, moving soil, and backfilling post holes. |
| Measuring tape | $5–$15 | Crucial for accurate fence layout and post spacing. |
| End posts, line posts, corner posts | $10–$40 each | The vertical supports for your fence. Choose based on fence length and corners. |
| Split rails | $5–$20 each | The horizontal components that fit into the posts, forming the fence body. |
| Gravel | $0.50–$2.50 per sq ft (or per bag/cubic yard) | Provides drainage at the bottom of post holes, preventing rot. |
| Stakes and string | $5–$15 | Used for marking out the fence line and ensuring straightness. |
| Gloves and safety glasses | $10–$30 | Essential personal protective equipment for safety. |
| Tamp or tamper tool | $20–$50 (or use the back of a shovel) | For firmly compacting soil around posts, enhancing stability. |
| Wheelbarrow (optional) | $50–$150 | Helpful for moving gravel, soil, and materials efficiently. |
| Chisel and mallet (optional) | $20–$60 | May be needed to clear out post mortises or adjust rail ends. |
| Post hole auger (power tool – optional) | Rental: $60–$100/day; Buy: $200–$500+ | Significantly speeds up digging, especially for many holes or hard soil. |
| Total (for small fence, tools, and gravel) | $175–$1,035+ (varies by project size, wood type, and tool purchasing vs. rental) | Overall project cost will fluctuate based on your specific needs. |
Note: These are estimated costs and may vary significantly depending on your location, brand preferences, wood species, and whether you rent or purchase tools. Always check current prices in your area and obtain multiple quotes for materials.
STEP 1: Plan and Prepare Your Fence Layout
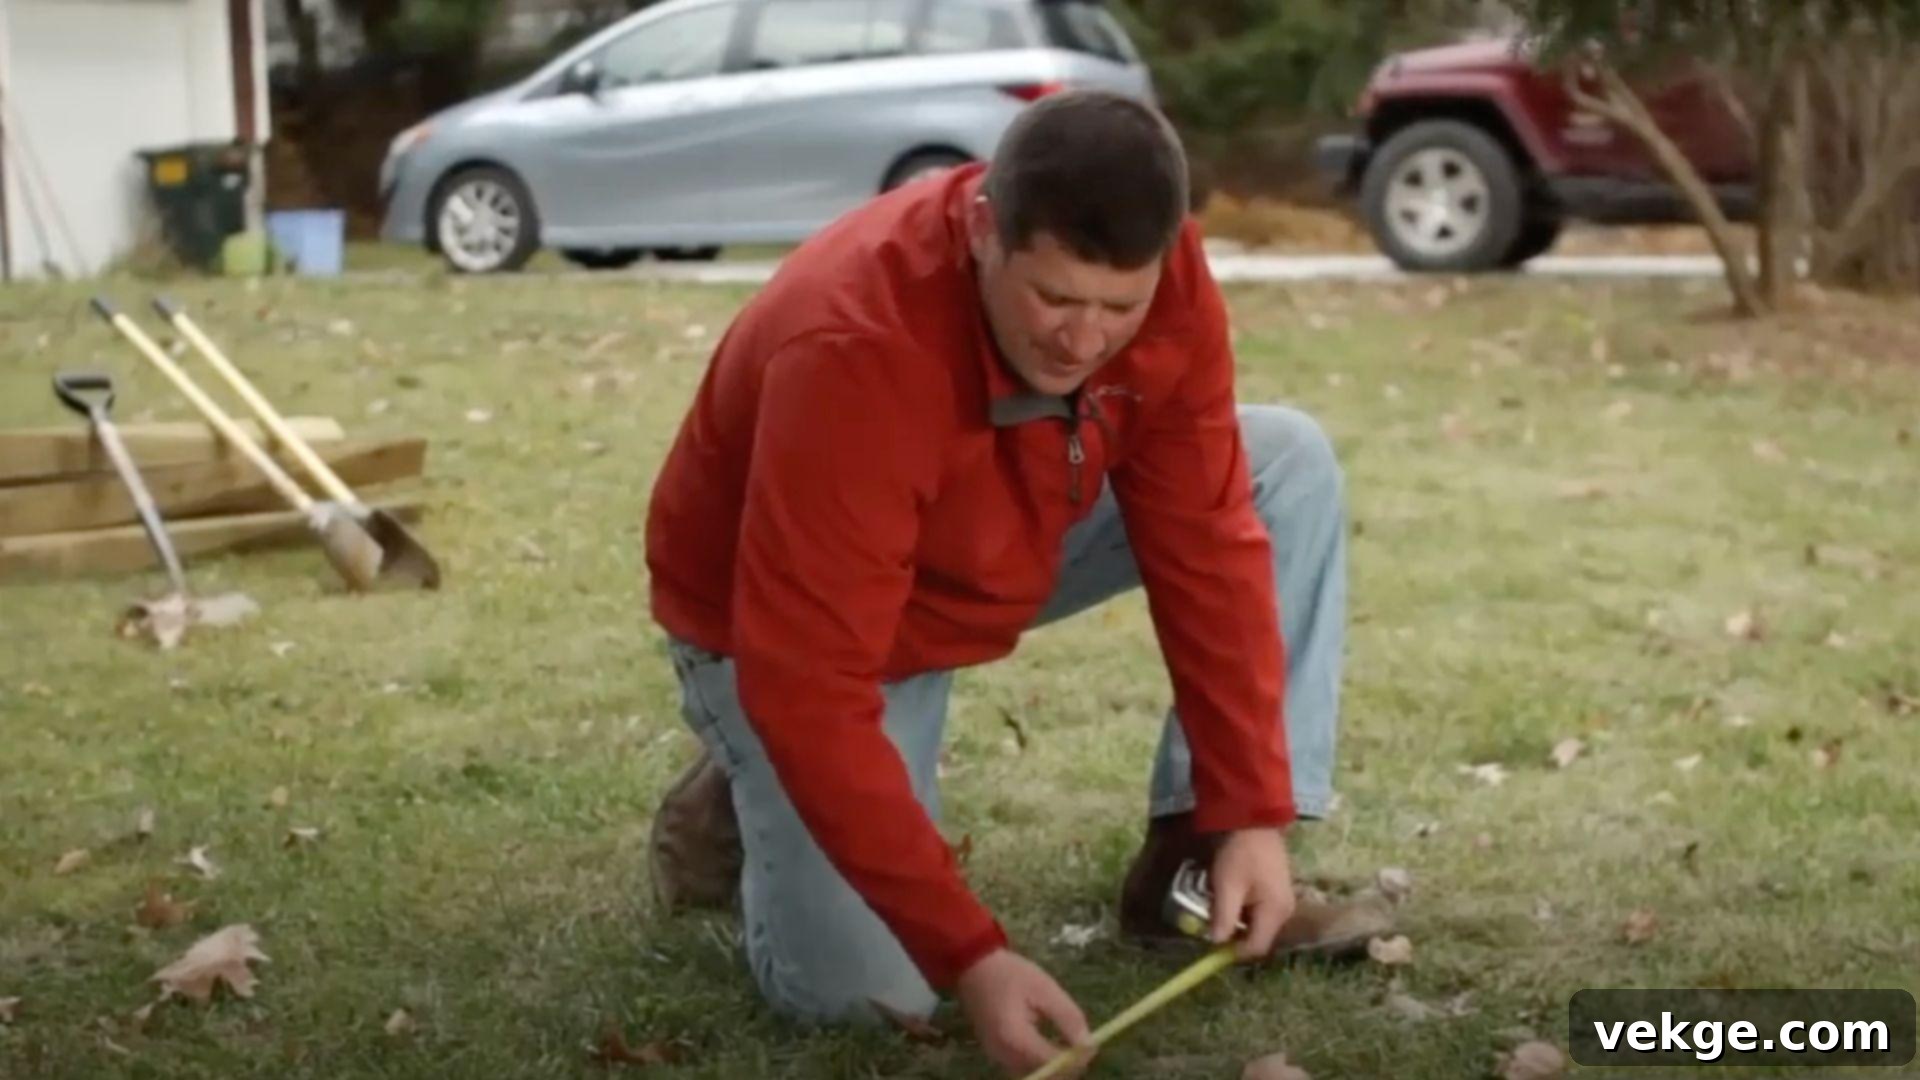
Thorough planning is the foundation of a successful fence project. This step ensures your fence is straight, properly aligned, and complies with any local regulations.
- Measure Your Area: Begin by accurately measuring the entire perimeter where your fence will be installed. Use your measuring tape to determine the total length.
- Mark the Layout: Drive stakes into the ground at each corner of your proposed fence line, and at any points where the fence changes direction. Then, run a taut string line between these stakes to establish the exact path of your fence. This string acts as your visual guide for post placement.
- Determine Post Spacing: Split rails typically come in standard lengths (e.g., 8, 10, or 11 feet). Divide the total length of your fence by the length of your chosen rails to determine the number of sections and, consequently, the number of posts needed. Ensure that your post spacing allows for the rails to fit comfortably into the mortises (holes) of the posts. Typically, posts are spaced slightly less than the rail length to allow for snug fitting.
- Consider Gates: If you plan to incorporate a gate, mark its location now. Gate posts should be sturdier and ideally set in concrete for extra stability.
- Verify Property Lines and Regulations: This is a critical step. Always double-check your property lines to avoid disputes with neighbors. Additionally, inquire with your local municipality or homeowner’s association (HOA) about any zoning laws, setback requirements, fence height restrictions, or permits required before you start digging. Ignoring these can lead to costly fines or the need to remove your new fence.
Expert Insights:
- Mark the fence line clearly using brightly colored string or marking paint before digging to prevent errors.
- Double-check all measurements at least twice to ensure accuracy and prevent materials waste.
- Always obtain necessary permits and understand local regulations before starting any fence construction.
STEP 2: Dig the Post Holes
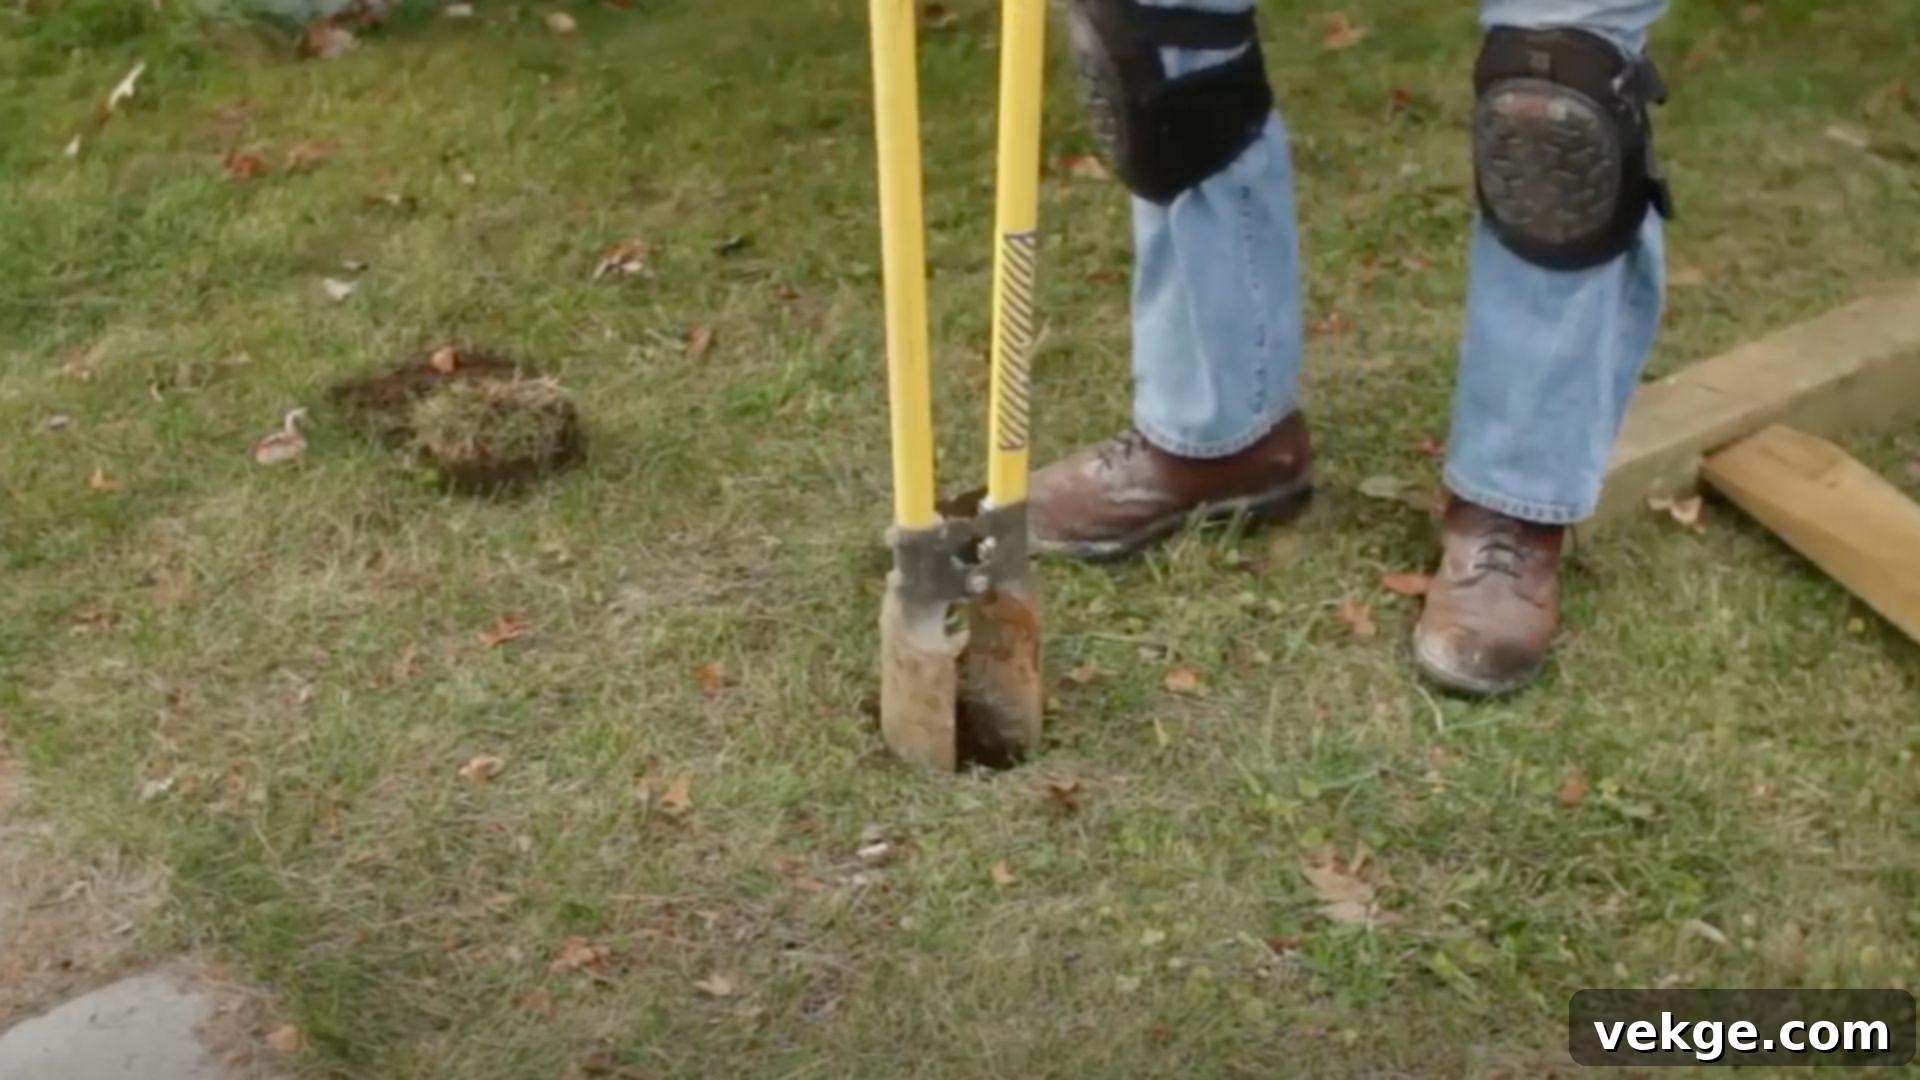
Properly dug post holes are fundamental to the stability and longevity of your fence. This step requires precision and attention to detail.
- Locate and Dig: Use your stakes and string line from Step 1 to accurately mark the center of each post hole. Then, using a post hole digger or shovel (or a power auger for larger projects), begin digging. Aim for holes that are approximately 10 inches wide.
- Determine Depth: The general rule of thumb for post depth is to bury one-third of the post’s total length, plus an additional 6 inches for drainage gravel. In regions with a significant frost line, you’ll need to dig deeper—below the frost line—to prevent frost heave from pushing your posts out of the ground. Always consult local building codes for recommended post depths in your area.
- Add Gravel for Drainage: Once the holes are dug to the correct depth, add a 6-inch layer of gravel to the bottom of each hole. This layer is crucial for proper water drainage around the base of the post. It prevents water from pooling, which can lead to premature rot and significantly extend the life of your wooden posts. Tamp the gravel down firmly.
- Clear Obstacles: Be prepared to encounter rocks or roots while digging. A digging bar or pickaxe can be useful for breaking up stubborn obstacles. If you encounter underground utilities, stop digging immediately and contact your local utility companies.
Expert Insights:
- Always call 811 (in the US) or your local “dig safe” number before digging to check for underground utilities. This is crucial for safety and preventing costly damage.
- Ensure the gravel layer is compacted to provide a solid, level base for your posts.
- Dig each hole as straight as possible to facilitate accurate post placement and alignment.
STEP 3: Set the Posts
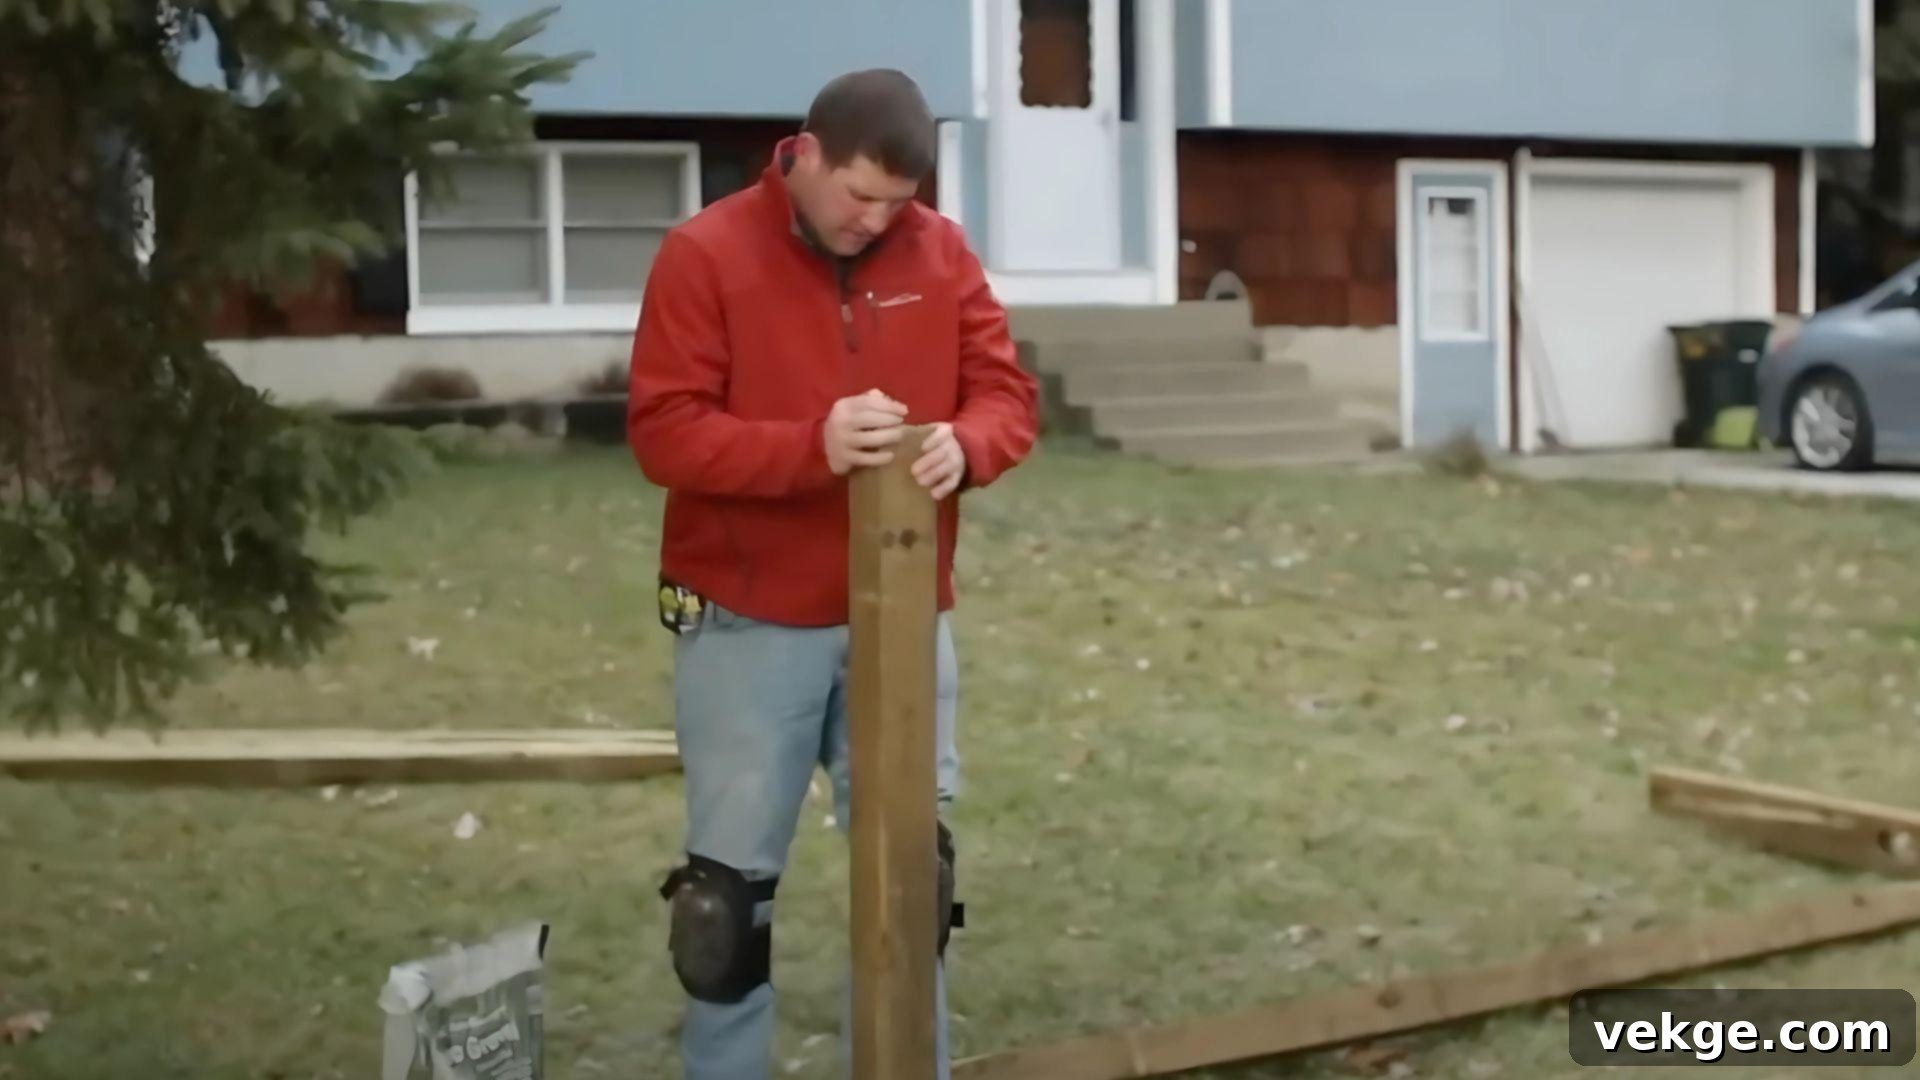
Setting the posts correctly is vital for the structural integrity and aesthetic appeal of your entire fence. Take your time to get this step right.
- Place the Posts: Carefully lift each post and place it into its respective hole, resting it firmly on the compacted gravel base. Orient the post so that the mortises (the pre-cut holes for the rails) face the correct direction along your fence line.
- Check for Plumb: Use a carpenter’s level on at least two adjacent sides of each post to ensure it is perfectly plumb (vertically straight). This is a critical step for a professional-looking fence. You can temporarily brace posts with scrap wood or stakes if needed to hold them in position while you check the level.
- Backfill and Compact: Once a post is plumb and correctly oriented, begin filling the hole with the excavated soil. Add soil in layers of about 6-8 inches, and after each layer, use a tamper tool or the back of your shovel to pack the soil down tightly. This compaction is essential for providing strong support and preventing the post from shifting. Continue adding and tamping until the hole is completely filled and the soil is firm around the post.
- Consider Concrete (Optional but Recommended for Key Posts): While the original text suggests only soil, for enhanced stability, especially for corner posts, end posts, gate posts, or in areas with soft soil, consider using concrete. Mix concrete according to manufacturer instructions, pour it around the post, and allow it to cure fully before proceeding. If using concrete, ensure the post is plumb before the concrete sets.
Expert Insights:
- To maintain consistent post height and alignment, run a taut string line across the top of your posts (or at a desired rail height) to use as a visual guide.
- Thoroughly pack the soil (or concrete) around each post to create a secure and stable foundation.
- Double-check that all posts are perfectly level and straight before moving on to rail installation. Even slight lean can be noticeable.
STEP 4: Install the Rails
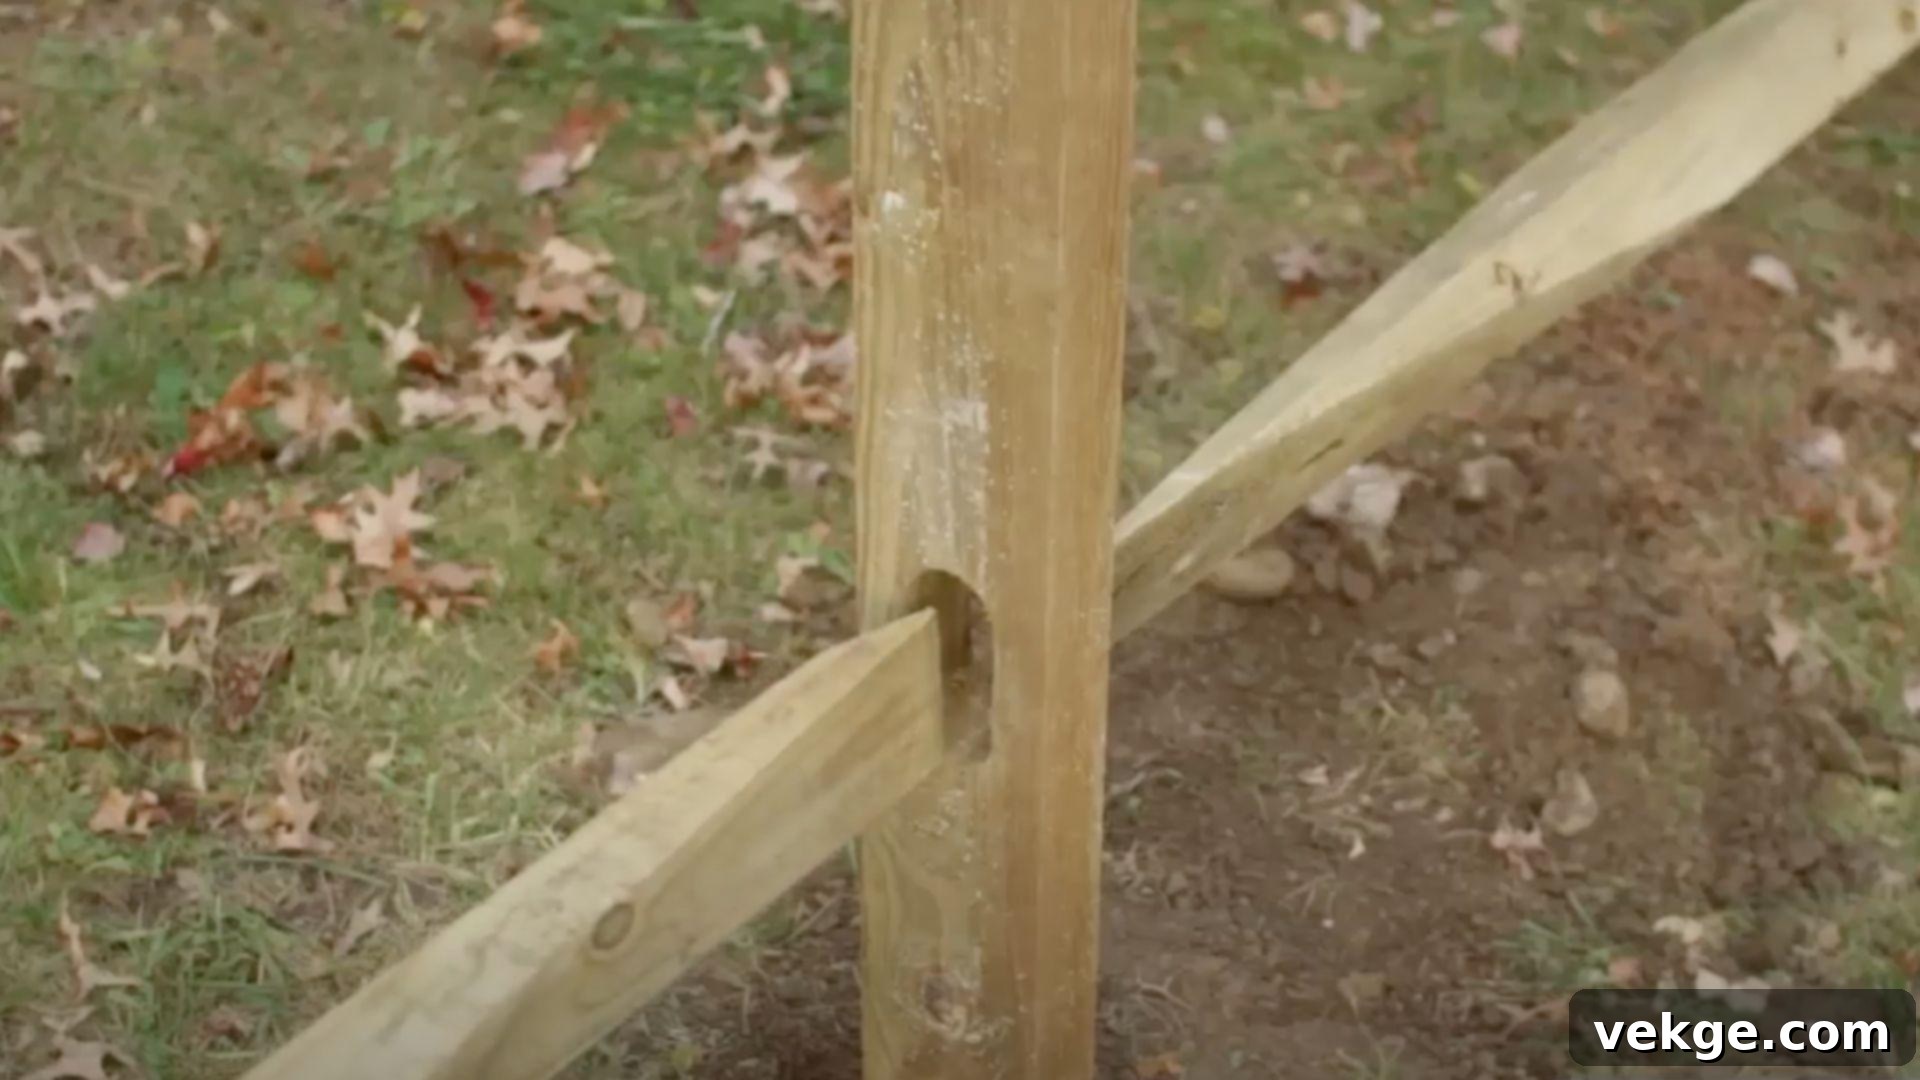
With your posts securely in place, it’s time for the rewarding step of installing the rails, which will quickly bring your fence to life.
- Insert the Rails: Begin by carefully inserting the tapered ends of the split rails into the pre-cut mortises (holes) of the posts. Depending on the design, you may need to angle the rail slightly to fit one end into a post, then align the other end with the next post.
- Check Level and Alignment: As you install each rail, use your carpenter’s level to check its horizontal alignment. Ensure that the rails are evenly spaced and run straight between the posts. Slight adjustments to the posts might be possible at this stage if they are not yet fully settled or if using soil backfill.
- Secure the Rails (if needed): Most traditional split rail fences rely on gravity and the snug fit of the rails into the mortises. However, for added security, especially in high-traffic areas or where livestock might push against the fence, you can secure the rails with a screw or nail driven through the post into the rail. This is usually done through the top of the mortise or from the side.
- Address Imperfections: If a rail doesn’t fit snugly, you may need to use a chisel to slightly widen a mortise or shave down the end of a rail for a better fit. Avoid forcing rails excessively, as this can split the wood.
Expert Insights:
- Ensure the rails are securely seated in their mortises to prevent movement and maintain stability.
- Use a level tool frequently to check the horizontal alignment of each rail; consistency is key to a professional look.
- If posts were set with soil, minor adjustments to height can be made by adding or removing soil before the final packing. If using concrete, careful post setting is paramount in Step 3.
STEP 5: Final Touches and Cleanup
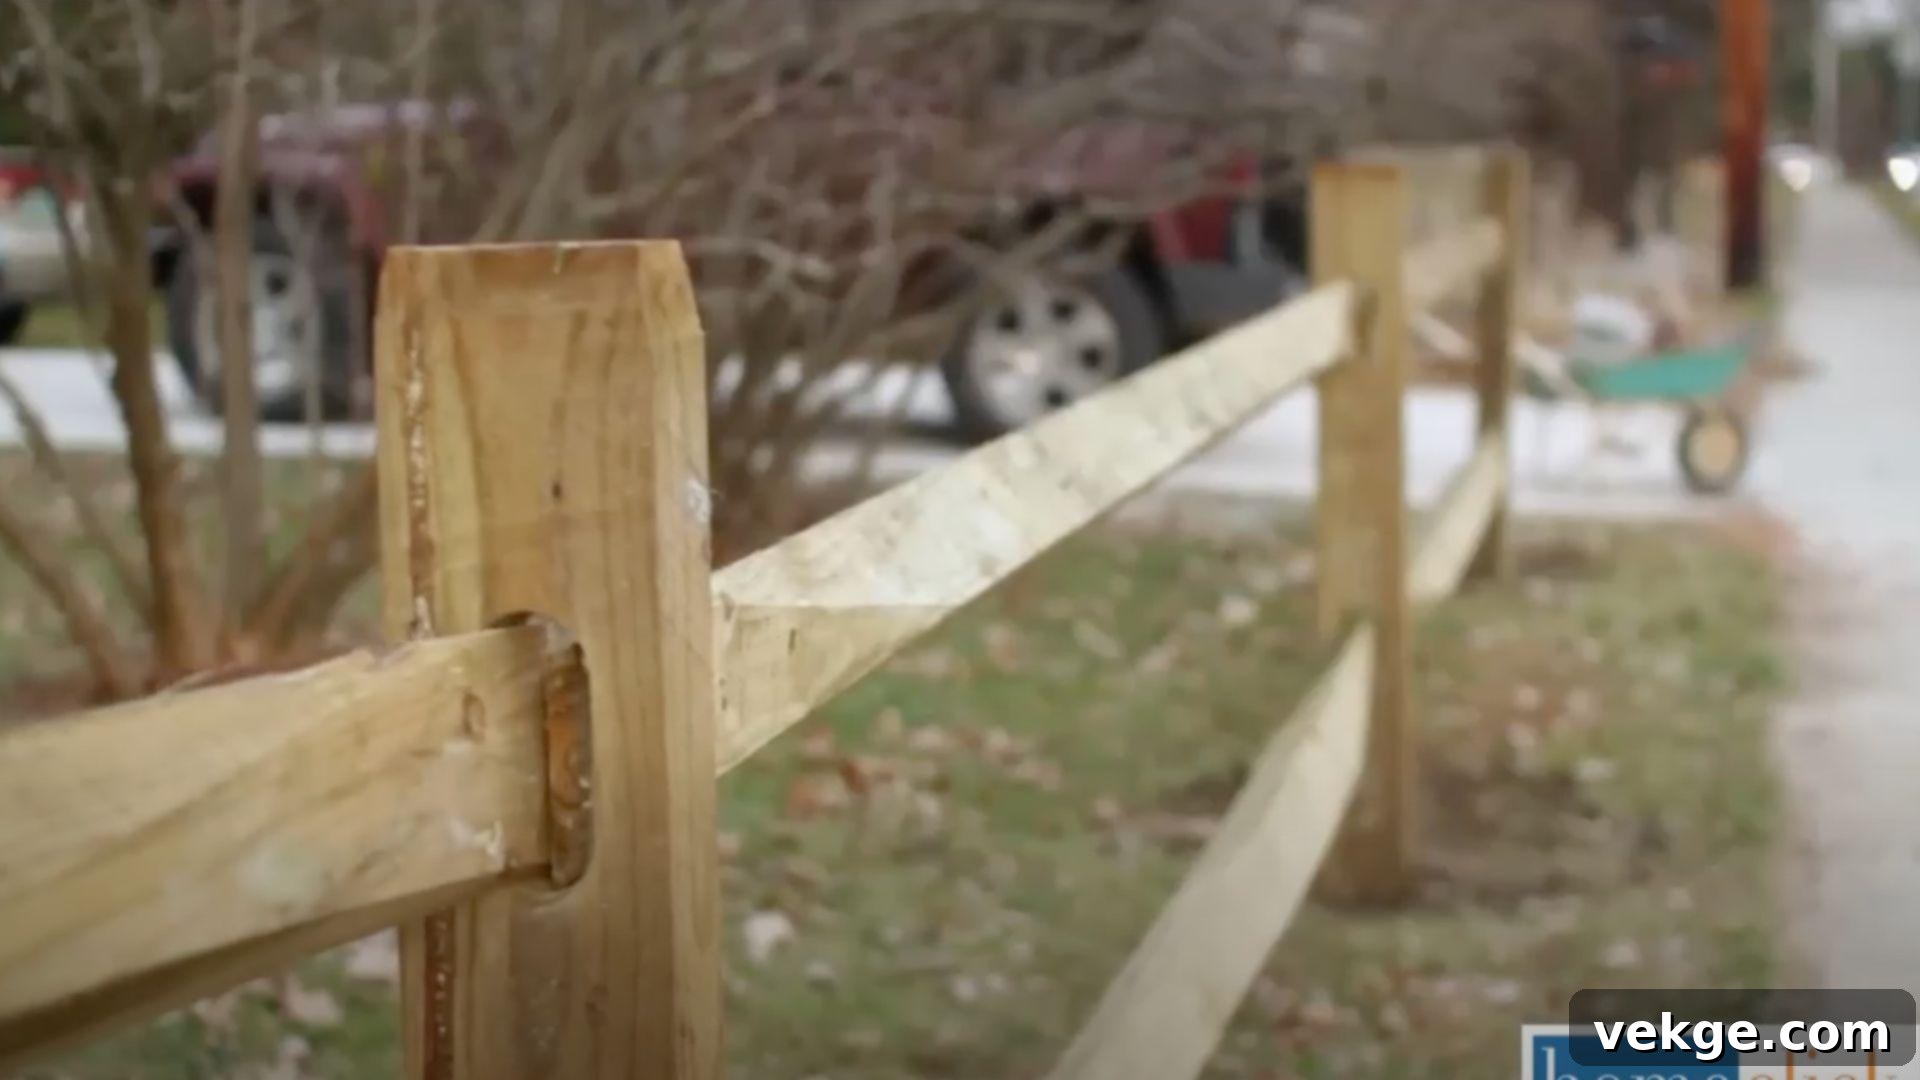
The final steps ensure your fence is not only structurally sound but also visually appealing and ready to withstand the elements.
- Review Alignment and Stability: Once all rails are in place, take a step back and visually inspect the entire fence line. Check for any posts that may have shifted or rails that appear uneven. Make any final adjustments now. Gently push on posts and rails to ensure they are stable and don’t wobble.
- Mound Soil for Drainage: Around the base of each post, mound soil slightly to create a gentle slope away from the post. This simple yet effective technique helps direct rainwater away from the wood, further preventing moisture accumulation and rot at the critical ground level.
- Apply Protective Finish (Optional but Recommended): For untreated wood, applying a high-quality wood preservative, stain, or sealant is highly recommended. This protects the wood from moisture, UV damage, and insect infestation, significantly extending the fence’s lifespan and maintaining its aesthetic. Follow the manufacturer’s instructions for application.
- Install Post Caps (Optional): Decorative post caps not only add a finished look to your fence but also help protect the end grain of the posts from direct exposure to rain and sun, which can prevent splitting and decay.
- Clean Up: Clear away any leftover materials, tools, and debris from your work area. Rake the ground around the fence line to smooth out any disturbed soil.
Expert Insights:
- Double-check all post and rail alignments one last time for consistency across the entire fence.
- Properly mounding soil around post bases is a crucial step in preventing premature post rot.
- Keep the fence easily accessible for future maintenance tasks, such as cleaning or re-sealing.
Watch the Process: How To Install Split Rail Fence Video Tutorial
For a visual demonstration and additional tips on the installation process, we highly recommend watching this helpful video tutorial. Seeing the steps in action can clarify any uncertainties and boost your confidence:
This detailed video explanation by Homeclick provides excellent practical insights that complement this written guide.
Maintaining Your Split Rail Fence the Right Way for Decades of Beauty
A well-installed split rail fence is an investment in your property, and with just a little regular attention, it can continue to enhance your outdoor space for many decades. Proactive and simple upkeep prevents minor problems from escalating into expensive and time-consuming repairs later on.
- Periodic Inspections: Make it a habit to walk your fence line at least once a year, preferably in spring or fall. Look closely for any signs of wear and tear, such as loose posts, wobbly rails, cracks, splinters, or visible weather damage like warping or fading. Also, check for insect activity or signs of rot, especially near the ground.
- Replacing Broken Rails: One of the easiest maintenance tasks for a split rail fence is replacing a damaged rail. Simply lift the broken rail out of its mortises and slide a new one into the post holes. This quick fix helps maintain the fence’s integrity and aesthetic appeal without requiring specialized tools or skills.
- Fixing Leaning Posts: If a post starts to lean, you often don’t need to replace the entire post. For posts set in soil, carefully dig around the base, reposition the post to be plumb, and then re-pack the soil tightly, adding more if necessary, and mounding it properly for drainage. If a post is severely rotted or damaged beyond repair, then full replacement may be necessary.
- Applying Wood Stain or Sealant: To maximize the lifespan and preserve the natural beauty of your wooden fence, apply a high-quality wood stain or sealant every two to three years, or as recommended by the product manufacturer. This protective layer shields the wood from the harsh effects of moisture (rain, snow), damaging UV rays from the sun, and helps deter insects. Choose a product specifically designed for outdoor use and follow application instructions carefully.
- Controlling Vegetation: Keep weeds, grass, and vines from growing directly against the fence posts and rails. Constant contact with vegetation can trap moisture, accelerate rot, and hide insect activity. Trim regularly around the fence line to ensure good air circulation.
Regular, proactive maintenance ensures that your split rail fence remains both visually appealing and structurally sound for many years to come. Investing a little time in upkeep now will save you significant time, money, and effort in the long run.
Don’t Make These Common Split Rail Fence Blunders: Tips for Success
Even seasoned DIYers can fall victim to common pitfalls when undertaking a fence project, especially without meticulous planning and attention to detail. Being aware of these typical split rail fence blunders can help you sidestep problems that could otherwise jeopardize your entire project, leading to frustration and wasted resources.
- Neglecting Local Regulations and Property Lines: This is arguably the most critical blunder. Forgetting to check local zoning rules, setback requirements, fence height restrictions, or failing to verify your exact property lines before you start digging can result in fines, legal disputes with neighbors, or the costly necessity of tearing down and rebuilding your fence. Always obtain necessary permits and communicate with your neighbors.
- Improper Post Spacing: Spacing posts too far apart weakens the fence, causing rails to sag or become unstable over time, especially under pressure from wind or animals. Conversely, spacing them too close together wastes materials and makes the fence look crowded and less rustic. Always adhere to the recommended rail lengths and ensure a snug fit.
- Setting Posts Crooked or Unevenly: A fence with leaning or inconsistently set posts immediately looks unprofessional and structurally unsound. Over time, crooked posts can lead to rail misalignment and compromise the fence’s overall stability. Always use a level meticulously for every single post.
- Inadequate Hole Depth and Drainage: Digging holes that are too shallow, or failing to add sufficient gravel for drainage, is a recipe for premature post rot and instability. Posts that aren’t buried deep enough (especially below the frost line) are susceptible to frost heave, where freezing and thawing ground can push them out of the soil. This drastically reduces the fence’s lifespan.
- Forcing Rails or Improperly Securing Them: While split rails are designed to fit snugly, excessive force can split posts or rails. On the other hand, if rails are too loose or not secured (if the design calls for it), they can easily dislodge. Ensure a good, firm fit without over-stressing the wood.
- Skipping Regular Maintenance Checks: Neglecting periodic inspections and maintenance allows minor issues, such as a loose rail, a crack, or early signs of rot, to escalate into major, expensive repairs. Proactive care like re-sealing or replacing a single damaged rail is far more cost-effective than rebuilding an entire section due to neglect.
Learning from these common mistakes before you even pick up a shovel will save you significant time, money, and frustration throughout your split rail fence installation process. Taking extra care with these foundational details is the crucial difference between a successful, long-lasting fence and a project fraught with problems.
Wrapping It Up: Enjoy the Enduring Appeal of Your DIY Split Rail Fence
Mastering the art of how to install a split rail fence has undoubtedly become one of my most cherished DIY accomplishments over the years. The journey, from the initial planning and digging to the satisfying placement of the final rail, is incredibly rewarding. This project offers a unique blend of traditional craftsmanship and modern practicality, making every section of fence feel meaningful and worthwhile, promising decades of enjoyment and functional beauty.
Beyond the tangible fence itself, the skills you develop during this installation process are invaluable. The understanding of layout, measurement, post setting, and working with natural materials transfers beautifully and efficiently to countless other woodworking and landscaping projects around your home. You’re not just building a fence; you’re expanding your capabilities as a confident homeowner.
Each fence section stands as a testament to your honest work, creating lasting beauty and practical value for your property for generations to come. The quiet pride you feel when neighbors compliment your handiwork, or simply the peaceful satisfaction of admiring your finished fence, makes every blister and sore muscle absolutely worth it. Your property truly deserves the lasting appeal, rustic charm, and sturdy function that only a well-crafted split rail fence can provide today.
Are you ready to create something amazing that will enhance your home’s character and value? Don’t hesitate to embark on this rewarding DIY adventure. If you have any questions or need further guidance, feel free to drop your questions below in the comments!
