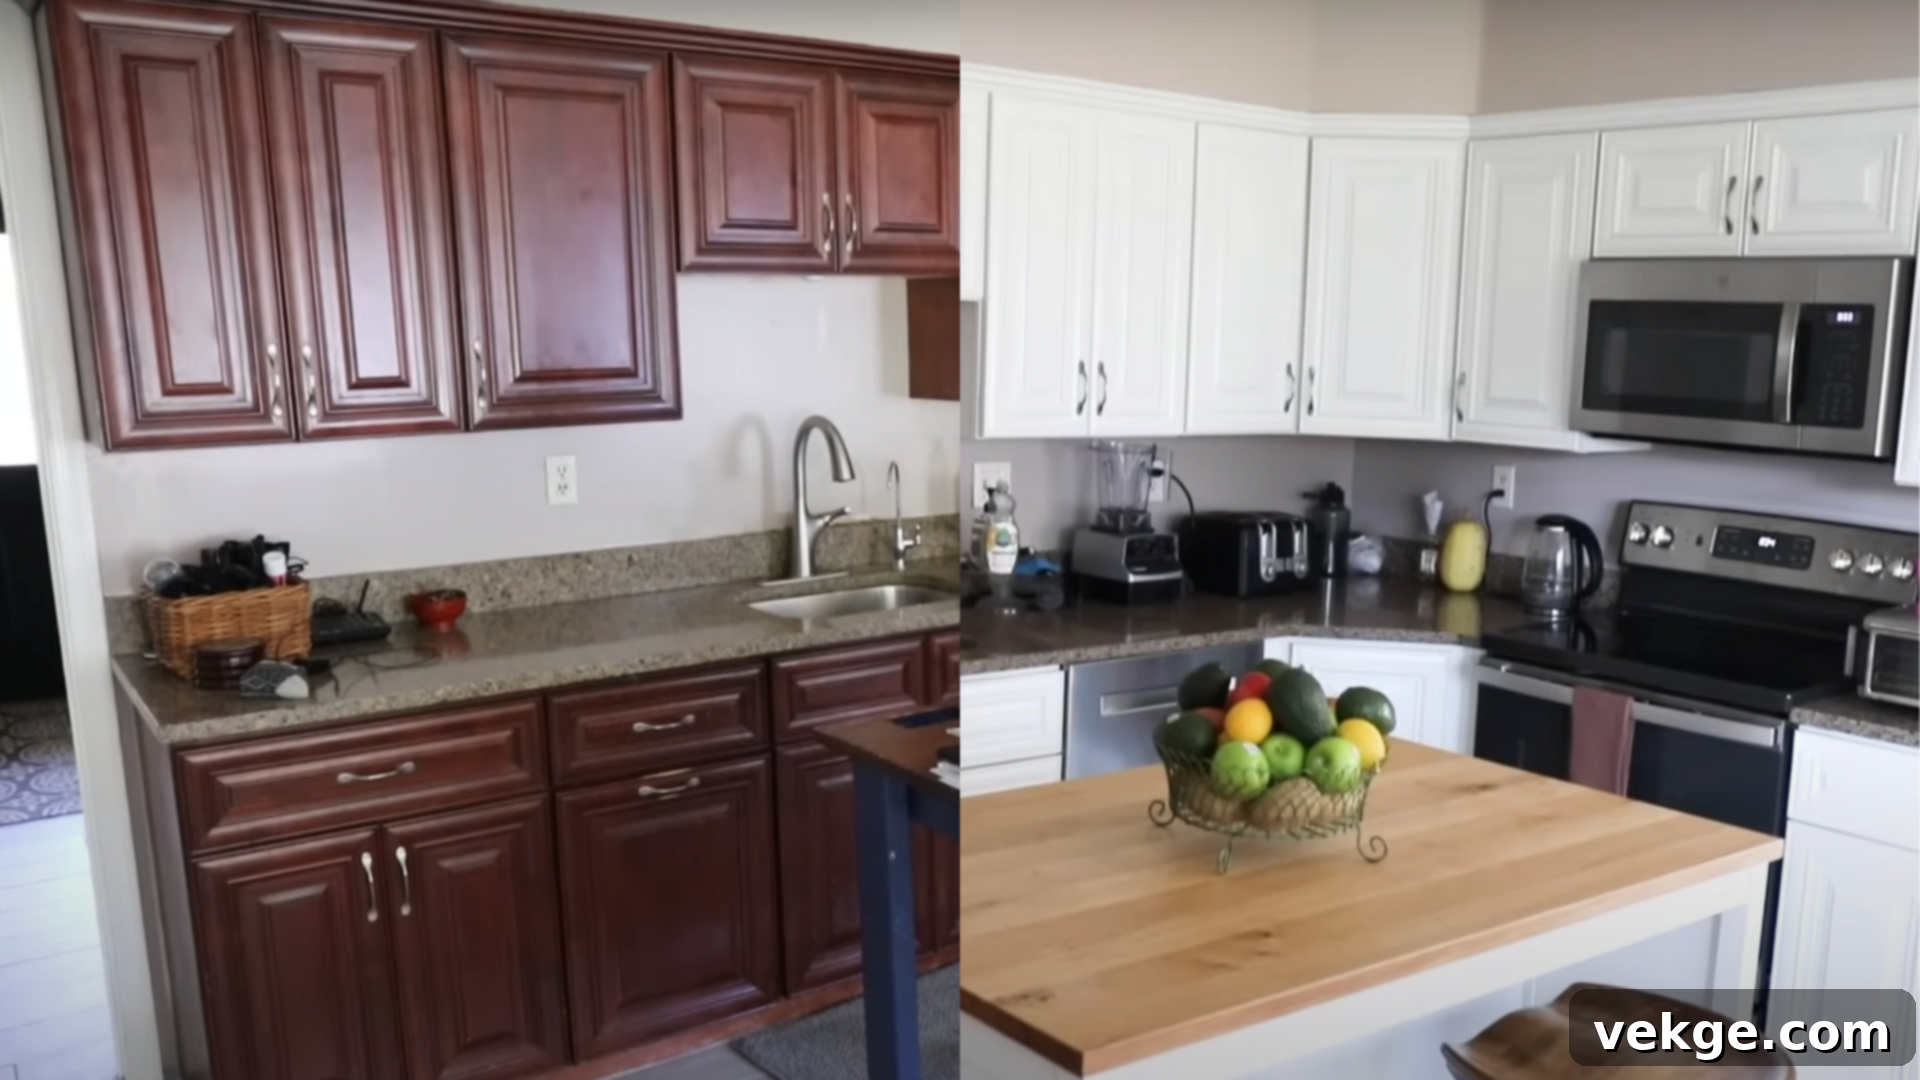
Transform Your Kitchen: The Ultimate DIY Guide to Painting Cabinets White for a Fresh Look
Are dark, dated kitchen cabinets making your space feel gloomy and uninviting? If you’re yearning for a brighter, cleaner, and more modern aesthetic, painting your kitchen cabinets white is a remarkably effective and budget-friendly solution. This simple transformation can dramatically lighten your kitchen, making it feel more spacious and refreshing.
Having undertaken this project myself, I understand the nuances and challenges involved. In this comprehensive guide, I’ll walk you through every step of the process, sharing the essential tools, meticulous preparation techniques, and proper painting methods to achieve smooth, durable, and long-lasting results. I’ll even highlight common pitfalls to help you avoid frustrating mistakes. By the end, you’ll feel confident tackling this rewarding DIY project, potentially turning your kitchen into the brightest and most beloved room in your home.
The Undeniable Appeal and Benefits of White Kitchen Cabinets
White kitchen cabinets remain a timeless and highly sought-after choice for good reason. Their popularity stems from a host of practical and aesthetic advantages:
- Enhanced Brightness and Space: White surfaces are renowned for their ability to reflect light. This natural reflectivity makes a kitchen feel significantly brighter and more open, an invaluable benefit, especially in smaller spaces or kitchens with limited natural light. It effectively combats the “closed-in” feeling often associated with darker cabinetry.
- Versatile Design Foundation: White acts as a neutral canvas, effortlessly complementing a vast array of colors, textures, and materials. Whether your style leans towards modern minimalism, classic farmhouse, or coastal chic, white cabinets provide a perfect backdrop. This versatility means you have greater freedom when choosing wall colors, countertops, backsplashes, and decor without worrying about clashes.
- Timeless Elegance: White cabinets possess an enduring elegance that transcends fleeting trends. They offer a clean, crisp, and sophisticated look that can suit both contemporary and traditional kitchen designs, ensuring your renovation remains stylish for years to come.
- Increased Perceived Cleanliness: A white kitchen often feels inherently cleaner and more organized. While white surfaces do show dirt more readily, this can be seen as an advantage, encouraging more frequent cleaning and helping maintain a hygienic environment.
However, it’s important to consider a few points before committing to white. As mentioned, white surfaces are more prone to showing smudges, fingerprints, and splashes compared to darker colors, meaning they might require more frequent wiping. Additionally, some white paints can exhibit slight yellowing over time, particularly in areas exposed to high heat or direct sunlight. If you’re prepared for routine maintenance and desire a kitchen that radiates brightness and openness, painting your cabinets white is an exceptionally smart and impactful upgrade.
Choosing the Right White Paint for Your Cabinet Transformation
Selecting the correct paint is paramount for a successful and durable finish. Here’s a detailed guide to help you make the best choice for your kitchen cabinet painting project:
- Type of Paint: Always opt for high-quality paint specifically formulated for cabinets, furniture, or trim. These paints are engineered to be thicker and more durable than standard wall paint, offering superior resistance to chips, scratches, and everyday wear and tear in a high-traffic area like the kitchen. Look for acrylic-latex or oil-based enamel paints.
- Finish: The finish significantly impacts both aesthetics and maintenance.
- Semi-Gloss: Highly durable and very easy to clean. Its slight sheen enhances light reflection and provides a classic, polished look.
- Satin: Offers a softer, more subtle sheen than semi-gloss, providing a contemporary look while still being highly washable and durable. It’s often a good balance between appearance and practicality.
- Avoid Matte/Flat finishes: While aesthetically pleasing, they are typically less durable and much harder to clean, making them unsuitable for kitchen cabinets.
- Primer: A high-quality primer is non-negotiable, especially when painting dark cabinets white or covering stained wood.
- Extreme Bond Primer: Products like this are excellent for ensuring maximum adhesion, even on slick or previously finished surfaces, preventing the new paint from peeling.
- Stain-Blocking Primer: Essential for preventing old stains (like grease or wood tannins) from bleeding through your new white paint, which can cause discoloration.
- Primer also helps achieve proper coverage with fewer coats of your topcoat, saving time and paint.
- White Shade: “White” isn’t just one color; there are countless shades.
- Bright White: Offers a crisp, clean, and often modern look. It can make a kitchen feel very fresh and vibrant.
- Soft White/Off-White: Contains subtle undertones of beige or gray, providing a warmer, more inviting, and traditional feel. These often pair well with warm wood tones or classic decor.
- Cool White: Features blue or gray undertones, making it a good choice for kitchens with gray countertops, stainless steel appliances, or black accents, creating a more contemporary or minimalist vibe.
Tip: Always test paint swatches on your cabinets in various lighting conditions before committing to a shade.
- Application Method (Sprayer vs. Brush/Roller):
- Paint Sprayer: Can deliver an incredibly smooth, factory-like finish quickly, especially for doors and drawers. However, it requires practice, proper ventilation, and careful masking.
- Brush and Roller: Offers greater control, is more budget-friendly, and can achieve a beautiful, slightly textured finish that many homeowners prefer. Use a good quality angled brush for detailed areas and a foam or fine-nap roller for smooth, even coats on flat surfaces.
Essential Materials You’ll Need: Painting Kitchen Cabinets White Checklist
Having all the necessary tools and products at hand before you begin will streamline the process, ensure safety, and contribute significantly to a professional-looking finish. Here’s a comprehensive list of what you’ll need for your white cabinet painting project:
Cleaning and Preparation Supplies:
- Mild Soap and Warm Water: For initial general cleaning.
- Degreaser/Cleaner: Products like Simple Green, TSP (Trisodium Phosphate) substitute, or a steam cleaner are crucial for removing stubborn grease, grime, and food residue that accumulate on kitchen cabinets. This step is vital for paint adhesion.
- Rags/Microfiber Cloths: For cleaning and wiping down surfaces.
Disassembly and Organization Tools:
- Screwdriver Set (Phillips and Flathead): For removing cabinet doors, drawers, hinges, and hardware.
- Painter’s Tape (Blue or Green Masking Tape): To protect adjacent walls, appliances, countertops, and areas you don’t want painted.
- Drop Cloths or Old Sheets/Tarps: To protect floors, countertops, and any furniture remaining in the kitchen from paint splatters.
- Labeled Bags or Containers: For storing hinges, screws, and other hardware securely. Labeling is critical to ensure everything goes back in its correct place.
- Labels/Numbering System: To clearly mark each cabinet door and drawer with its corresponding cabinet frame opening.
Surface Preparation Supplies:
- Sandpaper (120-grit medium and 220-grit fine): For light sanding to create a “tooth” for primer adhesion and for smoothing between coats. Alternatively, a liquid deglosser/sander can be used on certain finishes.
- Tack Cloths or Damp Cloth: To effectively wipe off sanding dust and ensure a clean surface before priming.
- Caulk and Caulk Gun: To fill any small gaps, cracks, or seams in the cabinet frames or doors for a seamless finish. Use paintable caulk.
Priming and Painting Supplies:
- High-Quality Primer: (e.g., Extreme Bond primer or a good quality stain-blocking primer) specifically designed for cabinets, especially for dark or slick surfaces.
- Premium Cabinet Paint: High-quality acrylic-latex or oil-based enamel paint in your chosen shade of white (e.g., Beyond Paint or similar dedicated cabinet paint).
- Angled Paint Brush (1.5-2 inches): For cutting in corners, edges, and detailed areas. A good quality synthetic brush is recommended for water-based paints.
- Foam Roller or 4-inch Fine-Nap Roller: For applying smooth, even coats on flat surfaces of doors and cabinet frames.
- Paint Tray or Bucket: For holding paint.
- Paint Sprayer (Optional): For those seeking a professional, ultra-smooth finish and faster application. Ensure you have appropriate thinning agents if required by the paint.
- Multi-Purpose Clear Sealer/Topcoat (Optional but Recommended): A water-based polycrylic or similar clear coat for added durability and protection, particularly in high-traffic areas.
Safety and Other Miscellaneous Items:
- Gloves: To protect your hands from paint and chemicals.
- Safety Glasses: Essential, especially when sanding or using a paint sprayer.
- Mask/Respirator: For protection against dust and paint fumes.
- Stir Sticks: To thoroughly mix paint and primer.
- Plastic Sheeting/Masking Paper: For covering larger areas if using a sprayer.
Step-by-Step Process: Achieving Flawless White Kitchen Cabinets
This detailed guide will walk you through each crucial step of painting your kitchen cabinets white, from initial preparation to the final protective coat, ensuring a smooth, professional, and lasting finish.
Step 1: Meticulous Preparation – The Foundation of Success
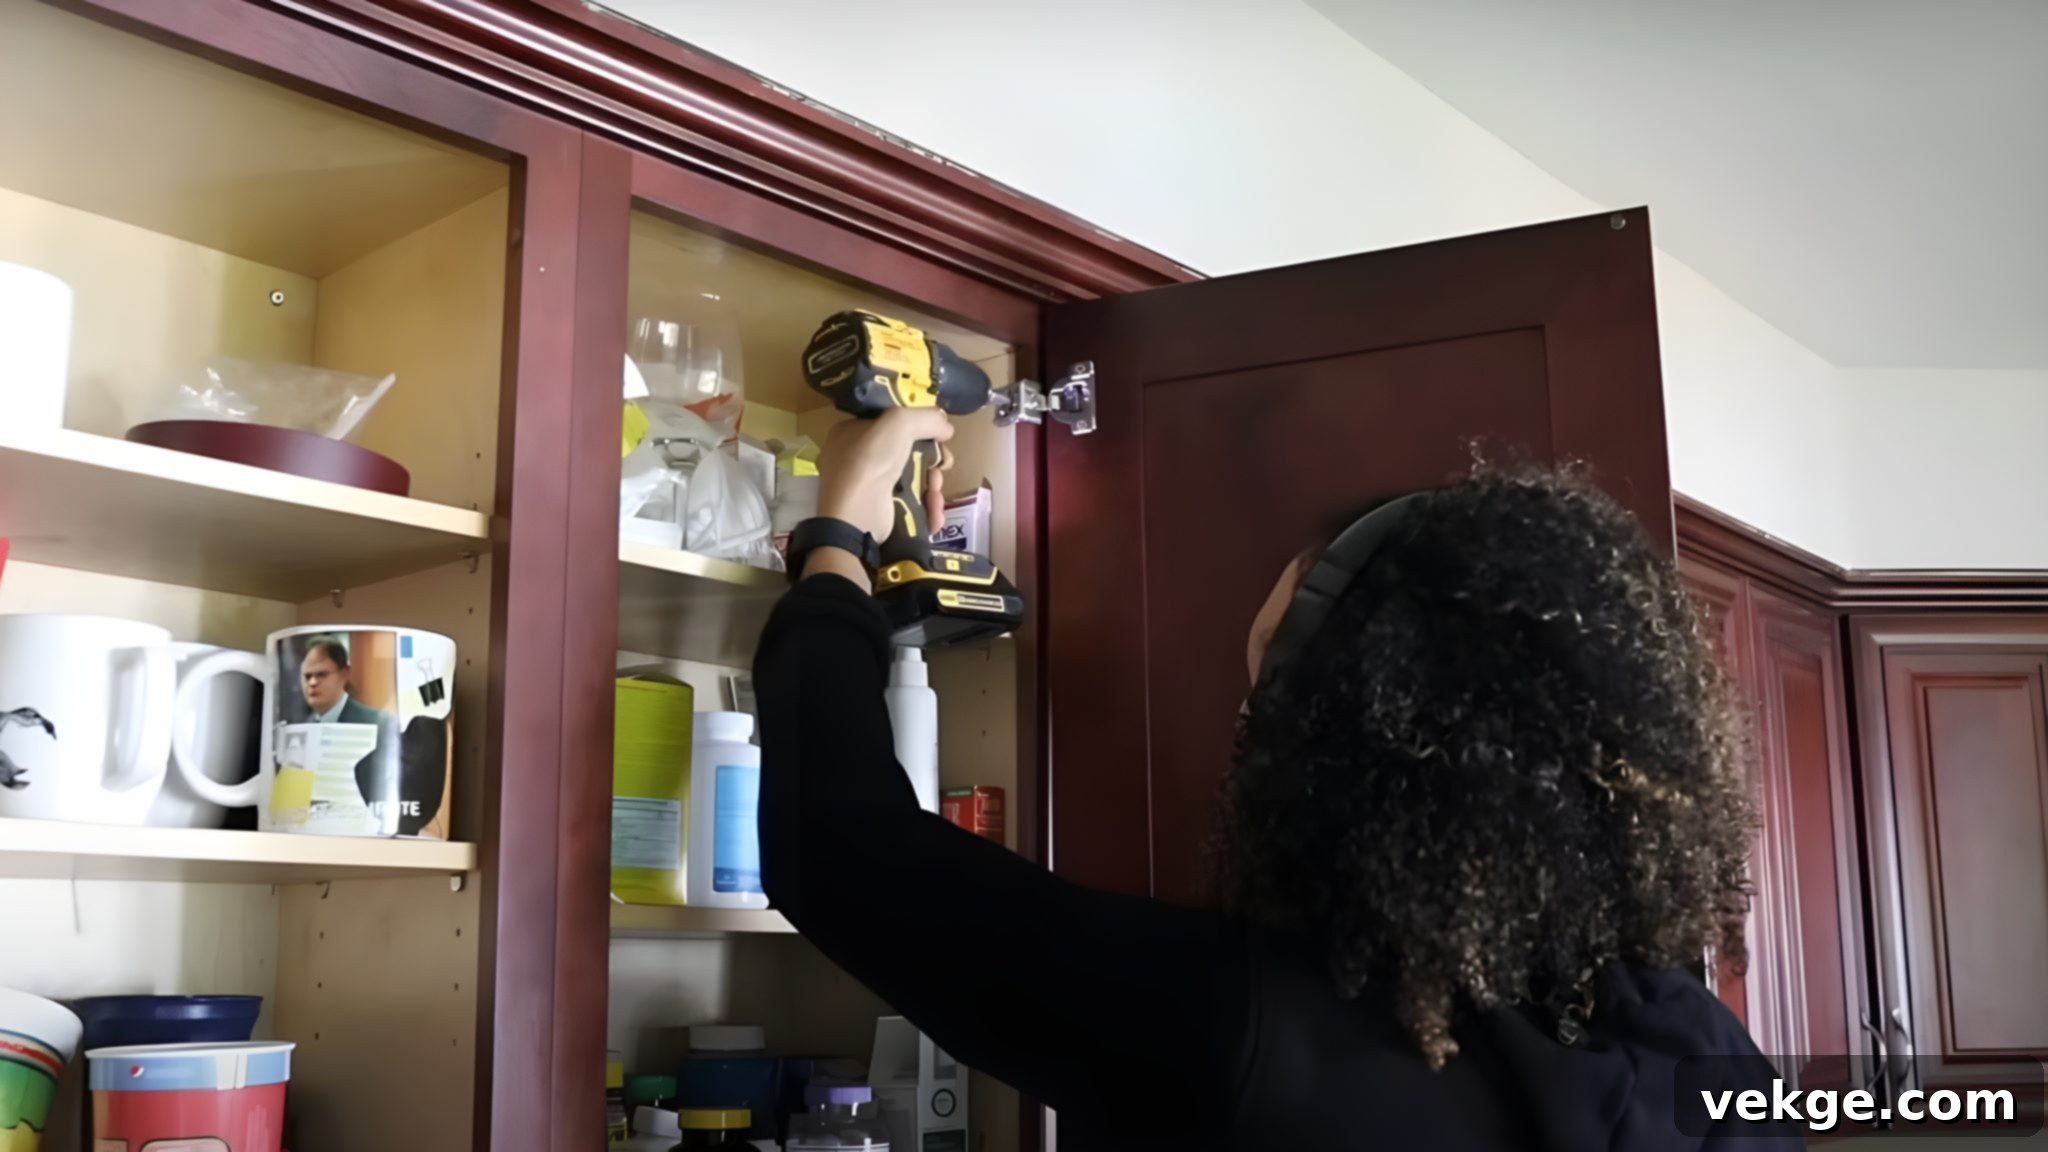
Preparation is arguably the most critical stage of this entire project. Its thoroughness directly impacts how well the paint adheres, how smooth the final finish appears, and the overall durability of your painted cabinets.
- Disassemble and Organize: Begin by carefully removing all cabinet doors and drawer fronts. Label each component clearly (e.g., “Upper Left 1,” “Drawer 2”) and corresponding cabinet frame opening to ensure they are reinstalled in their original positions. Remove all hardware—hinges, handles, and knobs—and store them in separate, labeled bags or containers. This prevents loss and simplifies reassembly.
- Deep Clean: Kitchen cabinets accumulate grease, food residue, and grime over time. Use a powerful degreaser (like TSP substitute or Simple Green) and warm water to thoroughly clean every surface of the doors, drawers, and cabinet frames. A steam cleaner can also be highly effective for stubborn build-up. Rinse with clean water and allow everything to dry completely. Any residual grease will prevent primer and paint from adhering properly, leading to peeling.
- Light Sanding or Liquid Deglosser: Lightly sand all surfaces with 120-grit sandpaper, followed by 220-grit. The goal is not to remove the old finish entirely but to scuff the surface, creating a “tooth” that allows the primer to grip better. For very glossy or difficult-to-sand finishes, a liquid deglosser can be used as per manufacturer instructions. After sanding, meticulously wipe away all dust with a tack cloth or a damp cloth, followed by a dry one.
- Fill and Repair: Inspect all cabinet surfaces for any small cracks, dings, or holes. Use paintable caulk or wood filler to fill these imperfections, ensuring a smooth, uniform surface. Allow the filler/caulk to dry completely, then lightly sand smooth if necessary.
- Protect Your Kitchen: Cover all countertops, appliances, floors, and anything else you don’t want painted with drop cloths, old sheets, or plastic sheeting. Use painter’s tape to meticulously mask off edges of walls, ceilings, and inside cabinet frames where paint should not go.
Step 2: Prime for Perfection
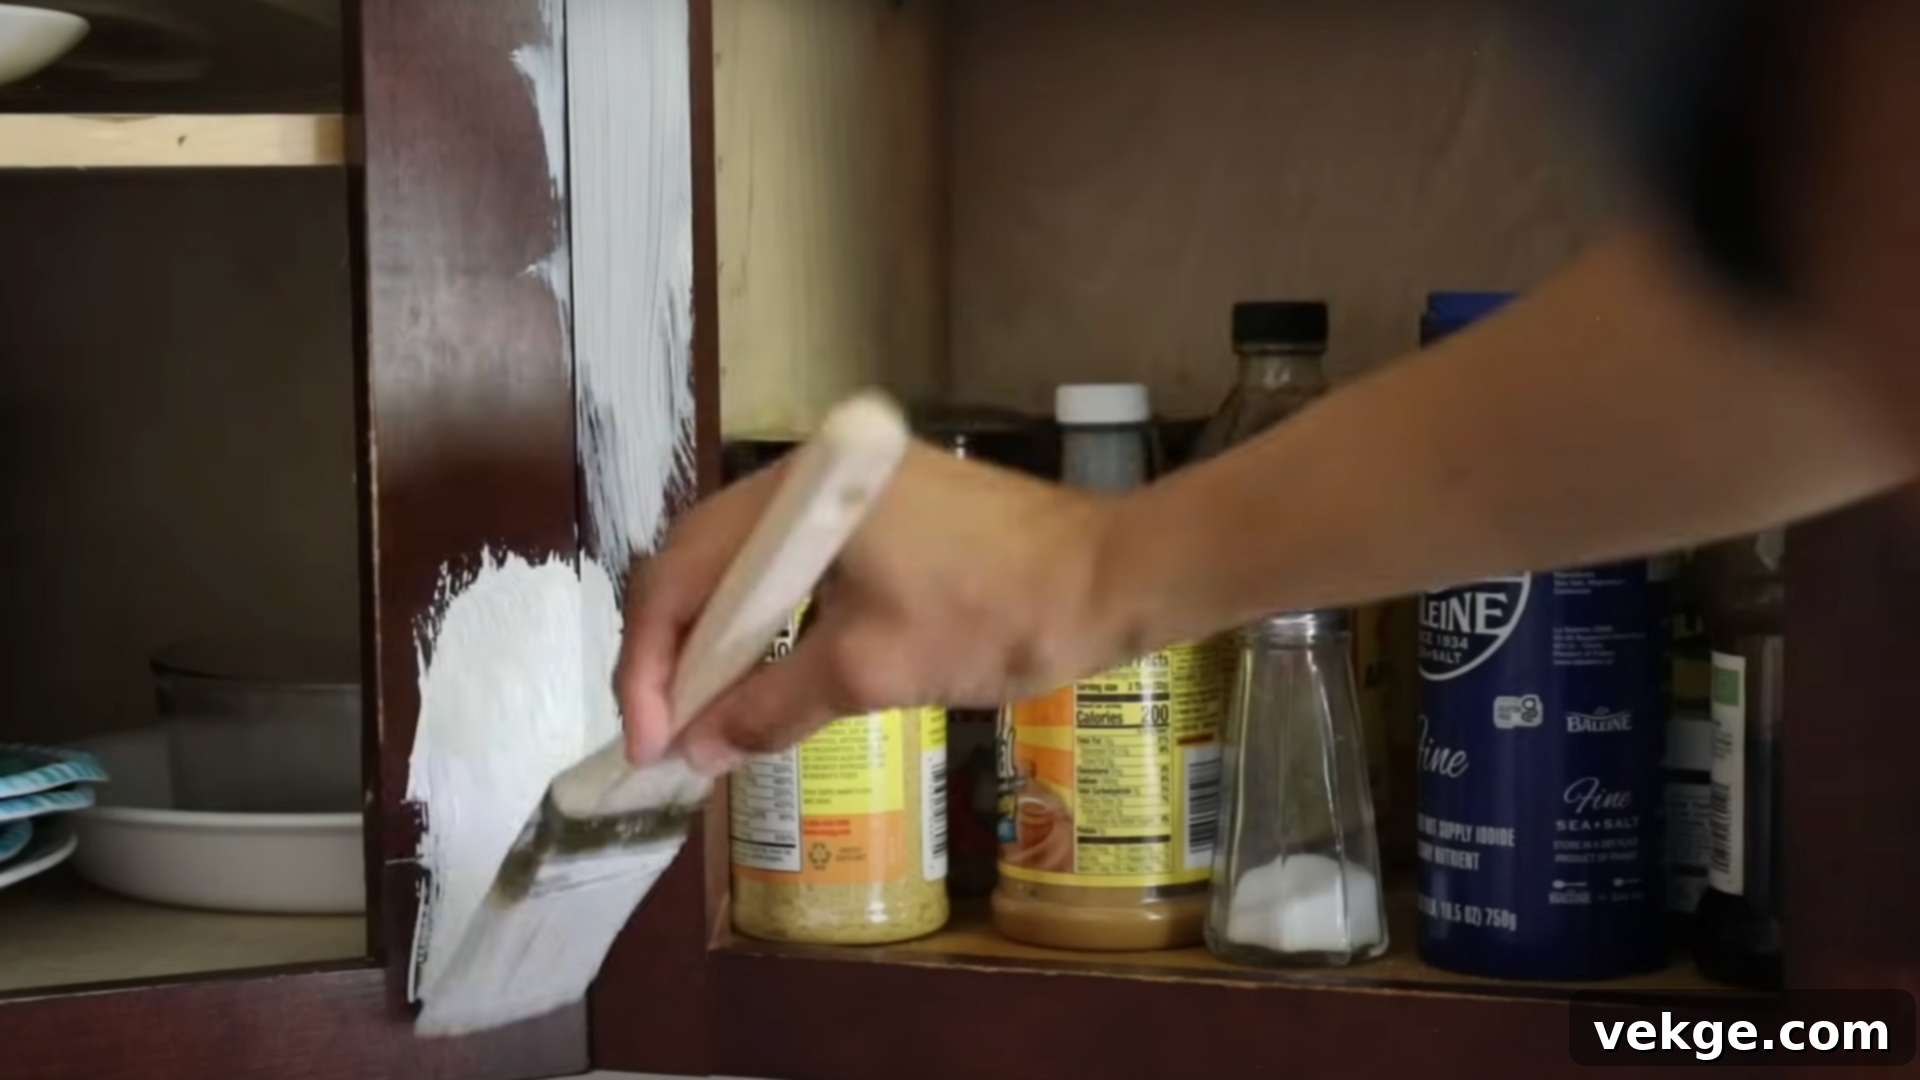
Priming creates a uniform base for your white paint, enhances adhesion, and helps block stains from bleeding through. Apply a thin, even coat of your chosen primer. Use an angled brush for corners, detailed areas, and edges, and a foam or fine-nap roller for larger, flat surfaces. A combination of both often yields the best results. If your cabinets are dark, or if you’re covering wood with strong tannins, you may need two or even three coats of primer to achieve full coverage and prevent bleed-through. Allow each coat to dry completely according to the manufacturer’s instructions (typically 2-4 hours) before applying the next. Lightly sand with 220-grit sandpaper between primer coats for an ultra-smooth finish, then wipe clean with a tack cloth.
Step 3: The Painting Process
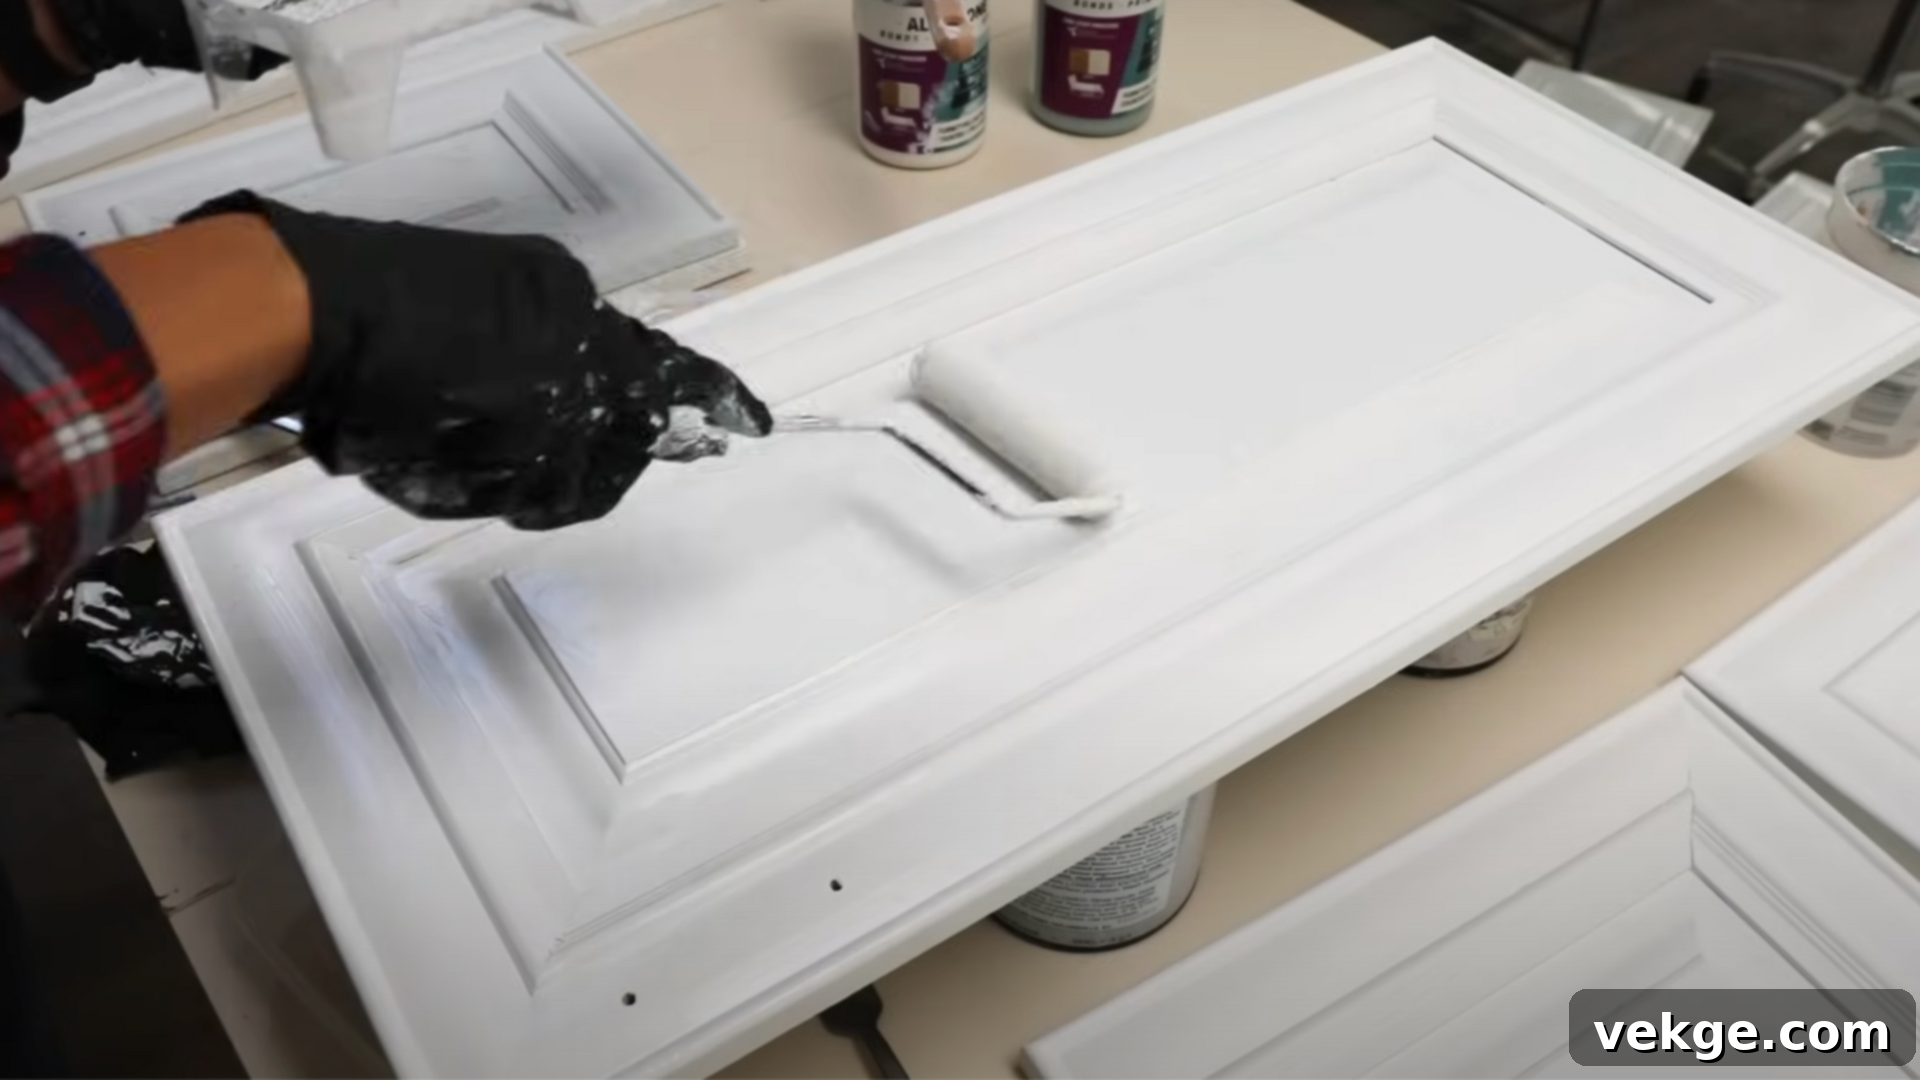
Now for the exciting part – applying your chosen white cabinet paint! Ensure the paint is thoroughly stirred. For the best results, apply multiple thin coats rather than one thick coat, which can lead to drips and unevenness.
- Brush and Roller Application: Start by using an angled brush to paint the recessed areas, corners, and edges of the cabinet doors and frames. Then, immediately follow with a foam or fine-nap roller to smooth out the paint on flat surfaces, ensuring even coverage and minimizing brush marks. Work in small sections to maintain a wet edge.
- Paint Sprayer Application (Optional): If using a paint sprayer, ensure you read the manufacturer’s instructions for thinning the paint correctly for optimal flow. Practice on a scrap piece of wood first. Always work in a well-ventilated area or outdoors, wearing appropriate safety gear. Apply paint in smooth, overlapping passes.
Apply at least two coats of paint, allowing each coat to dry for several hours (or according to paint instructions) before applying the next. Lightly sand with 220-grit sandpaper between coats for an even smoother finish, removing any dust with a tack cloth before proceeding.
Step 4: Seal and Protect
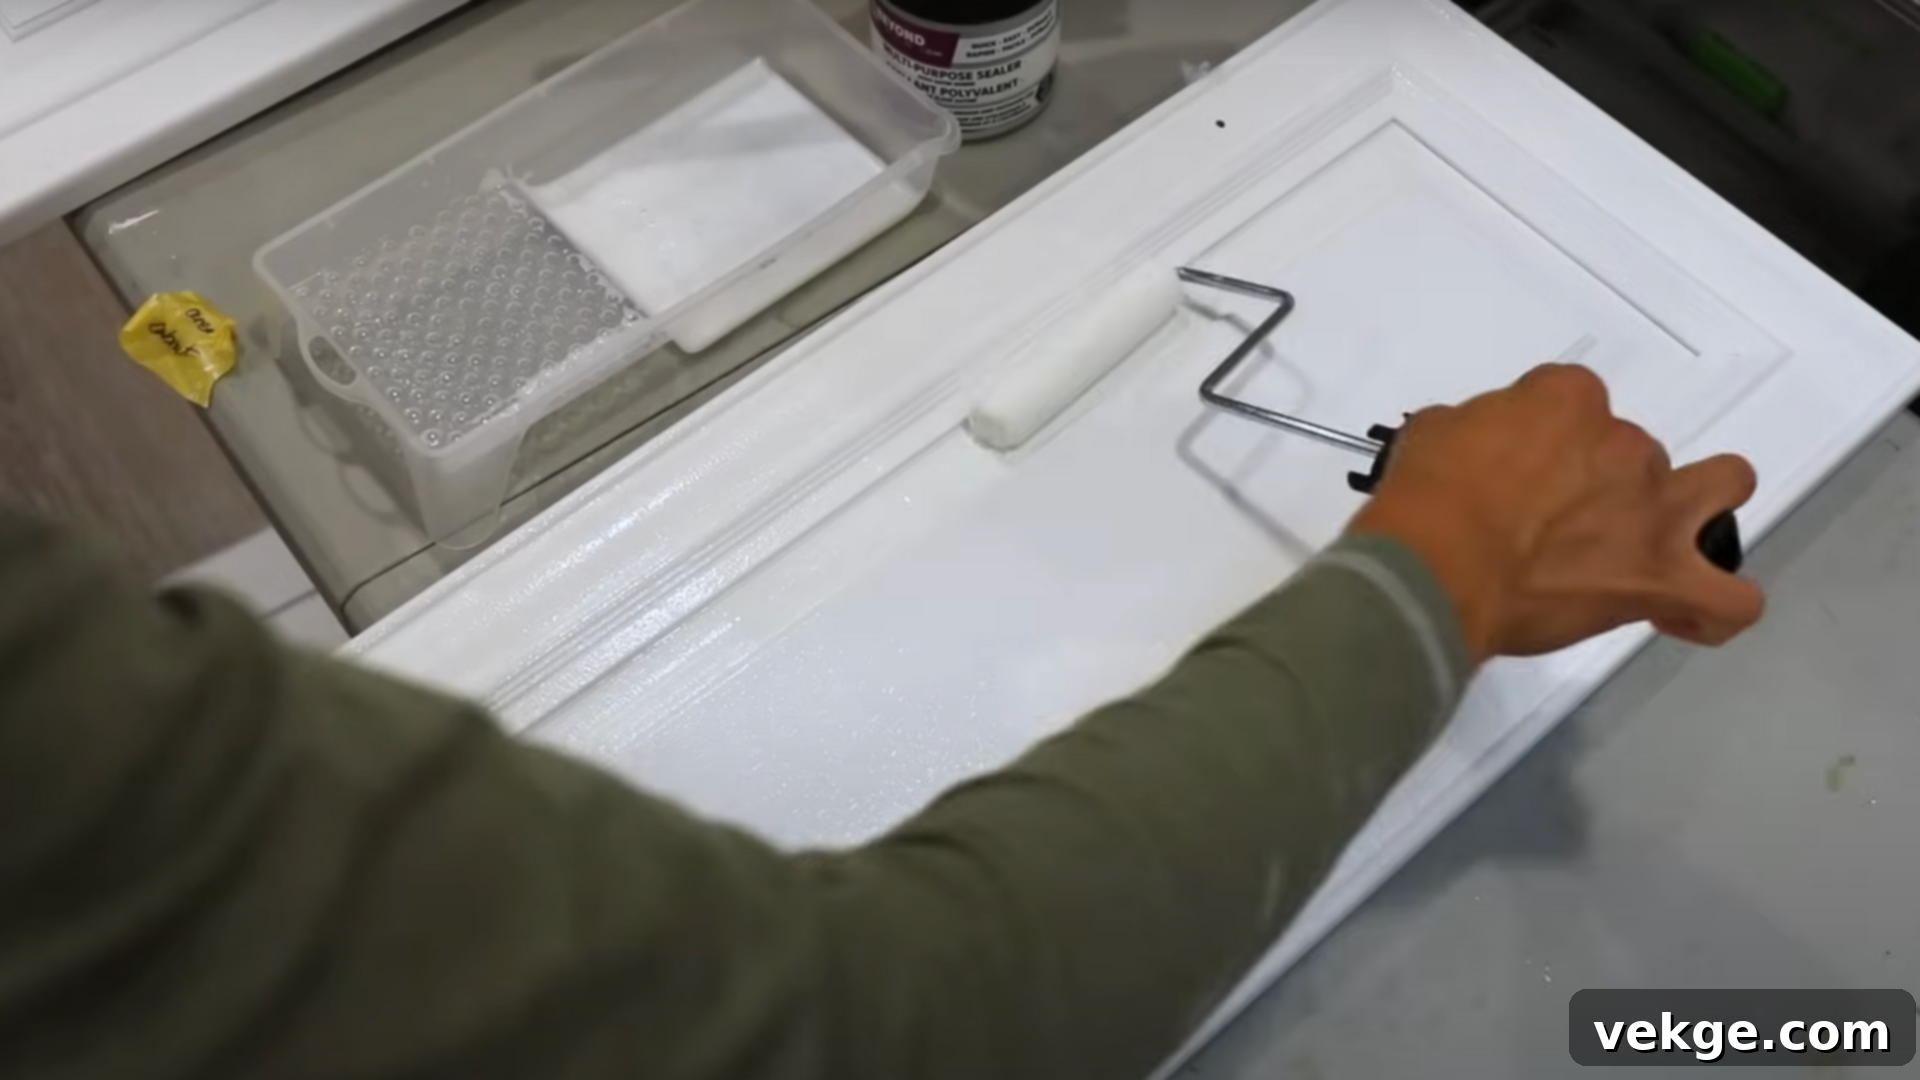
Once your final coat of paint has dried for at least 24 hours, apply a clear protective topcoat or sealer (e.g., a water-based polycrylic) for enhanced durability and chip resistance. This step is especially recommended for kitchen cabinets, which endure daily wear and tear. Apply the sealer using a clean brush for edges and a fresh foam roller for flat surfaces, ensuring a thin, even coat. Allow it to dry thoroughly according to the product’s instructions. For areas that receive heavy use, such as around the sink or stove, a second coat of sealer can provide extra protection. While the cabinets may feel dry to the touch within hours, the full curing process, where the paint reaches its maximum hardness, typically takes approximately a week, and complete curing can require nearly a month. During this period, handle your newly painted white cabinets gently to avoid damage.
This meticulous step-by-step approach ensures that even DIY novices can achieve professional-looking results. Investing your time and effort in painting your kitchen cabinets white not only saves money but also revitalizes your kitchen, making it feel clean, fresh, and inviting for years to come.
Want to see how this process looks in action? Watch the full video tutorial here:
Common Mistakes to Avoid While Painting Kitchen Cabinets White
To ensure a stunning, long-lasting finish and prevent common frustrations, be aware of these frequent slip-ups and how to avoid them during your cabinet painting project:
- Skipping the Essential Cleaning Step: Painting over dirty or greasy cabinets is a recipe for disaster. If residual grease, grime, or food splashes are left on the surface, the primer and paint will not adhere properly. This inevitably leads to bubbling, chipping, or peeling paint down the line, compromising the entire effort. Always perform a thorough deep clean with a degreaser.
- Using the Wrong Type of Paint: Not all paints are created equal, especially for the high-traffic, high-moisture environment of a kitchen. Standard wall paint is not designed to withstand the constant bumping, wiping, and wear that kitchen cabinets endure. Always choose a high-quality paint specifically formulated for cabinets, trim, or furniture (like acrylic-latex enamels) that offers superior durability and a harder finish.
- Neglecting Sanding or Priming: These steps are fundamental for paint adhesion and a smooth finish. Skipping sanding prevents the new paint from having a “tooth” to grip onto, leading to poor adhesion. Omitting primer, especially on dark wood or previously stained cabinets, can result in uneven color, poor coverage, and tannins bleeding through the white paint, causing yellowing.
- Reattaching Hardware Too Soon: While paint may feel dry to the touch within a few hours, it takes significantly longer to fully cure and harden. Reinstalling hinges, knobs, or pulling on drawers too soon can cause unsightly smudges, chips, or impressions in the still-soft paint. Be patient and wait at least 24-48 hours, or even a few days, before reattaching hardware and doors, and handle them gently for the first few weeks.
- Failing to Protect Surrounding Surfaces: Paint splatter and drips are almost inevitable, even for the most careful DIYer. Neglecting to adequately cover floors, countertops, appliances, and adjacent walls with drop cloths and painter’s tape can result in time-consuming clean-up, or worse, permanent paint marks on surfaces you didn’t intend to paint.
- Applying Thick Coats of Paint: Resist the urge to apply one thick coat to save time. Thick coats are prone to dripping, sagging, and uneven drying, which creates an undesirable texture. Always apply multiple thin, even coats, allowing adequate drying time between each. This layered approach results in a much smoother, more professional, and durable finish.
Avoiding these common mistakes will make your cabinet painting project smoother, more efficient, and ensure your cabinets look their best for years to come.
DIY vs. Professional Cabinet Painting: Which Path is Right for You?
When considering a kitchen cabinet makeover, deciding whether to tackle the painting yourself or hire a professional is a significant choice. Both options offer distinct advantages and challenges. Let’s break them down to help you make an informed decision.
DIY Cabinet Painting
If you enjoy hands-on projects, have a reasonable amount of free time, and are looking to save a substantial amount of money, DIY cabinet painting can be an incredibly rewarding endeavor. You’ll gain complete control over every detail of the process, from color selection to the specific finish, allowing for full customization to your taste.
The primary advantage of doing it yourself is the significant cost savings. By eliminating professional labor costs, you only pay for materials, which can range from a few hundred dollars. This makes it an ideal option for budget-conscious homeowners. Additionally, it’s a fantastic opportunity to acquire new skills, boost your confidence in home improvement, and enjoy the immense satisfaction of transforming your kitchen with your own hands.
However, DIY cabinet painting demands a considerable investment of time, effort, and patience. The process is meticulous, involving extensive preparation (cleaning, sanding, caulking), priming, and applying multiple thin coats of paint and sealer. Without proper technique, you might encounter issues such as brush marks, uneven coats, or less-than-perfect durability. But with thorough research, the right tools, and careful execution, you can achieve impressive, professional-looking results.
Hiring a Professional Cabinet Painter
For those seeking a hassle-free experience, a quicker turnaround, or an absolutely flawless, factory-like finish, hiring a professional cabinet painter is often the best choice.
Professionals bring a wealth of experience, specialized equipment (like high-volume low-pressure sprayers for smooth finishes, and dedicated drying rooms), and advanced techniques. They are adept at handling all the intricate prep work and painting efficiently, knowing precisely how to avoid common issues like streaking, uneven coverage, or poor adhesion. A professional often completes the job much faster than a DIY project, minimizing disruption to your daily routine. Many professional services also offer warranties on their work, providing peace of mind against any future issues.
While the upfront cost of professional painting is significantly higher, the investment can be well worth it for the convenience, speed, and guarantee of a high-quality, durable, and impeccable finish without sacrificing your weekends or dealing with the learning curve. They can achieve results that are incredibly difficult for an amateur to replicate, especially in terms of smoothness and finish longevity.
Cost Comparison: DIY vs. Professional
Cost is a major determinant when deciding between painting your cabinets yourself or hiring a professional. Here’s a general breakdown to help compare potential expenses:
| Category | DIY (Do-It-Yourself) | Professional Service |
|---|---|---|
| Material Costs | $200 – $600 (Paint, primer, sandpaper, brushes, rollers, cleaning supplies, tape, drop cloths) | Included in total project cost; materials are often higher quality/specialized. |
| Labor Costs | $0 (Your time and effort) | $2,000 – $5,000+ (Expert preparation, application, and clean-up) |
| Total Estimated Cost | $200 – $600 | $2,000 – $12,000+ (Varies greatly by kitchen size, complexity, and painter’s reputation) |
Note: These prices are merely estimates and can fluctuate significantly based on your geographical location, the size and current condition of your kitchen cabinets, the specific quality of materials chosen, and the reputation and services offered by the professional painter. It is always highly recommended to obtain multiple quotes from local professionals for the most accurate and competitive pricing.
Maintaining Your Beautiful White Cabinets: Tips for Lasting Freshness
Once your kitchen cabinets are beautifully painted white, a little routine care will ensure they remain fresh and pristine for many years. White cabinets, while stunning, do show dirt more easily, making regular maintenance key:
- Gentle Daily Wipes: Make it a habit to wipe down your cabinets frequently with a soft, damp cloth. This simple action effectively removes everyday dust, food splashes, and fingerprints before they can set, keeping the surfaces clean and bright without damaging the finish.
- Avoid Harsh Cleaners: Steer clear of abrasive scrubbers, harsh chemical cleaners, or strong detergents. These can gradually break down the paint or protective sealer over time, leading to dullness, discoloration, or even stripping of the finish. For more stubborn spots, opt for a mild dish soap diluted in warm water, applied with a soft cloth.
- Prompt Touch-Ups for Chips and Scratches: Despite the best efforts, minor chips or scratches can occur in busy kitchens. Keep a small amount of your original cabinet paint on hand for quick touch-ups. Use a fine artist’s brush to carefully fill in any nicks or scratches as soon as they appear, blending them seamlessly before they become more noticeable or allow moisture to penetrate.
Even with diligent care, painted cabinets in a busy kitchen may benefit from a light refresh every few years, perhaps a new topcoat or a light sanding and repaint, to keep them looking their absolute best.
Final Thoughts on Your White Kitchen Cabinet Transformation
Painting your kitchen cabinets white is an incredibly impactful and accessible home improvement project. It’s a proven method to dramatically brighten your space, make it feel larger, and infuse it with a fresh, clean, and modern aesthetic, all while being significantly more budget-friendly than a full cabinet replacement.
By diligently following the right steps—meticulous preparation, proper priming, careful paint application, and a protective sealing coat—you can confidently achieve a professional-quality finish that will stand the test of time. The decision to embark on this DIY journey or to enlist a professional ultimately hinges on your available budget, the time you can commit, and your desired level of perfection for the final outcome. Regardless of your choice, remember to be patient, avoid common painting mistakes, and commit to consistent maintenance to keep your newly brightened kitchen looking its best for many years.
If you’re eager for more inspiring kitchen update ideas or other DIY home improvement projects, be sure to explore my other blogs for additional tips and creative inspiration!
Frequently Asked Questions About Painting Kitchen Cabinets White
How can I avoid strong fumes when painting my cabinets?
To minimize exposure to strong paint fumes, ensure you work in a well-ventilated area. Open windows and doors, and use fans to create a cross-breeze. Additionally, opt for low-VOC (Volatile Organic Compound) or no-VOC paints and primers, which are formulated to release fewer harmful chemicals into the air. If painting indoors, consider wearing a respirator mask for added protection.
Do I absolutely need to remove the cabinet doors before painting?
While it is technically possible to paint cabinets with the doors still attached, removing them is highly recommended and almost always leads to a superior finish. Removing the doors and hardware allows for easier access to all surfaces, including edges and hidden areas, ensuring a smoother, more even coat of paint without drips or brush marks that can occur when painting around hinges or fixed elements. It also prevents accidental paint on your hardware.
Can I paint cabinets white if they have existing grease or stains?
Yes, you absolutely can paint over cabinets with grease or stains, but it is critical to address these issues thoroughly before any painting begins. Grease and stains are major culprits for poor paint adhesion and bleed-through. You must meticulously clean the cabinets with a strong degreaser (like TSP substitute or a specialized kitchen cleaner) to remove all traces of grease and grime. For stubborn stains or wood with high tannin content (which can bleed yellow through white paint), use a high-quality, stain-blocking primer. Ensure the surfaces are completely dry after cleaning and priming before applying your paint.
How long does the entire cabinet painting process typically take for a DIY project?
For a typical kitchen with average-sized cabinets, a DIY painting project can take anywhere from 3 to 7 days, or even longer, depending on your experience level, how thoroughly you prepare, and the drying times required between coats of primer, paint, and sealer. The majority of this time is dedicated to meticulous preparation and waiting for adequate drying and curing, not active painting. Rushing any step can compromise the final result.
