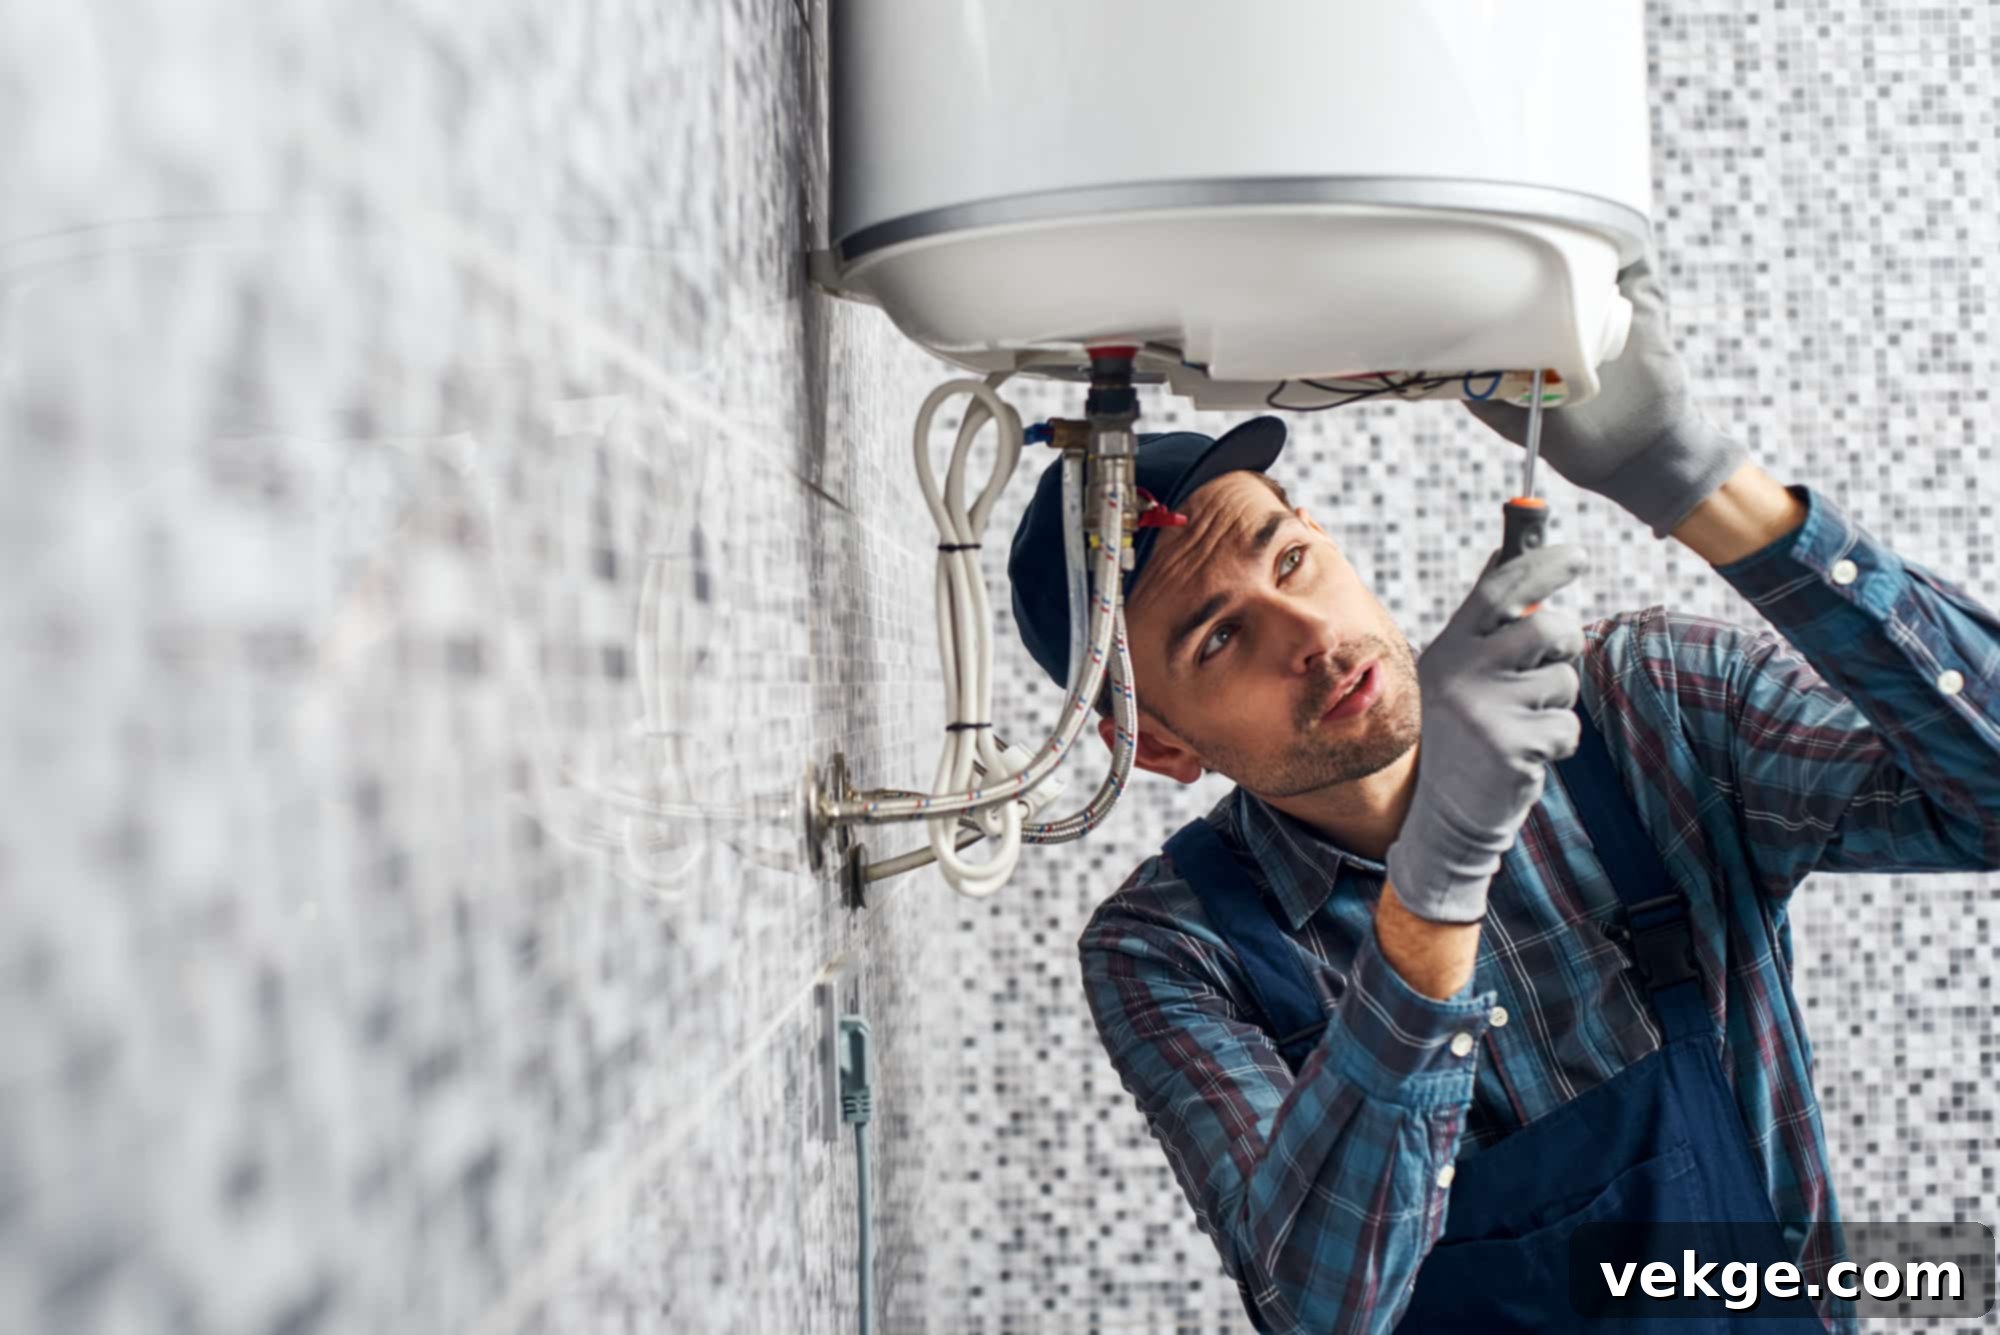
Ultimate Guide to Water Heater Repair: Expert Troubleshooting Tips & Maintenance for Lasting Hot Water
A consistent and reliable supply of hot water is an absolute cornerstone of modern home comfort and functionality. From the refreshing start of a morning shower to the efficiency of daily tasks like laundry and dishwashing, your water heater works tirelessly behind the scenes. However, when this essential appliance malfunctions, it can swiftly disrupt daily routines, create significant inconvenience, and, if neglected, potentially lead to costly damage to your home.
The key to preventing these disruptive issues and ensuring your water heater operates smoothly for its maximum lifespan lies in understanding its basic functions, performing regular maintenance, and addressing problems with timely, effective repairs. Proactive care not only extends the life of your unit but also enhances its energy efficiency, saving you money in the long run.
Fortunately, homeowners don’t have to navigate water heater problems alone. The experienced professionals at Water Heater Fixteam, along with other qualified and licensed plumbers, are equipped to provide the necessary expertise and guidance. They can help you effectively diagnose and resolve a wide range of water heater issues, ensuring your home’s hot water supply is restored efficiently and safely, minimizing stress and maximizing comfort.
Essential Water Heater Knowledge: Preparing for Safe and Effective Repairs
Before you even consider grabbing a toolbox or making a call to a repair service, it’s crucial to gather some fundamental information about your water heater. This essential knowledge serves as a strong foundation for accurate diagnosis, safe troubleshooting, and more efficient repair processes, whether you’re tackling a minor issue yourself or explaining the problem to a professional.
1. Understand Your Heater Type: Gas, Electric, or Tankless?
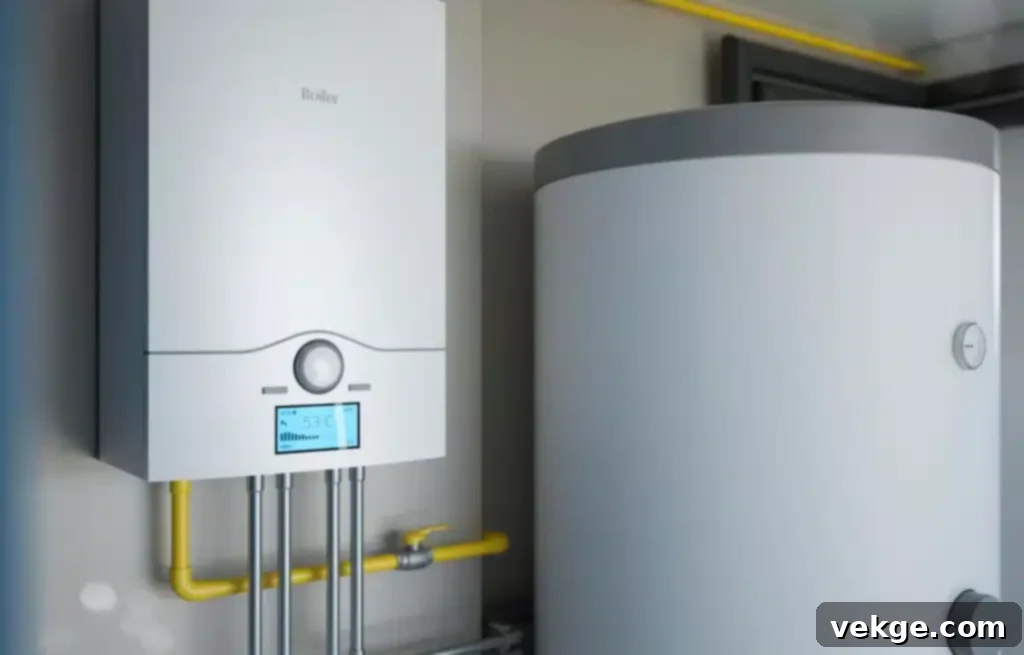
Water heaters operate using different energy sources and technologies. Knowing if your unit is powered by natural gas, propane, or electricity, or if it’s a modern tankless (on-demand) system, is the very first step in troubleshooting. Each type has unique components and operational methods that dictate how repairs are approached. For example, a gas unit might have pilot light issues or burner problems, while an electric unit could face tripped circuit breakers or faulty heating elements. Tankless models have their own set of specific diagnostics. This foundational identification directs your initial troubleshooting efforts.
2. Locate Model and Serial Numbers
These critical pieces of information are usually found on a sticker or metal plate affixed to the side or top of your water heater. The model and serial numbers are indispensable for several reasons: they enable you to access manufacturer-specific manuals, identify the correct replacement parts, and follow precise repair instructions tailored to your unit. When consulting with repair professionals or ordering components, providing these numbers ensures accuracy and significantly speeds up the service process, preventing potential misdiagnoses or incorrect part orders.
3. Determine the Age of the Unit
The typical lifespan of a conventional tank-style water heater ranges from 8 to 12 years, though this can vary based on factors like water quality, usage patterns, and maintenance history. Knowing your unit’s age is crucial for making informed decisions. An older heater might experience more frequent breakdowns and diminished efficiency, making a repair a short-term fix. Understanding its age helps you evaluate whether investing in a repair is truly cost-effective or if it’s more sensible to consider a new, more efficient replacement.
4. Understand Your Water Heater’s Capacity
For tank-style water heaters, capacity is measured in gallons, indicating the amount of hot water it can store. For tankless units, capacity is typically measured in gallons per minute (GPM). Understanding this metric is vital, as it directly impacts your household’s ability to meet its hot water demands. If you frequently run out of hot water, or if the recovery time (how long it takes for the tank to reheat a full supply) is too slow, it could indicate an undersized unit for your current needs, especially if your household size or hot water consumption habits have increased. This insight helps determine if the issue is a malfunction or simply an inadequate system.
5. Familiarize Yourself with Safety Features
Safety is paramount when dealing with water heaters. Your unit is equipped with crucial safety mechanisms designed to prevent hazardous situations. The most critical is the temperature-pressure relief (T&P) valve, which automatically opens to release excessive pressure or temperature buildup, averting potentially dangerous situations like explosions. Other safety features may include a gas shut-off valve, an automatic thermal cut-off switch, or an emergency drain valve. Knowing the location, function, and proper testing procedures for these components is essential for both routine maintenance and emergency response.
6. Check Your Warranty Information
Before attempting any DIY repairs or calling an external service provider, always check if your water heater is still under warranty. Manufacturers typically offer warranties that cover specific parts or the entire unit for a defined period. Performing unauthorized repairs or using non-approved service technicians can inadvertently void your warranty, leaving you responsible for repair costs that might otherwise have been covered. Always consult your warranty documentation or the manufacturer’s website for specific terms and conditions.
By diligently gathering and understanding this essential information, you will be significantly better equipped to either confidently tackle basic troubleshooting yourself or accurately describe the problem to a professional technician. This preparation ensures more precise diagnostics, efficient service, and ultimately, a quicker return to reliable hot water.
Expert Tips for Tackling Common Water Heater Repairs and Maintenance
While some issues require professional intervention, many common water heater problems can be diagnosed and resolved with these practical, expert-backed tips. These strategies are designed to help you ensure the safety, efficiency, and longevity of your unit.
Tip 1: Relight the Pilot Light and Inspect Electrical Connections
If you’re suddenly experiencing a complete lack of hot water, this initial check is crucial. For **gas water heaters**, the pilot light may have simply gone out due to a draft, sediment buildup, or a faulty thermocouple. Refer to your water heater’s instruction manual for precise, safe steps on how to relight the pilot. Ensure the gas control valve is set to “pilot” before relighting and then turned back to “on” once lit. If the pilot light consistently fails to stay lit, it often indicates a problem with the thermocouple, a safety device that senses the pilot flame; this may necessitate a replacement or professional inspection.
For **electric water heaters**, a lack of hot water commonly stems from an electrical issue. Begin by checking your home’s main electrical panel for a tripped circuit breaker connected to your water heater. Reset it by flipping it firmly to the “off” position and then back to “on.” If the breaker immediately trips again, it signals a deeper electrical fault that requires the immediate attention of a qualified electrician. Additionally, ensure all electrical connections to the heating elements within the water heater are snug and secure (always turn off power to the unit at the breaker before inspecting these).
Tip 2: Adjust the Thermostat and Assess Heater Capacity
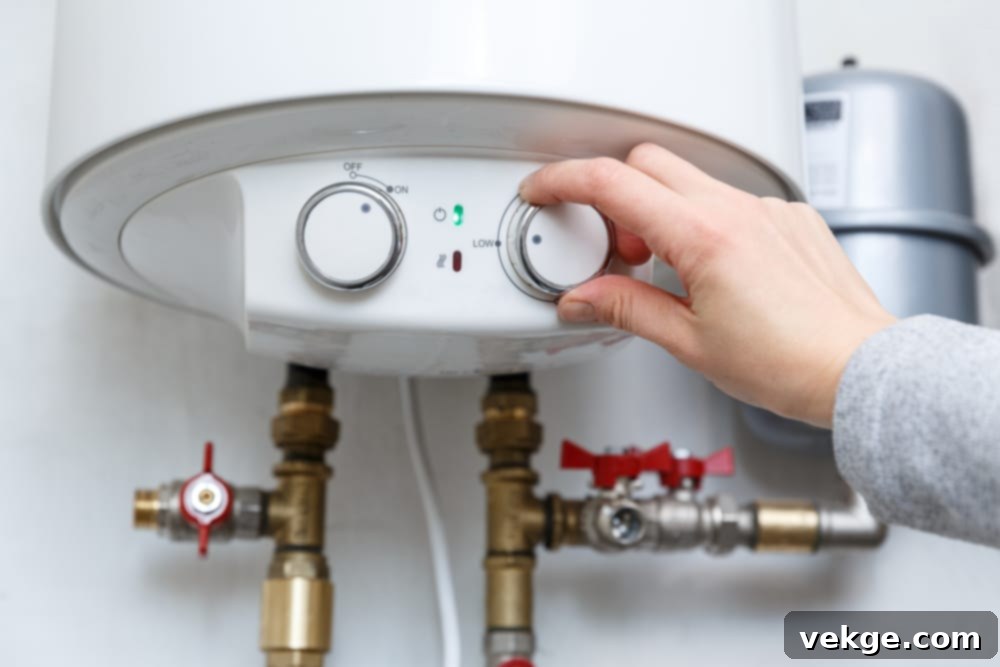
Are your showers turning chilly unexpectedly, or is your hot water supply insufficient? First, verify your water heater’s thermostat setting. The recommended temperature for most households is around 120 degrees Fahrenheit (approximately 49 degrees Celsius). This temperature effectively balances safety (reducing the risk of scalding) with energy efficiency. If your thermostat is set too low, you simply won’t have enough hot water; if it’s too high, you risk burns and unnecessary energy consumption. Make sure to adjust it incrementally and wait a few hours to observe the change.
If the temperature setting is correct but you’re still consistently running out of hot water too quickly, especially during peak demand periods, it could indicate that your current water heater’s capacity is no longer adequate for your household. This often happens after an increase in family members, the addition of new hot-water-consuming appliances, or a general increase in usage. While a slight thermostat adjustment might offer a temporary fix, a persistent shortage suggests you may need to consider a larger capacity tank or investigate the benefits of a tankless water heater, which provides hot water on demand without storage limitations.
Tip 3: Enhance Reheating Efficiency by Inspecting Heating Elements or Burners
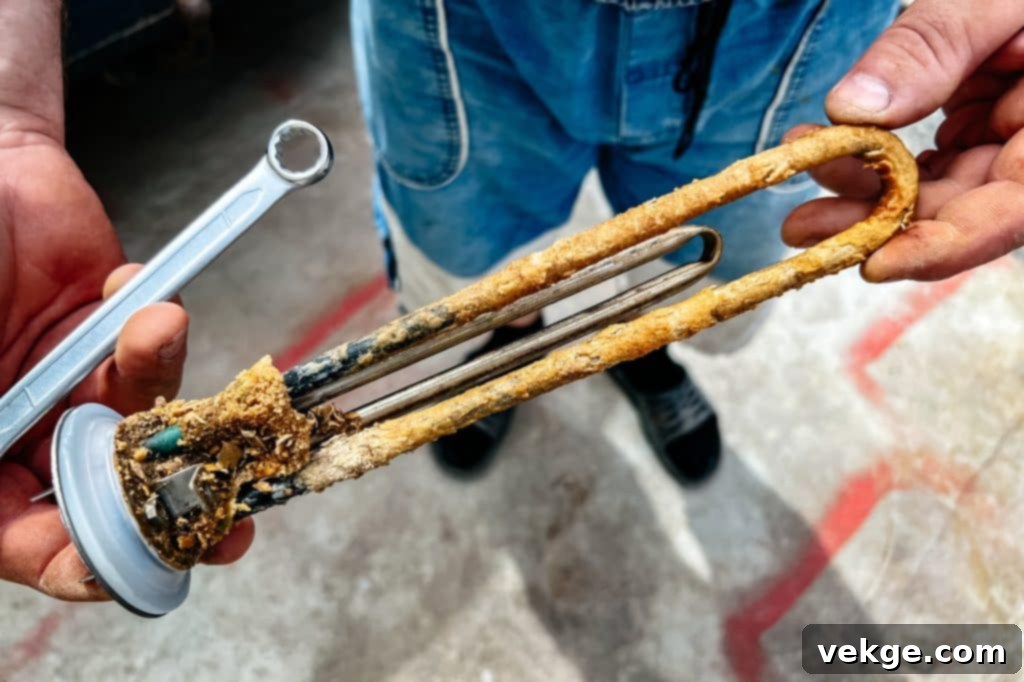
Are you experiencing frustratingly slow reheating times or a general lack of hot water despite your thermostat settings? The problem might lie with the core heating components. For electric water heaters, the heating elements can accumulate mineral deposits (scale) over time, acting as an insulator and severely reducing their ability to efficiently transfer heat to the water. For gas water heaters, the burners can become clogged with soot, dust, or debris, leading to an inefficient flame and poor heat transfer. After safely disconnecting power and draining the tank, inspect these components for any visible signs of grime, corrosion, or physical wear. A thorough cleaning of the elements or burners, or their replacement if they are significantly corroded or faulty, can dramatically improve your water heater’s reheating speed and overall energy efficiency.
If your unit is older and constantly struggling with reheating, or if you’re seeking to drastically improve efficiency, consider exploring modern upgrades. High-efficiency models and tankless water heaters offer significant advantages. Tankless units, in particular, heat water only when it’s needed, eliminating standby heat loss and providing a continuous supply of hot water, which can lead to substantial long-term energy savings.
Tip 4: Flush the Sediment from Your Water Heater Tank
Hearing strange rumbling, popping, or even banging noises coming from inside your water heater tank? These sounds are a classic symptom of sediment buildup at the bottom of the tank. Over time, minerals like calcium and magnesium, naturally found in hard water, precipitate and accumulate. As the heating elements (in electric units) or the burner (in gas units) attempt to heat the water, they also heat this layer of sediment. This causes the trapped water within the sediment to boil, expand, and create these disruptive noises. More critically, sediment buildup reduces heating efficiency, forcing the unit to work harder and consume more energy, leading to higher utility bills and potential damage to the tank liner and heating elements.
To mitigate this, an annual flushing of your water heater tank is highly recommended. This involves connecting a hose to the drain valve, turning off the water supply and power, and completely draining the tank until the water runs clear. Regular flushing not only eliminates the noisy operation but also significantly extends the lifespan of your water heater and maintains its optimal efficiency. If the noises persist after flushing, or if the heating elements appear significantly corroded by sediment, they might require inspection or water heater replacement in severe cases of damage.
Tip 5: Identify and Repair Leaks Promptly
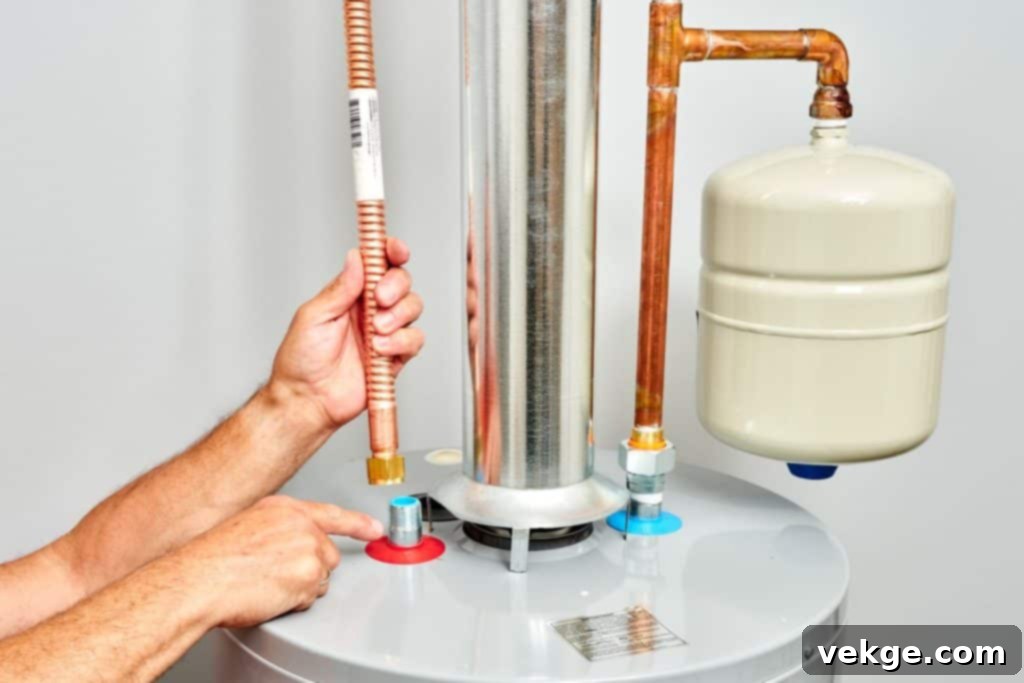
Discovering a puddle or signs of moisture around the base of your water heater is a clear indication of a leak, which demands immediate attention. The source of a leak can range from relatively minor and easily repairable to severe, necessitating a complete unit replacement. Begin by meticulously inspecting all external connections: the cold water inlet, hot water outlet, the temperature-pressure relief (T&P) valve, and the drain valve. Frequently, a leak is simply due to a loose fitting, a worn-out gasket, or a corroded connection at these points, which can often be fixed by tightening or replacing the affected component. A leaking T&P valve might indicate excessive pressure within the tank, or the valve itself could be faulty and require replacement – never attempt to cap or plug a T&P valve.
However, if the leak appears to be originating directly from the body of the tank itself, particularly from the bottom, it signals a much more serious underlying issue. An internal tank leak typically indicates significant corrosion and structural failure of the tank liner. In such scenarios, repair is generally not feasible or cost-effective, and immediate water heater replacement is usually the only safe and reliable solution to prevent extensive water damage to your home. Always turn off both the water supply and the power to the unit immediately if you suspect a tank leak.
Tip 6: Troubleshoot and Replace the Thermostat
Is your hot water supply wildly inconsistent, delivering scalding hot water one moment and disappointingly cold water the next? These fluctuating temperatures are classic symptoms of a malfunctioning thermostat. The thermostat is the brain of your water heater, responsible for accurately sensing the water temperature inside the tank and controlling the heating cycle. For electric water heaters, there are typically two thermostats, one for each heating element. Your first step should be to double-check the set temperature; sometimes it’s accidentally adjusted. If the setting is correct but the erratic temperatures persist, the thermostat itself is likely faulty.
A malfunctioning thermostat can lead to two main problems: inefficient heating, resulting in cold or lukewarm water, or dangerously overheating the water, increasing the risk of scalding and consuming excessive energy. While basic testing with a multimeter can confirm a faulty thermostat (after ensuring power is safely disconnected), replacement is often the most effective solution once diagnosed. Replacing a faulty thermostat can restore consistent, safe, and energy-efficient water temperatures, significantly improving your home comfort. Due to the electrical nature of this repair, if you’re uncomfortable with the process, it’s always advisable to consult a professional electrician or plumber.
Tip 7: Inspect and Replace the Anode Rod for Corrosion Protection
If you’ve noticed rusty, discolored, or foul-smelling water coming from your hot water taps, it’s a strong indication that the interior of your water heater tank is beginning to corrode. This critical issue is usually kept at bay by the anode rod, often referred to as the “sacrificial rod.” Typically made of magnesium, aluminum, or zinc, this rod is intentionally designed to corrode and disintegrate before the steel tank lining does. Through an electrochemical process, it attracts corrosive elements in the water, thereby protecting the tank from rust and significantly extending its operational life.
Regular inspection of the anode rod—ideally every 3-5 years, or annually in areas with particularly hard water—is a vital part of preventative water heater maintenance. If the rod appears heavily corroded, significantly thinned, or completely depleted, it requires immediate replacement. A healthy anode rod is essential for preventing premature tank failure and maintaining good water quality. Complementing this, periodic flushing of the tank (as detailed in Tip 4) helps to remove any existing rust particles and accumulated sediment, further contributing to clean hot water and the long-term health of your water heater.
Proactive Water Heater Maintenance for Extended Lifespan and Efficiency
Beyond addressing specific repairs, establishing a consistent routine of preventative maintenance is the most effective way to dramatically extend your water heater’s lifespan, improve its energy efficiency, and minimize the risk of inconvenient and costly breakdowns. Integrate these essential practices into your regular home maintenance schedule:
- **Annual Tank Flushing:** As elaborated in Tip 4, draining and flushing your water heater tank annually is crucial. This process effectively removes accumulated mineral sediment that not only reduces heating efficiency but also promotes corrosion within the tank. This simple, yet powerful, step can significantly cut down on energy bills and prevent major repair or replacement costs in the future.
- **Anode Rod Inspection & Replacement:** The anode rod is your tank’s first line of defense against rust. Inspecting this sacrificial component every 3-5 years (or more frequently in hard water areas) and replacing it when it shows significant signs of wear is paramount. A fresh anode rod ensures continuous protection against internal tank corrosion, safeguarding your investment.
- **T&P Valve Testing:** Annually test your temperature-pressure relief (T&P) valve to ensure it’s functioning correctly. Carefully lift the lever on the valve for a few seconds; you should hear and see a rush of hot water enter the drainpipe. If the valve doesn’t operate freely or continues to drip afterward, it needs immediate replacement. This test confirms a critical safety mechanism is operational.
- **Insulate Hot Water Pipes and the Tank:** Reduce heat loss and improve energy efficiency by insulating your hot water pipes, especially the first few feet extending from the water heater. For older tank-style units, adding an insulation blanket can also significantly help in maintaining water temperature and reducing standby heat loss, thereby lowering your energy consumption.
- **Regular Leak Checks:** Make it a habit to periodically inspect the area around your water heater, including all connections and the base of the unit, for any signs of moisture, drips, or puddles. Early detection of leaks, even minor ones, can prevent extensive water damage and allow for timely, less costly repairs before they escalate.
By diligently incorporating these preventative measures, you are not merely reacting to problems; you are actively investing in the longevity, efficiency, and reliability of your hot water system, ensuring consistent comfort for your household for many years to come.
When to Call a Professional for Water Heater Repair
While many common water heater issues can be confidently addressed with basic troubleshooting and DIY repairs, it is absolutely vital to recognize your limits and understand when professional intervention is not just recommended, but necessary. Attempting complex repairs, especially those involving gas lines, significant electrical components, or internal tank issues, without the appropriate expertise, specialized tools, and safety training can be extremely dangerous, could void your warranty, and may lead to serious accidents or further damage.
You should immediately contact a licensed, insured, and reputable plumbing professional if you encounter any of the following:
- **Any suspected gas leaks:** If you detect the smell of natural gas or propane, prioritize safety. Immediately evacuate the premises, do not operate any electrical switches or open flames, and call your gas company and a professional plumber or emergency services without delay.
- **Major electrical issues:** This includes repeatedly tripped circuit breakers, visible burning marks, persistent burning smells, exposed or frayed wiring, or any signs of electrical arcing. Electrical work on water heaters should only be performed by a qualified electrician or plumber.
- **Significant water leaks directly from the tank itself:** As discussed, a leak originating from the main body of the water tank typically signifies irreversible internal corrosion or structural failure, almost always necessitating a complete water heater replacement.
- **Persistent issues after basic troubleshooting:** If you have thoroughly attempted the expert tips provided above and the problem with your hot water heater persists or worsens, it indicates a more complex underlying issue that requires professional diagnostic tools and expertise.
- **Lack of experience or confidence:** If you are uncomfortable, uncertain, or simply lack the proper tools or knowledge for any step of the repair process, it is always the safest and often most cost-effective decision to defer to a certified expert.
Professional plumbers possess specialized diagnostic tools, extensive safety equipment, and the comprehensive training required to safely and effectively handle all types of water heater systems. They can accurately diagnose complex problems, source the correct OEM (Original Equipment Manufacturer) parts, and perform repairs or complete replacements in strict adherence to local codes and safety regulations, ensuring your system operates safely, efficiently, and reliably for years to come.
Key Takeaways for Managing Your Home’s Hot Water System
Never let the inconvenience of a cold shower catch you by surprise! By familiarizing yourself with the foundational knowledge of your specific water heater and diligently incorporating these expert troubleshooting and maintenance tips into your home care routine, you will be exceptionally well-equipped to address common issues and ensure your hot water flows smoothly, consistently, and reliably for all your household needs.
Remember, proactive preventative maintenance is your most potent defense against unexpected breakdowns and premature system failure. Regular annual flushing of the tank, timely inspections and replacement of the sacrificial anode rod, and periodic testing of the T&P valve are crucial steps that significantly extend your unit’s lifespan and enhance its energy efficiency. However, it is equally important to acknowledge your limitations. When a repair appears complex, involves intricate gas or electrical components, or if you simply feel a lack of confidence in performing the task safely, never hesitate to reach out to a licensed and reputable plumbing professional. Professional water heater repair services bring invaluable expertise, specialized diagnostic tools, and adherence to strict safety protocols necessary to accurately diagnose and resolve issues efficiently, getting your hot water heater back up and running safely in no time, and providing invaluable peace of mind for your home.
