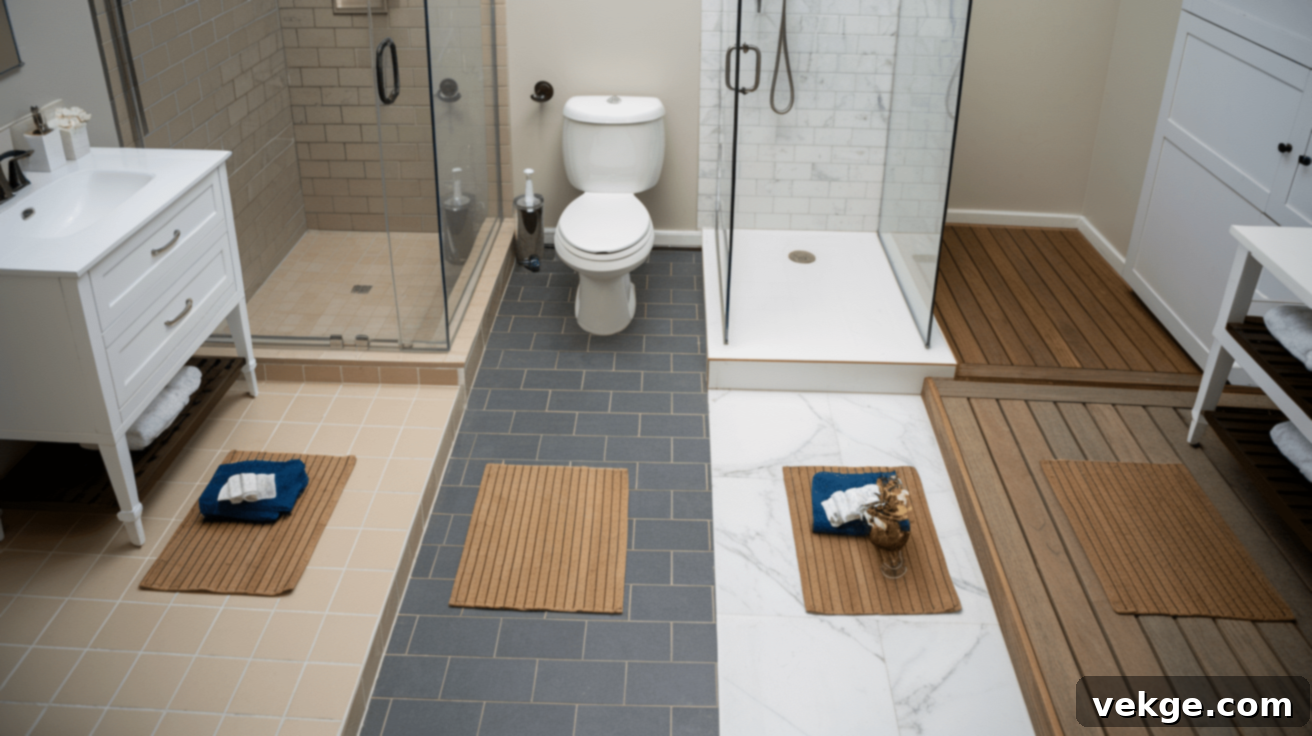
Ultimate Guide to Small Bathroom Flooring: Top Choices for Style & Durability
Finding the perfect flooring for your small bathroom can transform the entire space. When every inch counts, the right choice not only enhances aesthetics but also maximizes functionality and comfort.
Flooring plays a crucial role in how your bathroom looks and feels, especially when space is limited. The ideal selection can make your room feel more spacious, maintain cleanliness with ease, and withstand daily wear and tear without issues. From critical water resistance to overall style and the comfort underfoot, every detail is paramount in a compact environment.
This comprehensive guide offers expert tips on choosing the best small bathroom flooring, considering key factors like function, design aesthetics, and budget. We’ll delve into which materials perform exceptionally well in tight layouts, which options offer the longest lifespan, and what essential considerations to keep in mind if you’re planning a DIY installation. Let’s dive into the fundamentals and equip you with the knowledge to confidently approach your next bathroom upgrade.
Why the Right Flooring Matters in a Small Bathroom
The flooring you choose for your small bathroom significantly impacts both its visual appeal and practical performance. In compact spaces, every design decision has an amplified effect.
For instance, light-colored floors are excellent for reflecting light, which can trick the eye into perceiving a larger, more open space. Conversely, while dark floors can create a warm and cozy ambiance, they often make a room feel smaller and more enclosed—a potential drawback in an already tight bathroom.
Beyond aesthetics, bathrooms are inherently high-moisture environments, constantly exposed to splashes from showers, drips from sinks, and potential overflows from toilets. This makes selecting flooring with superior water resistance not just important, but essential. A waterproof or highly water-resistant floor helps prevent costly water damage, subfloor rot, and mold growth, saving you from expensive repairs down the line.
To avoid common pitfalls when selecting small bathroom flooring, steer clear of:
- Non-Waterproof Materials: Standard hardwood flooring, for example, is highly susceptible to water damage, warping, and swelling in moist conditions. Always opt for materials specifically designed for wet areas.
- Overly Dark Colors: While personal preference varies, very dark flooring colors can absorb light and make a small space feel even more confined and less inviting.
- High-Maintenance Materials: If you’re short on time or prefer easy upkeep, avoid materials that demand frequent special cleaning, sealing, or delicate handling.
- Excessive Grout Lines: Floors with numerous grout lines can create a visually busy appearance, making a small room feel cluttered. They also present more opportunities for dirt and mold accumulation, making cleaning more challenging.
Making an informed choice ensures your small bathroom remains beautiful, functional, and hassle-free for years to come.
Best Flooring Options for Small Bathrooms
1. Luxury Vinyl Tile (LVT)
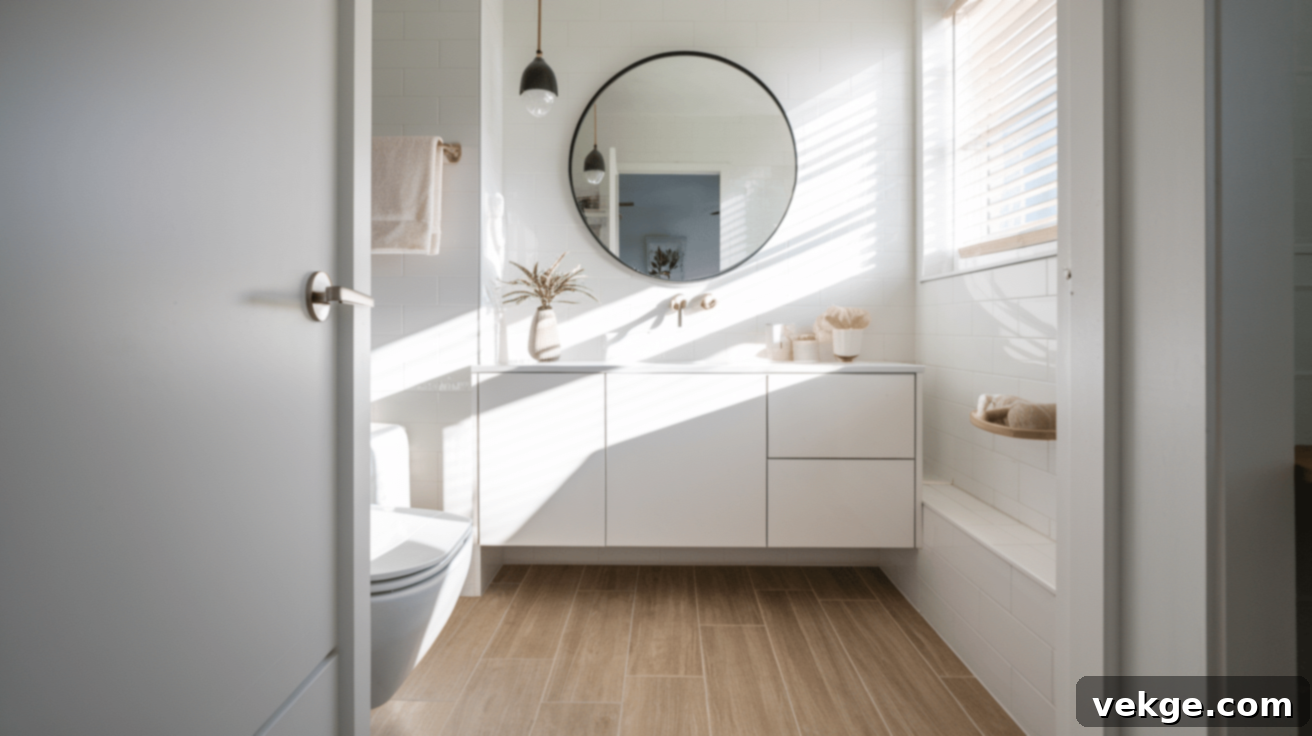
Luxury Vinyl Tile (LVT) is an exceptionally smart and popular choice for bathroom flooring, particularly for smaller spaces. Its outstanding waterproof properties make it impervious to splashes, spills, and humidity, offering peace of mind in a wet environment. LVT is also remarkably budget-friendly, typically ranging between $2 and $7 per square foot, making it accessible for a wide range of budgets without sacrificing quality or style.
One of LVT’s major appeals is its versatility in design. It’s available in an incredible array of styles, meticulously crafted to mimic the sophisticated look of natural wood or elegant stone, often with realistic textures. It comes in convenient planks (for wood looks) or tiles (for stone looks) and frequently features a user-friendly click-and-lock installation system. This innovative design makes it a favorite among DIY enthusiasts, allowing many homeowners to install it themselves and save on labor costs.
Beyond its practicality and aesthetics, LVT offers a significant comfort advantage. Unlike traditional ceramic or porcelain tile, LVT feels noticeably warmer underfoot, which is a welcome feature, especially during colder months. Its resilience also provides a softer surface, which can be more comfortable to stand on for extended periods and may be more forgiving if something is dropped.
2. Ceramic and Porcelain Tile
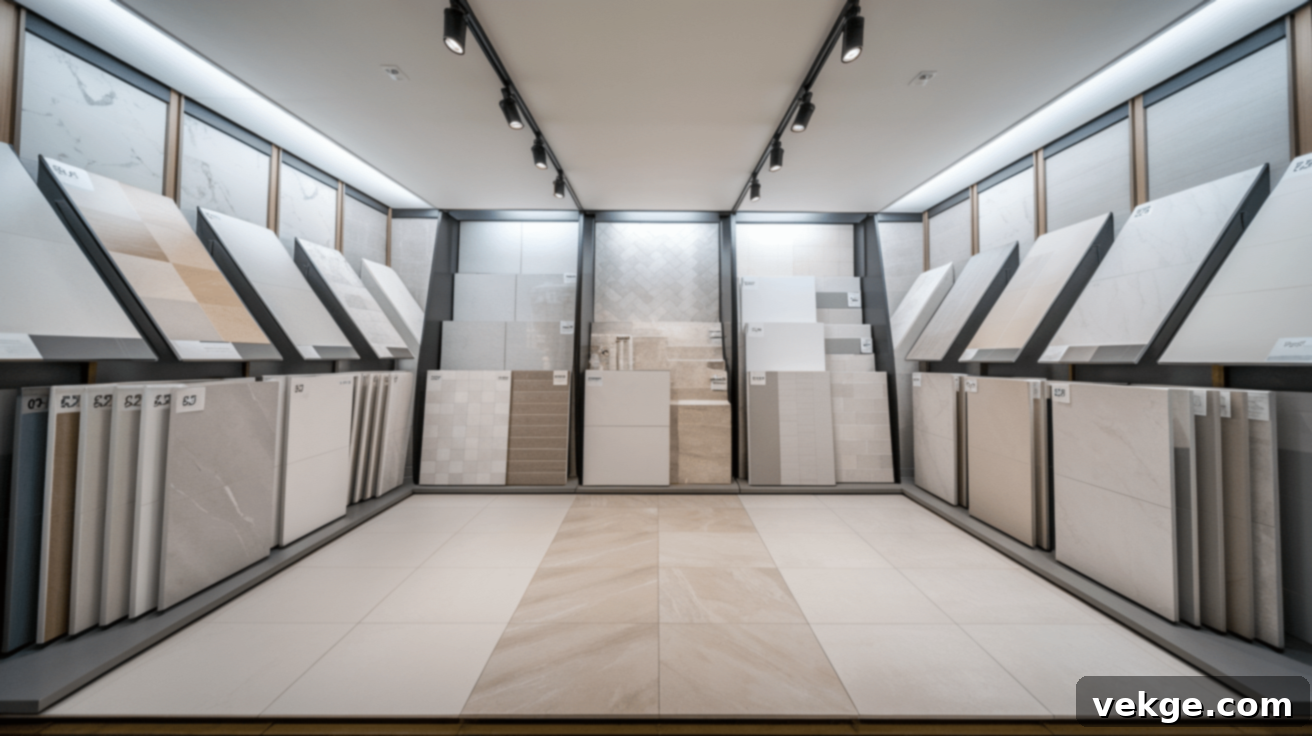
Ceramic and porcelain tiles are time-tested and highly reliable choices for bathroom floors, consistently ranking as top contenders due to their inherent durability and water resistance. Both materials are virtually impervious to water, making them ideal for high-moisture environments. They are also incredibly easy to clean with standard household products, requiring minimal effort to maintain their pristine appearance. When properly installed by experienced professionals, ceramic and porcelain tiles can last for many decades, proving to be a highly worthwhile long-term investment.
These tiles boast an extensive range of available sizes, colors, patterns, and styles, making them incredibly versatile for achieving almost any desired design aesthetic. Whether you’re aiming for a sleek modern look, a rustic farmhouse feel, or a classic traditional bathroom, there’s a tile option to match. Porcelain, specifically, is known for being denser and less porous than ceramic, which grants it even greater water resistance and makes it an excellent choice for areas prone to standing water, such as shower floors. However, this enhanced durability often comes with a slightly higher price point.
While installation can be more complex than LVT due to the need for grout and precise cutting, the enduring beauty and performance of ceramic and porcelain tiles make them a perpetually popular option for bathrooms of all sizes.
3. Natural Stone
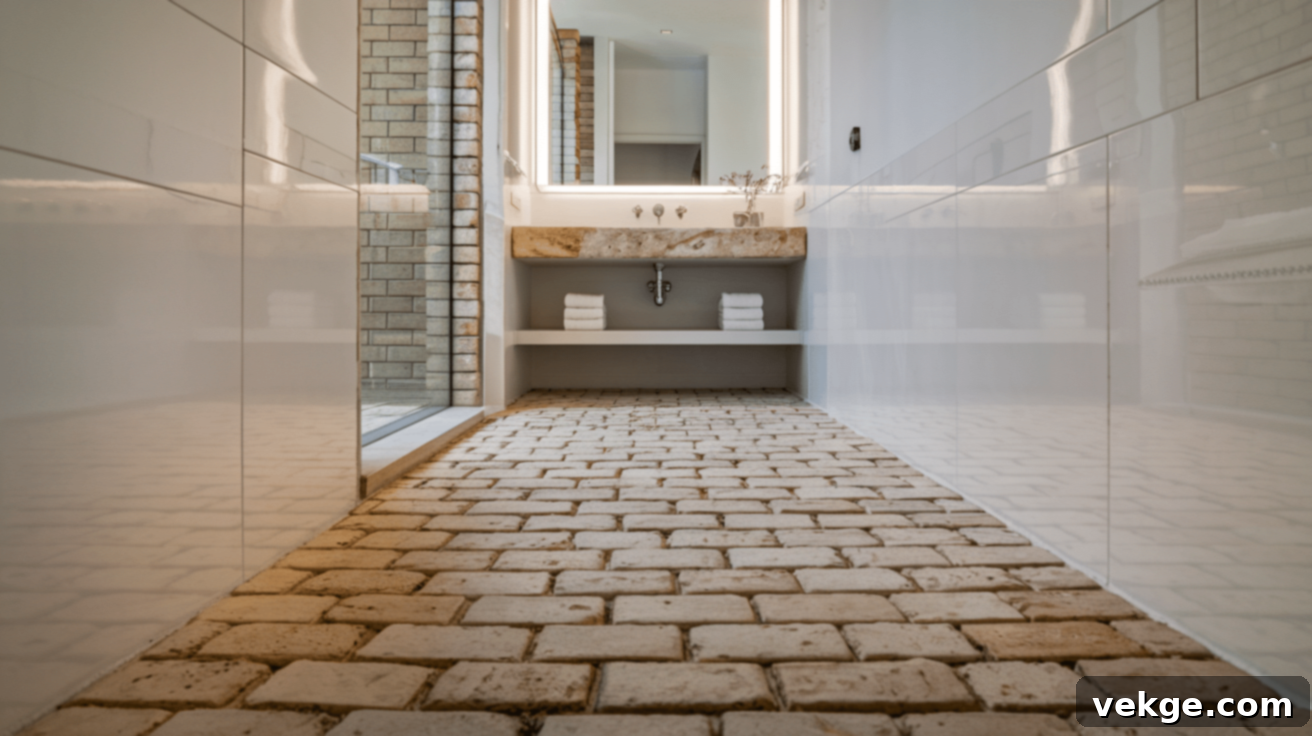
For homeowners seeking to infuse a sense of luxury, timeless elegance, and a high-end aesthetic into their small bathrooms, natural stone flooring is an unparalleled choice. Materials such as marble, travertine, slate, and granite each possess unique characteristics, with inherent natural variations in veining, color, and texture. This ensures that every natural stone floor is a one-of-a-kind masterpiece, offering a truly distinctive and sophisticated appearance. The robust nature of natural stone also provides a strong, solid, and incredibly durable feel underfoot, conveying a sense of permanence and quality.
However, the allure of natural stone comes with certain considerations. It is typically a more significant investment, with costs often ranging from $10 to $30 or more per square foot, depending on the type and rarity of the stone. Furthermore, natural stone is porous and requires regular sealing to protect it from moisture penetration, staining, and etching from acidic cleaners. This maintenance is crucial for preserving its beauty and longevity. Due to its weight, intricate installation requirements, and the need for precision to ensure proper waterproofing and a flawless finish, professional installation is almost always recommended to guarantee lasting performance and prevent future issues.
4. Engineered Wood
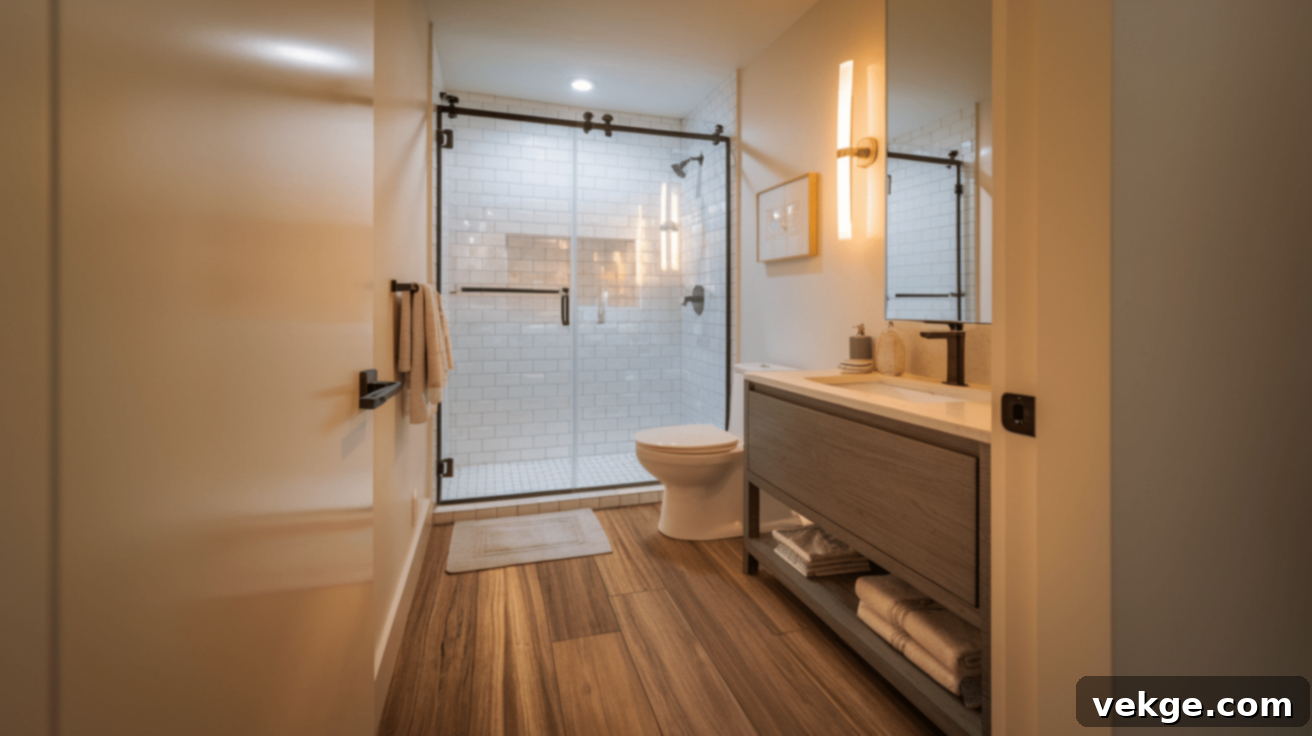
If the warm, classic aesthetic of real wood is a must-have for your small bathroom but you’re concerned about moisture, engineered wood flooring offers a compelling solution. Unlike solid hardwood, engineered wood is constructed with a real wood veneer top layer bonded to multiple layers of high-density fiberboard or plywood. This layered core provides enhanced stability and significantly greater resistance to humidity changes and moisture fluctuations compared to solid wood, making it a more viable option for bathroom environments.
While it is crucial to understand that engineered wood is not fully waterproof (and should not be used in areas prone to standing water, like inside a shower), high-quality engineered wood can be successfully utilized in bathrooms provided there is adequate ventilation and any water spills are wiped up immediately. Its ability to bring genuine warmth, natural beauty, and a sophisticated appearance to small spaces is unmatched by synthetic alternatives. Opting for engineered wood can create a spa-like, inviting atmosphere, elevating the overall design of a compact bathroom.
5. Waterproof Laminate
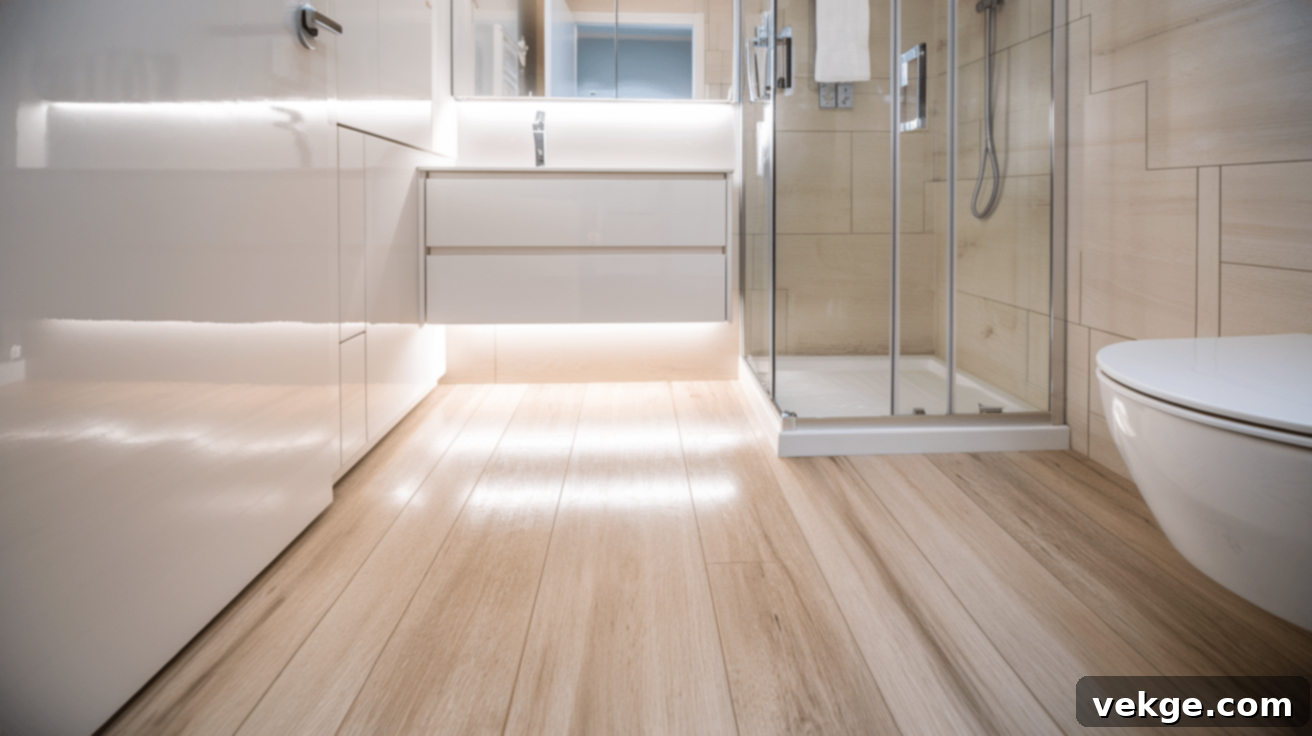
Modern waterproof laminate flooring has emerged as an excellent and highly practical choice for small bathrooms, offering a compelling blend of affordability and style. Typically costing around $3 to $5 per square foot, it presents a budget-friendly alternative to more expensive materials like ceramic tile or natural stone. Beyond its cost-effectiveness, waterproof laminate excels in aesthetics, with numerous options available that meticulously replicate the authentic look of real wood planks or elegant tile finishes. This extensive variety ensures you have a vast selection of styles to perfectly complement your bathroom’s design scheme.
What sets this type of laminate apart is its specialized construction designed to handle moisture effectively, a stark contrast to traditional laminate flooring which can swell, warp, or suffer irreparable damage when exposed to damp conditions. Always verify the product’s label to confirm it is explicitly rated as waterproof or approved for bathroom installation. Many waterproof laminate products also feature a simple click-and-lock installation system, making them an ideal candidate for DIY projects, perfect for a weekend bathroom refresh. This ease of installation, combined with its resistance to moisture and diverse styling options, makes waterproof laminate a highly attractive and practical choice for any small bathroom renovation.
Flooring Comparison Chart
The choice of flooring often reflects a blend of practical needs, aesthetic preferences, and regional considerations. Homeowners often weigh different materials based on their specific requirements for durability, maintenance, and budget. The table below provides a concise comparison of common bathroom flooring materials, highlighting key factors to help you make an informed decision for your small bathroom.
| Material | Cost/sq ft (Material Only) | Water Resistance | Slip Resistance | Maintenance | DIY Difficulty |
|---|---|---|---|---|---|
| LVT | $2-$7 | Excellent | Good | Low | Easy |
| Ceramic/Porcelain | $5-$15 | Excellent | Good-Excellent | Low | Moderate |
| Natural Stone | $10-$30+ | Good (with sealing) | Varies (can be slippery when wet) | High | Hard |
| Engineered Wood | $7-$15 | Moderate | Good | Moderate | Moderate |
| Waterproof Laminate | $3-$5 | Good | Moderate | Low | Easy |
This chart serves as a quick reference, but remember that specific product features and quality can vary. Always check manufacturer specifications for detailed information.
Design Tips to Maximize Space in Small Bathrooms
Use Light Colors
In a small bathroom, strategic color choices can significantly impact the perceived size and openness of the space. Light-colored flooring is a powerful tool for achieving this, making a compact bathroom feel considerably more expansive, airy, and comfortable. These lighter shades, such as white, cream, pale beige, light gray, or even soft pastels, effectively bounce light around the room. This not only brightens dark corners but also helps to visually extend walls and floors, making the entire space appear larger than its actual dimensions.
Popular choices like crisp white, warm cream, subtle pale beige, and versatile light gray are timeless and work seamlessly with a vast array of wall colors, vanity finishes, and fixture styles. You can also explore light wood tones in LVT or waterproof laminate, or opt for soft, understated patterns that add a touch of visual interest without making the room feel overly busy or cluttered.
For bathrooms lacking natural light, lighter floors are particularly beneficial as they help compensate for the absence of windows, brightening the space naturally. They also pair wonderfully with reflective surfaces such as large mirrors, glossy tiles, and polished chrome fixtures, further amplifying light reflection and enhancing the illusion of spaciousness. Always consider the overall palette to create a cohesive and welcoming small bathroom.
Try Large-Format Tiles
Counterintuitively, large-format tiles can be a game-changer for making a small bathroom feel much more open and streamlined. The primary reason for this effect is the reduction in grout lines. With fewer interruptions, the floor presents a more continuous, unbroken surface, which visually expands the room and minimizes visual clutter. This creates a sense of seamlessness that helps the space appear significantly larger and less fragmented.
When installing, consider laying tiles like 12×24-inch rectangles along the longest wall of the bathroom. This orientation draws the eye across the length of the room, further stretching its visual dimensions. The consistent surface creates a sophisticated, uncluttered backdrop that enhances the perception of spaciousness, making large-format tiles an excellent design choice for compact bathrooms.
Add Visual Interest with Patterns
While light colors and large tiles contribute to an open feel, strategic patterns can add personality and help define zones within a small bathroom without overwhelming it. A small bathroom offers a unique opportunity to experiment with bold or intricate floor designs, as the limited area prevents the pattern from becoming too dominant or busy. Since there’s less surface to cover, it’s also often more cost-effective to splurge on a slightly more expensive patterned tile that might be prohibitive in a larger room.
Consider patterns like herringbone or chevron layouts; these dynamic designs guide the eye across the floor, introducing a sense of movement and depth. This not only adds character but can also subtly direct focus, making the room feel more intentional. Diagonal tile placement is another effective technique, as it can trick the eye into perceiving the room as wider than it is, breaking up the traditional grid. Geometric arrangements, whether subtle or bold, can introduce variety and a modern touch without making the space feel cluttered, especially when balanced with simple wall colors and fixtures. Embracing a creative floor pattern in a small bathroom allows you to express your style and create a memorable design statement.
Installation Tips for Bathroom Flooring
The decision to undertake a DIY flooring project or hire a professional depends heavily on the material chosen, your personal skill level, and the complexity of your bathroom’s layout. Some flooring types are specifically designed for easier homeowner installation, while others truly benefit from the expertise of a seasoned professional. Understanding these differences can save you time, money, and potential headaches in the long run.
For simpler flooring types, such as peel-and-stick vinyl tiles or many click-lock LVT products, a confident DIY approach is often feasible. These materials are generally lightweight, relatively easy to cut with basic tools, and don’t require specialized adhesives or extensive preparation. However, for more complex installations like ceramic or porcelain tile, natural stone, or any project involving subfloor leveling or extensive waterproofing, engaging a professional is almost always the safer and more reliable option. A small mistake during installation, especially in a moisture-prone area like a bathroom, could lead to significant water damage, uneven surfaces, or premature failure of your beautiful new floor.
Before making your final decision, honestly assess your own DIY skills, the time you have available, and your comfort level with potential challenges. It’s often beneficial to get a few quotes from local flooring professionals; this will not only give you an idea of labor costs but also highlight any unforeseen complexities that an expert would handle, helping you choose the most suitable path for your bathroom upgrade.
DIY Considerations
For those who enjoy hands-on projects and are looking to save on labor costs, certain bathroom flooring materials are particularly suitable for DIY installation. Click-lock Luxury Vinyl Tile (LVT) and waterproof laminate are excellent candidates. These materials are engineered for ease of installation, featuring interlocking systems that fit together without the need for messy glues or nails. This significantly reduces the learning curve and the amount of specialized equipment required.
Peel-and-stick vinyl tiles offer another beginner-friendly choice, especially for very small bathrooms or powder rooms. Their adhesive backing simplifies the process; simply peel, stick, and trim. If your bathroom layout is straightforward, with minimal intricate cuts around fixtures, corners, or floor vents, a DIY approach can be quite practical. Successfully completing the work yourself can lead to substantial savings, as professional labor costs typically add an extra $2 to $5 (or even more) per square foot to the overall project expense. Always ensure you have the right tools (utility knife, tape measure, knee pads, possibly a jigsaw for more complex cuts) and carefully follow the manufacturer’s installation instructions for the best results.
When to Hire a Professional
While DIY can be rewarding, professional installation is often the superior choice for certain situations and flooring materials, ensuring durability and preventing costly issues. If you’re opting for natural stone, which is heavy, requires precise cutting, and specialized sealing, or planning an intricate tile layout like a mosaic or complex pattern, the work demands extensive experience and precision. Professionals possess the tools, skills, and knowledge to handle such challenges flawlessly.
Additionally, scenarios involving uneven subfloors or the necessity of installing a robust waterproofing membrane beneath the flooring (critical in showers or around tubs) absolutely require expert handling. These foundational steps are vital for the long-term integrity of your bathroom and its resistance to water damage. In many cases, removing old flooring, which might include old tile, adhesive, or even a toilet, can be tricky and requires specific tools and techniques that a homeowner might not possess.
Ultimately, many individuals find greater peace of mind in hiring a professional, especially for bathrooms where any water-related installation errors can lead to severe, long-term problems like mold, rot, and structural damage. Investing in professional installation often pays for itself by ensuring a perfect finish, proper waterproofing, and a floor that stands the test of time.
Cost Estimates
The total cost of bathroom flooring can fluctuate significantly based on several factors, including the type of material chosen, the overall square footage of your bathroom, and whether you opt for DIY or professional installation. Custom features, intricate designs, or special finishes can also elevate the price. It’s also important to remember that pricing can vary geographically, with metropolitan areas often having higher labor costs.
Before committing to any decision, it is highly recommended to obtain detailed quotes from multiple flooring professionals. This allows for a comprehensive comparison of material costs, labor fees, and any additional services included in the estimate.
| Flooring Type | Professional Installation Cost (per sq ft) | Installation Type Feasibility | Notes |
|---|---|---|---|
| Luxury Vinyl Tile (LVT) | $3 – $10 | DIY or Professional | Highly water-resistant, very easy to maintain, feels warmer than tile. |
| Ceramic/Porcelain Tile | $6 – $20 | Primarily Professional (DIY for experienced) | Extremely durable, excellent for moisture, vast design options. Requires grout. |
| Natural Stone | $10 – $30+ | Professional Only | Luxury appeal, unique variations. Requires regular sealing and expert installation. |
| Engineered Wood | $7 – $15 | Primarily Professional | Offers the look of real wood, better humidity resistance than solid wood. Not fully waterproof. |
| Waterproof Laminate | $3 – $10 | DIY or Professional | Affordable, easy to install, wide range of styles. Specifically designed for wet areas. |
Note: Additional expenses like subfloor preparation, removal of old flooring, and the application of a waterproofing membrane can increase total costs by an estimated $1–$3 or more per square foot. Always clarify these potential extra charges when getting quotes.
Maintenance and Longevity Tips for Bathroom Flooring
Proper maintenance is essential not only for keeping your bathroom floor looking pristine but also for extending its lifespan, especially in a high-moisture environment. Each flooring type has specific care requirements that, when followed, can prevent damage and ensure longevity.
For materials like luxury vinyl tile (LVT) and waterproof laminate, the maintenance routine is refreshingly simple. Regular sweeping or vacuuming to remove dirt and debris is key. From time to time, mop the floor using a cleaner specifically recommended by the manufacturer. Avoid abrasive cleaners or excessive water, as even waterproof materials can be affected by standing water over long periods or harsh chemicals.
Ceramic and porcelain tiles are incredibly durable and easy to clean. A simple solution of mild soap and water is usually sufficient for routine cleaning. However, the grout lines between tiles require special attention. These porous lines can accumulate dirt and mildew, so it’s a good idea to clean them periodically with a grout-specific cleaner and a brush to keep them looking fresh and prevent discoloration.
Natural stone floors, while beautiful, demand a bit more care. They are porous and can be susceptible to staining and moisture absorption. Use only cleaners specifically formulated for natural stone to avoid etching or dulling the surface. Crucially, natural stone floors must be resealed every one to two years (or as recommended by the manufacturer) to protect them from moisture damage and maintain their lustrous appearance.
If you have engineered wood in your bathroom, immediate action on spills is vital. Wipe up any water or liquid right away to prevent it from seeping into the wood layers. Use wood floor cleaners sparingly and only when necessary, opting for damp mopping with just water most of the time. Avoid steam cleaners entirely, as the excessive moisture can damage engineered wood.
Beyond material-specific care, general bathroom habits significantly impact flooring longevity. Always use the bathroom exhaust fan during and for at least 15-20 minutes after showers or baths. This helps to remove humidity from the air, preventing mold and mildew growth on surfaces and in grout lines, and keeping your floors in better condition over time. Promptly fix any leaks from sinks, toilets, or showers as soon as you notice them, no matter how small. Place absorbent bath mats near tubs and showers to catch water drips and splashes immediately, and ensure you clean up any standing water on the floor quickly to avoid pooling and potential damage, even on waterproof surfaces.
Safety and Practical Considerations for Bathroom Flooring
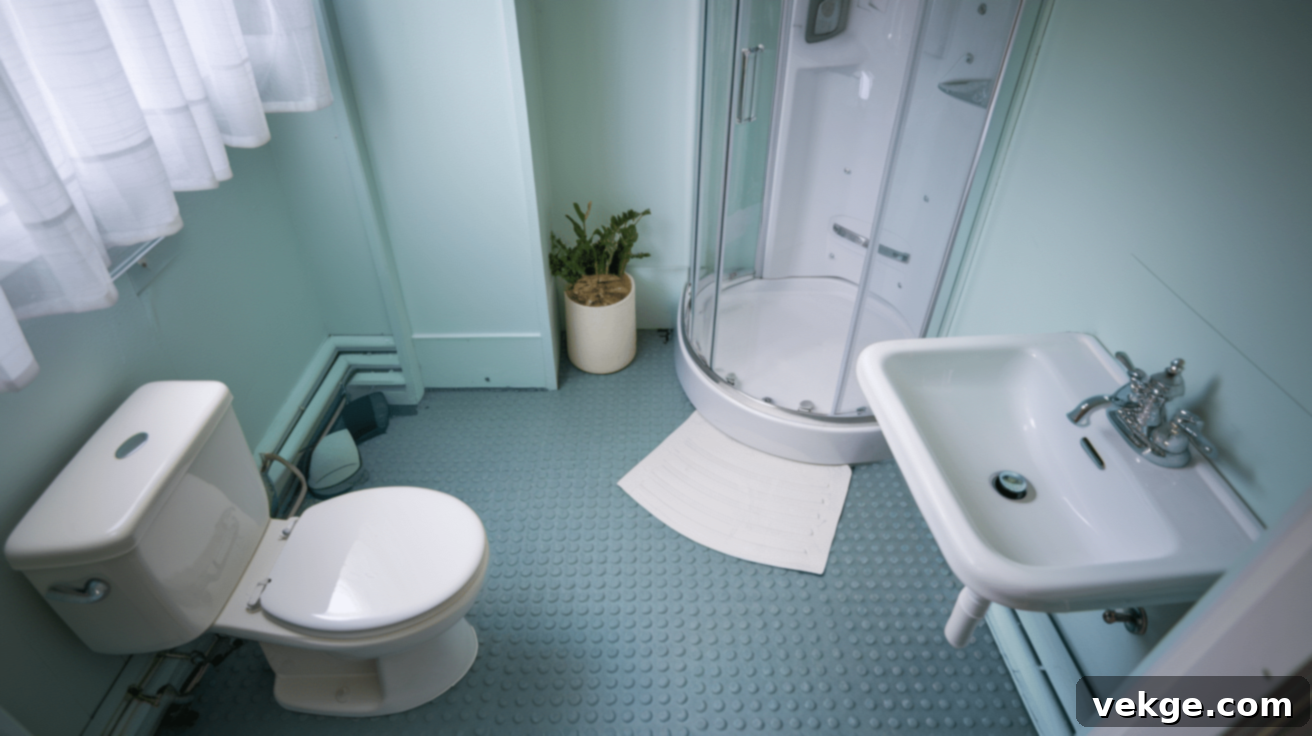
Safety is a paramount factor when selecting flooring for a small bathroom, especially given the frequent presence of water. Certain materials are specifically designed to help mitigate the risk of slips and falls, providing crucial traction even when wet. For instance, textured vinyl or matte-finish tiles naturally offer more grip underfoot compared to highly polished or glossy surfaces. This added slip resistance is particularly important in households with young children or older adults, where enhanced stability and comfort can prevent accidents and provide greater peace of mind. Beyond slip resistance, practical considerations such as compatibility with radiant heating systems become relevant, especially for those living in colder climates who desire a warm, inviting bathroom experience.
Slip-Resistant Options
In wet environments like bathrooms, preventing slips and falls is a top priority. To significantly reduce this risk, opt for flooring materials that inherently offer some form of texture or a matte (non-glossy) surface finish. These types of finishes create more friction and provide better grip underfoot, which is especially critical when the floor is damp from shower splashes or drips. Many luxury vinyl tiles and waterproof laminates come with textured surfaces that mimic wood grain or stone, offering both aesthetic appeal and enhanced safety.
For ceramic and porcelain tiles, look for products with a slip-resistant rating (often indicated by a Coefficient of Friction or DCOF rating). These specialized tiles are designed to offer superior grip without compromising style. Additionally, a simple and effective measure is to strategically place non-slip rugs with rubber backings, particularly in high-traffic wet zones near the shower, bathtub, or sink. These rugs provide an immediate increase in traction and can be easily removed for cleaning, adding an extra layer of safety and comfort.
Family-Friendly Choices
If your household includes children or pets, selecting the right bathroom flooring becomes even more critical, requiring a balance of durability, ease of cleaning, and safety. Luxury vinyl tile (LVT) stands out as an exceptionally smart choice for family bathrooms. It’s robust enough to withstand the daily wear and tear from energetic kids and playful pets – resisting scratches, spills, and general abuse – while still offering a resilient, relatively soft surface underfoot. This softness can be more forgiving for little ones who might fall.
Porcelain tile is another excellent family-friendly option. Its remarkable durability means it can endure heavy foot traffic, resist moisture, and stand up to frequent, rigorous cleaning required in a busy family bathroom. However, when choosing porcelain or any tile, it’s best to avoid options with a high-gloss finish. While visually appealing, highly polished surfaces can become dangerously slippery when wet, posing a significant slip hazard for children and pets who are less stable on their feet. Opting for matte or textured finishes provides a much safer environment without sacrificing style or practicality.
Radiant Heat Compatibility
For an added touch of luxury and comfort, especially during colder months, integrating underfloor radiant heating with your bathroom flooring is an excellent choice. Ceramic, porcelain, and natural stone are widely considered among the best flooring options for pairing with these heating systems. These materials are excellent conductors of warmth, allowing the heat generated by the coils or mats beneath to rise evenly and efficiently across the entire bathroom floor, creating a wonderfully cozy and inviting atmosphere.
Some luxury vinyl tile (LVT) products can also be used effectively with radiant heat, but it is absolutely crucial to consult the manufacturer’s specific guidelines before installation. Not all LVT is rated for radiant heating, and exceeding temperature limits can lead to material damage or warping. Adding radiant heat beneath your chosen flooring material can transform a small bathroom into a warm, comfortable oasis, enhancing the overall user experience and making those chilly mornings much more pleasant.
Final Thoughts
Selecting the ideal flooring for a small bathroom is a crucial decision that ultimately boils down to finding the perfect balance between aesthetic appeal, practical function, and your budgetary constraints. Each material offers distinct advantages, catering to different priorities and design visions. Materials like fully waterproof luxury vinyl tile (LVT) and durable porcelain tile consistently remain top contenders due to their exceptional water resistance, ease of care, and wide range of styles, making them highly practical and versatile choices for compact spaces.
If your aim is to imbue your bathroom with a more refined and opulent finish, natural stone introduces a timeless, unique touch, though it demands a higher investment and more dedicated maintenance. For those who desire the warmth and natural beauty of wood, engineered wood or specifically rated waterproof laminate can offer a similar aesthetic and comfortable underfoot feel, provided they receive the appropriate upkeep and are installed correctly for bathroom environments.
Before finalizing your decision, we highly recommend obtaining samples of your preferred flooring materials and reviewing them in your own home. Observe how they interact with your bathroom’s specific lighting conditions and how well they complement your existing color scheme and fixtures. Furthermore, if you find yourself uncertain about the complexities of installation, don’t hesitate to consult with a reputable flooring expert. A professional can provide invaluable insights, help you understand the entire process, and ensure a flawless, long-lasting result for your small bathroom flooring project.
Frequently Asked Questions
Can You Put Laminate in a Bathroom?
Yes, but it’s crucial to use modern waterproof laminate specifically designed and rated for bathroom use. Regular laminate flooring is susceptible to moisture damage, swelling, and warping, making it unsuitable for high-humidity environments.
Is Vinyl Flooring Better than Tile for Small Spaces?
Both have advantages. Vinyl (especially LVT) is generally easier to cut and install, often warmer underfoot, and very forgiving. Tile, particularly ceramic or porcelain, tends to be more durable long-term and adds a classic, high-end feel. For DIY projects, vinyl might be simpler, but for extreme durability and a traditional look, tile often wins.
What Color Floor Makes a Bathroom Look Bigger?
Light shades are best for making a small bathroom feel more spacious and open. Colors like crisp white, soft gray, pale beige, or light cream reflect more light, visually expanding the room and making it appear wider and brighter.
What Flooring is Fully Waterproof?
Luxury vinyl tile (LVT), ceramic tile, and porcelain tile are considered fully waterproof when properly installed with appropriate subfloor preparation and sealing (for natural stone/grout). These materials do not absorb water, making them ideal for bathrooms.
Should Flooring Go Under the Toilet?
Yes, it is best practice for flooring to extend completely under the toilet. This ensures a proper seal around the toilet’s base, helps prevent future water damage, and makes any future toilet removal or replacement much simpler and cleaner. Installing flooring around the toilet can lead to an unprofessional look and potential sealing issues.
