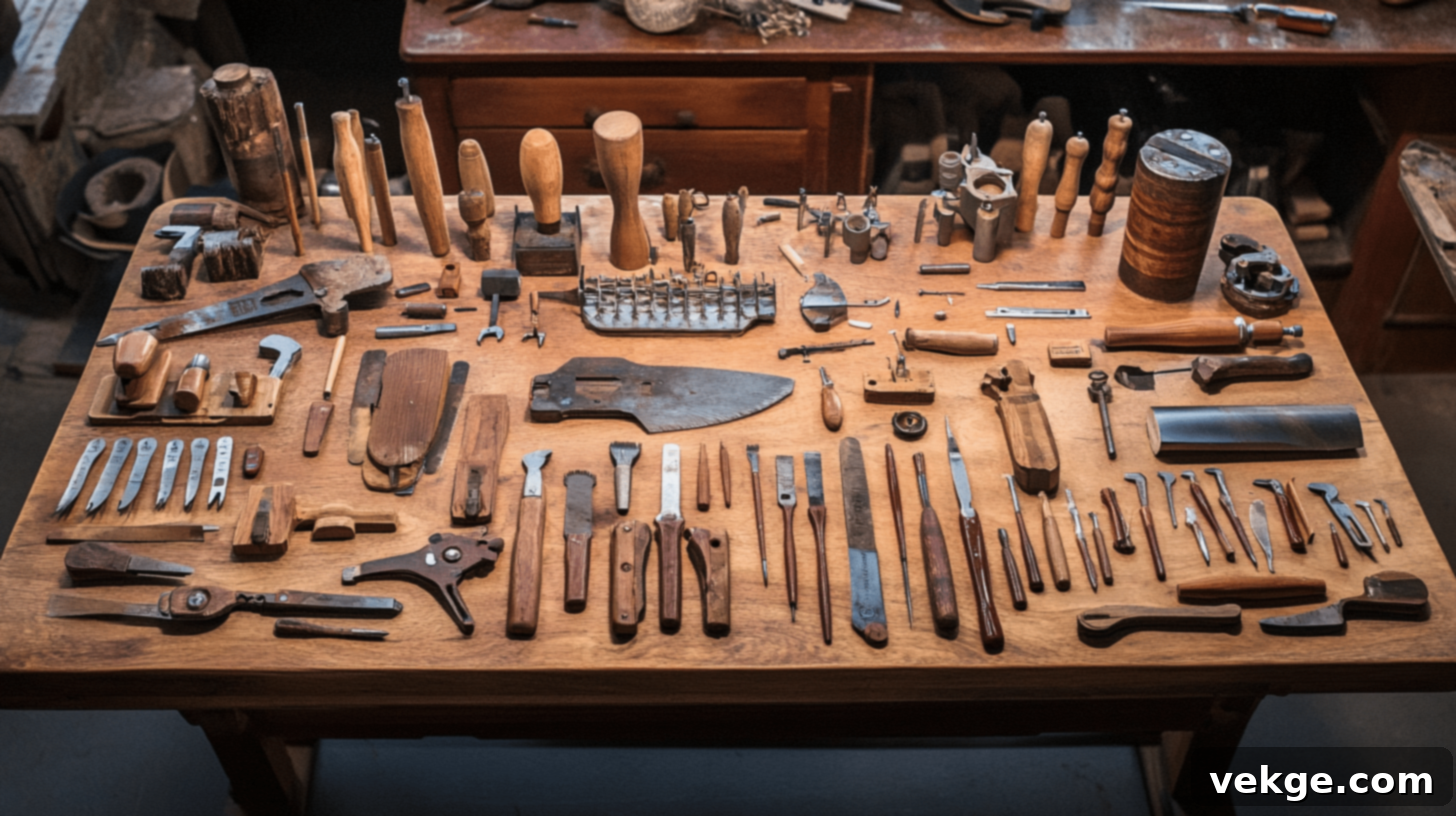
The Ultimate Guide to Essential Woodworking Tools: Build Your Perfect Workshop
Embarking on a woodworking journey is incredibly rewarding, but it can feel daunting, especially when you’re just starting and unsure which tools are truly essential. I distinctly remember the early days in my small workshop, grappling with projects and realizing that having the right tools makes all the difference. It’s a common struggle for many beginners to navigate the vast array of options and identify what they genuinely need to kickstart their craft.
Over the past five years, I’ve had the privilege of meticulously testing and evaluating a wide range of woodworking tools, from the most basic hand tools to advanced power machinery. This hands-on experience has equipped me with a clear understanding of what works best and what truly adds value to a woodworker’s arsenal. Now, I’m eager to share that knowledge with you, helping you bypass the costly mistakes and frustrations I encountered.
In this comprehensive guide, I will introduce you to 31 essential woodworking tools that are guaranteed to make your projects more manageable, more precise, and far more enjoyable. Whether you’re a novice taking your first steps or a seasoned craftsman looking to refine your toolkit, this list covers everything from foundational measuring devices to powerful cutting and shaping machines.
You’ll gain insights into which basic tools are indispensable for any beginner, understand the specific advantages each tool offers, and discover practical tips for effective and safe usage. My aim is to help you confidently build a robust and versatile toolkit that caters to a broad spectrum of woodworking projects, empowering you to create with greater skill and confidence.
What Are Woodworking Tools and Their Core Benefits?
Woodworking tools are specialized instruments designed to transform raw timber into finished pieces. From my extensive experience, each tool plays a critical role in the intricate process of shaping, cutting, joining, and finishing wood, allowing you to bring your creative visions to life. Understanding their individual benefits is key to appreciating their value in your workshop.
Here’s why investing in quality woodworking tools is undeniably worth your time and money:
- Enhanced Control and Accuracy: I’ve consistently found that having the correct tools provides unparalleled control, leading to exceptionally precise cuts and remarkably smooth finishes. When I utilize a tool specifically designed for a task, the outcomes align perfectly with my intentions. It’s much like writing with a perfectly sharpened pencil versus a blunt one – the precision and clarity of the result are vastly superior.
- Significant Time Savings: Efficient tools dramatically accelerate your workflow. I vividly recall the arduous hours spent trying to create intricate dado joints by hand; it was an incredibly time-consuming and often frustrating process. Now, with the appropriate dado blade and a table saw, I can achieve the same, if not better, results in mere minutes, freeing up valuable time for other aspects of my project.
- Prioritizing Safety: Using the right tool for the job is paramount for safety. I frequently emphasize to fellow woodworkers that attempting to force an unsuitable tool to perform a task is an open invitation for accidents and injuries. Proper tools are designed with specific safety features and ergonomic considerations that significantly mitigate risks, making your workshop a safer environment.
- Achieving Professional and Clean Results: Every woodworking tool is engineered for specific applications. When I deploy a tool for its intended purpose, the quality of the work instantly elevates to a professional standard. Hand saws are crafted for clean, straight cuts, while chisels excel at creating sharp, precise corners, all contributing to a superior aesthetic and structural integrity in your finished projects.
- Long-Term Cost Efficiency: While quality tools may represent a higher initial investment, they prove to be more economical in the long run. My journey has taught me that durable tools last considerably longer, perform cleaner cuts (which reduces material waste), help prevent costly mistakes that require rework, and minimize the need for frequent repairs or replacements.
- Expanded Project Versatility: A well-equipped toolkit unlocks a much broader spectrum of creative possibilities. When I first started, my basic tools limited me to simple boxes. As I gradually acquired more specialized tools, I gained the capability to tackle complex, detailed furniture pieces, joinery, and intricate designs, dramatically broadening my woodworking horizons.
- Reduced Physical Strain: Ergonomically designed and task-specific tools lighten the physical burden of woodworking. Employing tools optimized for each operation reduces the need for excessive pushing, pulling, or straining, making your work sessions more comfortable and less fatiguing, especially during prolonged projects.
List of Must-Have Hand Tools for Your Workshop
1. Chisels (Price Range – $20-$100 for a set)
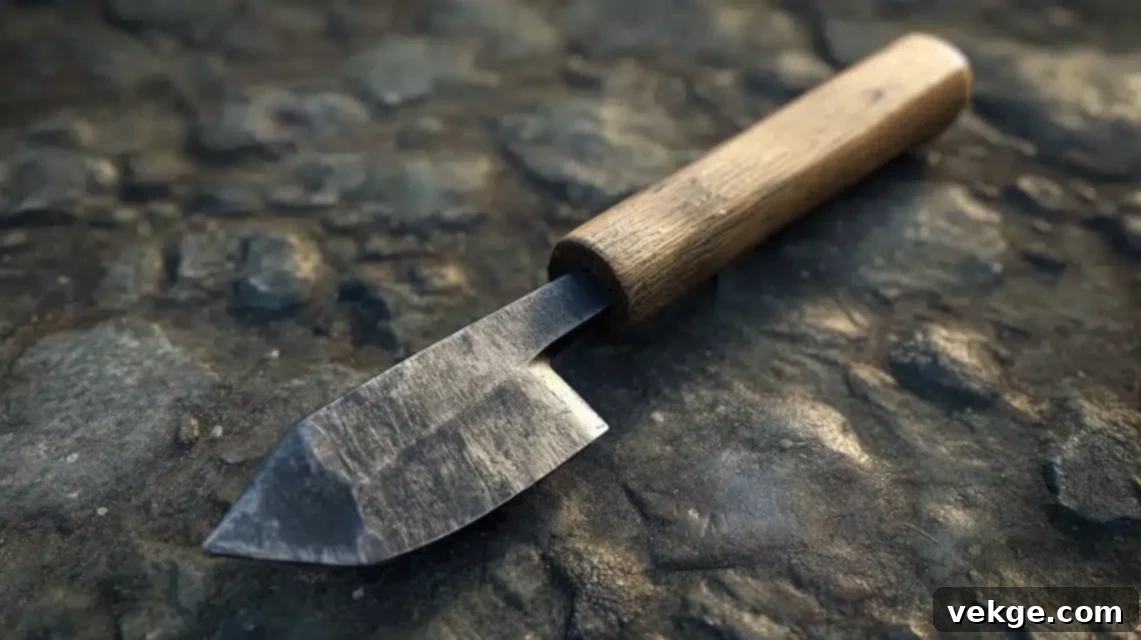
Chisels are indispensable sharp hand tools that I use to precisely cut and shape wood. They were among the very first tools I invested in when I began my woodworking journey, proving their fundamental importance for fine work.
| Used For | Benefits | Sizes & Types |
|---|---|---|
| Creating various joints and grooves | Exceptional for intricate and detailed work | Bench chisels (¼” to 2″) |
| Cleaning out mortises and dados | Offers high accuracy in confined spaces | Mortise chisels |
| Carving and adding decorative details to wood | Remarkably long-lasting with proper care and maintenance | Paring chisels |
| Trimming wood plugs and dowels flush | Effective and versatile across all wood types | Socket or tang handle designs |
2. Hand Plane (Price Range – $30-$150)
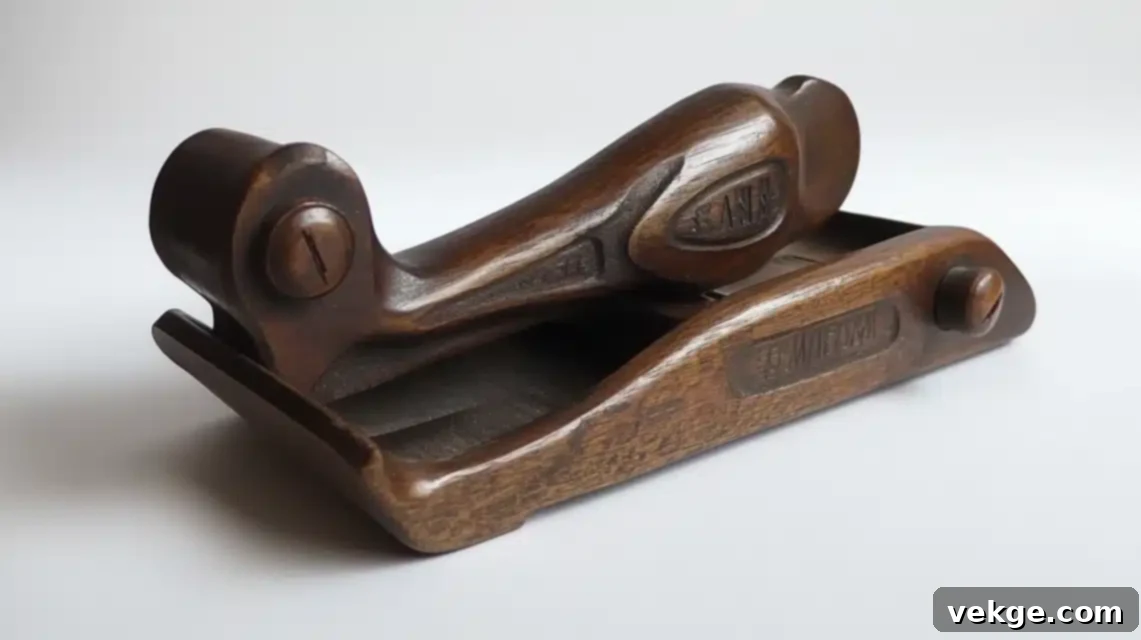
A hand plane is a timeless tool I consistently rely on to achieve incredibly smooth wood surfaces and perfectly level board edges. It offers a level of tactile control and precision for fine adjustments that power tools simply can’t match.
| Used For | Benefits | Sizes & Types |
|---|---|---|
| Smoothing rough sawn lumber | Yields a superior surface finish without tear-out | Block plane (small, for end grain) |
| Leveling uneven surfaces and removing high spots | Operates entirely without the need for electricity | Jack plane (general purpose) |
| Reducing the thickness of boards incrementally | Allows for meticulous control over material removal | Smoothing plane (for final finish) |
| Creating perfectly flat and square edges for joinery | Provides quiet operation, ideal for a calm workshop environment | Jointer plane (long, for straight edges) |
3. Measuring Tape (Price Range – $5-$25)

The humble measuring tape is a flexible, indispensable ruler that I use countless times every single day. Its fundamental role in any project is to ensure exact measurements and precise marking of cut lines, preventing costly errors down the line.
| Used For | Benefits | Sizes & Types |
|---|---|---|
| Obtaining accurate length, width, and depth measurements | Facilitates rapid and efficient measurements on the go | 12-foot tape (compact) |
| Marking precise cut lines and layout points | Extremely easy to carry and store in a tool belt | 25-foot tape (most common) |
| Verifying dimensions against project plans | Features an automatic retraction mechanism for convenience | 35-foot tape (for larger projects) |
| General layout work on various materials | Effectively measures curved and irregular surfaces | Available in metric or imperial units |
4. Carpenter’s Square (Price Range – $10-$40)
This simple yet powerful flat, L-shaped tool is crucial for verifying perfect right angles and accurately marking straight lines on wood. It’s a cornerstone for ensuring the structural integrity and aesthetic appeal of your projects.
| Used For | Benefits | Sizes & Types |
|---|---|---|
| Checking and maintaining precise 90-degree angles | Guarantees that all corners are perfectly square | 12-inch speed square (compact and versatile) |
| Drawing long, perfectly straight lines for cuts | Doubles as an effective straight-edge guide for tools | 16-inch framing square (medium duty) |
| Accurately marking square and parallel lines | Greatly assists in precise layout work for joinery | 24-inch framing square (for large layouts) |
| Some types can measure depth or act as a protractor | Remarkably simple and intuitive to use for various tasks | Combination square (multi-functional) |
5. Level (Price Range – $15-$60)
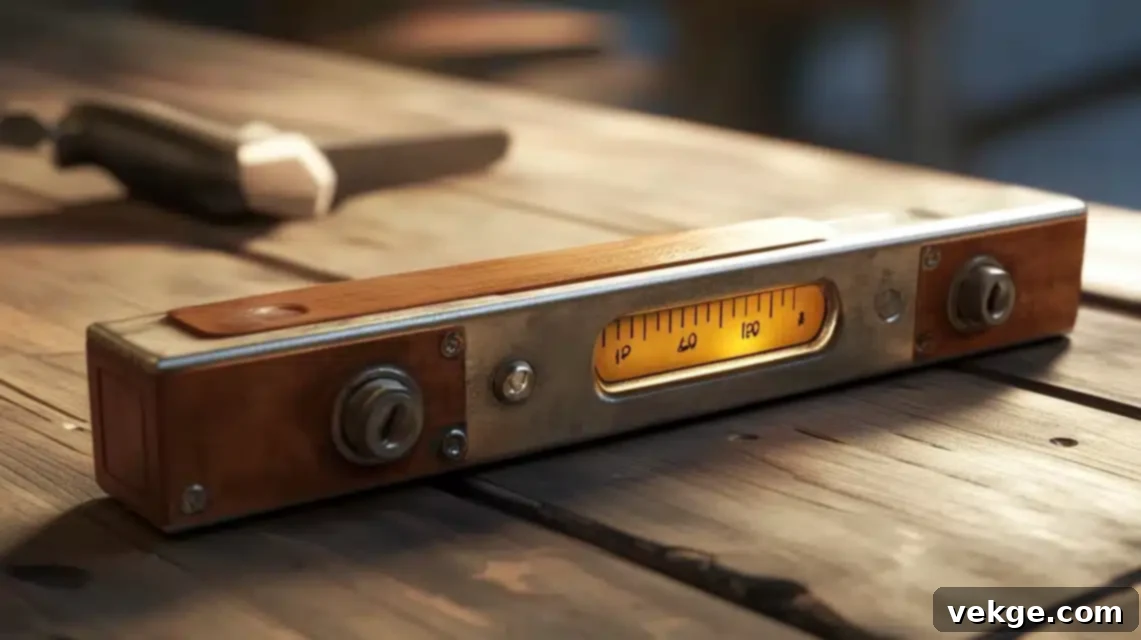
A level is a tool I absolutely trust to confirm that surfaces are perfectly flat and plumb. It is an indispensable item for any woodworking project that demands accurate alignment and stability, ensuring your creations stand true and proud.
| Used For | Benefits | Sizes & Types |
|---|---|---|
| Checking the horizontal flatness of surfaces | Guarantees perfectly flat and level workpieces or installations | 9-inch torpedo level (small, versatile) |
| Verifying vertical alignment for upright structures | Effectively prevents wobbling or instability in assembled pieces | 24-inch level (general purpose) |
| Precisely setting up machinery and workbenches | Equipped with easy-to-read vials for quick assessment | 48-inch level (for larger surfaces) |
| Installing cabinets, shelves, and frames with accuracy | Often features multiple measuring points (vials) for diverse checks | Digital levels (for precise numerical readings) |
6. Hand Saw (Price Range – $15-$75)
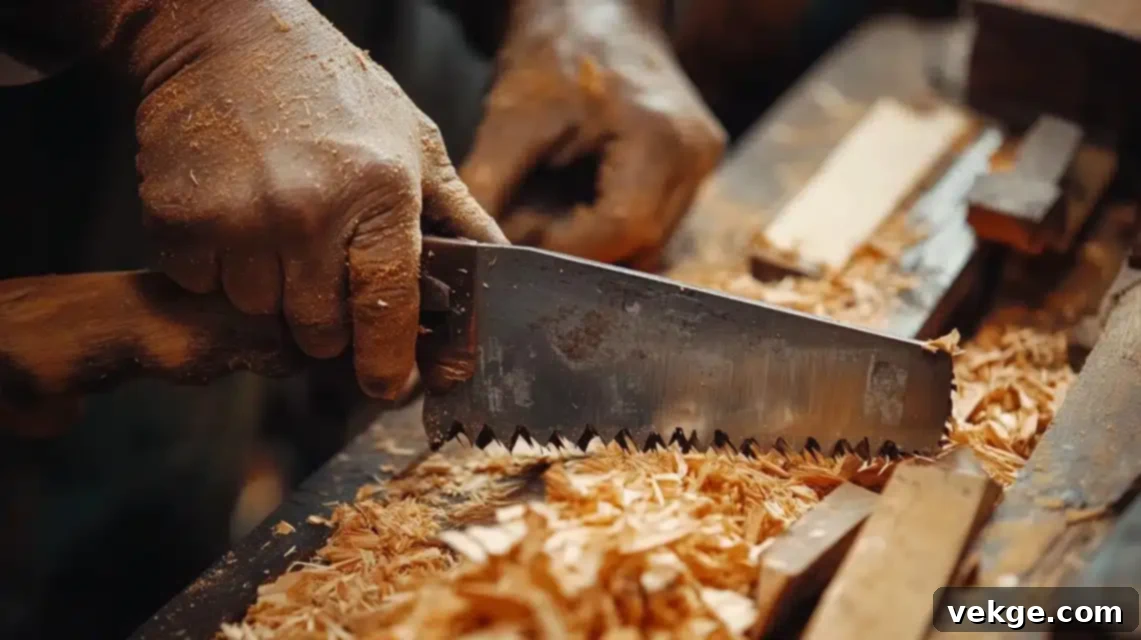
The hand saw remains my reliable, go-to manual cutting tool. It provides an exceptional level of control and feel, particularly when executing precise straight cuts in various types of wood, making it perfect for situations where power isn’t available or fine detail is paramount.
| Used For | Benefits | Sizes & Types |
|---|---|---|
| Making long, clean straight cuts in wood panels | Requires no external power source, ideal for remote work | Rip saw (for cutting along the grain) |
| Performing both cross cuts (across grain) and rip cuts | Offers superior precise control compared to many power saws | Cross cut saw (for cutting across the grain) |
| Handling smaller project cuts where accuracy is key | Generally easy to maintain and sharpen, extending its lifespan | Back saw (for fine joinery) |
| Executing detailed work and delicate joinery | Highly versatile and can be used in any location or workshop setup | Panel saw (lightweight, general use) |
7. Claw Hammer (Price Range – $10-$50)

The claw hammer is a fundamental and truly vital tool that I find myself reaching for almost every day. It’s perfectly designed for the dual tasks of driving nails securely into wood and efficiently pulling them out, making it an indispensable part of any workshop.
| Used For | Benefits | Sizes & Types |
|---|---|---|
| Driving nails into various wood types and materials | Functions as two essential tools in one compact design | 16 oz (ounce) for general use and finishing |
| Effectively removing misplaced or bent nails | Provides strong, reliable striking power for tough jobs | 20 oz for framing and heavier duty tasks |
| Assisting in light assembly tasks and tapping components together | Features an ergonomic handle for a secure and comfortable grip | Hammers with traditional wood handles |
| Subtly adjusting the position of wood pieces or joints | Constructed for durability and designed to be long-lasting | Hammers with robust steel handles |
8. Screwdriver Set (Price Range – $20-$80)
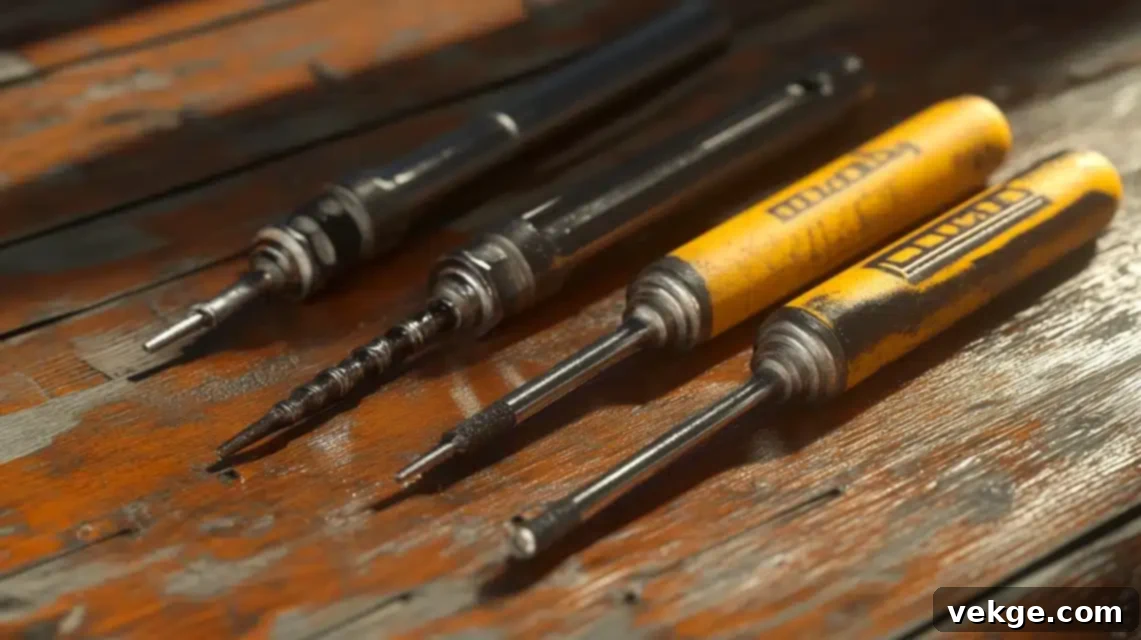
A comprehensive screwdriver set is an absolutely essential collection of hand tools that I rely on for securing all types of screws and performing various small adjustments. Having the right bit for the job ensures secure fasteners and prevents stripped heads.
| Used For | Benefits | Sizes & Types |
|---|---|---|
| Efficiently driving screws into wood and other materials | Provides compatibility with a wide array of screw head types | Phillips head screwdrivers |
| Safely and easily removing screws without damage | Offers excellent control for precise fastening and loosening | Flathead (or Slot) screwdrivers |
| Making minor adjustments to hardware or components | Constructed from durable materials for a long-lasting lifespan | Square drive (Robertson) screwdrivers |
| Facilitating basic assembly of furniture and fixtures | Typically organized in a compact set for easy storage and access | Torx drive screwdrivers |
9. Wood Rasps (Price Range – $15-$60)
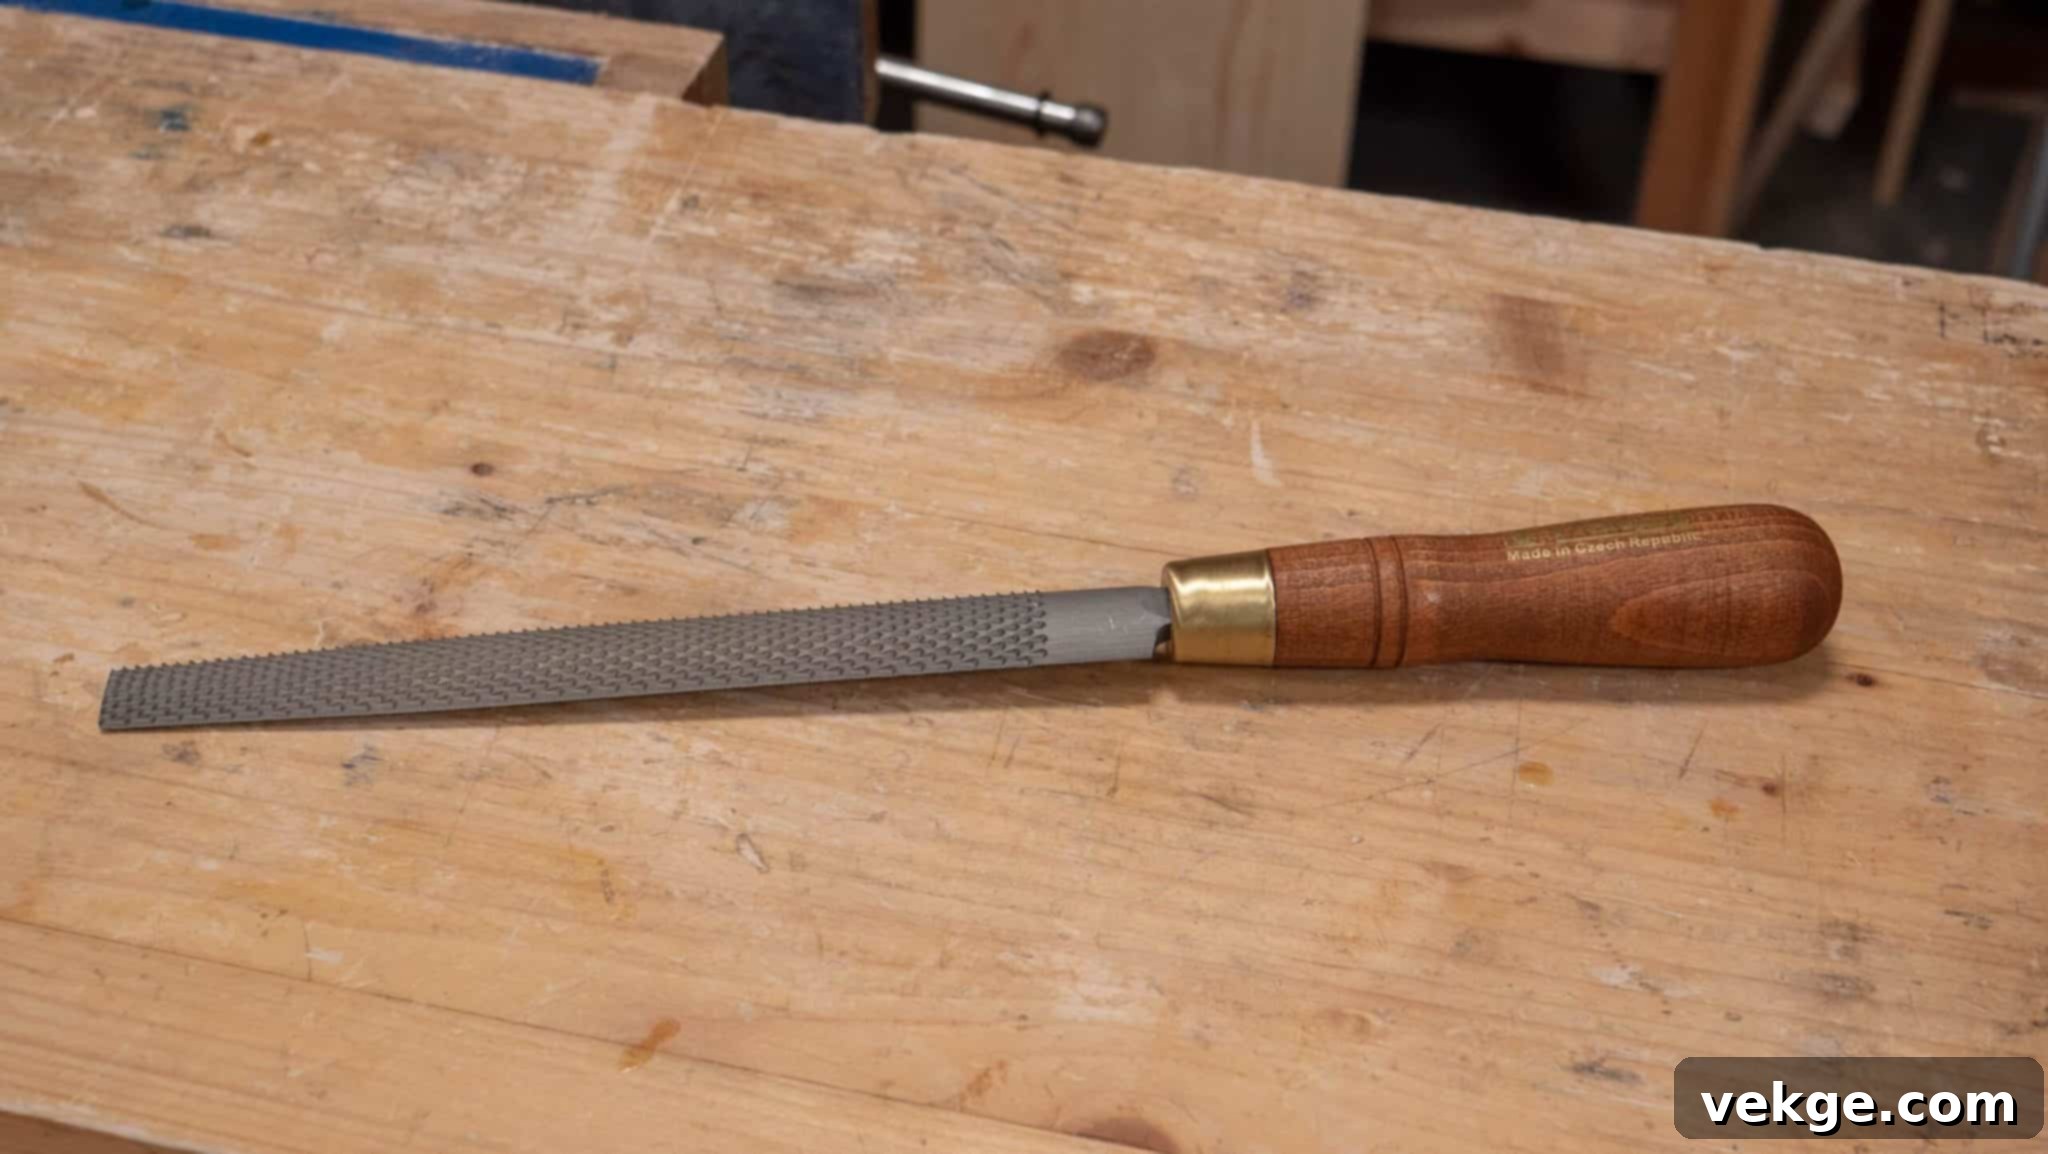
Wood rasps are coarse files that I find invaluable for quickly and efficiently shaping wood, especially when dealing with curves or removing a significant amount of material in the initial stages of a project. They allow for rapid, controlled shaping before moving on to finer tools.
| Used For | Benefits | Sizes & Types |
|---|---|---|
| Performing rough shaping and material removal on wood | Achieves very fast wood removal, saving time in preliminary stages | Half-round rasps (for curves and flat surfaces) |
| Eliminating excess wood to achieve a desired profile | Offers good control despite its aggressive cutting action | Flat rasps (for large, flat areas) |
| Smoothing and refining curves, especially concave shapes | Can work effectively in tight and irregular spots where other tools can’t reach | Round rasps (for concave curves and holes) |
| Detail work on sculpted pieces or intricate designs | Helps in creating smooth, flowing curves and contours | Cabinet rasps (finer cut than standard rasps) |
10. Marking Knife (Price Range – $8-$35)
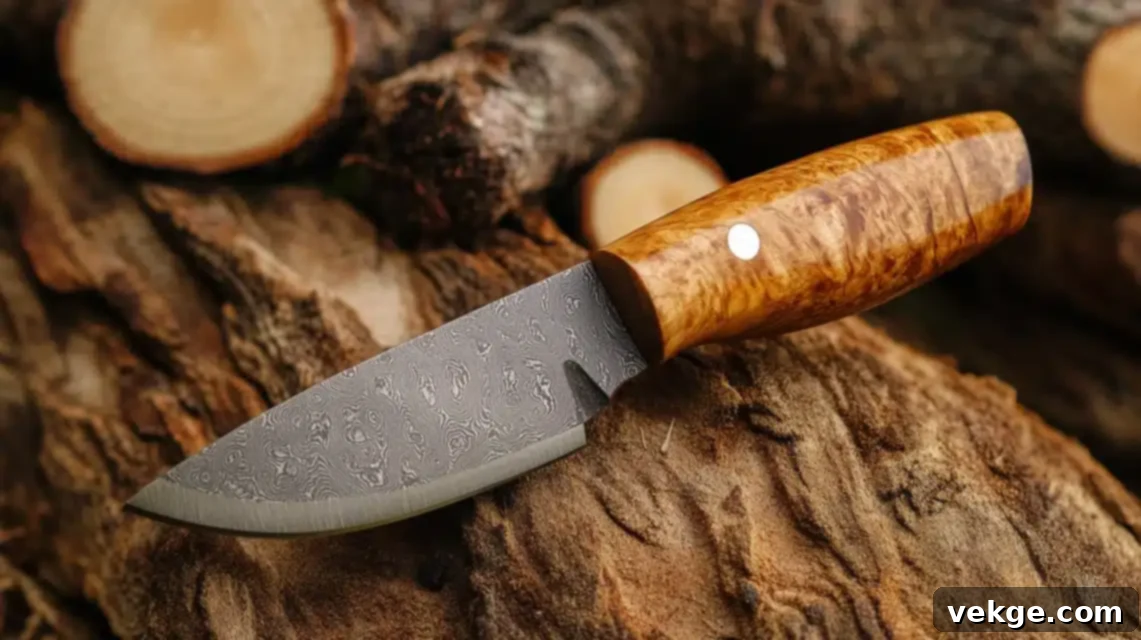
A marking knife is a fine, sharp tool that I consider indispensable for achieving truly precise layout marks on wood surfaces. Unlike a pencil, it leaves a crisp, incised line that guides your cuts with unparalleled accuracy, especially important for joinery.
| Used For | Benefits | Sizes & Types |
|---|---|---|
| Marking exact cut lines for saws and chisels | Provides significantly more precision and accuracy than traditional pencils | Single bevel knives (often preferred for joinery) |
| Scoring wood fibers to prevent tear-out during cuts | Creates clear, fine lines that are easy to follow with cutting tools | Double bevel knives (more versatile) |
| Laying out intricate details and fine designs | Leaves permanent, long-lasting marks that won’t rub off easily | Straight blade marking knives |
| Precisely marking shoulders and baselines for joinery (e.g., dovetails) | A superior alternative to pencils for critical layout tasks | Curved blade marking knives (for specific tasks) |
11. Combination Square (Price Range – $15-$70)
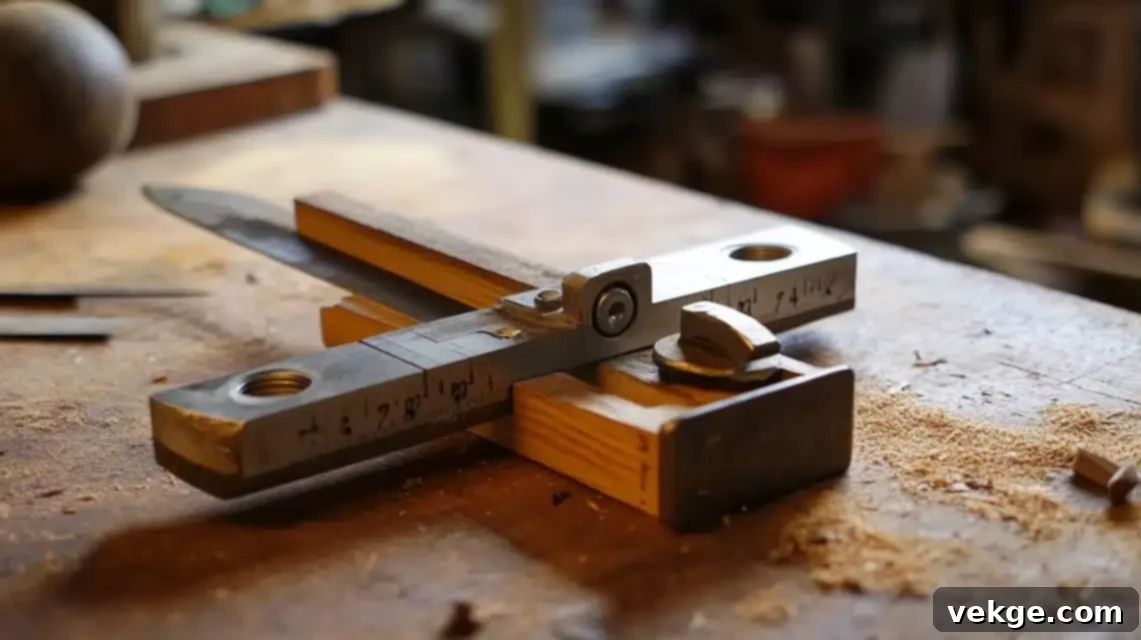
The combination square is an incredibly versatile measuring tool that I rely on for its ability to check and mark various angles, draw precise lines, and even measure depth. Its multi-functionality makes it a true workhorse in any woodworking shop.
| Used For | Benefits | Sizes & Types |
|---|---|---|
| Checking 90 and 45-degree angles on workpieces | Combines multiple measuring and marking functions in one tool | 6-inch (compact and precise) |
| Marking parallel lines and layout marks | Provides consistently accurate measurements and settings | 12-inch (most common and versatile) |
| Measuring the depth of holes, dados, and rabbets | Intuitively designed, making it straightforward and easy to use | Models that include an integrated level bubble |
| Setting the depth of cutting tools and saw blades | Lightweight and portable, fitting easily into toolboxes | Models without a level for basic functions |
12. Workbench Vise (Price Range – $40-$200)
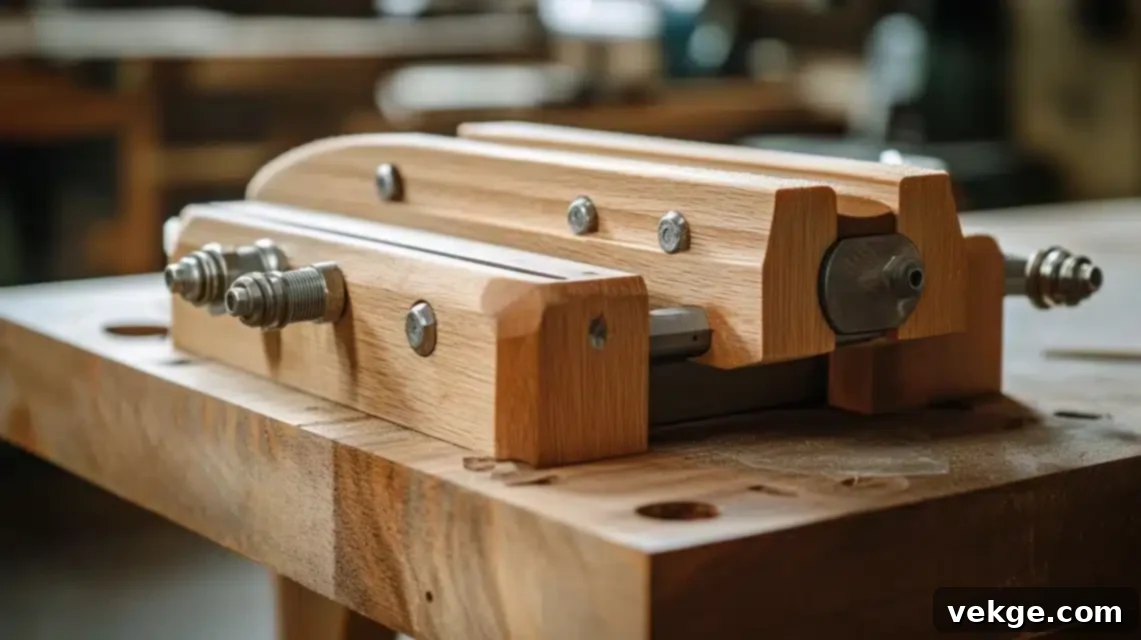
A workbench vise is a fundamental holding tool that I use constantly to firmly secure wood pieces, ensuring they remain absolutely steady while I work. This stability is critical for safety and precision, freeing up both hands for detailed tasks.
| Used For | Benefits | Sizes & Types |
|---|---|---|
| Firmly holding wood pieces for sawing, planing, or chiseling | Provides an exceptionally strong and reliable grip on workpieces | Front vise (most common, mounted on front edge) |
| Clamping various pieces together for glue-ups or assembly | Frees up both of your hands, allowing for safer and more efficient work | End vise (mounted on the end, often with dog holes) |
| Providing a stable anchor for assembly tasks | Offers steady and unwavering support for various operations | Quick-release vises (for rapid adjustments) |
| Securing boards for efficient hand planing | Designed to be easy and smooth to adjust for different sizes | Traditional screw vises (robust and reliable) |
List of Must-Have Power Tools for Your Workshop
13. Power Drill (Price Range – $50-$200)
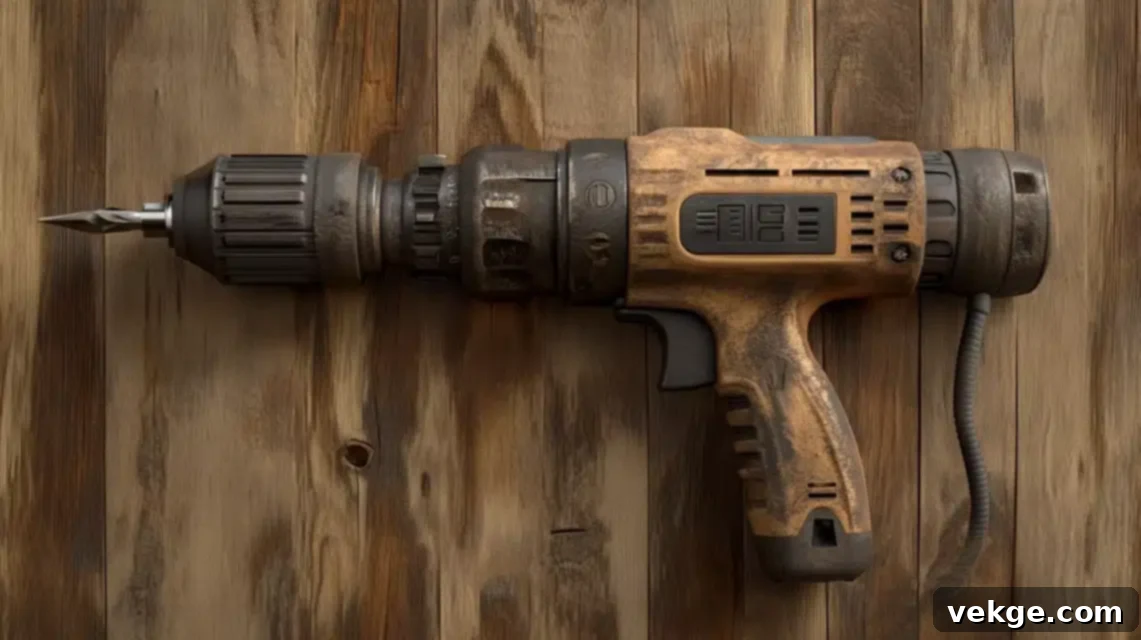
Without a doubt, the power drill is my most frequently used power tool in the workshop. Its efficiency in drilling holes and driving screws quickly and effortlessly makes it an absolute necessity for almost every project, from framing to furniture assembly.
| Used For | Benefits | Sizes & Types |
|---|---|---|
| Creating pilot holes and through-holes in various materials | Significantly speeds up work compared to manual methods | Corded drills (constant power) |
| Driving and removing screws with consistent torque | Offers variable speeds for different applications and materials | Cordless drills (portable convenience) |
| Mixing paint, epoxy, or thin-set mortar with paddle attachments | Compatible with a wide range of drill bits and attachments | Hammer drills (for masonry) |
| Performing light sanding or buffing with appropriate accessories | Cordless versions provide unmatched portability and flexibility | Impact drivers (for high-torque fastening) |
14. Circular Saw (Price Range – $60-$200)
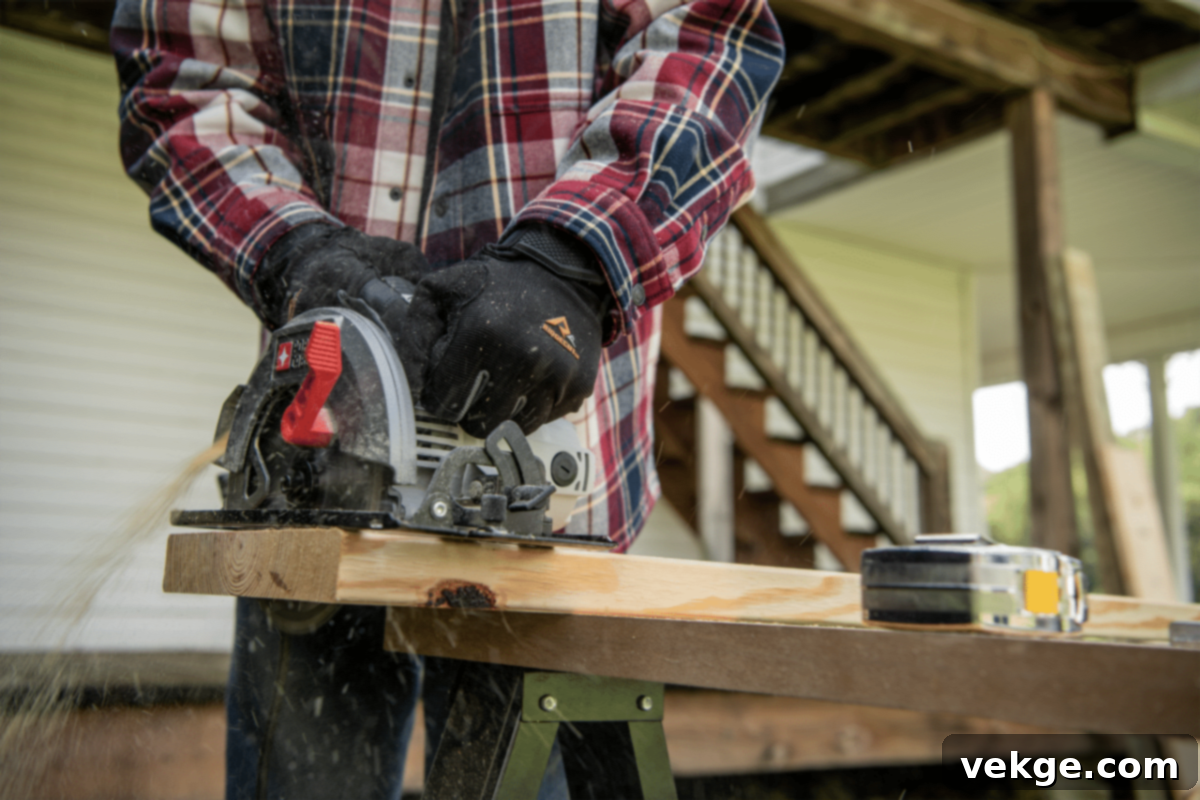
The circular saw is a powerhouse handheld tool that I frequently utilize for making efficient and relatively straight cuts in various wood materials. It’s especially useful for breaking down large sheets of plywood or lumber before moving to more stationary tools.
| Used For | Benefits | Sizes & Types |
|---|---|---|
| Executing long, straight cuts in plywood, MDF, and dimensional lumber | Provides very fast cutting speeds for quick material breakdown | 7¼ inch blade (most common for general use) |
| Performing accurate cross-cuts on boards | Capable of maintaining relatively straight lines with a guide or steady hand | 6½ inch blade (lighter, often cordless) |
| Making precise bevel cuts at various angles | Lightweight and highly portable, suitable for job sites or small workshops | Corded circular saws |
| Cutting large sheet goods with ease and efficiency | Features adjustable depth settings for versatility | Cordless circular saws |
15. Table Saw (Price Range – $300-$1000)
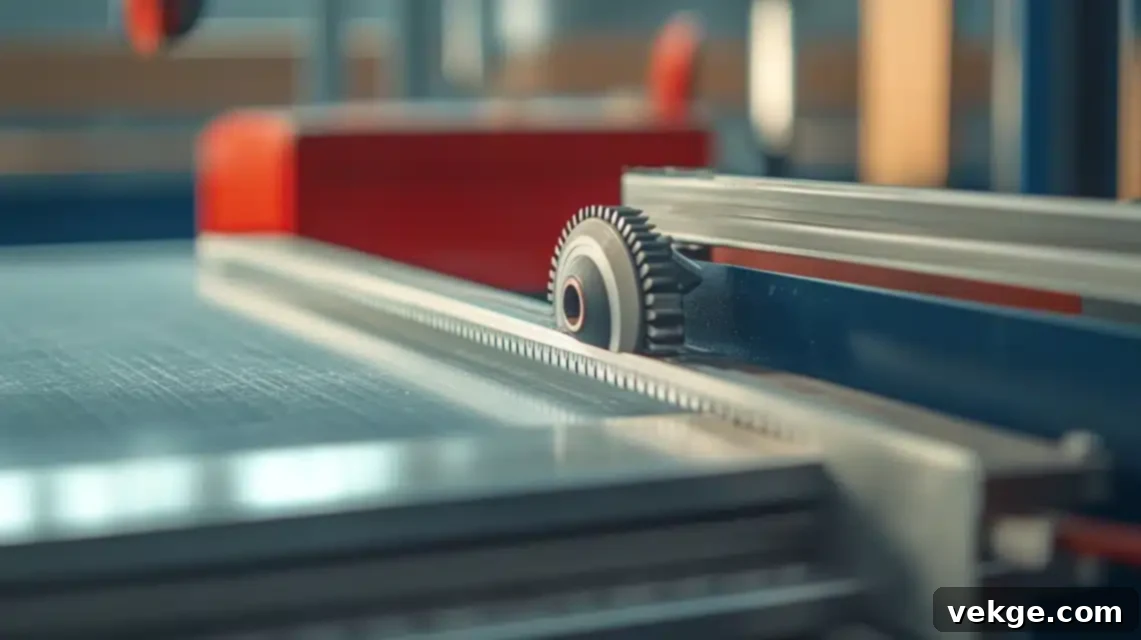
The table saw is truly the centerpiece of my workshop and my primary tool for achieving highly accurate straight cuts, particularly rip cuts. Its stability and precision are unmatched, making it indispensable for dimensioning lumber and crafting intricate joinery.
| Used For | Benefits | Sizes & Types |
|---|---|---|
| Making precise rip cuts (along the grain) on lumber and sheet goods | Delivers exceptionally accurate and repeatable cuts for high-quality work | Contractor table saws (entry to mid-level) |
| Executing accurate cross-cuts with the aid of a miter gauge or sled | Allows for highly repeatable cuts, crucial for batch production and consistency | Cabinet table saws (professional, heavy-duty) |
| Creating dado cuts and rabbets for strong joints (with a dado stack) | Offers a large cutting capacity, handling wide boards and sheet materials | Hybrid table saws (balance of features and cost) |
| Performing precise bevel cuts at various angles | Equipped with powerful motors to handle dense woods and heavy loads | Portable jobsite table saws (for mobility) |
16. Router (Price Range – $100-$300)
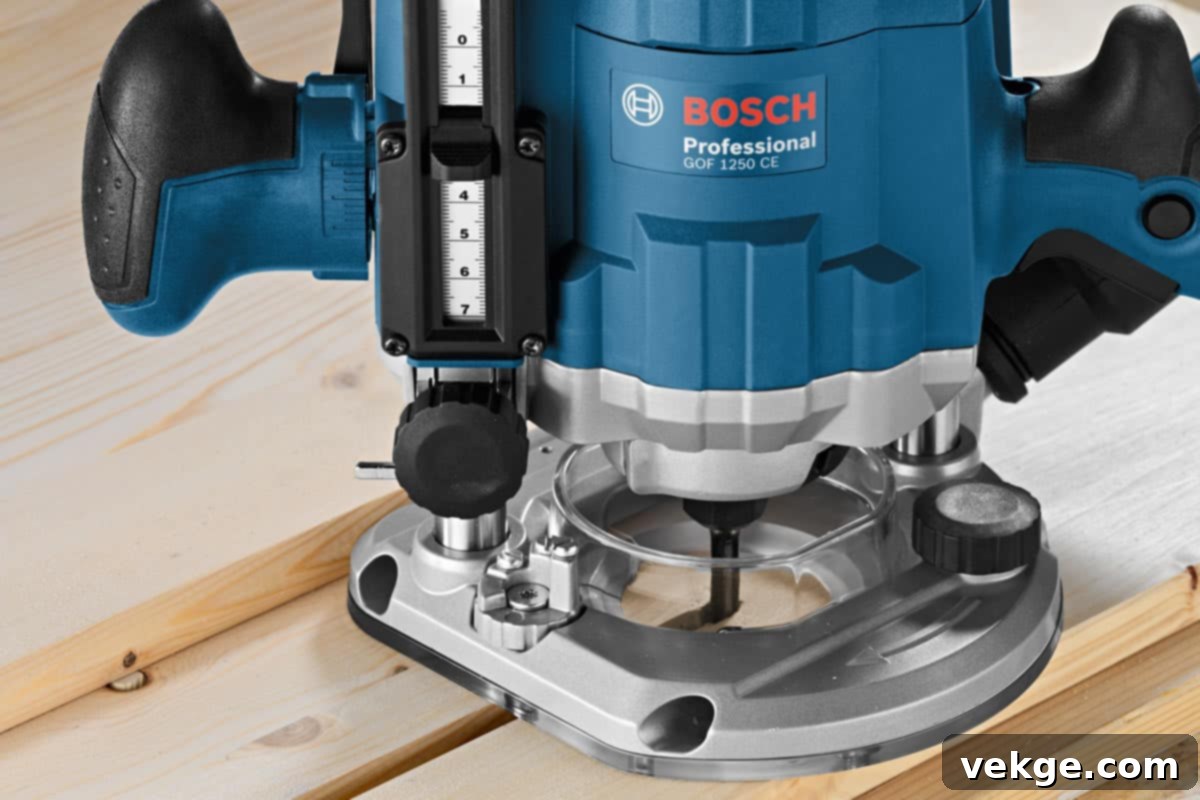
The router is an incredibly versatile power tool that I frequently employ for adding elegant decorative edges, cutting precision grooves, and creating a variety of joinery solutions. Its ability to shape wood with interchangeable bits makes it a creative powerhouse.
| Used For | Benefits | Sizes & Types |
|---|---|---|
| Shaping and profiling the edges of boards and panels | Produces consistently clean and smooth cuts, enhancing aesthetics | Fixed base routers (for consistent depth) |
| Making dadoes, rabbets, and other grooves for joinery | Offers compatibility with a vast array of router bits for diverse tasks | Plunge base routers (for controlled depth cuts) |
| Performing pattern work and template routing | Allows for highly precise control over material removal and shaping | Trim routers (small, for fine details and laminates) |
| Creating various types of joints like dovetails and mortise and tenon | Achieves perfectly smooth and finished edges, ready for sanding | Combo kits (fixed and plunge bases) |
17. Random Orbital Sander (Price Range – $40-$150)

The random orbital sander is a power tool that I absolutely rely on for consistently achieving impeccably smooth wood surfaces without the dreaded swirl marks. Its unique sanding motion ensures a superior finish that’s ready for stain or paint.
| Used For | Benefits | Sizes & Types |
|---|---|---|
| Preparing wood surfaces for finishing | Effectively eliminates swirl marks, providing an even, smooth finish | 5-inch pad (most common) |
| Removing old paint, varnish, or minor imperfections | Achieves fast and efficient sanding, saving considerable time | 6-inch pad (for larger areas) |
| Performing final smoothing stages before applying finishes | Ergonomic design makes it comfortable and easy to control | Corded sanders (consistent power) |
| Sanding edges and contours on projects | Often includes integrated or attachable dust collection systems | Cordless sanders (portability) |
18. Jigsaw (Price Range – $50-$200)
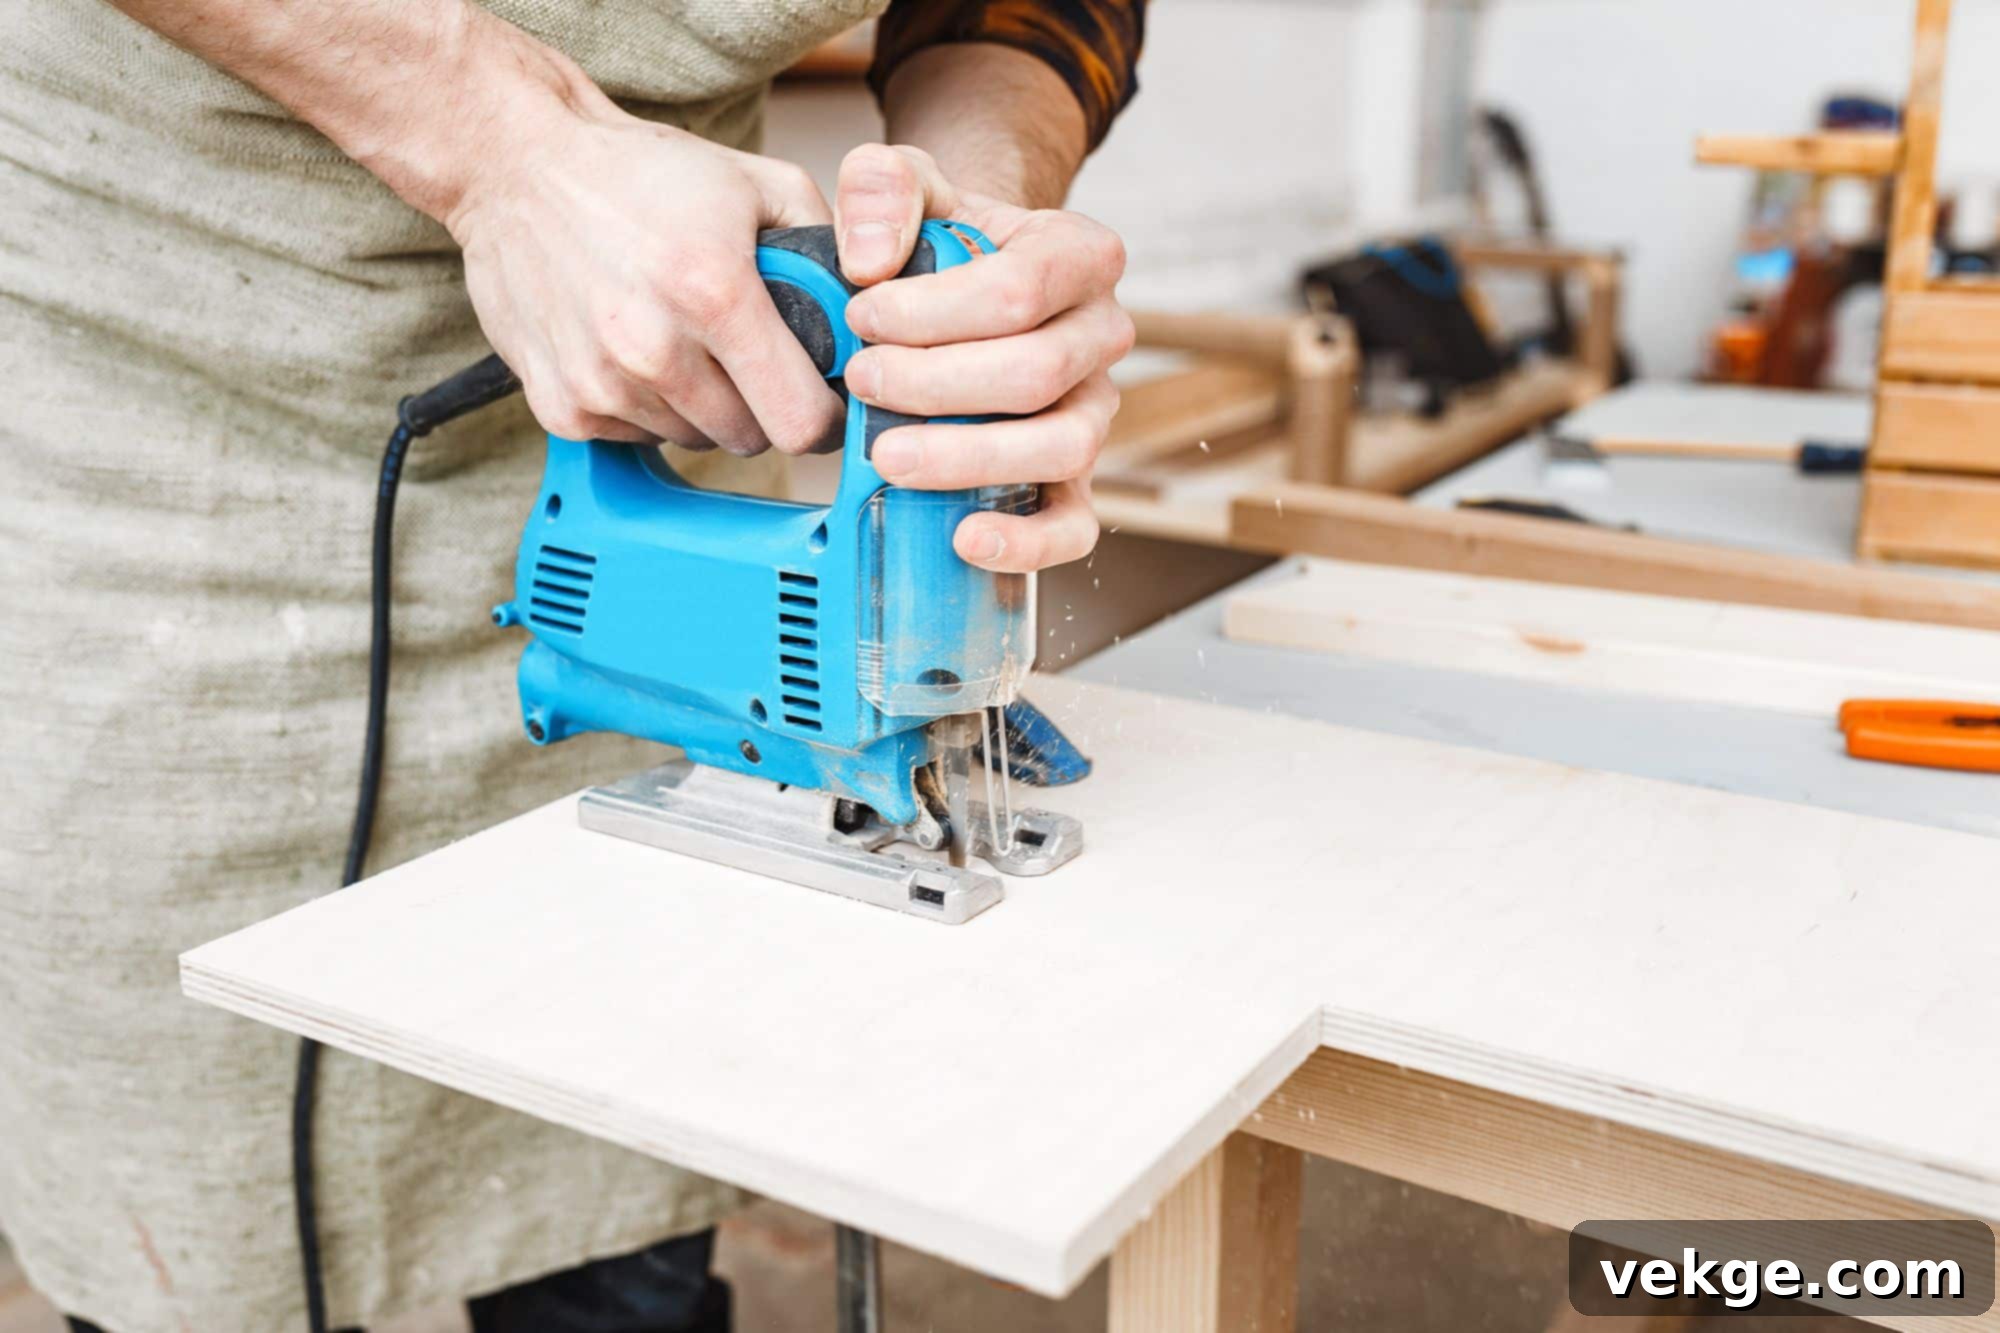
The jigsaw is a highly versatile handheld saw that I turn to for creating curved cuts and intricate shapes with remarkable ease. Its ability to navigate tight turns and internal cutouts makes it invaluable for decorative work and custom pieces.
| Used For | Benefits | Sizes & Types |
|---|---|---|
| Making intricate curved cuts and irregular shapes in wood | Excels at producing smooth, flowing curved lines and profiles | Barrel grip jigsaws (for precision) |
| Performing internal cuts without needing to access from an edge | Lightweight and easy to handle, offering great maneuverability | D-handle jigsaws (for comfort and control) |
| Cutting complex patterns and designs from various materials | Can effectively work in tight spots and confined areas | Corded jigsaws (continuous power) |
| Engaging in detailed work where precision curves are required | Compatible with a wide variety of blade types for different materials and cuts | Cordless jigsaws (portability and flexibility) |
19. Miter Saw (Price Range – $150-$500)
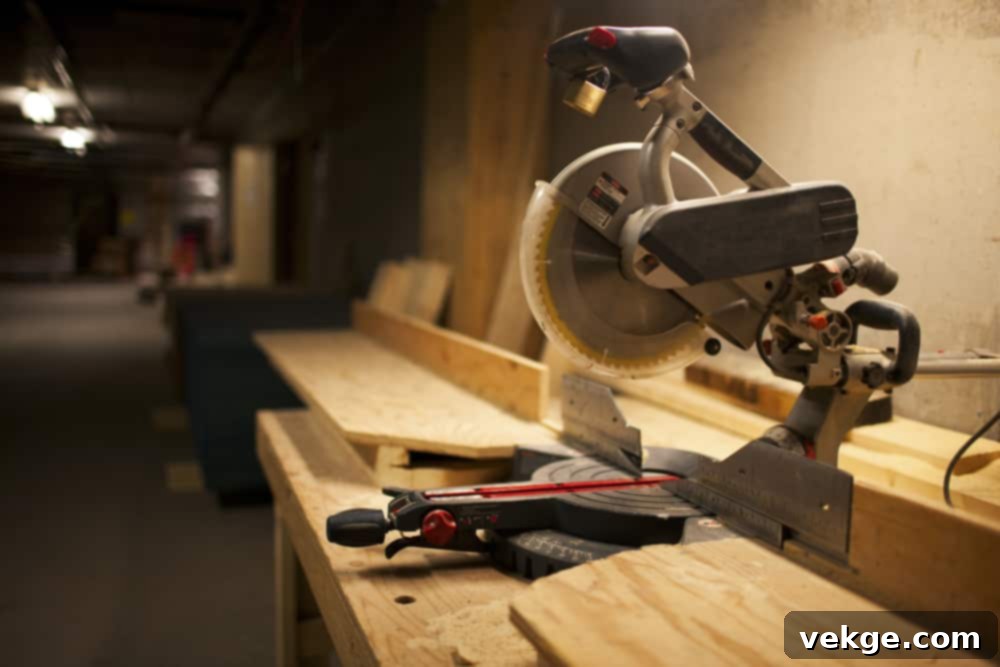
The miter saw is a stationary power tool that I consider essential for consistently making accurate angle cuts and precise cross-cuts. Its ability to quickly and reliably set specific angles saves an immense amount of time and ensures perfect joinery, especially for trim work and framing.
| Used For | Benefits | Sizes & Types |
|---|---|---|
| Executing precise miter (angle) cuts for trim, frames, and molding | Offers quick and easy setup for recurring cuts, improving efficiency | 10-inch blade miter saws |
| Making clean and square cross-cuts on various lumber sizes | Produces exceptionally clean and smooth cuts with minimal effort | 12-inch blade miter saws (larger capacity) |
| Performing detailed trim work for furniture and architectural elements | Ensures exact and repeatable angles, critical for high-quality results | Single bevel miter saws (tilt one direction) |
| Crafting perfect picture frames and other angled assemblies | Designed with safety features for secure and confident operation | Double bevel miter saws (tilt both directions) |
20. Belt Sander (Price Range – $50-$200)
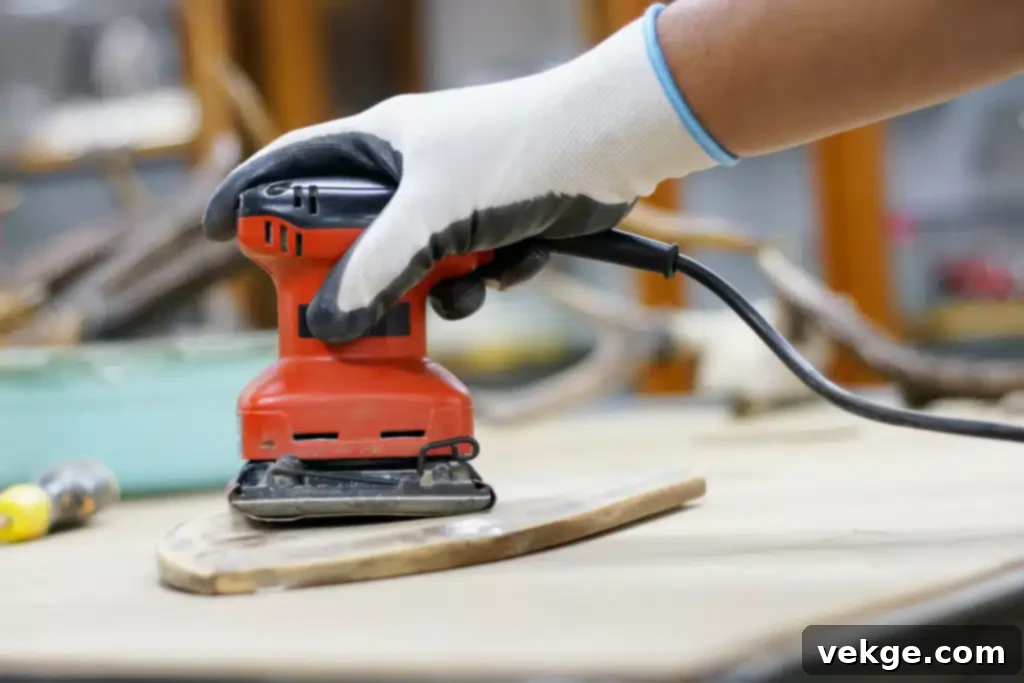
The belt sander is a powerful tool that I employ when I need to remove a significant amount of wood quickly and efficiently. It’s excellent for aggressive sanding tasks, leveling uneven surfaces, and preparing rough stock for finer finishing.
| Used For | Benefits | Sizes & Types |
|---|---|---|
| Performing heavy-duty sanding and material removal | Accomplishes tasks very fast, saving significant time on large projects | 3×21 inch belt sanders (common handheld size) |
| Quickly removing stock and shaping wood rough material | Equipped with a strong motor to handle tough sanding jobs | 4×24 inch belt sanders (larger capacity) |
| Aggressively smoothing rough edges and surfaces | Highly effective for covering and leveling large surface areas | Handheld belt sanders (for maneuverability) |
| Leveling uneven wood surfaces and preparing for finer grits | Ensures even and consistent sanding across the workpiece | Bench mount belt sanders (stationary for stability) |
21. Drill Press (Price Range – $150-$500)
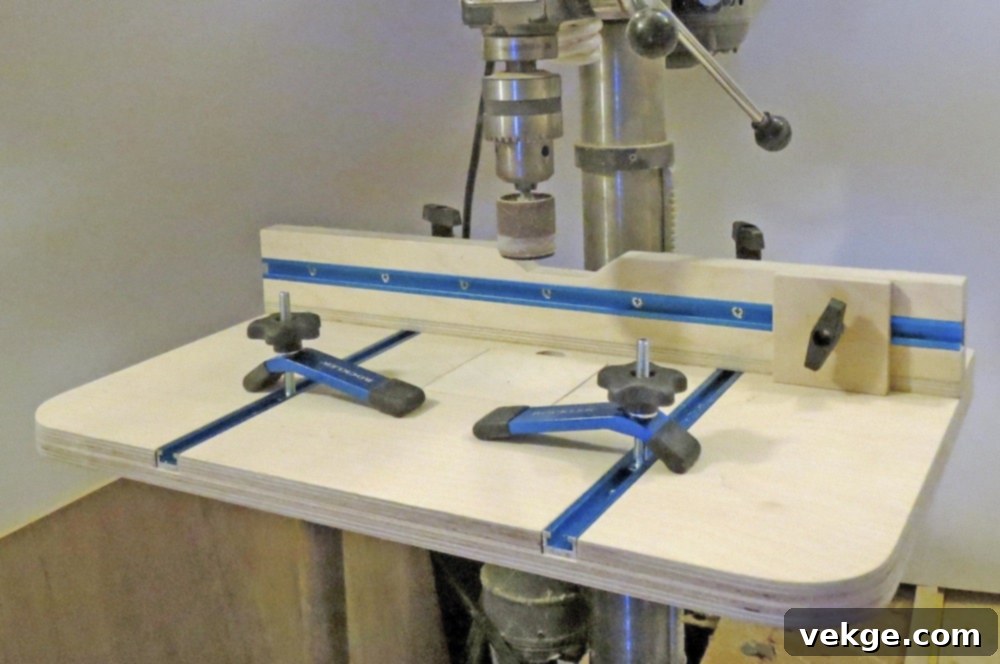
The drill press is a stationary drilling machine that I consider invaluable for creating perfectly precise and repeatable holes. Its fixed nature and stable platform allow for accuracy that handheld drills simply cannot match, especially for joinery or repetitive tasks.
| Used For | Benefits | Sizes & Types |
|---|---|---|
| Drilling consistently precise holes at exact depths and angles | Guarantees perfectly perpendicular holes every single time | Benchtop drill presses (compact for small shops) |
| Performing repetitive drilling tasks with uniformity | Ensures consistent drilling depth, crucial for joinery | Floor model drill presses (larger capacity, more power) |
| Creating square mortises for mortise and tenon joints (with an attachment) | Equipped with a strong motor to handle drilling through dense materials | 8-inch drill presses (swing measurement) |
| Sanding small parts or edges with sanding drum attachments | Offers multiple speed settings to suit various materials and bit types | 12-inch drill presses (common mid-range size) |
22. Thickness Planer (Price Range – $300-$800)
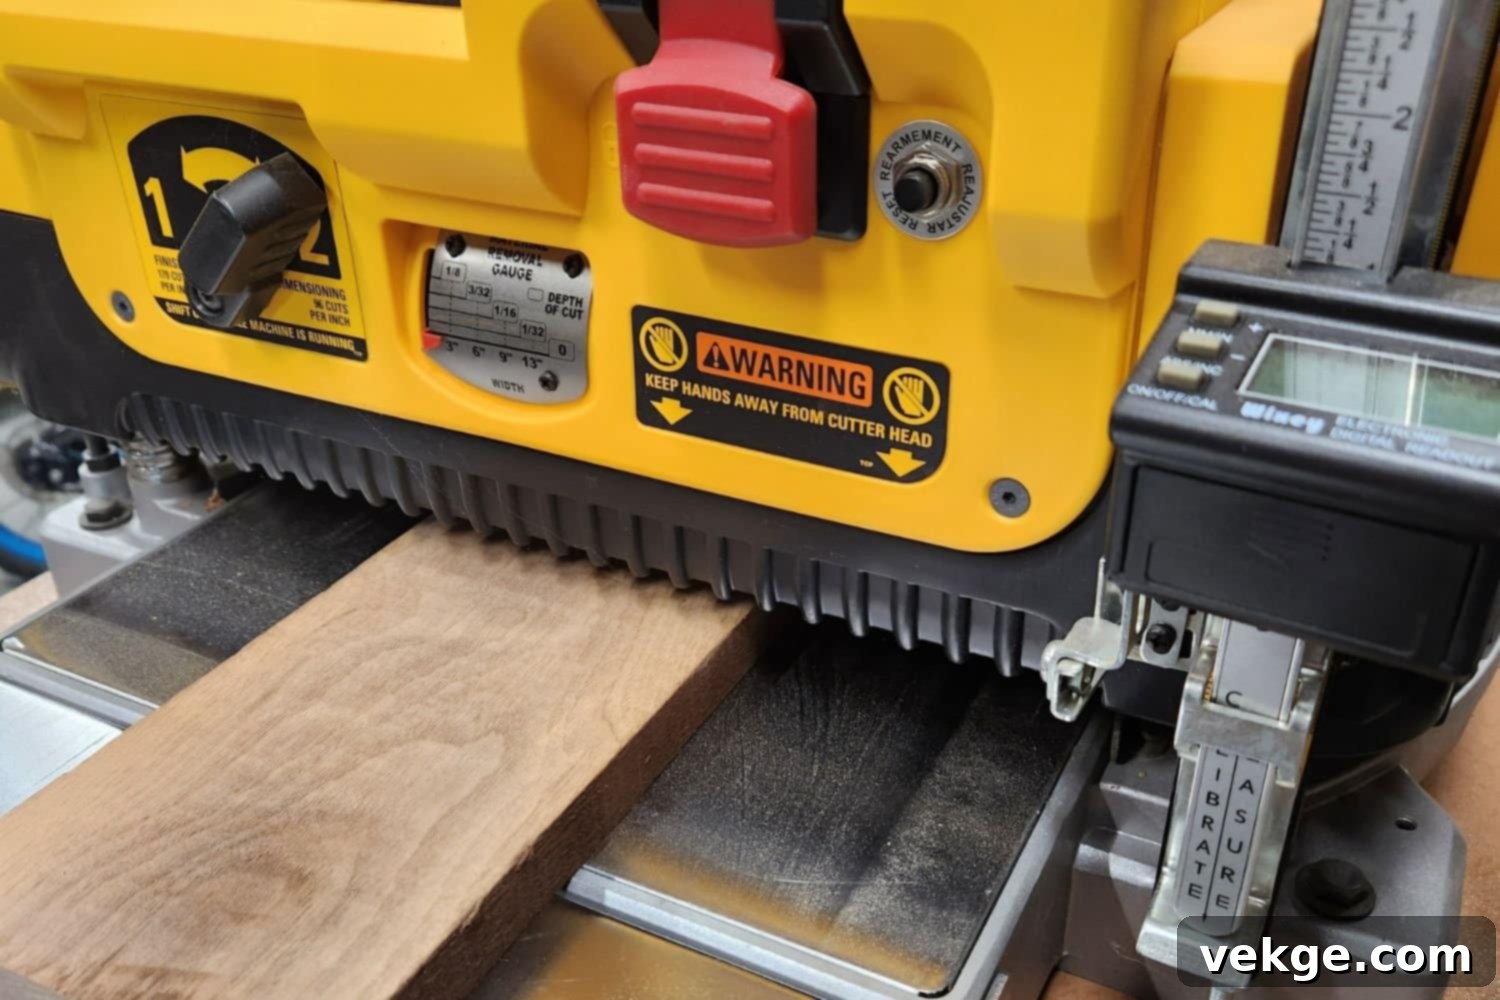
The thickness planer is a vital machine in my workshop that I use to consistently create boards that are perfectly flat and uniformly thick. It’s indispensable for preparing rough lumber, ensuring all your project components have precise dimensions and smooth surfaces.
| Used For | Benefits | Sizes & Types |
|---|---|---|
| Achieving consistent and even thickness across all boards | Produces perfectly dimensioned and uniformly thick boards | 12-inch planers (common benchtop size) |
| Smoothing the surfaces of rough lumber after jointing | Significantly saves time compared to hand planing large boards | 13-inch planers (slightly larger capacity) |
| Flattening boards that may be bowed or cupped | Delivers very clean and accurate cuts, minimizing tear-out | Benchtop planers (portable and space-saving) |
| Preparing stock to specific dimensions for joinery and assembly | Ensures that both sides of a board are perfectly parallel | Industrial planers (heavy-duty for continuous use) |
List of Must-Have Safety Tools for Your Workshop
23. Safety Glasses (Price Range – $5-$30)
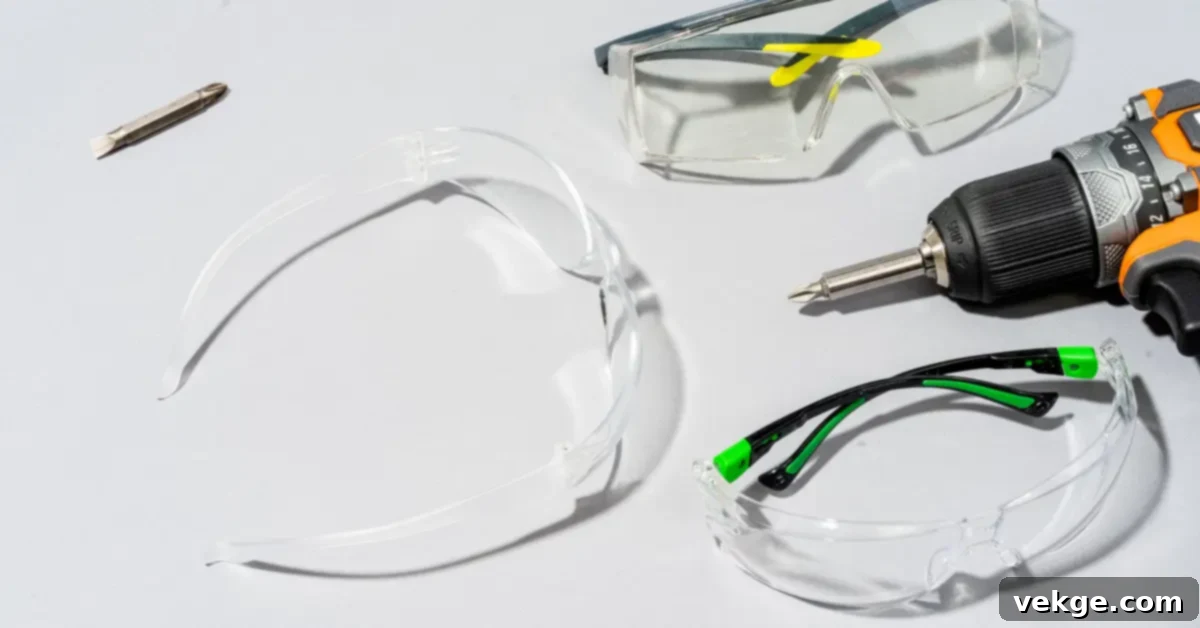
Safety glasses are a non-negotiable piece of eye protection that I absolutely never work without. Protecting your eyes from flying debris, dust, and splinters is paramount, and a good pair of safety glasses is the first line of defense.
| Used For | Benefits | Sizes & Types |
|---|---|---|
| Protecting eyes from projectiles and impact hazards | Provides clear, unobstructed vision while ensuring eye safety | Clear lens (for indoor work) |
| Blocking fine dust particles from entering the eyes | Crucial for overall eye safety in any workshop environment | Tinted lens (for outdoor or bright conditions) |
| Shielding against flying wood chips, splinters, and sparks | Designed for a comfortable and secure fit for prolonged wear | Over-glasses style (to wear with prescription glasses) |
| Essential for daily use with all woodworking tools | Often includes side protection for comprehensive coverage | Anti-fog treated lenses |
24. Hearing Protection (Price Range – $15-$50)
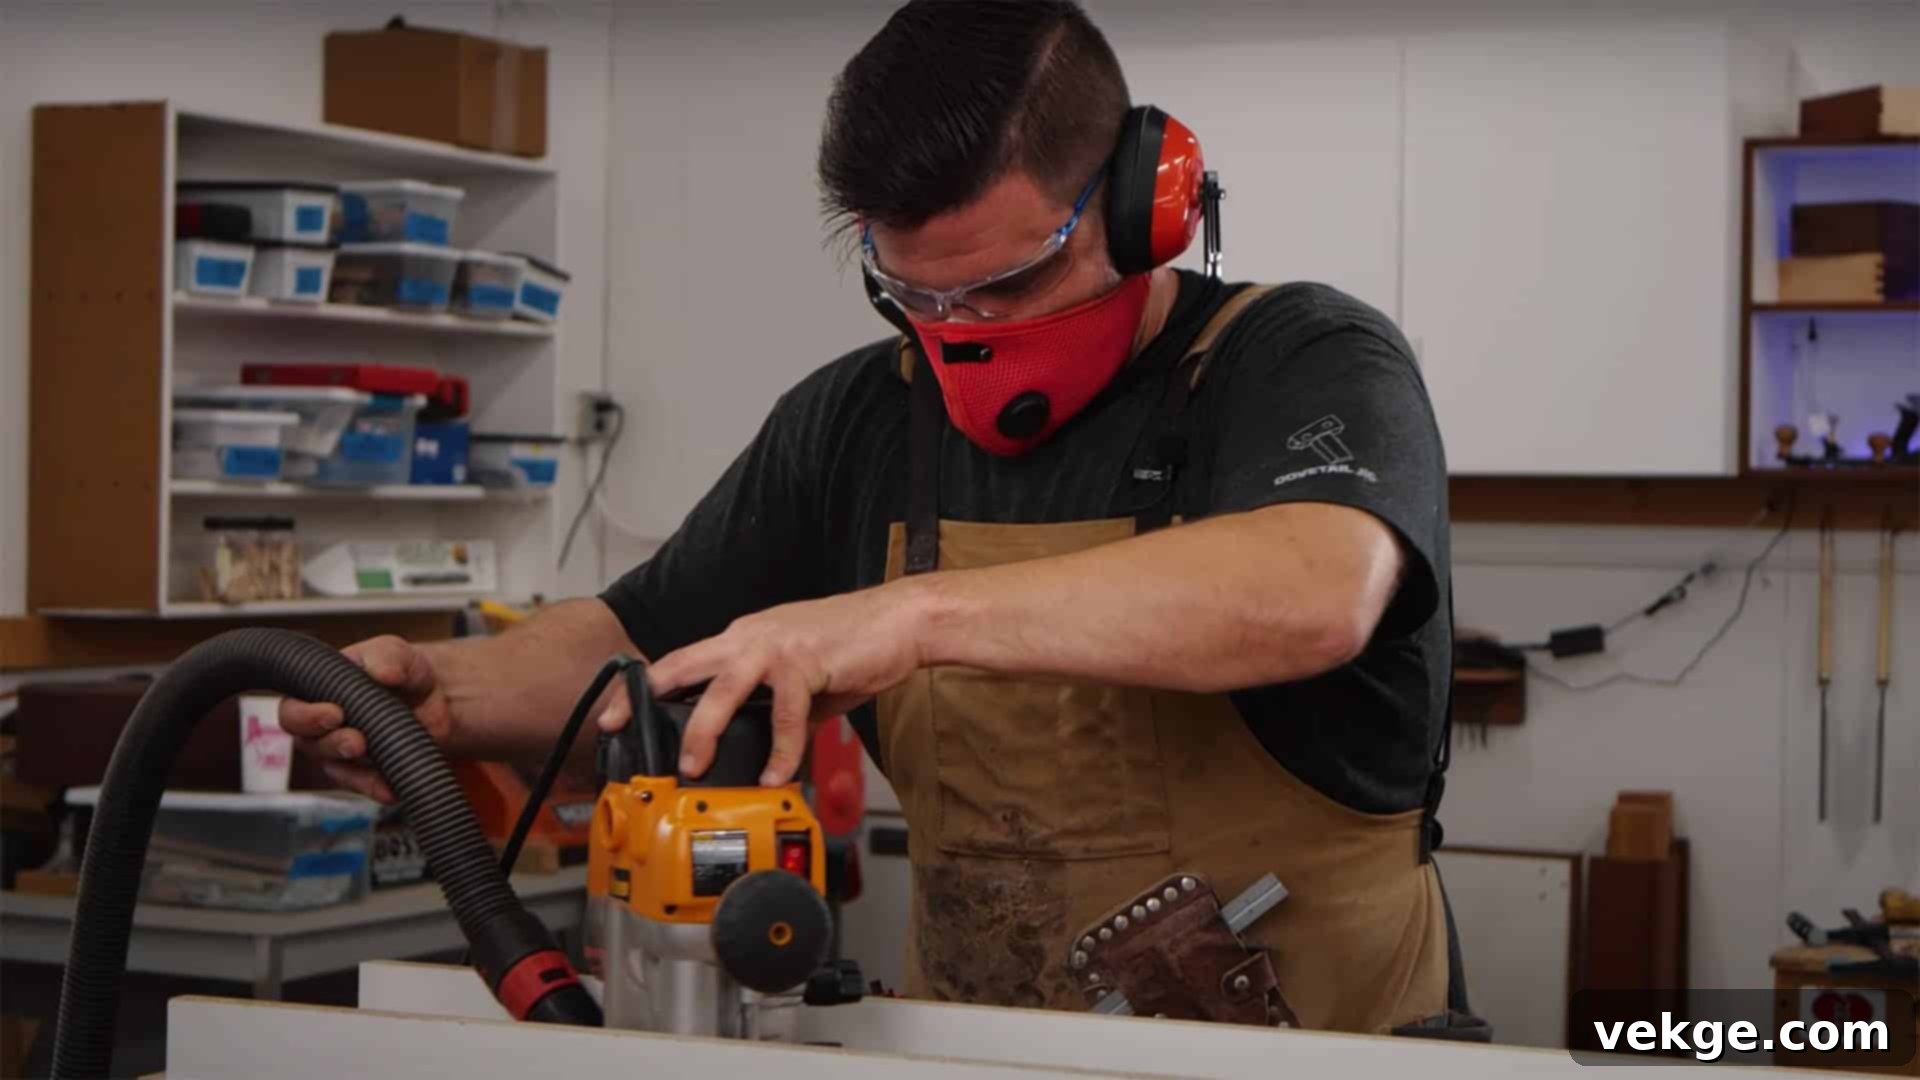
Hearing protection, whether ear muffs or earplugs, is an absolute must-have that I diligently use whenever operating loud power tools. Prolonged exposure to workshop noise can cause irreversible damage, making these guards critical for long-term ear safety.
| Used For | Benefits | Sizes & Types |
|---|---|---|
| Reducing harmful noise levels from power tools and machinery | Essential for protecting your hearing and preventing noise-induced damage | Over-ear muffs (high noise reduction) |
| Operating machinery like table saws, planers, and routers | Designed for comfort during extended periods of use | Disposable or reusable earplugs (compact) |
| Any woodworking task that generates significant sound | Offers a secure and effective fit to block out sound | Electronic hearing protection (allows communication) |
| Maintaining overall shop safety and protecting long-term health | Durable and designed for long-lasting wear and protection | Basic foam earplugs (cost-effective) |
25. Dust Mask (Price Range – $10-$40)
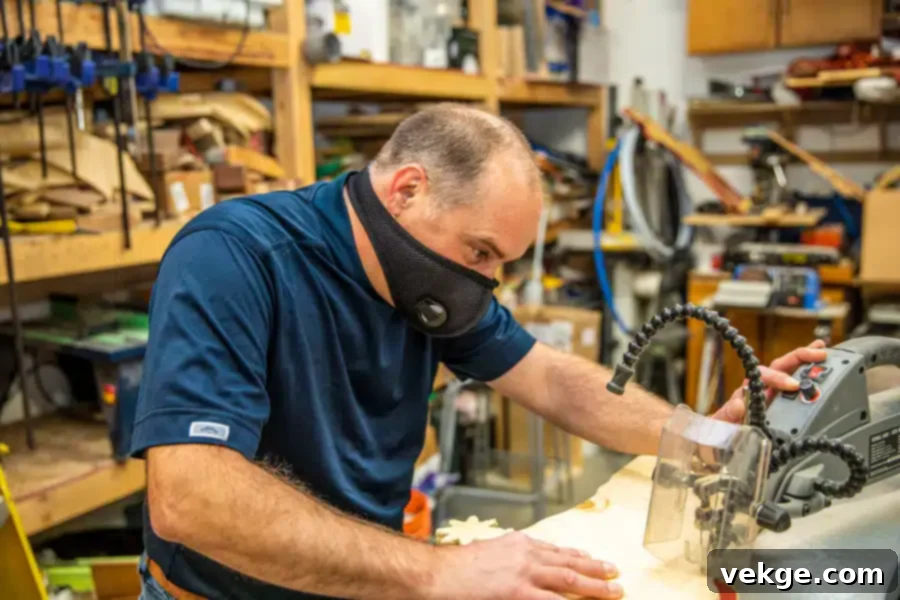
A reliable dust mask is a crucial piece of face protection that I always utilize to ensure I’m breathing clean air in my workshop. Wood dust, especially fine particles, can be a serious health hazard, making a good mask indispensable.
| Used For | Benefits | Sizes & Types |
|---|---|---|
| Protecting lungs from inhaled wood dust and particles | Ensures you breathe clean air, preventing respiratory issues | Disposable dust masks (convenient for single use) |
| Essential during sanding, sawing, and routing operations | Allows for easy and comfortable breathing during work | Reusable respirators (with replaceable filters) |
| Filtering out fine particulate matter, including MDF and exotic wood dust | Forms a good seal around the face for effective filtration | N95 masks (standard for fine dust) |
| Promoting clean breathing in dusty workshop environments | Designed to be comfortable for extended periods of wear | Half-face respirators (more comprehensive protection) |
26. Work Gloves (Price Range – $10-$40)
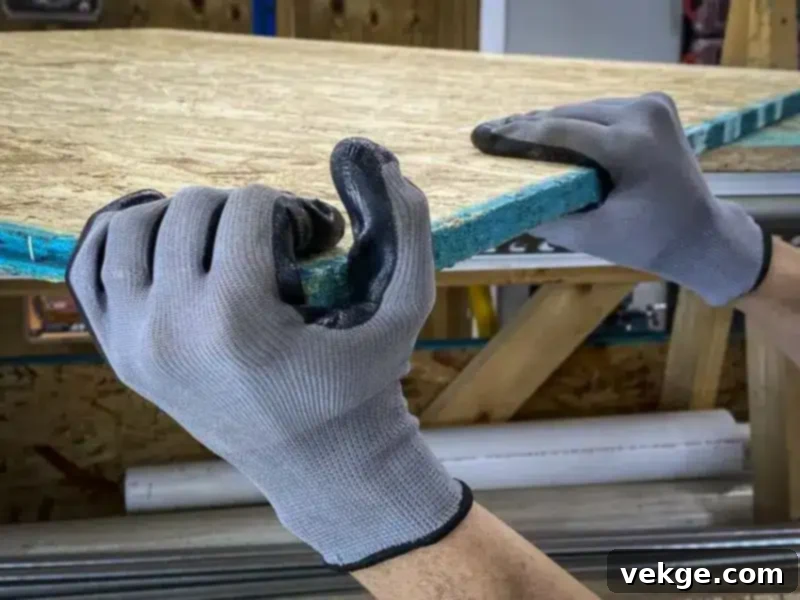
Work gloves are essential hand protection that I wear for various rough work tasks, from handling raw lumber to cleaning up the shop. They shield my hands from splinters, cuts, and general wear and tear, ensuring comfort and safety.
| Used For | Benefits | Sizes & Types |
|---|---|---|
| Protecting hands from splinters, cuts, and abrasions | Crucial for maintaining hand safety in a woodworking environment | Leather gloves (durable and protective) |
| Handling rough or unfinished materials and heavy stock | Provides an enhanced grip, reducing the risk of drops and slips | Cotton gloves (lightweight for general tasks) |
| Working with sharp edges or abrasive surfaces | Safeguards your skin from irritation and minor injuries | Nitrile-coated gloves (good grip and dexterity) |
| Engaging in heavy lifting and material transport | Allows for sufficient tactile control for many tasks | Fingerless gloves (for tasks needing more dexterity) |
List of Must-Have Clamping Tools for Your Workshop
27. C-Clamps (Price Range – $8-$30)
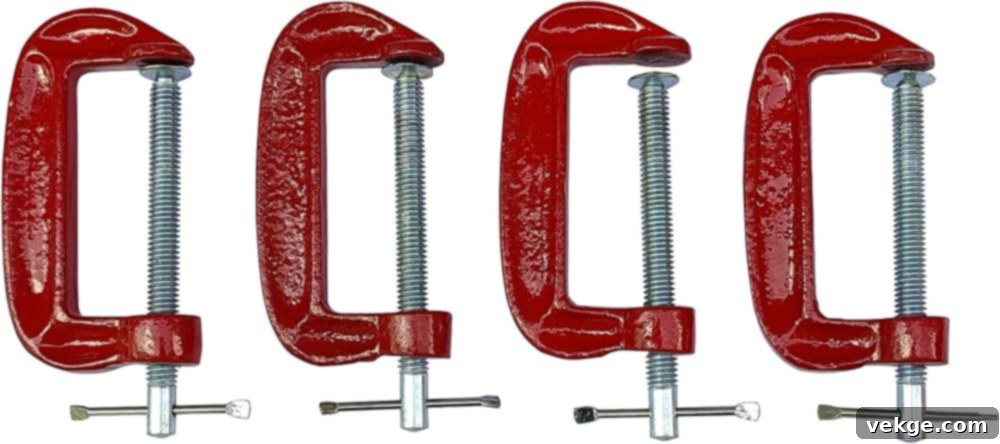
C-clamps are robust, strong holders that I consistently use to firmly keep wood pieces in place during various stages of a project. Their simple yet powerful design makes them ideal for securing work while glue dries or while performing detailed operations.
| Used For | Benefits | Sizes & Types |
|---|---|---|
| Securing individual pieces to a workbench or other parts | Provides an extremely strong and reliable grip on workpieces | 2-inch C-clamps (small tasks) |
| Holding components together during glue-ups for optimal adhesion | Simple and straightforward to use, even for beginners | 4-inch C-clamps (general purpose) |
| Clamping guides or fences for precise routing or sawing | Constructed from durable materials for a long-lasting lifespan | 6-inch C-clamps (medium duty) |
| Assisting in general assembly by temporarily holding parts | Available in a wide range of sizes to suit different project needs | 8-inch C-clamps (for larger pieces) |
28. Bar Clamps (Price Range – $15-$50)
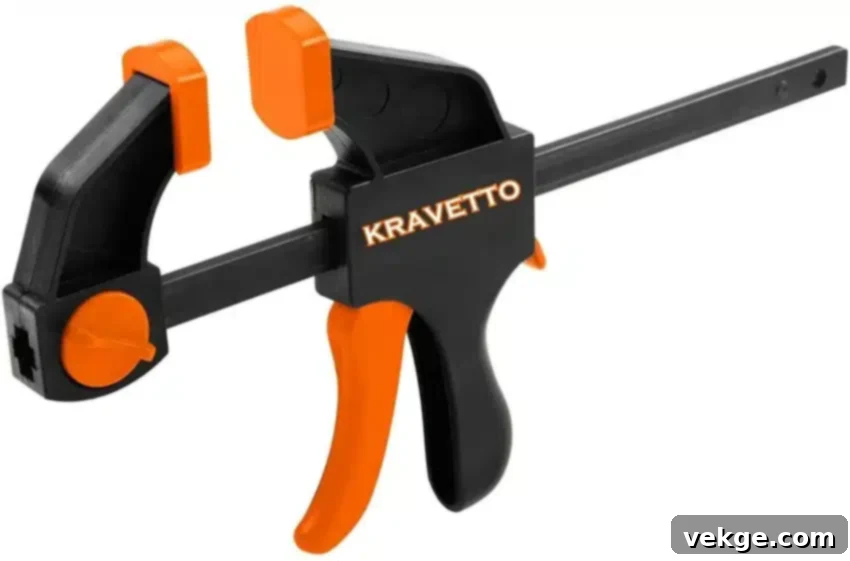
Bar clamps are the long-reaching clamps that I predominantly use for larger woodworking projects, such as panel gluing or assembling cabinets. Their extended reach and strong clamping force are invaluable for holding wide or long pieces securely during glue-ups.
| Used For | Benefits | Sizes & Types |
|---|---|---|
| Gluing up wide panels or tabletops from multiple boards | Offers an extended reach, perfect for wide or long workpieces | 24-inch bar clamps (common for small furniture) |
| Securing long pieces of lumber for assembly or drying | Applies strong, even pressure across the clamping surface | 36-inch bar clamps (versatile for many projects) |
| Clamping wide boards and large assemblies | Features an easy-to-adjust mechanism for quick setup | 48-inch bar clamps (for larger panels and cabinets) |
| Assisting in the assembly of large furniture frames | Distributes clamping force evenly, preventing bowing or distortion | 60-inch bar clamps (for very large projects) |
29. Spring Clamps (Price Range – $3-$15)
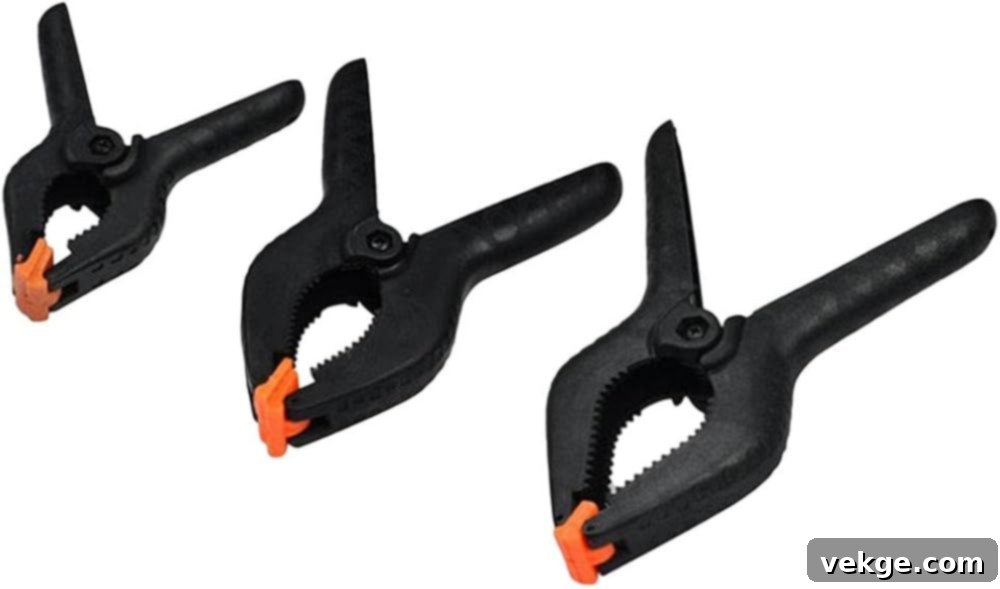
Spring clamps are my go-to quick clamps for light holding tasks and temporary fixes. Their spring-loaded mechanism allows for fast, one-handed operation, making them incredibly convenient for small components or holding things in place while glue sets.
| Used For | Benefits | Sizes & Types |
|---|---|---|
| Providing quick, temporary holds for small components | Allows for incredibly fast and easy application and removal | 1-inch spring clamps (for very small parts) |
| Applying light pressure during delicate glue-ups | Operates effortlessly with just one hand, freeing the other | 2-inch spring clamps (most common) |
| Securing parts for temporary positioning before final fastening | Lightweight and compact, easy to maneuver and store | 3-inch spring clamps (for slightly larger needs) |
| Holding small parts or veneers in place | Extremely versatile with countless uses in a workshop | 4-inch spring clamps (maximum common size) |
List of Must-Have Finishing Tools for Your Workshop
30. Wood Files (Price Range – $10-$40)
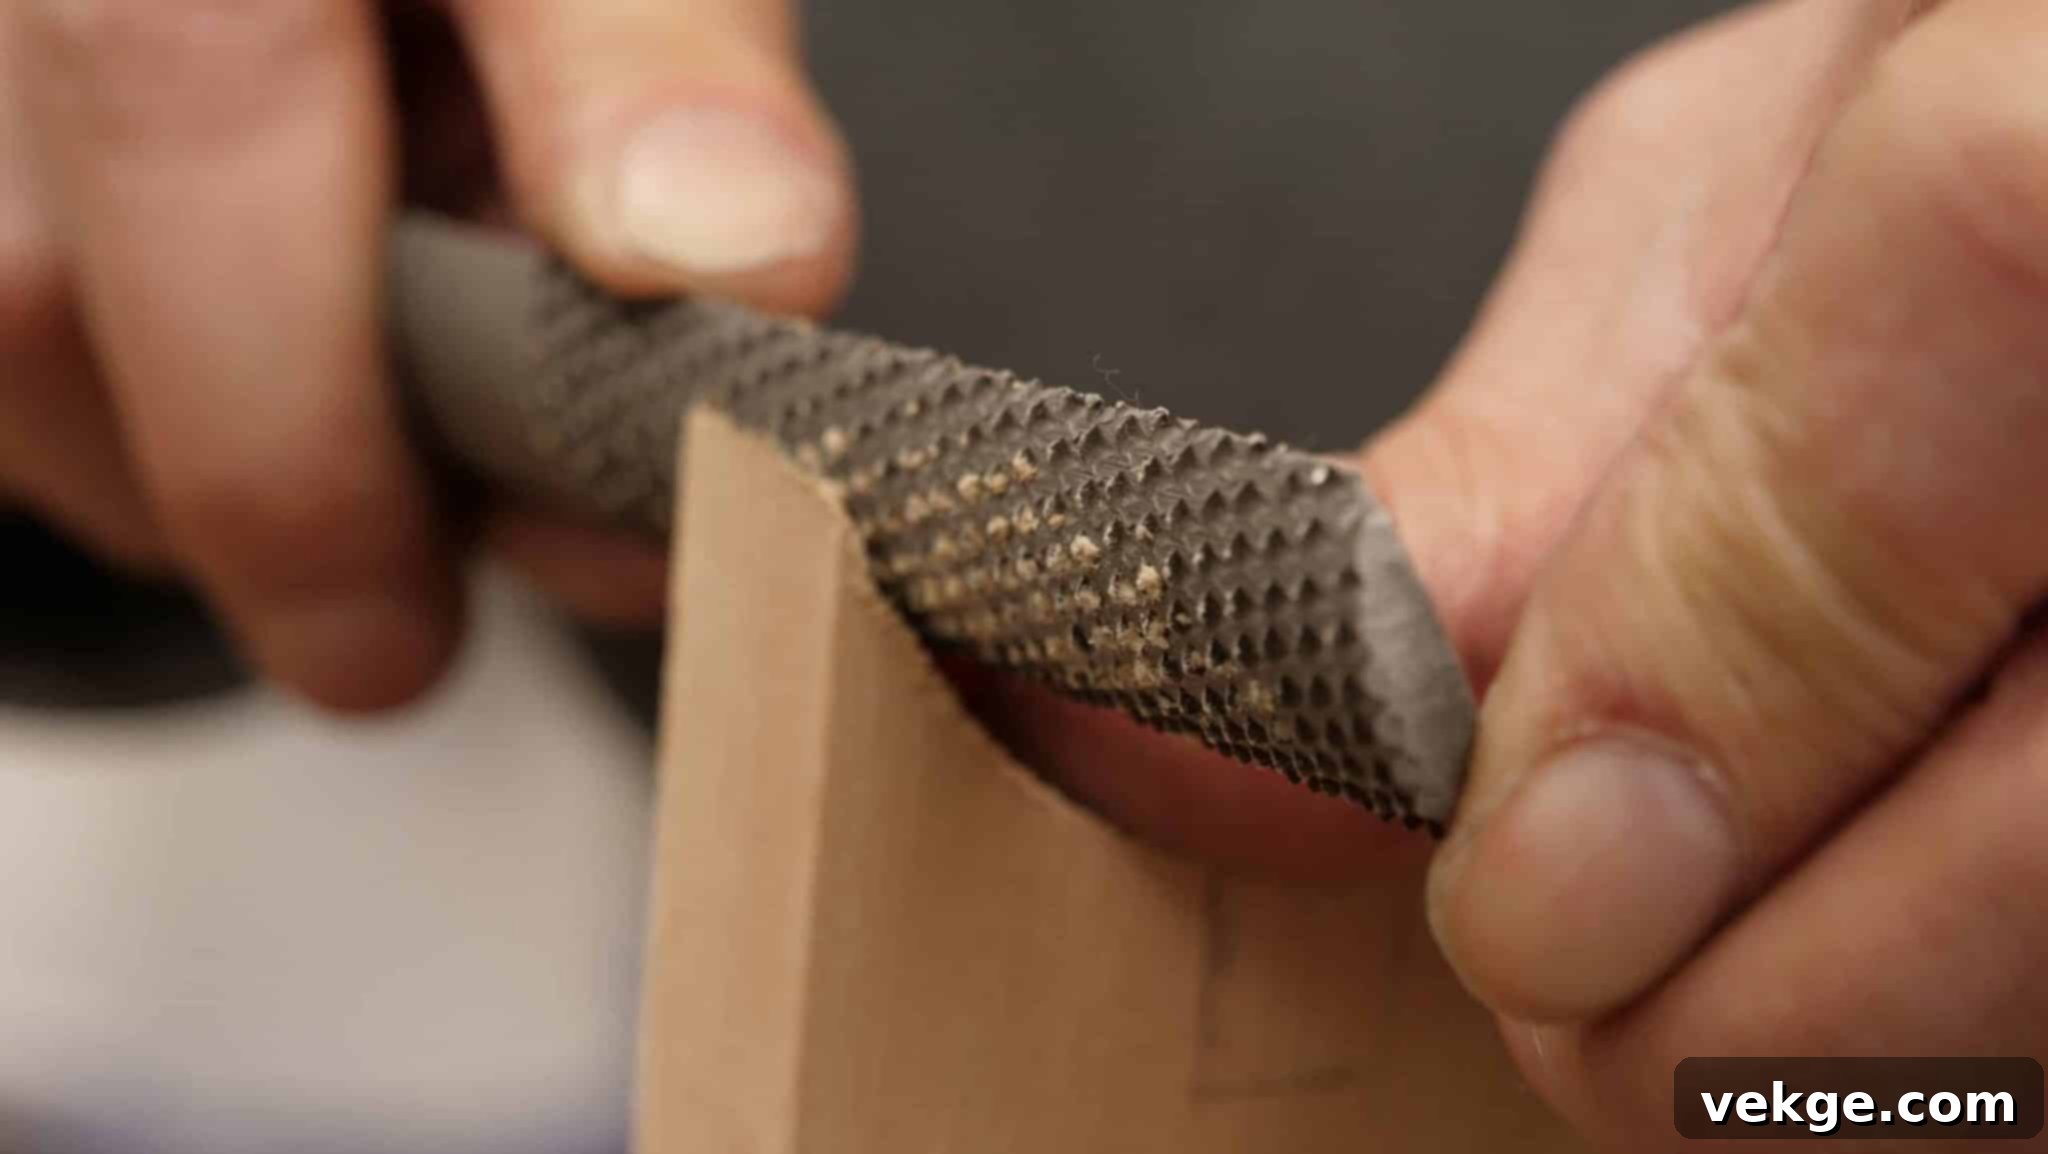
Wood files are fine-shaping tools that I frequently use for delicate detail work and refining contours that are difficult to reach with larger tools. They allow for precise material removal and smoothing, bringing a project to a refined finish.
| Used For | Benefits | Sizes & Types |
|---|---|---|
| Achieving fine shaping and subtle adjustments on wood | Offers exceptionally precise control for intricate and delicate work | Flat files (for flat surfaces) |
| Smoothing edges, chamfers, and small curves | Helps in achieving a very smooth and refined surface finish | Round files (for holes and concave curves) |
| Executing intricate detail work on carved or shaped pieces | Constructed for durability, providing long-lasting performance | Half-round files (versatile for flat and curved) |
| Applying the final touches to joinery or decorative elements | Available in many different shapes and sizes to suit various tasks | Needle files (for extremely fine detail) |
31. Sandpaper Set (Price Range – $10-$30)
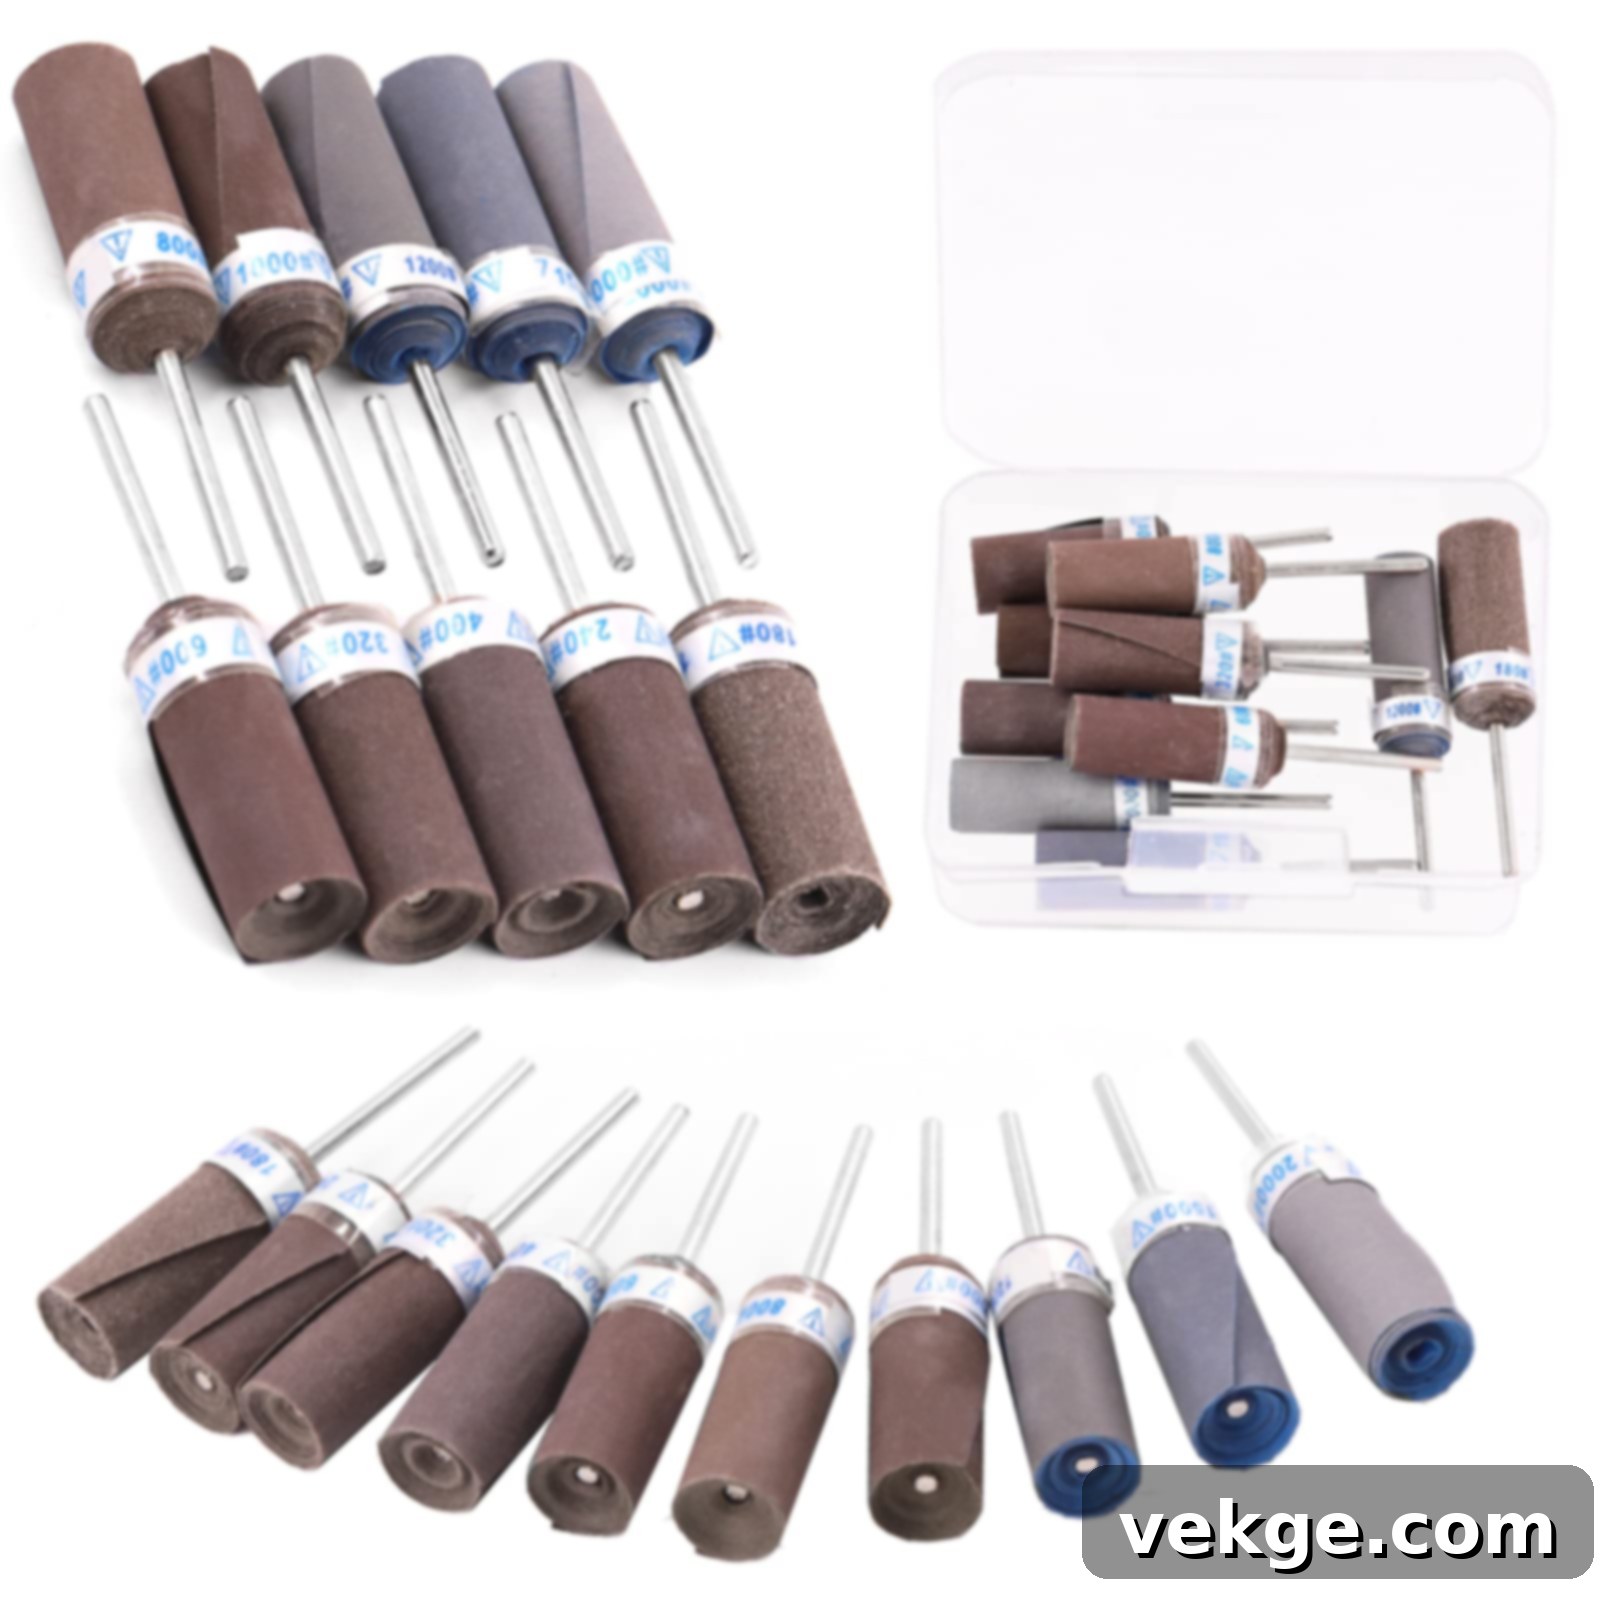
A comprehensive sandpaper set, encompassing various grits, is absolutely critical for achieving smooth, flawless finishes on any woodworking project. It’s the final step in surface preparation, ensuring your piece looks and feels professional before any finish is applied.
| Used For | Benefits | Sizes & Types |
|---|---|---|
| Achieving ultimate surface smoothing and preparing for finishes | Produces an incredibly smooth and refined finish, essential for quality work | Grits from 60 (coarse) to 220 (fine) for wood |
| Refining surfaces after planing or scraping for a final finish | Available in a diverse range of grits to tackle every sanding stage | Wet/dry sandpaper (for certain applications) |
| Lightly sanding between coats of finish for optimal adhesion | Simple and straightforward to use, whether by hand or with a sander | Individual sheets (for hand sanding) |
| Detail work and reaching into tight spots | Flexible and adaptable, fitting into almost all contours and tight areas | Sandpaper rolls (for custom sizing) |
How to Build Your Woodworking Tool Collection Strategically
Building a comprehensive woodworking tool collection is a journey, not a sprint. I recommend a strategic approach, starting with the absolute essentials and gradually expanding as your skills and project ambitions grow. This method ensures you invest wisely and avoid unnecessary purchases.
Starting Point: Basic Essentials
For anyone just dipping their toes into woodworking, I strongly suggest beginning with these foundational tools. They are inexpensive, versatile, and crucial for learning basic techniques without being overwhelmed.
- Measuring Tape: For accurate measurements.
- Hand Saw: For fundamental cutting tasks.
- Claw Hammer: For driving and removing fasteners.
- Basic Screwdriver Set: For assembly and adjustments.
- Safety Gear: (glasses, gloves, dust mask) – non-negotiable for protection.
- A few spring clamps: For quick holds.
Estimated Initial Cost: About $100-$150. This small investment provides a solid foundation for simple projects like small shelves or basic boxes.
Level 1: Expanding Hand Tools
Once you’re comfortable with the basics, it’s time to enhance your precision and capability with these essential hand tools. They open up possibilities for more intricate joinery and refined surfaces.
- Chisels (basic set): For detailed cuts and joinery.
- Wood Rasps: For shaping curves and removing material.
- Carpenter’s Square: For verifying right angles and marking straight lines.
- Level: To ensure surfaces are perfectly flat and plumb.
- Marking Knife: For incredibly precise layout lines.
Estimated Additional Cost: Approximately $150-$200. With these, you can tackle projects requiring more accurate joinery and smoother finishes.
Level 2: Introducing Your First Power Tools
When you feel ready to accelerate your workflow and take on more complex tasks, these first power tools will be transformative. They significantly reduce manual effort and increase efficiency.
- Power Drill: Your go-to for drilling and driving screws quickly.
- Random Orbital Sander: For achieving wonderfully smooth, swirl-free finishes.
- Jigsaw: Perfect for cutting curves and intricate shapes.
- Basic Clamps Set (C-clamps, bar clamps): Crucial for holding pieces securely during glue-ups and operations.
Estimated Additional Cost: Around $200-$300. At this stage, you’re equipped for a wider range of projects, including more complex furniture pieces.
Level 3: Major Tools for Advanced Woodworking
As your skills progress and your projects become more ambitious, consider investing in these larger, more specialized power tools. They represent a significant investment but unlock professional-level capabilities and efficiency.
- Table Saw: The absolute workhorse for accurate rip and cross-cuts.
- Router: For decorative edges, grooves, and advanced joinery.
- Miter Saw: For precise and repeatable angle cuts.
- Additional Clamps: A variety of bar clamps and specialized clamps will be needed for larger assemblies.
Estimated Additional Cost: Approximately $800-$1200. This level empowers you to create virtually anything you can imagine with precision and speed.
Smart Buying Tips for Woodworking Tools
- Quality Over Quantity:
- Always prioritize buying fewer, but higher-quality tools. They perform better, last longer, and often yield superior results, saving you money and frustration in the long run.
- Start with mid-range options from reputable brands. You can always upgrade specific tools later if your needs demand it.
- Keep an eye out for sales and promotional events at local hardware stores and online retailers. Patience can lead to significant savings.
- Test Before Buying:
- If possible, try out tools at local woodworking workshops or trade shows. This hands-on experience can inform your decision greatly.
- Borrow tools from woodworking friends or join a community workshop to get a feel for different brands and types before committing to a purchase.
- Thoroughly read user reviews and watch video demonstrations to understand the pros and cons of specific models.
- Set a Monthly Budget:
- Dedicate a modest monthly budget, perhaps $50-$100, specifically for tool purchases. This allows you to build your collection steadily without breaking the bank.
- Embrace the process of building your collection slowly. This approach also allows your skills to grow alongside your tool arsenal.
- Focus on acquiring the most-used items first, those that will deliver the biggest impact on your current projects.
- Tool Maintenance:
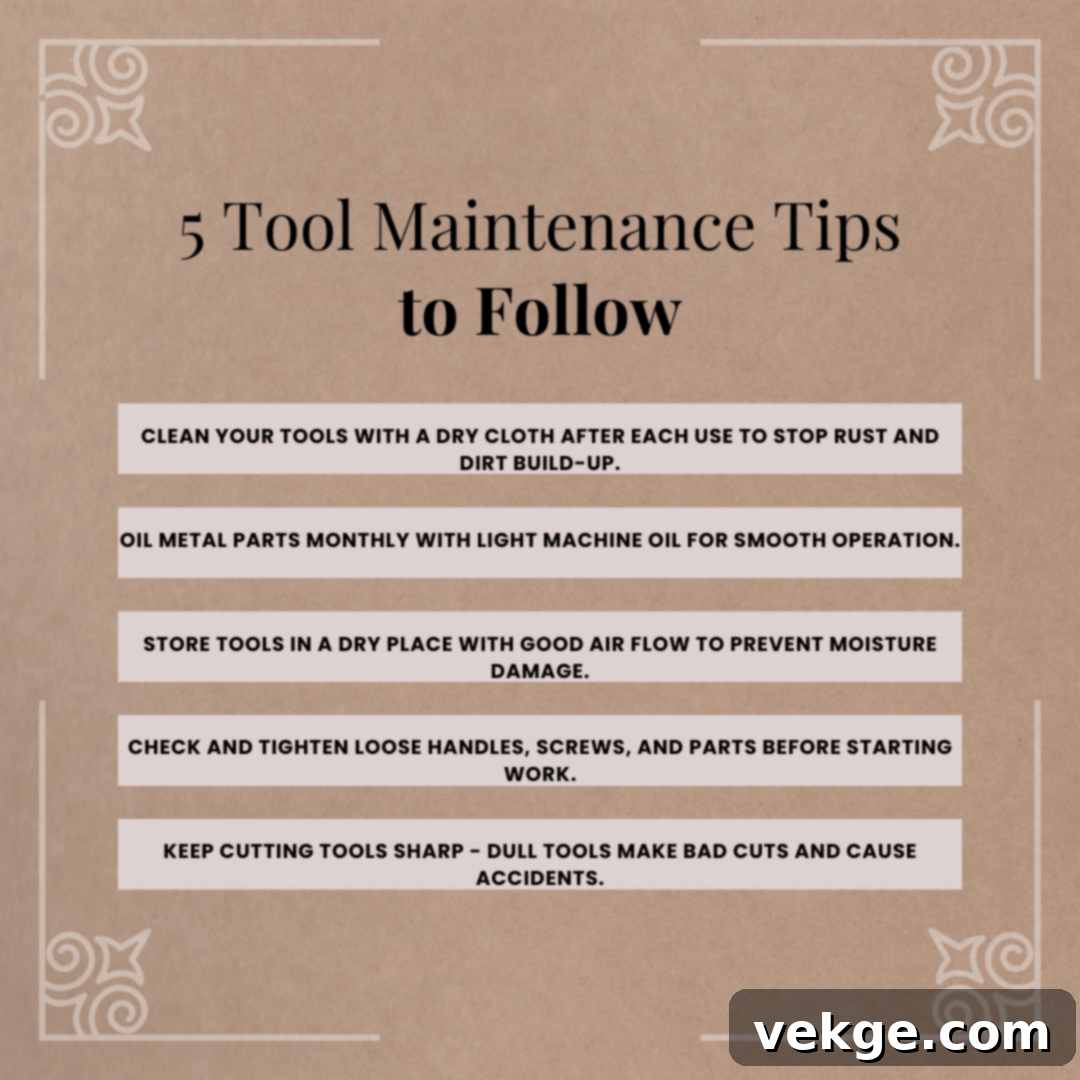
- Make it a habit to clean your tools thoroughly after each use. This prevents rust and buildup, prolonging their life.
- Store your tools in a dry, organized environment to protect them from moisture and damage.
- Regularly sharpen cutting edges (chisels, hand planes) and replace worn abrasive components (sandpaper, saw blades) for optimal performance and safety.
- Where to Buy:
- Local Hardware Stores: Offer immediate availability, expert advice, and the chance to physically inspect tools.
- Online Marketplaces (Amazon, specialized woodworking sites): Often provide a wider selection and competitive pricing, especially for specific brands.
- Used Tool Shops, Flea Markets, Estate Sales: Excellent sources for finding well-made, older hand tools at significantly reduced prices. Look for quality brands that can be restored.
- Yard Sales: Can sometimes yield hidden gems for basic hand tools.
How to Start Woodworking on a Budget
I understand that starting a new hobby can seem expensive, but woodworking doesn’t have to be. I began my own journey with just a handful of basic tools and a very small workspace. The key is to start small and smart, focusing on what’s truly necessary rather than acquiring everything at once. Trust me, you don’t need a fully equipped professional shop from day one.
Essential Starting Tools (Under $200):
To get started without breaking the bank, focus on these absolute essentials. They will allow you to complete numerous introductory projects and develop core skills.
- Hand Saw ($20): For basic cutting. Choose a good quality one.
- Hammer ($15): A reliable claw hammer for fasteners.
- Measuring Tape ($10): Accuracy is paramount, regardless of budget.
- Screwdriver Set ($25): A versatile set for various screws.
- Safety Gear ($30): Glasses, gloves, and a dust mask are non-negotiable investments in your health.
- Basic Sandpaper Set ($10): A small assortment of grits for finishing.
- A few Spring Clamps ($10-20): Handy for quick, temporary holds.
This initial investment of roughly $100-$130 gets you a solid start to building small projects like cutting boards, small boxes, or basic picture frames.
Money-Saving Tips for Aspiring Woodworkers:
Beyond starting with a minimal toolkit, there are many ways to enjoy woodworking without heavy financial strain.
1. Buy Used Tools:
- Actively check local garage sales, estate sales, and online classifieds (like Craigslist or Facebook Marketplace) for gently used tools. Many quality hand tools last for decades.
- Look at flea markets and antique shops for vintage hand tools. Often, older tools were made with superior steel and just need a little cleaning and sharpening.
- Don’t hesitate to ask other woodworkers in local clubs or forums. They might have tools they no longer use or know where to find good deals.
2. Share Tools & Resources:
- Join local woodworking clubs or guilds. These communities often have shared workshops or tool lending programs.
- Collaborate with friends who also enjoy woodworking. Pooling resources can provide access to more specialized tools without individual purchase.
- Explore community workshops or maker spaces. Many cities offer memberships that include access to a wide range of tools and expert guidance.
3. Shop Smart:
- Exercise patience and wait for major holiday sales or seasonal promotions from retailers.
- Always compare prices across different stores and online platforms before making a purchase.
- Consider buying combo kits for power tools (e.g., drill and impact driver kit), as these often offer better value than buying items individually.
- Check for “returned items” or “open box” deals at large retailers, which can offer significant discounts on nearly new tools.
4. Start with Inexpensive Wood:
- Begin your projects with less costly wood species like pine or poplar. These woods are readily available and forgiving for beginners.
- They are easy to work with, making them ideal for learning various cuts, joints, and finishing techniques without fear of ruining expensive material.
- As your skills improve, you can gradually transition to more premium hardwoods.
5. Make Money While Learning:
- Start by taking on small repair jobs for friends, family, or neighbors. Fixing basic furniture or wooden items can hone your skills and provide income.
- Build simple, in-demand items like cutting boards, small decorative boxes, or picture frames. These are great practice and can be sold at local craft markets or online.
- As your proficiency grows, you can expand into more complex projects and even offer custom woodworking services, turning your hobby into a self-sustaining venture.
6. Utilize Free Learning Resources:
- The internet is a treasure trove of free woodworking knowledge. Watch countless online videos on platforms like YouTube for tutorials and project ideas.
- Read woodworking blogs and online articles (like this one!) that offer tips, tricks, and project plans.
- Join online woodworking forums and social media groups to connect with experienced woodworkers, ask questions, and learn from their collective wisdom.
- Visit local hardware stores and lumberyards. Often, staff can offer valuable advice, and you can observe different materials and tools firsthand.
Conclusion
Embarking on your woodworking journey doesn’t have to be an overwhelming or expensive endeavor. As I’ve shared throughout this guide, based on years of personal experience, equipping yourself with the right tools and knowledge is the key to creating beautiful and functional pieces with confidence and enjoyment.
This comprehensive list of 31 essential woodworking tools covers everything from precision hand tools to powerful machinery, safety gear, and clamping solutions. Each tool has a unique purpose, designed to enhance your efficiency, accuracy, and overall enjoyment in the workshop. By understanding their benefits and applications, you’re well on your way to mastering the craft.
Remember, the most crucial takeaway is that you absolutely do not need to acquire every tool at once. Begin with the fundamental hand tools, dedicate time to mastering their use, and then gradually expand your collection as your skills evolve and your projects demand more specialized equipment. This methodical approach will not only save you money but also foster a deeper understanding and appreciation for each new addition to your workshop.
Are you ready to transform raw wood into remarkable creations? Pick up a few basic tools from our essential list and dive into a simple project. The satisfaction of crafting something with your own hands is truly unparalleled. If you found this guide insightful and helpful, I encourage you to subscribe to my newsletter for a consistent stream of weekly woodworking tips, innovative project ideas, and exclusive content.
I’d love to hear from you! Please let me know in the comments section below which woodworking tools you plan to buy first and what projects you’re excited to tackle!
Frequently Asked Questions About Woodworking Tools
What is the Most Used Tool in a Woodshop?
From my extensive daily work and observation, the **power drill** stands out as the single most frequently used tool in a typical woodshop. Its versatility is unmatched; it’s indispensable for drilling pilot holes, driving countless screws for assembly, and even performing minor adjustments with various bit attachments. Almost every woodworking project, regardless of its complexity, involves some form of drilling or fastening, making the power drill a constant companion in the workshop.
Are Used Tools a Good Option for Beginners?
Absolutely, used tools can be an excellent and highly recommended option for beginners, especially when you’re starting on a budget. Opting for pre-owned tools can significantly reduce your initial investment, allowing you to acquire a broader range of equipment for the same cost. However, it’s crucial to exercise caution and inspect tools thoroughly before purchasing. Always look for signs of excessive rust, significant damage, or heavily worn parts. If possible, test the tool to ensure it’s in good working order. Many older, well-maintained hand tools, in particular, were built with superior craftsmanship and can provide years of reliable service with a little restoration.
