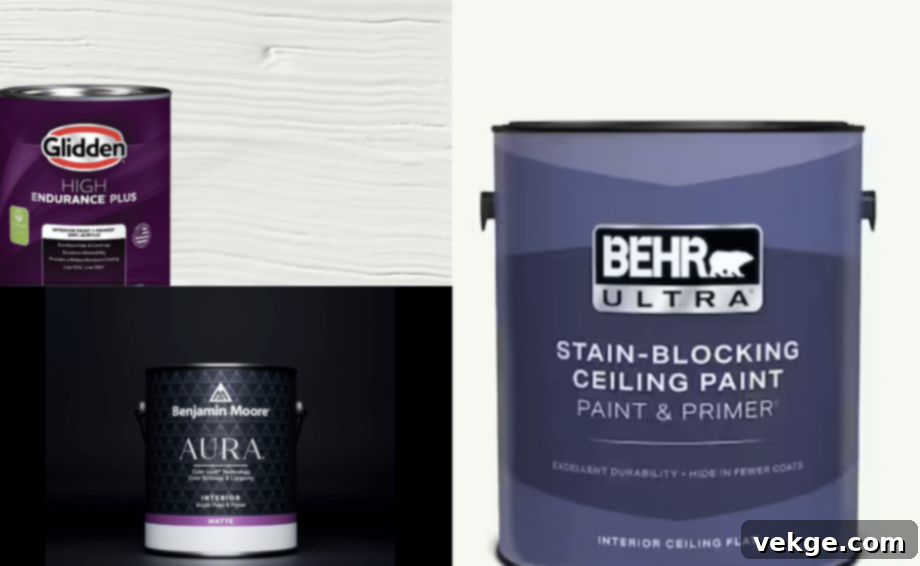
The Ultimate Guide to Choosing the Best White Paint for Trim & Baseboards
That familiar feeling of staring at a dozen “white” paint samples, only for them all to appear identical? I know it well. Selecting the perfect white paint for your baseboards and trim is surprisingly challenging. Too bright, and your trim can look stark and out of place; too dull, and it might simply vanish into your walls, losing its intended architectural definition.
My goal here is to simplify that complex decision for you. After extensively testing numerous options and painting countless feet of trim in various homes, I’ve curated a definitive list of white paints that consistently deliver a clean, fresh, and polished look to any woodwork.
In this comprehensive guide, I’ll share my top 14 white paint recommendations for trim and baseboards. You’ll find real-life examples, insights into their unique characteristics, and my expert tips for achieving a truly flawless finish that stands the test of time.
Essential Tips for Choosing the Right White Paint for Your Trim
Finding the ideal white paint for your trim doesn’t have to be a source of confusion. Drawing from years of experience, here are the key factors I always evaluate when guiding my clients through their paint selections:
1. Room Lighting Significantly Influences White Paint Appearance
The way natural light interacts with your room dramatically alters how white paint will look on your trim. From my observations, south-facing rooms tend to be the most forgiving environments for whites.
- South-Facing Rooms: These rooms enjoy consistent, warm natural light throughout the day. This steady illumination allows pure whites to truly pop and exhibit their crisp, clean qualities beautifully. You have a lot of flexibility here.
- North-Facing Rooms: If your room faces north, the light will likely be cooler and more subdued. In these situations, I consistently recommend opting for warmer whites. These warmer undertones (often a hint of yellow or beige) help to counteract the cool, sometimes grayish cast of north-facing light, making the trim feel more inviting and less stark.
- East- or West-Facing Rooms: For rooms that face east or west, I always advise clients to exercise extra caution. The light in these rooms shifts dramatically throughout the day—from bright, intense morning light to warm, golden afternoon light (or vice versa). A white that looks stunning at sunrise might appear completely different by sunset. Always test samples in these rooms at various times of the day to see their full range.
2. Consider Your Wall Colors for Harmonious Trim
The relationship between your trim and wall color is crucial for a cohesive design. I’ve learned that a thoughtful pairing can either elevate your space or create an unintended visual disconnect.
- Dark-Colored Walls: When working with darker wall hues, bright, clean whites are an excellent choice. They create a striking contrast, establishing beautiful, sharp lines that frame your space and define architectural features with precision. This creates a sophisticated, gallery-like effect.
- Light-Colored Walls: For walls painted in lighter shades, I often suggest exploring white paints with similar undertones. For instance, if your walls have a warm beige undertone, a white trim with a subtle creamy or yellow undertone will create a seamless, elegant transition, resulting in a smooth, “pulled-together” look that feels effortless.
- Neutral Walls: The good news is that if your walls are painted in neutral tones (like grays or greiges), you generally have more freedom. Most white shades will complement neutral walls effectively, offering you a wide array of options to experiment with, from crisp to warm.
3. Match Your White Paint to Your Home’s Architectural Style
Your home’s unique style should act as a compass for your white paint selection. The right white can enhance your decor and architectural elements.
- Modern & Contemporary Homes: In modern or minimalist homes, I prefer using clean, pure whites. These whites create sharp, crisp lines that perfectly complement the sleek, uncluttered aesthetic characteristic of these styles. They provide a sophisticated backdrop without any visual distraction.
- Traditional & Classic Spaces: For more traditional spaces, I frequently opt for creamy whites or off-whites. These shades introduce a gentle warmth that prevents the trim from looking sterile, yet they never appear overtly yellow. They add a layer of classic elegance and softness.
- Farmhouse & Rustic Looks: If you’re aiming for a charming farmhouse aesthetic, consider soft whites that carry subtle gray undertones. These whites evoke a perfectly “lived-in” and authentic feel, lending character without appearing dated or too pristine.
Pro Testing Tips for White Paints: Avoid Costly Mistakes
Here’s my tried-and-true method for accurately testing white paints, a technique that has saved me and my clients from countless paint regrets: Use large paint sample paper strips. I find this approach far superior to painting directly on your walls for several reasons.
The primary benefit of sample strips is their mobility. You can easily move them around your space, observing them against different walls, in various corners, and even on different floors if applicable. Take these strips and place them in multiple locations throughout the room.
Critically, check these samples at different times of the day: in the bright morning light, under the midday sun, and during the softer, often warmer evening light. You will likely be astonished at how distinct each white can appear as the light shifts.
Always place your white paint samples directly adjacent to your existing wall colors to truly understand their interaction. Furthermore, remember to assess the samples under both natural daylight and your home’s artificial lighting (lamps, overhead fixtures). This extra, diligent step is an absolute game-changer and has consistently prevented me from making costly paint mistakes!
Which Paint Finish Is Perfect for Your Trim?
Choosing the right paint finish for your trim and baseboards is just as important as selecting the perfect shade of white. The finish dictates not only the aesthetic appeal but also the durability and ease of maintenance of your woodwork. Here’s a breakdown of common finishes and their best uses for trim:
| Finish Type | Appearance | Durability | Best Use |
|---|---|---|---|
| Matte | Non-reflective, smooth, velvety finish. | Lowest durability; highly prone to scuffs and difficult to clean without burnishing. | Rarely used on trim or baseboards due to low durability; occasionally for a very specific, rustic, or aged look where imperfections are desired. |
| Satin | Low sheen, soft, subtle eggshell-like finish. It has a slight luster that isn’t too reflective. | Moderate durability; better than matte, but still can scuff in high-traffic areas. Relatively easy to clean. | Good for low-to-medium traffic areas; offers subtle elegance and hides minor imperfections better than higher sheens. A popular choice for a softer look. |
| Semi-Gloss | Noticeable sheen, reflective, and smooth. It offers a clean, polished look. | High durability; excellent resistance to scuffs, chips, and moisture. Very easy to clean and wipe down. | Most popular and recommended for trim and baseboards. Provides a balanced look that highlights woodwork while offering superior protection and washability. Ideal for doors and windows too. |
| Gloss | A high sheen, very reflective, almost mirror-like finish. Creates a dramatic, luxurious look. | Very high durability; maximum resistance to wear and tear, moisture, and stains. Exceptionally easy to wipe clean. | Best for high-traffic areas like entryways, kitchens, or bathrooms where maximum durability and cleanability are paramount. Adds a bold contrast and can make a strong design statement, but highlights every imperfection. |
For most homes, semi-gloss is the preferred choice for trim and baseboards due to its excellent balance of durability, ease of cleaning, and elegant appearance. It provides just enough sheen to make your trim stand out without being overly reflective.
Popular White Paints for Trim and Baseboards Reviewed
Here are my top selections for white paint, each with unique characteristics to suit various preferences and home styles:
1. Benjamin Moore White Dove – OC 17
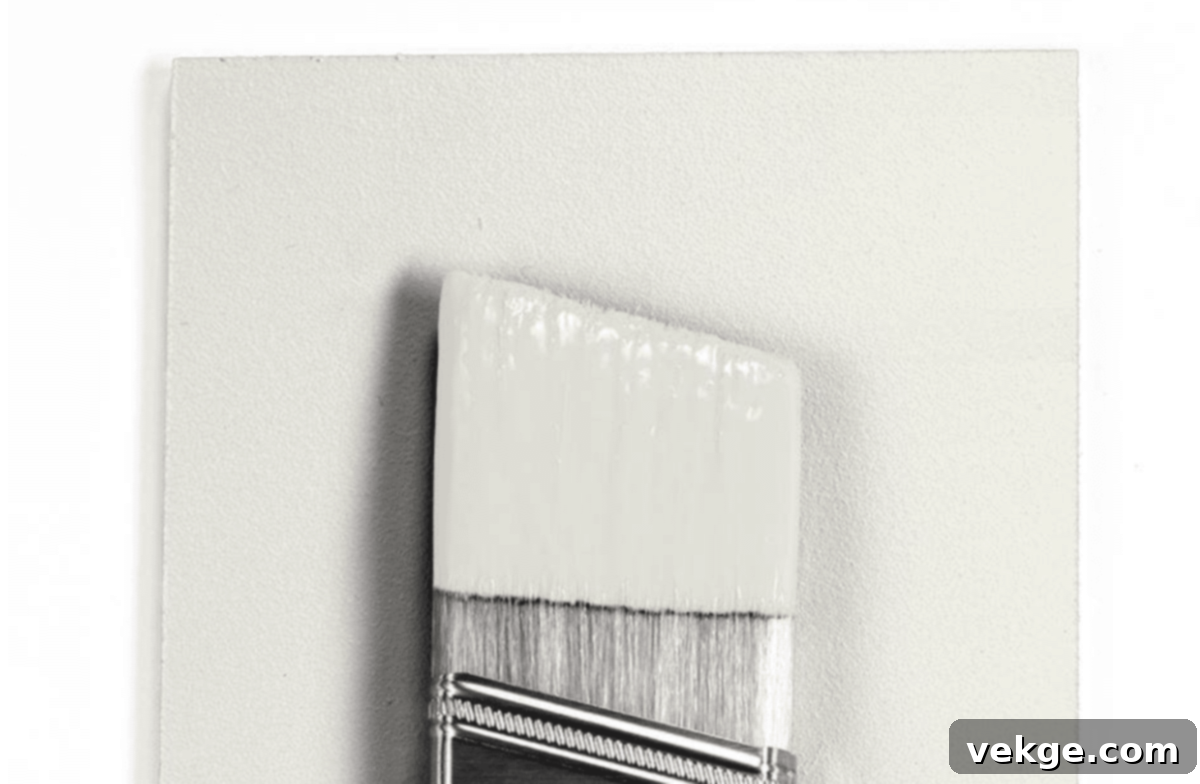
- Finish Type: Best in satin or semi-gloss for trim.
- Undertone: A beautiful, soft, and warm white with subtle yellow/greige undertones.
Pros:
- Extremely versatile and complements a vast range of wall colors, from cool grays to warm beiges.
- Creates a welcoming, inviting, and cozy appearance, making rooms feel softer and more lived-in.
- An excellent choice for both traditional and modern decor styles due to its balanced warmth and sophistication.
Cons:
- Under certain artificial or very warm natural lighting conditions, it may appear slightly creamier or more yellow than desired.
- It’s not the ideal choice for those who are specifically seeking a stark, crisp, or cooler white aesthetic.
2. BEHR Premium Cabinet Paint
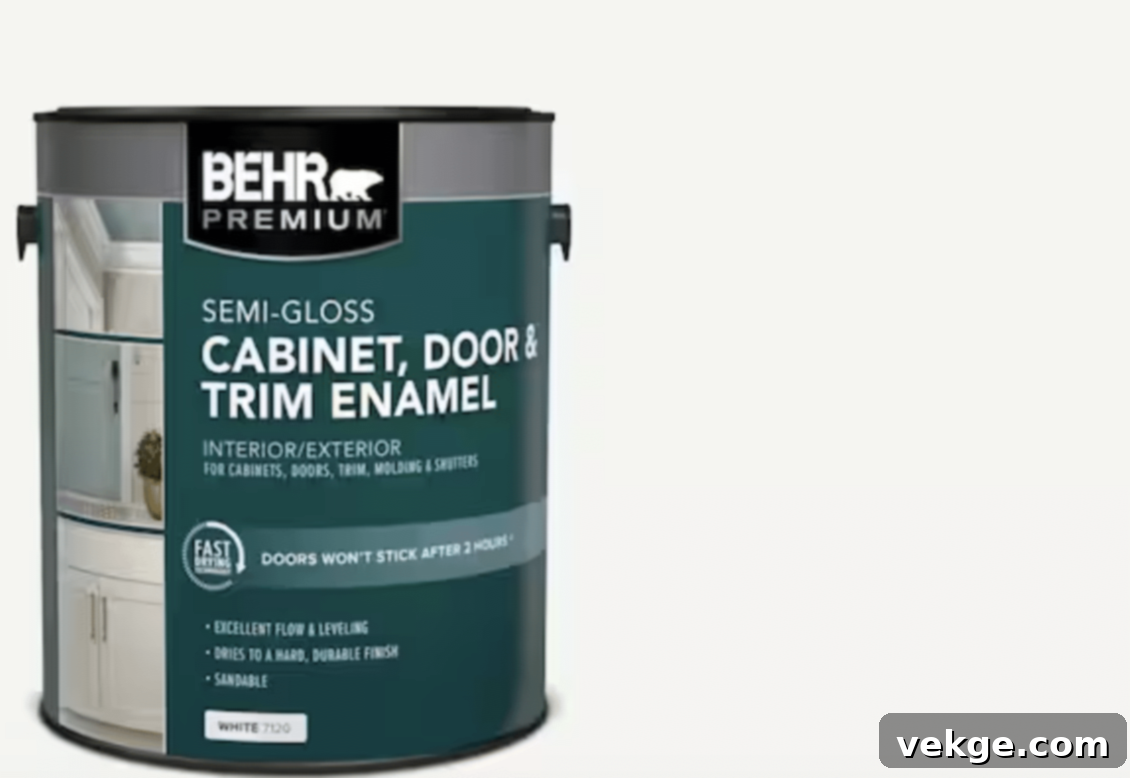
- Finish Type: Typically available in semi-gloss or gloss for maximum durability.
- Undertone: A very clean, neutral white with minimal discernible undertones, making it a true white.
Pros:
- Specially formulated for exceptional durability, making it perfect for high-traffic areas and heavily used trim.
- Highly resistant to scuffs and incredibly easy to clean and maintain its pristine look over time.
- Provides a sleek, hard, and modern finish that can instantly update any space.
Cons:
- Its glossy finishes, while durable, can accentuate imperfections or unevenness on your trim, so thorough prep is essential.
- Some users report a slightly longer drying time compared to other standard interior trim paints.
3. Sherwin Williams Extra White – SW 7006

- Finish Type: Semi-gloss or gloss is recommended for optimal performance on trim.
- Undertone: A bright, cool white with a subtle hint of blue undertone, offering a very crisp feel.
Pros:
- An exceptionally bright and clean white, making it ideal for creating a contemporary, modern aesthetic.
- Pairs beautifully with cool-toned wall colors, enhancing their richness and depth.
- Provides a sharp, polished, and very fresh look, perfect for defining architectural details.
Cons:
- It can appear stark or even slightly cold in rooms that receive minimal natural light or are north-facing.
- May not blend seamlessly with very warm or earthy decor tones, potentially creating a visual clash.
4. Glidden HEP Grab-N-Go Interior Paint + Primer
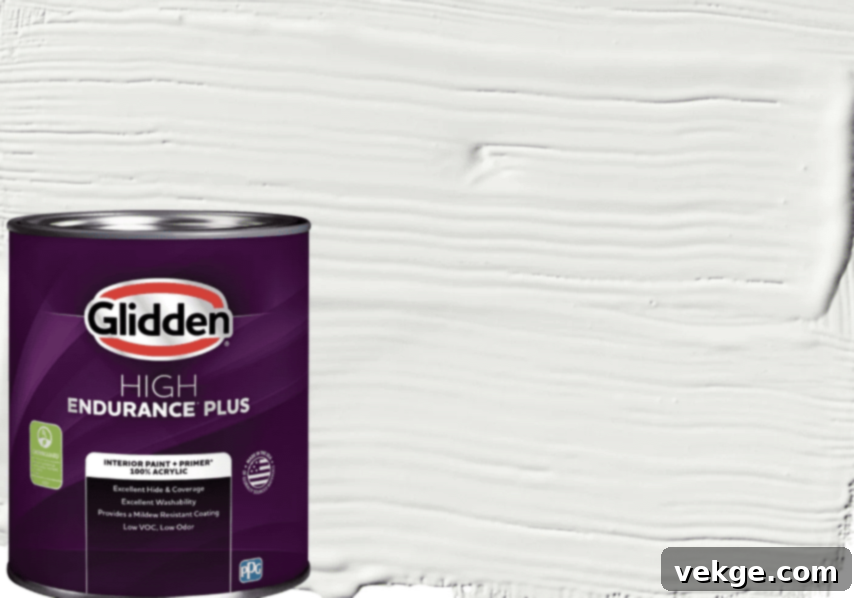
- Finish Type: Available in satin or semi-gloss, both suitable for trim.
- Undertone: A true neutral white, largely free of strong, dominant undertones, making it very straightforward.
Pros:
- The convenient paint-and-primer combination simplifies the painting process, saving time and effort.
- It is an affordable and widely available option, making it accessible for budget-conscious projects.
- Offers good coverage and typically dries to a smooth, uniform finish.
Cons:
- On very dark or previously unprimed surfaces, it may still require multiple coats to achieve full opacity and a consistent finish.
- Its overall durability might not match that of some premium, higher-end paint brands, especially in very high-traffic areas.
5. Sherwin Williams Alabaster – SW 7008

- Finish Type: Often used in satin or semi-gloss for trim applications.
- Undertone: A warm, creamy white with subtle beige-yellow undertones that make it incredibly inviting.
Pros:
- Creates a wonderfully cozy, soft, and inviting atmosphere, making a room feel instantly more comfortable.
- Its gentle warmth works beautifully with a wide range of decor, from rustic farmhouse to refined traditional.
- Softens the look of trim and baseboards, preventing them from appearing too harsh or stark against walls.
Cons:
- Under certain types of artificial lighting (especially older incandescent bulbs), it can sometimes appear slightly more yellow than intended.
- Not the best choice if your goal is a sharp, ultra-modern, crisp white look, as its warmth will detract from that aesthetic.
6. Benjamin Moore Simply White – OC 117

- Finish Type: Commonly chosen in semi-gloss or gloss for a clean, bright trim.
- Undertone: Features subtle warm undertones, often described as a touch of clean yellow, giving it a luminous quality.
Pros:
- An award-winning and consistently popular choice, renowned for its incredible versatility and widespread appeal.
- Highly adaptable to various lighting conditions, maintaining its brightness without becoming too stark or too warm.
- Effectively adds brightness and a delicate warmth to trim and baseboards, making them feel fresh and lively.
Cons:
- The warm undertones may become slightly more noticeable or pronounced in rooms with very low natural light, appearing a bit creamier.
- It’s not as suitable for those specifically seeking a very cool, stark, or bluish-white aesthetic.
7. Farrow & Ball All White – No. 2005

- Finish Type: Often chosen in Estate Eggshell (satin) or Full Gloss for Farrow & Ball’s signature finishes.
- Undertone: A true, pure white with no discernible undertones, making it exceptionally clean and crisp.
Pros:
- A supremely clean, bright white that is absolutely ideal for achieving a sophisticated, contemporary, or minimalist look.
- Its neutrality means it works harmoniously with both cool and warm color palettes on walls, offering great flexibility.
- Imparts a fresh, modern, and very refined feel to trim and baseboards, making them pop.
Cons:
- Due to its pureness, it may appear too stark or even slightly cold in areas with very low natural light.
- It typically comes at a higher cost compared to standard paint brands, reflecting its premium quality and unique formulations.
8. Valspar Ultra White – 7006-24

- Finish Type: Most commonly found and recommended in satin or semi-gloss for trim work.
- Undertone: A bright white with noticeable cool, slightly bluish undertones, contributing to its crispness.
Pros:
- An affordable and widely available option, making it a convenient choice for many homeowners.
- Delivers a crisp, bright finish that effectively defines trim and baseboards.
- Excellent for creating high-contrast looks in modern or contemporary spaces where a sharp definition is desired.
Cons:
- It can feel overtly cold or stark in rooms that have naturally warm lighting or are bathed in warm afternoon sun.
- May not blend harmoniously with very warm or earthy wall tones, potentially creating an unwelcome visual disconnect.
9. Dunn-Edwards Whisper – DEW340

- Finish Type: Available in various sheens; semi-gloss is highly recommended for trim and baseboards.
- Undertone: A soft white featuring delicate, warm undertones that contribute to its inviting character.
Pros:
- A gentle, inviting white that beautifully suits both modern, transitional, and traditional home styles.
- Its subtle warmth prevents the space from looking overly stark or cold, promoting a comfortable atmosphere.
- Offers a durable finish, which is crucial for high-traffic areas like trim and baseboards.
Cons:
- The warm undertones can sometimes appear slightly yellowish when exposed to specific artificial lighting or in certain natural light conditions.
- It might not be the optimal choice for ultra-modern spaces that specifically require very sharp, unyielding pure whites.
10. Behr Ultra Pure White – 1850
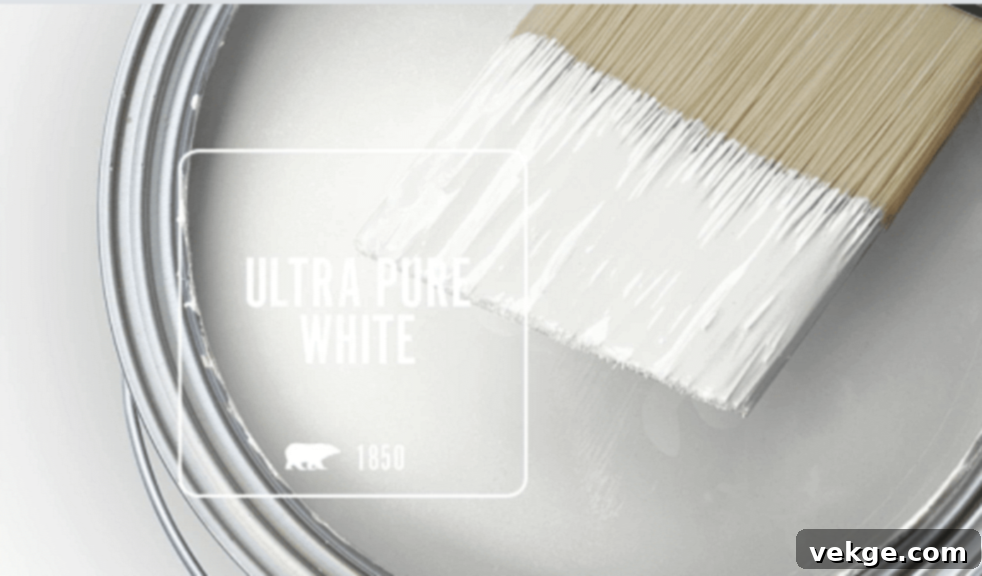
- Finish Type: Often chosen in semi-gloss or gloss to maximize its clean appearance and durability.
- Undertone: This is Behr’s base white, meaning it has virtually no undertones, making it a true, bright pure white.
Pros:
- Extremely bright and clean, making it an excellent choice for achieving a stark, modern, or minimalist aesthetic.
- Available in a wide range of finishes, offering versatility to match specific durability and sheen preferences.
- Performs exceptionally well in spaces that are blessed with abundant natural light, where it can truly shine.
Cons:
- Its intense brightness can unforgivingly highlight any imperfections or textural inconsistencies on trim surfaces.
- May feel too stark or even clinical for individuals who prefer warmer, softer, or more inviting tones in their home.
11. PPG Timeless Pure White
- Finish Type: Best applied in satin or semi-gloss for trim and baseboards.
- Undertone: A very neutral white, without strong discernible undertones, providing a balanced look.
Pros:
- Formulated for a durable and long-lasting finish that can withstand daily wear and tear.
- Highly resistant to scuffs and incredibly easy to clean and maintain its fresh appearance.
- Its neutrality makes it suitable for complementing both contemporary and traditional decor styles with ease.
Cons:
- Similar to other true whites, it might require multiple coats to achieve full, flawless coverage, especially over darker existing surfaces.
- Higher gloss levels in this paint can sometimes show brush strokes more prominently if not applied carefully.
12. Benjamin Moore Chantilly Lace – OC 65

- Finish Type: Typically chosen in satin or semi-gloss for a crisp, refined trim.
- Undertone: A cool, exceptionally clean white with minimal, almost imperceptible undertones, lending it a pure quality.
Pros:
- An incredibly bright and clean white, making it absolutely perfect for modern, minimalist, and Scandinavian-inspired spaces.
- Its inherent versatility allows it to work beautifully with both warm and cool color palettes on adjacent walls.
- It has an impressive ability to reflect light, making rooms feel larger, brighter, and more open.
Cons:
- Can appear overtly cold or sterile in rooms that receive very low natural light, lacking warmth.
- Like many pure whites, it may require more than one coat to achieve truly full, even coverage, particularly over darker existing colors.
13. Dutch Boy Ultra White – DB10

- Finish Type: Commonly available in satin or semi-gloss, both well-suited for trim applications.
- Undertone: A true neutral white, devoid of strong discernible undertones, making it a straightforward choice.
Pros:
- An affordable and widely accessible option, great for projects on a budget or quick touch-ups.
- Delivers a clean, crisp appearance that effectively defines trim, baseboards, and other architectural details.
- It serves as an excellent pairing for bold or deeply saturated wall colors, providing a stark, clean contrast.
Cons:
- Its durability might not be as robust or long-lasting as some of the premium, higher-priced options on the market.
- If chosen in a higher gloss finish, it could potentially emphasize existing imperfections on your trim or woodwork.
14. Behr Frost – 57
- Finish Type: Available in satin or semi-gloss, offering a good balance for trim.
- Undertone: A bright, slightly cool white with very subtle, almost imperceptible cool undertones.
Pros:
- Bright and neutral, making it an ideal choice for both modern and transitional interior spaces.
- Offers good coverage and a relatively easy application process, simplifying DIY projects.
- Performs well in rooms that are blessed with ample natural light, where it can reflect and brighten the space.
Cons:
- It can potentially feel cold or uninviting in dimly lit spaces or rooms with very limited natural light.
- Similar to other clean whites, it may highlight existing imperfections or textural irregularities on older trim.
Preparation Tips Before Painting Your Trim
From my extensive years of painting trim, I’ve unequivocally learned that thorough preparation is not just important, it’s absolutely essential for a professional, long-lasting finish. Skipping these steps is a shortcut to disappointment.
Getting Your Trim Ready: The Foundation of a Flawless Finish
Start by meticulously wiping down all your trim and baseboards with a damp cloth or a mild all-purpose cleaner. This crucial first step removes accumulated dust, dirt, grime, and any oily residues that could prevent proper paint adhesion. Once the trim is completely dry, carefully inspect it for any rough spots, old paint drips, or minor imperfections. Use a medium-grit sandpaper (around 150-180 grit) to gently smooth these areas. After sanding, I always recommend running your hand along the entire length of the trim; this tactile check helps you identify any spots you might have missed.
Following sanding, it’s vital to remove all sanding dust. Wipe everything down again, but this time, use a dedicated tack cloth. A tack cloth effectively picks up fine dust particles that regular cloths might leave behind. This seemingly small step makes an enormous difference in the final smoothness and adhesion of your paint finish, preventing a gritty texture.
The Right Prime Time: Ensuring Durability and Even Color
Allow me to share a trick that consistently saves both time and money in the long run: always prime your trim, even if it has been previously painted. I consistently use a good-quality primer specifically formulated for trim work. Primer serves multiple critical functions:
- It creates an ideal surface for the new paint to adhere to, significantly improving its bond and durability.
- It helps block stains from bleeding through and ensures a uniform base color, which is especially important when switching from a darker to a lighter white.
- It often allows for better coverage with fewer coats of your chosen topcoat, saving you paint and time.
Apply one thin, even coat of primer and allow it to dry completely according to the manufacturer’s instructions. After priming, meticulously inspect the trim again. If you spot any remaining small holes, nail holes, or gaps between the trim and the wall, now is the time to fill them with wood filler or spackle. Once the filler dries and is sanded smooth, give those specific spots a quick, targeted spot-prime to ensure an even surface before your final paint coats.
The Right Painting Method for Trim and Baseboards: A Step-by-Step Guide
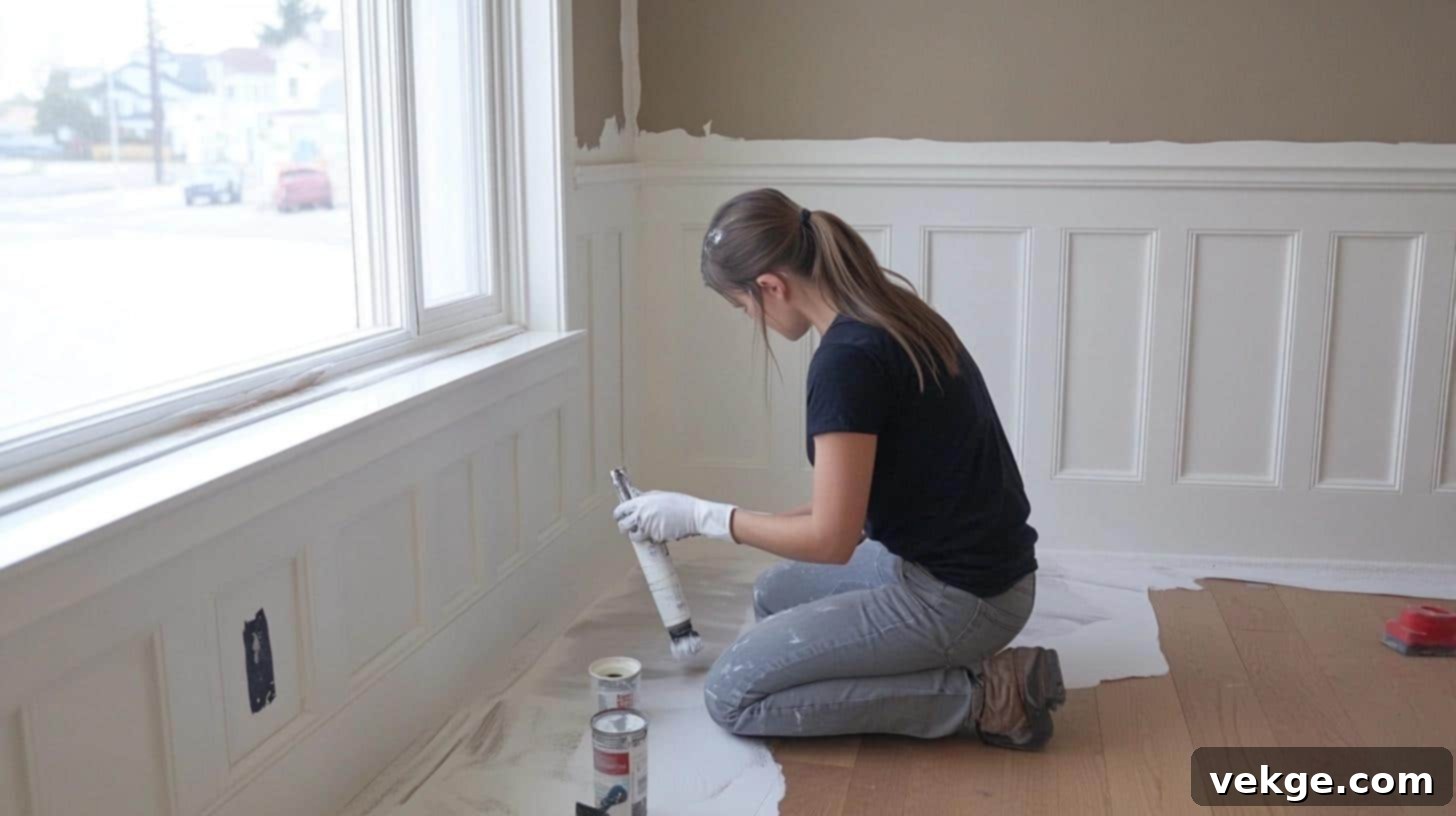
Achieving perfectly painted trim isn’t about rushing; it’s about a systematic approach. Here’s my detailed, step-by-step process for getting professional-looking results:
1. Strategic Starting Point
I always recommend beginning in the least noticeable corner or section of the room. This strategic starting point allows you to refine your technique, get a feel for the paint, and make any initial mistakes in an area that won’t be immediately scrutinized. Break your trim work into manageable 2-3 foot sections. Working in smaller segments is crucial for maintaining a “wet edge” – meaning you’re always painting into wet paint – which helps prevent unsightly lap marks and ensures a smooth, seamless finish.
2. First Coat Application: Cutting In and Loading Your Brush
Begin by carefully “cutting in” along the edges where your trim meets the wall and the floor. For this, use a high-quality angled paintbrush (1.5 to 2 inches is ideal). Apply light, consistent pressure; too much force will push paint beyond your intended line. Proper brush loading is key: dip only the first 1/3 of the bristles into the paint, then gently tap (do not wipe excessively) against the inside rim of the paint can to remove excess. This ensures enough paint without overloading, which can lead to drips.
3. Working With the Grain: Smooth, Even Strokes
Always follow the natural direction of the wood grain when applying paint to your trim. Use long, steady, and even strokes to create the smoothest, most uniform finish possible. I typically start from an unpainted area and brush smoothly toward a previously painted, still-wet section, using light and consistent pressure. This technique prevents paint from building up at the edges of your strokes, minimizing visible brush marks and creating a seamless appearance.
4. Managing Wet Paint: Drips and Spills
As you paint, constantly watch for any drips or runs in the wet paint. If you spot one, address it immediately by gently smoothing it out with your brush before the paint starts to set. Keeping a good, portable light source (like a work light or bright flashlight) nearby is invaluable; it helps illuminate imperfections and allows you to spot problems early. If any paint accidentally gets onto your walls or floor, clean it up instantly with a damp cloth before it has a chance to dry.
5. Between-Coat Steps: Drying and Light Sanding
Allow your first coat of paint to dry completely for at least 4 hours, or even longer if the humidity is high. To check if it’s truly dry, lightly touch an inconspicuous spot; the surface should feel absolutely dry and not tacky. Before applying your second coat, give the entire surface a quick, very light sand with fine-grit sandpaper (220-grit works exceptionally well for this). This scuff sanding helps to create a slightly textured surface for the next coat to adhere better and smooths out any minor imperfections. After sanding, thoroughly wipe off all dust with a clean tack cloth.
6. Final Coat Perfection: Coverage and Crisp Lines
Apply your second coat of paint in the same careful manner as the first, but now pay extra attention to achieving full, even coverage. Step back and look at the trim from different angles; this perspective helps reveal any missed spots, thin areas, or uneven sheen. Focus on making exceptionally clean, sharp lines where the trim meets the walls and floor. If you’re struggling to achieve perfectly crisp edges freehand, using high-quality painter’s tape on the adjacent surfaces after the first coat has fully cured can be a huge asset.
Maintaining Painted Trim and Baseboards: Keeping Them Pristine
Well-maintained trim enhances your home’s beauty and longevity. Here’s how to keep your white trim looking its best:
Regular Cleaning Tips
- Dust Weekly: Use a soft, dry microfiber cloth or a duster to gently wipe down your trim weekly. This prevents dust buildup that can dull the finish and become harder to remove later.
- Spot Clean Gently: For sticky spots, smudges, or light marks, use a cloth slightly dampened with plain water. Avoid oversaturating the cloth.
- Wipe Side-to-Side: Always clean your trim in a side-to-side motion, following the length of the trim, rather than an up-and-down motion. This helps prevent streaks and ensures an even clean.
- Avoid Harsh Cleaners: Steer clear of abrasive cleaners, harsh chemicals, or anything containing strong solvents, as these can dull, strip, or damage your paint finish over time.
- Pat Dry Immediately: If you use any moisture for cleaning, always pat the area dry immediately with a clean, dry cloth to prevent water spots or moisture damage.
Handling Daily Wear and Tear
- Furniture Clearance: Keep furniture pieces, especially sofas and chairs, slightly away from baseboards to prevent scuffs and dents.
- Felt Pads: Apply felt pads to the legs of any furniture that might come into contact with your trim.
- Weekly Scuff Check: Make it a habit to check for scuff marks weekly, especially in high-traffic areas. The sooner you clean them, the easier they are to remove.
- Immediate Spill Cleanup: Clean up any spills or splatters on trim right away, before they have a chance to dry and stain.
- Pet Protection: If you have pets, pay attention to areas near doorways or pet beds where scratches or rub marks might occur. Consider protective barriers if needed.
- Doormats: Place sturdy doormats at all entrances to significantly reduce the amount of dirt and debris tracked into your home, thus protecting your baseboards.
Quick Touch-Up Guide for Minor Imperfections
- Save Leftover Paint: Always save a small amount of your leftover trim paint in a tightly sealed, labeled jar.
- Label Paint Info: Crucially, label the jar with the paint brand, exact color name/number, and finish type. This prevents guesswork later.
- Keep a Small Brush Handy: A small artist’s brush or touch-up brush is invaluable for addressing minor nicks or scratches.
- Light Sanding for Smoothness: For areas needing touch-up, lightly sand the small area with very fine-grit sandpaper (e.g., 400-grit) to smooth any raised edges.
- Feather Edges: When applying touch-up paint, use very light strokes and try to “feather” the edges of the new paint into the existing finish to minimize visible lines.
- Allow Full Drying: Let touch-ups dry fully, ideally for 24 hours, before touching or cleaning the area.
Long-Term Care Strategies
- Check for Water Damage: Regularly inspect trim near windows, doors, and bathrooms for any signs of water damage, which can lead to peeling or mold.
- Look for Gaps: Over time, slight gaps can form between trim and walls. Fill these with paintable caulk to maintain a seamless look and prevent dust accumulation.
- Fill Small Cracks: Address any small cracks in the wood or paint as they appear with appropriate filler before they worsen.
- Store Paint Properly: Keep your spare paint in a cool, dry place, away from extreme temperatures, to extend its shelf life.
- Note Frequent Touch-Up Areas: Keep a mental or written note of areas that require frequent touch-ups, as this might indicate a need for more durable paint or a change in furniture placement.
- Plan for Repainting: Depending on wear and tear, plan for a full repainting of your trim every 3-5 years to refresh its look and protection.
What to Absolutely Avoid When Cleaning Trim
- Magic Erasers: While effective, these are abrasive and can remove the sheen and even a thin layer of paint, leading to dull spots.
- Steam Cleaners: Hot steam can cause paint to blister or peel, especially on older trim or if there are adhesion issues.
- Oil-Based Cleaners: These can leave a greasy residue that attracts dust and can be difficult to remove without affecting the paint.
- Scrubbing Too Hard: Excessive scrubbing can damage the paint finish, regardless of the cleaner used.
- Letting Stains Sit: The longer a stain sits, the harder it will be to remove, and it may eventually permanently mar the finish.
Wrapping It Up: The Lasting Impact of White Trim
Choosing and meticulously applying the perfect white paint for your trim and baseboards isn’t just a simple task—it’s an investment in creating lasting beauty and architectural definition within your home. The distinction that well-painted trim makes in a room’s overall aesthetic and feel is profound, and it’s why I’ve dedicated my expertise to sharing these insights.
Remember to thoughtfully test your white paint samples in various lighting conditions, diligently prepare your surfaces, and approach the application with patience and care. These steps, while seemingly minor, collectively add up to an impressive, high-quality finish that you’ll enjoy for years to come. A beautifully painted trim truly frames your space, adding that quintessential finishing touch.
Ready to further enhance your home? Explore my other guides, such as an in-depth look at wall colors that pair perfectly with white trim. Or, if you’re poised to pick up that paintbrush, be sure to save this article for a handy reference throughout your painting journey!
