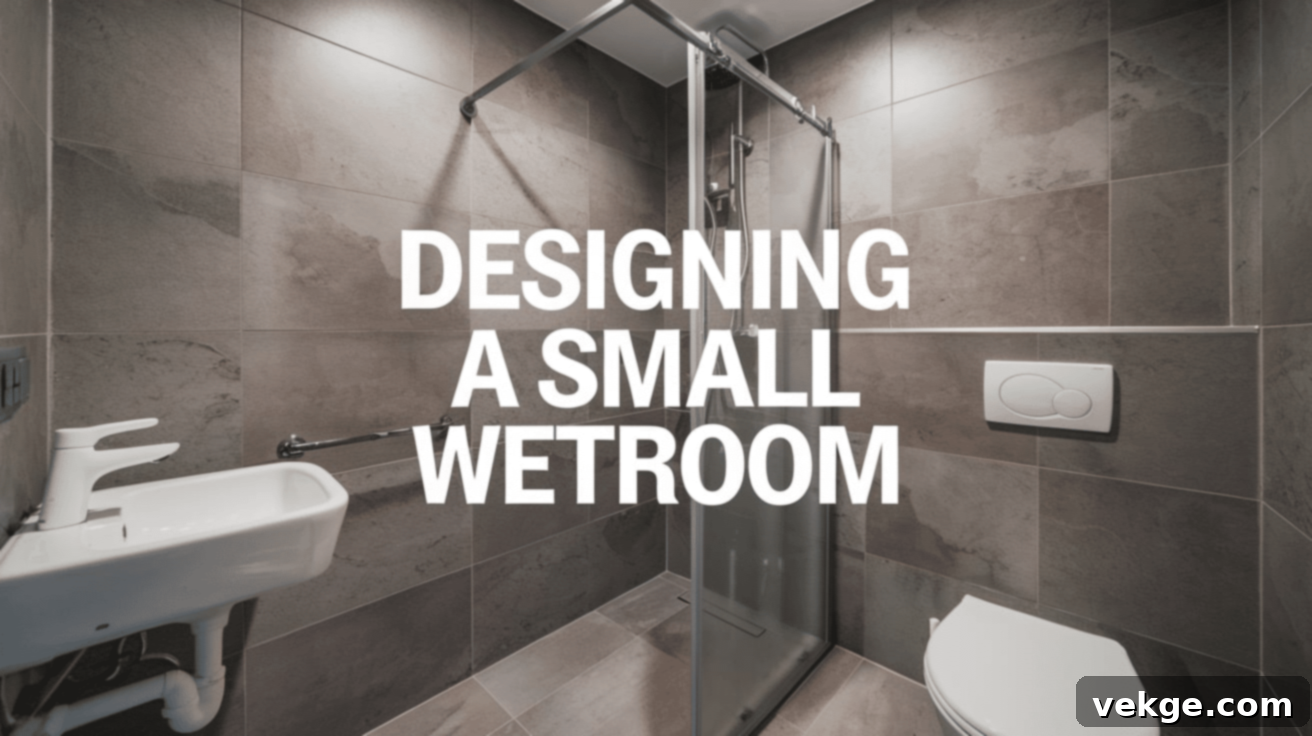
Maximize Your Space: Creative Small Wetroom Design Ideas & Tips for Modern Homes
Designing a small wetroom might seem like a daunting challenge, but with a touch of creativity and smart planning, you can transform even the most compact space into a stylish, functional, and surprisingly spacious retreat. A wetroom, by definition, is a bathroom where the entire floor is waterproofed and acts as an open shower area, eliminating the need for a separate enclosure. This innovative design is particularly advantageous for smaller bathrooms, as it creates an uninterrupted flow, making the room feel significantly larger and more open than traditional setups.
This comprehensive guide will walk you through the best design ideas, practical tips, and essential tricks to help you make the most of every inch in your small wetroom. From selecting the perfect waterproof tiles to integrating space-saving fixtures and optimizing storage solutions, we’ll cover everything you need to know to create a modern, clean, and highly efficient wetroom you’ll love. Get ready to unlock the full potential of your compact bathroom and discover how a well-designed wetroom can blend aesthetics with ultimate practicality.
What is a Wetroom and Why is it Perfect for Small Spaces?
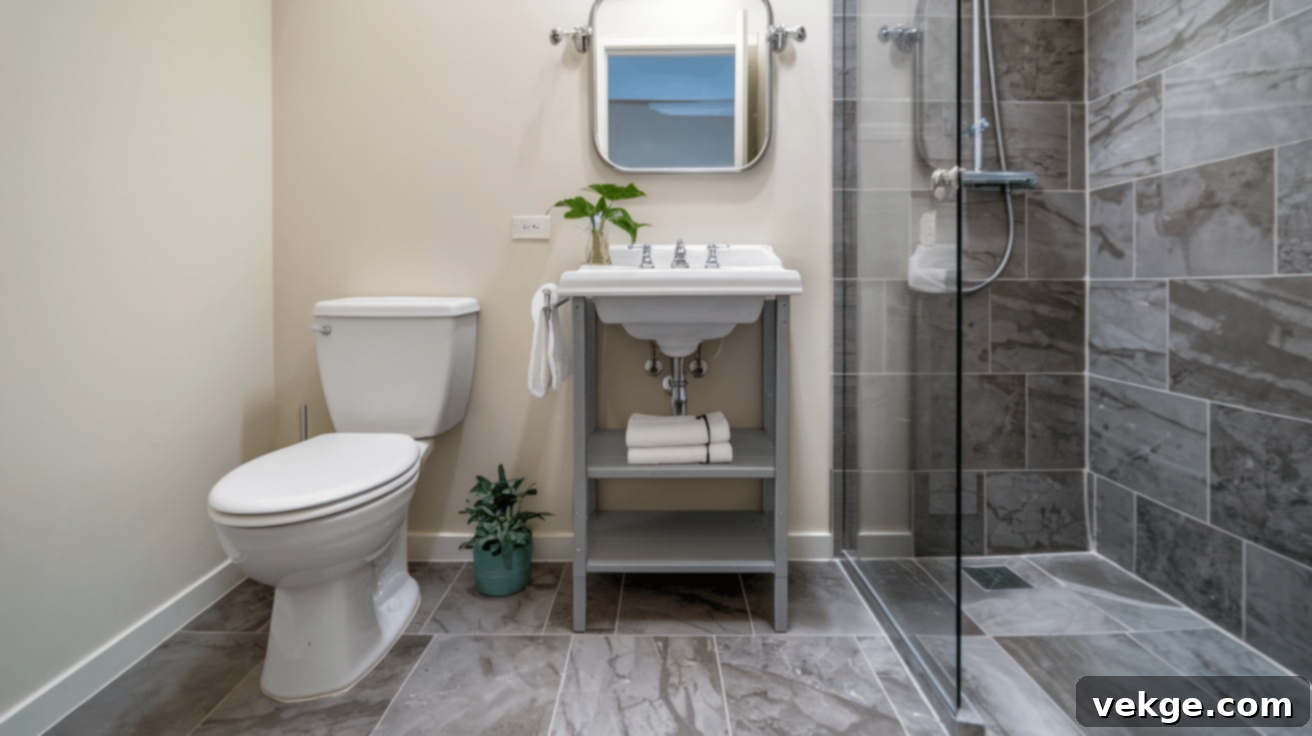
At its core, a wetroom is a fully waterproofed bathroom where the shower area is seamlessly integrated into the rest of the room, typically without a physical barrier like a shower screen or curtain. Instead of water being contained within a cubicle, it flows freely across the subtly sloped floor towards a discreet drain. This design philosophy offers several compelling advantages, especially when dealing with limited space:
- Enhanced Space Perception: By removing bulky shower enclosures, the eye perceives an unbroken floor area, which tricks the brain into thinking the room is much larger and more open. This visual continuity is invaluable in compact bathrooms.
- Modern and Minimalist Aesthetic: Wetrooms exude a sleek, contemporary vibe. The absence of traditional shower elements contributes to a clean, uncluttered look that is highly sought after in modern interior design.
- Increased Accessibility: With no steps, trays, or enclosures, wetrooms offer level access, making them ideal for individuals with mobility challenges, young children, or anyone seeking a future-proof bathroom design.
- Easier Cleaning and Maintenance: The fully tiled and waterproofed surfaces mean there are fewer nooks and crannies for dirt and grime to hide. Cleaning becomes a simpler task of wiping down surfaces and floors.
- Versatility in Design: While often associated with modern styles, wetrooms can be adapted to various aesthetic preferences, offering flexibility in material and fixture choices.
In essence, a wetroom transforms a functional space into a luxurious, open-plan showering experience, proving that even the smallest of bathrooms can be both practical and stylish.
Creative & Space-Saving Design Ideas for a Small Wetroom
Don’t let the size of your wetroom limit your imagination. With clever design choices, you can create a highly functional and visually stunning space. Here are ten inspiring design ideas to help you maximize your compact wetroom’s potential:
1. Embrace Light-Colored Tiles for an Expansive Feel
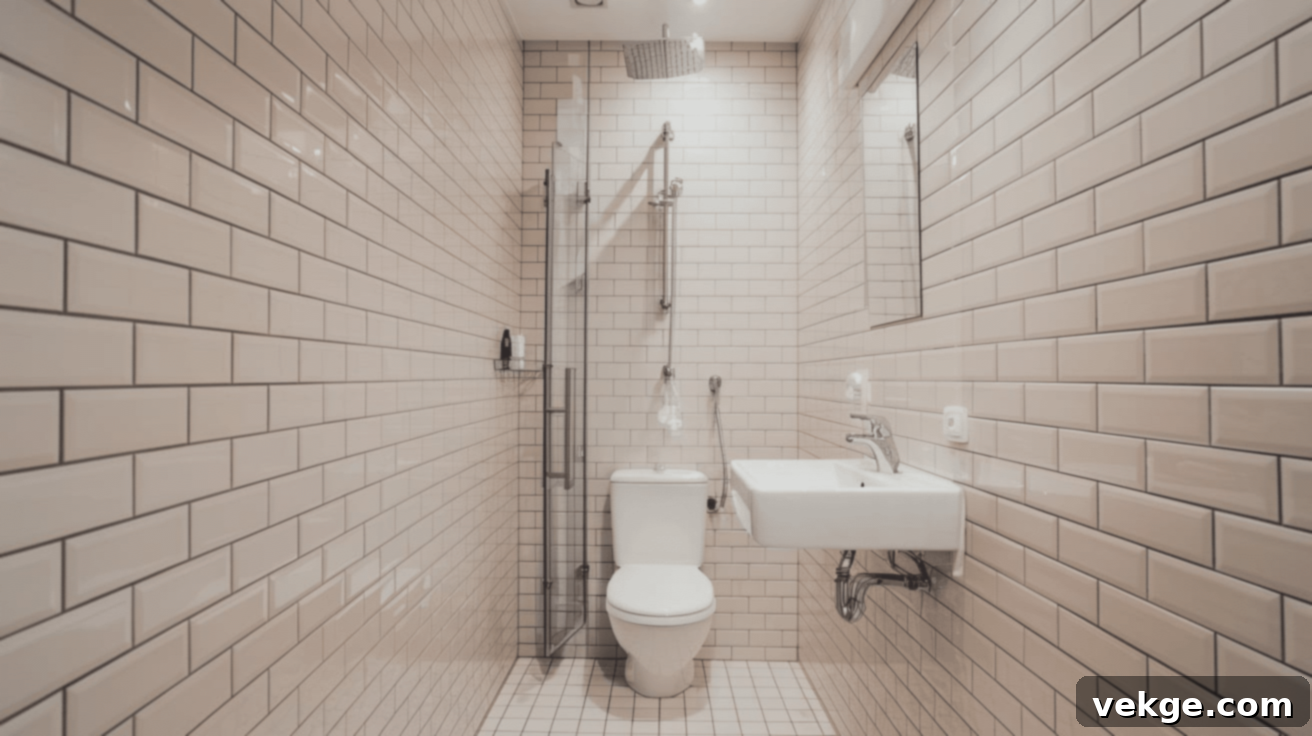
The power of color in interior design cannot be underestimated, especially in small spaces. Opting for light-colored tiles, such as crisp white, soft pale gray, or warm beige, is a cornerstone of small wetroom design. These lighter hues are excellent at reflecting natural and artificial light, which immediately makes the room feel brighter, more open, and airier. Consider using large-format light tiles for an even more seamless effect, as fewer grout lines will create a less cluttered appearance and further enhance the perception of space. A uniform light color palette on both walls and floors can blur the boundaries of the room, contributing to an overall sense of spaciousness.
2. Opt for a Wall-Mounted Showerhead for a Sleek Look
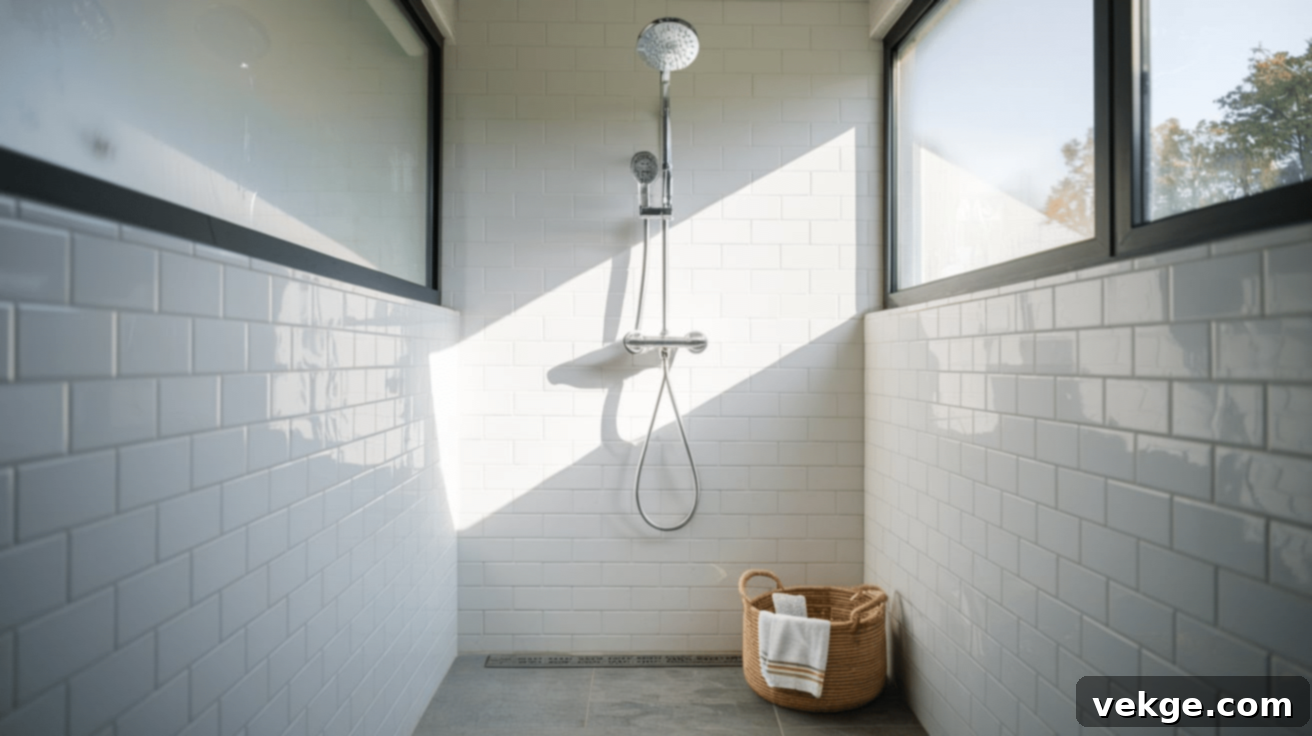
In a small wetroom, every fixture should contribute to space efficiency and aesthetic simplicity. A wall-mounted showerhead is a perfect example of this. Unlike bulky traditional shower arms or flexible hoses that can feel intrusive, a wall-mounted option keeps the shower area streamlined and unobtrusive. This design choice minimizes visual clutter and frees up valuable space that might otherwise be taken up by protruding fixtures. For an added touch of luxury and a truly relaxing experience, consider a sleek rainfall showerhead that provides broad coverage without dominating the space.
3. Integrate a Frameless Glass Screen for Visual Openness
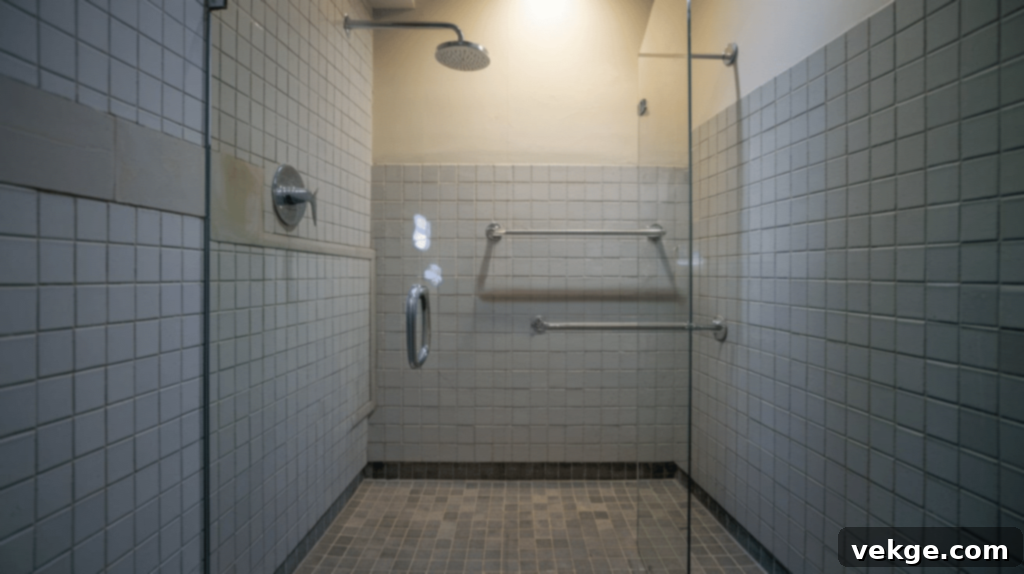
While the essence of a wetroom is an open shower, some homeowners prefer a subtle separation to contain splashes without sacrificing the open feel. A frameless glass screen is the ideal solution. Its transparency ensures that light flows freely throughout the entire room, maintaining the expansive visual appeal of a wetroom, unlike traditional framed doors that can make a space feel enclosed. The minimalist design of frameless glass panels provides a clear, modern aesthetic that is also incredibly easy to clean, contributing to a sense of cleanliness and order.
4. Select Space-Saving Fixtures Strategically
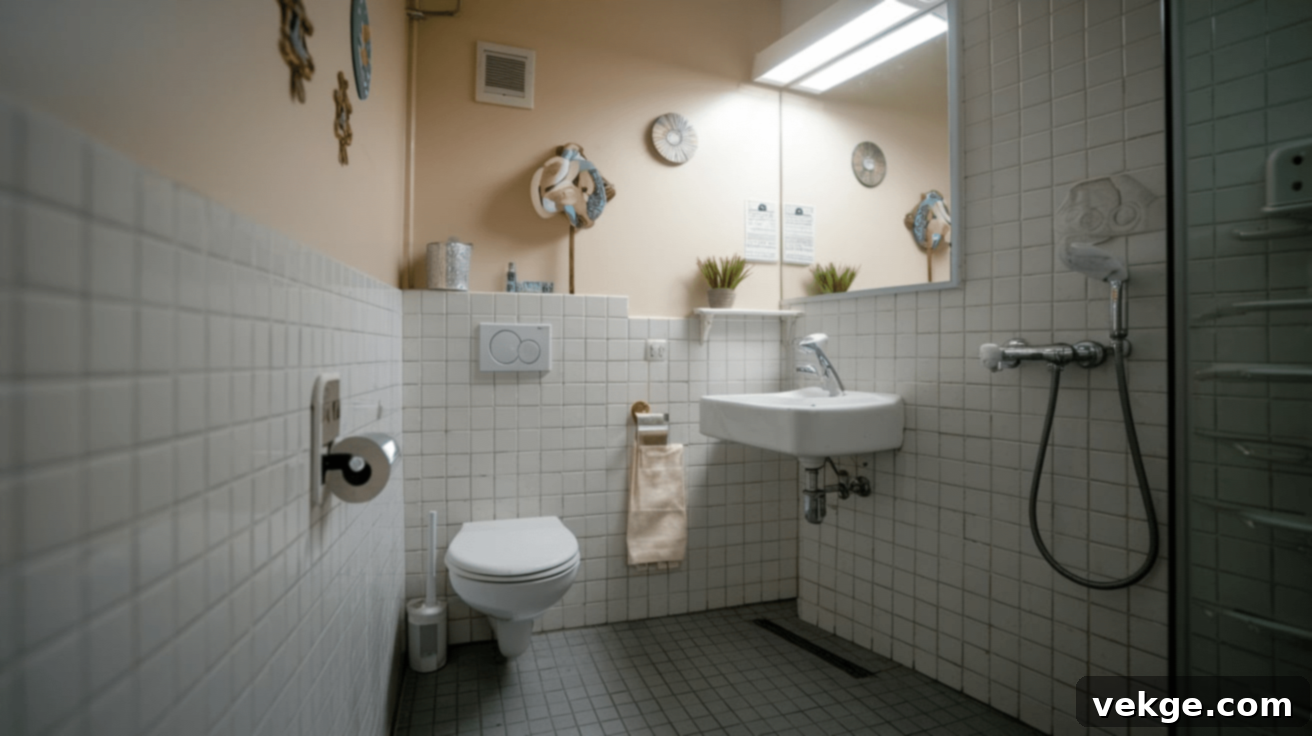
Choosing the right fixtures is paramount in a small wetroom. Every item should be selected for its compact footprint and ability to maximize floor space. Look for a slim, wall-hung toilet; its elevated design exposes more of the floor, creating an illusion of greater space and making cleaning easier. Similarly, opt for a small, wall-mounted or pedestal sink. These designs avoid bulky vanity units, ensuring that your wetroom feels less cramped and more open. Consider corner-mounted fixtures if your layout allows, as they can efficiently utilize otherwise dead space.
5. Utilize Vertical Storage Solutions
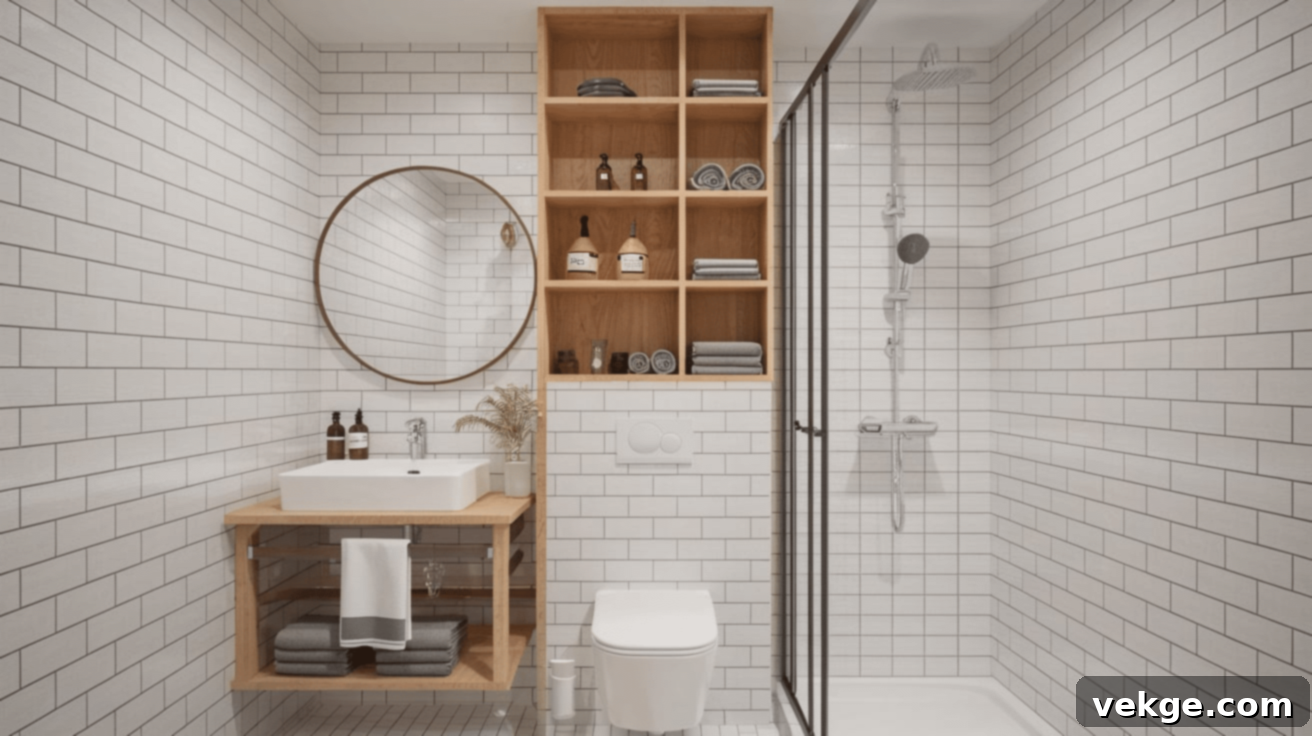
In any small room, thinking vertically is key to maximizing storage without encroaching on precious floor space. Install floating shelves above eye level or strategically placed wall-mounted cabinets to store toiletries, fresh towels, and cleaning supplies. Recessed niches built into the shower wall are another ingenious way to provide storage without adding bulk, keeping your shower essentials organized and easily accessible. Vertical storage keeps your wetroom organized, ensures the floor area remains clear, and prevents the space from feeling cluttered, contributing to a tidy and functional environment.
6. Maintain an Open Shower Area for Seamless Flow
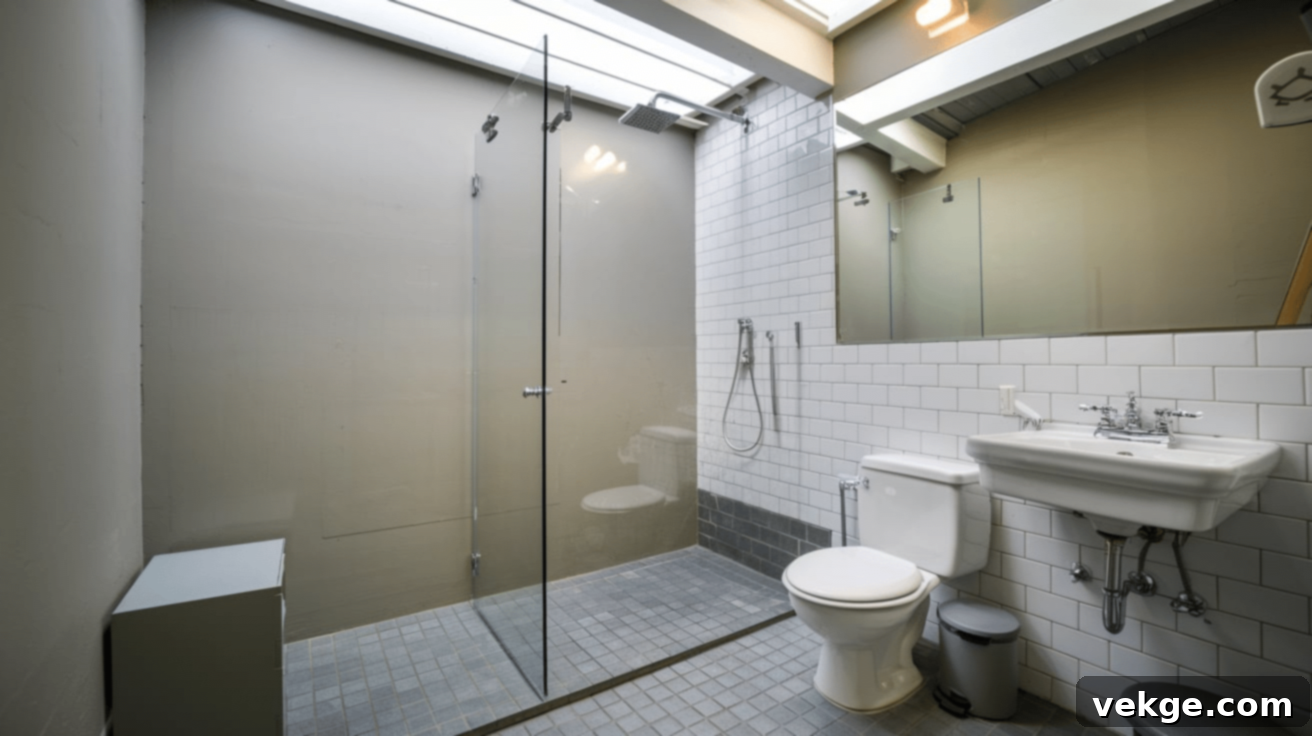
The defining characteristic of a wetroom is its open shower area. Resist the temptation to introduce bulky shower enclosures or curtains that can break up the visual flow and make the room feel smaller. Instead, embrace the concept of a level access shower where the floor gently slopes towards a discrete drain. This creates a beautifully seamless, modern look where water naturally flows away. For safety, it’s crucial to use non-slip tiles in the shower zone. An open shower design not only enhances the sense of spaciousness but also contributes to the minimalist aesthetic of the wetroom.
7. Incorporate Practical Towel Rails or Hooks
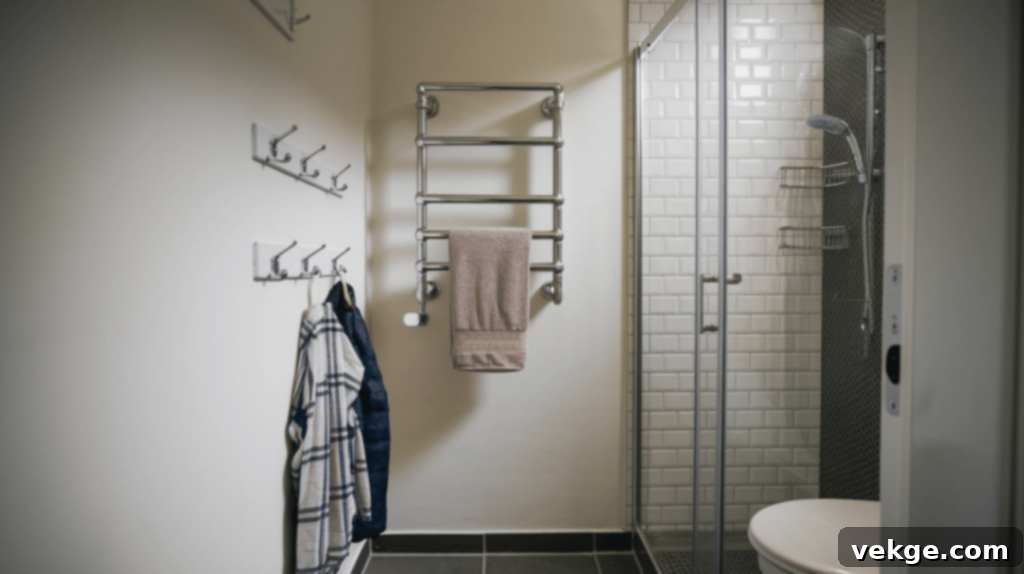
Even in a compact wetroom, efficient towel storage is essential. Towel rails or hooks are simple yet highly effective solutions for keeping towels within easy reach while conserving space. Consider installing a heated towel rail just outside the main wet zone, or utilize hooks on the back of the wetroom door. This approach keeps towels dry and warm without taking up valuable real estate inside the showering area. It’s a practical and efficient storage solution that helps maintain an organized and clutter-free environment, ensuring your towels are always ready when you need them.
8. Maximize Natural Light Integration
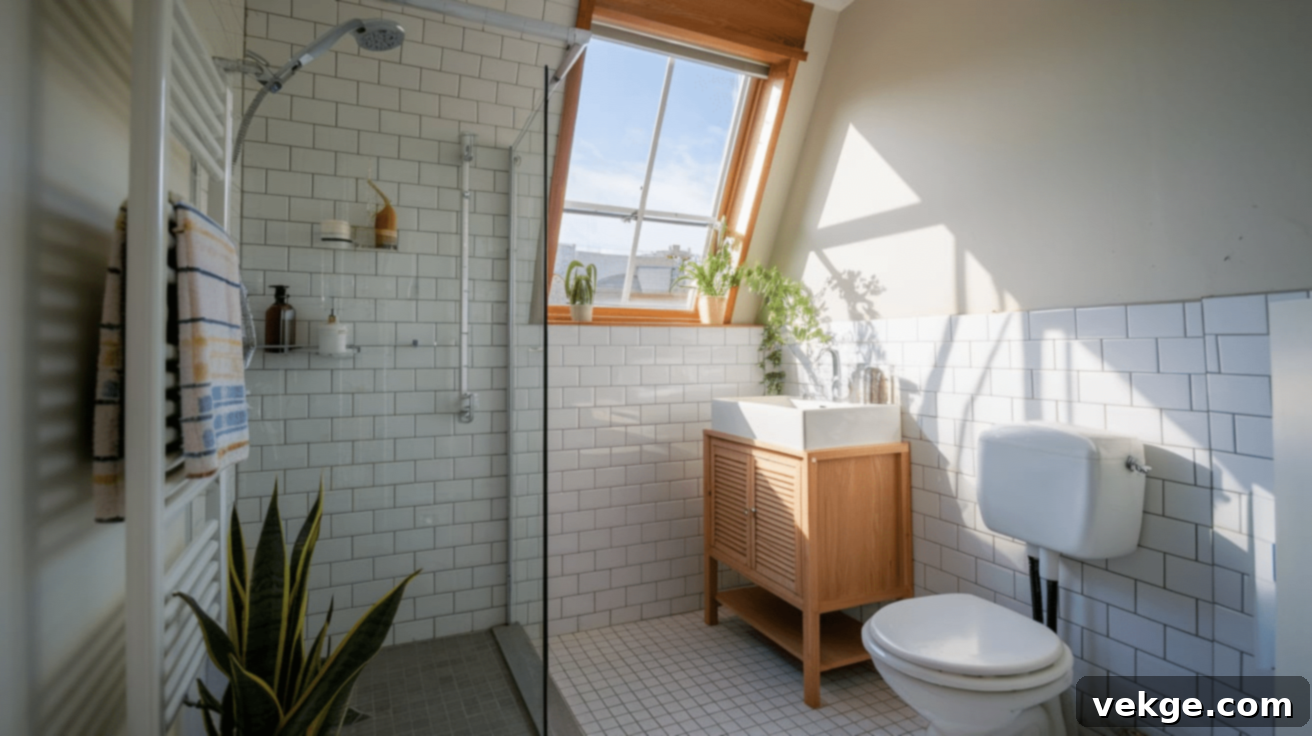
Natural light is a designer’s best friend, especially in small spaces. It can dramatically alter the perception of size, making a compact wetroom feel significantly larger, brighter, and more inviting. If your wetroom has an exterior wall, consider installing a small window or even a skylight. Even a modest amount of natural light can brighten the space, reduce reliance on artificial lighting, and create an open, airy ambiance. If privacy is a concern, frosted glass or a high-placed transom window can let in light while maintaining discretion.
9. Opt for Large Format Tiles
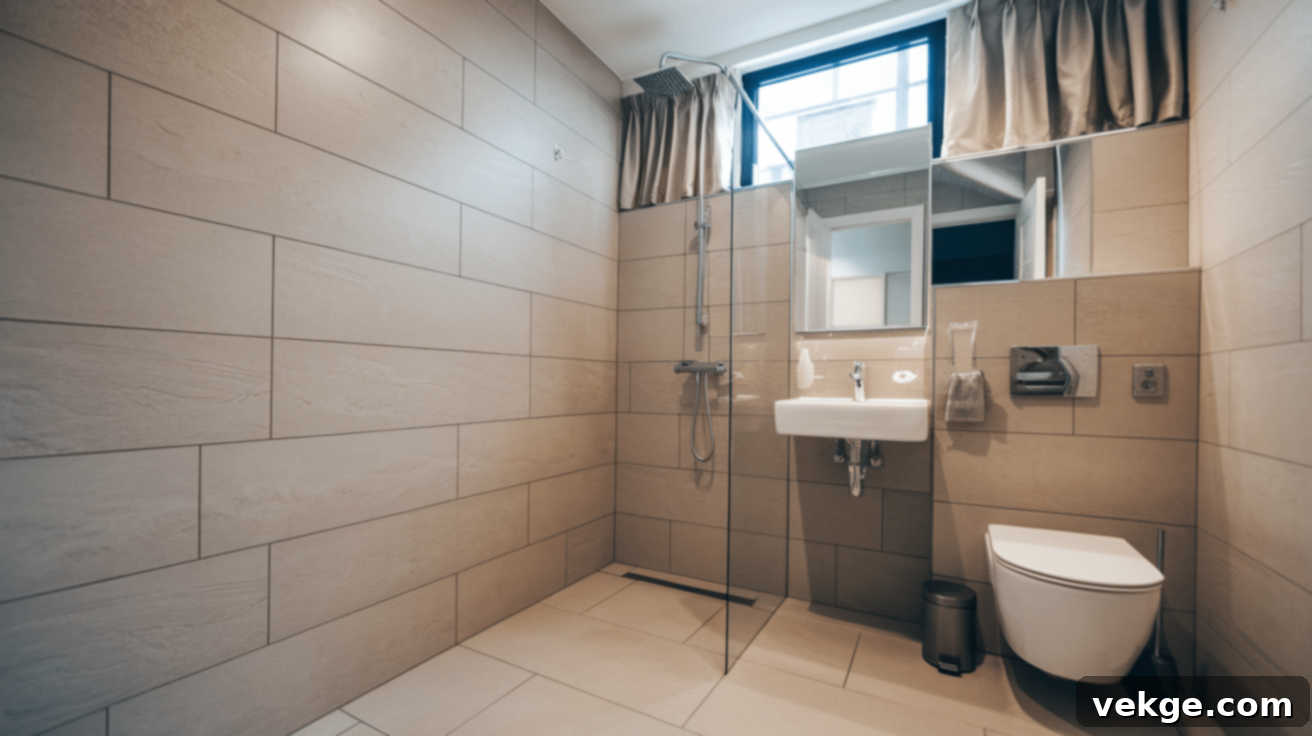
Following the principle of “less is more,” using large format tiles is a clever trick to make your small wetroom appear more expansive. The fewer grout lines there are, the less visually “busy” the floor and walls will feel. Large tiles create a clean, streamlined, and cohesive look that visually stretches the dimensions of the room. When choosing large tiles, consider a subtle texture or a matte finish to provide grip and prevent the space from looking too shiny or potentially slippery, ensuring both style and safety.
10. Maintain a Simple and Cohesive Color Scheme
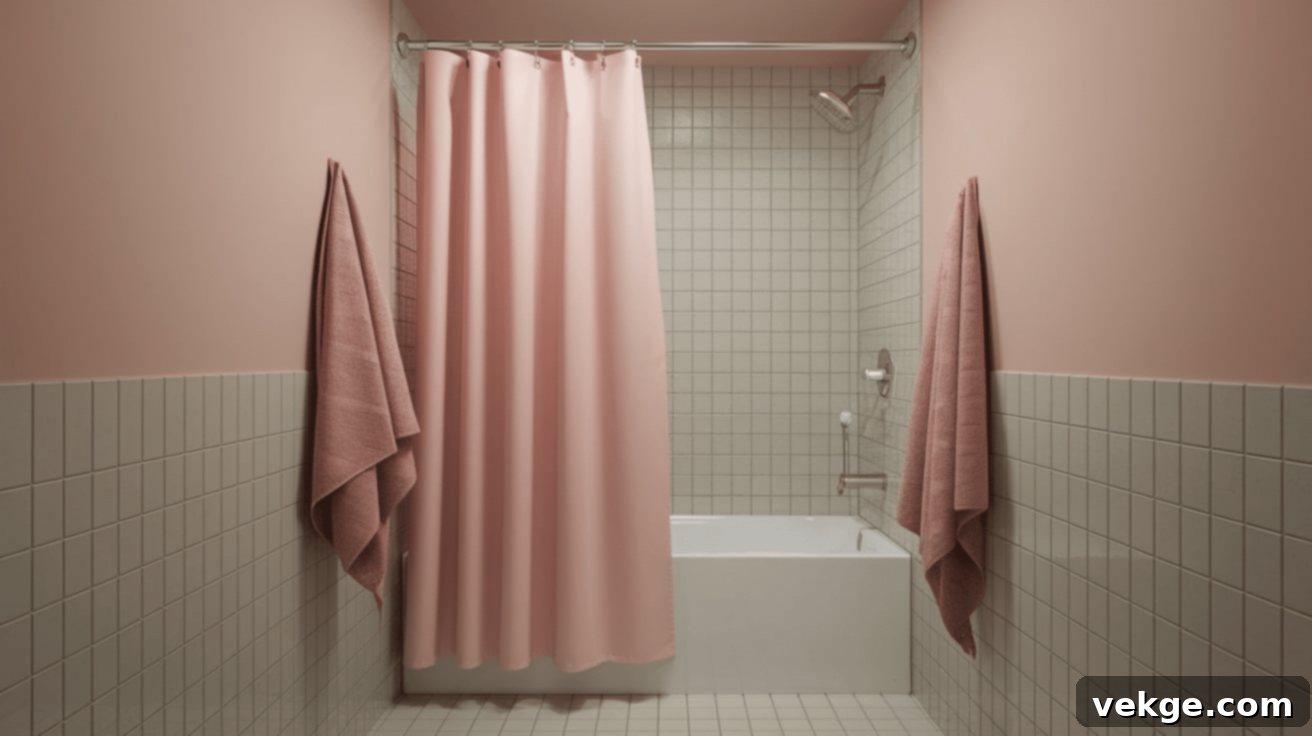
A consistent and simple color scheme is vital for creating a calm, organized, and spacious feel in a small wetroom. Stick to a palette of two or three complementary colors to achieve a cohesive and harmonious look. Neutral tones like various shades of white, light gray, and soft beige are particularly effective in small spaces as they enhance light and create an understated elegance. You can introduce a single accent color, such as a pale blue or soft green, through towels or a small accessory to add a pop of personality without overwhelming the space. The goal is to create a serene backdrop that feels uncluttered and inviting.
By implementing these detailed design ideas, you can successfully create a functional and beautiful wetroom, regardless of its compact dimensions. With thoughtful choices, your wetroom will feel open, stylish, and perfectly organized, proving that small spaces can indeed make a big statement.
Planning Your Small Wetroom Design: Essential Considerations
Effective planning is the foundation of a successful small wetroom. Before you even think about aesthetics, consider these crucial practicalities to ensure a functional and enduring design:
- Precise Measurements are Key: Begin with meticulous measurements of your entire space. Understand the exact dimensions, including ceiling height, and note the location of existing plumbing. This will guide your choices for fixtures and ensure everything fits without compromising movement. Don’t forget to account for door swings and necessary clearances around toilets and sinks.
- Embrace the Open Concept: The beauty of a wetroom lies in its seamless, open nature. Design the layout to promote an uninterrupted flow from the entrance to the shower area. Avoid any features that might break this visual line, such as raised shower trays or bulky partitions.
- Optimized Floor Gradient and Drainage: This is arguably the most critical element. The floor must be expertly sloped (typically 1:80 or 1:100) towards a high-capacity floor drain to ensure water flows efficiently and doesn’t pool. Consider linear drains for a modern, minimalist look, or a central point drain, depending on your tile choice and aesthetic preference. Proper drainage prevents waterlogging and potential damage.
- Ventilation System: Adequate ventilation is crucial to prevent mold and mildew in a damp wetroom environment. Install a powerful extractor fan that can effectively remove moisture and ensure good air circulation.
A well-thought-out layout not only makes the space feel bigger and more comfortable but also prevents future maintenance headaches in your small wetroom.
Choosing the Right Tiles and Flooring for Wetroom Safety & Style
The flooring and wall tiles in a wetroom are not just about aesthetics; they are fundamental to both safety and the long-term integrity of the space. Here’s what to look for when making your selections:
- Non-Slip Tiles are Non-Negotiable: Safety is paramount in wet areas. Prioritize tiles with a textured surface or a high slip-resistance rating (often indicated by an R-value). Porcelain or ceramic tiles are popular choices, but ensure they are specifically rated for wet environments. Natural stone can also be used, but may require more sealing and maintenance.
- Embrace Larger Tiles for Visual Expansion: As discussed earlier, large format tiles minimize grout lines, creating a less busy appearance and visually expanding the room. They also tend to be easier to clean due to fewer crevices where dirt can accumulate.
- Absolutely Waterproof Materials: Ensure all chosen materials – tiles, grout, and underlying membranes – are fully waterproof. Ceramic, porcelain, and high-quality vinyl tiles are excellent choices for wetroom floors and walls due to their durability and moisture resistance. Avoid materials that are porous or can degrade when constantly exposed to water.
- Light Colors and Strategic Accents: While light-colored tiles generally open up a small space, you can introduce darker tiles for accents or on the floor for a grounding effect. However, aim for overall brightness to maintain the expansive feel.
- Grout Selection: Choose an epoxy-based or polymer-modified grout that is highly water-resistant and less prone to staining and mold growth than traditional cement-based grouts. Match the grout color to your tiles for a seamless look or opt for a slightly contrasting shade to highlight a pattern.
The right combination of tiles and flooring will not only make your wetroom look sleek and modern but also ensure it remains safe, durable, and easy to maintain for years to come.
Maximizing Storage in a Small Wetroom: Clever Solutions
Effective storage is essential in any small bathroom, and a wetroom is no exception. The goal is to keep essentials handy without cluttering the compact space. Here are several smart ways to achieve this:
- Leverage Vertical Storage: The walls are your best friends. Install sleek floating shelves, tall narrow wall-mounted cabinets, or open shelving units to store toiletries, towels, and cleaning supplies. This keeps items off the floor, maximizing floor space for movement and making the room feel larger.
- Built-In Shelving and Recessed Niches: For the ultimate in space-saving, consider building recessed shelves or niches directly into the shower wall during construction. These provide discreet storage for shampoos, soaps, and other shower essentials without protruding into the wetroom, creating a clean, integrated look.
- Strategic Towel Rails or Hooks: Place towel rails or hooks strategically. Wall-mounted towel rails can go on an unused wall outside the direct splash zone, or hooks can be added to the back of the wetroom door. Heated towel rails add a touch of luxury while ensuring towels are always dry and warm.
- Slimline Furniture and Vanity Units: If you must have a vanity, opt for a wall-hung, slimline unit with integrated storage. Floating vanities reveal more floor, enhancing the sense of space. Minimalist, compact cabinets can also be tucked into corners or narrow sections of the wall.
- Mirrored Cabinets: A mirrored cabinet above the sink provides dual functionality – a mirror and hidden storage for smaller items, reducing clutter on the sink area.
By intelligently utilizing vertical and hidden storage solutions, you can keep your wetroom tidy, organized, and free from visual clutter, making it a more pleasant and functional space.
Picking the Right Shower Fixtures for Optimal Functionality
Choosing the correct shower fixtures is crucial for both the functionality and aesthetic appeal of your small wetroom. These selections can significantly impact the overall user experience and space efficiency:
- Wall-Mounted or Ceiling-Mounted Showerheads: A wall-mounted showerhead is an excellent space-saver, offering a clean, minimalist look. For a truly luxurious and immersive experience, consider a ceiling-mounted rainfall showerhead, which delivers a broad spray pattern without taking up any wall space visually.
- Streamlined Shower Controls: Opt for simple, easy-to-use shower controls. A single thermostatic mixer control for both temperature and water flow is ideal for small spaces, as it reduces the number of visible fixtures and offers precise control. Recessed controls that sit flush with the wall further enhance the minimalist aesthetic.
- Smart and Efficient Drainage: The choice of drain significantly impacts both the look and efficiency. Linear drains (channel drains) are highly popular for wetrooms, offering a sleek, modern appearance and the ability to handle large volumes of water efficiently. They can be installed along one edge of the shower area, simplifying the floor gradient. Point drains are also effective but require a slightly more complex floor slope from all directions.
- Clear Glass Panels (Optional): If you decide to add a separation to minimize splash, clear, frameless glass panels are the best choice. They maintain visual transparency, allowing light to flow through and preventing the wetroom from feeling enclosed. Pivot or sliding doors can also work in very specific layouts, but fixed panels usually offer the most minimalist solution.
- Handheld Shower Wands: A supplementary handheld shower wand, especially if integrated into the main shower system, provides added flexibility for targeted washing and makes cleaning the wetroom much easier.
The right selection of shower fixtures will ensure your wetroom is not only highly functional but also stylish and harmonious with your overall design vision, without overwhelming the compact dimensions.
Wetroom Waterproofing and Maintenance Tips for Longevity
The success and longevity of any wetroom hinge on impeccable waterproofing and diligent maintenance. These steps are non-negotiable to prevent costly damage and keep your wetroom looking pristine.
Essential Waterproofing Tips:
- Professional Tanking System: Before any tiles are laid, the entire wetroom – walls, floor, and joints – must be treated with a high-quality waterproofing membrane, known as a “tanking system.” This creates a sealed, impervious layer beneath the tiles, preventing any water from penetrating the structure. This is a job best left to experienced professionals.
- Use Waterproof Materials Throughout: Ensure that all materials used, from the tiles themselves to the adhesive and grout, are suitable for a constantly wet environment. Epoxy grout, for example, is highly water-resistant and less susceptible to mold than standard cement-based grout.
- Regular Sealant Checks: Pay close attention to corners, joints, and around fixtures where walls meet floors. These areas are typically sealed with silicone or a similar sealant, which can degrade over time. Regularly inspect for cracks or peeling and re-seal as necessary to maintain the waterproof barrier.
- Correct Floor Gradient for Drainage: As mentioned, proper floor sloping towards the drain is critical. Any pooling water indicates an issue with the gradient, which can lead to standing water and potential long-term damage if not addressed.
Practical Maintenance Tips:
- Daily Wipe-Down: After each use, quickly wipe down the shower walls and floor with a squeegee or a soft cloth. This simple habit drastically reduces soap scum buildup, water spots, and the opportunity for mold and mildew to take hold.
- Thorough Regular Cleaning: Perform a more thorough cleaning of your wetroom at least once a week. Use a mild, non-abrasive bathroom cleaner to safely clean tiles, grout, and fixtures without damaging surfaces. Avoid harsh chemicals that can strip sealants.
- Ensure Adequate Ventilation: Always use your extractor fan during and immediately after showering to remove excess moisture from the air. Opening a window (if available) can also significantly aid in drying out the space and preventing humidity-related issues.
- Grout and Sealant Maintenance: Grout lines are prone to collecting moisture and developing mold. Clean them regularly with a grout brush and appropriate cleaner. Consider applying a grout sealer annually to add an extra layer of protection against water penetration and staining.
- Inspect for Mold and Mildew: Due to the damp nature of wetrooms, mold and mildew can still be an issue despite best efforts. Regularly inspect corners, grout lines, and behind fixtures. Address any signs of mold immediately with a suitable mold cleaner to prevent its spread.
By diligently following these waterproofing and maintenance guidelines, you will safeguard your investment, ensure the longevity of your wetroom, and keep it looking fresh, clean, and inviting for many years to come.
Conclusion: Designing Your Perfect Compact Wetroom
Designing and maintaining a small wetroom is an exceptionally smart and stylish way to maximize space and functionality in any compact home. Far from being a compromise, a well-executed wetroom offers a luxurious, open, and easy-to-maintain showering experience that traditional bathrooms often cannot. With the right blend of creative design, meticulous planning, expert waterproofing, and consistent maintenance, you can transform even the most limited footprint into a stunning and highly efficient bathroom.
Remember, the key lies in thoughtful choices: from selecting reflective light-colored, large-format tiles to incorporating space-saving wall-mounted fixtures and ingenious vertical storage. Embrace the seamless flow of an open shower, ensure impeccable drainage, and always prioritize proper ventilation and waterproofing. By following the comprehensive tips and ideas outlined in this guide, you are well-equipped to design a small wetroom that not only meets your practical needs but also perfectly complements your personal style. Step into a world where design and functionality converge, and enjoy the modern, clutter-free sanctuary of your new wetroom.
Frequently Asked Questions About Small Wetrooms
How small can a wetroom actually be?
While there’s no strict minimum, a functional wetroom can be designed in spaces as small as 3×3 feet (approximately 0.9m x 0.9m) if carefully planned. However, for a more comfortable and practical experience, an area of at least 4×4 feet (1.2m x 1.2m) is often recommended. The actual minimum size will depend heavily on the specific layout of other fixtures (toilet, sink) and the need for circulation space. Clever design, such as wall-hung fixtures and frameless glass screens, can make even the most limited spaces feel functional and stylish.
Do I need special tiles for a wetroom?
Yes, absolutely. Wetroom tiles should be specifically chosen for their waterproof and non-slip properties. Ceramic and porcelain tiles are excellent and popular choices due to their low porosity and durability. It’s crucial to select tiles with a good slip-resistance rating (e.g., an R-value of R9 or higher) to ensure safety on wet surfaces. Additionally, consider using epoxy grout, which is more resistant to water penetration and mold than traditional cement-based grout, for enhanced waterproofing and longevity.
How do I prevent mold and mildew in a wetroom?
Preventing mold and mildew in a wetroom requires a multi-faceted approach. Firstly, ensure proper waterproofing during installation to prevent moisture from getting behind surfaces. Secondly, excellent ventilation is crucial; install a powerful extractor fan and use it consistently during and after showering. Thirdly, dry surfaces regularly after use with a squeegee or cloth. Lastly, keep grout lines clean and consider resealing them annually, as grout is porous and can trap moisture, making it a prime spot for mold growth.
Can I install a wetroom myself, or do I need a professional?
While some aspects of wetroom installation, like basic tiling, might be feasible for a skilled DIY enthusiast, it is highly recommended to hire a professional for the critical stages of waterproofing (tanking) and plumbing. Improper waterproofing can lead to severe and costly water damage to your property. A professional installer has the specialized knowledge and experience to ensure the correct floor gradient, a perfectly sealed membrane, and proper drainage, guaranteeing the longevity and integrity of your wetroom. DIY is best reserved for cosmetic finishing touches after the core structure and waterproofing are professionally installed.
What’s the best shower fixture for a small wetroom?
For a small wetroom, wall-mounted showerheads or integrated rainfall showerheads are generally the best choice as they save space and contribute to a sleek aesthetic. A wall-mounted rainfall showerhead provides a luxurious experience without protruding significantly into the space. A handheld shower unit, either as a standalone fixture or combined with an overhead shower, offers excellent flexibility for targeted washing and makes cleaning the wetroom easier. Consider thermostatic mixer controls that are either surface-mounted or, ideally, recessed into the wall for a minimalist look and precise temperature control.
